How to Change to Landscape in Adobe InDesign
Landscape orientation is used for wider horizontal designs or subjects. It is commonly applied to a page that contains a…
Apr 26, 2023
A header is a top margin on each page of your document or publication. Headers are useful for adding material that you want to display on every page of a document including your name, the title of the document or publication, or page numbers. In this article, learn how to add a well-designed header in Adobe InDesign.
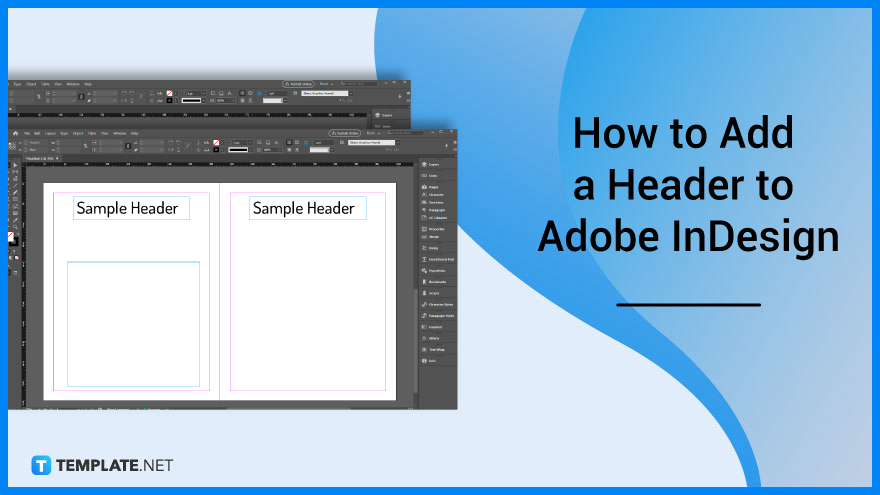
Headers in websites make the pages visually appealing to visitors and make pages scannable. Below are some ways that you need to add a compelling header for your document using Adobe InDesign.
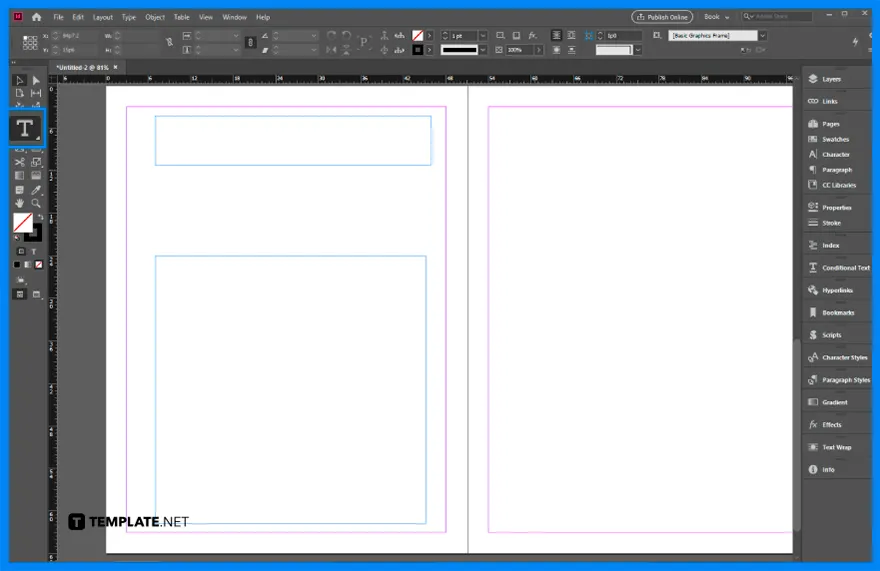
Open a new document in Adobe InDesign. Then, go to the toolbar and select the Type tool and create a rectangular box for the header of your document.
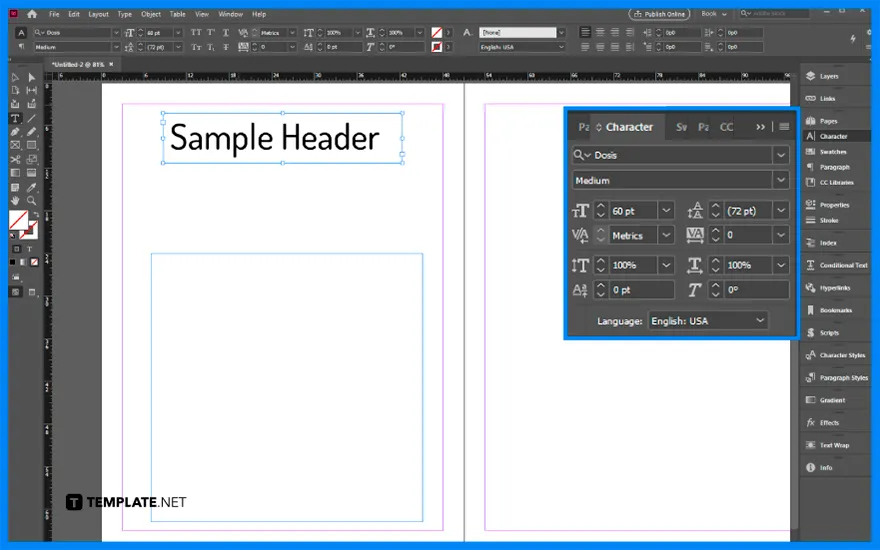
Type the text in the header. If you want to make some changes in the font size, font style, or any other things you want to modify in your header, go to the Character and Paragraph Styles panels on the right side of your InDesign workspace.
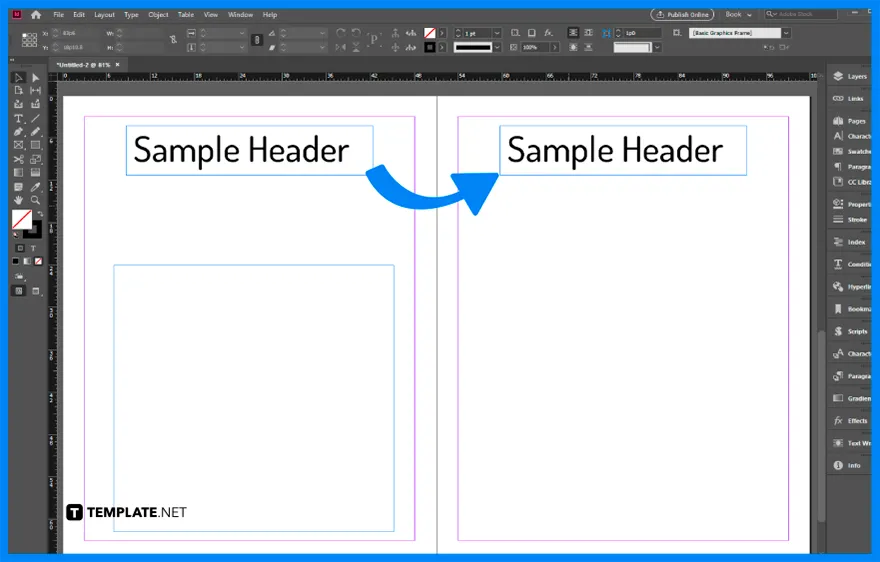
After you made the header on the left page, add the header for the right page. Simply copy and paste the header you made on the left page and transfer the copy to the right page, and make some changes in the text according to your needs and preferences.
Find the header under the type menu and the running header definition is already made by default in the software.
A running header is an essential editorial design element generally used as it appears at the top left of each page of a document and is a replica of the tile of that specific page or section.
The running header is a shortened version of the title of your document.
Go to the Pages panel, right-click to bring up option, and select “override all master page items.”

Landscape orientation is used for wider horizontal designs or subjects. It is commonly applied to a page that contains a…
![How to Adjust Line Spacing in Adobe InDesign [Templates + Examples] 2023](https://images.template.net/wp-content/uploads/2022/08/How-to-Adjust-Line-Spacing-in-Adobe-InDesign-788x444.png)
Adjust line spacing in Adobe InDesign so you won’t have to stick to the default letter spacing, character spacing, word…
![How to Add a Watermark in Adobe InDesign [Templates + Examples] 2023](https://images.template.net/wp-content/uploads/2022/08/How-to-Add-a-Watermark-in-Adobe-InDesign-788x444.png)
Add a watermark to any document or image designed in Adobe InDesign as a way to explicitly send a message…
A header is a top margin on each page of your document or publication. Headers are useful for adding material…
Circular pictures and designs work best for website avatars or profile pictures, site favicons, and other integral design elements that…
Calendars help individuals to stay organized and manage their time wisely for their personal life and professional life. It is…
Picas is the default unit of measurement in Adobe InDesign, however, there are also different units of measurement available in…

Adobe Photoshop helps users creatively execute their ideas into actual images. An EPS file can be read and edited in…

Unless you’re working with Adobe SVG graphics, creating an impressive website requires a lot of time and patience. However, if…