


How to Change to Landscape in Adobe InDesign
Landscape orientation is used for wider horizontal designs or subjects. It is commonly applied to a page that contains a…
Aug 10, 2022


May 08, 2023
Add a watermark to any document or image designed in Adobe InDesign as a way to explicitly send a message that you made or own such material. Whether you use transparent or semi-transparent logos, patterns, or texts in InDesign files, bear in mind that watermarks are important to manage copyright, prevent authorized use, or set a visual design that represents your brand.

Adobe InDesign or INDD files can be your go-to platform for designing images and documents that include your signature watermarks. With access to Adobe Reader, Adobe Acrobat Pro, or InDesign straight away, you can add a watermark to InDesign from scratch or with a watermark template using these steps:

Open Template.net and view the collection of watermark templates for inspiration on how to design your Adobe Indesign watermark. One example is the premade watermark template that you may use for confidential or creative design purposes.

Directly search for any watermark template using the search box found on the main page of Template.net. You can simply write “watermark” or “Adobe InDesign” and suggestions would flood your screen.

Select the best watermark template that you want to use and you may opt for a PSD, PNG, or PDF file for the format. A tip is to prioritize clicking the “Edit online” button to customize the template first.
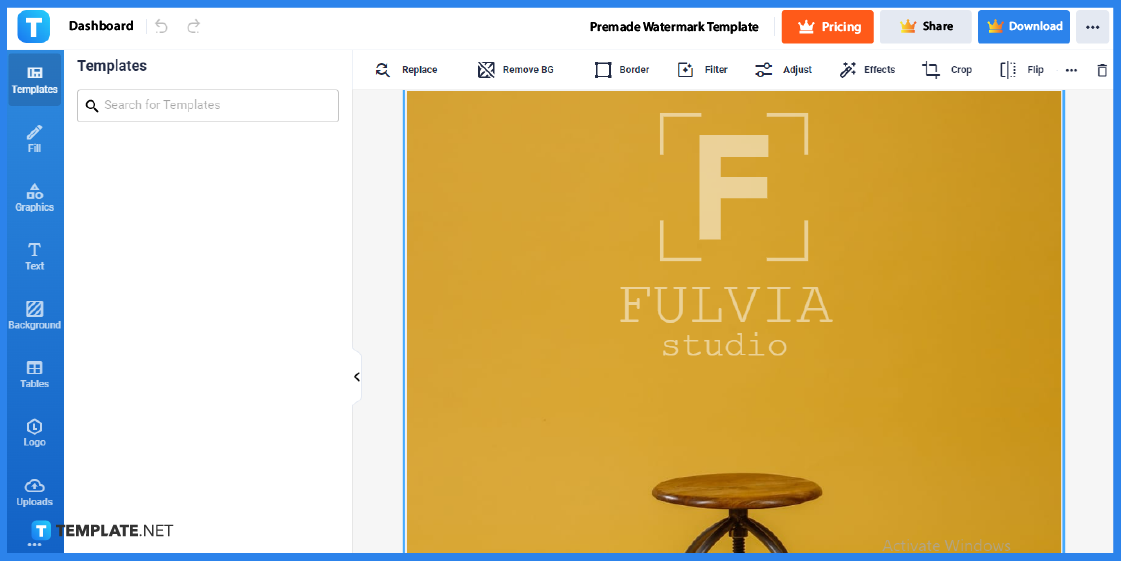
Clicking “Edit online” means you are transported to the graphic design editor tool of the template. Use this chance to inspect the template carefully and explore the many editable tools inside.
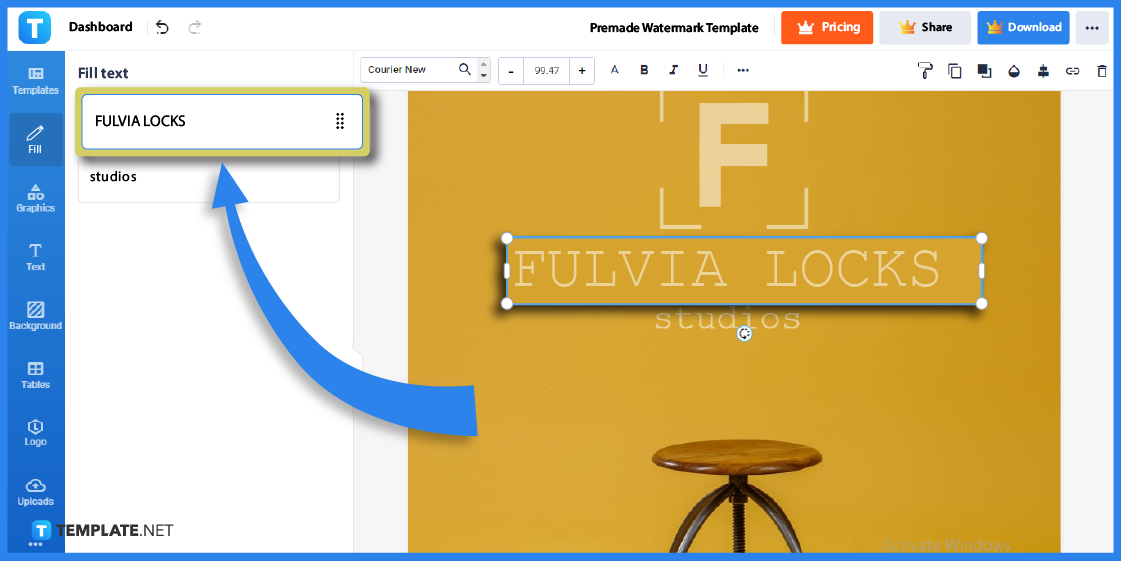
Before you deal with Adobe InDesign text fonts or add text effects, the editor tool already grants you the opportunity to change the text of the watermark template. Just click “Fill,” select any of the text box, and write the new text using your keyboard.
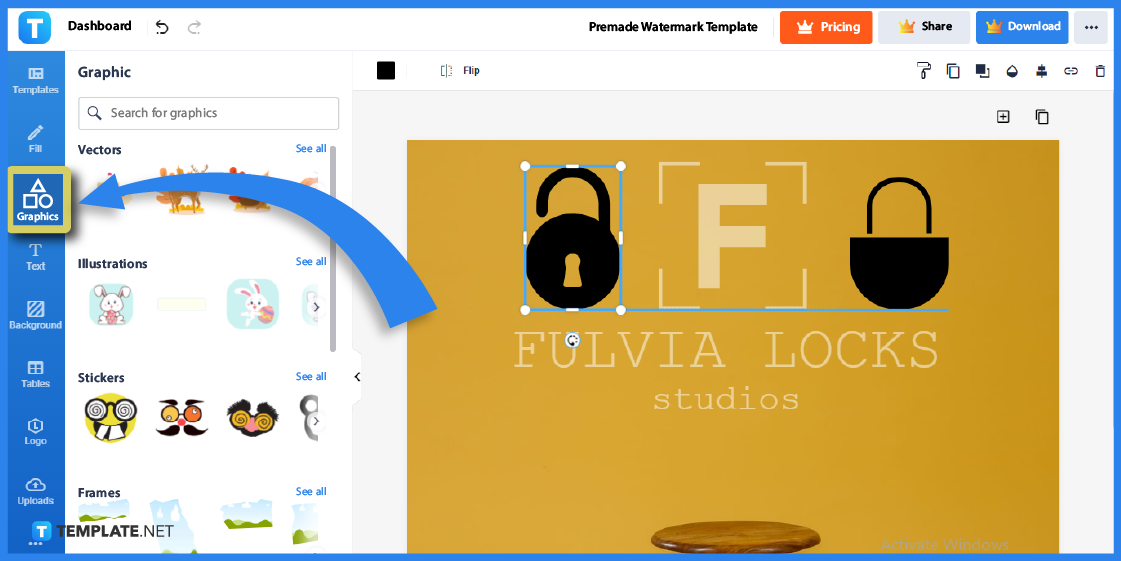
Click “Graphics” to access a plethora of graphic templates that you can use to embellish your watermark creatively. You can search for a graphic on the search bar or choose from any of the example illustrations, vectors, stickers, and other visuals below.
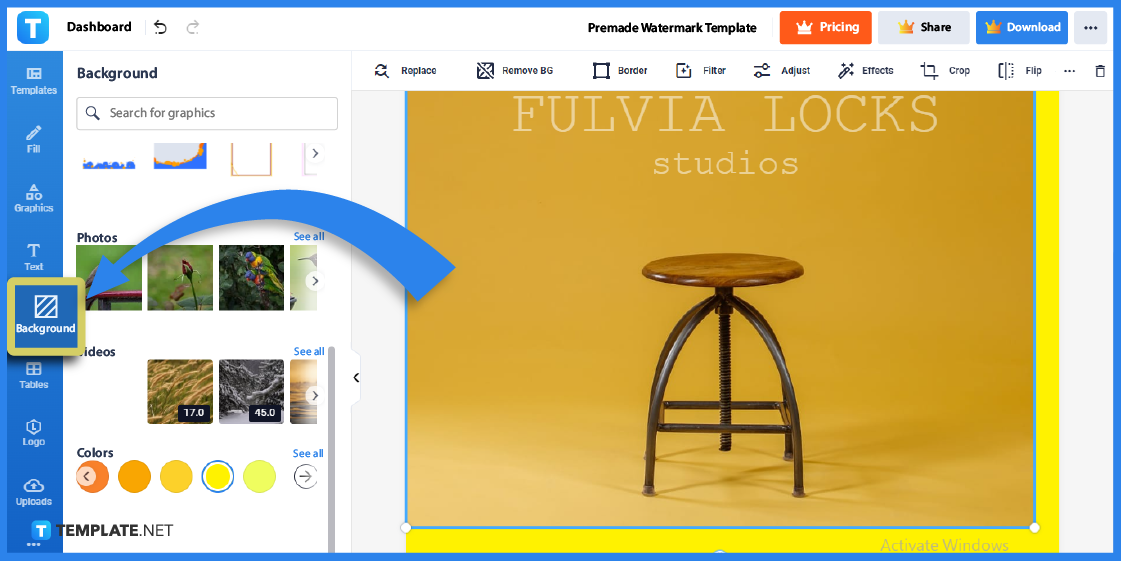
Even your watermarks deserve a transparent background image, a colorful drop shadow, or a popping color to stand out. Just press “Background” and choose from any of the background colors below or select an image to use as a wallpaper for the watermark design.

Add last-minute touches to the design and select “Download” on the right side of your screen. Pick any file format and image quality from there, click the final “Download” button, and proceed to open the template in Adobe InDesign shortly.
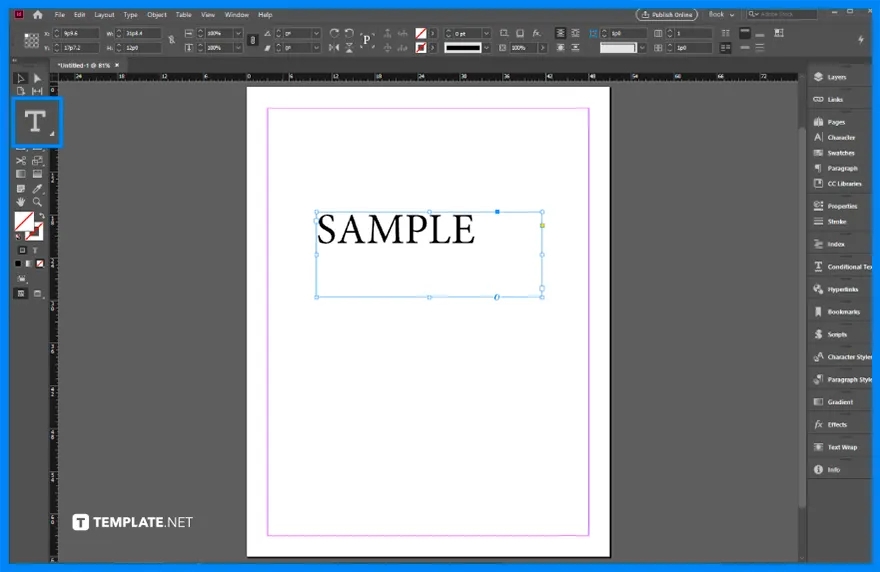
To add a watermark in Adobe InDesign manually, you have to design it yourself using the Type tool. Make a new INDD file in Adobe InDesign, click the Type tool which has the letter T icon, and type the text you want to use for the watermark may it be your personal name, business name, or a creative moniker.
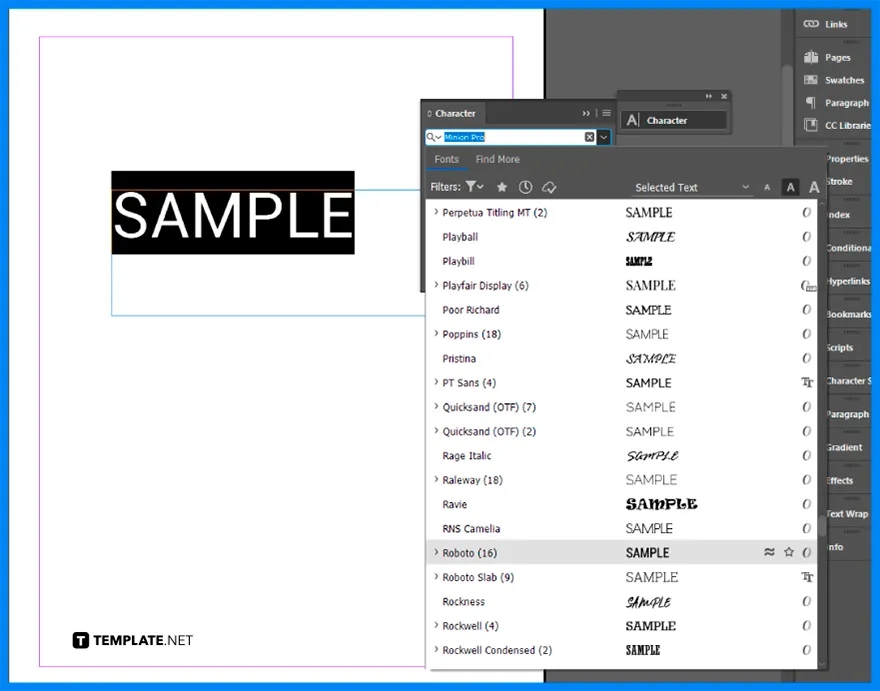
Found on the right portion of the Adobe InDesign workspace, access the Properties panel and move to the Characters category. Then, modify the font style and the font size according to the options available there.

What makes watermarks notable are their opaque and semi-transparent features and you can achieve that by altering the text opacity. Click the text, tilt it, reposition it towards the center, access the Appearance panel, change the opacity percentage for the watermark such as 7%, and save your work.
Logos and watermarks are worth designing in InDesign and you can use them to protect and brand your digital art, original typography, confidential screenshot, animation design, or even software layout design. And here are other ideas and examples worth including in your next watermark drafts:
![]()
A logo and watermark go hand in hand since a logo mainly represents a brand while the watermark protects intellectual property. Hence work on them both in one template such as this example.

A do not copy watermark directly sends a clear message that the purpose of your watermark is to stop other people from copying or reproducing your work. Include this design in your private works.

Every business should at least have its own business watermark design. And you can start with a simple yet classic look such as this template.

Digital art, files, and media are encouraged to be protected with a digital watermark. You’d be surprised at how quickly online users could copy or use your digital work without permission when no watermark is found on your digital files.

Photographers have their signature picture watermark commonly at the edges of their pictures. And a watermark helps identify that you own or created the photograph.
A watermark identifies the very author/owner of intellectual properties or digital assets as well as protects such files from being used without authorization.
Photographers, publishers, and graphic designers are the most notable audiences to use watermarks to safeguard their intellectual works.
The standard watermark parts are the text, logo or image, transparency, position, color, and size.
Open Adobe InDesign, create a new file or open an INDD file, choose the Rectangle Frame tool, draw a rectangle, set the color or background of the watermark, use the Type tool, write and adjust the text, and change the opacity of the design.
A tip is to balance by making the watermark visible on the design but still subtle enough so as to not steal the spotlight of the design.
Landscape orientation is used for wider horizontal designs or subjects. It is commonly applied to a page that contains a…
![How to Adjust Line Spacing in Adobe InDesign [Templates + Examples] 2023](https://images.template.net/wp-content/uploads/2022/08/How-to-Adjust-Line-Spacing-in-Adobe-InDesign-788x444.png)
Adjust line spacing in Adobe InDesign so you won’t have to stick to the default letter spacing, character spacing, word…
![How to Add a Watermark in Adobe InDesign [Templates + Examples] 2023](https://images.template.net/wp-content/uploads/2022/08/How-to-Add-a-Watermark-in-Adobe-InDesign-788x444.png)
Add a watermark to any document or image designed in Adobe InDesign as a way to explicitly send a message…

A header is a top margin on each page of your document or publication. Headers are useful for adding material…

Circular pictures and designs work best for website avatars or profile pictures, site favicons, and other integral design elements that…

Calendars help individuals to stay organized and manage their time wisely for their personal life and professional life. It is…

Picas is the default unit of measurement in Adobe InDesign, however, there are also different units of measurement available in…

Adobe Photoshop helps users creatively execute their ideas into actual images. An EPS file can be read and edited in…

Unless you’re working with Adobe SVG graphics, creating an impressive website requires a lot of time and patience. However, if…