How to Change to Landscape in Adobe InDesign
Landscape orientation is used for wider horizontal designs or subjects. It is commonly applied to a page that contains a…
Sep 27, 2024
Discover how to change PNG Color in Adobe Illustrator for when you work on an art project or edit a photo. This means you will end up shifting the colors of the PNG images you are working on in Adobe Illustrator.

Changing the PNG color in Adobe Illustrator is pretty easy. Find out how to change it with these simple steps.

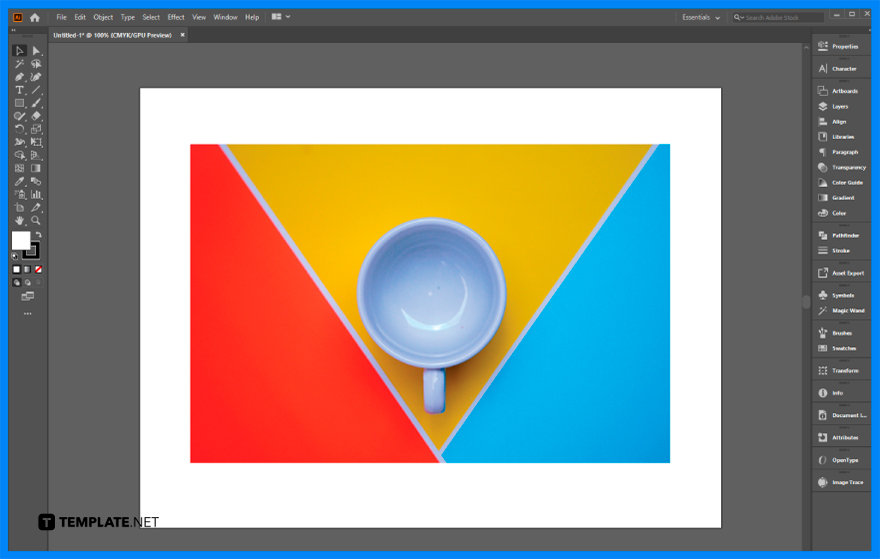
To get started, open your Adobe Illustrator file and add your PNG images whose colors you wish to change.

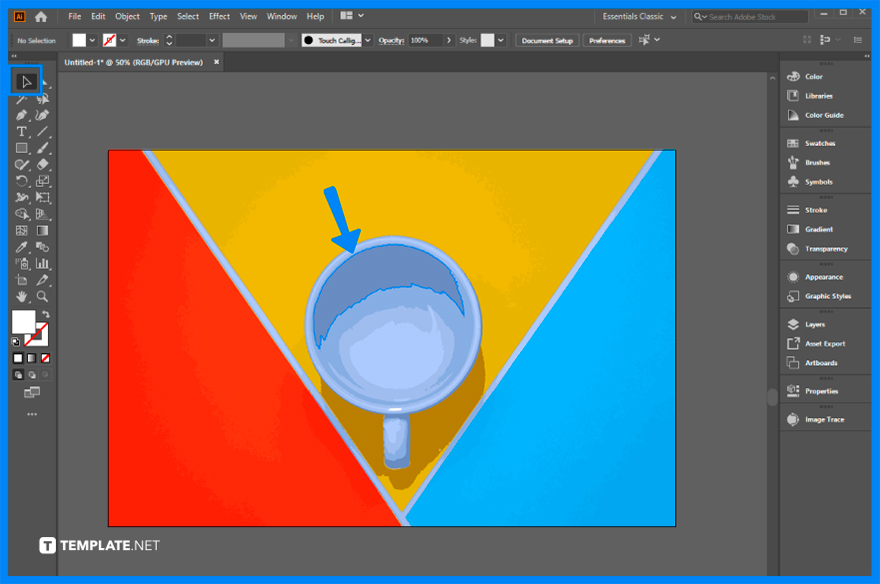
Click on Essentials on the top part of the screen and then choose ‘Essentials Classic’ on the dropdown.


Next click on the arrow icon on the toolbar which is the Selection Tool and click on the part of the PNG you wish to color.

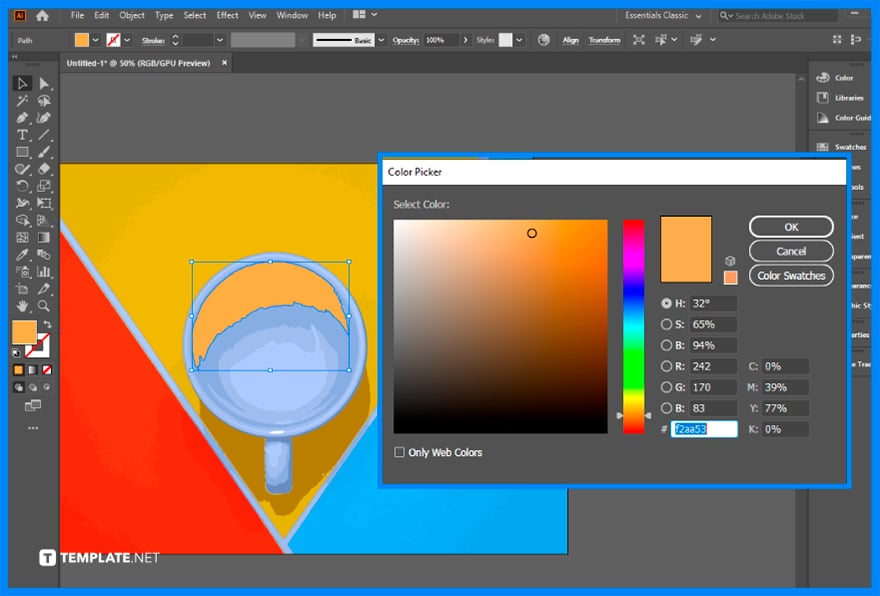
Double-click on Fill and choose the colors you want to change your PNG into. And that is how you change the PNG color in Adobe Illustrator.
No, it doesn’t, users need to save the file first before the changes actually reflect.
Yes, you can edit the colors of multiple objects at the same time in Adobe Illustrator.
The options in Adobe Illustrator are large for as long as one has the appropriate color code installed.
There is no known shortcut to editing colors in Adobe Illustrator.
No, you cannot, you will need to manually edit the colors. Explore additional adobe illustrator templates on our website, template.net, to find a variety of options that suit your needs.

Landscape orientation is used for wider horizontal designs or subjects. It is commonly applied to a page that contains a…
![How to Adjust Line Spacing in Adobe InDesign [Templates + Examples] 2023](https://images.template.net/wp-content/uploads/2022/08/How-to-Adjust-Line-Spacing-in-Adobe-InDesign-788x444.png)
Adjust line spacing in Adobe InDesign so you won’t have to stick to the default letter spacing, character spacing, word…
![How to Add a Watermark in Adobe InDesign [Templates + Examples] 2023](https://images.template.net/wp-content/uploads/2022/08/How-to-Add-a-Watermark-in-Adobe-InDesign-788x444.png)
Add a watermark to any document or image designed in Adobe InDesign as a way to explicitly send a message…

A header is a top margin on each page of your document or publication. Headers are useful for adding material…

Circular pictures and designs work best for website avatars or profile pictures, site favicons, and other integral design elements that…

Calendars help individuals to stay organized and manage their time wisely for their personal life and professional life. It is…

Picas is the default unit of measurement in Adobe InDesign, however, there are also different units of measurement available in…

Adobe Photoshop helps users creatively execute their ideas into actual images. An EPS file can be read and edited in…

Unless you’re working with Adobe SVG graphics, creating an impressive website requires a lot of time and patience. However, if…