How to Change to Landscape in Adobe InDesign
Landscape orientation is used for wider horizontal designs or subjects. It is commonly applied to a page that contains a…
Apr 11, 2023
With Adobe, digitizing a perfect embroidery design is easy to come by. By converting an embroidery to SVG using Adobe software, you can create a digital version of the design and use it for various purposes.
SVG is by definition an XML-based vector image format that allows you to define two-dimensional graphics with exceptional support for animation and interactivity. If you are wondering why your embroidery design needs to be converted to SVG when you do not have to animate it for a website, well, you must know that most Cricut makers love it and you do need Cricut software for your crafting project.
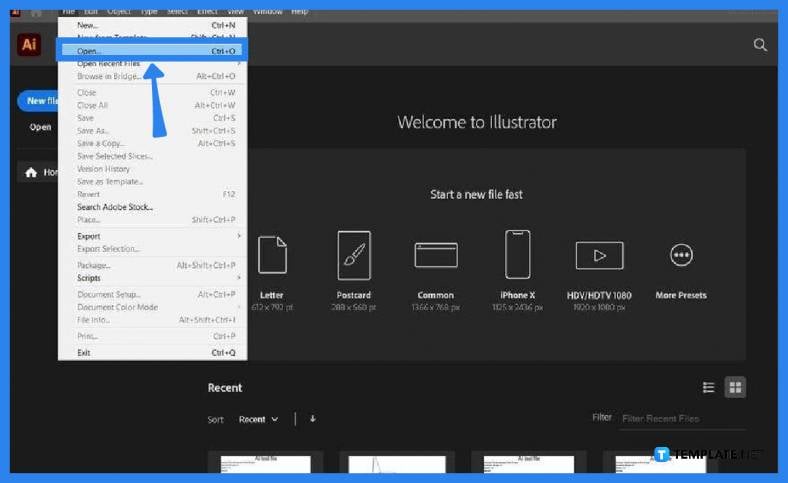
Launch your Adobe Illustrator software and look for the file you would like to work on. You can go to “File” in the menu bar and then head over to “Open” from the drop-down menu to take you to a window where you can browse over for the file. Alternatively, you can simply drag and drop it onto your Adobe Illustrator artboard, especially if you have it saved on the desktop.
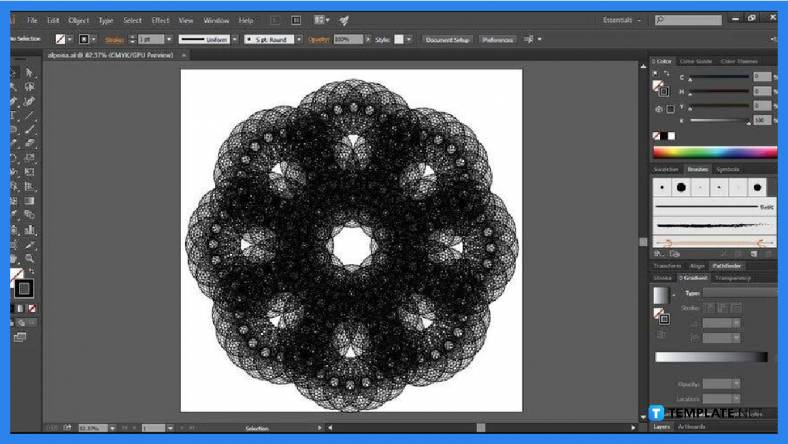
Before you convert your embroidery design to SVG, give the overall design the once-over and enhance it if there is a need to. Just navigate the toolbar located on the left side of the artboard and see what you can use and do with your existing design. But if you wish it to be the final design that goes to Cricut later after being converted to SVG, then just go ahead and save.
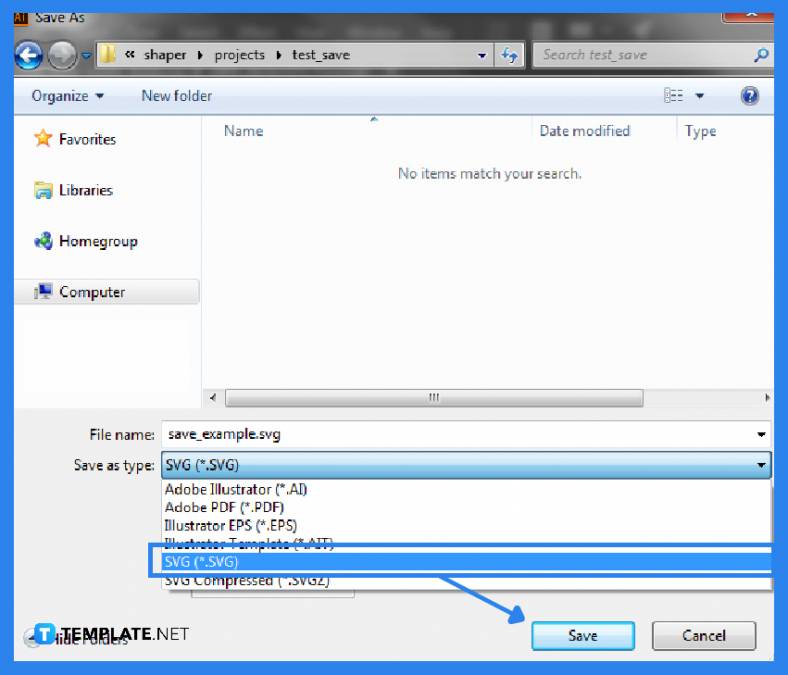
When you are already satisfied with the design, head over to “File” and click on “Save As.” In the dialog box, make sure to put the format to SVG. The default file format of Adobe Illustrator is AI or .ai and you need to change that by clicking on the arrow pointing down next to “Save as Type.” Also, be sure to give your file a name and save it to an ideal location before you hit “Save.”
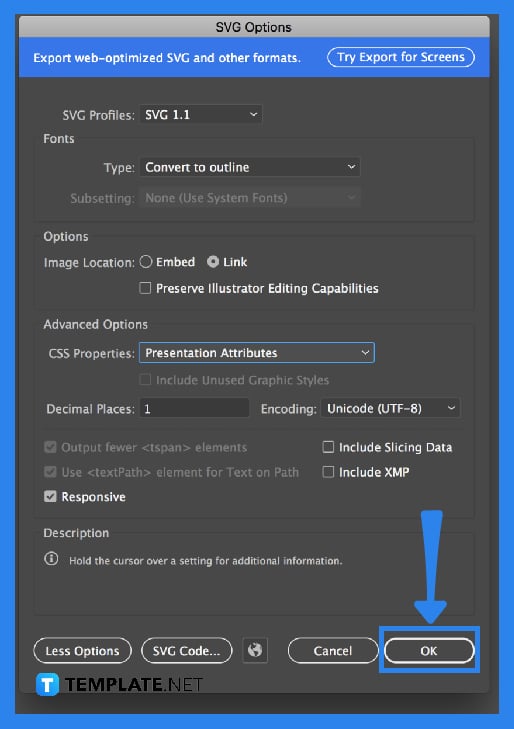
Before you end the saving process, go over the details of the “SVG Options” dialog box. Set the “SVG Profiles” to SVG 1.1, select “Embed” so SVG can properly handle the images, and put the “Type” to “Convert to Outline.” Once you are done with all these, click “OK” and your embroidery design is now an SVG.
SVG is the most acceptable file format for a cut file and is greatly compatible with the Cricut machine.
Yes, SVG is an XML-based vector graphics file format that is perfect for embroidery design as well as other surfaces such as gift cards and fabric, with resizable vector scales that guarantee no quality loss.
An embroidery file is used in driving an embroidery machine, giving it the coordinates as well as the sequence of the stitches in a design.

Landscape orientation is used for wider horizontal designs or subjects. It is commonly applied to a page that contains a…
![How to Adjust Line Spacing in Adobe InDesign [Templates + Examples] 2023](https://images.template.net/wp-content/uploads/2022/08/How-to-Adjust-Line-Spacing-in-Adobe-InDesign-788x444.png)
Adjust line spacing in Adobe InDesign so you won’t have to stick to the default letter spacing, character spacing, word…
![How to Add a Watermark in Adobe InDesign [Templates + Examples] 2023](https://images.template.net/wp-content/uploads/2022/08/How-to-Add-a-Watermark-in-Adobe-InDesign-788x444.png)
Add a watermark to any document or image designed in Adobe InDesign as a way to explicitly send a message…
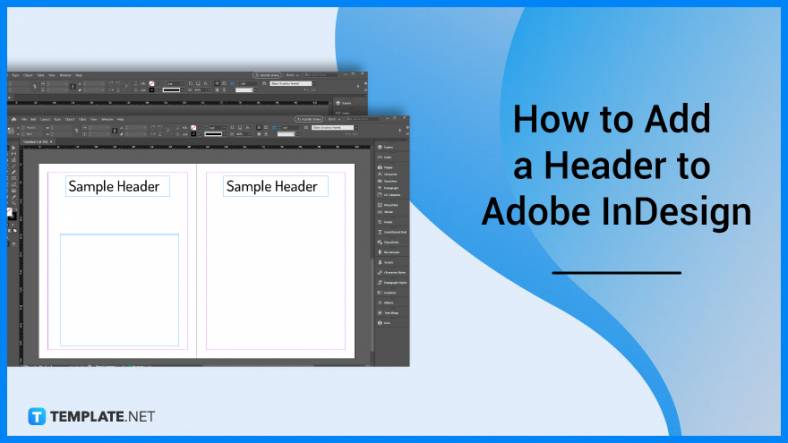
A header is a top margin on each page of your document or publication. Headers are useful for adding material…
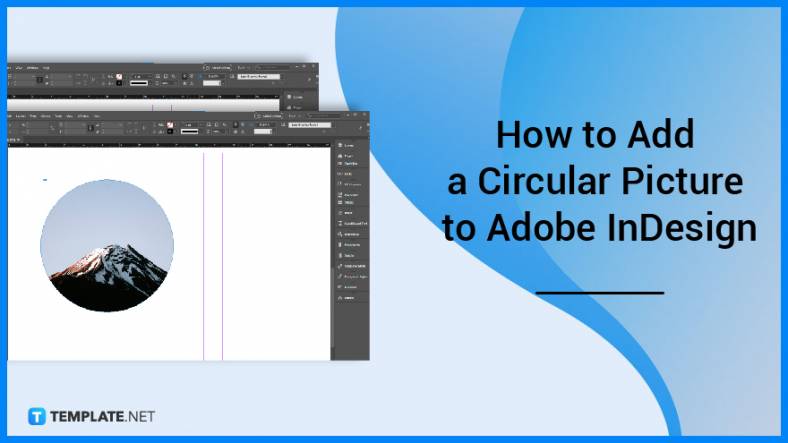
Circular pictures and designs work best for website avatars or profile pictures, site favicons, and other integral design elements that…
Calendars help individuals to stay organized and manage their time wisely for their personal life and professional life. It is…
Picas is the default unit of measurement in Adobe InDesign, however, there are also different units of measurement available in…
Adobe Photoshop helps users creatively execute their ideas into actual images. An EPS file can be read and edited in…
Unless you’re working with Adobe SVG graphics, creating an impressive website requires a lot of time and patience. However, if…