


How to Change to Landscape in Adobe InDesign
Landscape orientation is used for wider horizontal designs or subjects. It is commonly applied to a page that contains a…
Aug 10, 2022


Apr 13, 2023
Adobe Photoshop is not merely for posters and graphic design, it can also read PDF documents and even create tables when necessary. These tables include several capabilities that can help you organize and display your data, such as sorting and filtering.

Creating a table in Photoshop may not be an outright quick process, especially if you are not used to the software or the tools available. It may not be a common output but there are several methods suggested that you can follow, the one below is the most direct.
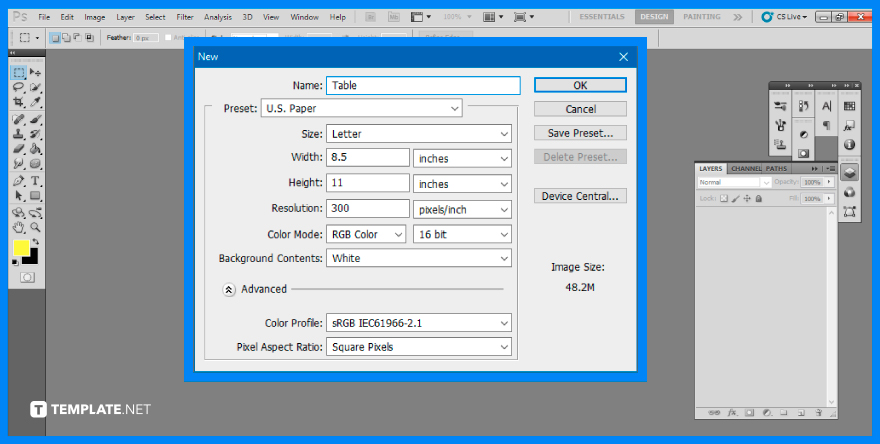
The first step you will need to do is to open your Adobe Photoshop. Once the software is ready to be used, proceed by opening a blank artboard. To do so, go to the top menu bar and select “File,” then click on “New.” Input the necessary specifications you desire then click on “OK.”

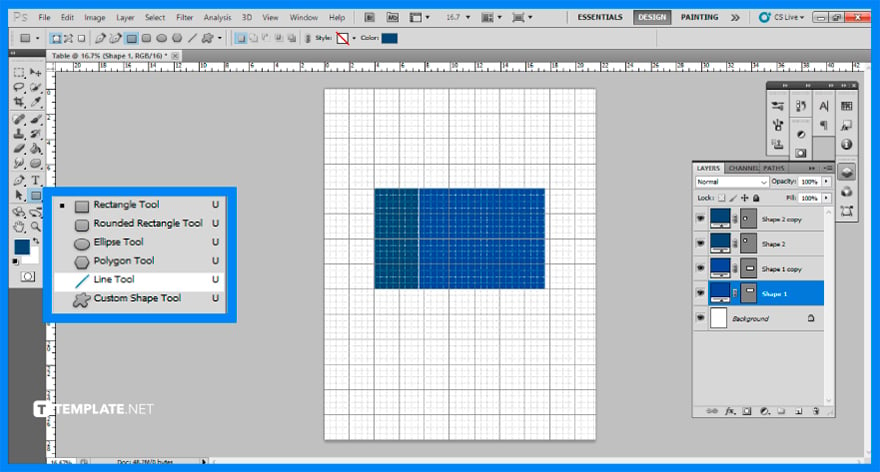
It is best to use a clear background so you can see the gridlines easily. To show the gridlines, go to the top menu bar and click on “View,” then “Show,” and finally select “Grid.”
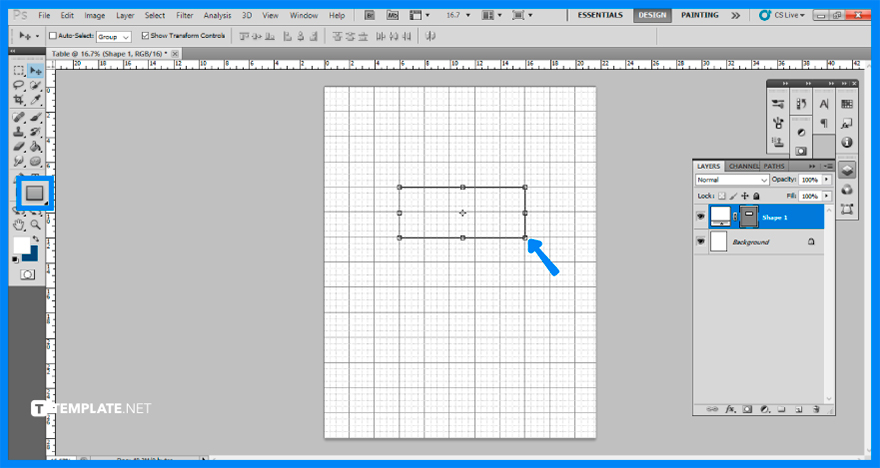
After successfully displaying the grid, you can now design a table using shapes from the rectangle tool. To begin, use the “Rectangle Tool” and then drag it to the desired location on the artboard. Don’t worry about the alignment, as the grids will help you out.
Your default table settings may not be what you prefer the end look of your table to be, such as having a fill color, or the thickness is not suitable for the table appearance. This is where you can adjust the appearance accordingly.
You may duplicate it to make it easy to build another row. The method is to pick the “Layer” menu, then “Replicate Layer,” and proceed to click on the layer you wish to duplicate. Using the “Move Tool,” place it on the appropriate area of the artboard.
Now that the rows are done, it is time for you to add columns. To do so, The secret is to use the “Line Tool” to draw a straight line. And if you desire to add more columns, repeat this process until you are satisfied with the number of lines.

Create the additional column and row lines for the table, then launch the “Path Selection” tool by clicking the black arrow in the “Tools” palette.
Instead of copying and pasting, save your table in Word as a PSD and then import a better-resolution image of your table in Photoshop.
Guides are a useful visual tool for helping you coordinate the numerous layers and graphical components used when producing or altering photos in Adobe Photoshop.
By using the Ctrl + T shortcut, you may resize the entire table and you may also choose a specific range of rows and columns and resize it.
Choose “Edit” then “Cut” or “Copy” after selecting the cells or table you want to embed then insert the insertion point in the cell where you want the table to appear, then select “Edit” then “Paste.”
Landscape orientation is used for wider horizontal designs or subjects. It is commonly applied to a page that contains a…
![How to Adjust Line Spacing in Adobe InDesign [Templates + Examples] 2023](https://images.template.net/wp-content/uploads/2022/08/How-to-Adjust-Line-Spacing-in-Adobe-InDesign-788x444.png)
Adjust line spacing in Adobe InDesign so you won’t have to stick to the default letter spacing, character spacing, word…
![How to Add a Watermark in Adobe InDesign [Templates + Examples] 2023](https://images.template.net/wp-content/uploads/2022/08/How-to-Add-a-Watermark-in-Adobe-InDesign-788x444.png)
Add a watermark to any document or image designed in Adobe InDesign as a way to explicitly send a message…
A header is a top margin on each page of your document or publication. Headers are useful for adding material…
Circular pictures and designs work best for website avatars or profile pictures, site favicons, and other integral design elements that…
Calendars help individuals to stay organized and manage their time wisely for their personal life and professional life. It is…

Picas is the default unit of measurement in Adobe InDesign, however, there are also different units of measurement available in…
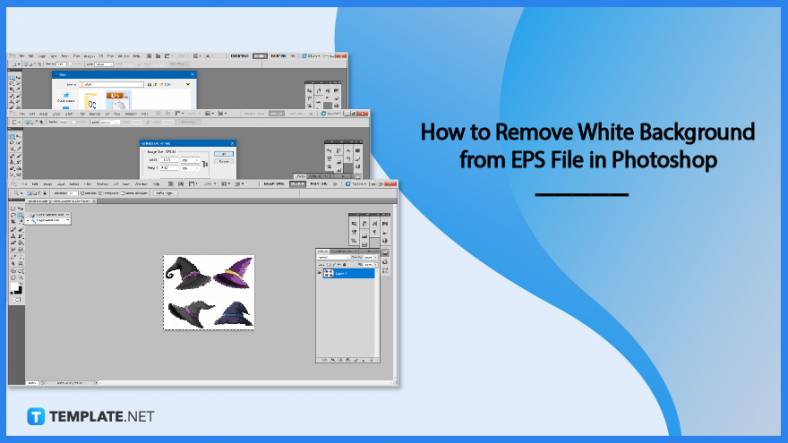
Adobe Photoshop helps users creatively execute their ideas into actual images. An EPS file can be read and edited in…

Unless you’re working with Adobe SVG graphics, creating an impressive website requires a lot of time and patience. However, if…