


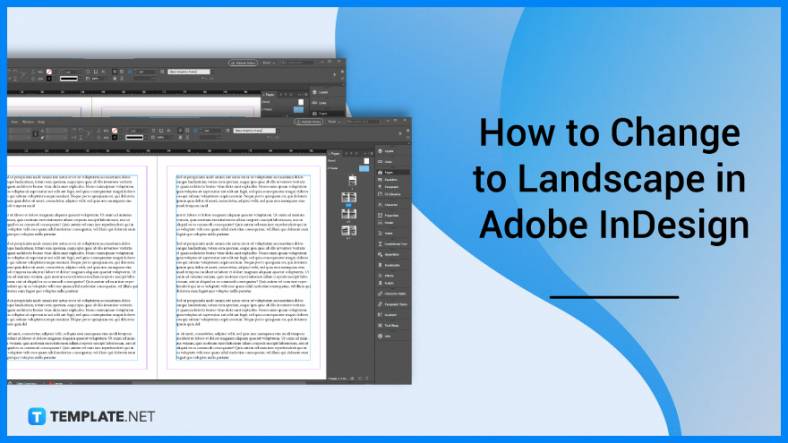
How to Change to Landscape in Adobe InDesign
Landscape orientation is used for wider horizontal designs or subjects. It is commonly applied to a page that contains a…
Aug 10, 2022


Apr 19, 2023
Want to customize your SVG images but you just do not have Adobe Illustrator? Stop worrying about it as you can pretty much do your edits on PowerPoint with the help of the practical step-by-step guide presented in this article.

MS PowerPoint is one of the most trusted presentation programs, and the good news is, the software also allows you to seamlessly edit your SVG files and make them even presentation-worthy. Here are the quick and simple steps you can follow when working on such project .

Open your MS PowerPoint program and head over to the menu bar and click on the “Insert” tab. This will open up a bunch of tools and commands, and from there, look for “Pictures” or the image icon. Click on it so you can browse through SVG images from your computer and bring it up to the slide pane.

With your SVG file inserted on the slide, double-click on it and it will display the tools from the “Format” tab. One critical thing you need to do when editing a vector graphics file is to convert it to PowerPoint shapes. You can find this option on the left side of the “Format” toolbar or if you do see it there, you can simply right-click on the image to bring up the options, and from there select “Convert to Shape”. Click “Yes” in the dialog box that follows forthwith.

Your SVG image might be swarmed with different shapes. You can see all the shapes that made up your SVG by turning on the “Selection” pane. Just go to “Select” on the overhead toolbar and tap on “Selection Pane”. Meanwhile, as you do the conversion, right-click on the image, go to “Group” and then “Ungroup”. This will give you access to all shapes.

Now that you have access to all the shapes the image contains, you can remove the unnecessary ones by simply selecting them and hitting “Delete” on your keyboard. The “Selection Pane” on the right side will serve as your guide on the shapes you are working on.

Once you are finished editing, select the entire image that is left and regroup them. Just right-click on it and select “Group”. Then you can have it as an image file ideal for PowerPoint.

When saving, you can simply right-click and select “Save as Picture”. Alternatively, you can save it by going to the “File” menu and clicking on “Save” or “Save As”. You can save it in an image file format more acceptable on PowerPoint such as JPEG or PNG.
Yes, PowerPoint supports inserting and editing vector images, especially scalable vector graphics or SVG.
SVG images are scalable and can be printed with high quality, regardless of resolution.
SVGs are best edited on a vector graphics editor such as Adobe Illustrator but PowerPoint can handle basic editing for SVG, as well as customization, pretty well.
Landscape orientation is used for wider horizontal designs or subjects. It is commonly applied to a page that contains a…
![How to Adjust Line Spacing in Adobe InDesign [Templates + Examples] 2023](https://images.template.net/wp-content/uploads/2022/08/How-to-Adjust-Line-Spacing-in-Adobe-InDesign-788x444.png)
Adjust line spacing in Adobe InDesign so you won’t have to stick to the default letter spacing, character spacing, word…
![How to Add a Watermark in Adobe InDesign [Templates + Examples] 2023](https://images.template.net/wp-content/uploads/2022/08/How-to-Add-a-Watermark-in-Adobe-InDesign-788x444.png)
Add a watermark to any document or image designed in Adobe InDesign as a way to explicitly send a message…
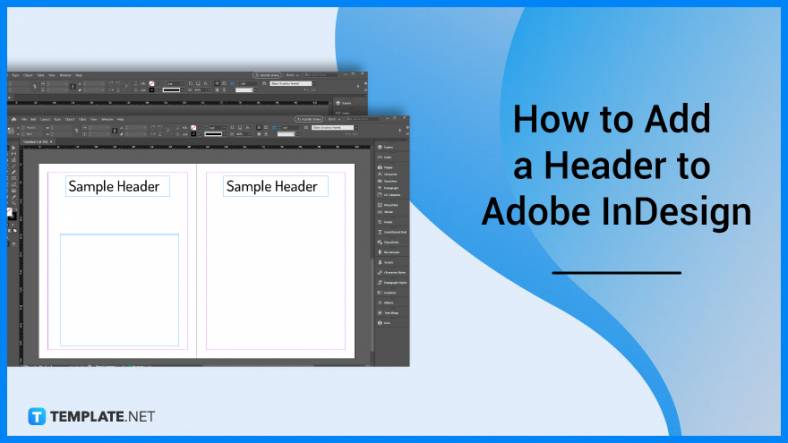
A header is a top margin on each page of your document or publication. Headers are useful for adding material…
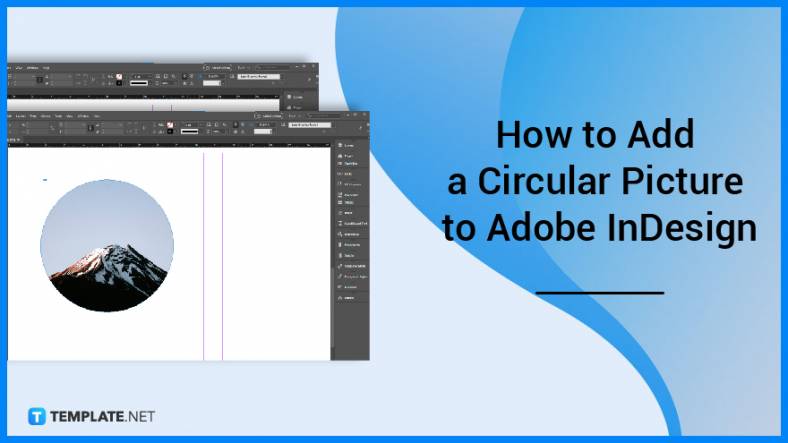
Circular pictures and designs work best for website avatars or profile pictures, site favicons, and other integral design elements that…
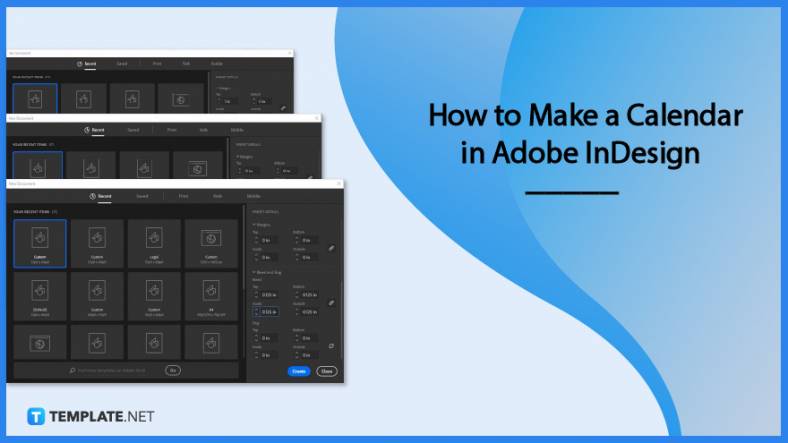
Calendars help individuals to stay organized and manage their time wisely for their personal life and professional life. It is…

Picas is the default unit of measurement in Adobe InDesign, however, there are also different units of measurement available in…
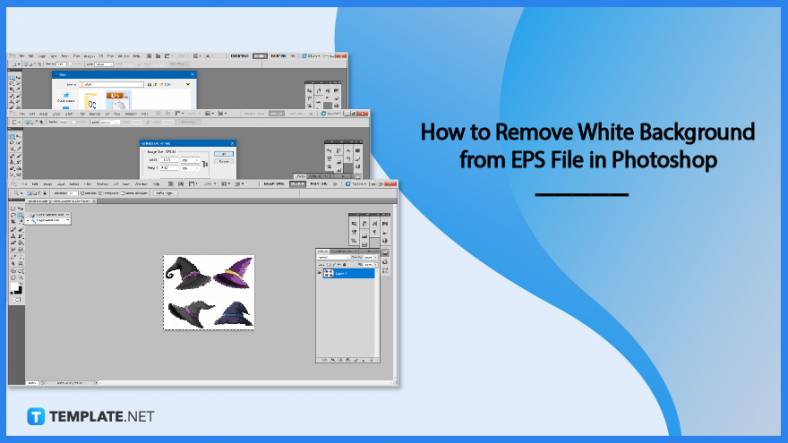
Adobe Photoshop helps users creatively execute their ideas into actual images. An EPS file can be read and edited in…

Unless you’re working with Adobe SVG graphics, creating an impressive website requires a lot of time and patience. However, if…