


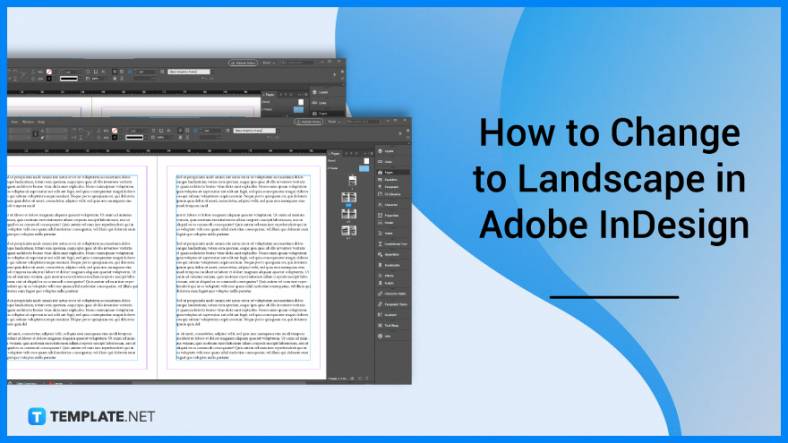
How to Change to Landscape in Adobe InDesign
Landscape orientation is used for wider horizontal designs or subjects. It is commonly applied to a page that contains a…
Aug 10, 2022


Apr 11, 2023
Creating a single line out of a complex Adobe SVG file is not as complicated as how intricate the elements of the image can be. Check out instructions on how to do this process to help you work on your project with absolute ease.

Adobe Illustrator makes vector graphic design editing so much easier with its SVG -friendly tools and features that even a beginner artist would find easy to work with. And if making single-line SVG files is what you need, here are the steps you need to follow.
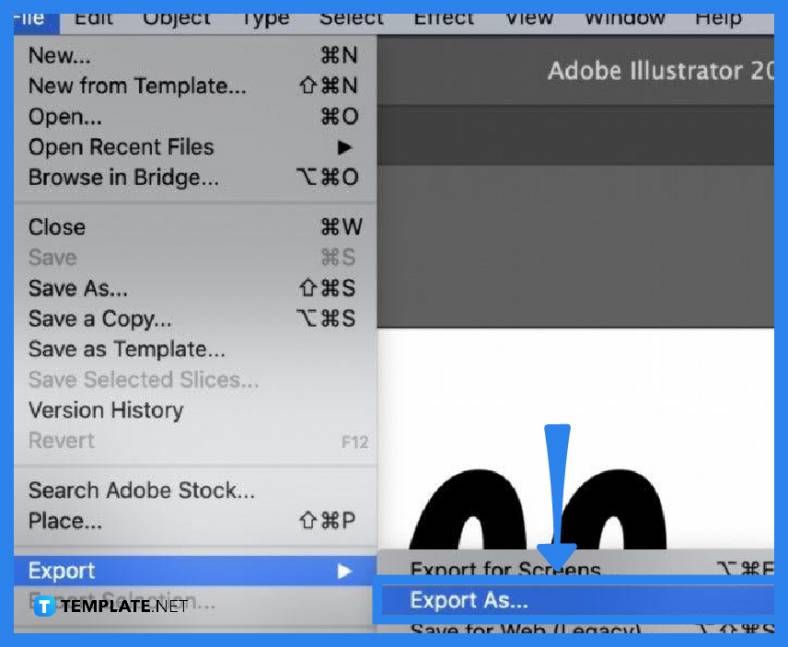
Launch your Adobe Illustrator and head directly to the “File” options menu. From the drop-down list, select “Export” and then “Export to” to properly bring up the SVG file to your Illustrator artboard. Be sure to have the file format changed to SVG before clicking on the “Export” button in the dialog box.
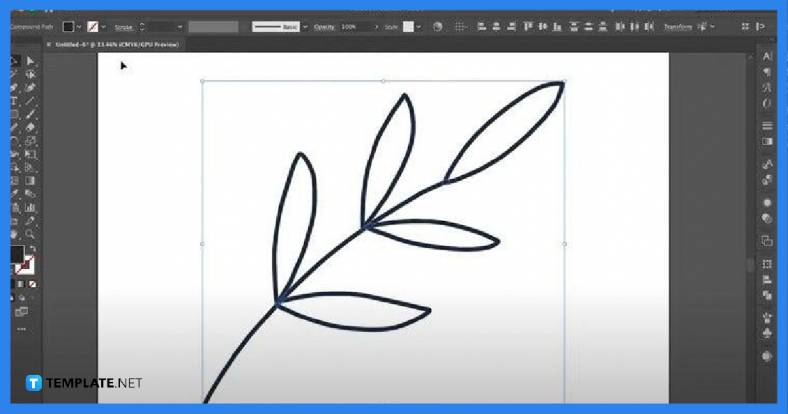
Vector images come with an array of shapes, paths, and coordinates. You need to see what is going on with the image by converting it to an outline. To do this, it helps to remove the fill and then select a stroke that best gives the outline of the image.
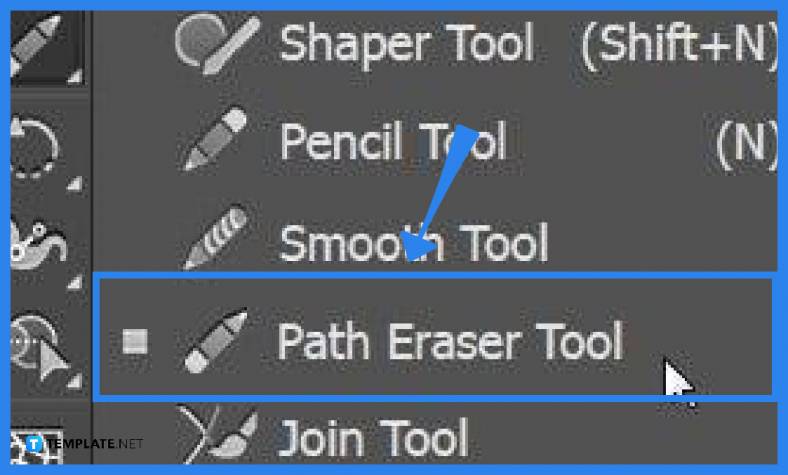
When you have the image converted, the lines and strokes are unsurprisingly on top of each other. To get a single line for your SVG file, you have to get rid of the unnecessary lines using the “Path Eraser” tool. Just work your way throughout the graphic design but do this carefully in order not to remove the whole entwined elements. You can use the “Direct Selection” tool to remove intricate or entwined strokes or outlines.
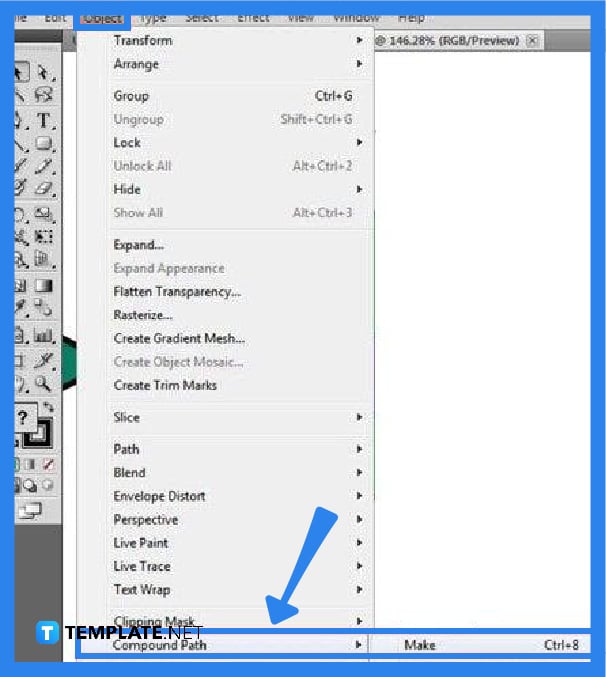
As you get all the elements in a single line back together, select everything and head over to the “Object” menu. Click on “Compound Path” from the drop-down menu and select “Make.” Now, you can save the newly created vector file by going to the “File” menu and “Save As” but be sure to put the file format to SVG.
Yes, by drawing a rough path using the pencil tool or paintbrush, keeping the path selected and selecting the smooth tool, clicking and dragging the smooth tool throughout the selected path, and repeating the process until you get the desired result.
The quality of the lines present in your vector image might have caused the exaggerated pixelation in the image.
You can use the “Pen” tool in correcting the lines and strokes of your vector image, you can maximize the selection and deselection tool to ensure the objects are properly selected, and then create anchor points on the line that you can click and drag with the “Direct Selection” tool.
Landscape orientation is used for wider horizontal designs or subjects. It is commonly applied to a page that contains a…
![How to Adjust Line Spacing in Adobe InDesign [Templates + Examples] 2023](https://images.template.net/wp-content/uploads/2022/08/How-to-Adjust-Line-Spacing-in-Adobe-InDesign-788x444.png)
Adjust line spacing in Adobe InDesign so you won’t have to stick to the default letter spacing, character spacing, word…
![How to Add a Watermark in Adobe InDesign [Templates + Examples] 2023](https://images.template.net/wp-content/uploads/2022/08/How-to-Add-a-Watermark-in-Adobe-InDesign-788x444.png)
Add a watermark to any document or image designed in Adobe InDesign as a way to explicitly send a message…
A header is a top margin on each page of your document or publication. Headers are useful for adding material…
Circular pictures and designs work best for website avatars or profile pictures, site favicons, and other integral design elements that…

Calendars help individuals to stay organized and manage their time wisely for their personal life and professional life. It is…

Picas is the default unit of measurement in Adobe InDesign, however, there are also different units of measurement available in…
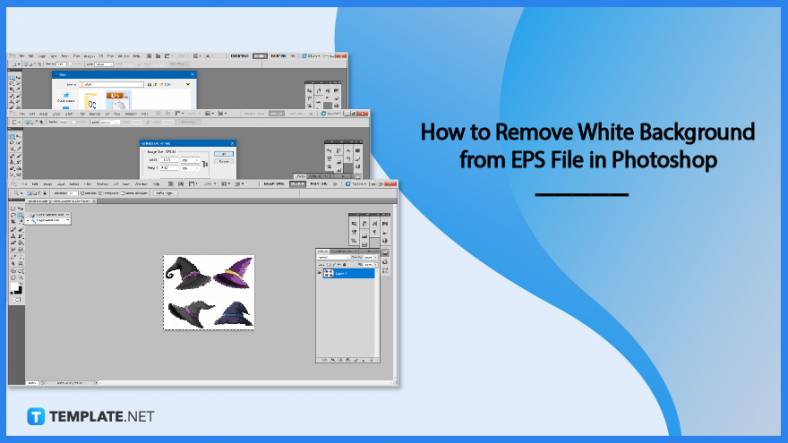
Adobe Photoshop helps users creatively execute their ideas into actual images. An EPS file can be read and edited in…

Unless you’re working with Adobe SVG graphics, creating an impressive website requires a lot of time and patience. However, if…