


How to Change to Landscape in Adobe InDesign
Landscape orientation is used for wider horizontal designs or subjects. It is commonly applied to a page that contains a…
Aug 10, 2022


Apr 12, 2023
Adobe Photoshop is used by graphic artists to design and enhance a poster for personal use or from a client’s request. You will come to know how convenient the software is in equally dividing your poster into equal parts so you can print them in a much higher quality.

Not everyone will have access to a large printing machine, this means that it may be necessary to divide the poster into equal parts so you can make it appear larger than a common US letter size. There is an advantage to printing your poster on multiple pages as you can present and display it for a larger crowd.
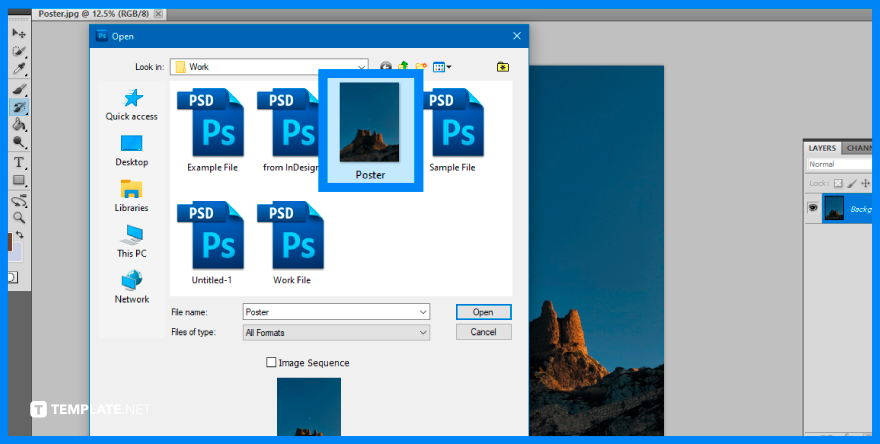 The first step you will need to do is to launch your local Adobe Photoshop. You can also locate the PSD file of your poster and double-click it to open it. Other methods include dragging the file to your opened Photoshop and manually opening it through the top menu bar under ‘File’.
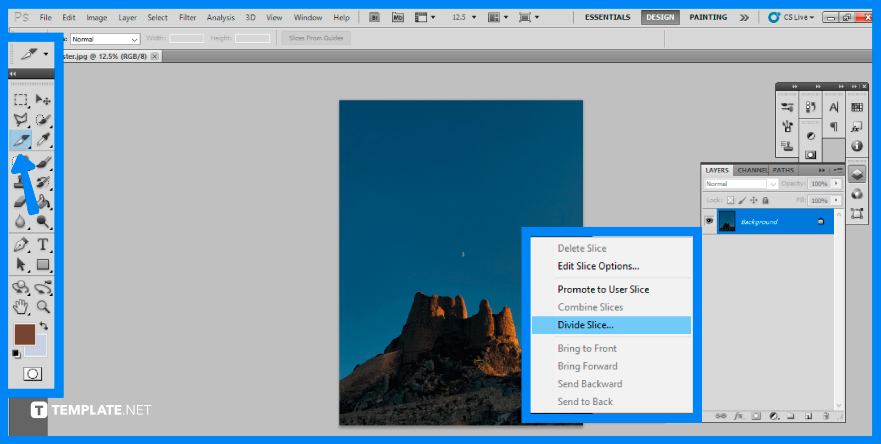 In the toolbar on the leftmost section of Photoshop, click on the ‘Slice’ tool. Right-click on the picture that is open in Photoshop after selecting the slice tool. Click ‘Divide Slice’ and another window will open up to provide you with more options.
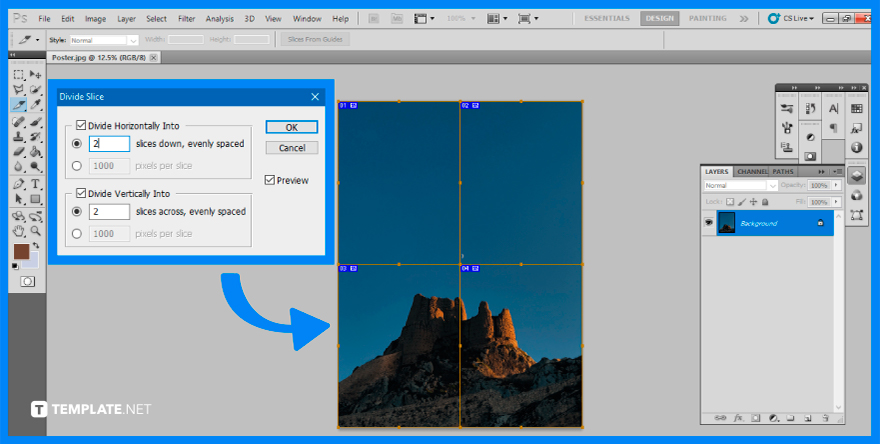 This is where you may divide a photo into multiple pages for poster printing. You have the option of splitting your file horizontally or vertically. If you enter 2, Photoshop will divide the picture into two equal portions.

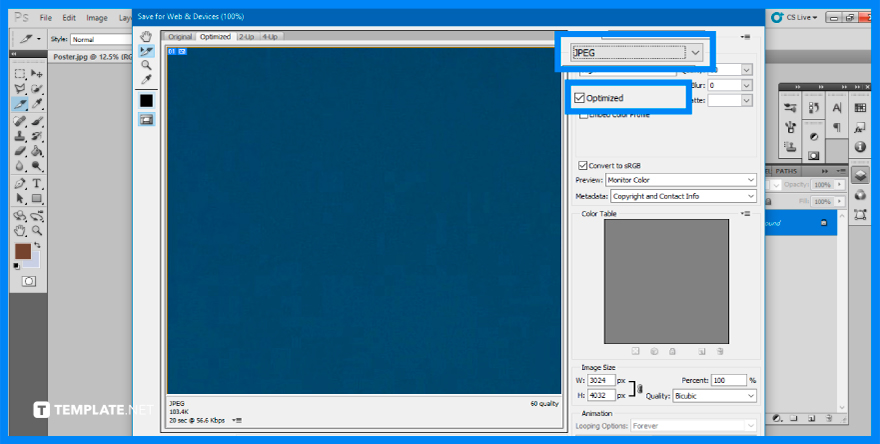 Proceed to save your file by selecting ‘Save for Web & Devices’ from the ‘File’ menu. Make sure you select JPEG on the right side of the newly opened window. Put a check next to ‘Optimized’ as well. Keep all other settings to their defaults.
 After saving your file, you can find them in your previously selected location. You will see that there is a separate folder containing all the photos of the sliced poster. Each picture may be printed on A4 photo paper and put together to make a poster.
The common sizes that graphic designers use and recommend are 18″ × 24″, 24″ × 36″, 25″ × 38″, and 28″ × 40″.
Adobe Illustrator is most recommended as it conveniently helps you with typography and image scaling but Photoshop is still a good alternative especially if you are more concerned with graphics than text or typography, but make sure the end result has enough quality.
For typical quality printing, your original file should have a 300 dpi resolution at 25% of the ultimate output size, which means that your original file for a 24 × 36 poster should be 300 dpi and 6 × 9.
Vector formats are resolution-independent, formed of discrete objects made out of mathematical computations, and include EPS, CGM, PICT, and WMF.
To print a PSD file, you will need to go to the ‘File’ on the top menu bar, then select ‘Print’ to open the Print window.
Landscape orientation is used for wider horizontal designs or subjects. It is commonly applied to a page that contains a…
![How to Adjust Line Spacing in Adobe InDesign [Templates + Examples] 2023](https://images.template.net/wp-content/uploads/2022/08/How-to-Adjust-Line-Spacing-in-Adobe-InDesign-788x444.png)
Adjust line spacing in Adobe InDesign so you won’t have to stick to the default letter spacing, character spacing, word…
![How to Add a Watermark in Adobe InDesign [Templates + Examples] 2023](https://images.template.net/wp-content/uploads/2022/08/How-to-Add-a-Watermark-in-Adobe-InDesign-788x444.png)
Add a watermark to any document or image designed in Adobe InDesign as a way to explicitly send a message…
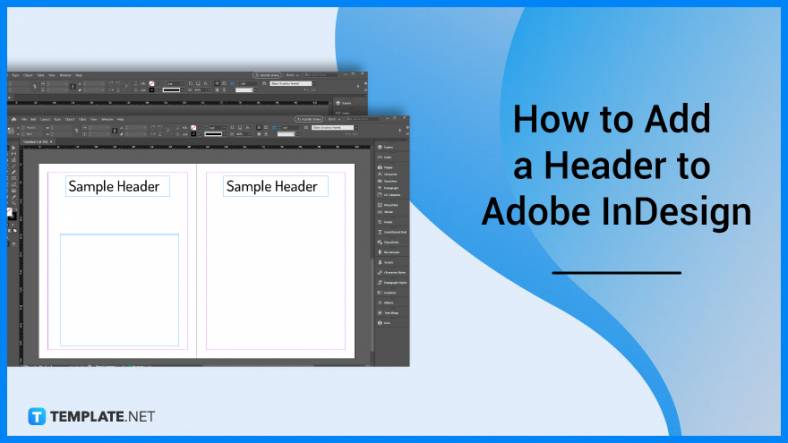
A header is a top margin on each page of your document or publication. Headers are useful for adding material…
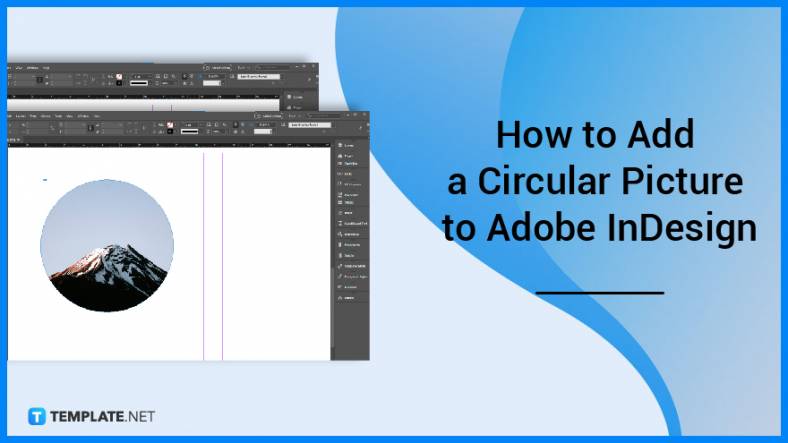
Circular pictures and designs work best for website avatars or profile pictures, site favicons, and other integral design elements that…
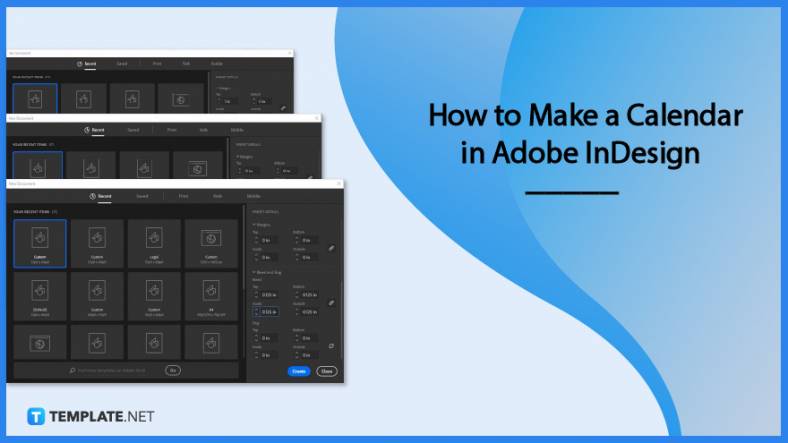
Calendars help individuals to stay organized and manage their time wisely for their personal life and professional life. It is…

Picas is the default unit of measurement in Adobe InDesign, however, there are also different units of measurement available in…
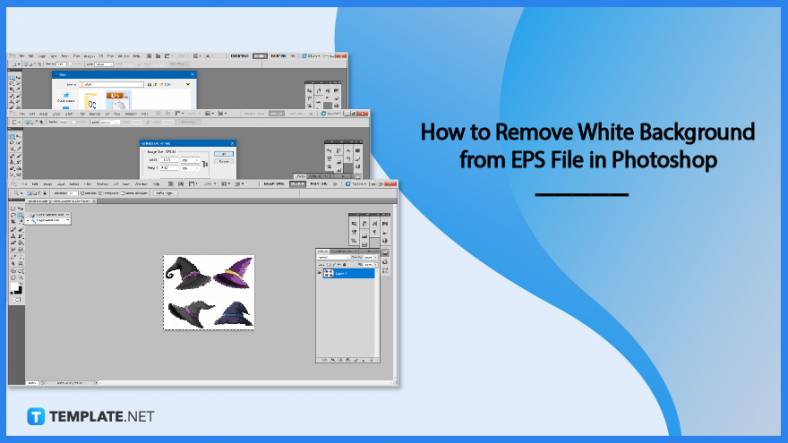
Adobe Photoshop helps users creatively execute their ideas into actual images. An EPS file can be read and edited in…

Unless you’re working with Adobe SVG graphics, creating an impressive website requires a lot of time and patience. However, if…