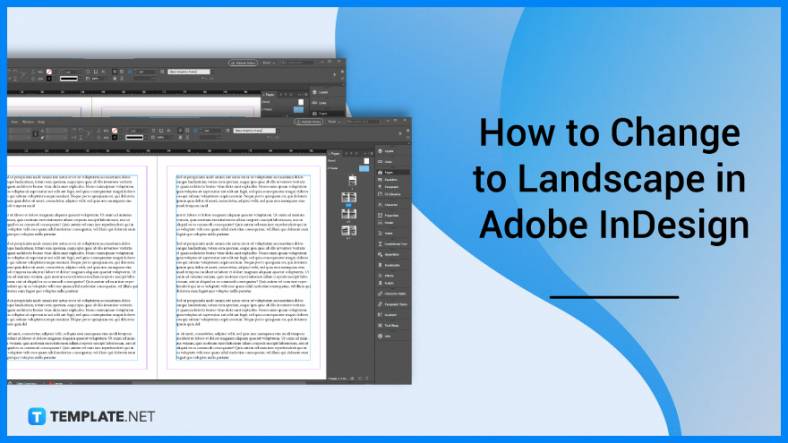
How to Change to Landscape in Adobe InDesign
Landscape orientation is used for wider horizontal designs or subjects. It is commonly applied to a page that contains a…
Jan 30, 2023
Find out how to reduce the size of the EPS file. That way, you can lower the image file in case you need to upload it in places with a lower file size capacity.
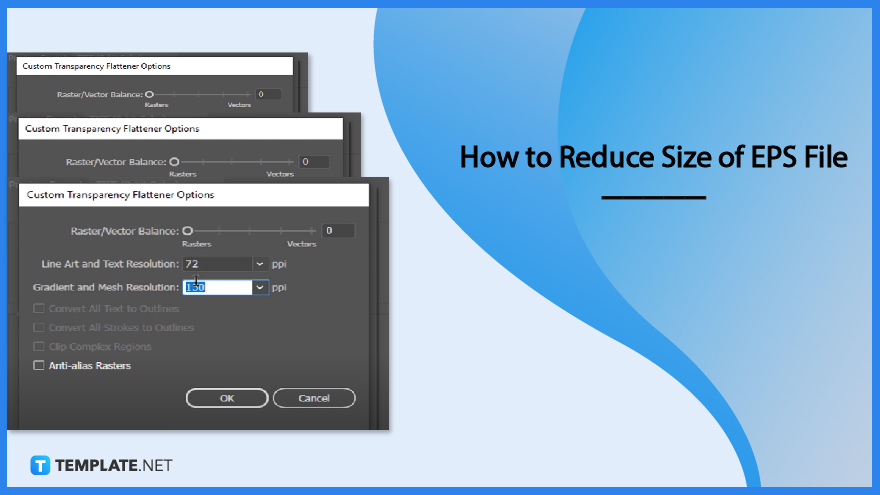
Reducing the size of an EPS file is the same as saving it on Adobe Illustrator but with a few extra steps. Here are the four steps on how to reduce it.
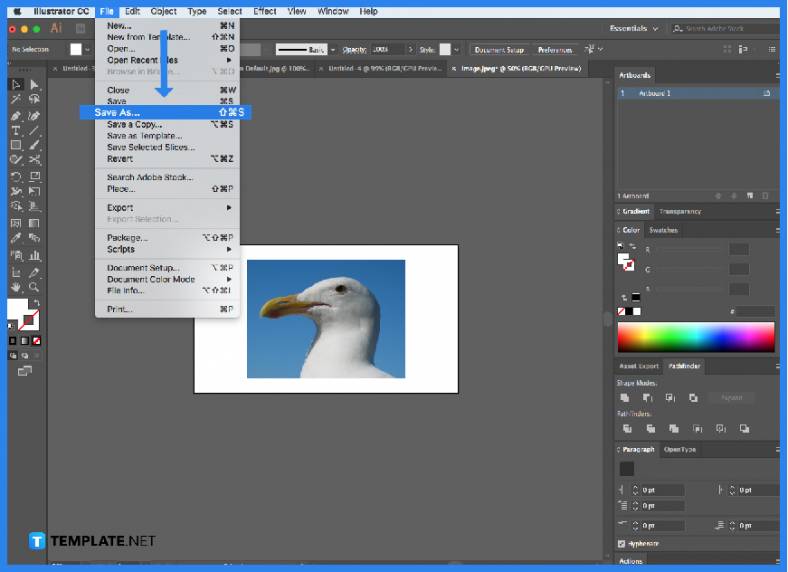
To get started on reducing the file size of the EPS image, launch Adobe Illustrator and create/open your image. Then, go to the menu bar and click on ‘File’ followed by ‘Save As’ in the dropdown.
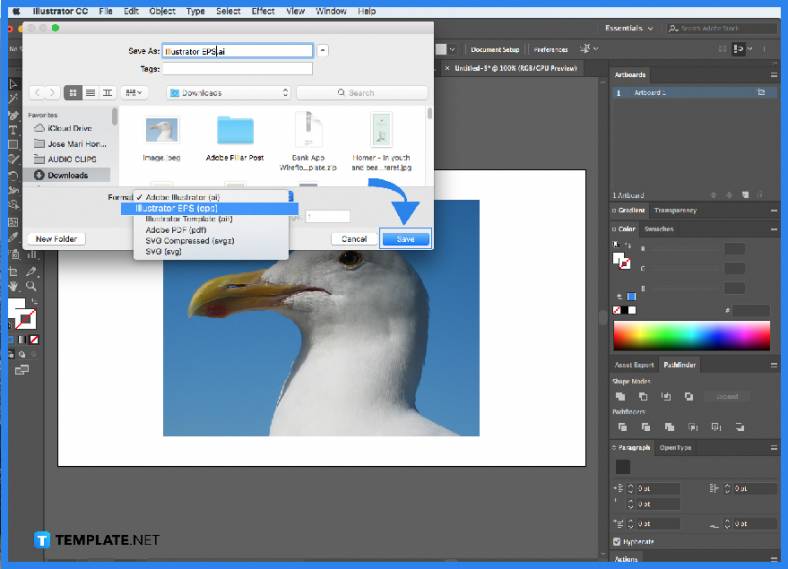
A dialog box will open and from there you can save your image as ‘Illustrator EPS (*.EPS)’. Then click on the Save button.
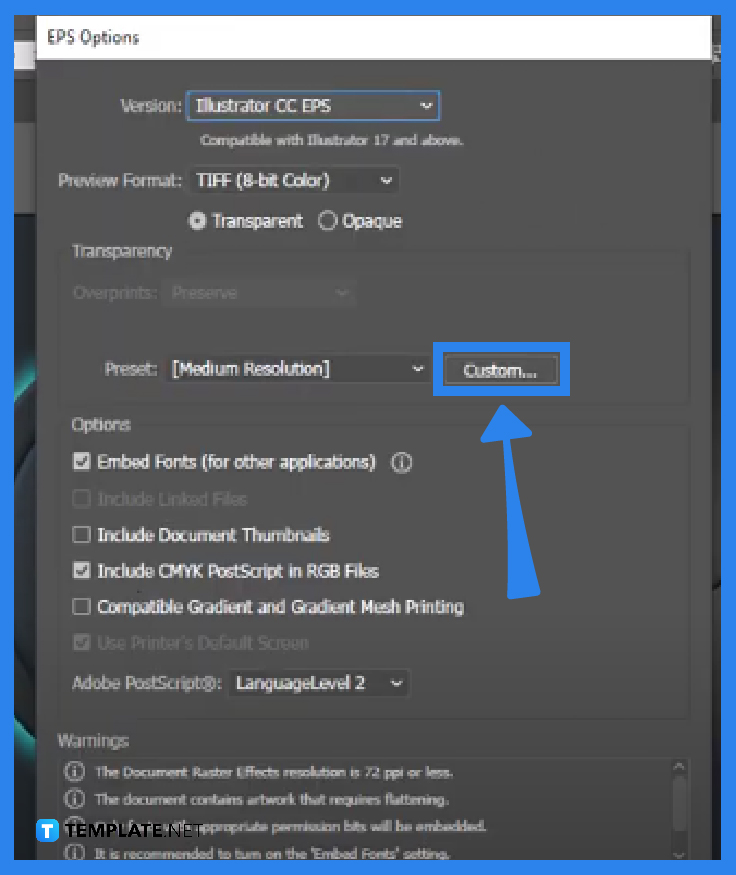
Next, another dialog box will open after you hit the Save button called the EPS Options. From there you can click on the dropdown near the word ‘Custom…’ where you can edit the details of the image.
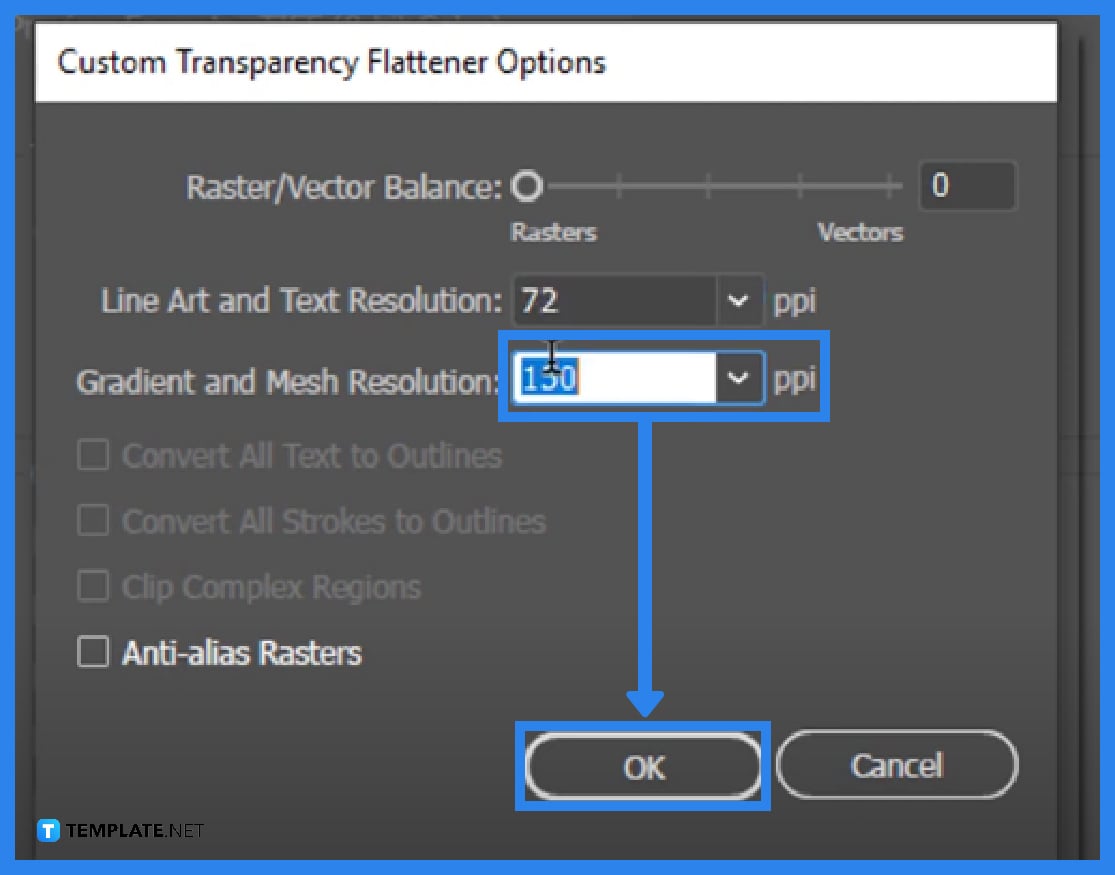
You can make the final adjustments to this dialogue box based on your preferences. Once you are done, click ‘OK’ and you are all set!

Due to the lowering of resolutions, yes it may result in your EPs file lowering in quality.
Yes, you can lower the size of an EPs file using Adobe photoshop as well.
No, you can only reduce the size of one EPs file at a time.

Landscape orientation is used for wider horizontal designs or subjects. It is commonly applied to a page that contains a…
![How to Adjust Line Spacing in Adobe InDesign [Templates + Examples] 2023](https://images.template.net/wp-content/uploads/2022/08/How-to-Adjust-Line-Spacing-in-Adobe-InDesign-788x444.png)
Adjust line spacing in Adobe InDesign so you won’t have to stick to the default letter spacing, character spacing, word…
![How to Add a Watermark in Adobe InDesign [Templates + Examples] 2023](https://images.template.net/wp-content/uploads/2022/08/How-to-Add-a-Watermark-in-Adobe-InDesign-788x444.png)
Add a watermark to any document or image designed in Adobe InDesign as a way to explicitly send a message…
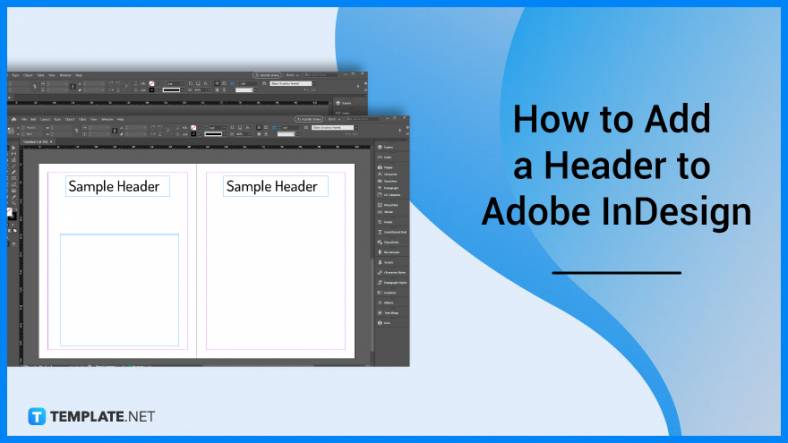
A header is a top margin on each page of your document or publication. Headers are useful for adding material…
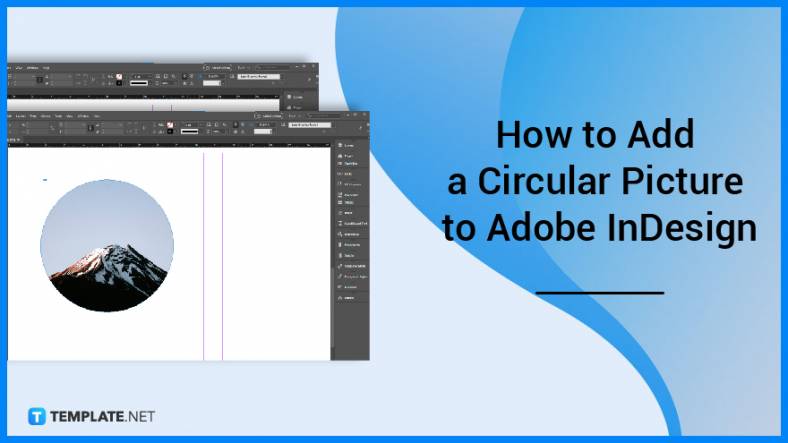
Circular pictures and designs work best for website avatars or profile pictures, site favicons, and other integral design elements that…

Calendars help individuals to stay organized and manage their time wisely for their personal life and professional life. It is…
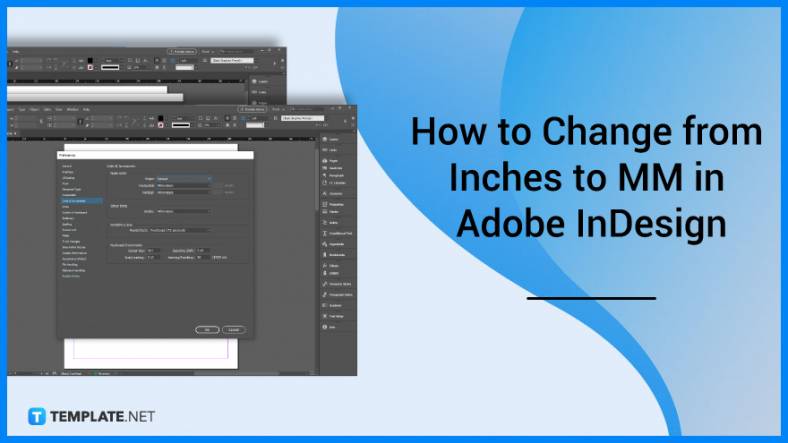
Picas is the default unit of measurement in Adobe InDesign, however, there are also different units of measurement available in…
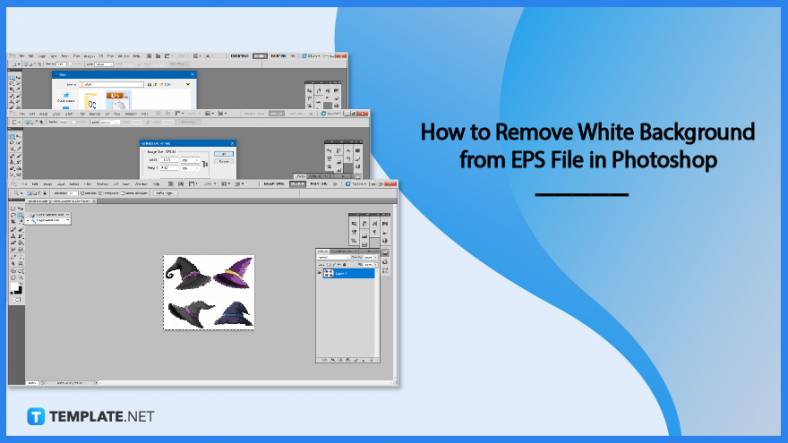
Adobe Photoshop helps users creatively execute their ideas into actual images. An EPS file can be read and edited in…

Unless you’re working with Adobe SVG graphics, creating an impressive website requires a lot of time and patience. However, if…