


How to Change to Landscape in Adobe InDesign
Landscape orientation is used for wider horizontal designs or subjects. It is commonly applied to a page that contains a…
Aug 10, 2022


Apr 13, 2023
Adobe Photoshop is the software professional designers and new users utilize to create a project without the hassle of having to manually align elements. You will realize that utilizing the align tool will help your design elements be given an appropriate layout.

Not using the align tool won’t immediately equate your project to being a failure, but it may not be as aligned as others may see. Using the alignment tool in Photoshop is easy and convenient, even if you have just recently started using the program.
First off, you will start by opening your local Adobe Photoshop. Proceed to open the software through your desired means. Go to “File,” then “New” to create a blank artboard. Otherwise, if you have a preferred existing one, then open that up.
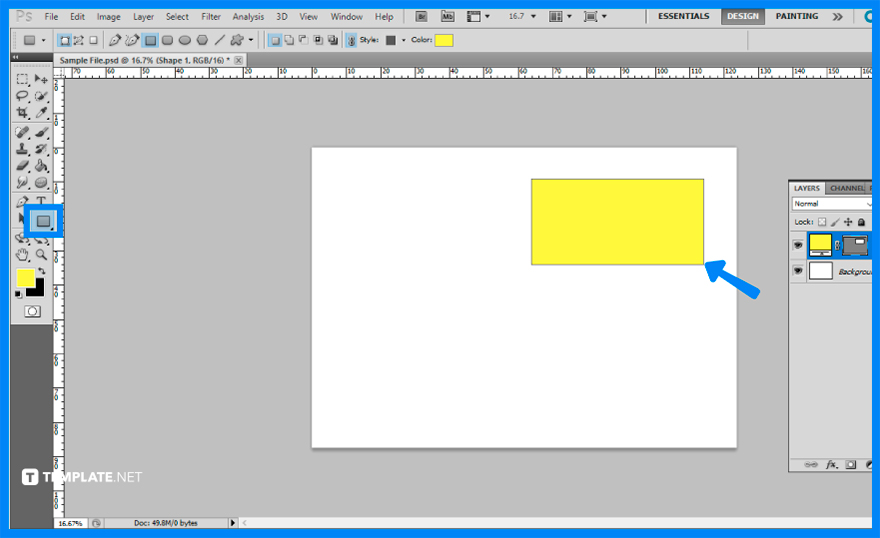
Create a new layer and select the “Shape” tool from the toolbar. For this guide, a rectangle will be drawn on the upper right corner of the artboard. You can try it out with any shape, icon, or sample image.

For the next step, you will locate the “Rectangle Marquee” Tool from the toolbar. It is often joined with the other “Marquee” tools and if you don’t see it, you may have selected a different one. Click on one edge of the artboard and drag it to the other end, making sure the entire artboard is selected.

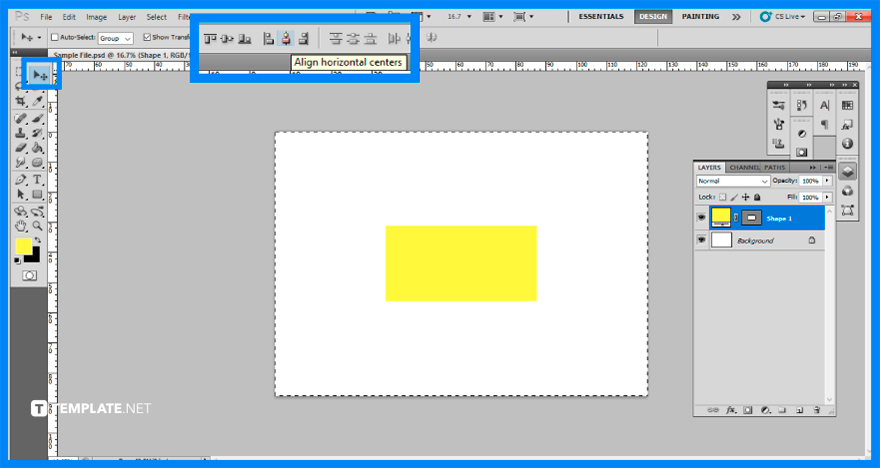
Afterward, choose the “Move” tool and you can easily find it as it is right next to the “Marquee” tool. There, you can find various options for moving the entire layer. You can either align top edges, align vertical centers, align bottom edges, align left edges, align horizontal centers, or align right edges.
Since some of your layers appear to be smart objects, the ‘auto align layers’ button appears to be greyed out; you can try clicking the smart object layers in the layers panel to select “Rasterize Layers.”
To center your layer within the selection, click the symbol for the “align horizontal centers” option.
Hold Shift and use the mouse or touchpad to choose the items to be aligned and proceed to click “Choose Shape Format” and then “Align.”
Adobe Photoshop’s alignment and distribution features allow you to easily rearrange objects in a document, making it simpler to lay out your project.
It ensures a neat, orderly look for superior designs by ensuring that your various design elements have a good link with one another.
Landscape orientation is used for wider horizontal designs or subjects. It is commonly applied to a page that contains a…
![How to Adjust Line Spacing in Adobe InDesign [Templates + Examples] 2023](https://images.template.net/wp-content/uploads/2022/08/How-to-Adjust-Line-Spacing-in-Adobe-InDesign-788x444.png)
Adjust line spacing in Adobe InDesign so you won’t have to stick to the default letter spacing, character spacing, word…
![How to Add a Watermark in Adobe InDesign [Templates + Examples] 2023](https://images.template.net/wp-content/uploads/2022/08/How-to-Add-a-Watermark-in-Adobe-InDesign-788x444.png)
Add a watermark to any document or image designed in Adobe InDesign as a way to explicitly send a message…
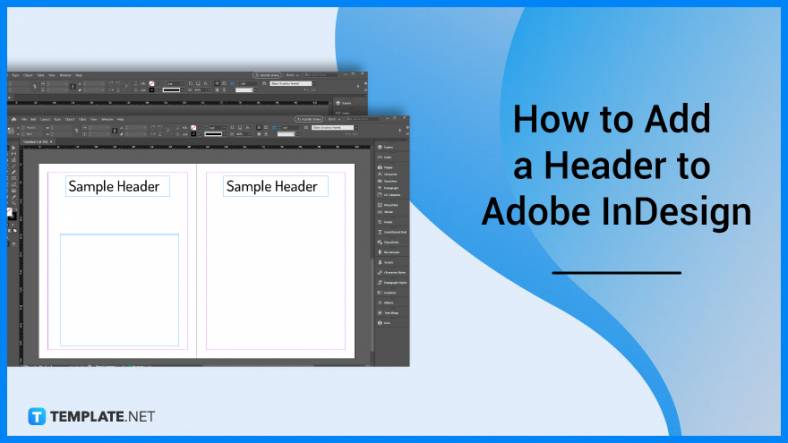
A header is a top margin on each page of your document or publication. Headers are useful for adding material…
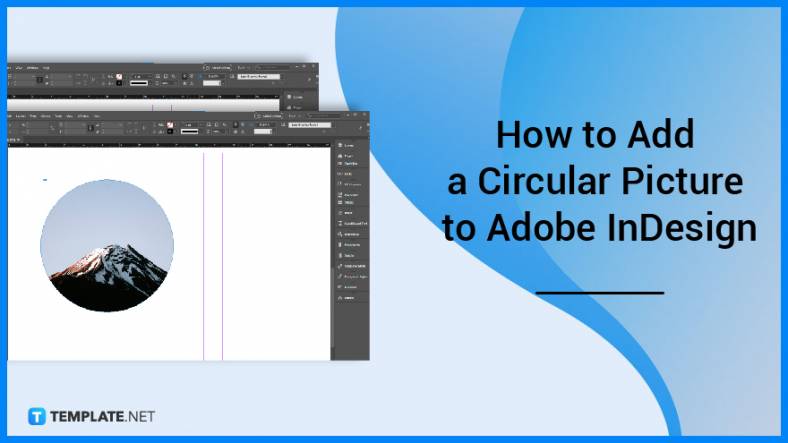
Circular pictures and designs work best for website avatars or profile pictures, site favicons, and other integral design elements that…
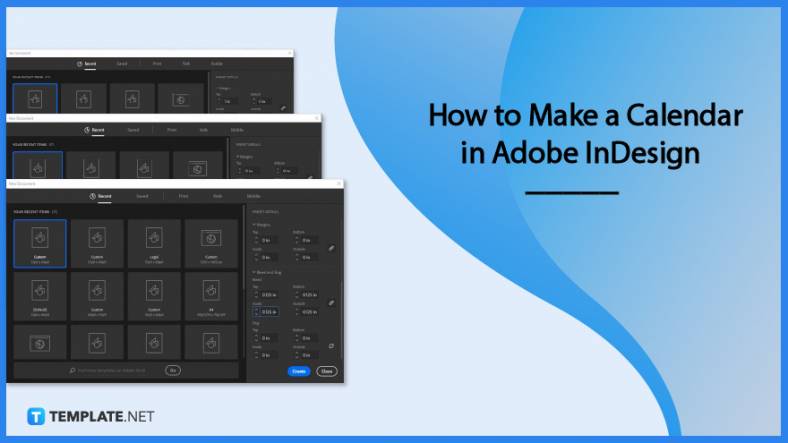
Calendars help individuals to stay organized and manage their time wisely for their personal life and professional life. It is…

Picas is the default unit of measurement in Adobe InDesign, however, there are also different units of measurement available in…
Adobe Photoshop helps users creatively execute their ideas into actual images. An EPS file can be read and edited in…

Unless you’re working with Adobe SVG graphics, creating an impressive website requires a lot of time and patience. However, if…