
How to Change to Landscape in Adobe InDesign
Landscape orientation is used for wider horizontal designs or subjects. It is commonly applied to a page that contains a…
Apr 24, 2023
The Magic Wand tool is commonly used in Adobe Illustrator and Adobe Photoshop. You can use this unique tool in many ways such as selecting objects based on fill color. In this article, learn how to use the Magic Wand tool efficiently in Adobe Illustrator.
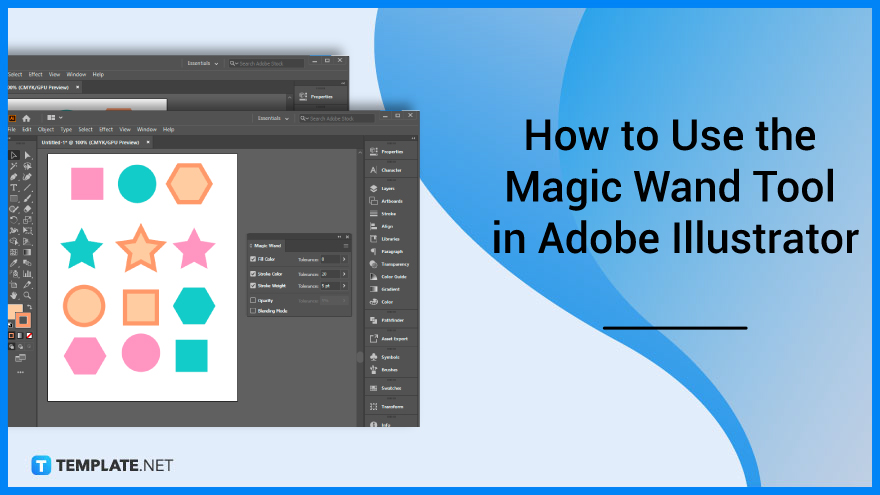
Be efficient in your design or illustration work while using the Magic Wand Tool to select objects. Below are simple steps that you can follow if you need to use the Magic Want Tool in Adobe Illustrator.
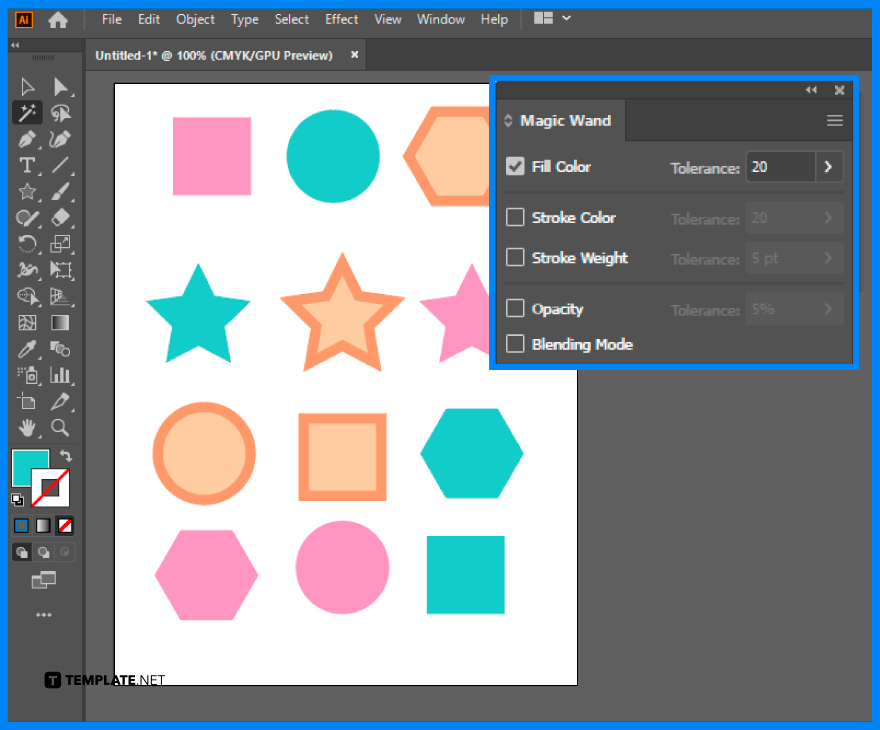
Open the Illustrator. In the Toolset, search for the Magic Wand tool and you will see the Magic Wand panel, it has five properties: Fill Color, Stroke Color, Stroke Weight, Opacity and Blending Mode that you can use in various settings.
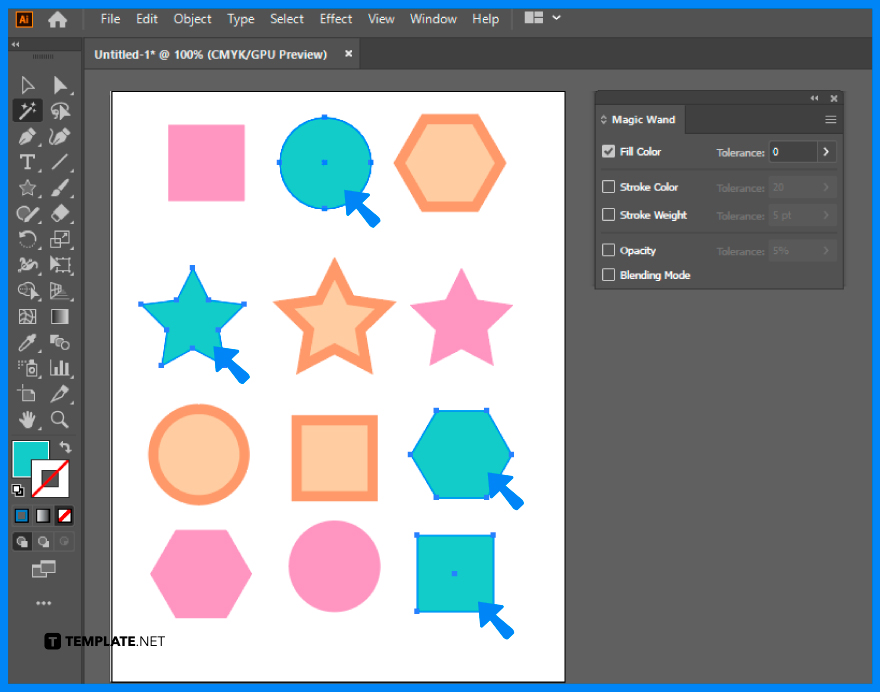
At the Magic Wand panel, the default setting has Fill Color. This means when you click on the object in your artboard with the Magic Wand tool, it will look like all of the other objects that have the same fill color, except in the instance when the tolerance level is set to 20 pixels, Illustrator will only look for all the objects that are within a 20-pixel range.
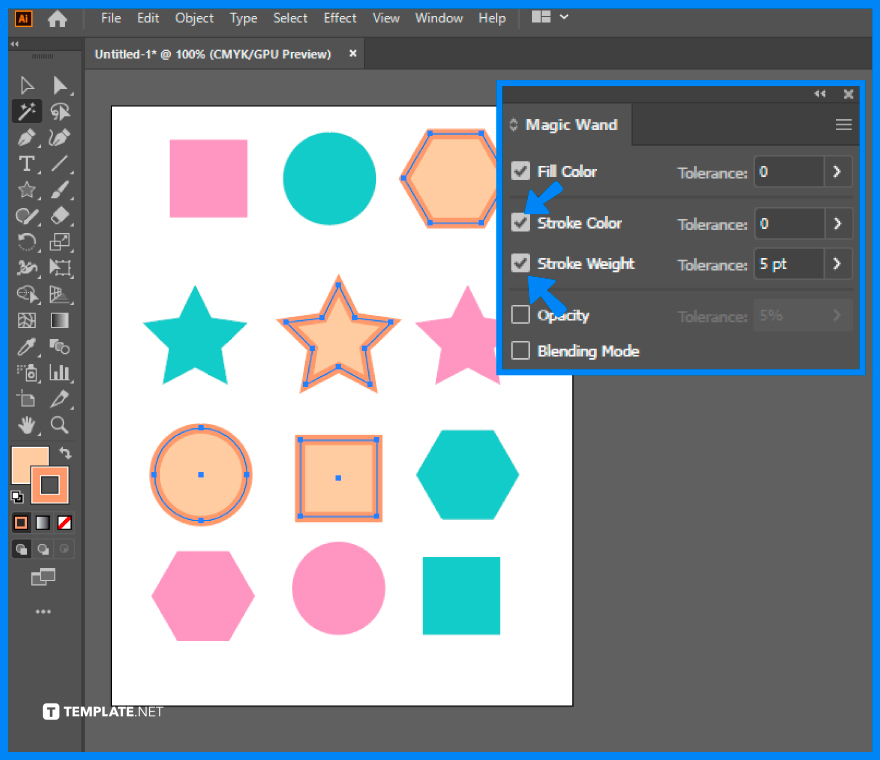
Make sure that you set the tolerance level to 0. Select the Stroke Color in the panel and click the stroke color in the object that you want to modify and you will see other objects with the same stroke color changed as well.
The Magic Wand tool in Adobe Illustrator is located in the main toolbar under the Selection tool.
The Magic Wand tool is useful in selecting items, sections, or portions of the canvas or design project.
Select the Magic Wand Tool from the toolset or activate it using the keyboard shortcut Y, and click to select objects, or you can also switch to the advanced toolbar from Window > Toolbars > Advanced.

Landscape orientation is used for wider horizontal designs or subjects. It is commonly applied to a page that contains a…
![How to Adjust Line Spacing in Adobe InDesign [Templates + Examples] 2023](https://images.template.net/wp-content/uploads/2022/08/How-to-Adjust-Line-Spacing-in-Adobe-InDesign-788x444.png)
Adjust line spacing in Adobe InDesign so you won’t have to stick to the default letter spacing, character spacing, word…
![How to Add a Watermark in Adobe InDesign [Templates + Examples] 2023](https://images.template.net/wp-content/uploads/2022/08/How-to-Add-a-Watermark-in-Adobe-InDesign-788x444.png)
Add a watermark to any document or image designed in Adobe InDesign as a way to explicitly send a message…
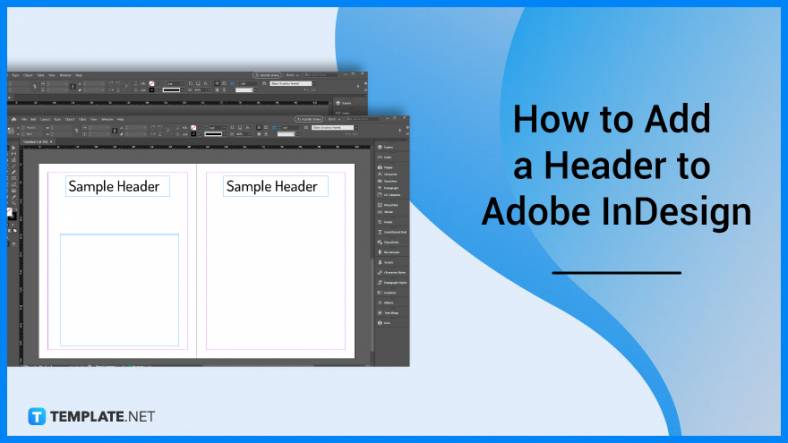
A header is a top margin on each page of your document or publication. Headers are useful for adding material…
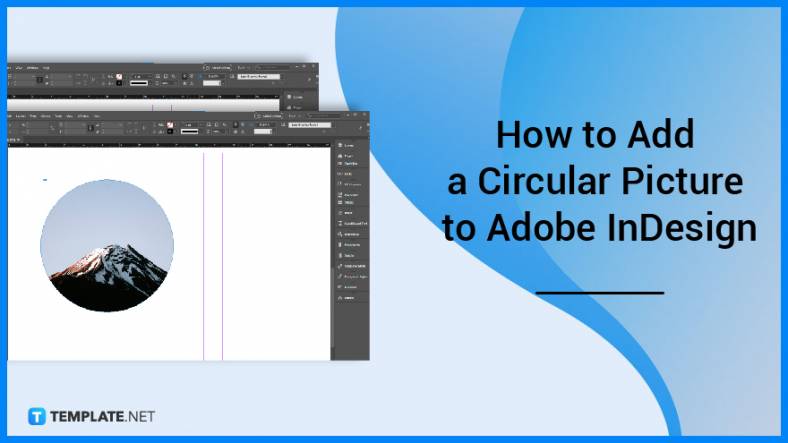
Circular pictures and designs work best for website avatars or profile pictures, site favicons, and other integral design elements that…

Calendars help individuals to stay organized and manage their time wisely for their personal life and professional life. It is…

Picas is the default unit of measurement in Adobe InDesign, however, there are also different units of measurement available in…

Adobe Photoshop helps users creatively execute their ideas into actual images. An EPS file can be read and edited in…

Unless you’re working with Adobe SVG graphics, creating an impressive website requires a lot of time and patience. However, if…