
How to Remove Duplicates in Apple Numbers
Apple introduces Apple Numbers as the ultimate online spreadsheet program for Mac or iOS users, and it serves as an…
Apr 14, 2023
Even though Apple Pages is comparable to other word processors, its features and instructions are unique to the Mac. Six distinct sorts of lines are included in Pages, and each one may be customized to adjust its thickness, and color or add drop shadows to allow you to draw how you like on the document.
Drawing in Apple Pages is easier if you have an apple pen. However, the software is still designed for users to be able to draw creatively even without the pencil device by using a finger or a mouse.
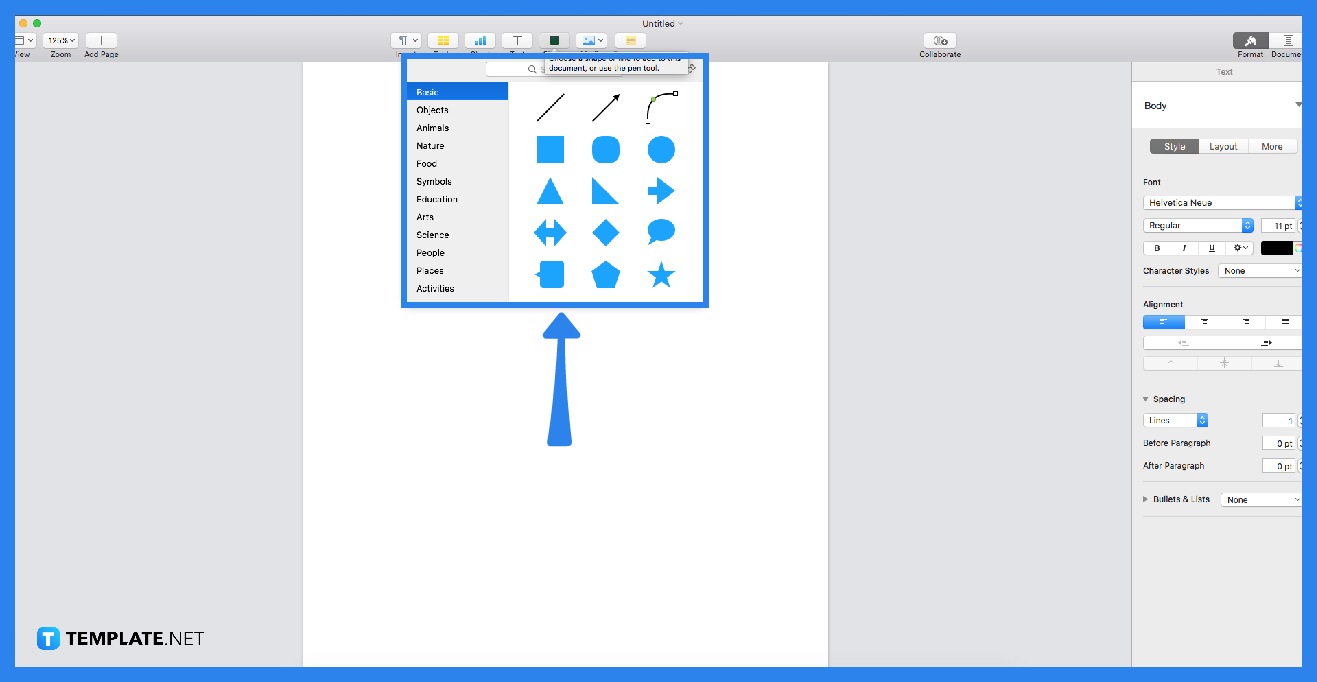
The shape button is located on the toolbar. After locating the shape button, choose the pen tool. You may also adjust the points according to how thick you want your pen to look.
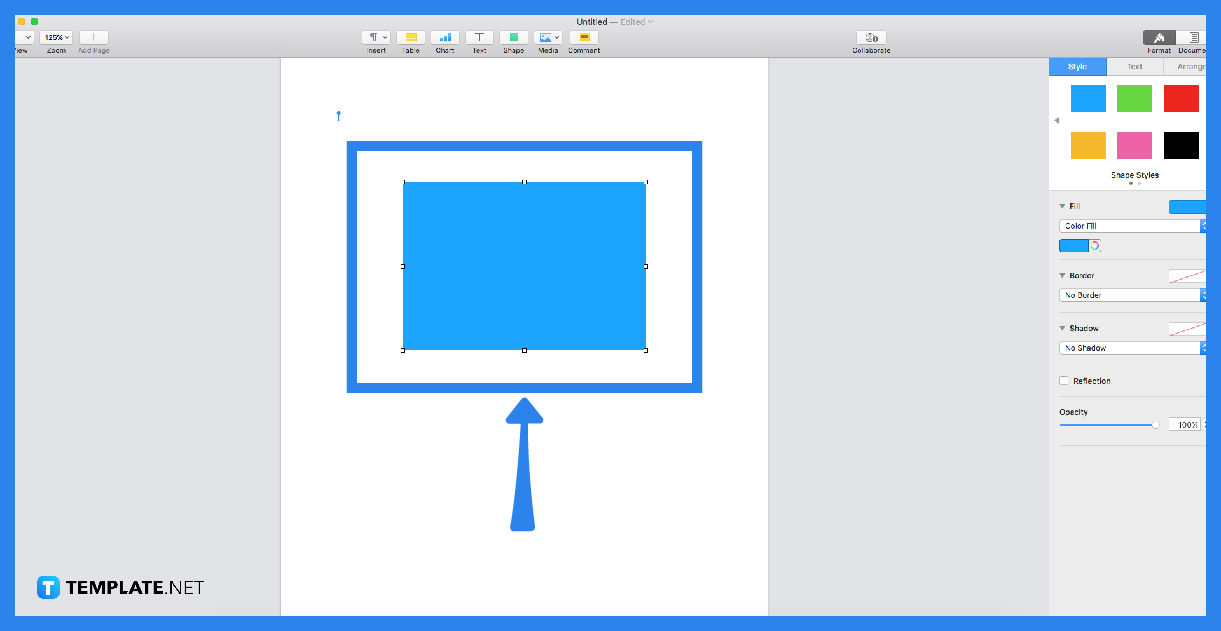
Adding more points is as simple as dragging the cursor and clicking to do so. To construct a curved section, click, drag, and then click again. Select the part you just generated, then press the delete key on your keyboard to remove it.
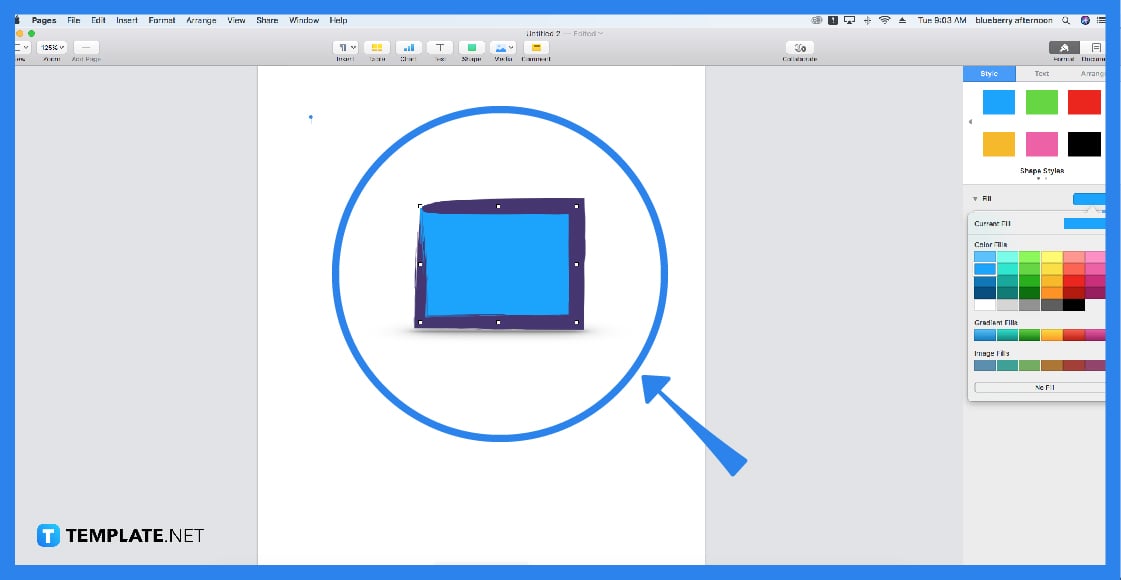
To finish the form of your drawing, either click the first point to close it (add a solid line between the last and first points) or hit the Esc (Escape) key to keep it open (no line between the last and first points).
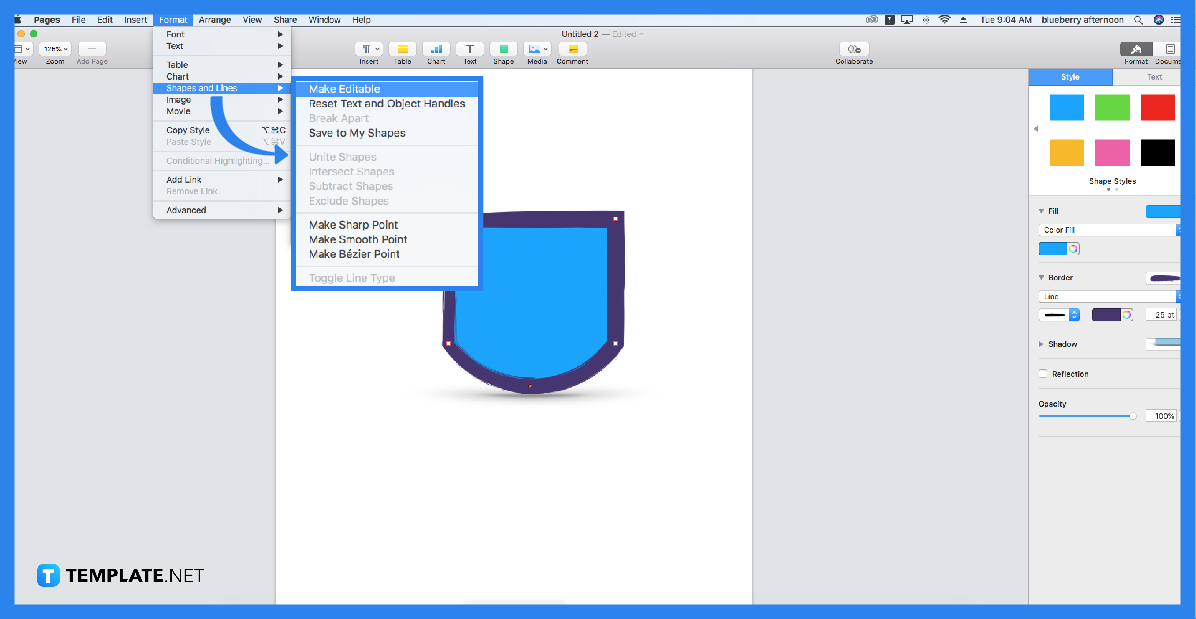
To change the form’s points or line outlines, hit the shape to select it, then pick Format > Shapes and Lines > Make Editable (from the Format menu at the top of your screen).
You can use any printer that you have installed on your Mac in order to print a document. In addition to that, you have the option of setting the document’s default printer, paper size, and orientation.
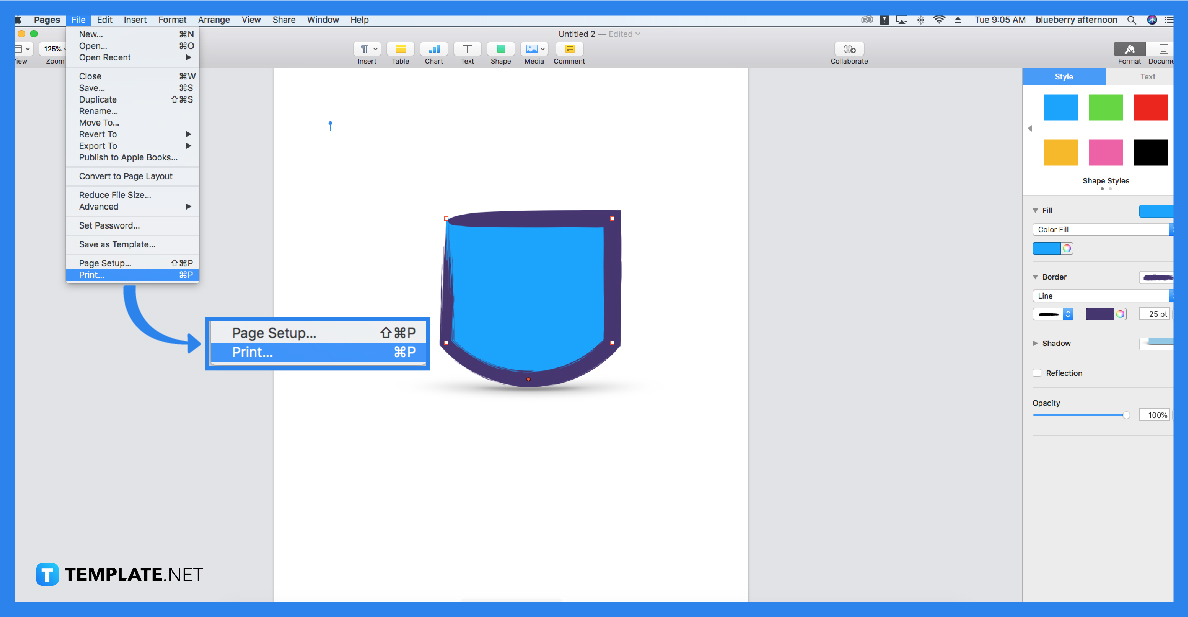 After opening the document, select “File” > “Print” from the menu bar (from the File menu at the top of the screen).
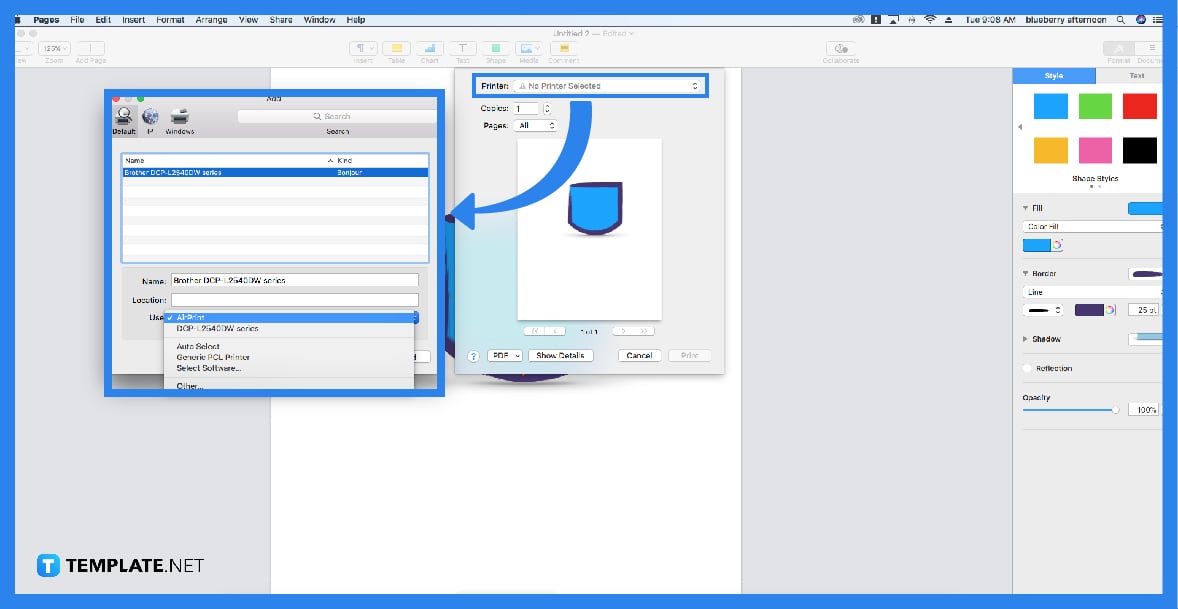
If there are no printers in the Printer pop-up menu, select either Nearby Printers or Add printer, then select an accessible printer.
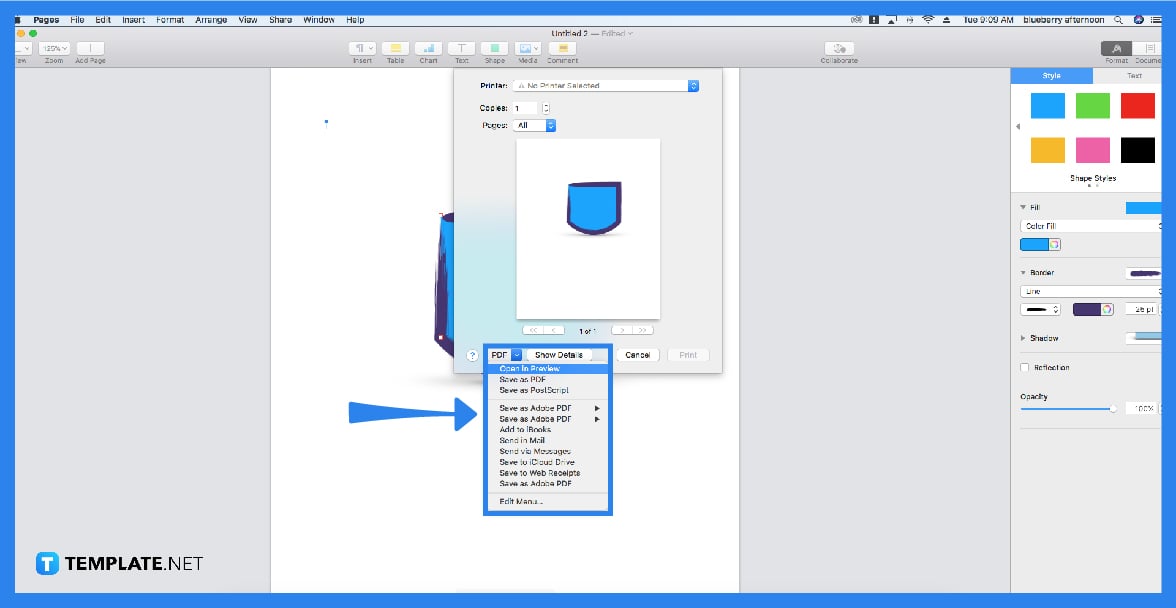
Specify the number of copies, orientation, print range, or print page background. You can also print annotations and comments on the page by clicking Show Details, then selecting Pages from the pop-up menu below the page range. For comments or smart annotations, click the appropriate option.
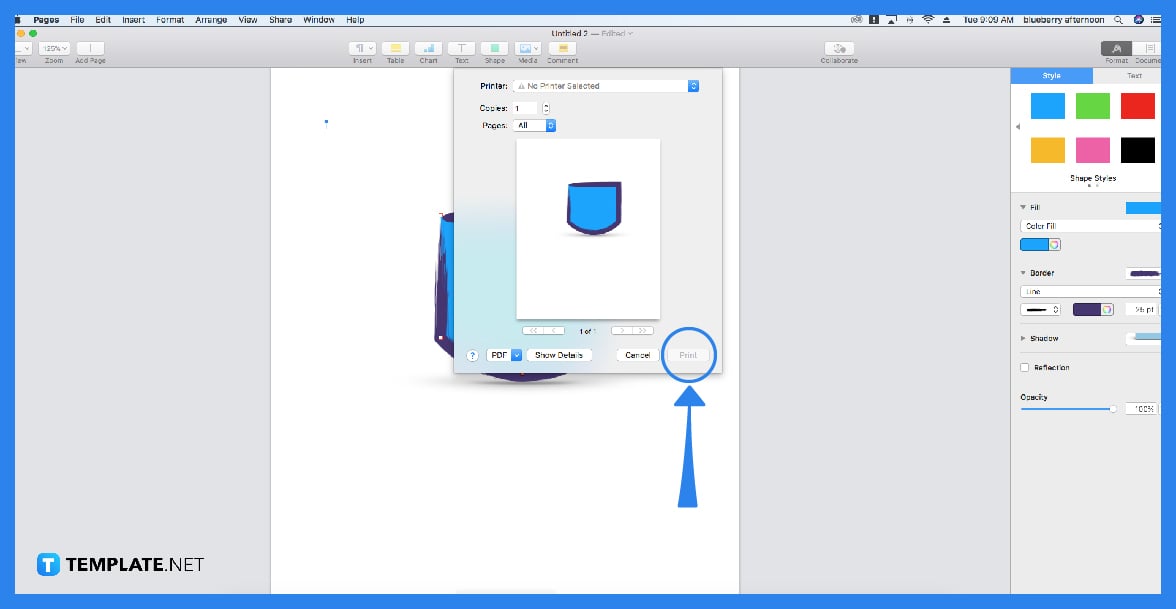
The question mark button at the bottom of the print window provides further information about printing on your Mac. The capabilities built into your printer and the operating system on your Mac handle the vast majority of printing tasks.
Double-tap on one of the drawing tools to change the stroke size and the opacity.
Tap the colored circle at the bottom of the Colors screen on your iPhone, then select a pre-set color from the drop-down menu.
Using your finger, tap the drawing and then drag the handles of the box to modify the drawing size.
You can preview individual pages by clicking on the arrows located at the bottom of the document.
Consult the user manual that comes with your printer if you have problems printing or the color is off.

Apple introduces Apple Numbers as the ultimate online spreadsheet program for Mac or iOS users, and it serves as an…
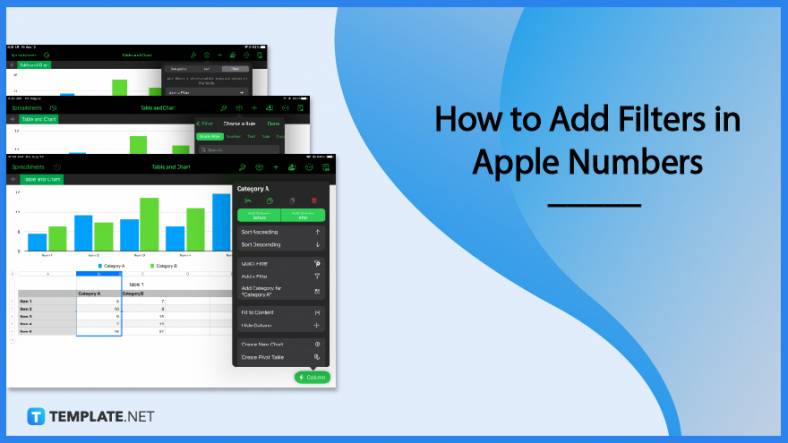
One of the key features of Apple Numbers and other spreadsheet software applications is the data filter tool. Adding filters…

Page breaks are helpful to users because they can serve as useful guides for distinguishing between pages in any type…

One of the many features of Apple Keynote is customizing the orientation of a text, shape, or any object. Simply…
![How To Make/Create a Drop Down List in Apple Numbers [Templates + Examples] 2023](https://images.template.net/wp-content/uploads/2022/08/How-To-MakeCreate-a-Drop-Down-List-in-Apple-Numbers-Templates-Examples-2023-01-788x443.jpg)
Creating a drop down list is relatively easy if you are using a spreadsheet application like Apple Numbers. Spreadsheet applications…

Rounding up numbers is fairly easy and straightforward in mathematical theory. But if you are using a spreadsheet application like…
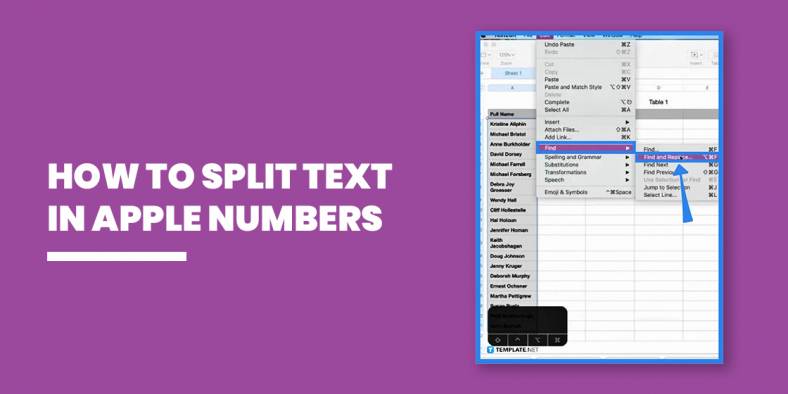
Apple Numbers is Microsoft Excel’s competitor with a similar function. On Numbers, you can create spreadsheets to organize data that…

Apple Final Cut Pro is a software that professional and personal users use for seamless video enhancing and editing of…

Apple Keynote is a slideshow creating and rendering program that many Apple users enjoy. Aside from simply playing a slideshow…