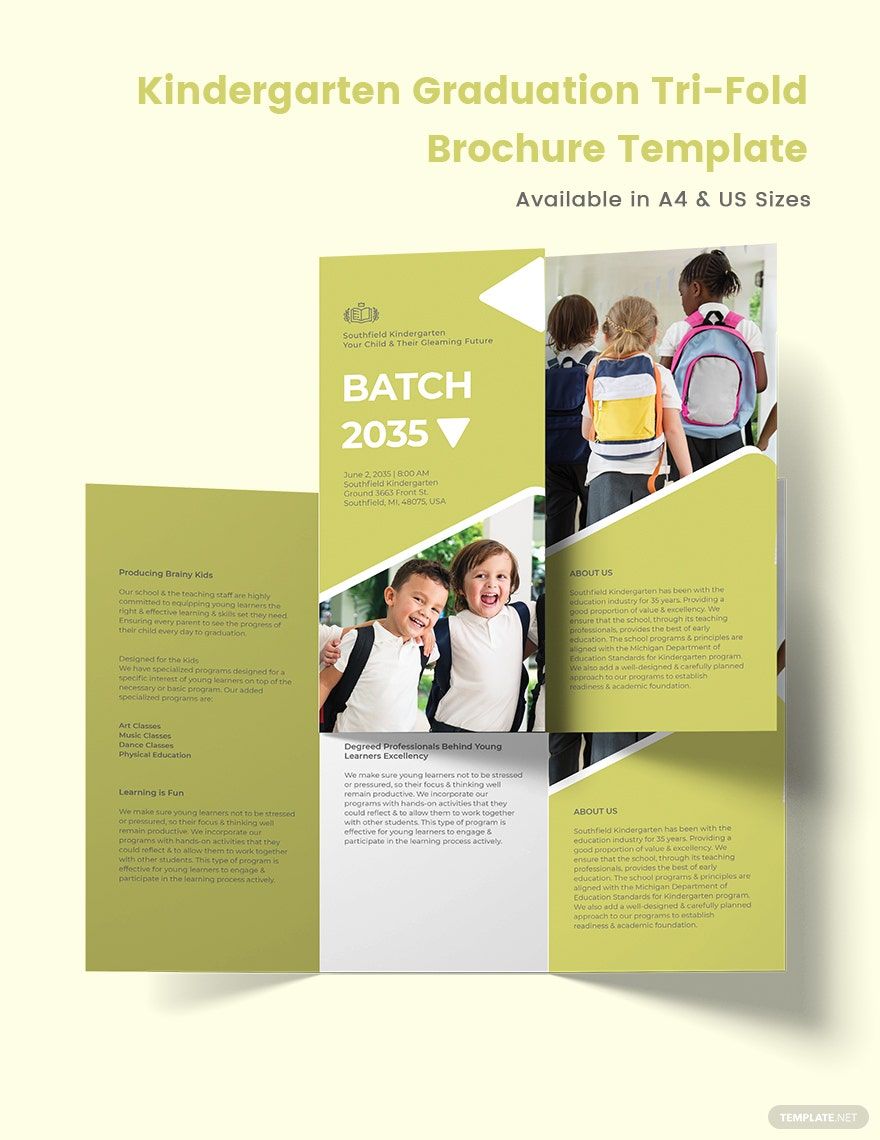
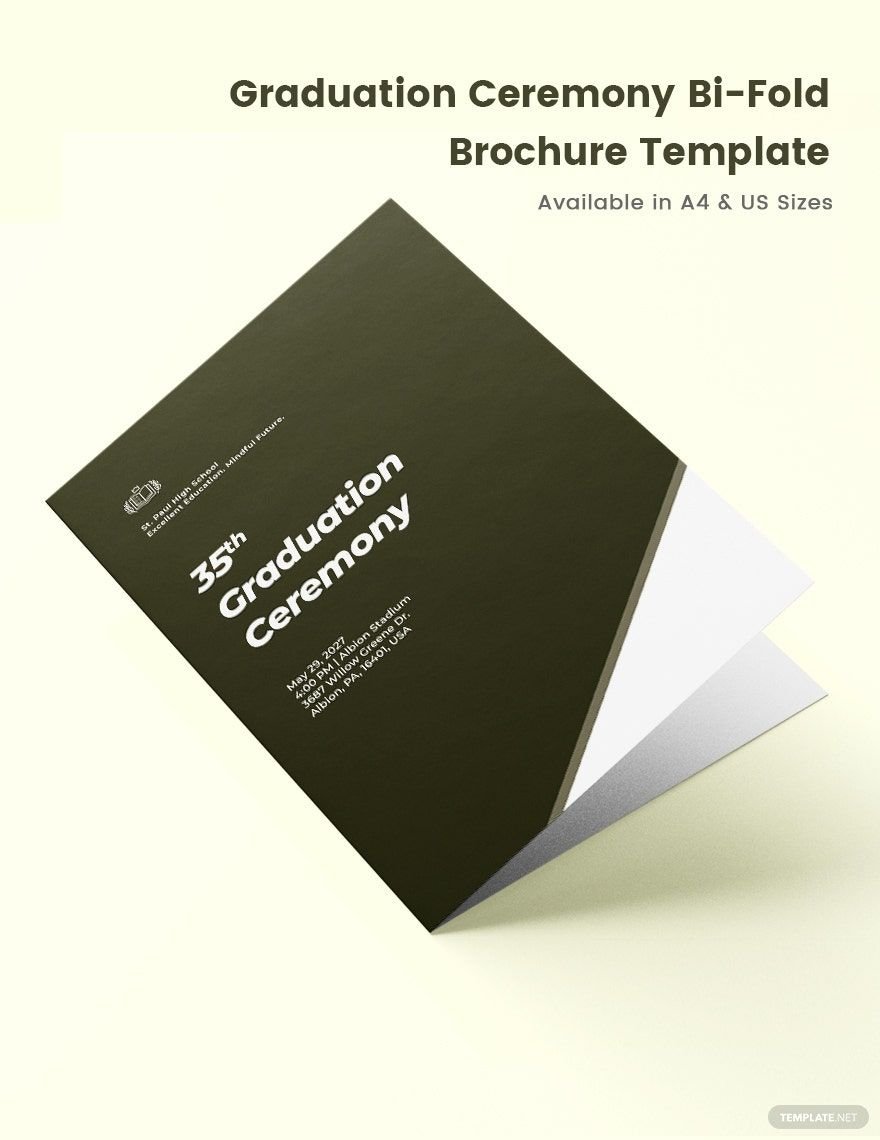
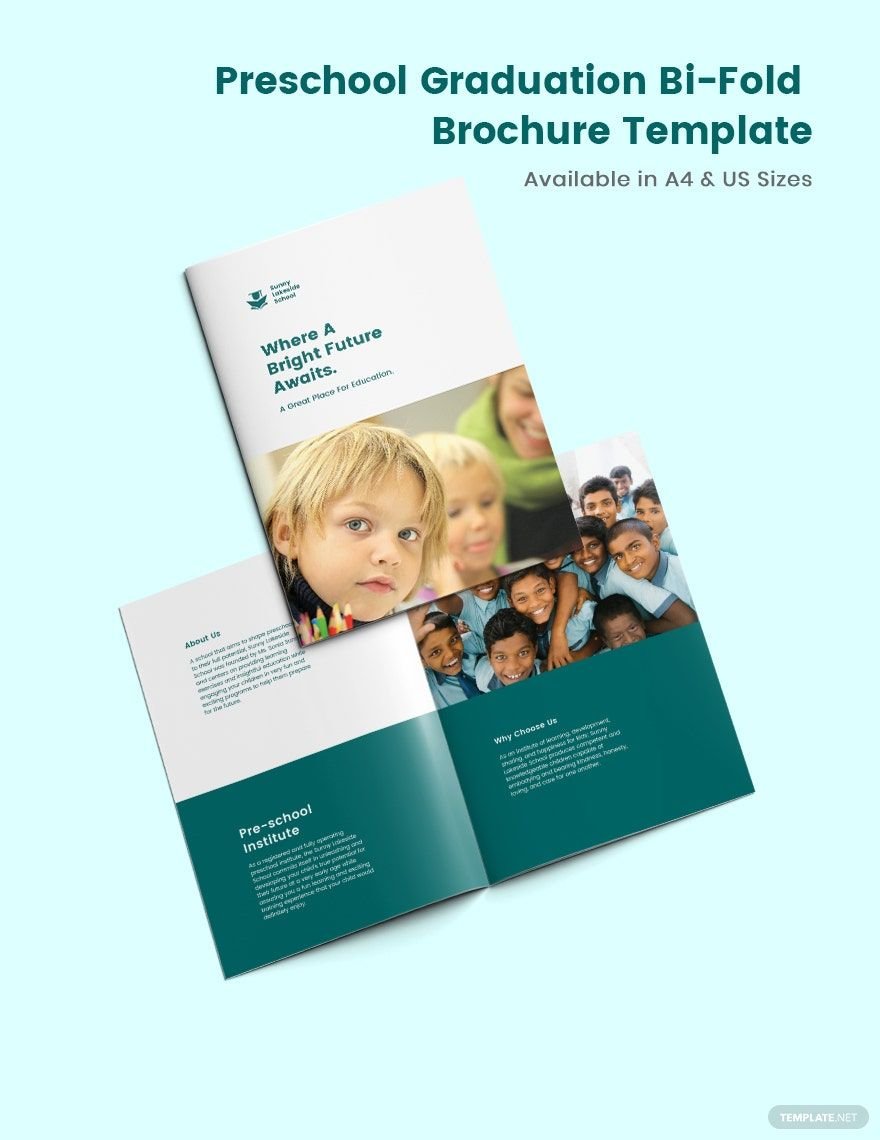
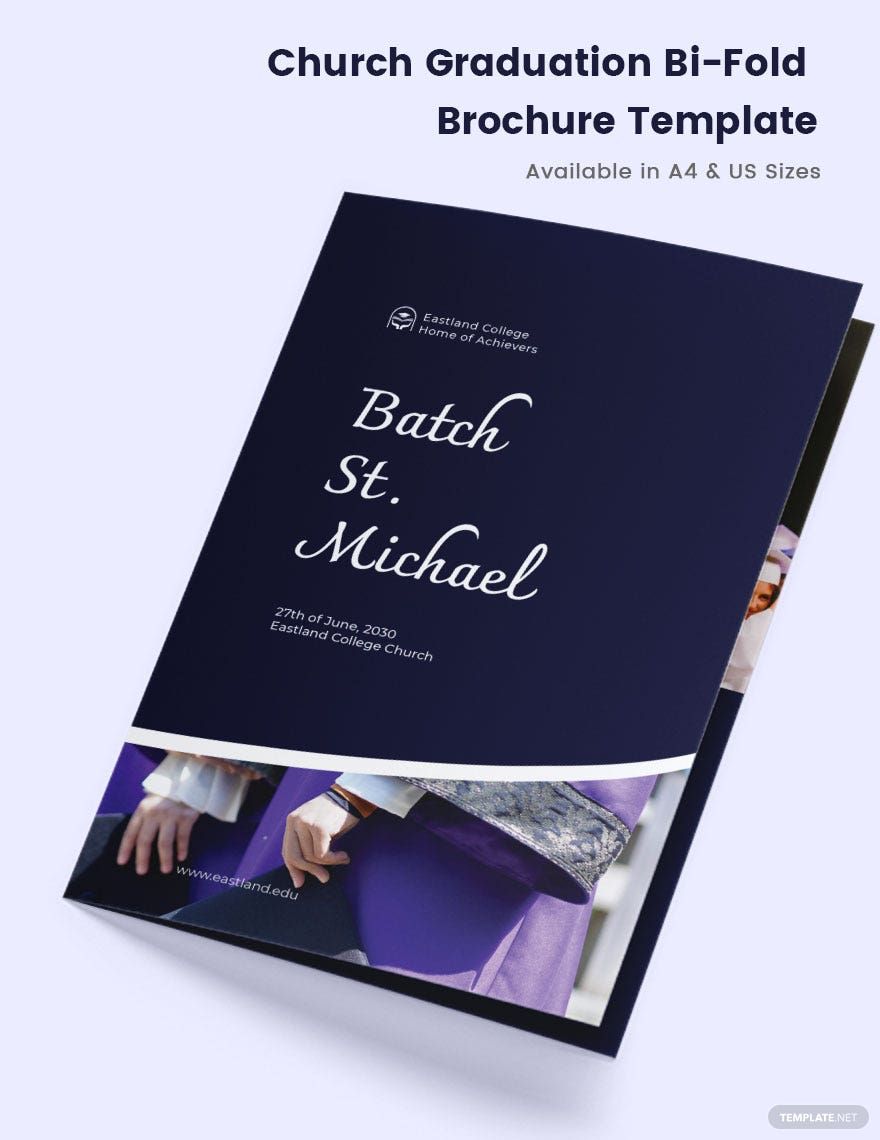
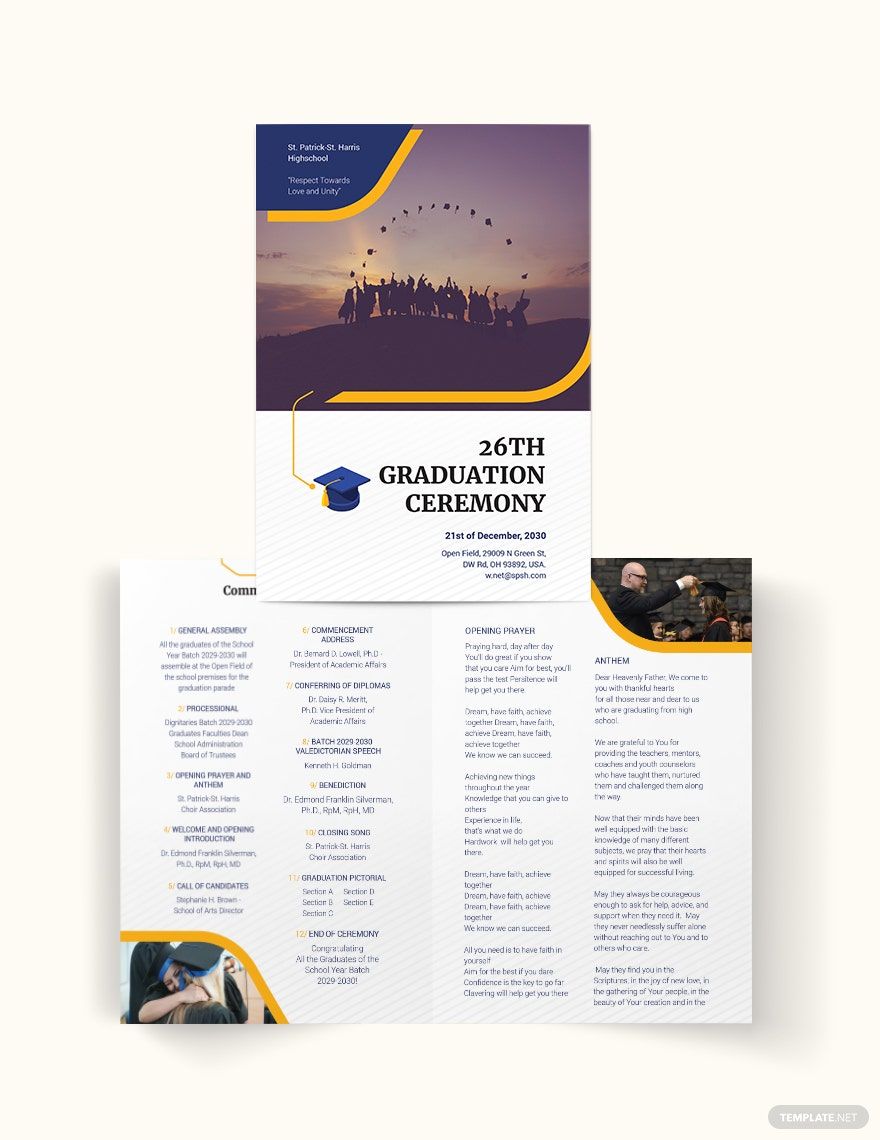
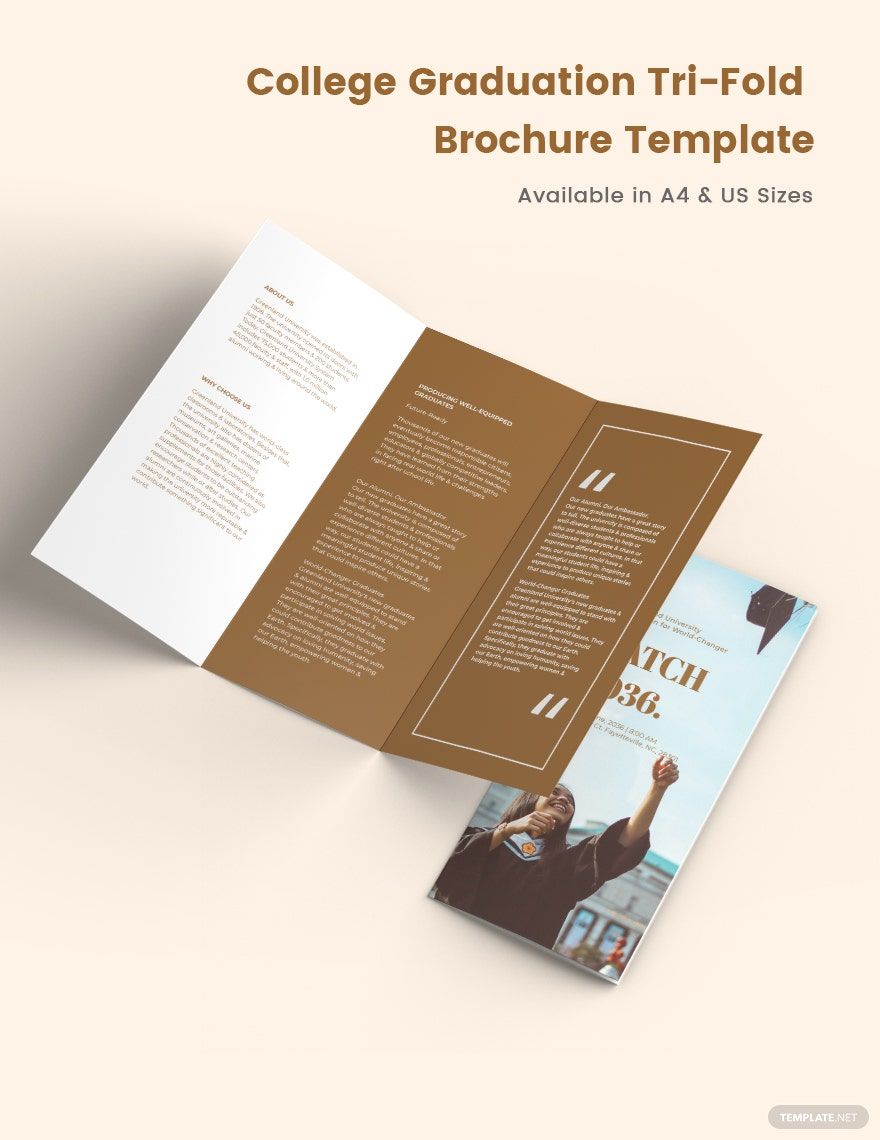
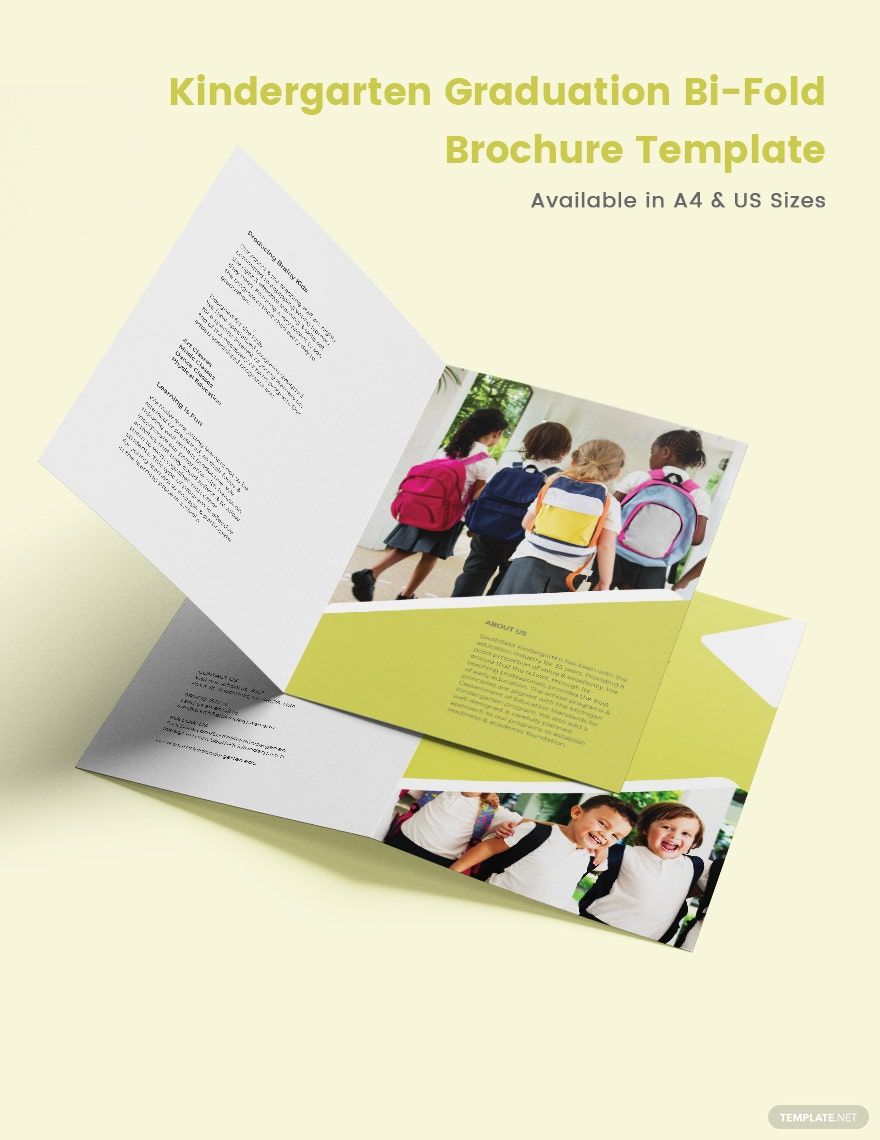
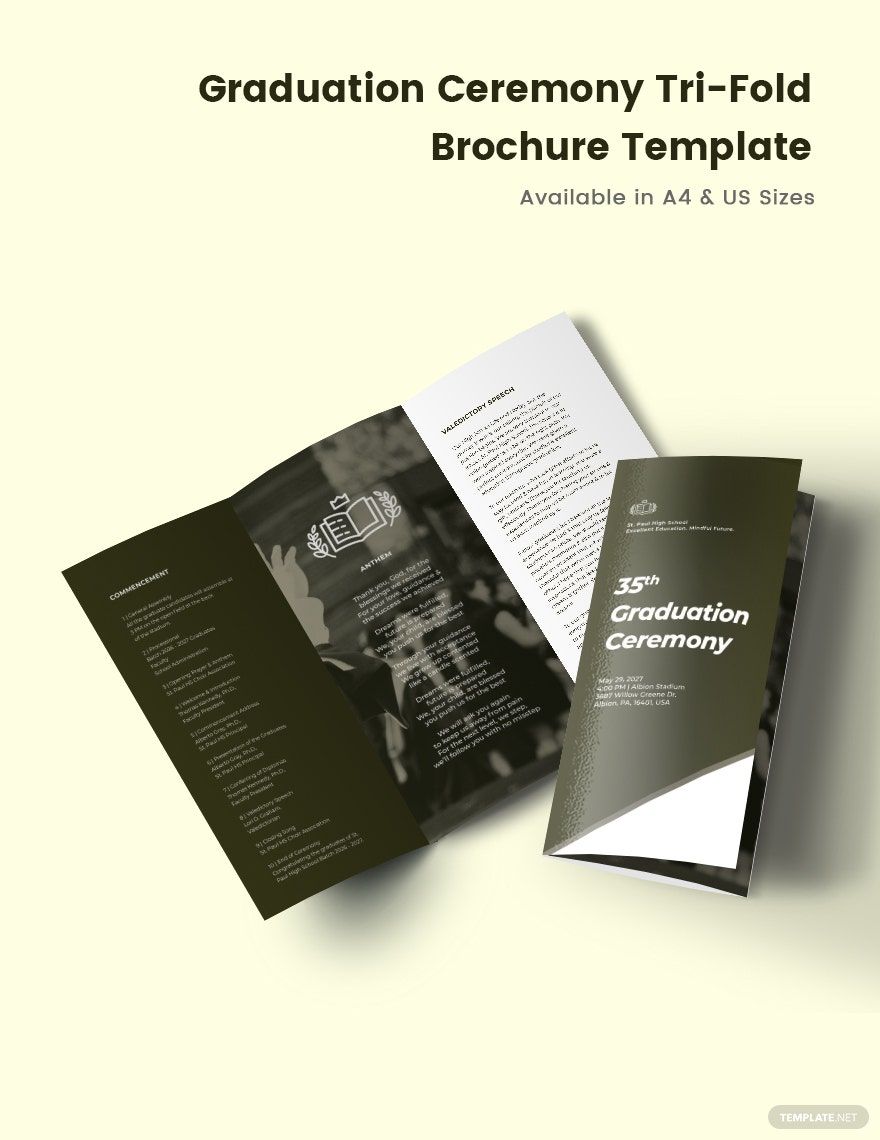
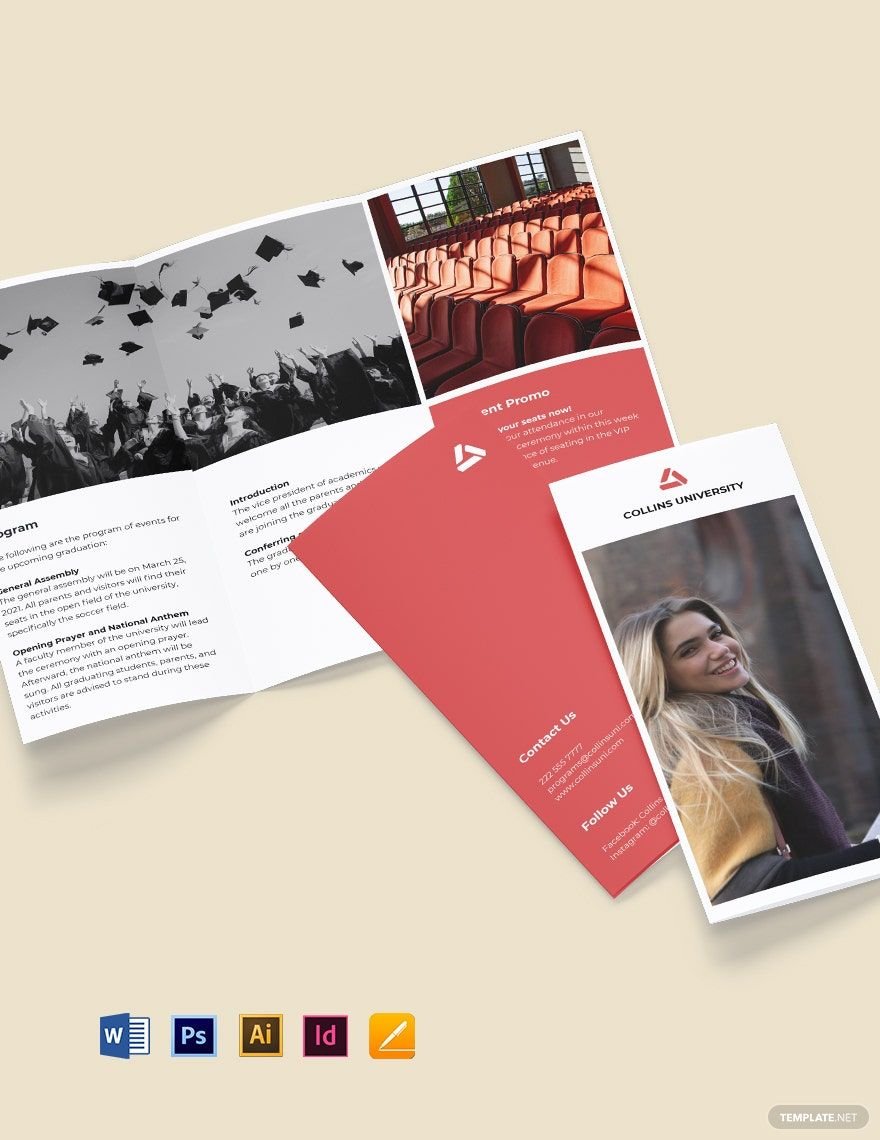
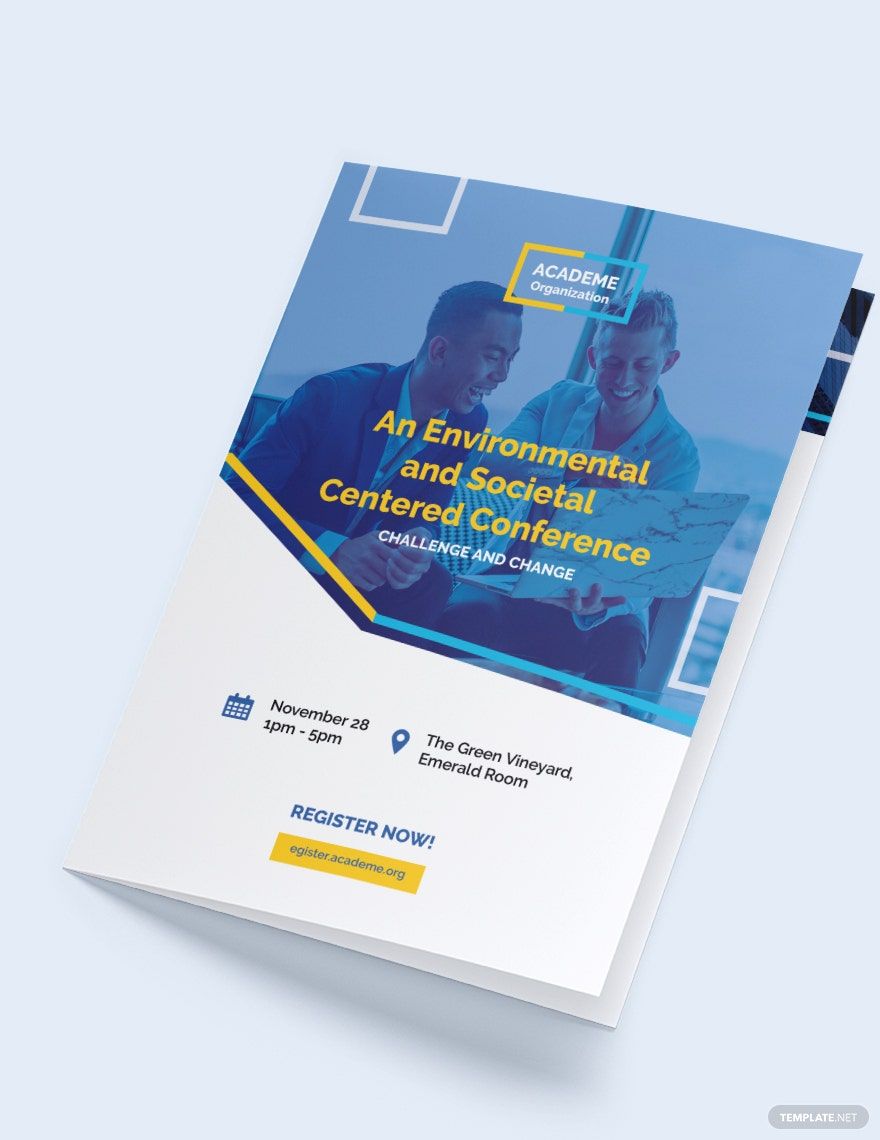
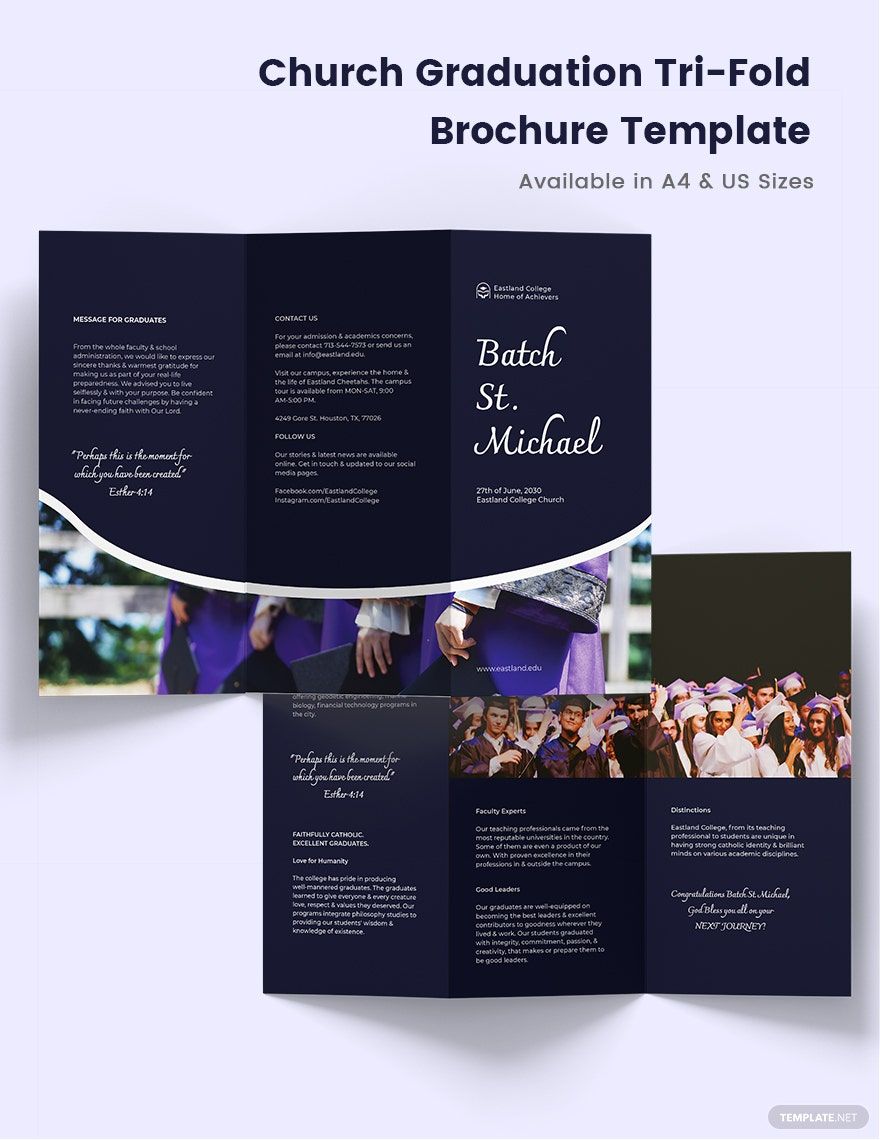
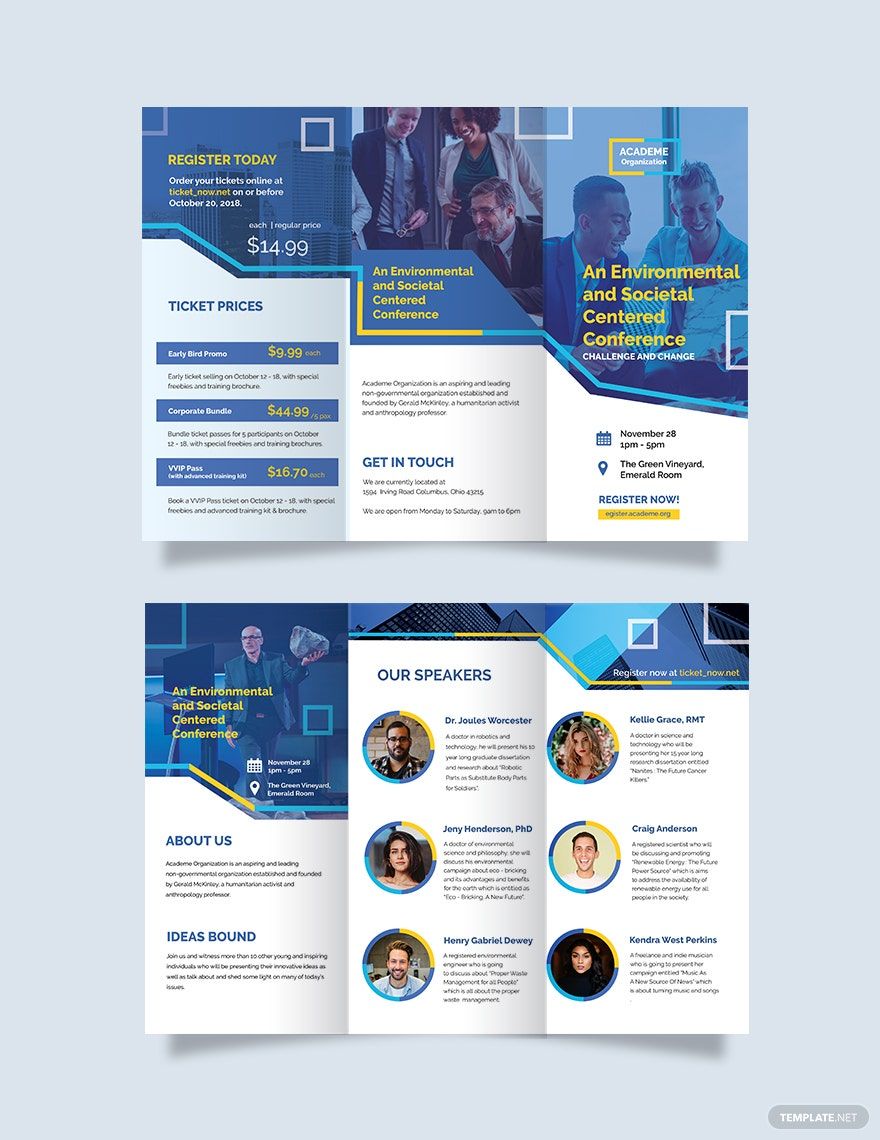
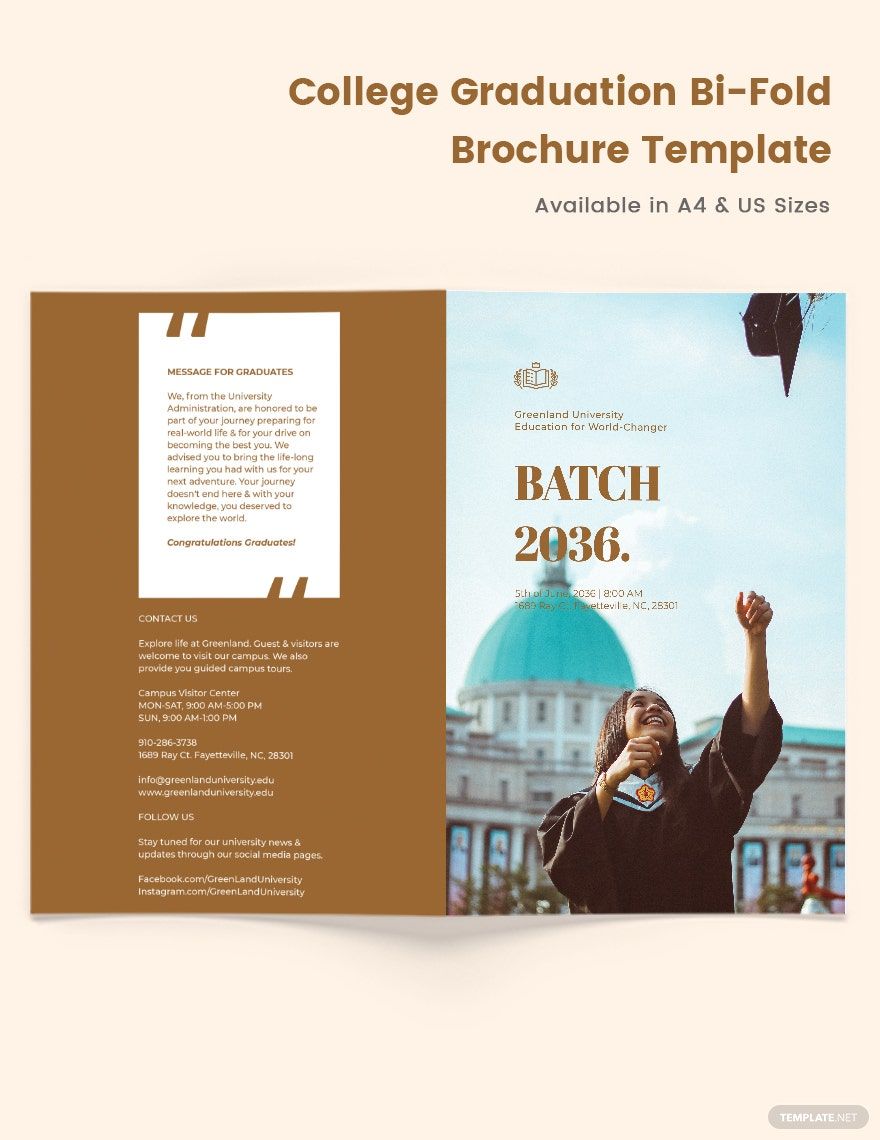
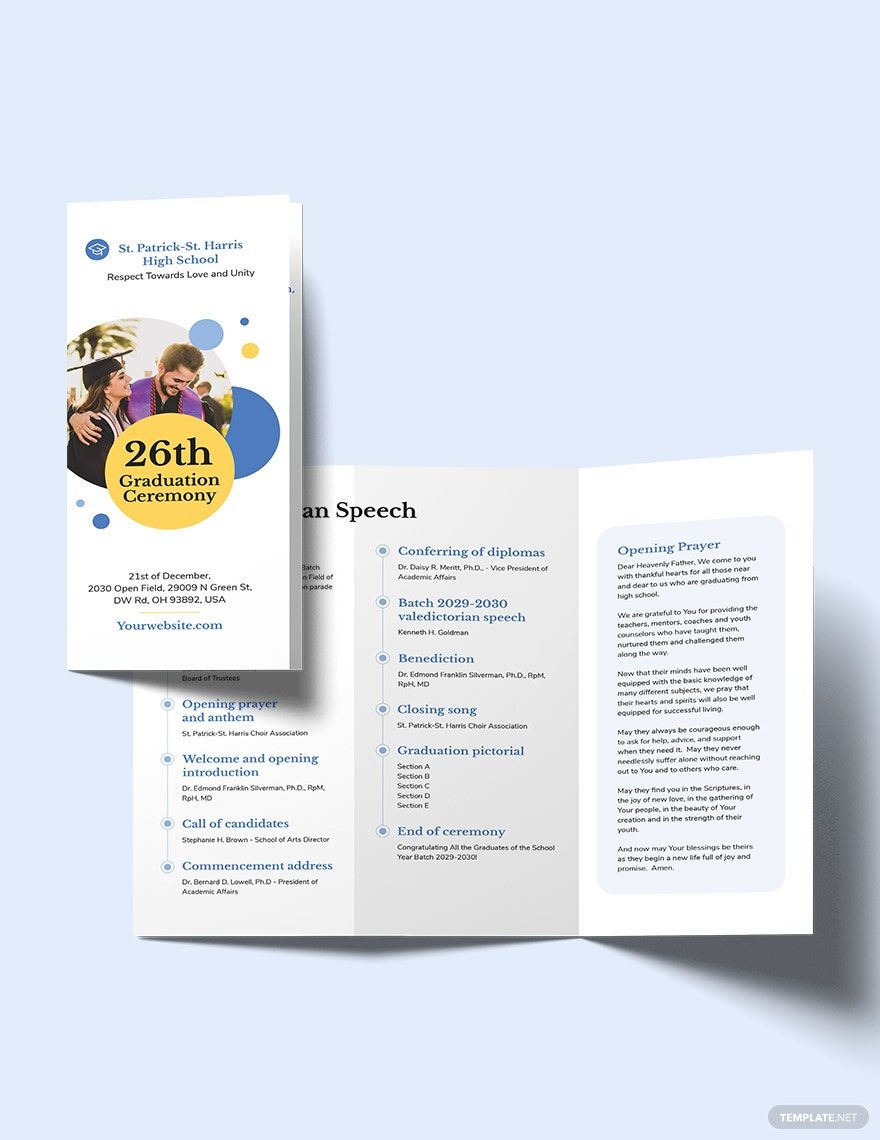
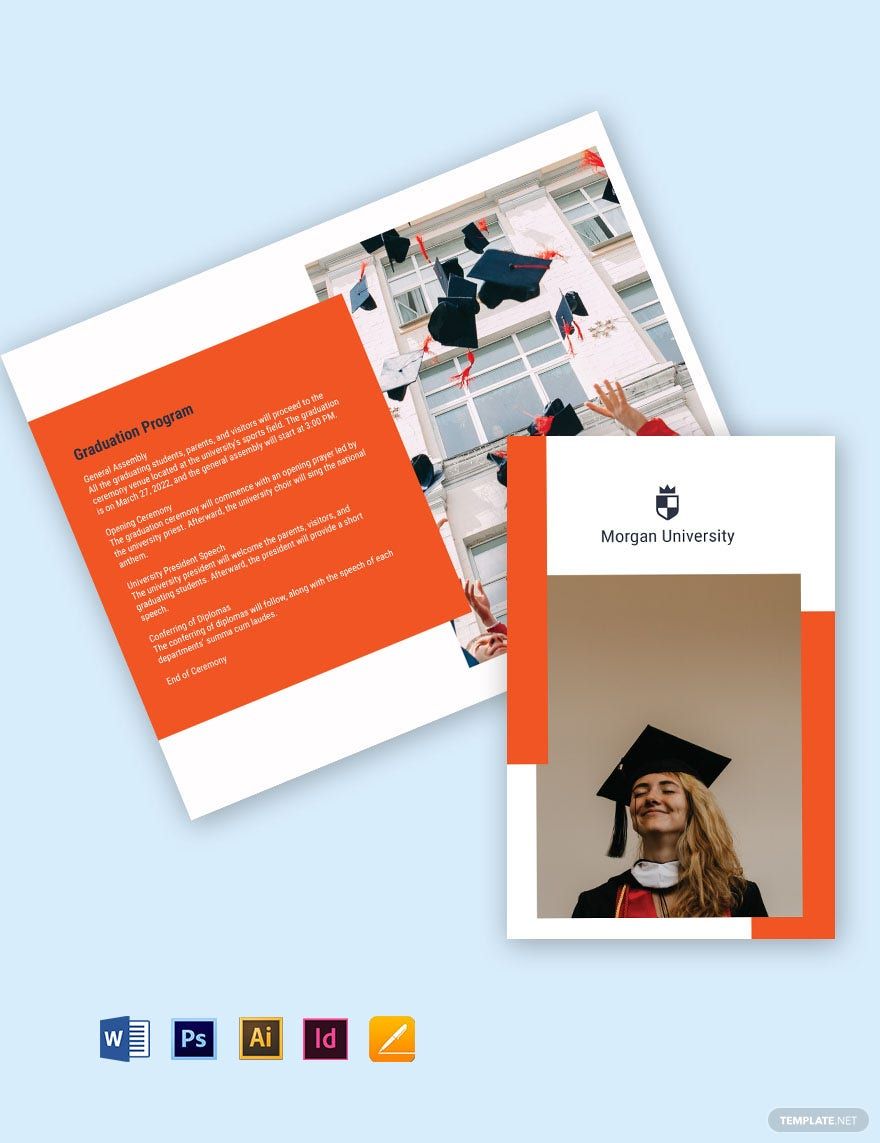
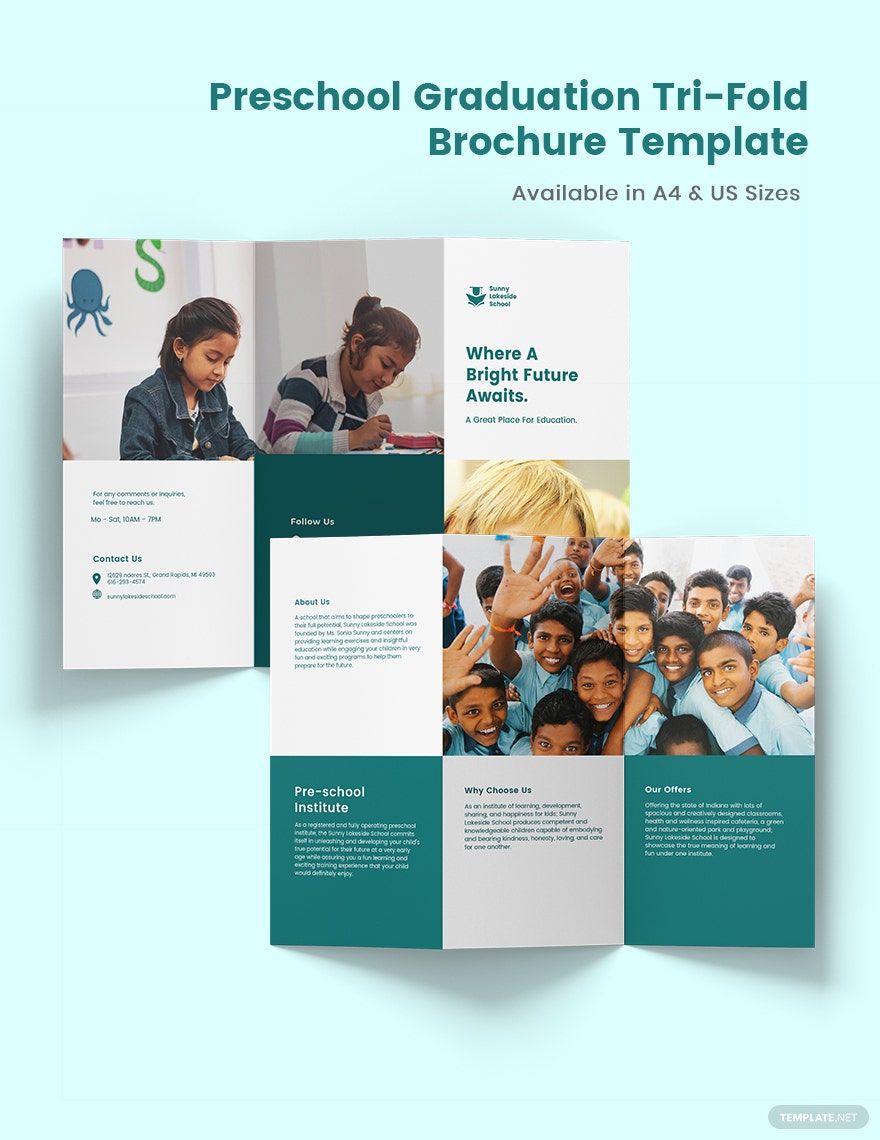
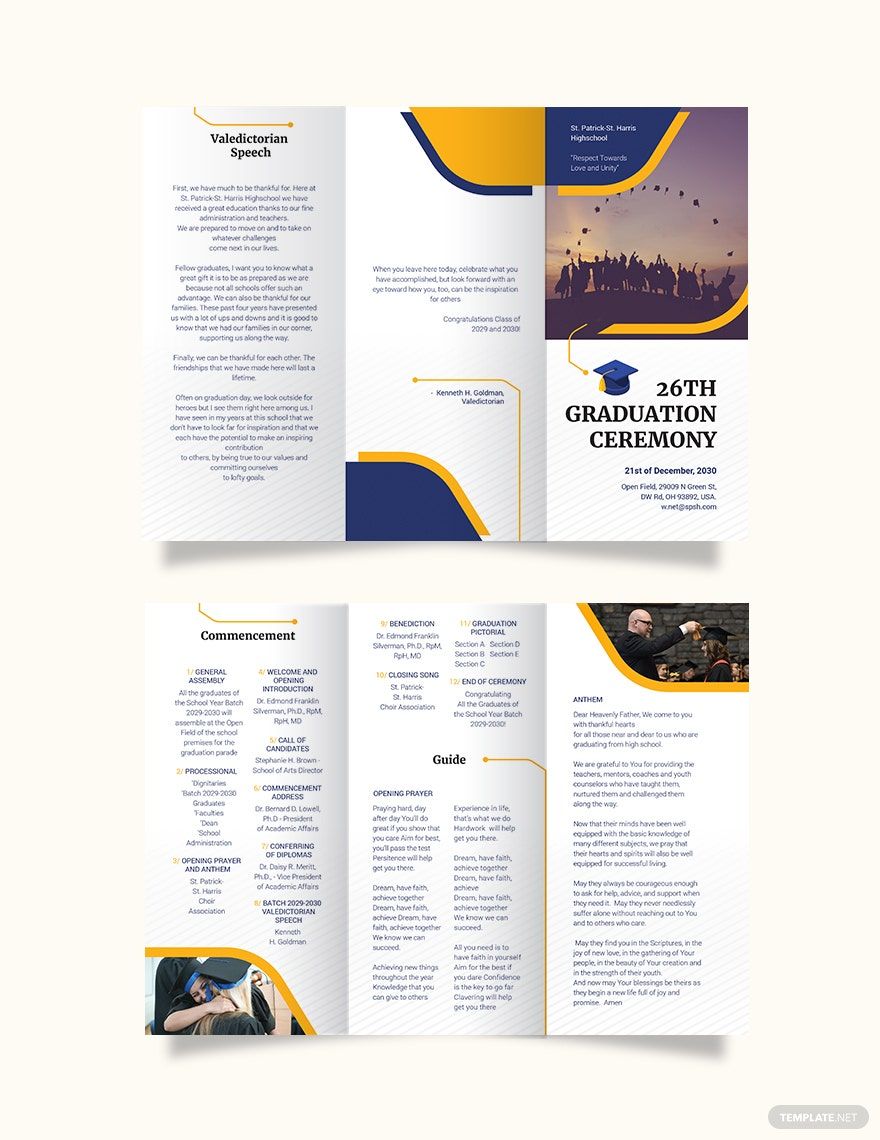
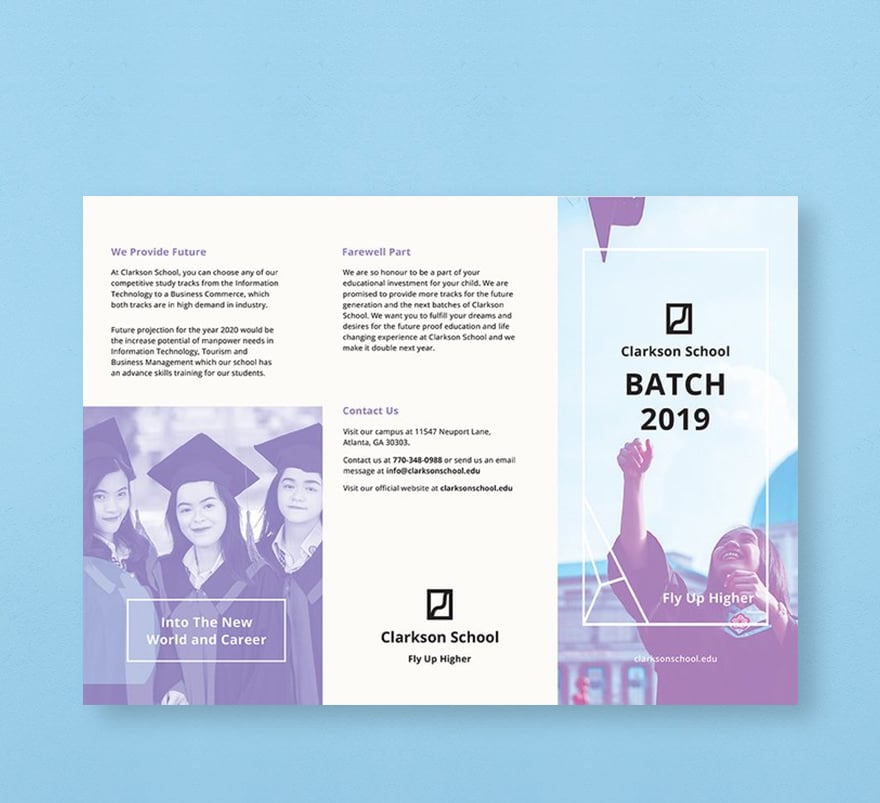
Aah, graduation day! It's the day where you close a chapter of your life to start a new one. Graduating students look forward to this exciting and fulfilling day. And to celebrate this proud and glorious moment, academic institutions send out invitations to parents so they can celebrate this memorable day with their children together. Is your school's graduation day coming up? Choose from our array of Graduation Brochure Templates in Publisher to send out high-quality invitations to parents. These templates are instantly downloadable and printable in (US) 8.5x11 and (A4) 8.27x11.69 inches + Bleed sizes. Also available in Microsoft Word, Photoshop, Illustrator, Indesign, and Pages file formats. Don't wait any further, download our templates now!
How To Make A Graduation Brochure In Publisher
According to the National Center for Education Statistics, around 3.7 million high school students are expected to graduate for the school year of 2019-2020. Nothing is better than seeing your children walk up the stage and receive an academic diploma, so to celebrate this proud and glorious moment, academic institutions send out graduation invitations to parents so they can see their children march and achieve their dreams.
A brochure is a booklet that contains valuable information about a product, service, or event. In schools, this is used as a graduation invitation card to inform parents of their children's upcoming graduation day. It's a valuable tool for providing the commencement program details such as when and where the graduation will take place and the order of students. Follow our guide below on how you can create a stunning graduation brochure in Publisher.
1. Gather all Data
To start, prepare all the data that you need to input on your brochure. This includes the program flow, the time and date, the location, and the list of graduates. Make sure that all the information you've gathered are correct, especially the spelling of names and timestamp of the program.
2. Choose a Folding Style and Size
When it comes to brochures, the most commonly used folding style are bi-fold and tri-fold. For the size, standard sizes include 8.5 x 11, 8.5 x 14, 11 x 17, and 11 x 25.5. What you choose must be dependent on the amount of information you wish to put on. To set the size of your document in Publisher, click the Page design tab, select Size from the Page Setup group, then select the icon that represents your desired document size.
3. Inset Images
Images add color and make your brochure attractive. With eye-catching images, your simple brochure would look fantastic, making your readers interested to read on. Remember, your photos must be of high-quality, so it doesn't pixelate. To add an image on Publisher, go to Insert tab, find the Illustrations group, then select Picture. An Insert Picture dialog box will appear, where you'll locate and select the photo that you would want to insert. Hit Insert to add the picture to your document.
4. Use Full Bleed
Most printers don't print up to the very edge of the paper, which creates a white border around your document. So to make sure that your printer prints out up to the very edge of your paper, use the full bleed technique. It allows the design to stretch until the edge of the paper, so there's no margin between the design and the edge of the paper.
5. Add your Text
Input the data that you've gathered earlier. Use simple words and observe proper spelling. You're creating a formal document, so avoid using slang words. When it comes to the font, remember that light-colored font must be used for dark-colored background, and vice versa. Lastly, be sure to review your work to ensure that there are no spelling errors, misinformation, etc. before finally printing your simple brochure.