Commemorate Loved Ones with Heartfelt Funeral Card Templates in Adobe PhotoShop by Template.net
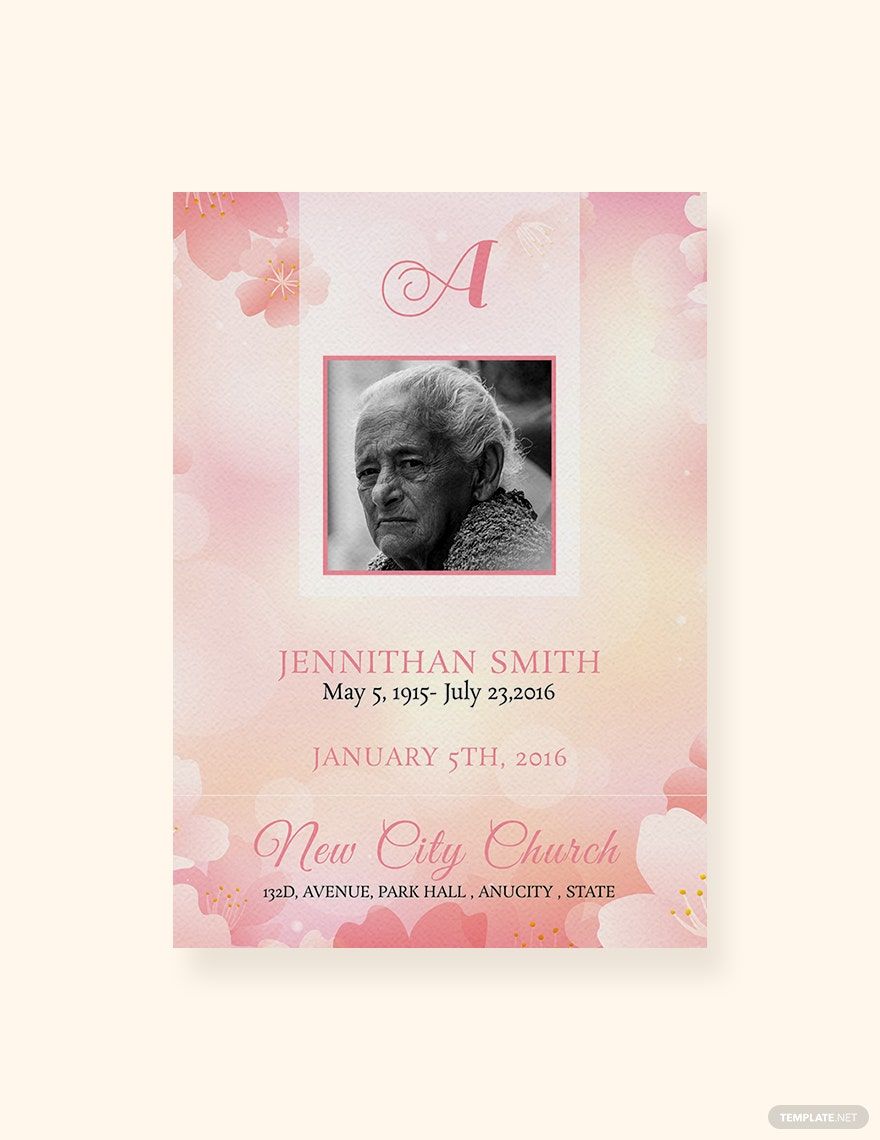
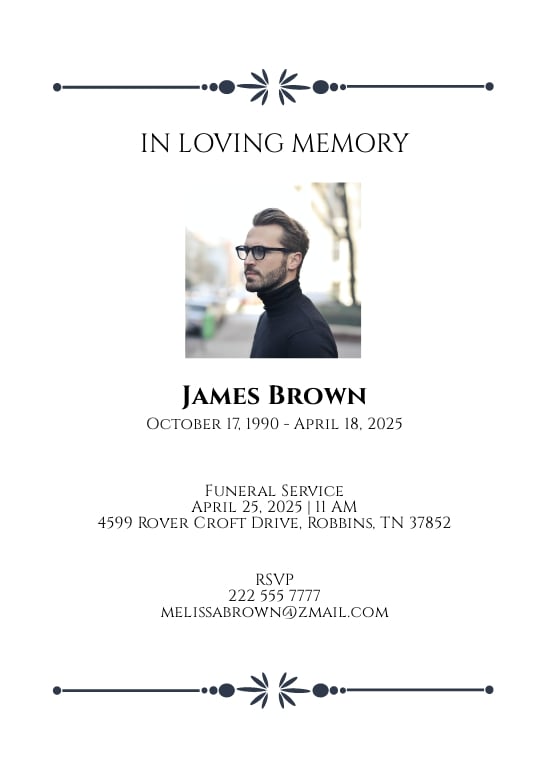
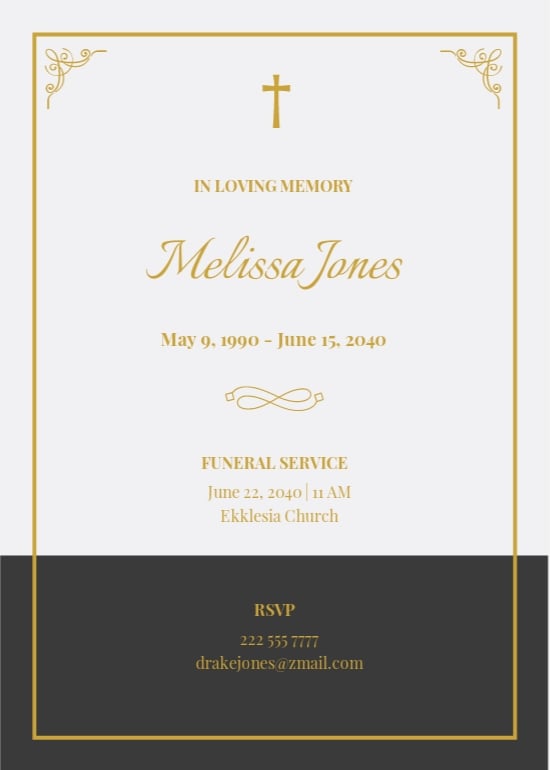
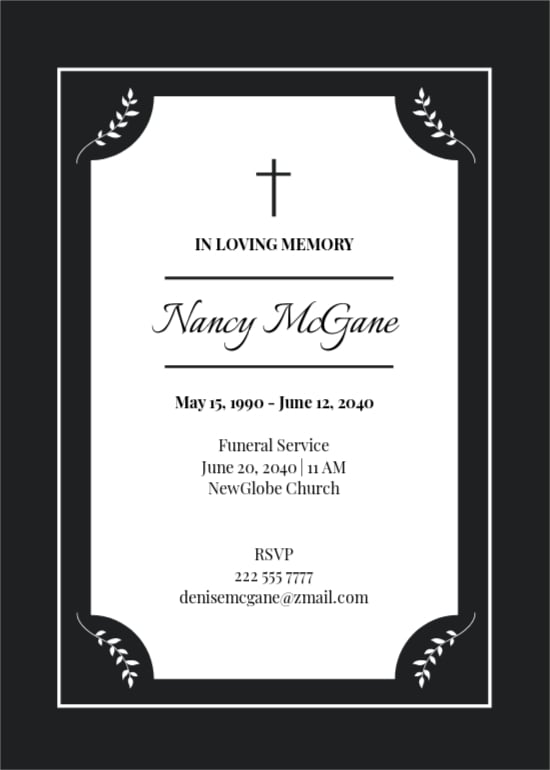
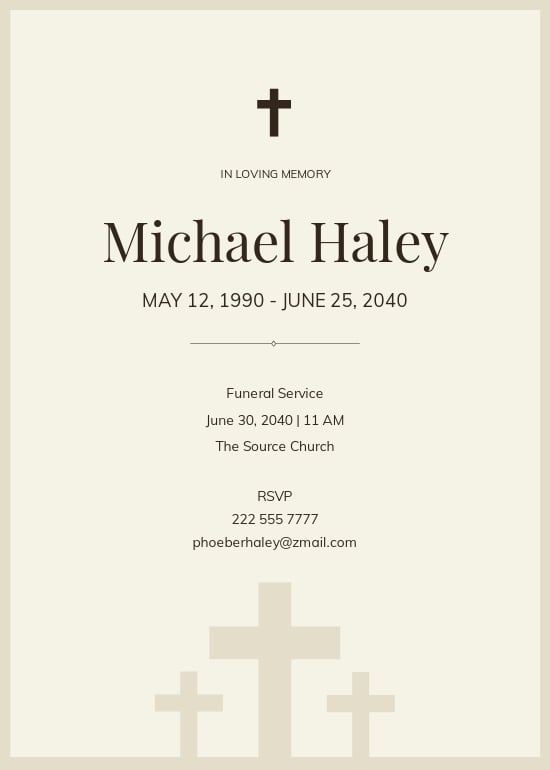
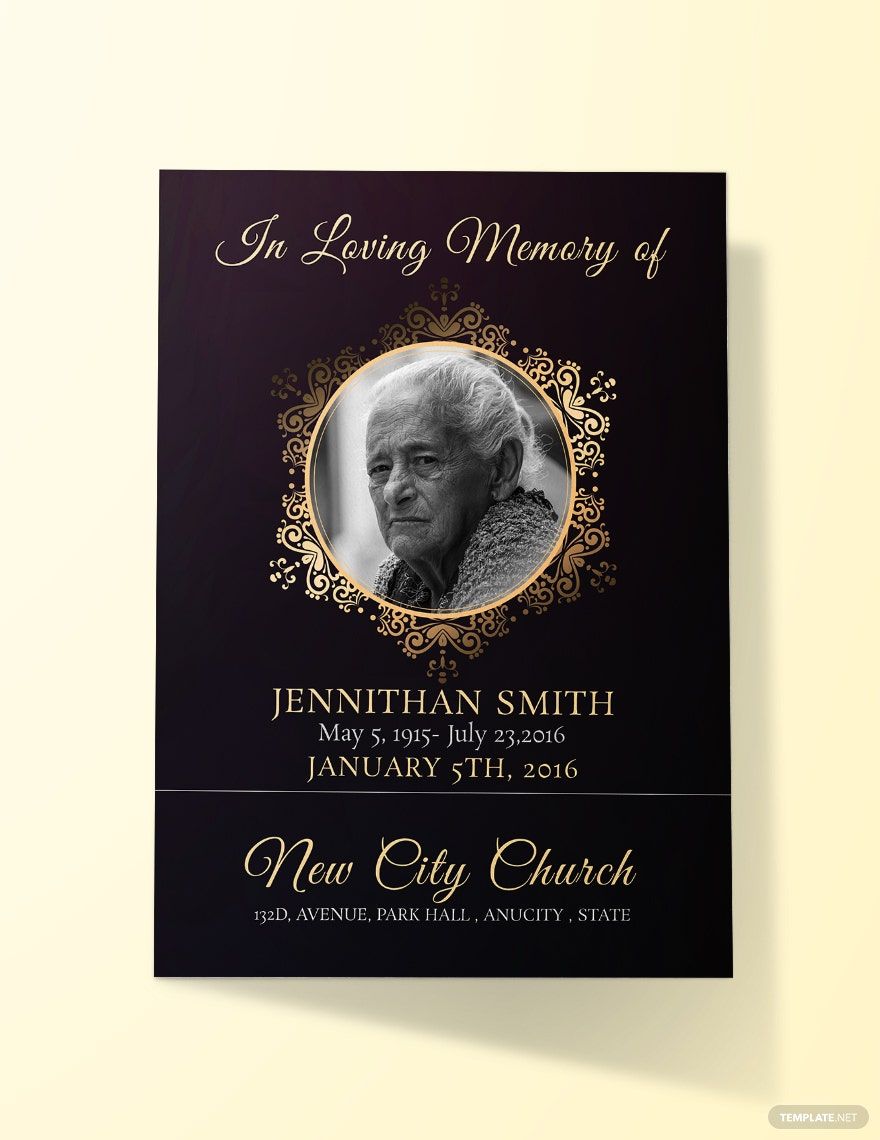
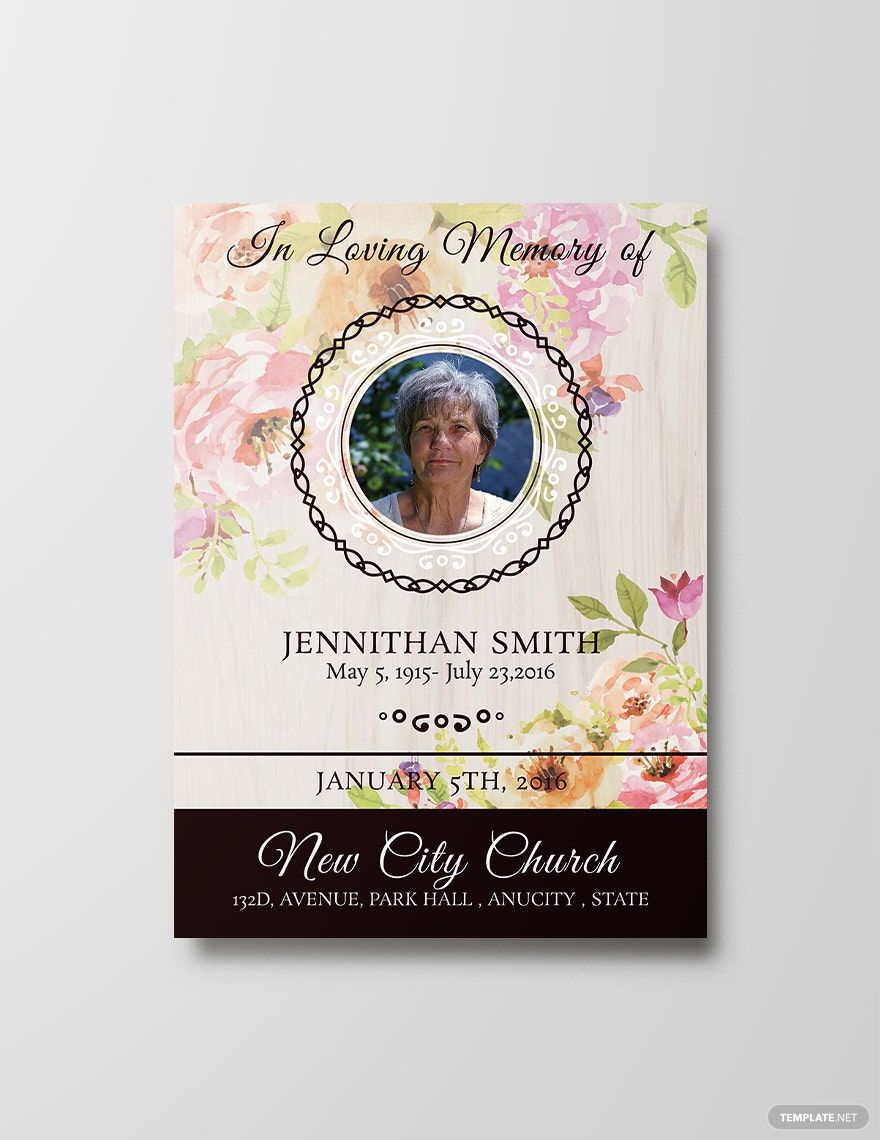
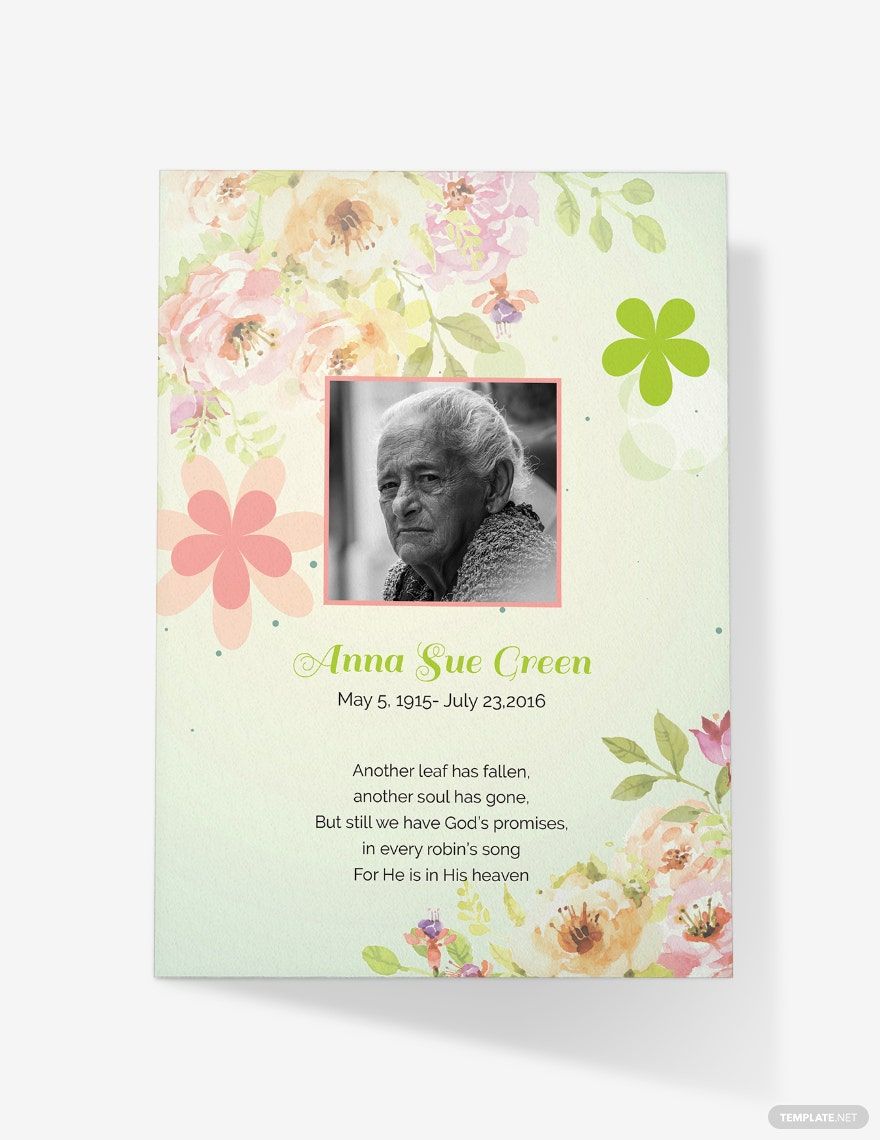
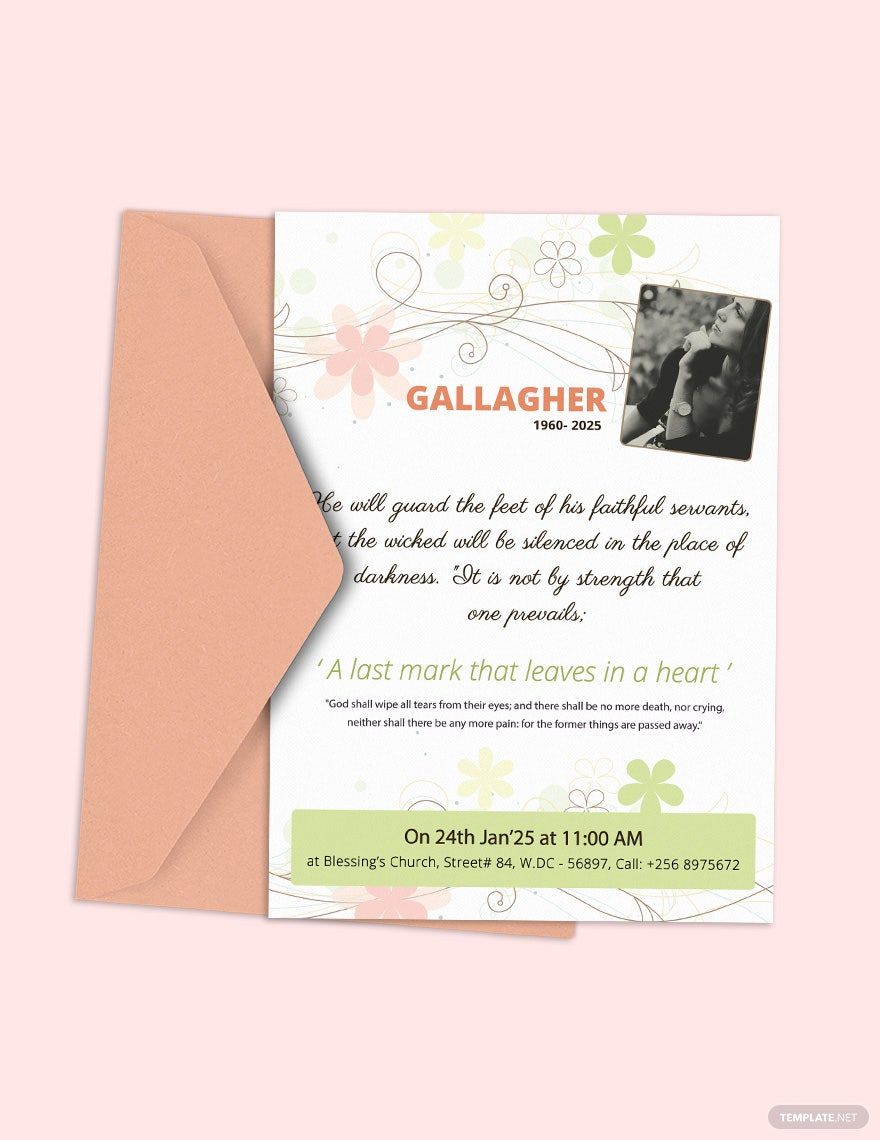
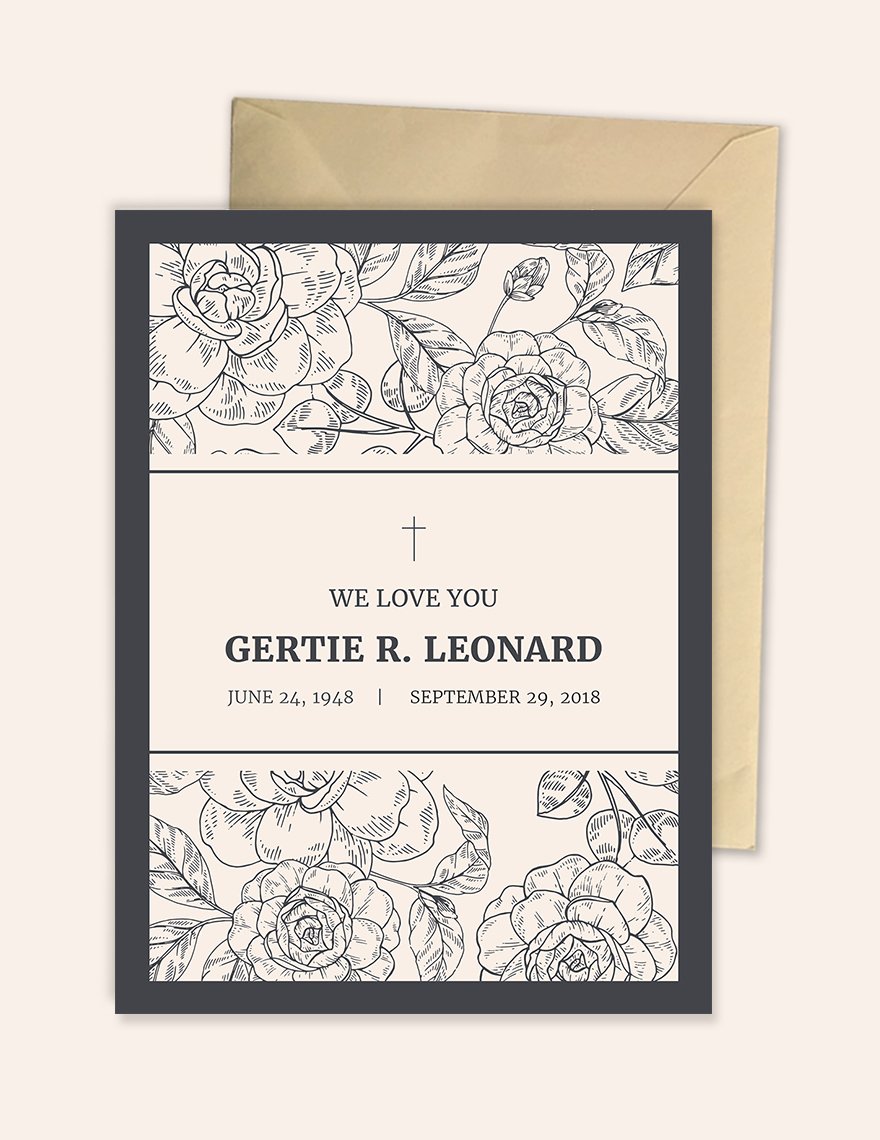
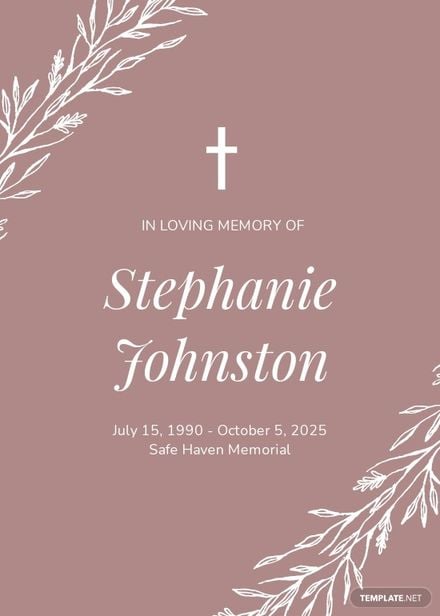
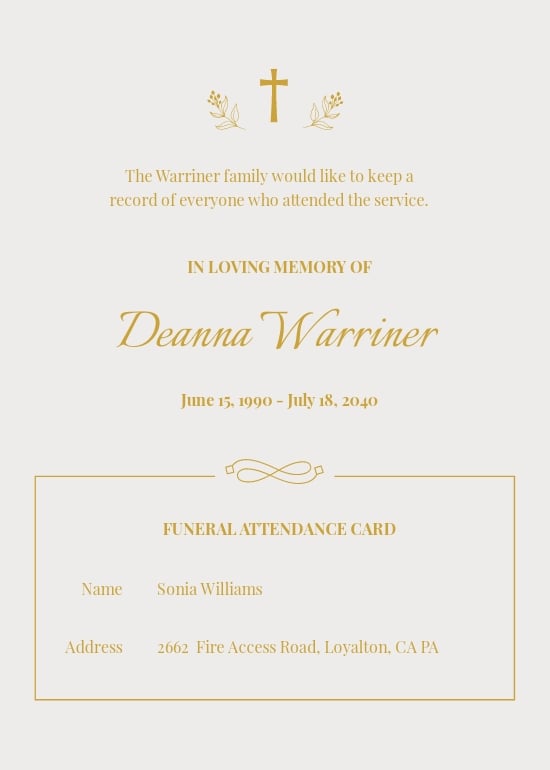
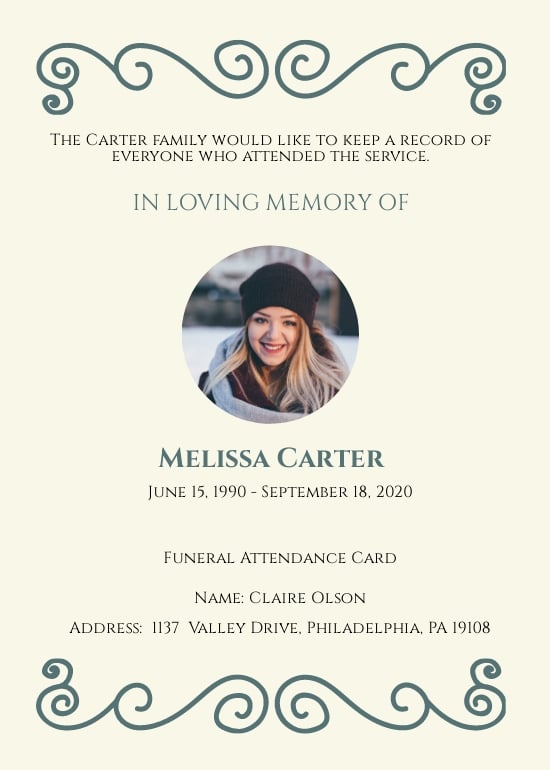
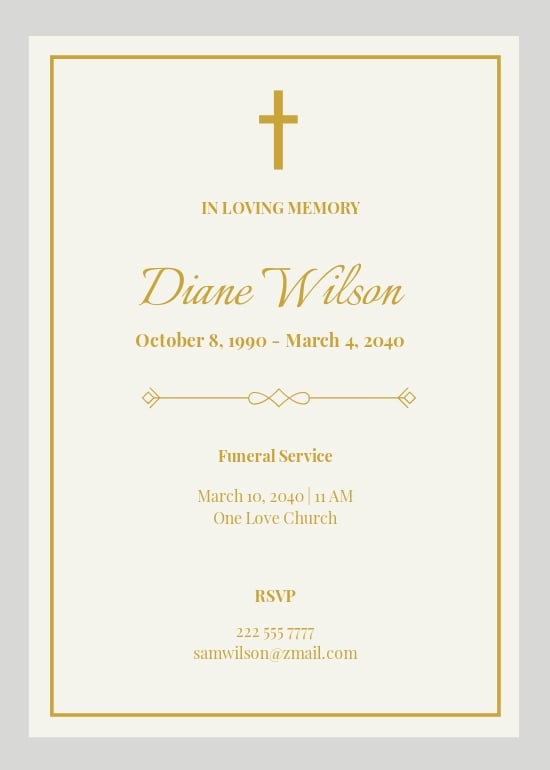
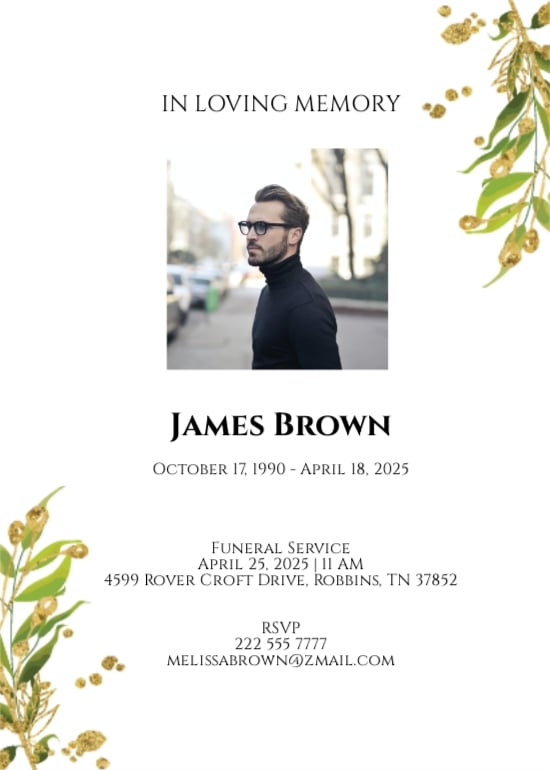
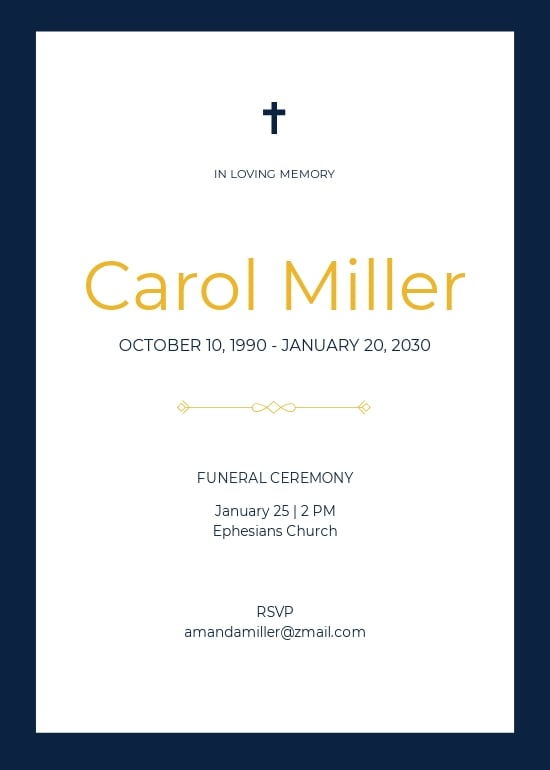
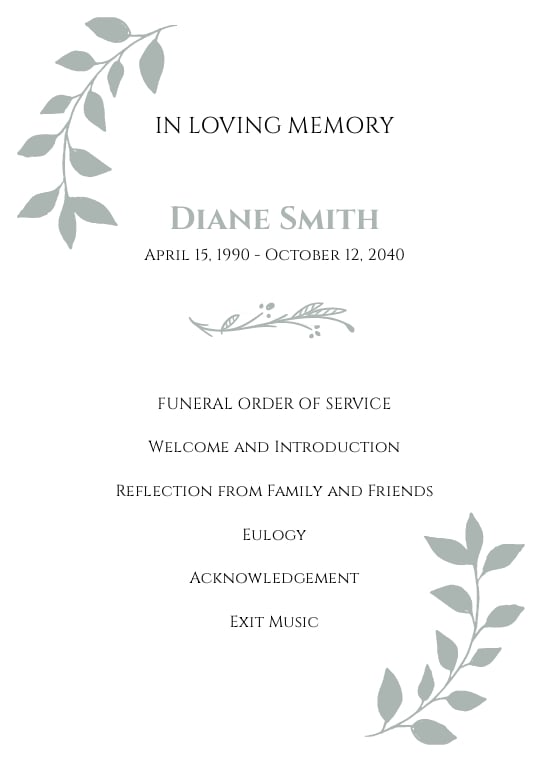
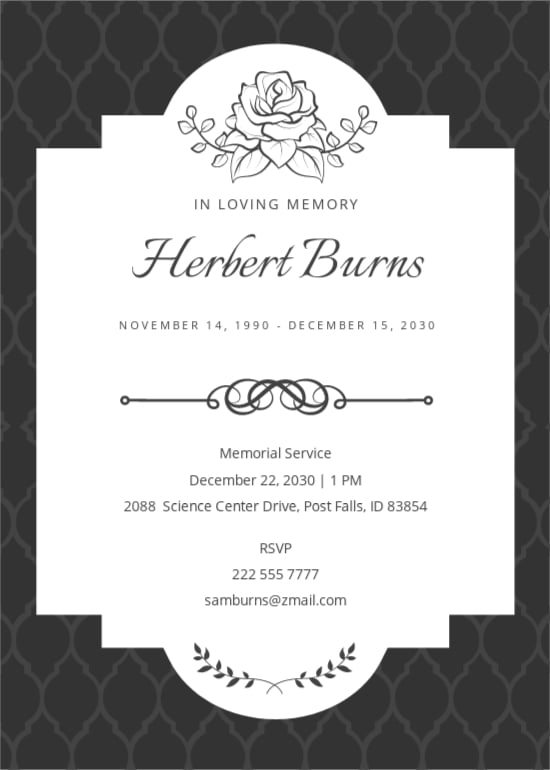
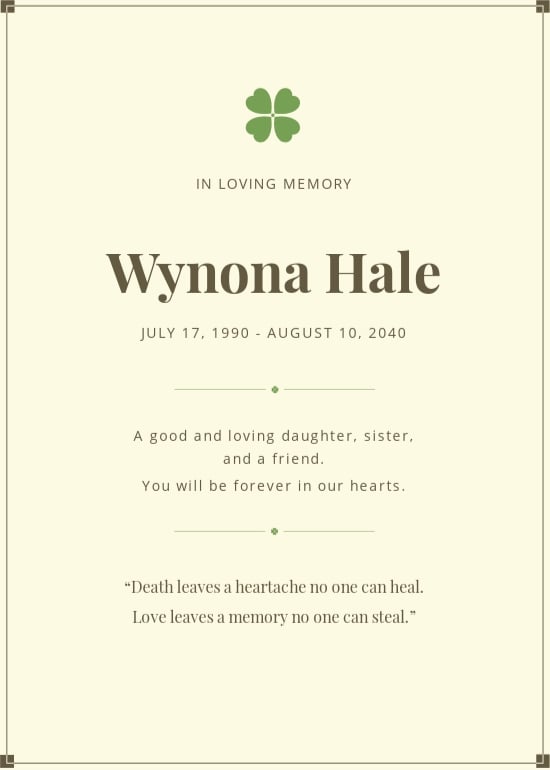
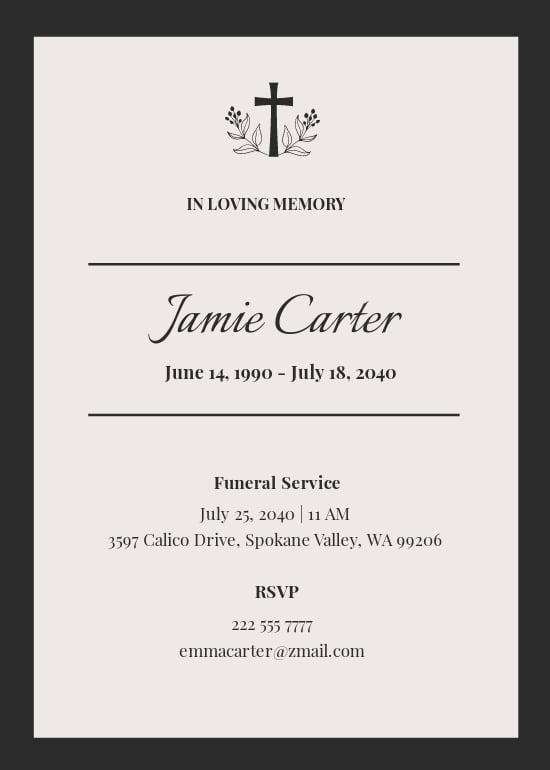
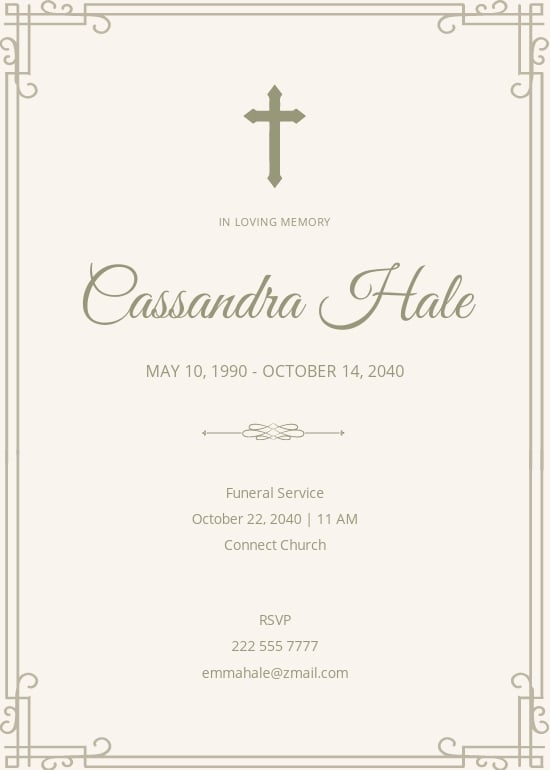
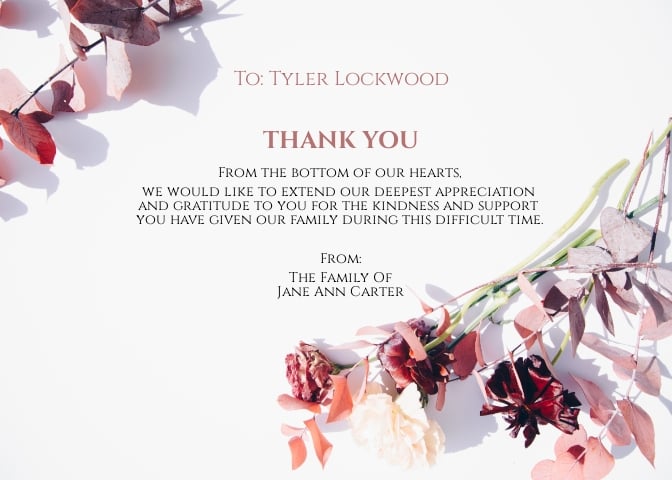
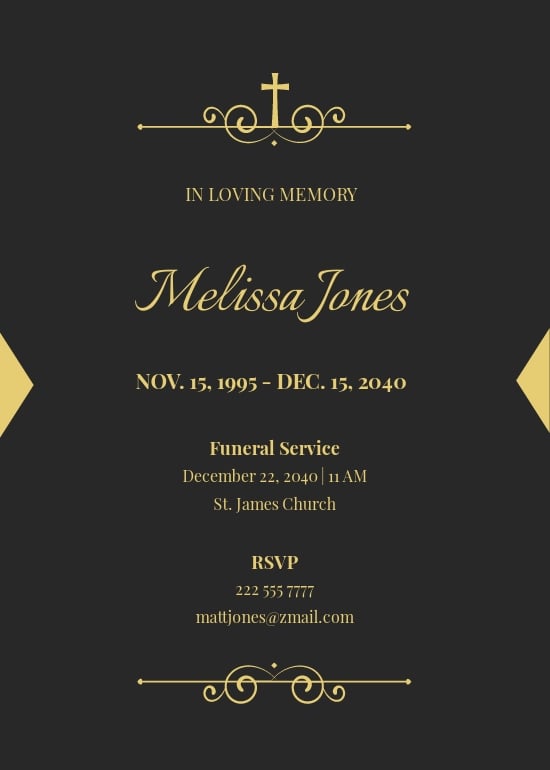
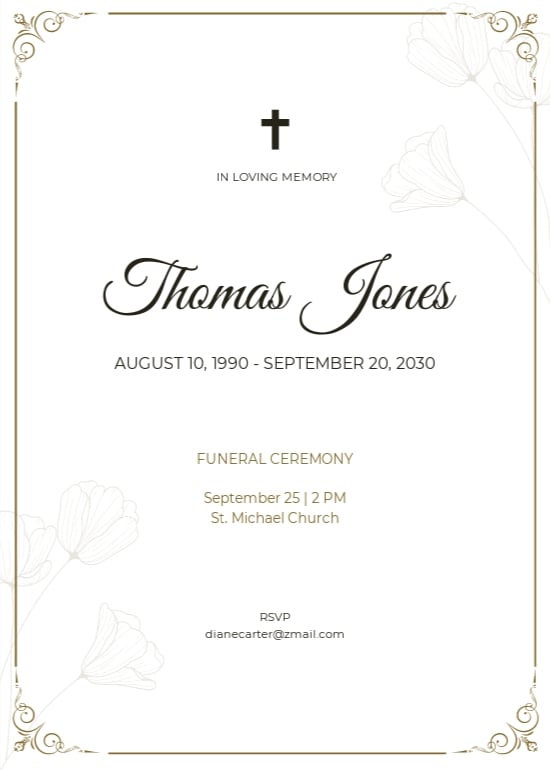
Honor the memory of your loved ones and bring their stories to life with beautifully pre-designed Funeral Card Templates in Adobe PhotoShop by Template.net. Create deeply meaningful and personalized tributes effortlessly, even with no design experience or software expertise. These templates are perfect for anyone looking to design elegant memorial cards with ease, whether for a small family gathering or a large memorial service. Showcase cherished photos in a touching tribute or craft a loving program to distribute at the service. Each set includes a selection of free Funeral Card Templates available for download and print in Adobe PhotoShop format, ensuring you can create and customize heartfelt keepsakes without hassle. Best of all, their beautiful pre-designed templates guarantee that no design skills are needed, saving you both time and effort during a sensitive period.
Discover the extensive array of pre-designed Funeral Card Templates available in Adobe PhotoShop at Template.net. With a library that is regularly updated with new designs, you can select from a variety of styles to match the uniqueness of your loved one's legacy. Choose between free and premium templates to access more advanced customization options, providing maximum flexibility to honor their memory. Once your design is ready, you can easily download, share via link, email, or print for distribution at the service, ensuring that everyone can partake in the remembrance. Whether you opt for free or premium templates, Template.net encourages you to explore all options, tips, and layout possibilities for creating a truly personal farewell.
