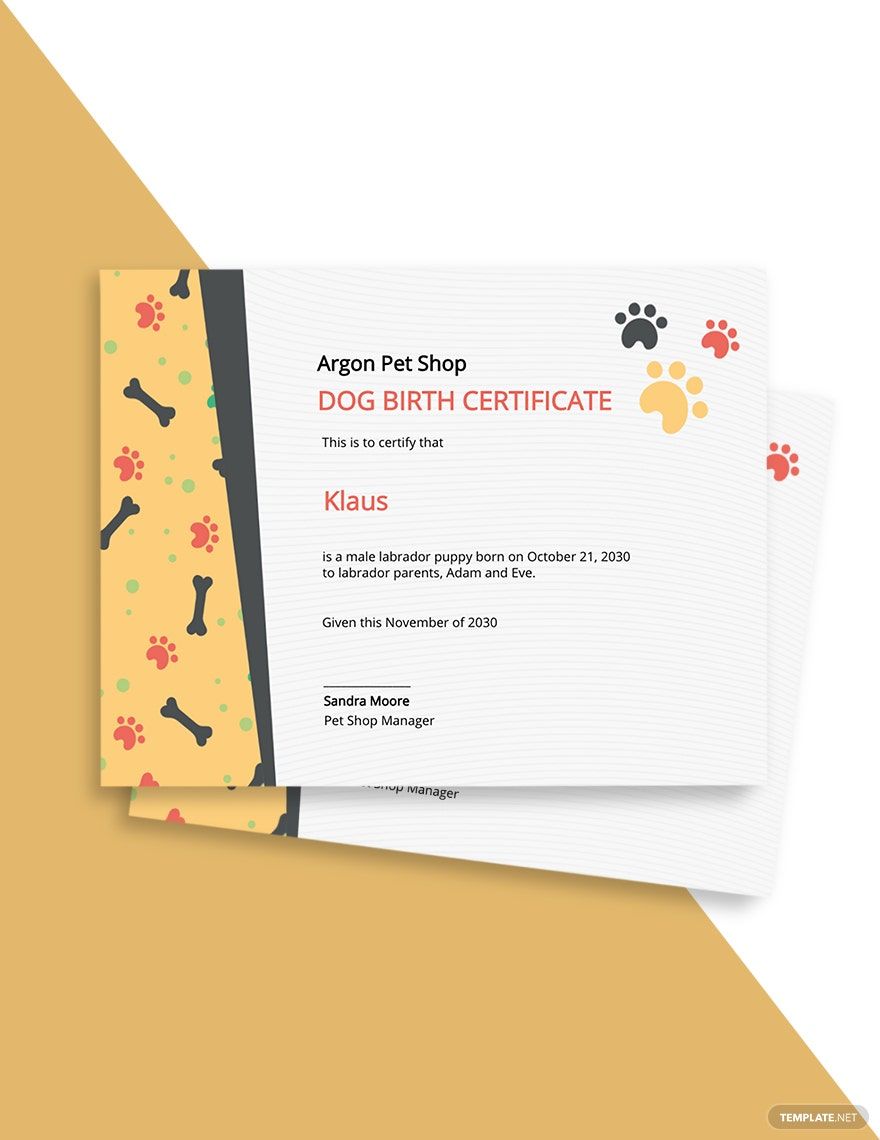
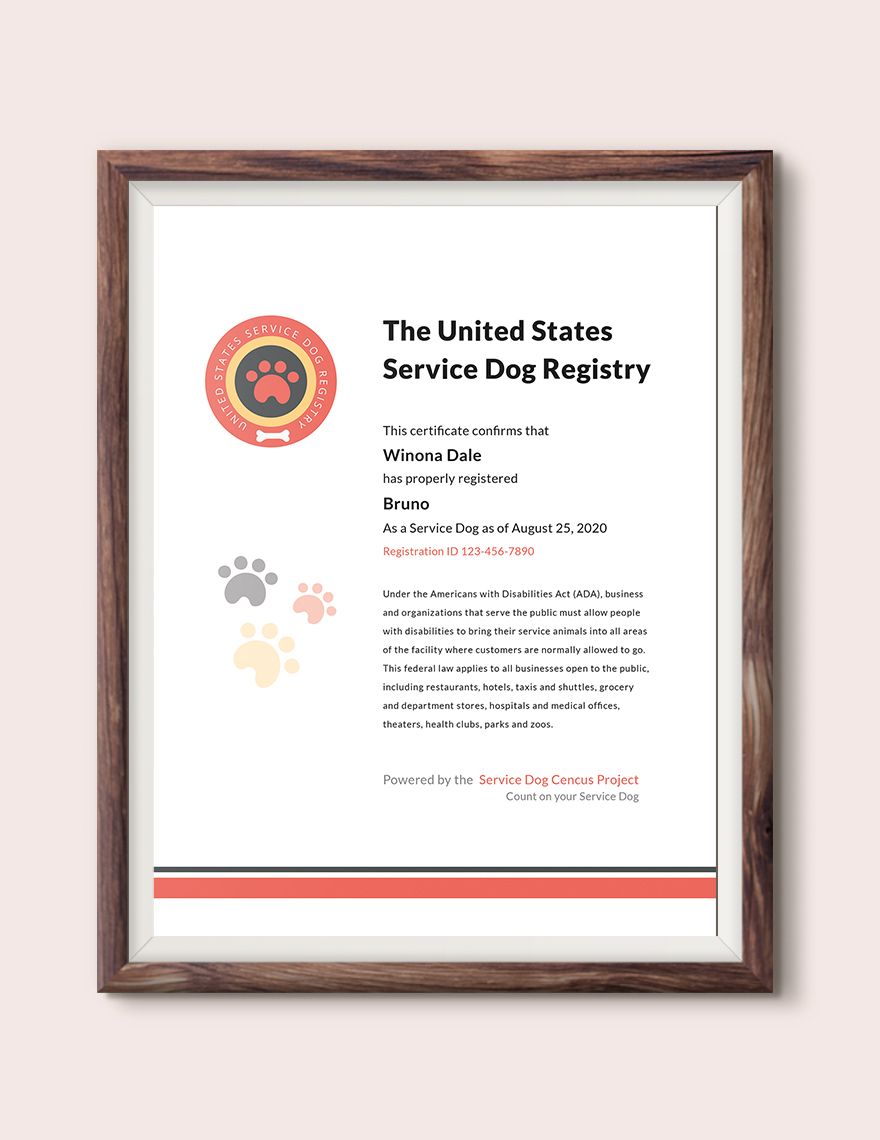
Dogs are part of our daily lives and part of our family. Sometimes they give us more love, affection, and emotional support even more than humans do. That's why dog owners find it cute if the dog they own has a certificate as proof of their dog's achievement, performance, and others. So, if you own a veterinary clinic or perhaps a pet shop, then it is a must for you to produce a dog certificate so you can offer something to your customers. Luckily, there's no need for you to start from scratch because we provide Dog Certificate Templates that are easy-to-use and print-ready. Each of the templates you see below is accessible on various file formats such as Adobe Photoshop, MS Word, Apple Pages, and MS Publisher. Above all, they are downloadable on any device that you want to use. So, what are you waiting for? Don't sleep out on this excellent opportunity to boost your sales, so go on and click the download button today!
How to Create a Dog Certificate in Adobe Photoshop
Based on the American Pet Products Association, almost 70% of all U.S. households own a pet, and dogs are by far the most popular pet. Because of that number, it is also expected the rate of various dog training activities is getting higher, so that means you need to generate more certificates to give recognition to the dogs who participated in the activities you've set. But if you're uncertain about the ways on how to make an efficient dog certificate, you can always refer to the steps we showcased below. Here's how:
1. Determine the Purpose
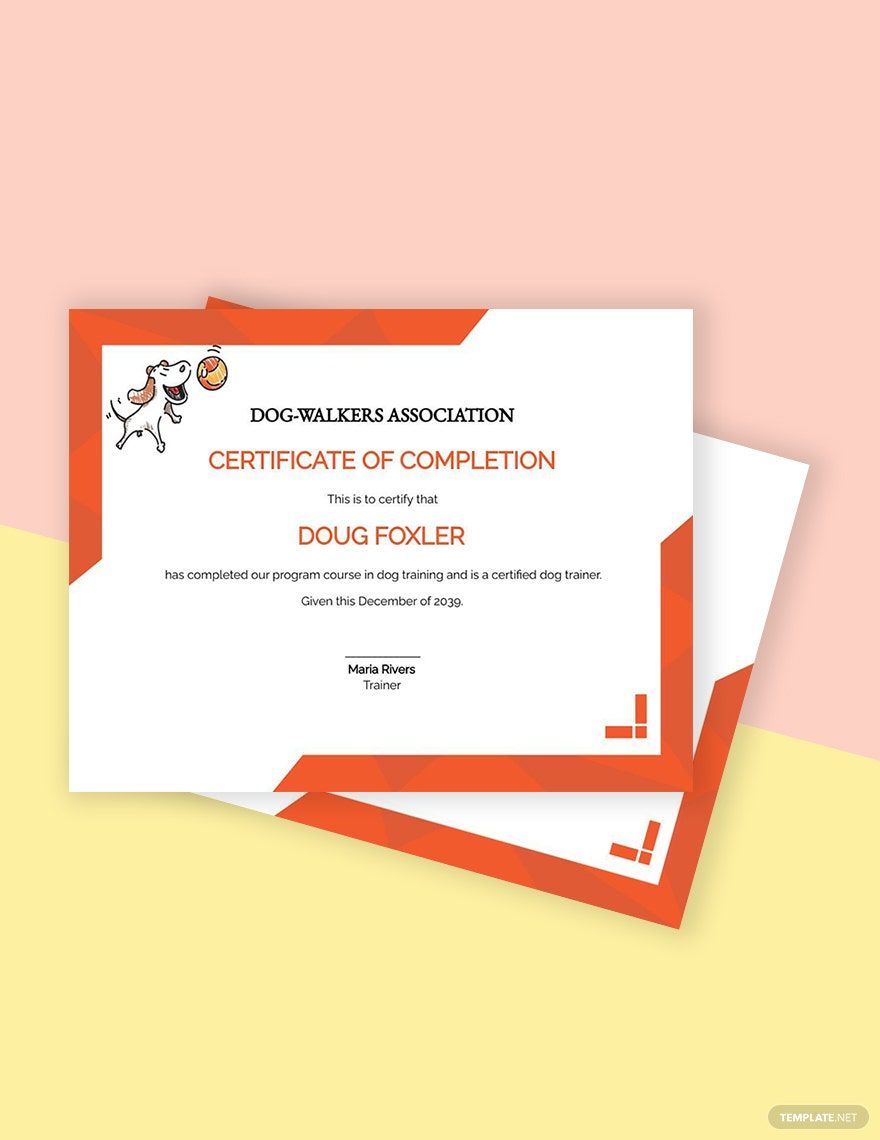
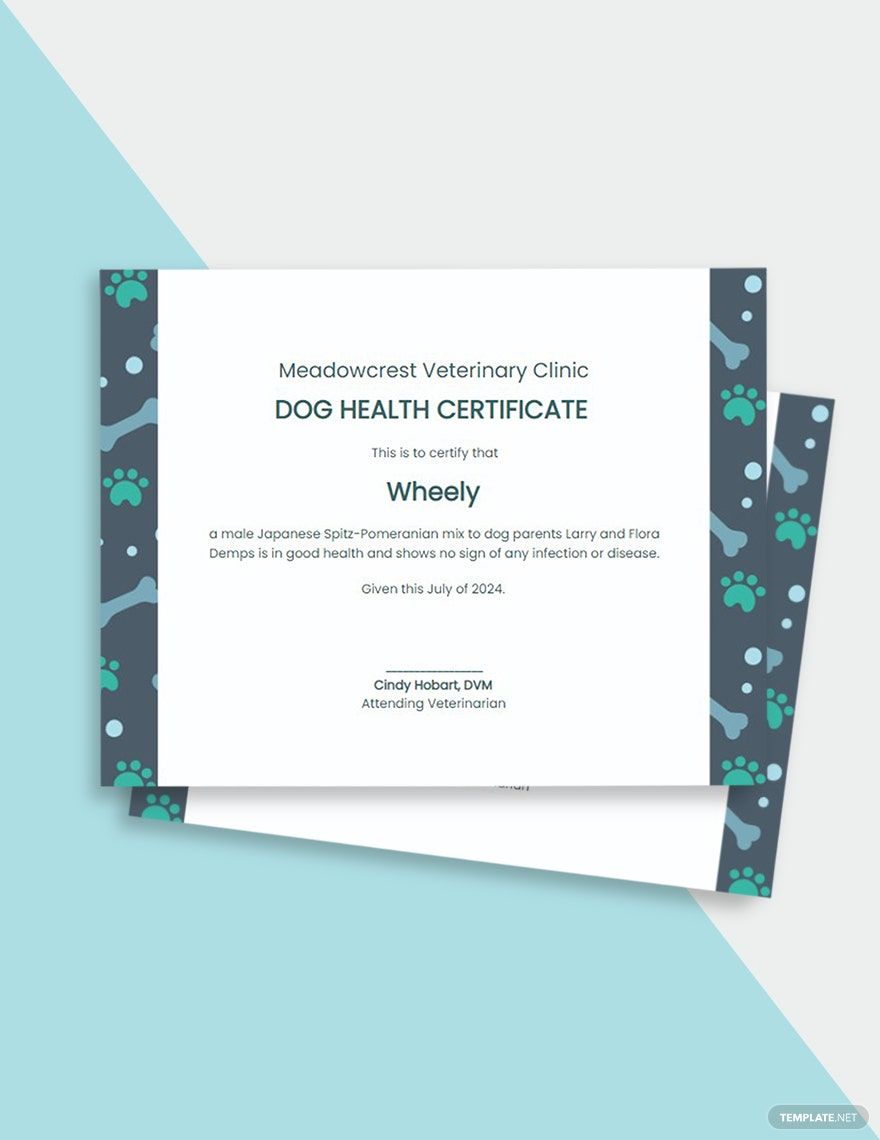
Before you start making one, you must first determine the type of dog certificate you're going to make. Take note that a certificate depends on the activity or the services you're offering. For instance, a dog owner bought his/her dog to your veterinary clinic for his monthly check-up, then it is expected that you'll grant the dog his/her medical certificate. But if a dog undergoes a training activity, then as the facilitator, you need to allow the service dog a training certificate as proof that he/she completed the training exercises.
2. Prepare the Content
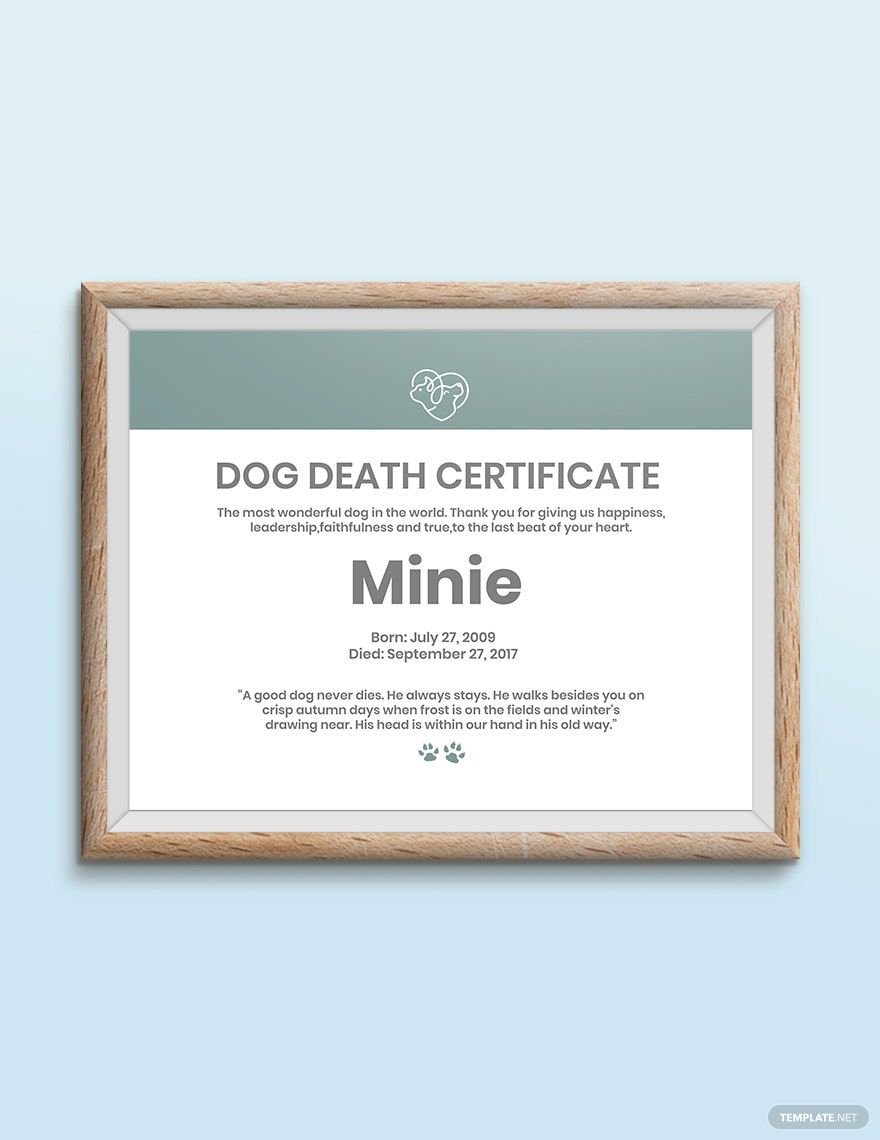
The second step is related to the first step above. Only when you've already determined the type of certificate, it is time for you to prepare its content. The content also depends heavily on your type of certificate. For example, if you've decided to create a dog death certificate, then the details that you must incorporate will be the dog's birthday and the day he died. You have the freedom to add a description to it using Adobe Photoshop.
3. Insert an Image
Inserting an image is optional. But if you wish to make the training certificate more appealing, then you may attach your dog's image into it. But remember not to insert too many photos, or else it'll overwhelm the one receiving—one copy is enough. Just make sure that the image you will be adding is high-quality and original.
4. Publish the Certificate
Once you're done following all the steps we discussed above, it's time for you to publish the certificate and place it inside a frame to assure that the quality won't be ruined. Additionally, don't forget to use the highest quality type of paper because if you don't, then there's a high probability of producing a horrendous end-product.
5. Affix the Signature
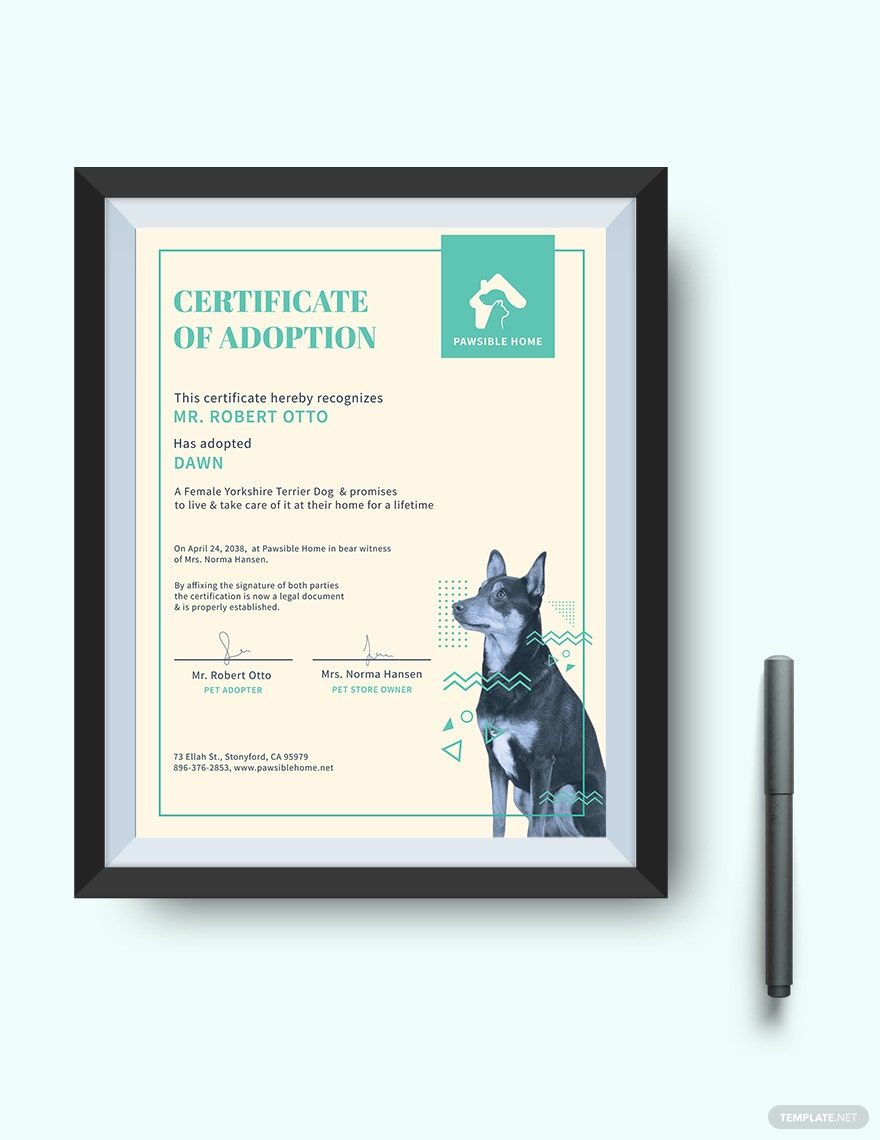
This is the step that most people forget—affixing the signature. Remember that a certificate is a formal document, so you have to attach or include the signature of the authorized person to increase its credibility. For example, if the certificate you're producing is a puppy adoption form, then make sure that the signature of the adopter and the pet store owner must be present.