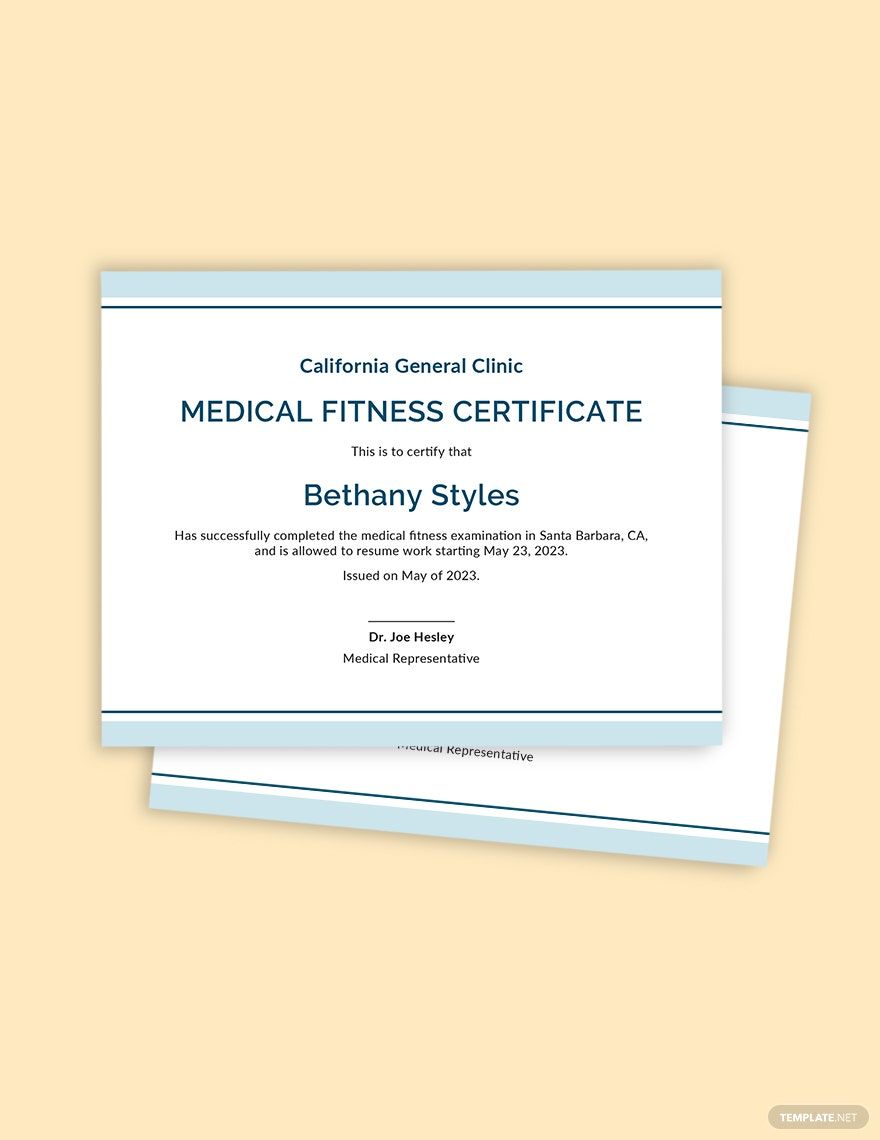
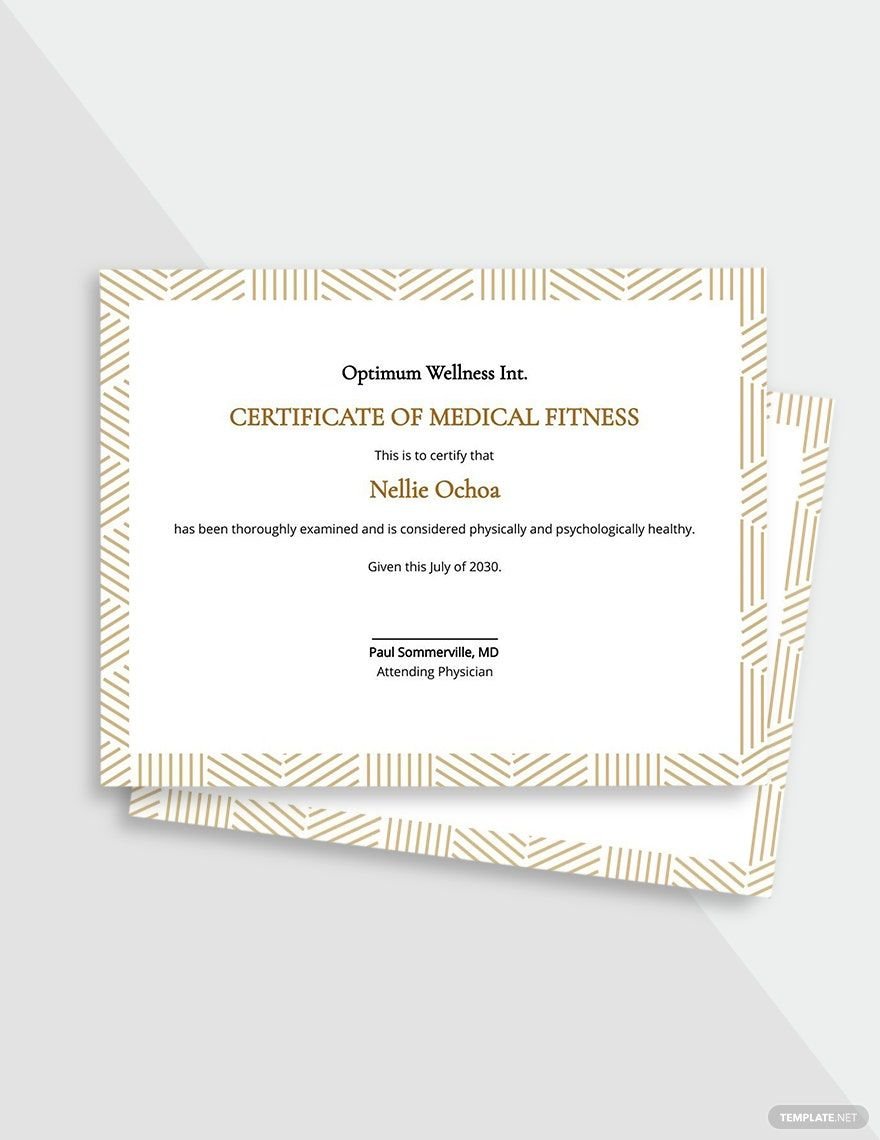
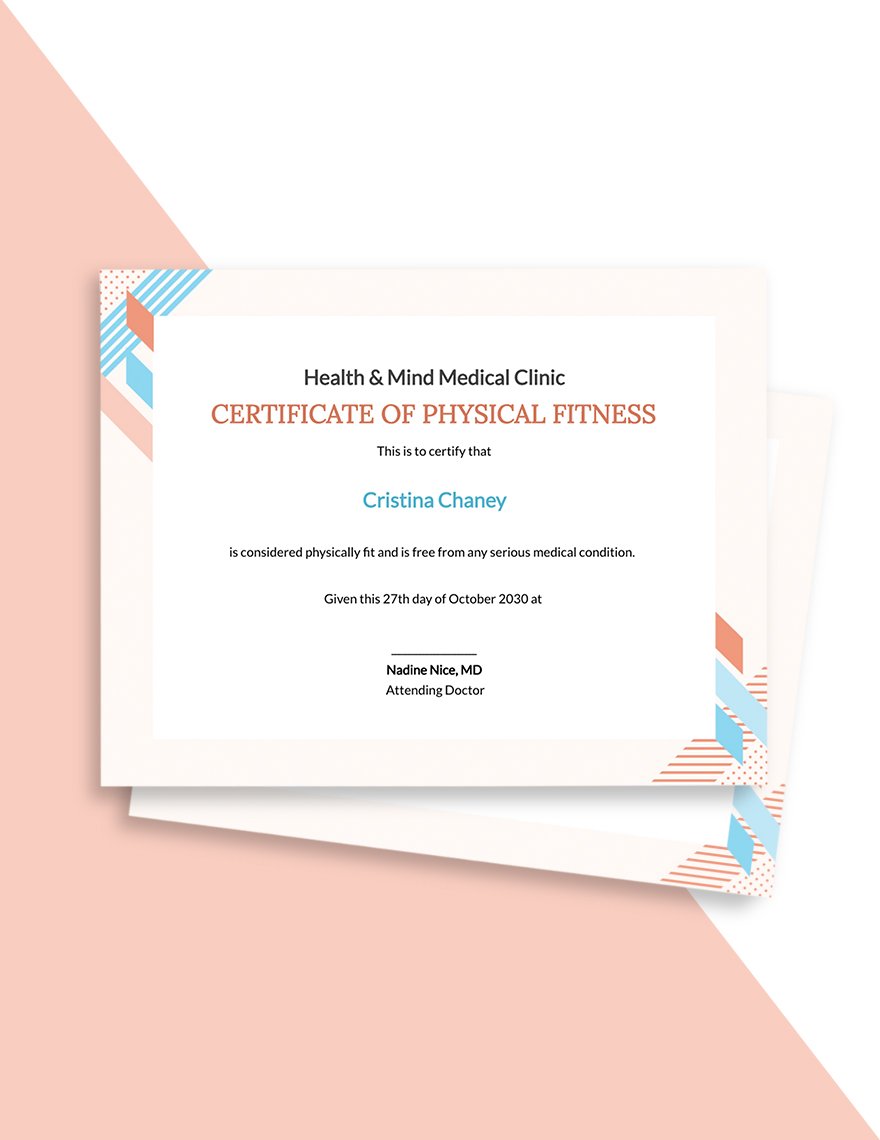
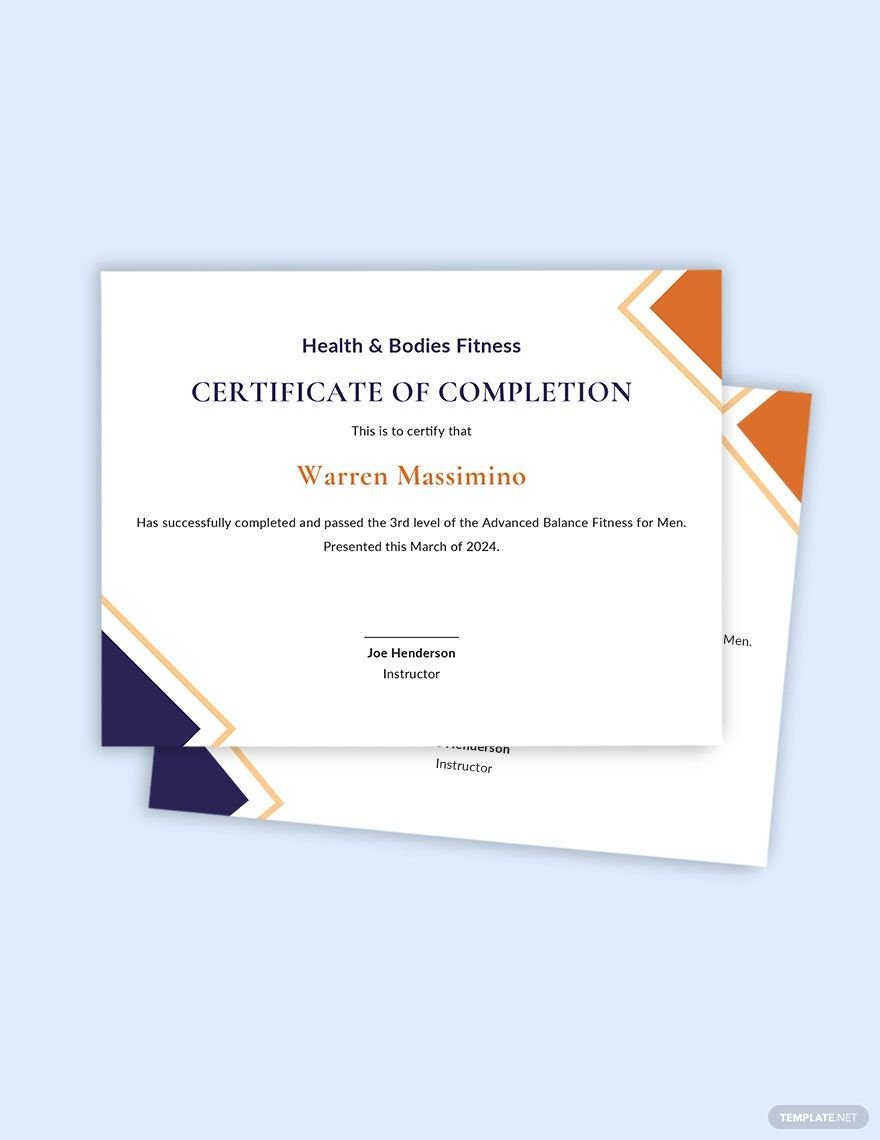
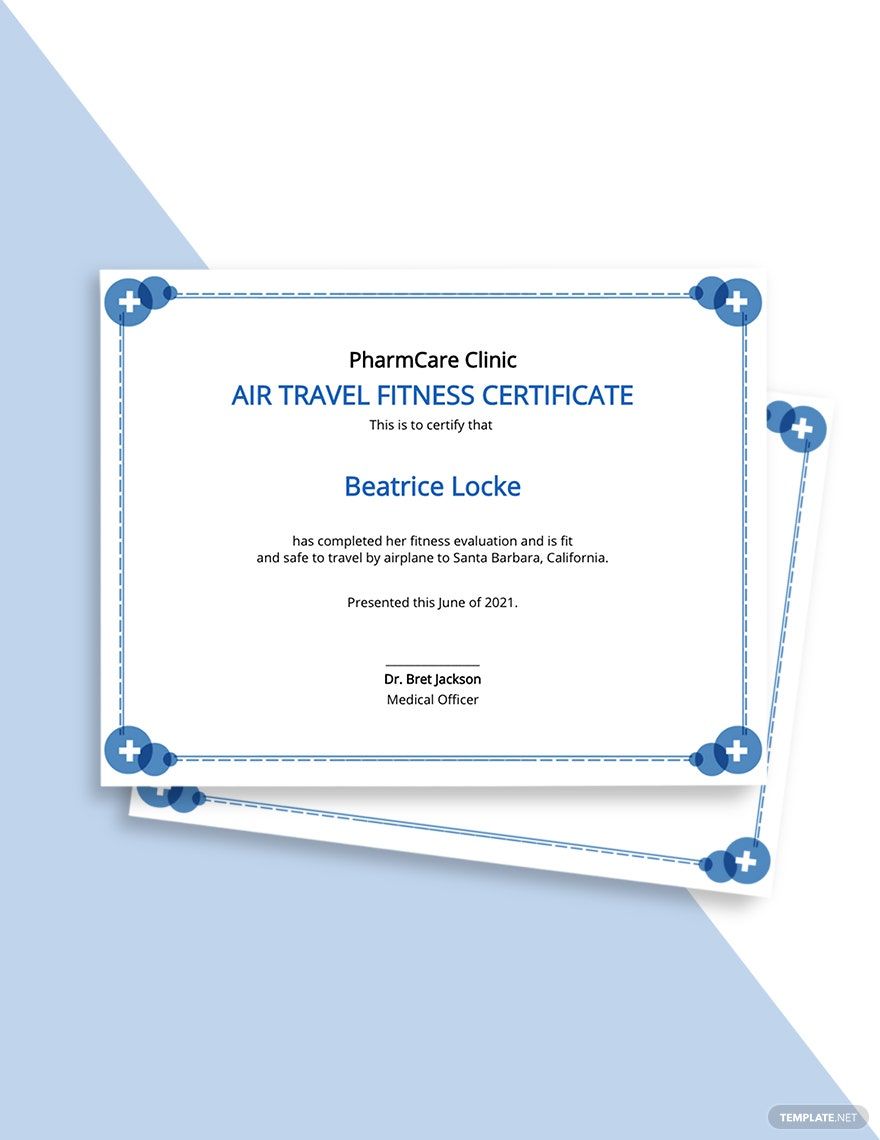
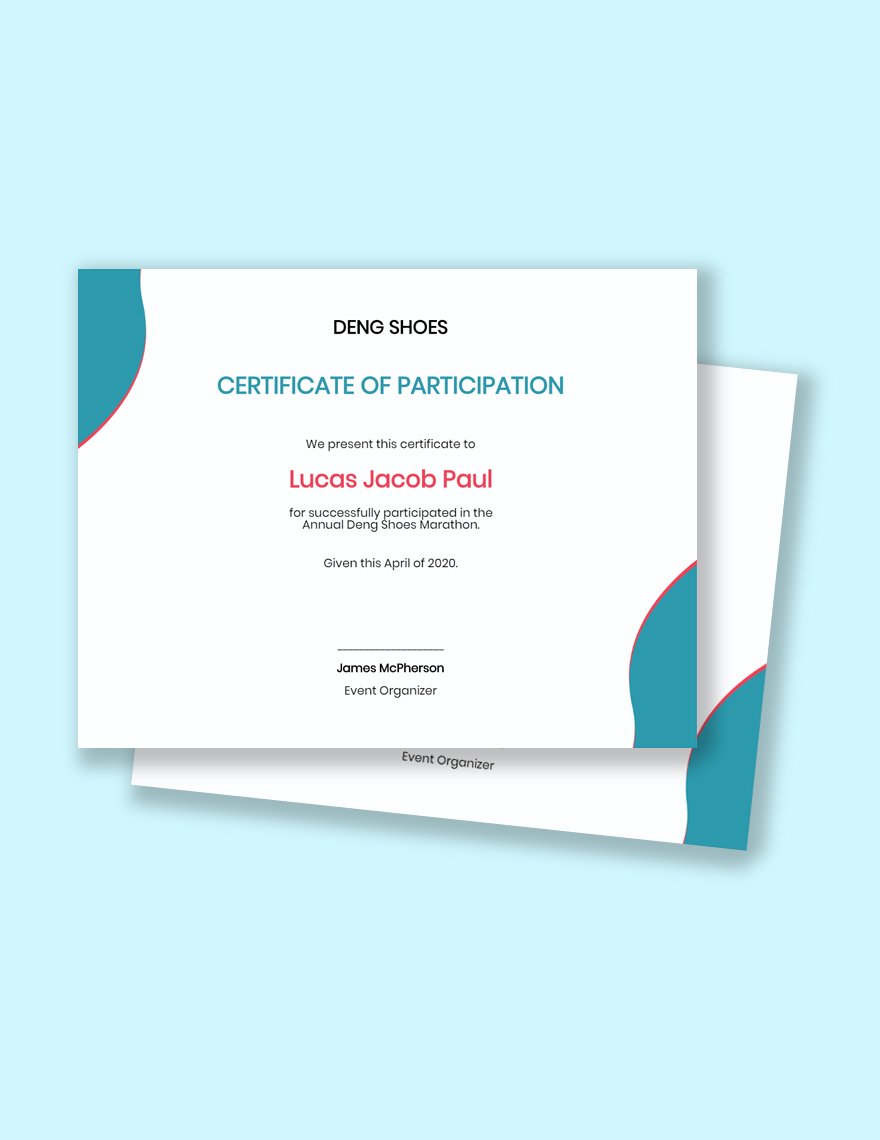
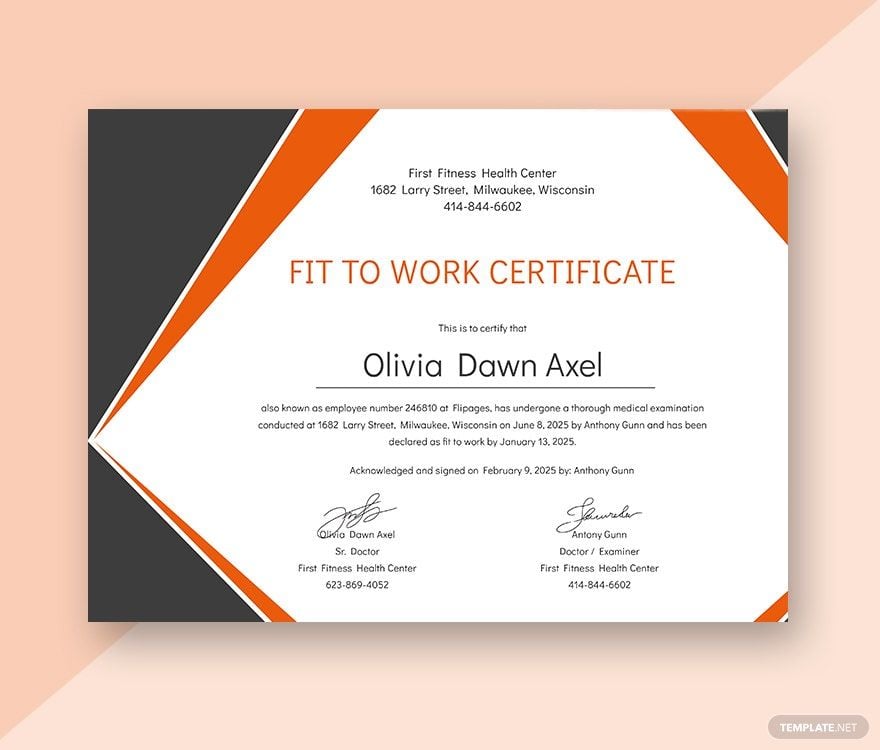
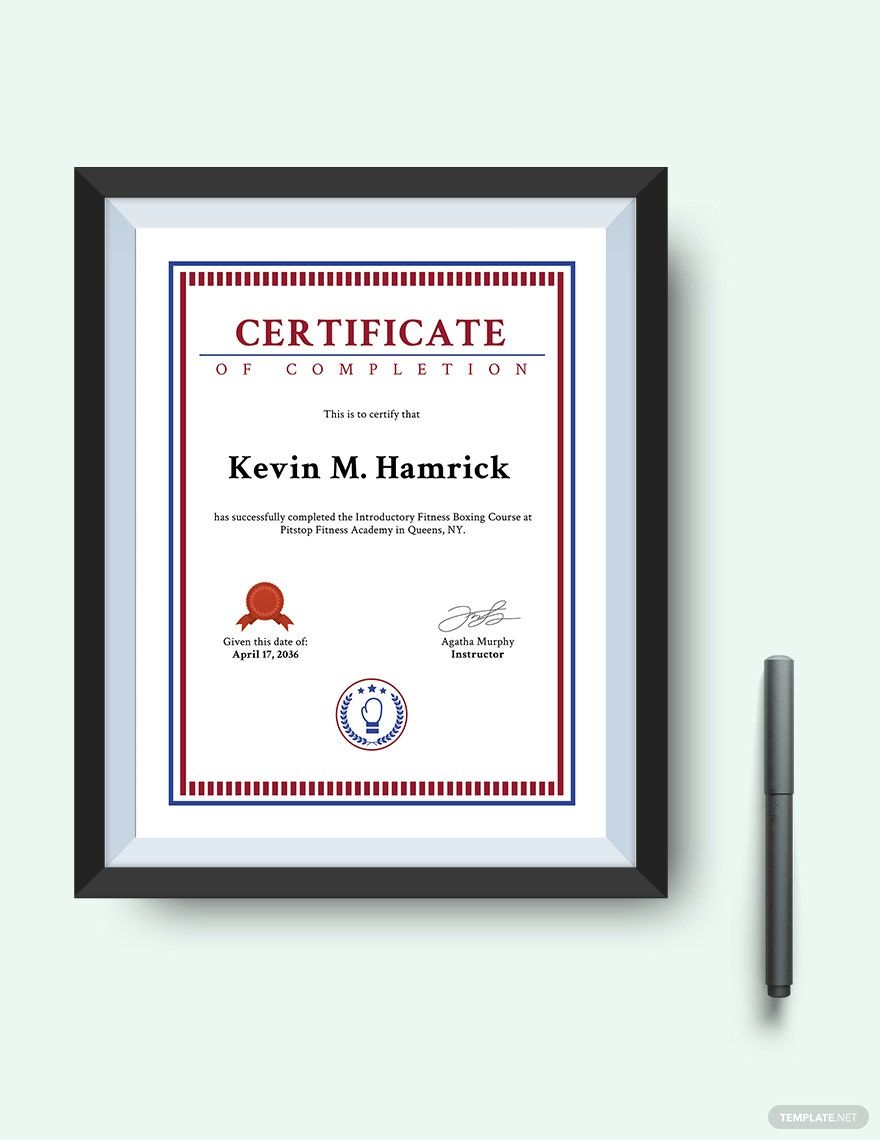
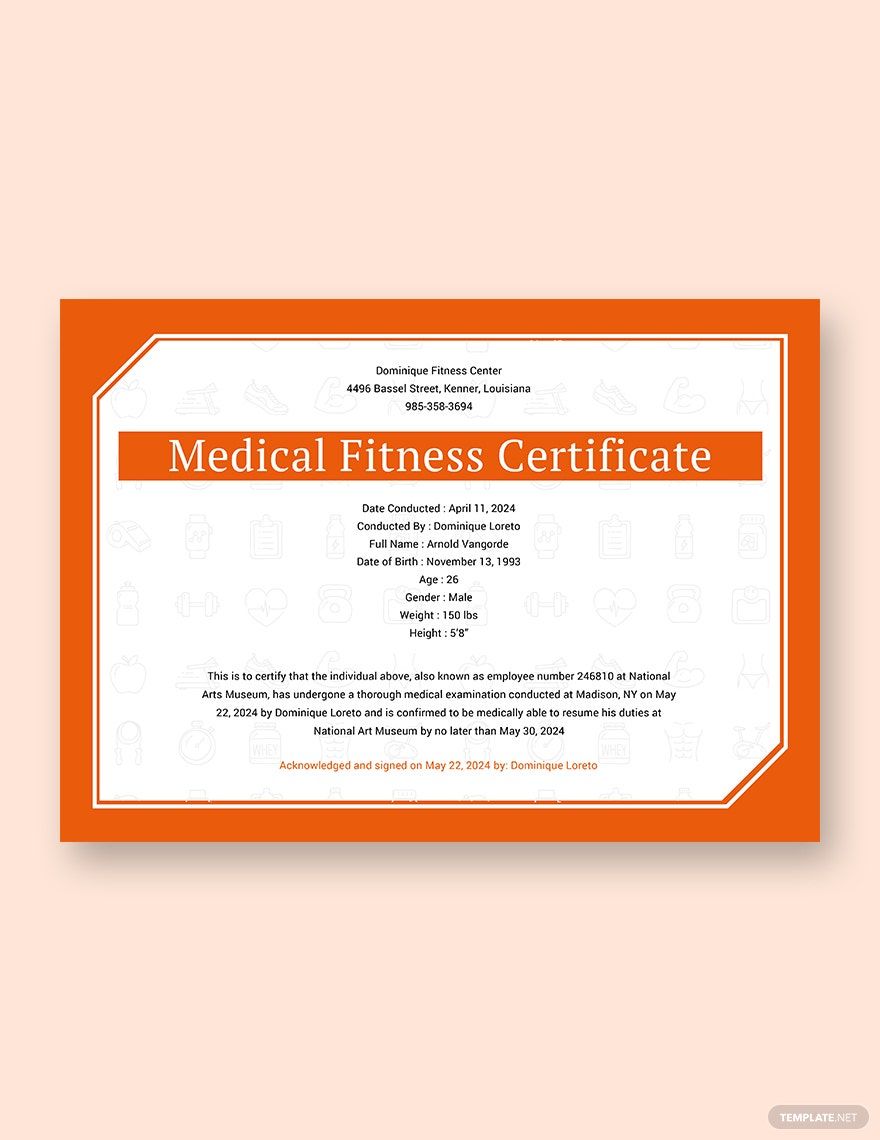
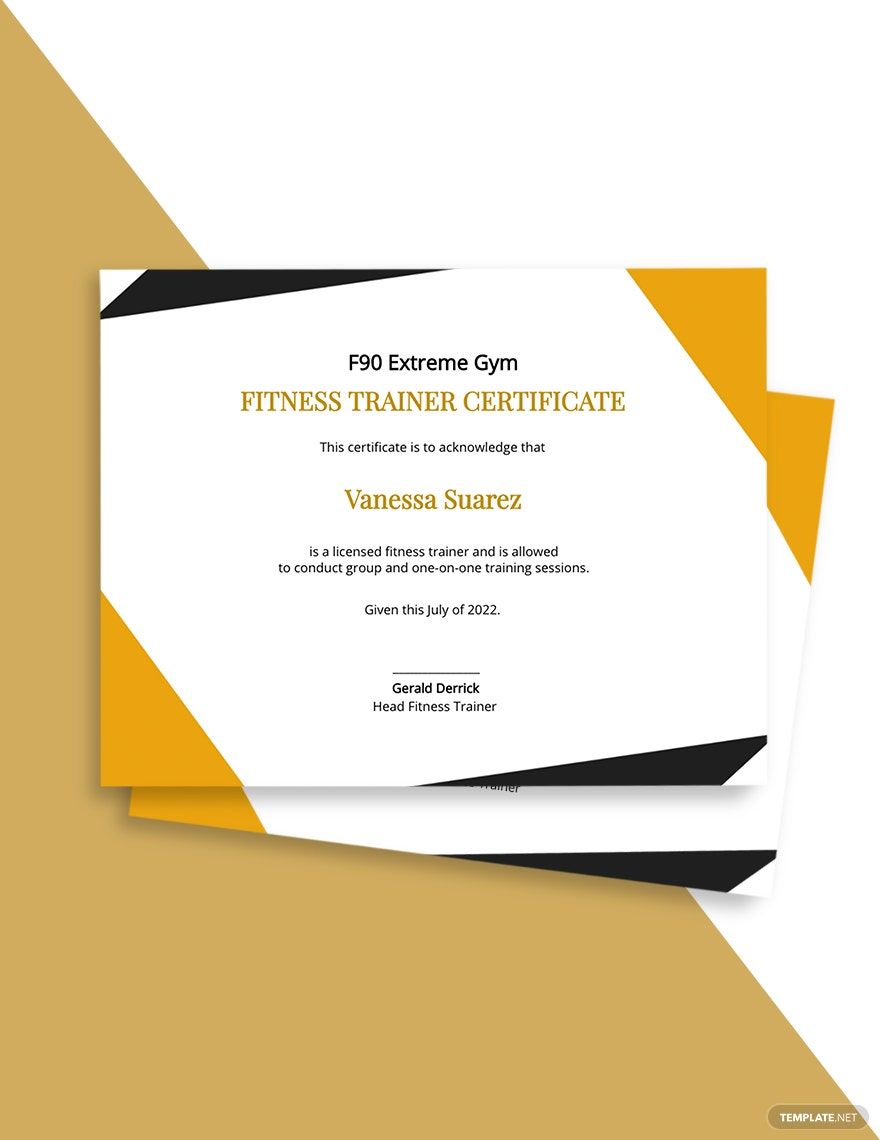
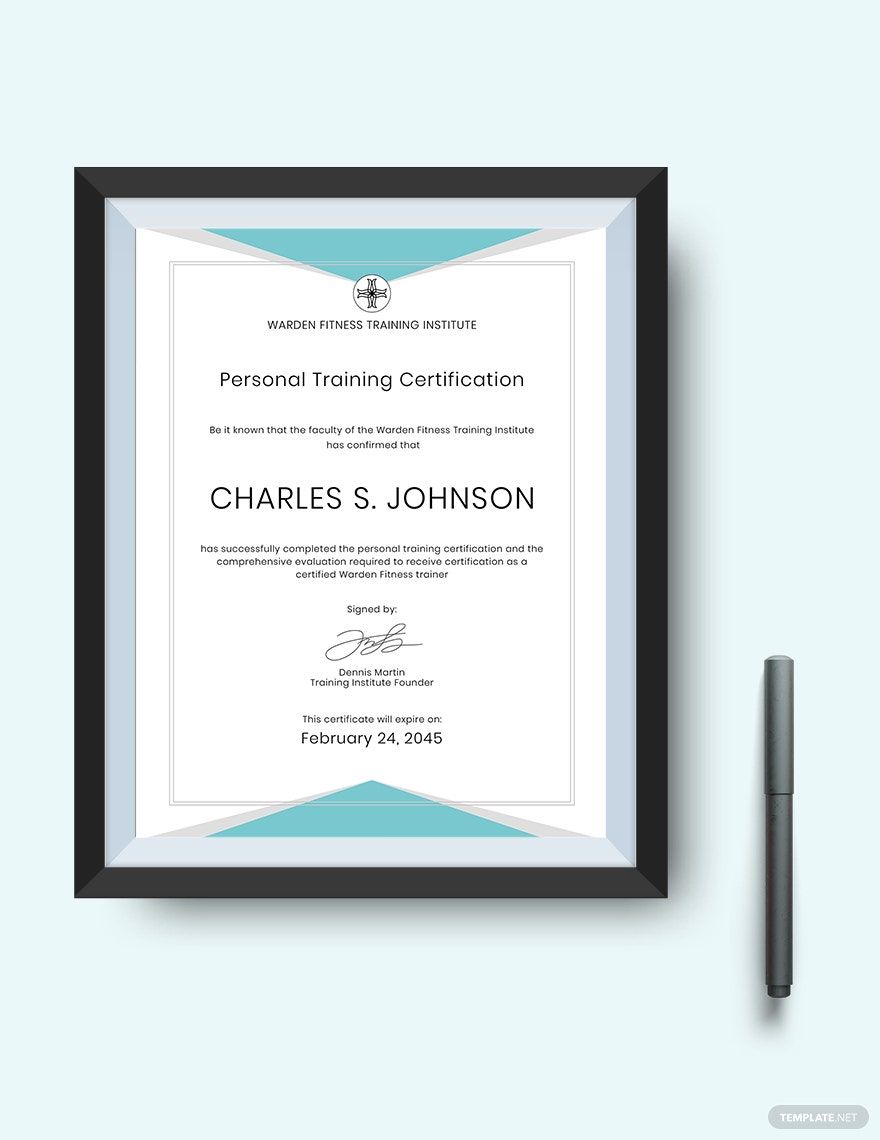
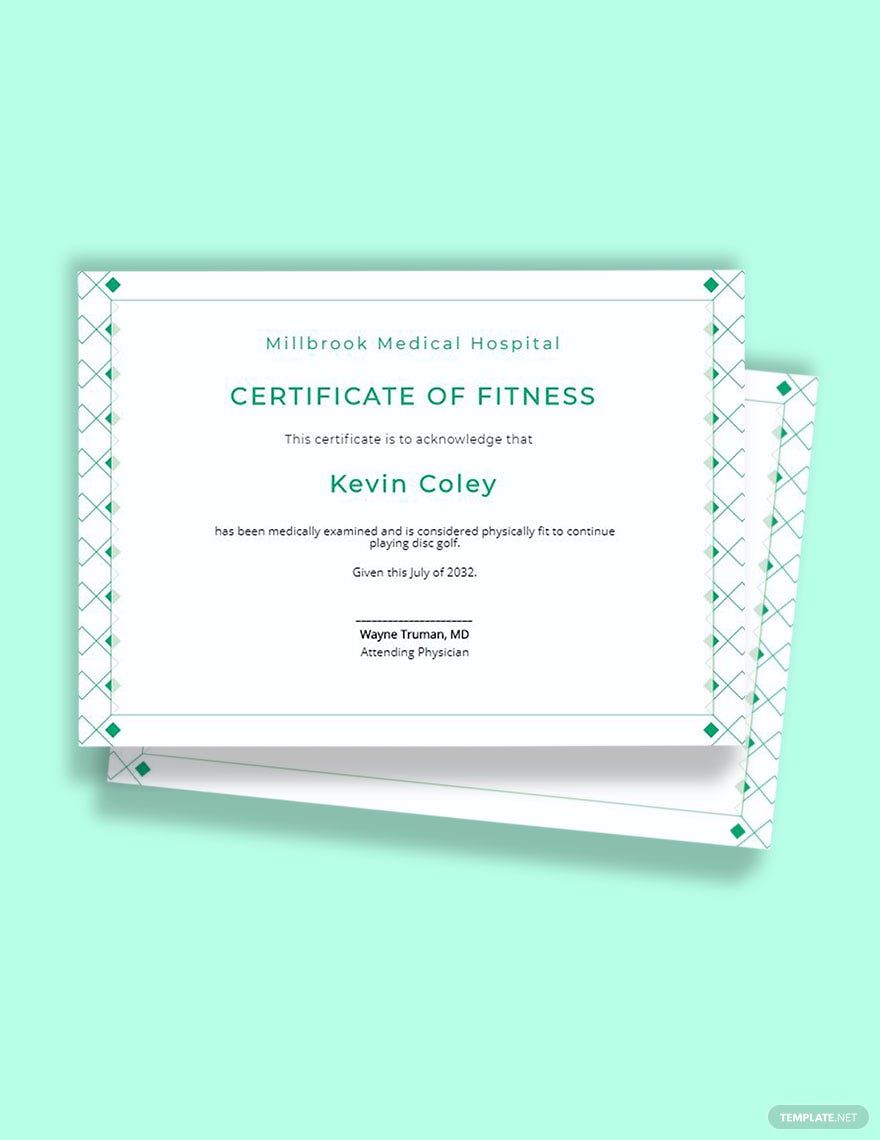
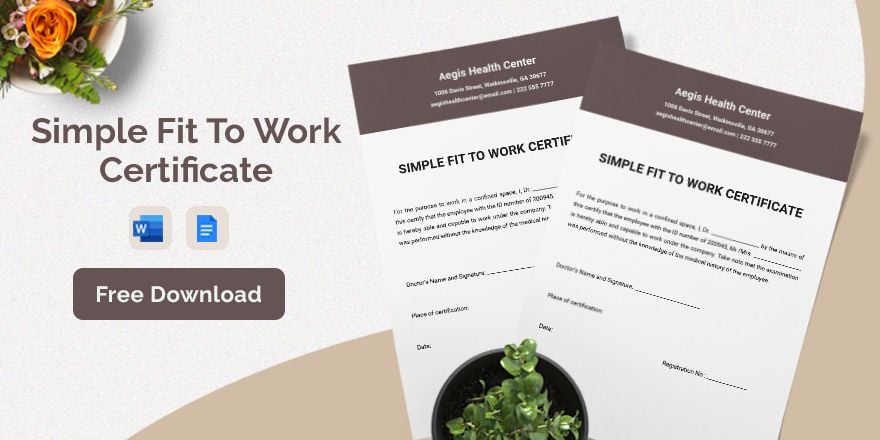
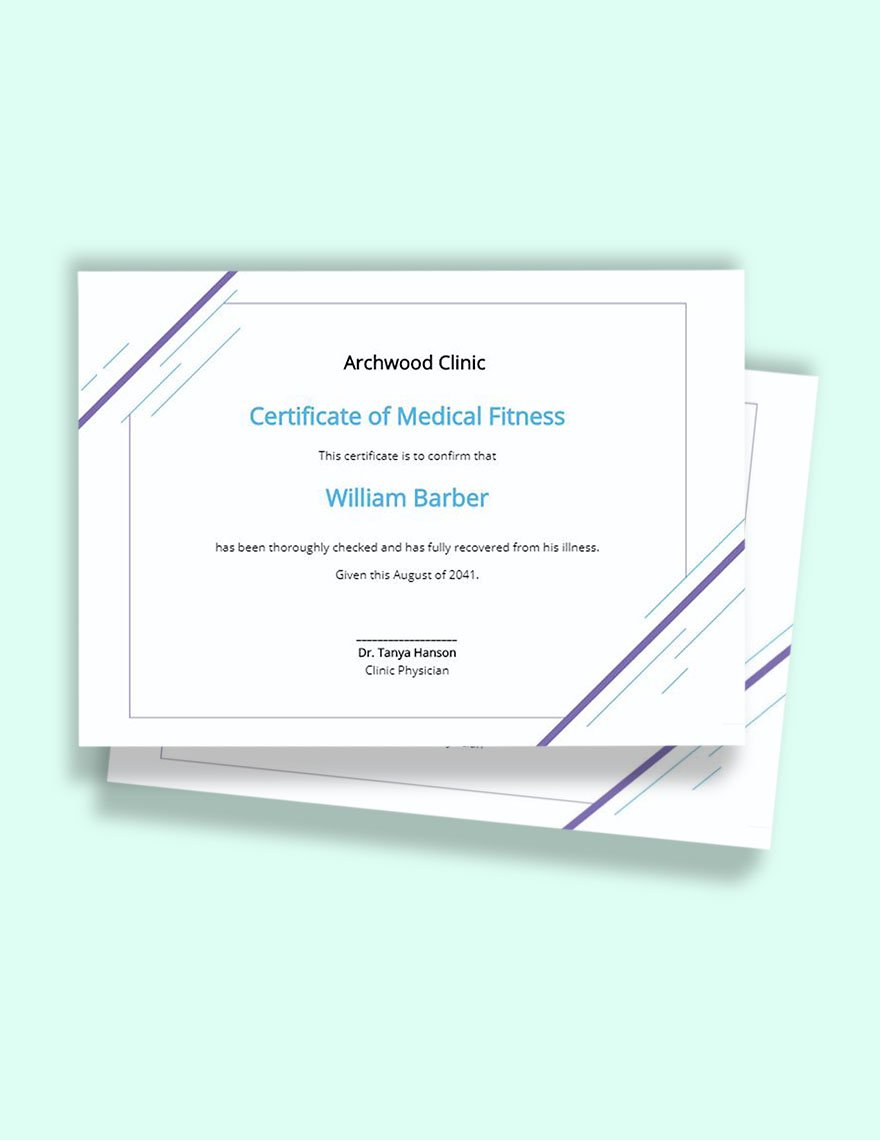
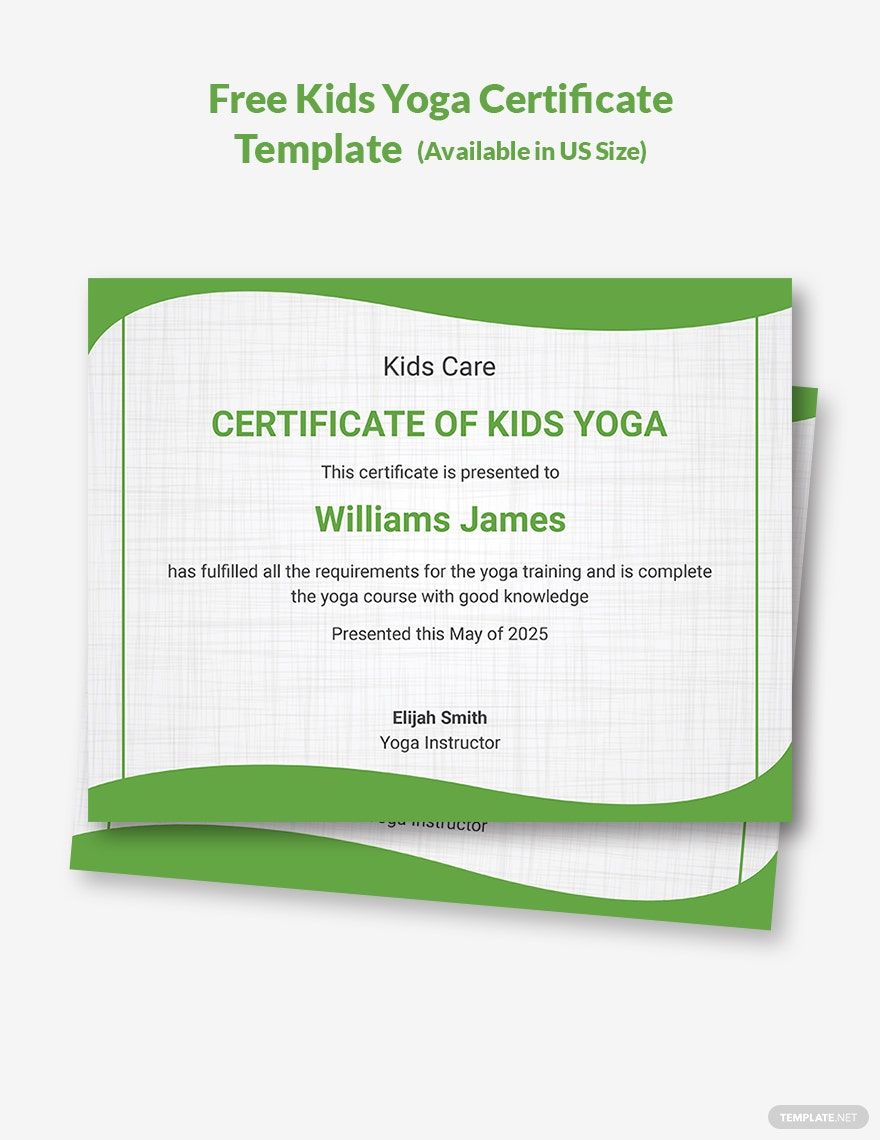
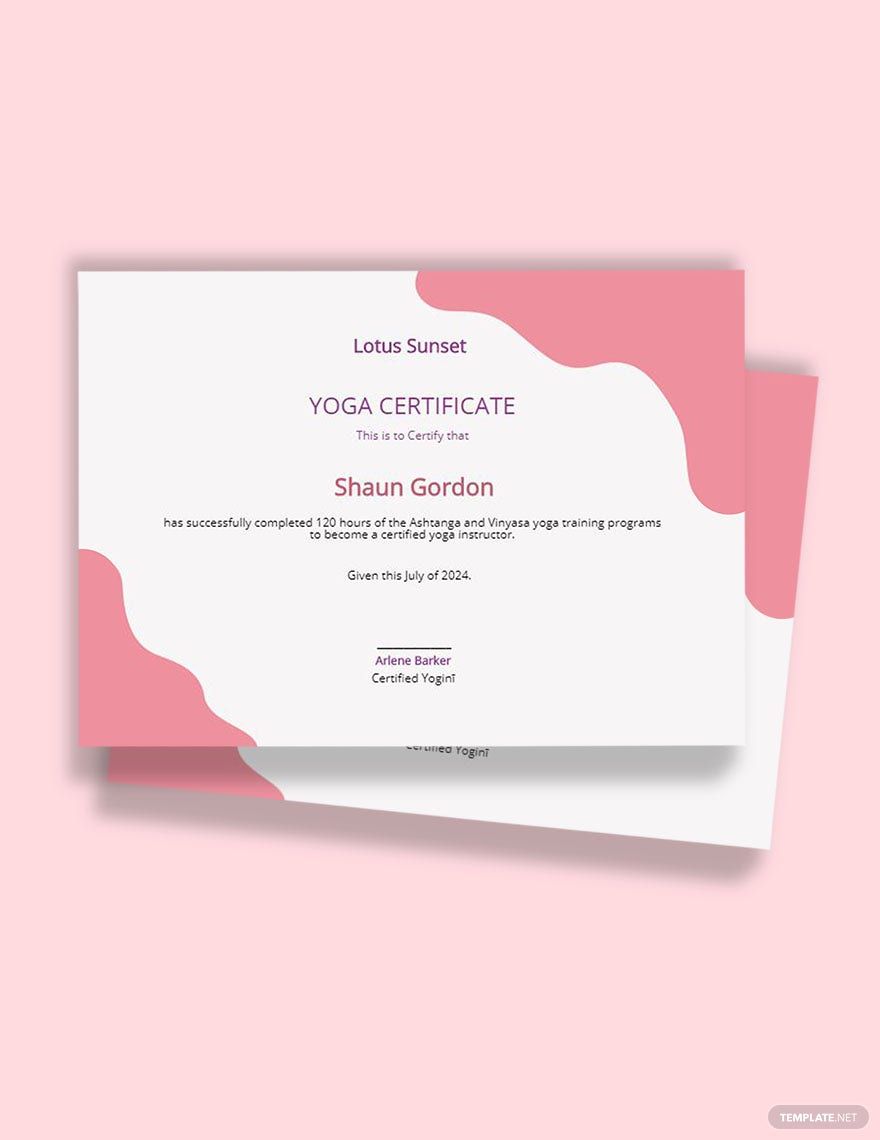
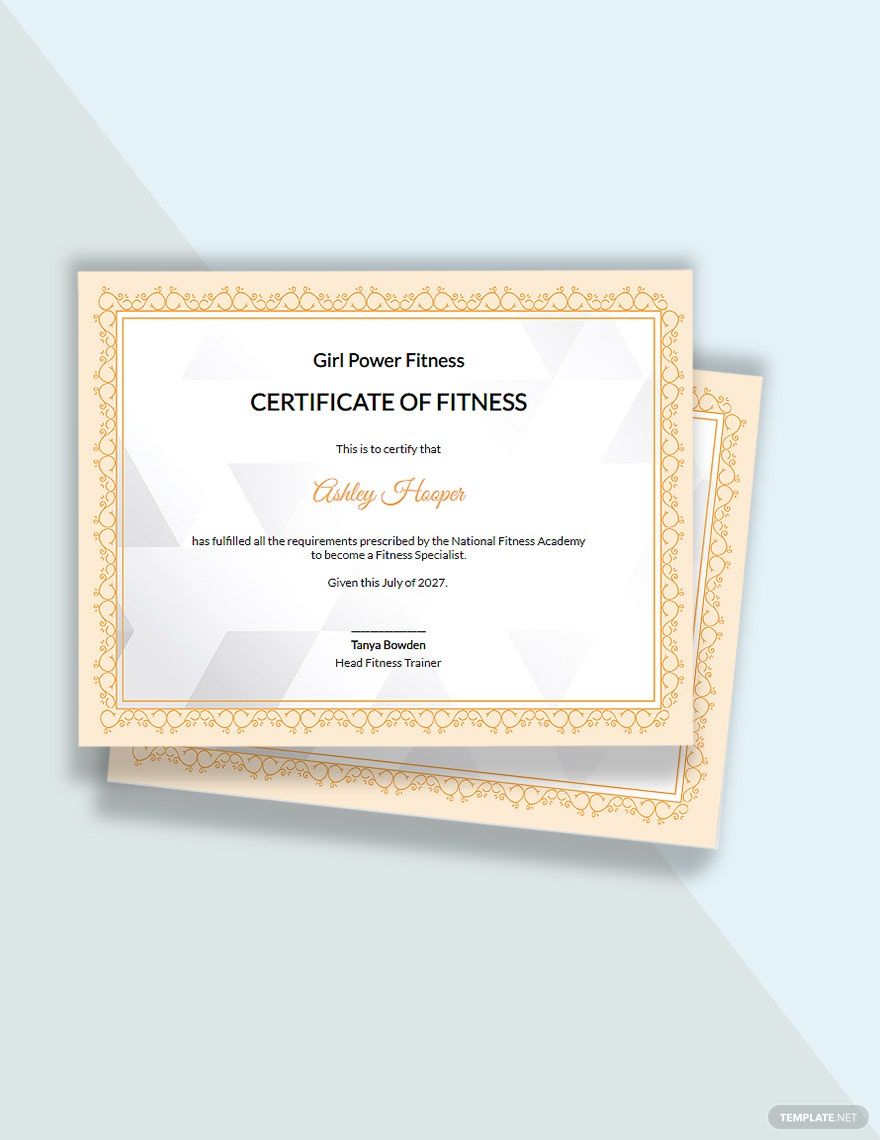
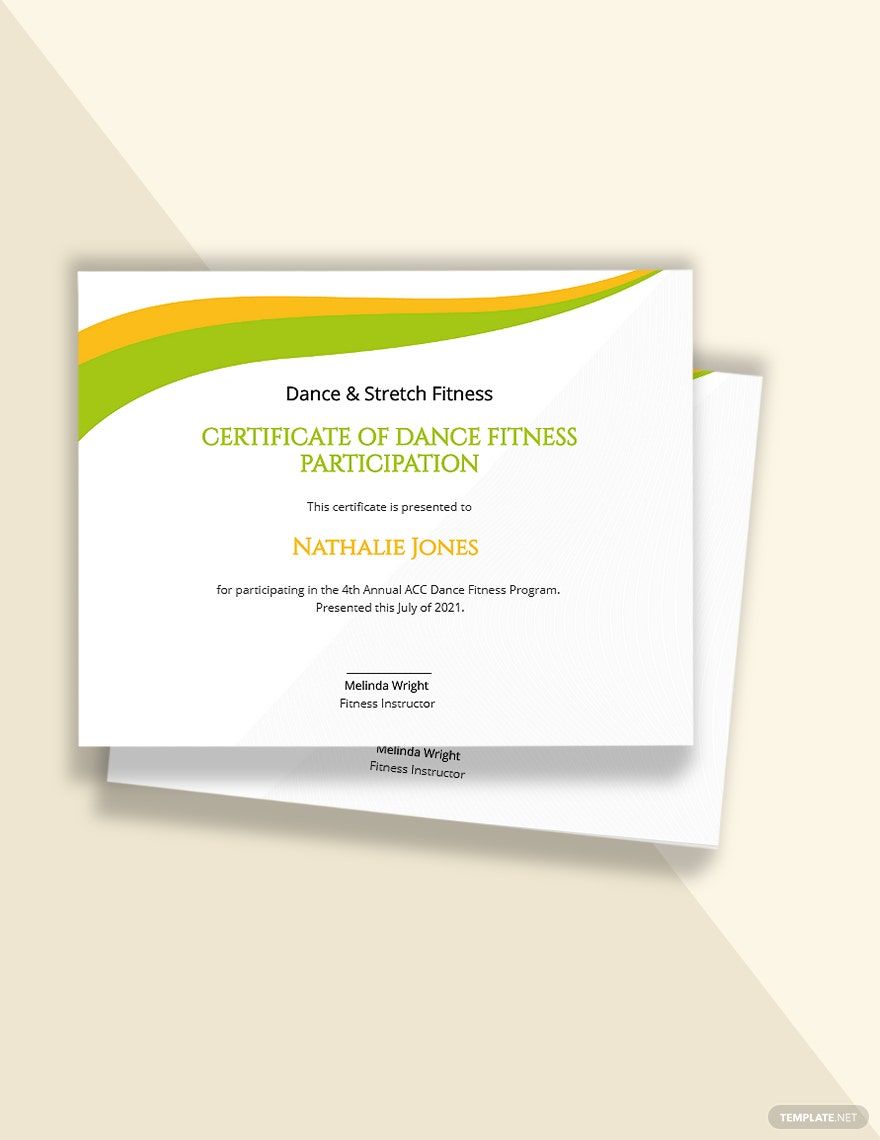
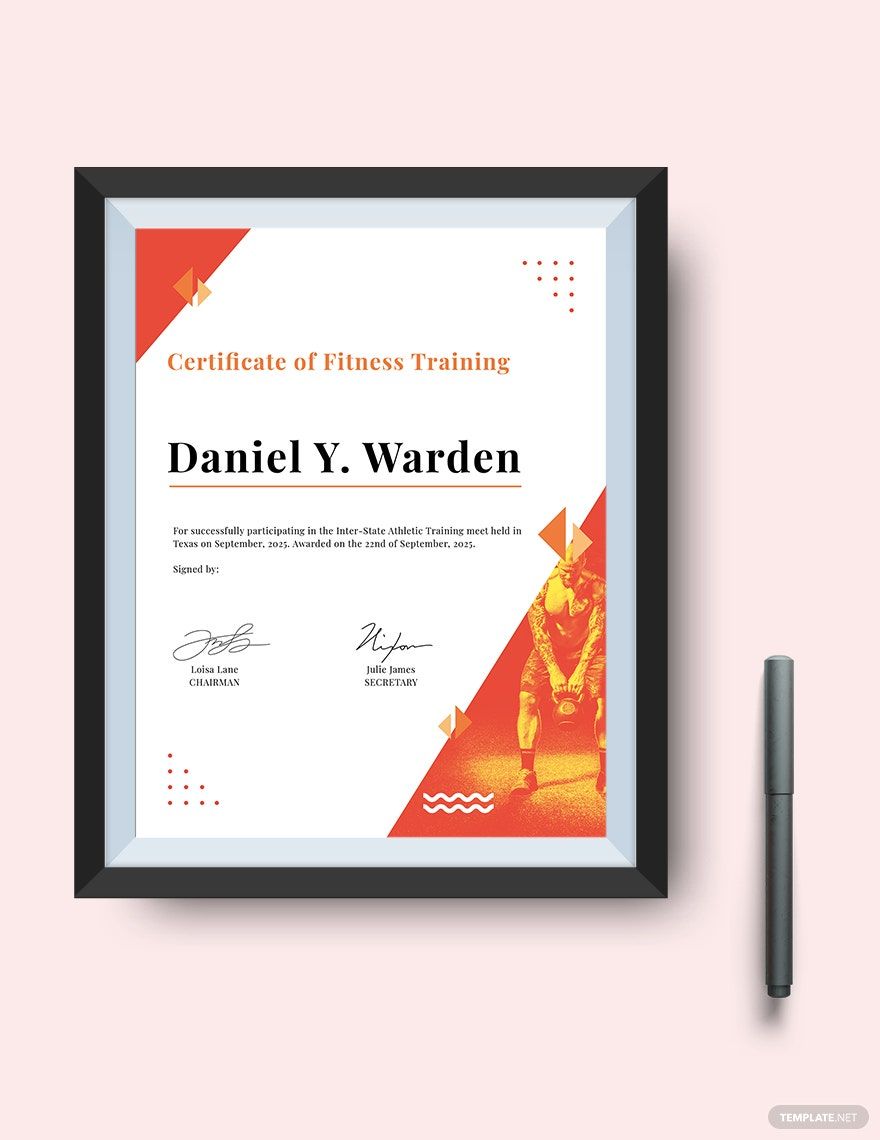
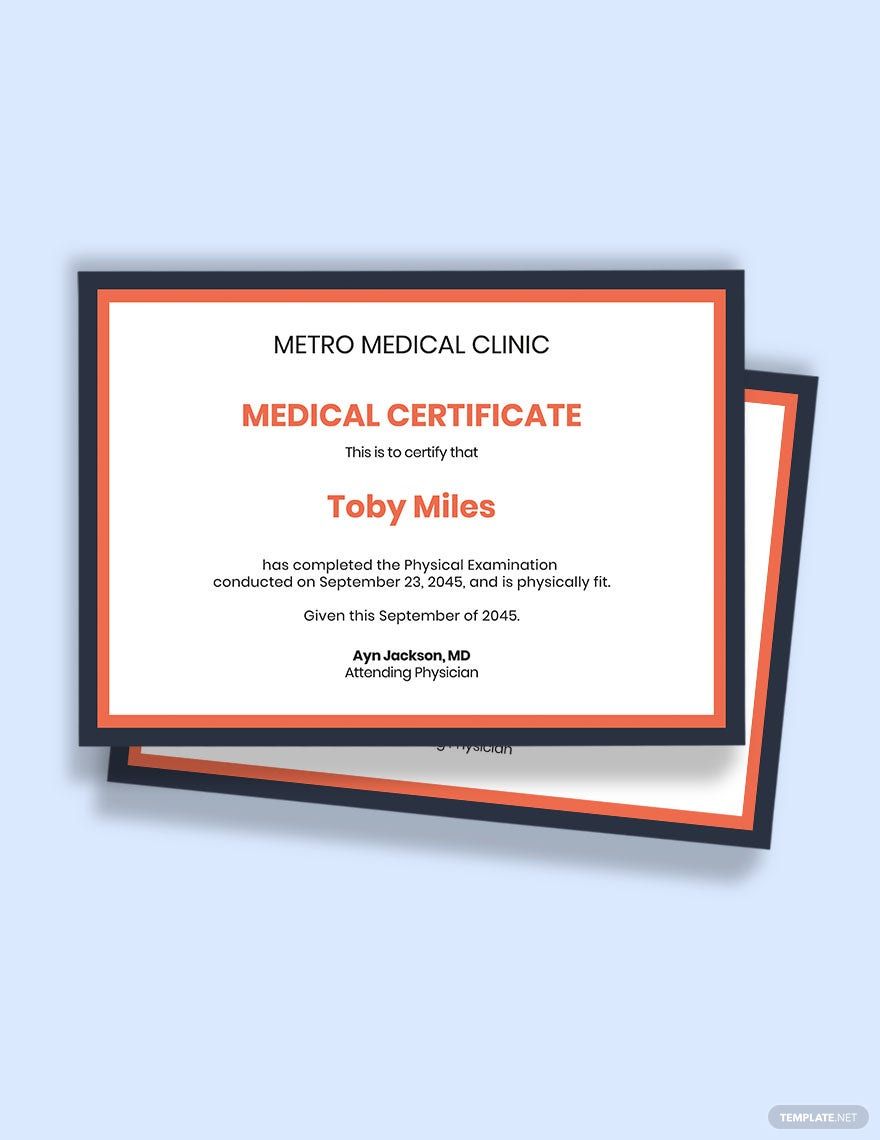
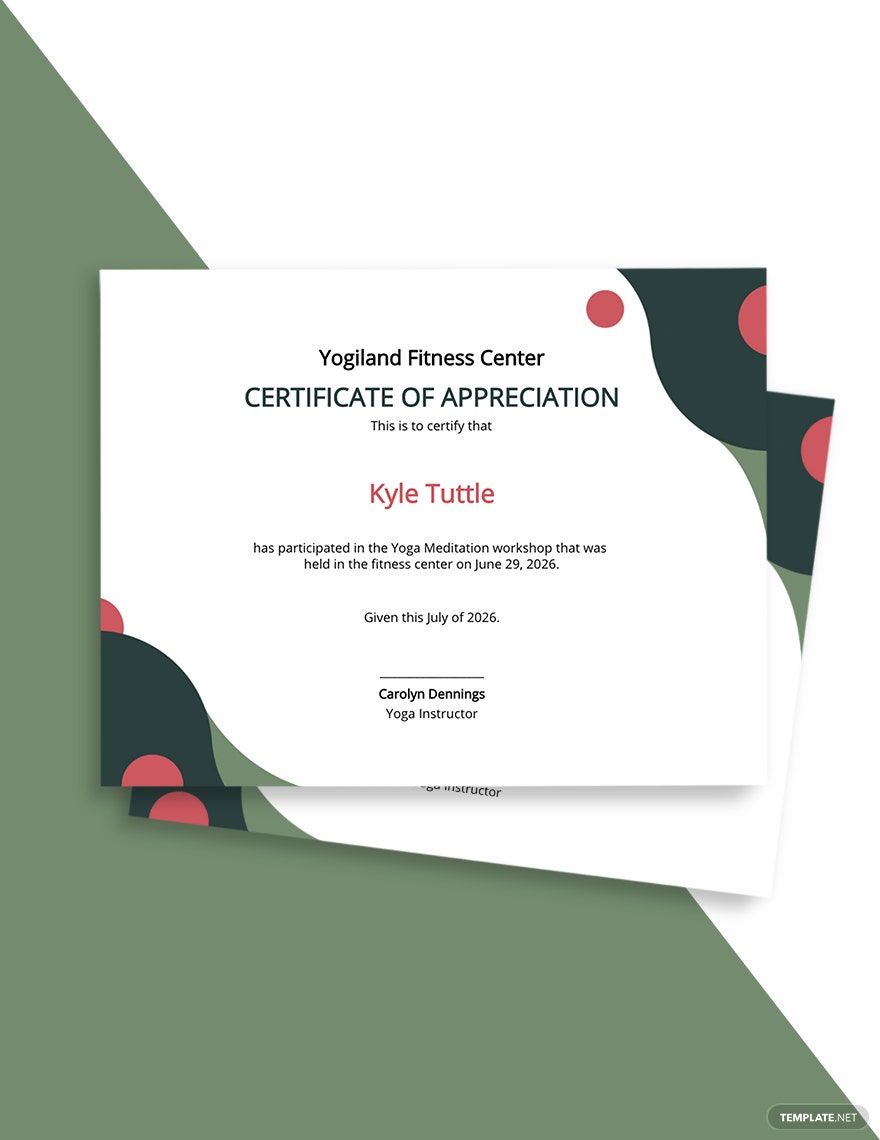
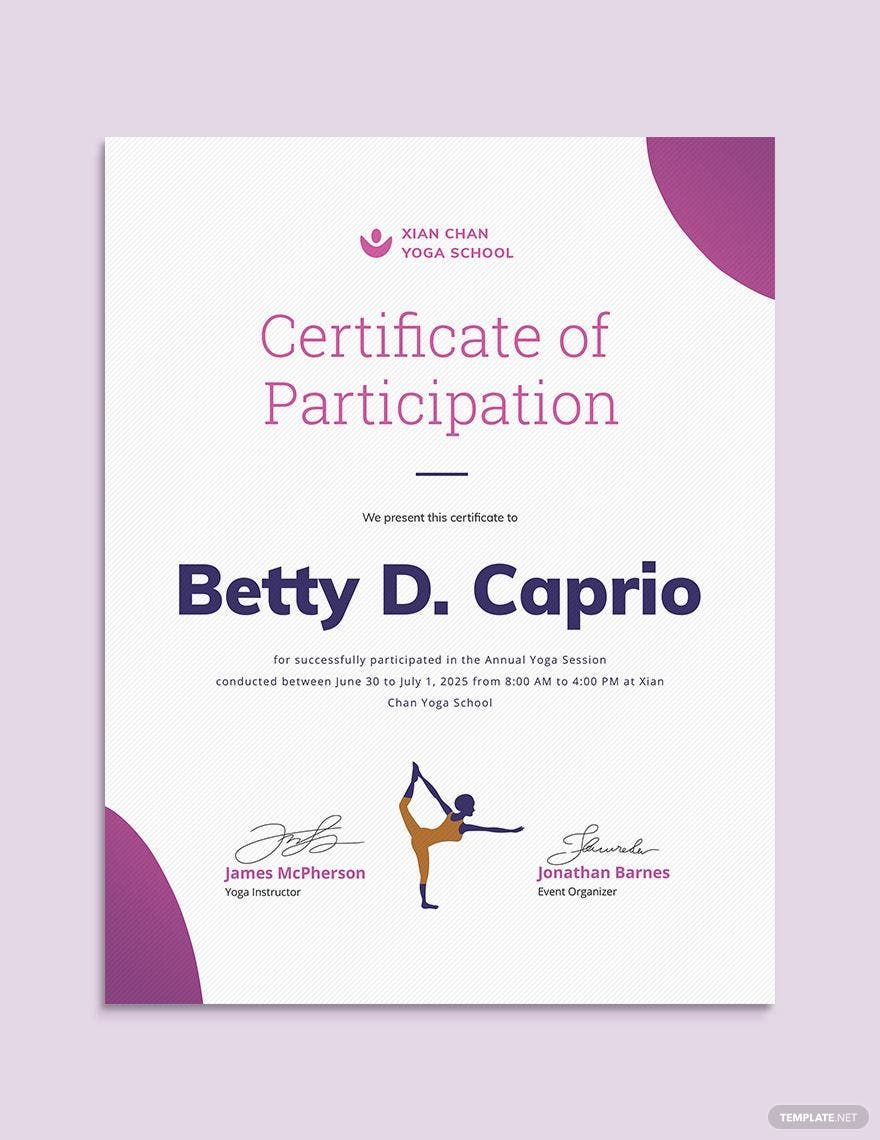
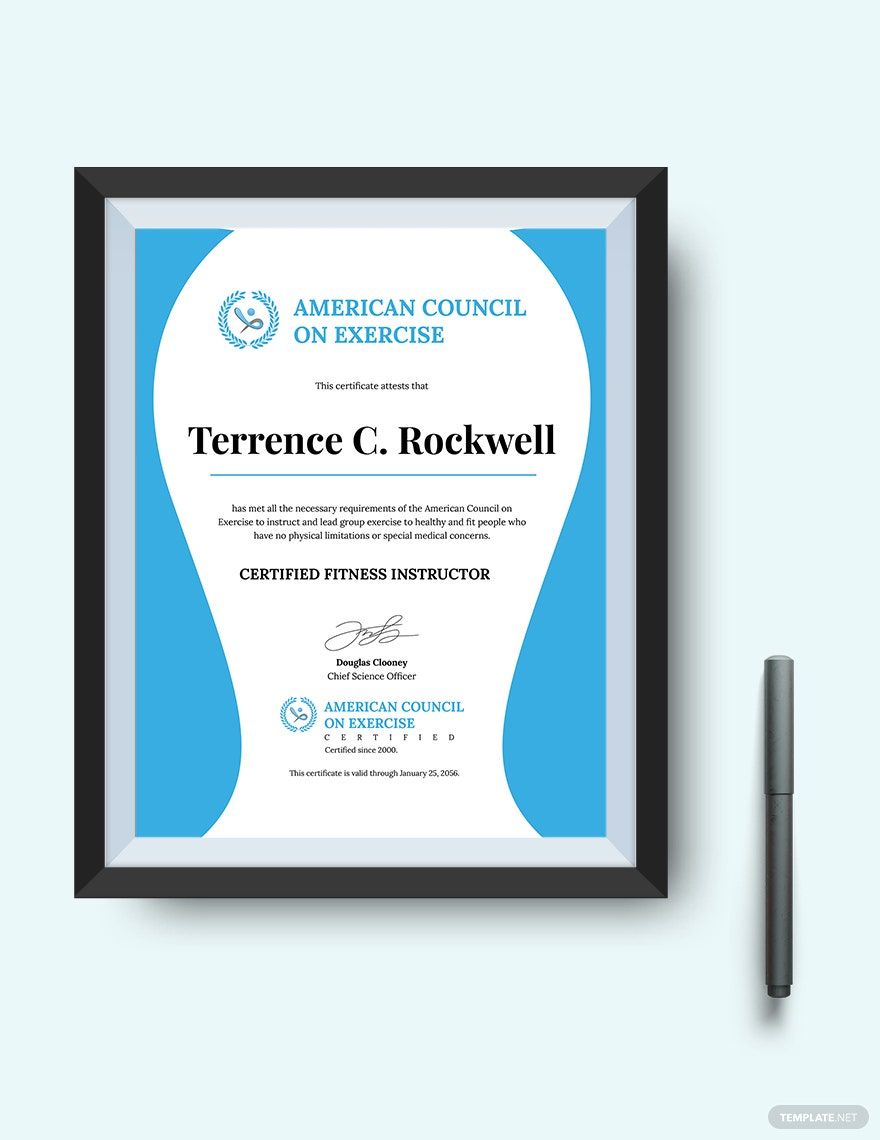
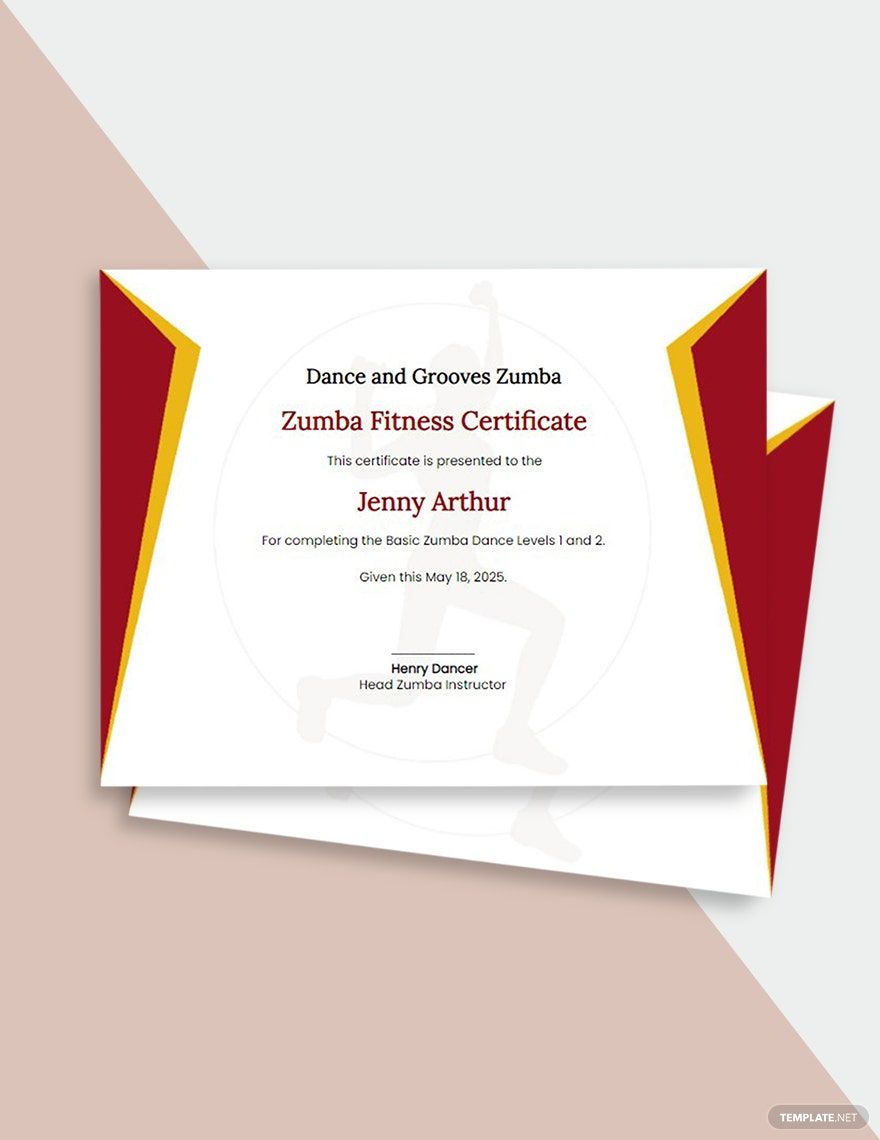
Do you need to make a document for someone’s certification as a gym instructor? What about something to award a person’s participation and completion in their fitness training? Be it in a job, school, or whatever else, a certificate makes for a professional medium to signify someone’s health-related achievements. What’s more, a certificate is quite simple to prepare and create, too. So, allow us to start you off with our easily editable Fitness Certificate Templates! Not only are our certificate samples quick to customize in Microsoft Word, but they even come in both A4 and US letter sizes. So, don’t delay--use our original content for awarding swimming champs, medical students, and more!
How to Make a Fitness Certificate in Microsoft Word
From medical training to physique achievements, certificates are a nice way to show off various masteries in health and fitness. After all, merriam-webster.com explains that a certificate is an official document that states a person’s fulfillment.
Although making a certificate from scratch is easy enough to do, it can still be tricky to figure out what to do first, especially for someone without experience. That’s why we’ve prepared a set of tips (below) on how to put together a fitness-oriented certificate using Microsoft Word!
1. Select an Orientation and Margin
To begin, open a new blank document in MS Word. For the orientation layout, certificates usually come in landscape-type but a portrait format can work too, depending on what you need; set it by going to Page Layout > Orientation. When it comes to the margin, it’s a good idea to pick the Narrow option under Page Layout > Margins, so that you’ll have plenty of space to work with.
2. Insert Your Border Design
It’s important that the certificate has a presentable image, so go ahead and add your graphic border design through Insert > Pictures. Before adjusting the design, you first need to right-click the image and then choose “In Front of Text” under Wrap Text. Reposition the border design by click-dragging it and resize by click-dragging the square nodes on its sides/corners.
If you plan to place the certificate in a physical frame after printing it out, make sure to leave enough empty space between the border design and the edge of the document page.
3. The Written Content
So now, you’ll want to use text boxes for the written content of your document. Go to Insert > Text Box and then click-drag across a spot on your page. Before working on a text box, go to Format to pick No Fill under Shape Fill and No Outline under Shape Outline.
Reposition and resize a text box the same way you did with your border. Double-click the box to type in its content; use options for text alignment, font size, font style, and text effects to play around with the aesthetics of your certificate.
4. Images and Finalizing
If there are any companies or organizations tied to the certificate, then you might be required to include their respective logos. To add the image files for your logos, go to Insert > Pictures. The logo might be hidden behind your border design by default, so right-click the logo and pick “In Front of Text” under Wrap Text. Resize and reposition the logos as needed through the same process as with your border/text boxes. And, with that, your fitness certificate is ready to print, sign, and frame!
Need some customizable certificate samples for swimming lessons, gym courses, or other things related to health and fitness? Then feel free to browse our Fitness Certificate Templates!


