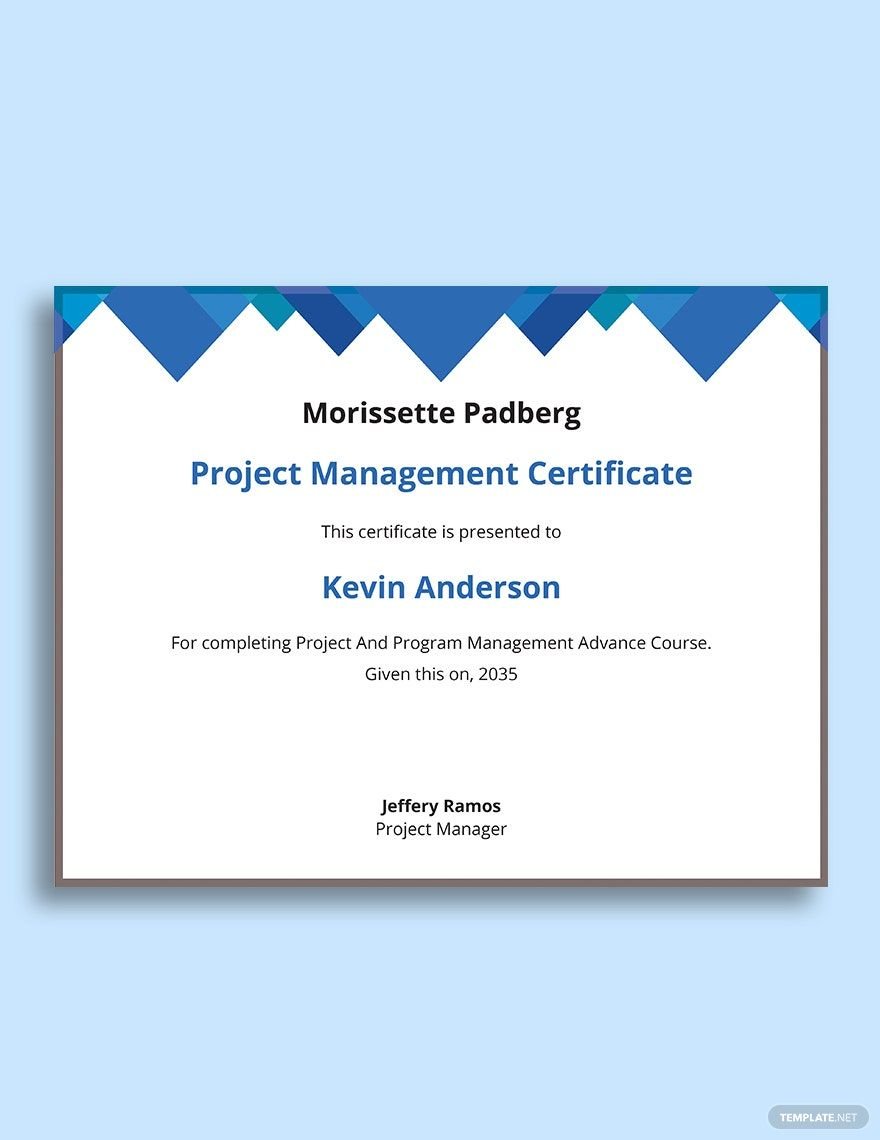
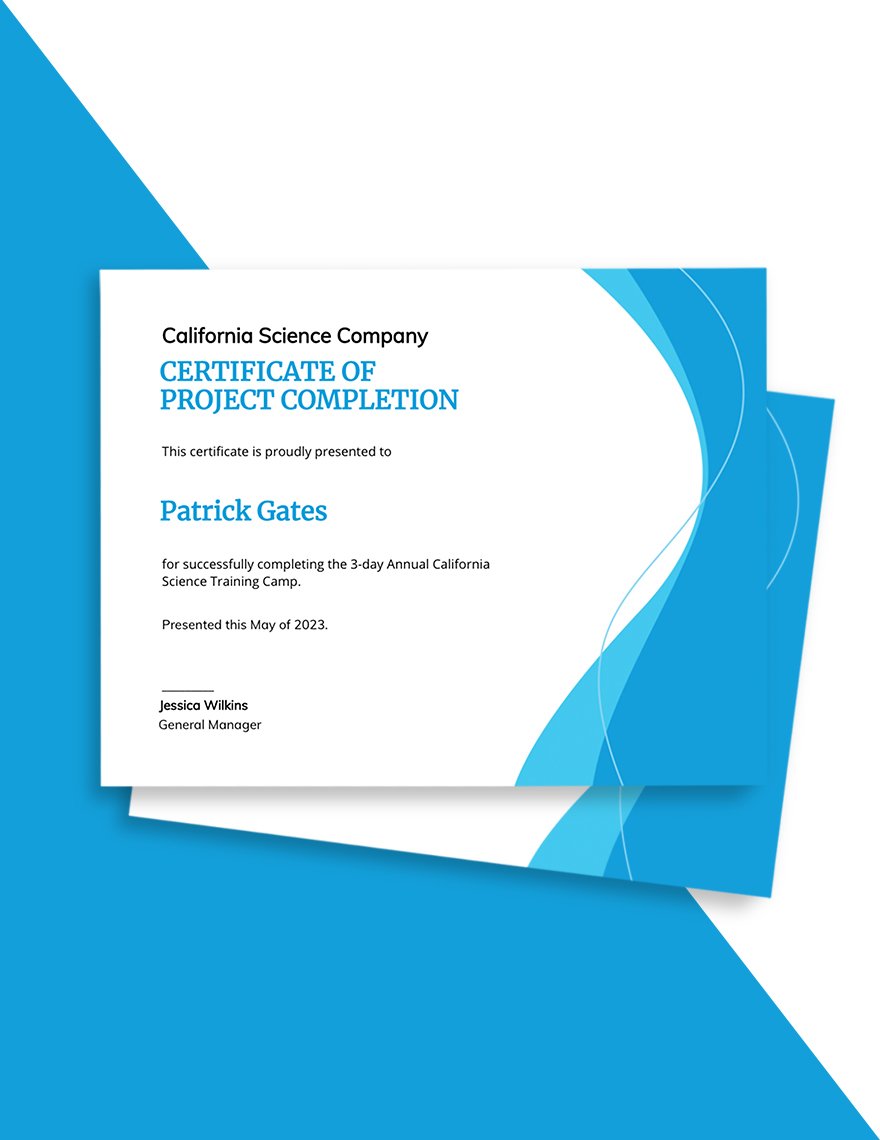
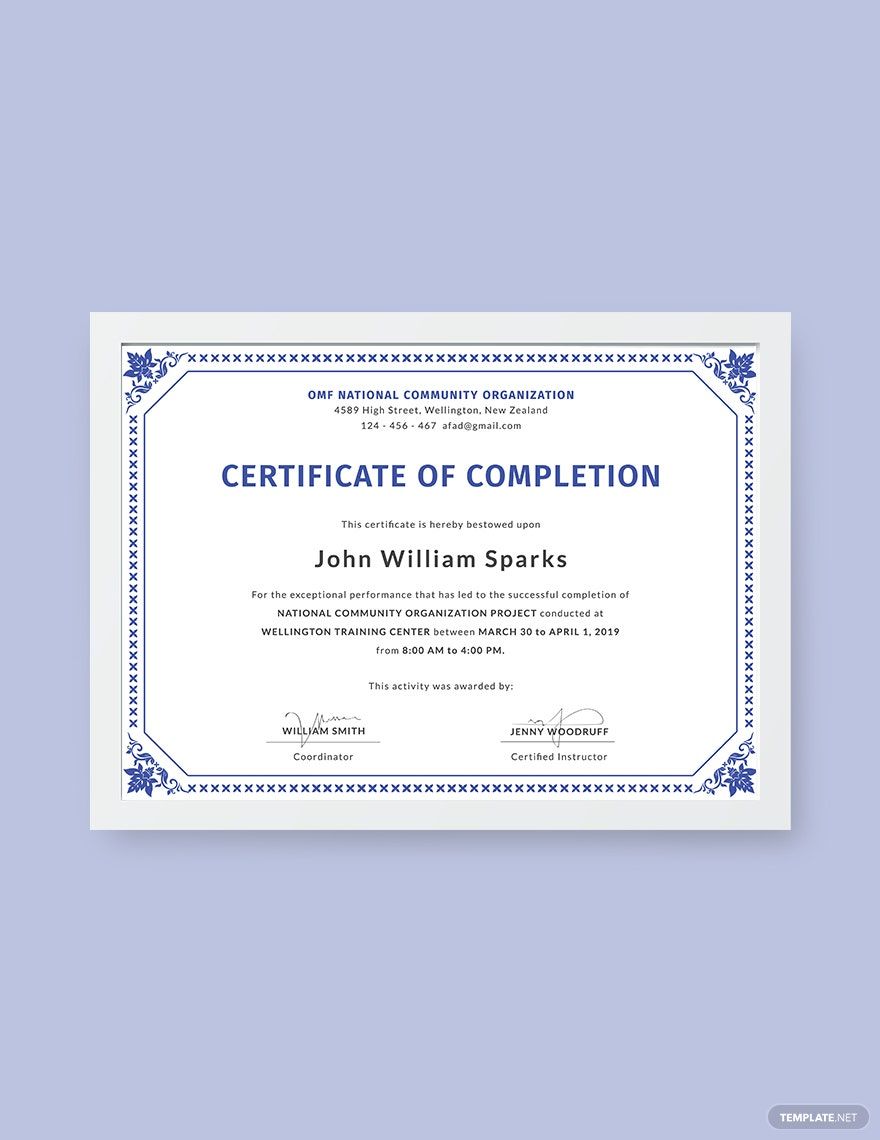
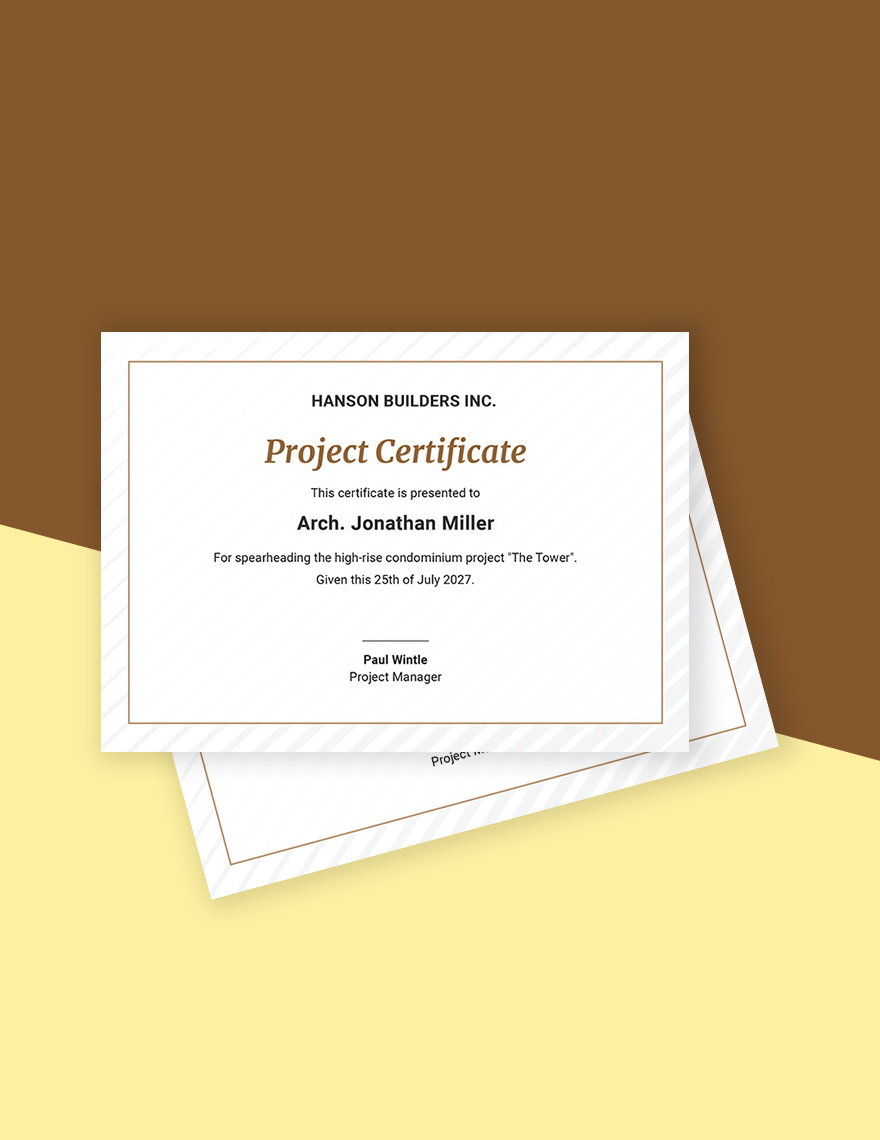
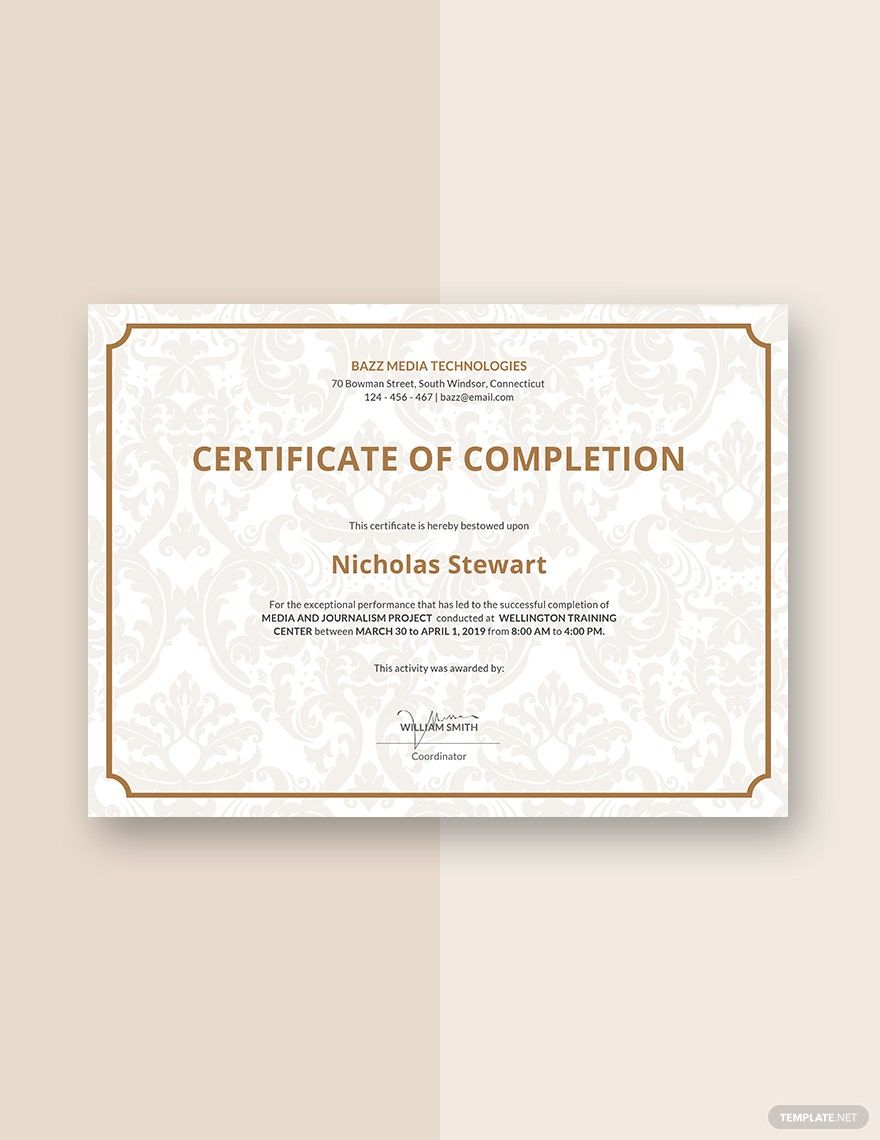
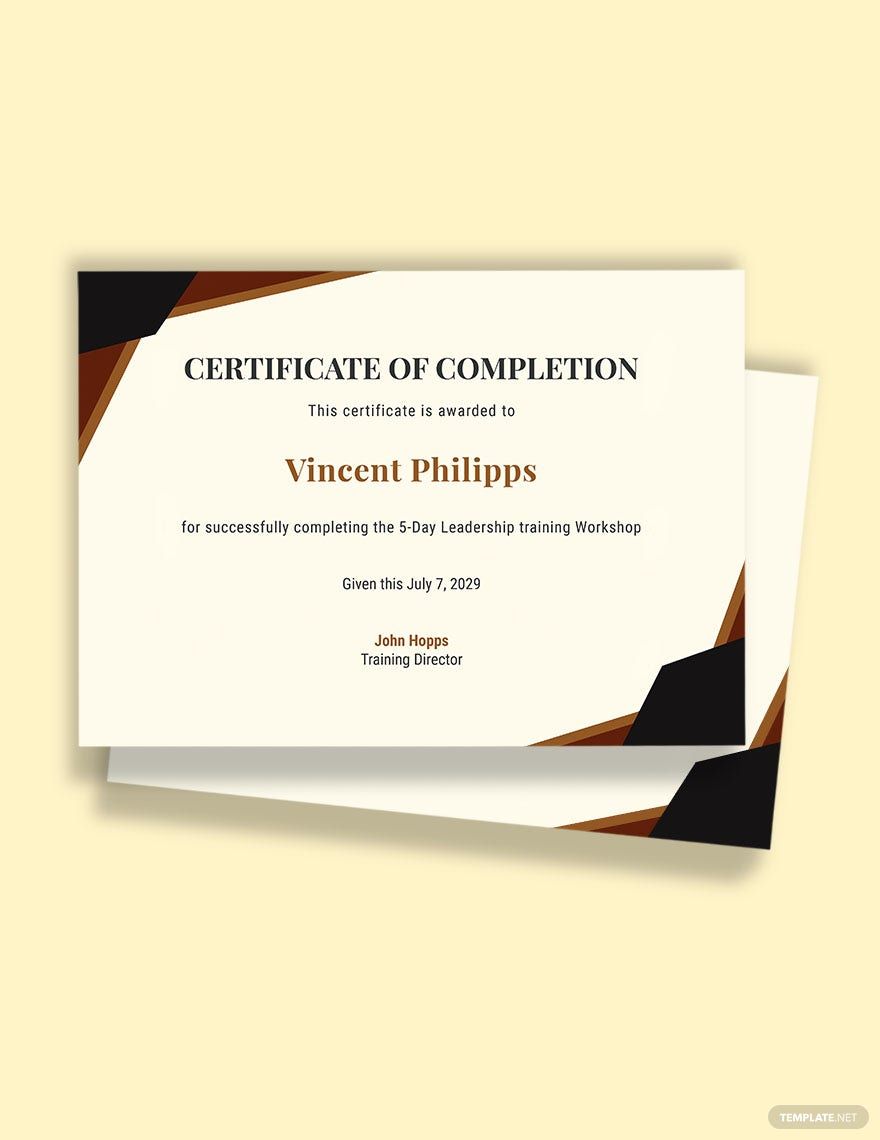
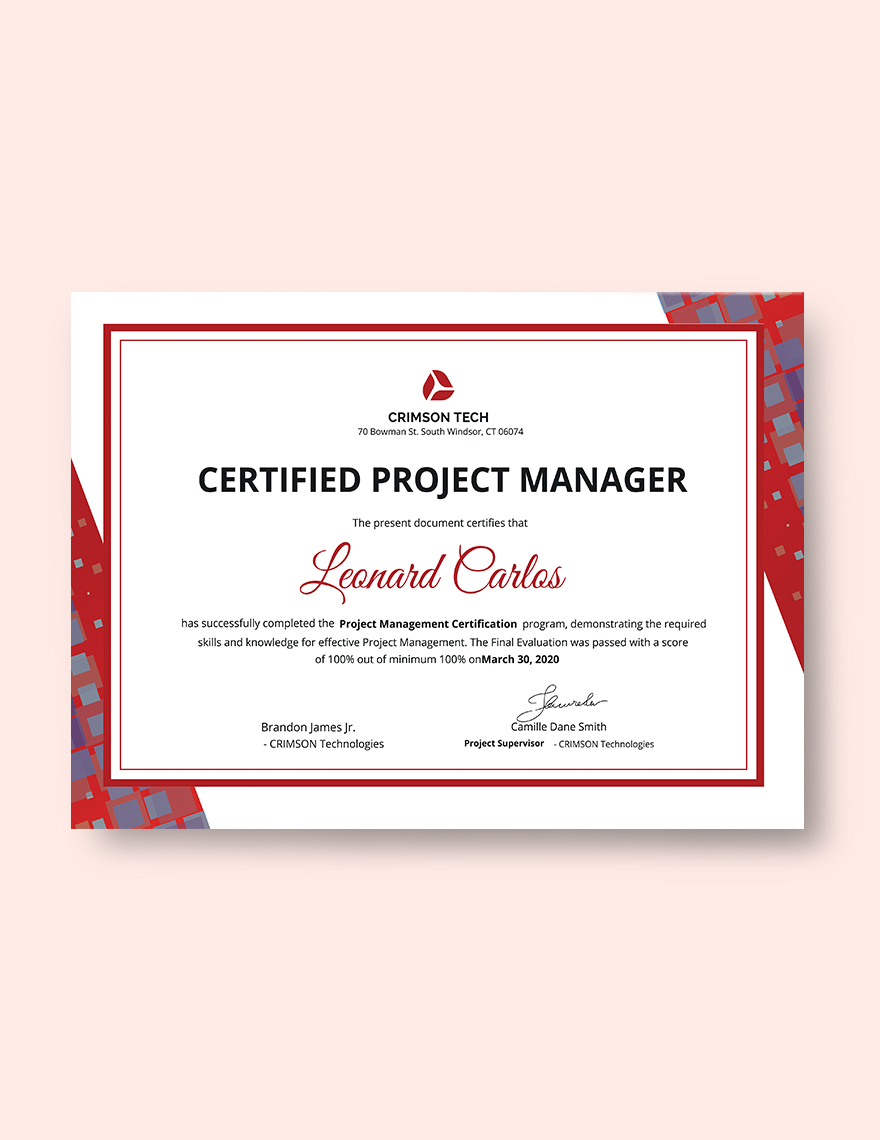
In both school and business, there are all kinds of projects to take on. Certificates play their own crucial roles for said projects, from completion acknowledgment to legal certification. Not only are certificates good material for professional use, but they’re relatively easy to compose as well. Are you looking for editable certificate samples? Well, look no further—we have what you need with our professional Project Certificate Templates! Download our content and make a project certificate for accountancy, computer science, or chemistry. These samples are 100% customizable in Apple Pages, making them convenient for macOS users. So, download now—edit our templates as needed and provide projects with tangible legitimacy!
Project Certificate Templates in Apple Pages
Create your own professional-quality project certificates with our free and customizable Apple Pages templates. Download now!

Get Access to All Project Templates

How to Make a Project Certificate in Apple Pages
From physical education courses to content-writing internships, certificates are useful for projects of any variety. As explained by Merriam-Webster (a resource for various information), certificates are good for printing officially recognized information.
Putting together a certificate for a project is simple enough in Apple Pages. However, if you’re in search of some handy tips for your work, then go ahead and keep reading down below!
1. Set up a Proper Layout for Your Project Certificate
An award needs a neat and professional look. Before working on the certificate itself, you should prepare a few things first.
With a blank document ready in Apple Pages, open the Document sidebar menu (on the right) and turn off the Document Body. Then, set the page’s dimensions to either 8.5 x 11 inches or 11 x 14 inches. Next, for the page orientation, either portrait or landscape format is fine, depending on what your certificate needs.
2. Give Your Project Certificate a Professional Border
Whether it’s for company economics or student research, a project certificate needs a proper border design to look presentable. The border should look simple while also having a professional and business-like feel. Once you have the design on your document page, select it before going into Arrange and setting the Text Wrap to None. Next, select Stay on Page for the Object Placement.
If you need to resize the border, simply click-drag one of the handles on its sides and corners. Click-drag the design itself for repositioning.
3. Use Appropriate Pictures in Your Project Certificate
Depending on the exact purpose of your project certificate, use artwork and pictures that are thematically related. For example, a depiction of a molecule works well in a college physics project.
After inserting your image files, adjust their layers using Front and Back found under the Arrange menu. Also, like with the border, set the Text Wrap and Object Placement to the same options.
4. Insert the Project Certificate’s Written Content
When adding the certificate’s various written sections, click the Text button in the above menu and click-drag the new textbox in place. Next, enter the certificate’s dialogue by simply selecting the textbox and then typing. Resize and reposition the textbox similarly to how it’s down with your image objects.
Have you gone through all of our tips? Just keep our advice in mind and you won’t break a sweat making a project certificate by yourself! And, if you need some editable samples for your certificates, consider downloading one of our Project Certificate Templates!
Frequently Asked Questions
Who benefits from using a project certificate?
Some examples include:
- Non-profit organizations
- Businesses
- Schools
What printing materials are used for making a project certificate?
Parchment paper is the best material available for printing out a project certificate.
What applications are there for making a project certificate?
Some example programs are:
- Apple Pages
- Google Docs
- MS Word
What layout orientation is used for a project certificate?
Either portrait or landscape formats work for a project certificate.
What are some well-known sizes for making a project certificate?
These sizes include:
- 8.5”x11”
- 8.5”x14”
- 11”x14”
- 11"x17”
