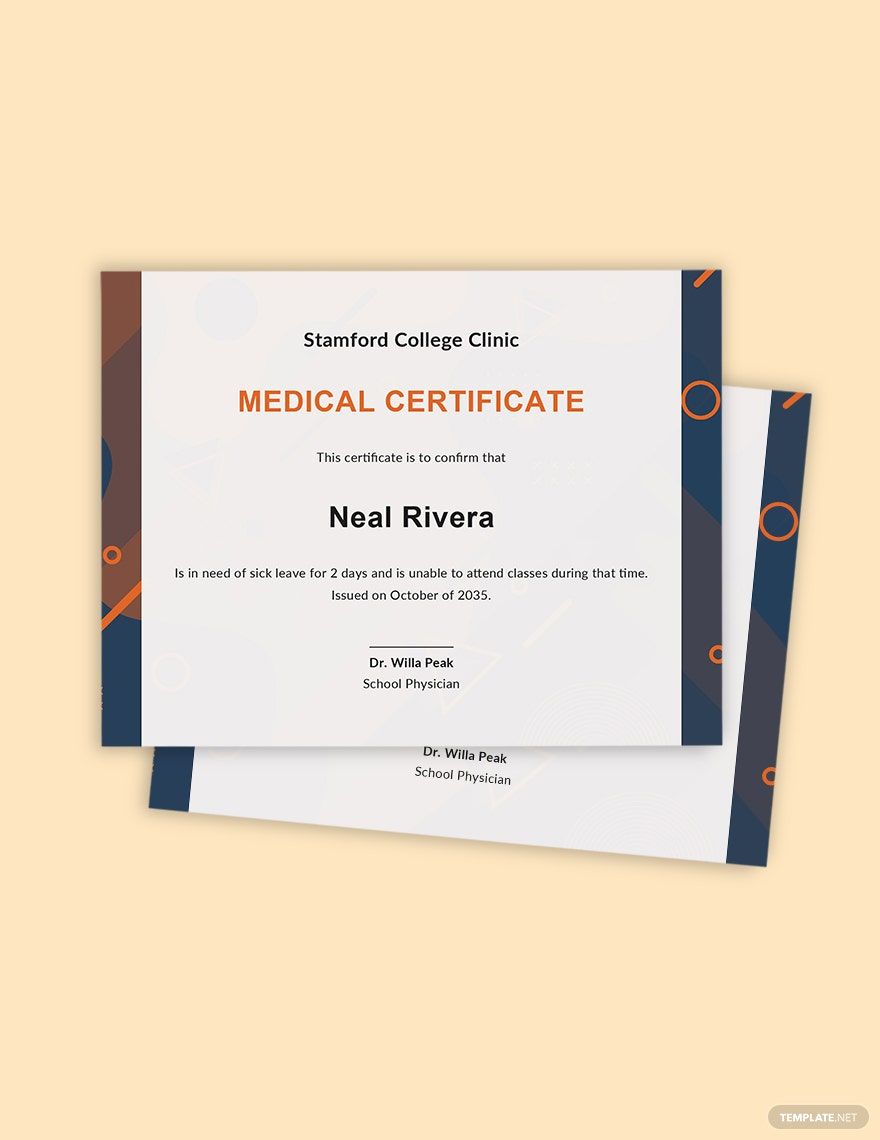
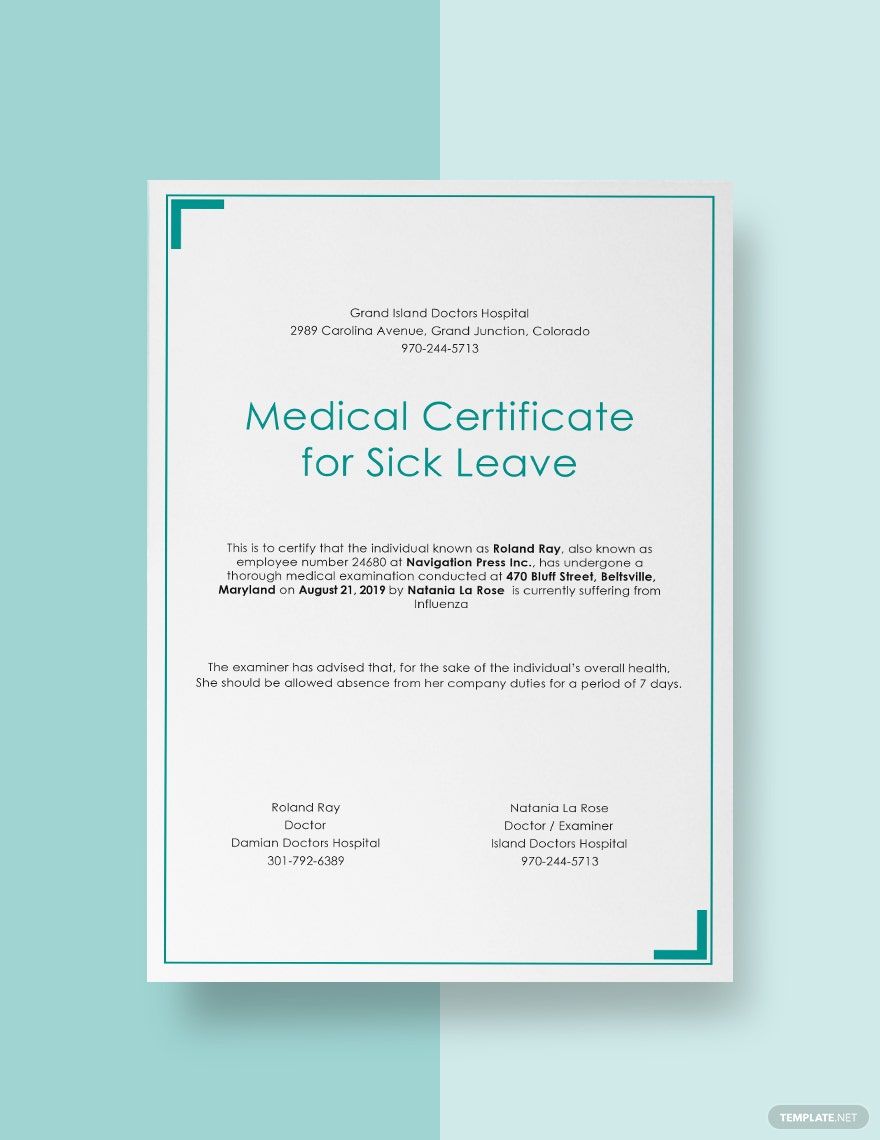
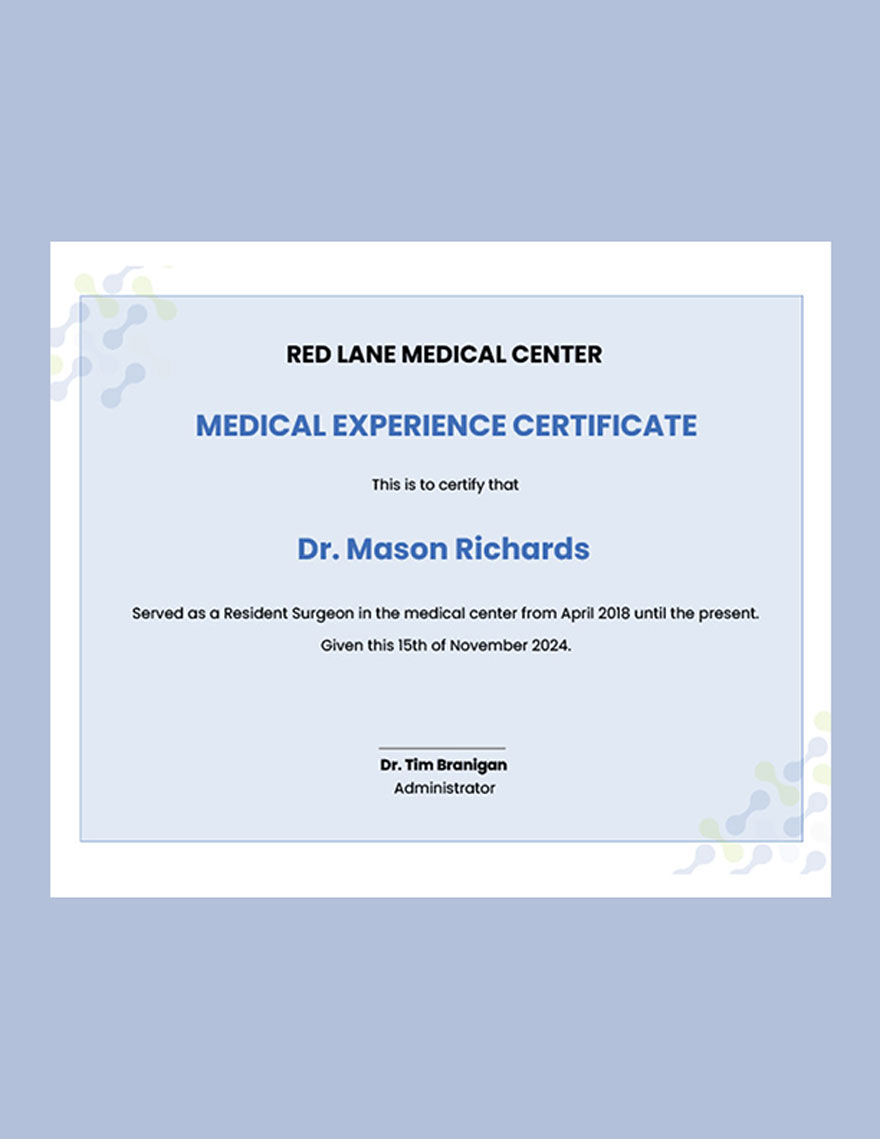
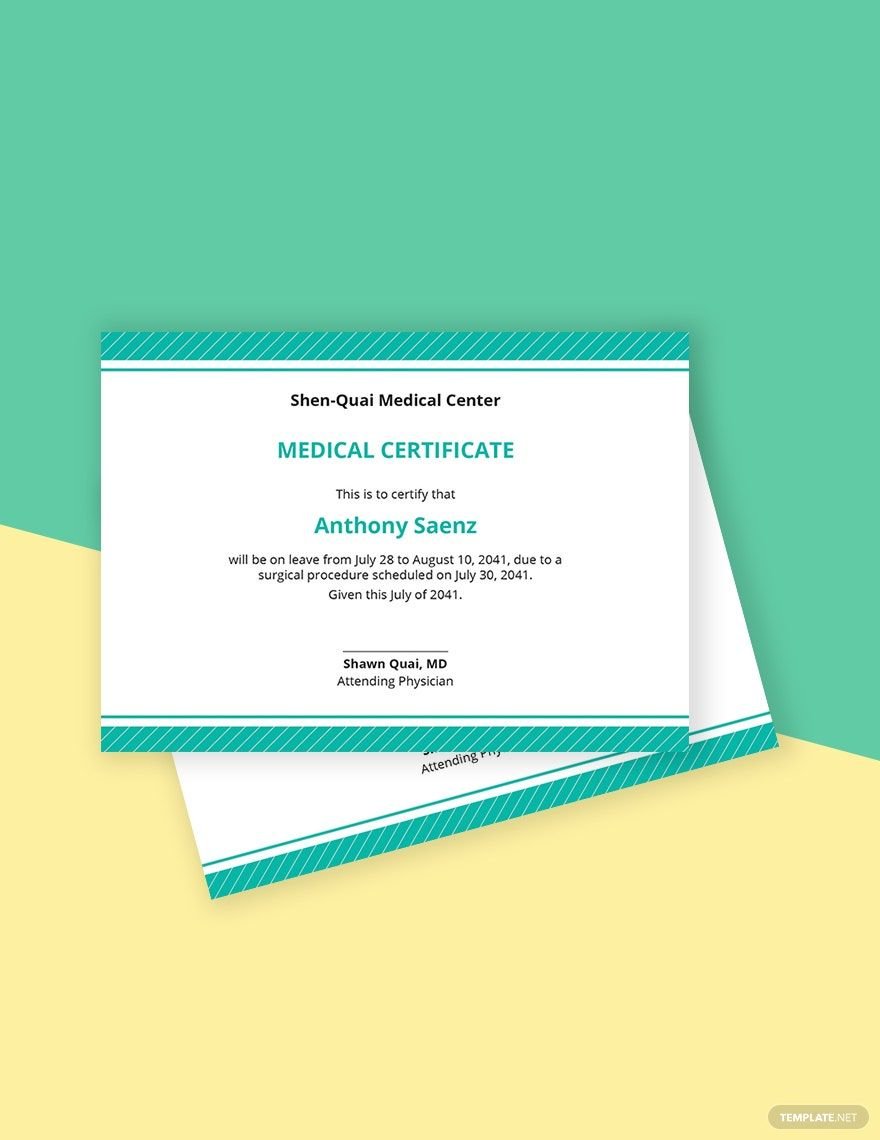
Bring your documentation process to life with pre-designed Sick Leave Certificate Templates in Microsoft Publisher by Template.net
Create professional-grade leave certificates quickly and easily with no design experience. These templates cater to HR professionals and managers who want to streamline their documentation processes without the hassle of designing from scratch. Whether you need to formalize an employee’s sick leave or maintain compliance with company policies, these templates simplify the task. You'll find a variety of uses, such as officially documenting an employee's absence or keeping records for audits. Each template comes with free pre-designed layouts, ensuring that you can get started right away. With downloadable and printable files in Microsoft Publisher, you can effortlessly create beautiful, professional certificates with no design skills needed, and access to free templates makes the process even smoother.
Explore more beautiful premium pre-designed templates in Microsoft Publisher to fit any specific need you may have. The library is regularly updated, ensuring you always have access to fresh, new designs that meet modern standards. When your document is ready, easily download or share it via print, email, or export formats for increased reach. Remember, both Free and Premium templates are available, providing maximum flexibility for any type of project. By combining the ease of use with a plethora of options, these templates offer an unparalleled advantage in efficiently handling your documentation needs.


