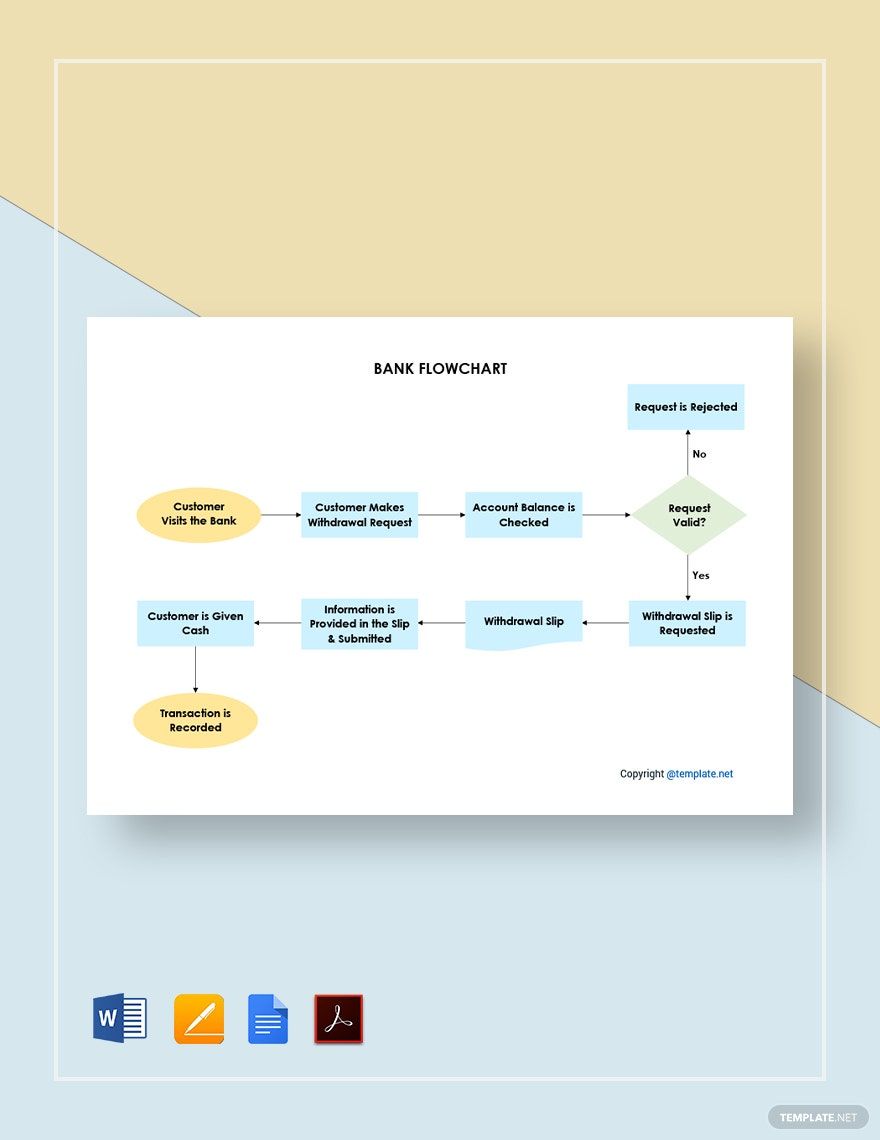
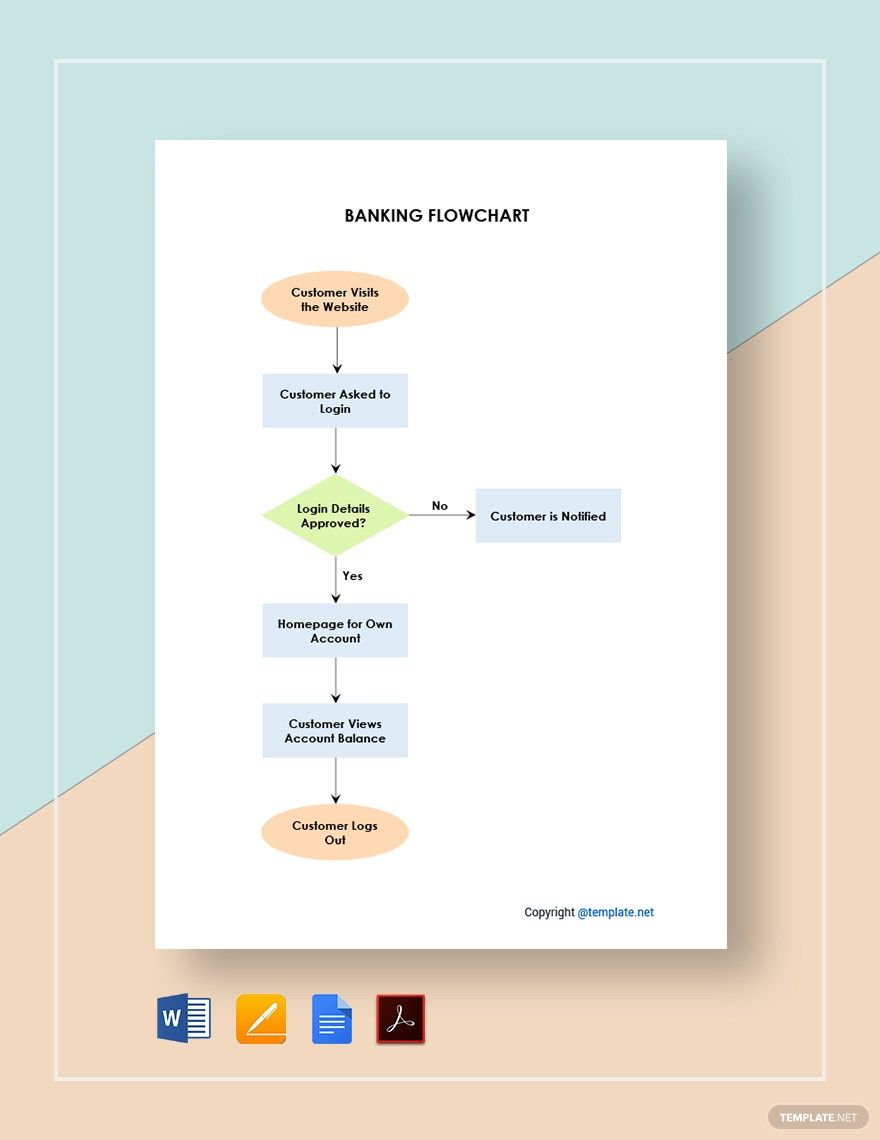
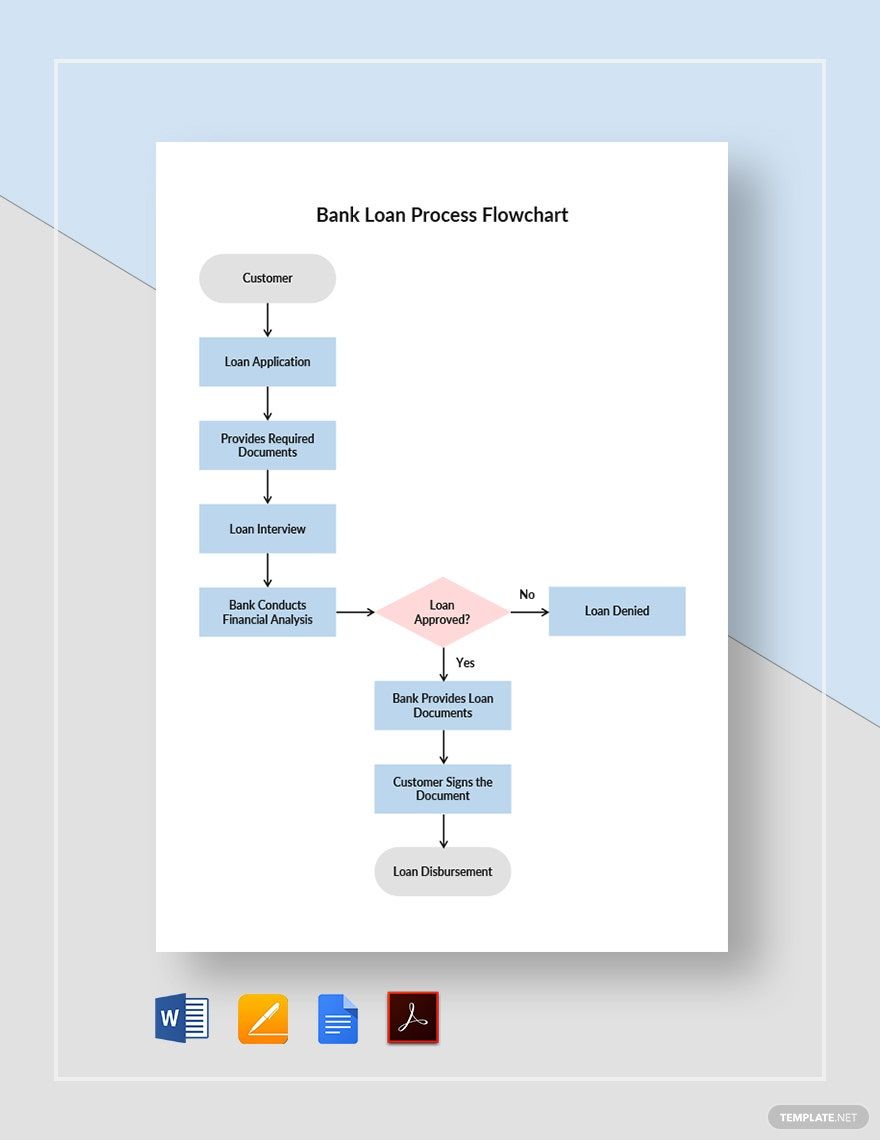
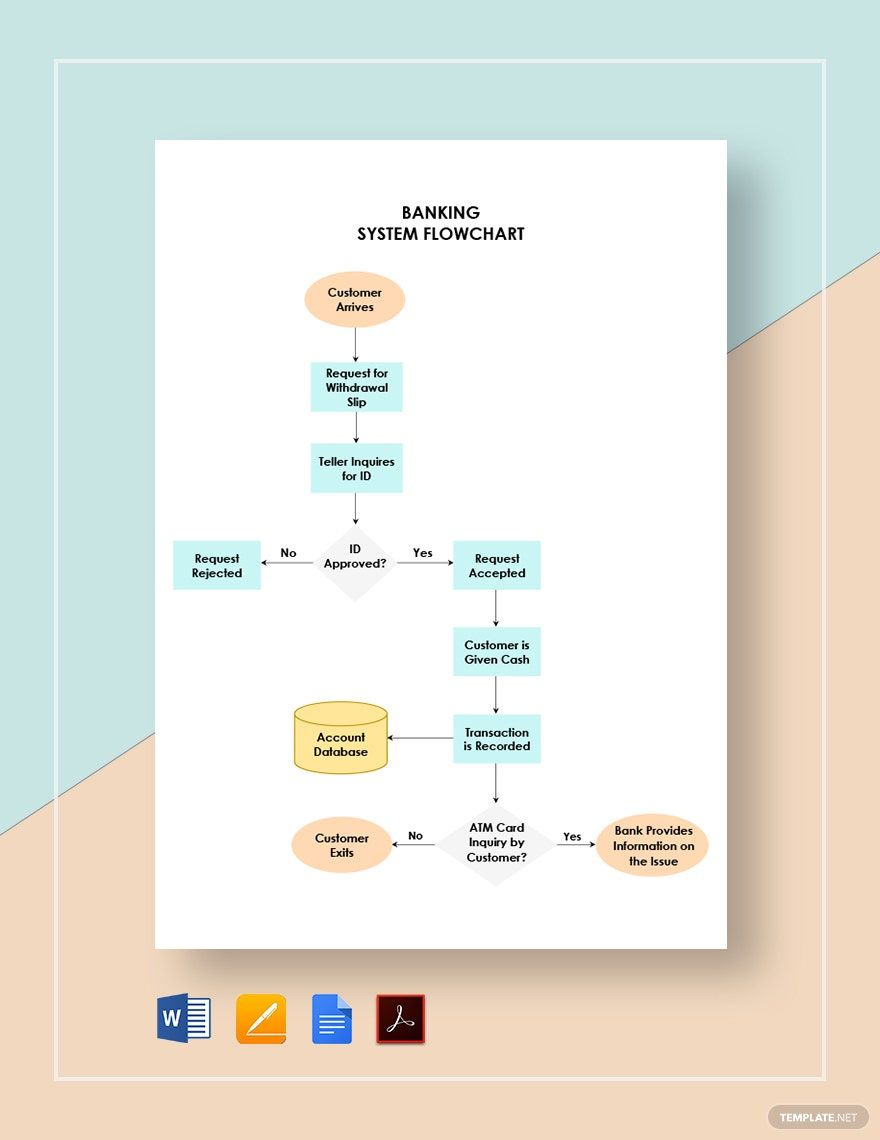
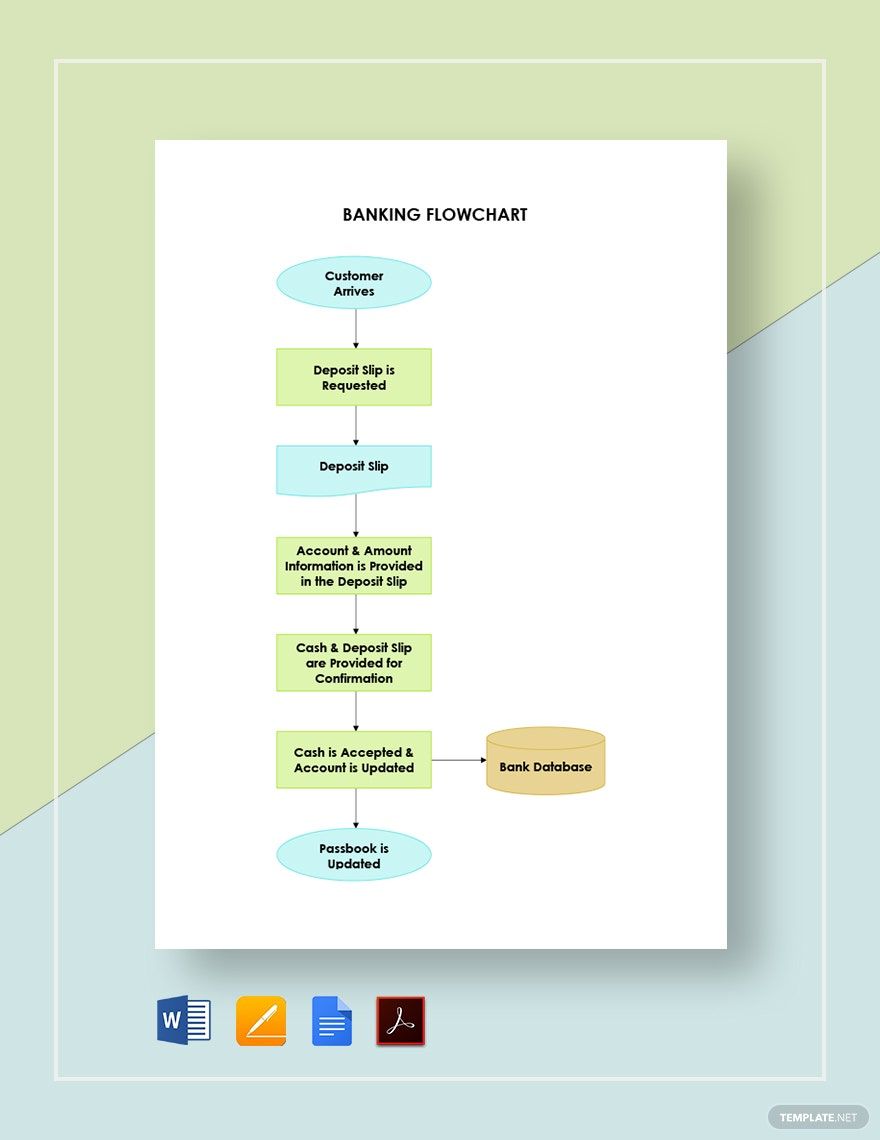
Banking customers of today demand faster access and expect more. On the other hand, banking institutions are scrambling to improve their employee productivity for better customer service and to earn more profit. Is your banking system unable to meet your satisfactory rate? Our website offers a selection of Bank Flowchart Templates in Google Docs that can help with your bank problems. Available in A4 or US Letter sizes. With the presence of a process flow diagram, you can expect transactions to run smoothly and in a jiffy. In contrast, repetitive errors such as failure to dispute an ATM transaction error in time may never happen again. Improve your banking system today! Download a template now!
How To Create A Bank Flowchart In Google Docs
According to the Federal Deposit Insurance Corporation, there were a total of 557 bank failures recorded from 2001 up to 2019. Now, in the banking sector, errors and mistakes are not tolerated, as this can result in losing shares and partnerships. And that is something that you can avoid. With the right workflow structure and with the help of a workflow diagram, employees can clearly understand and familiarize how transactions are supposed to be done. Thus, leading to a smooth and steady transaction and happy clients.
Here is how you can create a bank flowchart in Google Docs:
1. Define the Process and Collect the Necessary Data
To begin with, define the banking process that will be presented in the flow chart. Are you creating a registration process flow diagram for your bank tellers? A loan application process? Or a dispute process for ATM transaction errors? Once you've identified its use, collect all the data you need to create the steps. This includes all the individuals and departments involved.
2. Come up with a New and Improved Process Flow
Out with the old and in with the new! To come with your new and improved process flow, start with familiarizing your current steps first. Because when you go through the process, you'll get to determine its weak spots easily and understand how it can improve. And when creating the steps, avoid using jargon words and keep it precise and concise. Brainstorm the steps together with the people who work directly with the process to come up with an effective workflow. Also, list down the steps in order so that you can supply the chart with ease later on.
3. Structure your Flowchart
Time to form your basic chart! So, go ahead and open Google Docs and create a new document. You can do this in two ways: use a ready-made flowchart template or create one from scratch. With a premade template, you'll get to create the flowchart faster. All you need to do is download the template, add it to your document, then make a few changes. But if you choose the latter, go ahead and start with a blank document. Then, write down the title at the top of your document. Pick a shape and lay them out in sequential order. Input one step in each shape and connect them using a connector (you can choose between a line or an arrow). Differentiate the decision path with the use of another shape.
4. Keep it Simple
You don't necessarily need to put some design elements into your flowchart. Doing so will only make it look distracting, so create a simple chart. For it to not look dull and boring, supply the shapes with color. Also, use a simple font style and a legible font size to ensure that your text is readable. And don't forget to add your company logo right beside or below the title.
5. Proofread, Validate, and Implement
Are you done? If so, then go ahead and proofread it. After that, have your chart validated by the people who work directly with the process. Once validated, implement your new process flow right away!
