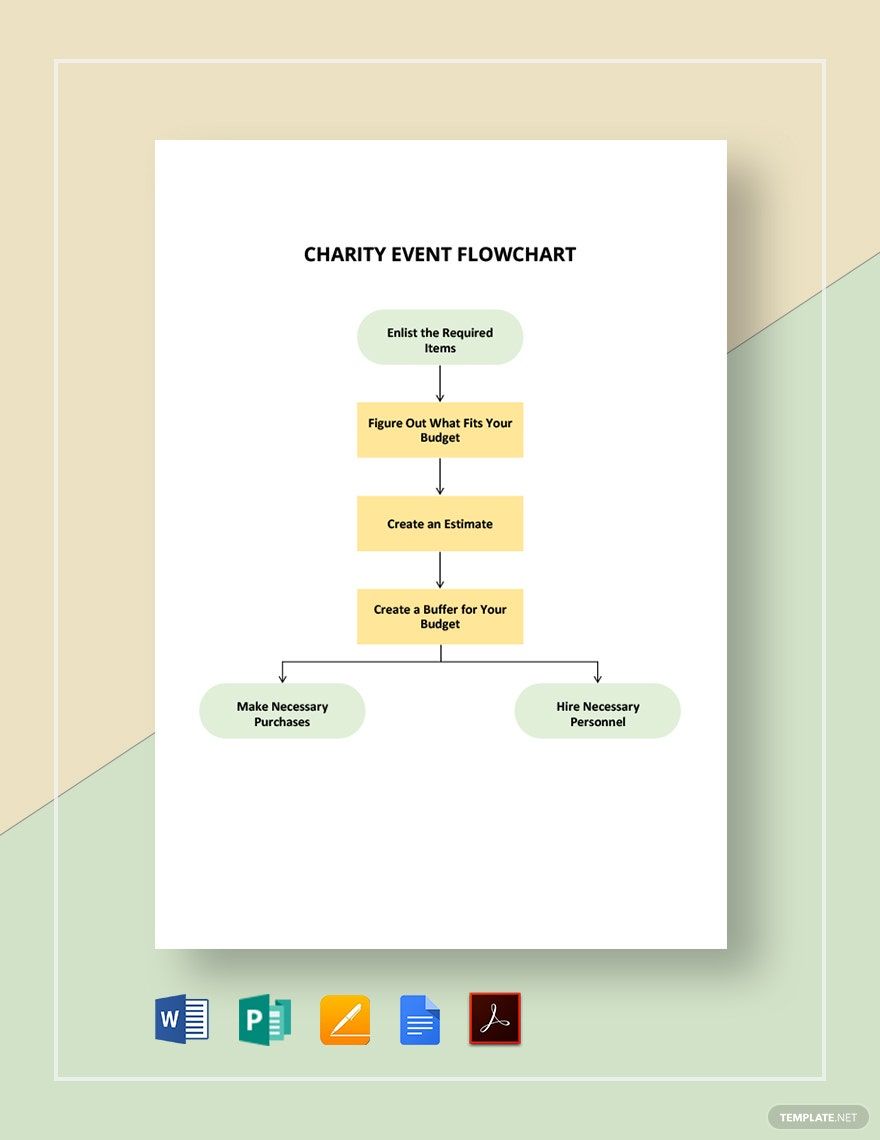
On video sharing apps like Youtube, you'll often see people giving out pizza, clothing, etc. to the homeless. This act of kindness gives us hope in humanity. If you want to start a charitable organization to extend a helping hand, then our Ready-Made Charity Flowcharts in Publisher is what you need. Use our high-quality templates to come up with a better workflow for your organization. You can instantly print and download these templates. They are editable and customizable in Publisher and other file formats as well. So, what are you waiting for? Keep your charity organization running by using our Charity Flowcharts in Publisher today!
How To Create a Charity Flowchart in Publisher
According to the United States Census Bureau, 50 million Americans are poor. This alarming number has prompted non-profit organizations and foundations to raise their bars high and encourage more people to donate, whether monetary or in kind. Funds made by charity organizations through fundraising events are not always enough. They sometimes go to supporting organizations for help. To get more support from these organizations, having a clear goal and objective is crucial.
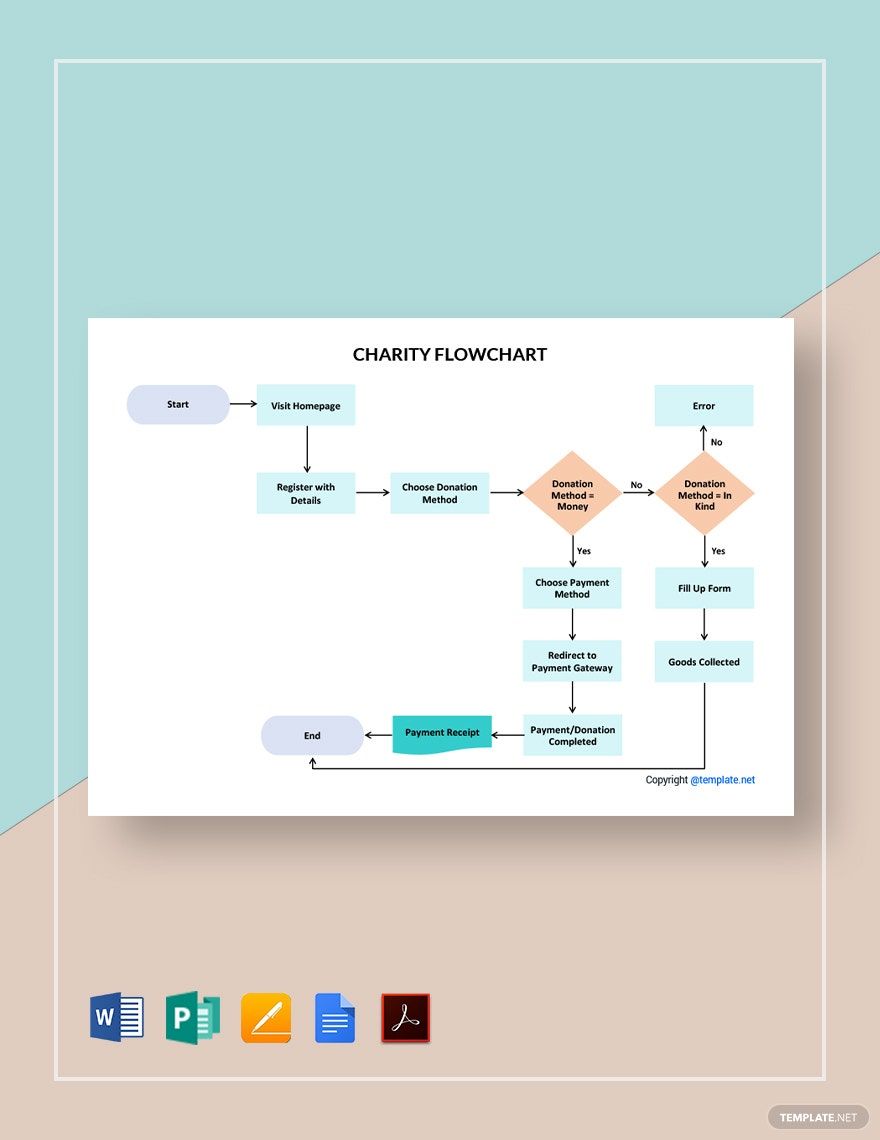
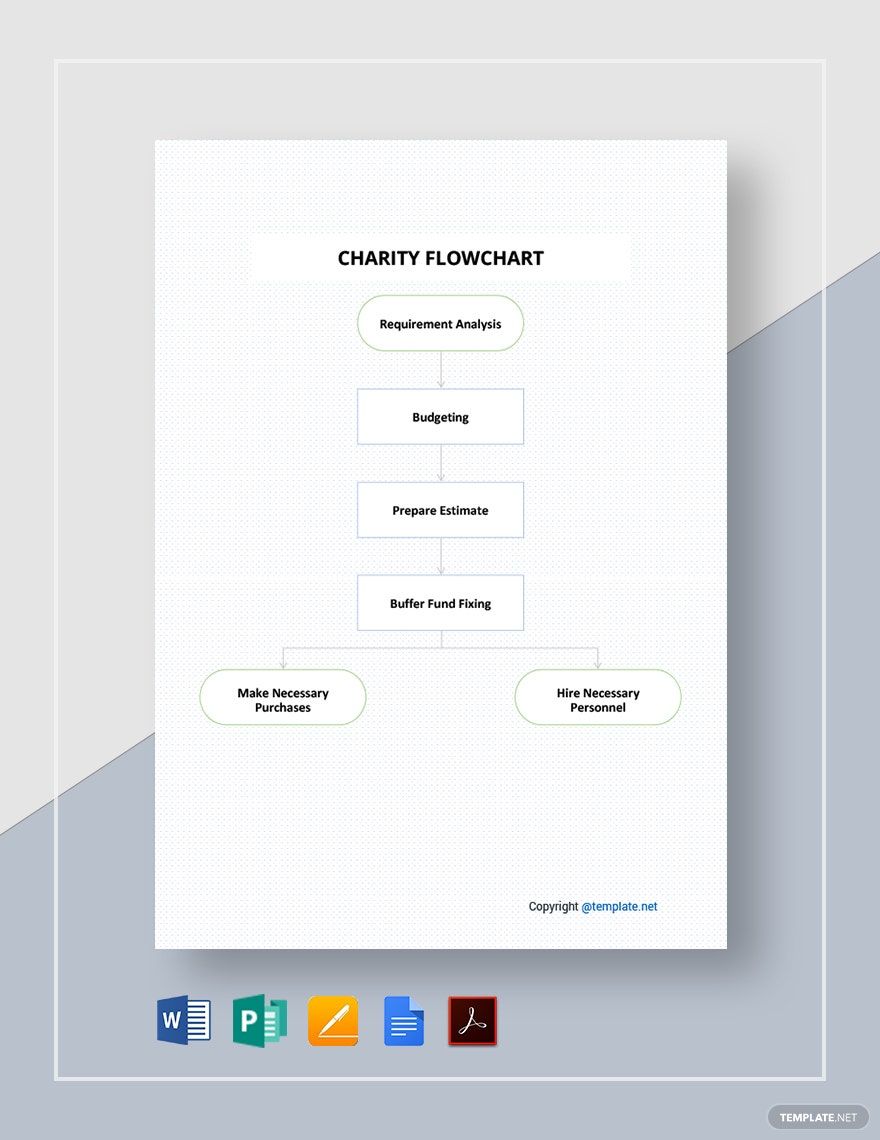
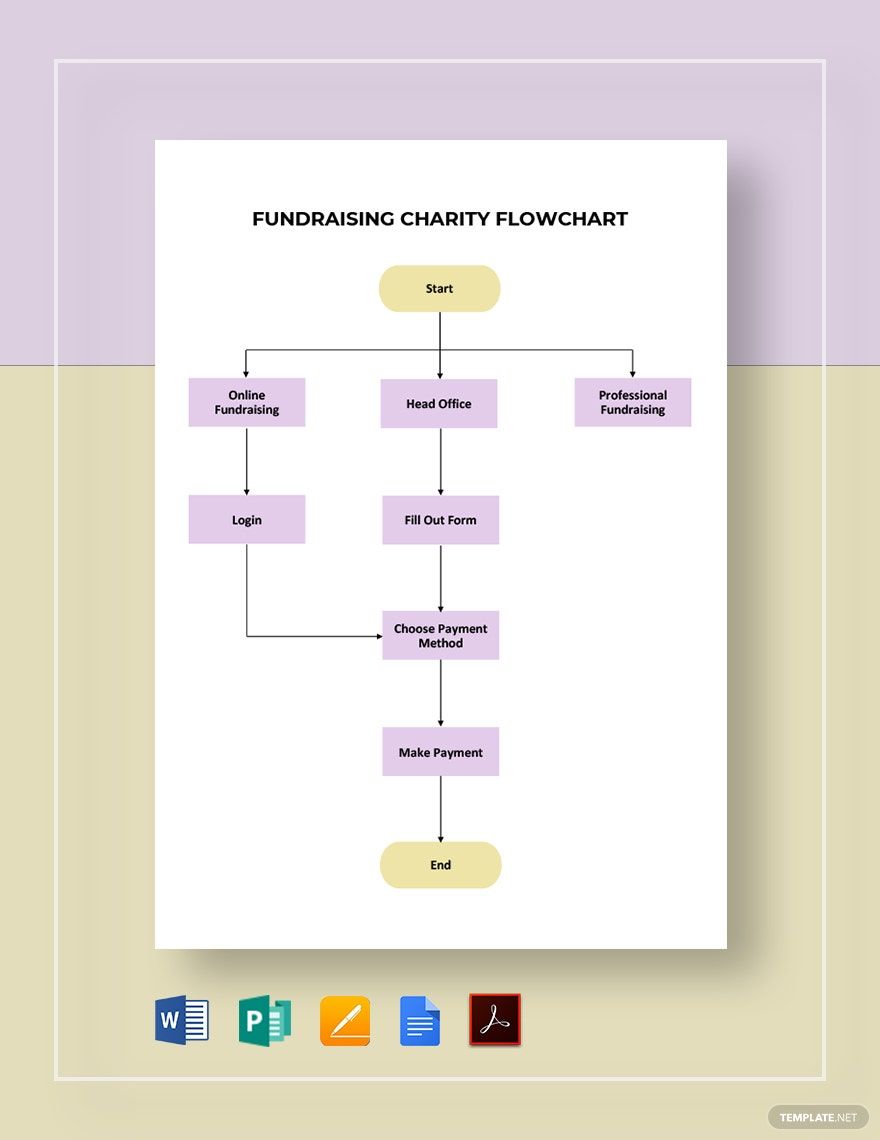
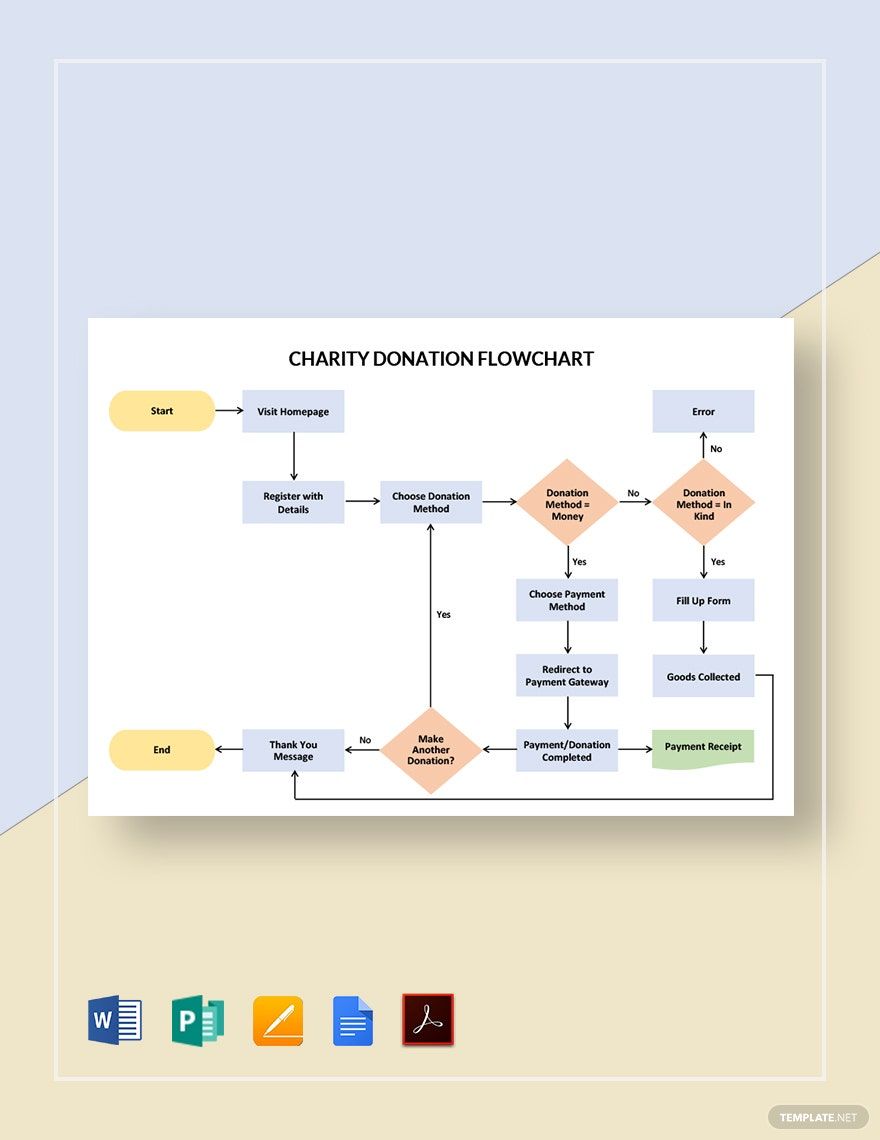
Flowcharts are documents that graphically illustrates a process. With the use of a flowchart, charity organizations like yours can provide a clear and understandable goal to their donors. On the other hand, this will guide your team on which path to take towards achievement. The steps provided below will help you create a charity flowchart in Publisher.
1. Set your Objectives
Your organization needs to have a definite set of objectives. Your mission sums up your objectives, which will work towards giving a better life to the less fortunate. List down all your goals and create your mission and vision out of it. Make sure you can come up with a solution to your problem within the allotted time you set.
2. Create the Steps
Using the objectives and your organizational chart as your guide, start creating the steps. When creating the steps, don't just think about what you'll go through and achieve, think about the people behind your mission as well. The steps you create must ensure that the team can work towards a common goal. Don't work alone, work with a team. With multiple people brainstorming, you'll surely find a great path that will lead to a successful journey.
3. Form the Chart
Start Microsoft Publisher on your computer or laptop. Choose a shape by going to the Insert tab, then the Illustrations group, where the Shapes dropdown menu is placed. The most commonly used shapes in flowcharts are rounded rectangular and diamond. If you're having a hard time choosing a shape, choose rounded rectangular to be safe. Add the text inside the shape. Remember, one shape for each step. Your labels for each step should be brief but comprehensive. Don't use jargon words. To connect the shapes from start to finish, use arrows. Don't forget to add your organizations' logo.
4. Incorporate Uniformness
Don't you just hate seeing uneven shapes? Remember, you're creating a formal document, which would be given to potential donors. This is why you must ensure uniformness in your flowchart. Don't adjust the size of your shape. If there isn't enough room, modify the font text instead. Only choose one color for all the shapes, as well. Go with pastel colors or any light colors to make it look attractive and easy to the eyes.
5. Recheck
So if you are in a hurry to hand the chart to potential donors, you must double-check your work before handing them out to organizations. Tweak the parts which you think need improvements. Carefully review each step to make sure that there are no more mistakes before finally printing out the chart.