In recent times, online shopping turned into something that’s now very common in modern societies. Whether you’re ordering food, clothing, or games, there’s a website for what you need. And, because of all the competition in the virtual marketplace, vendors do what they can in stepping up their businesses. If you need help with your own internet-based store, then check out our professional E-commerce Flowchart Templates! Improve your inventory tracking, shopping cart interface, and more with our easily editable content. What’s more, our samples are compatible with Apple Pages, making them very convenient to customize on macOS. So, download today and start sorting out your online shop!
How to Make an E-commerce Flowchart in Apple Pages
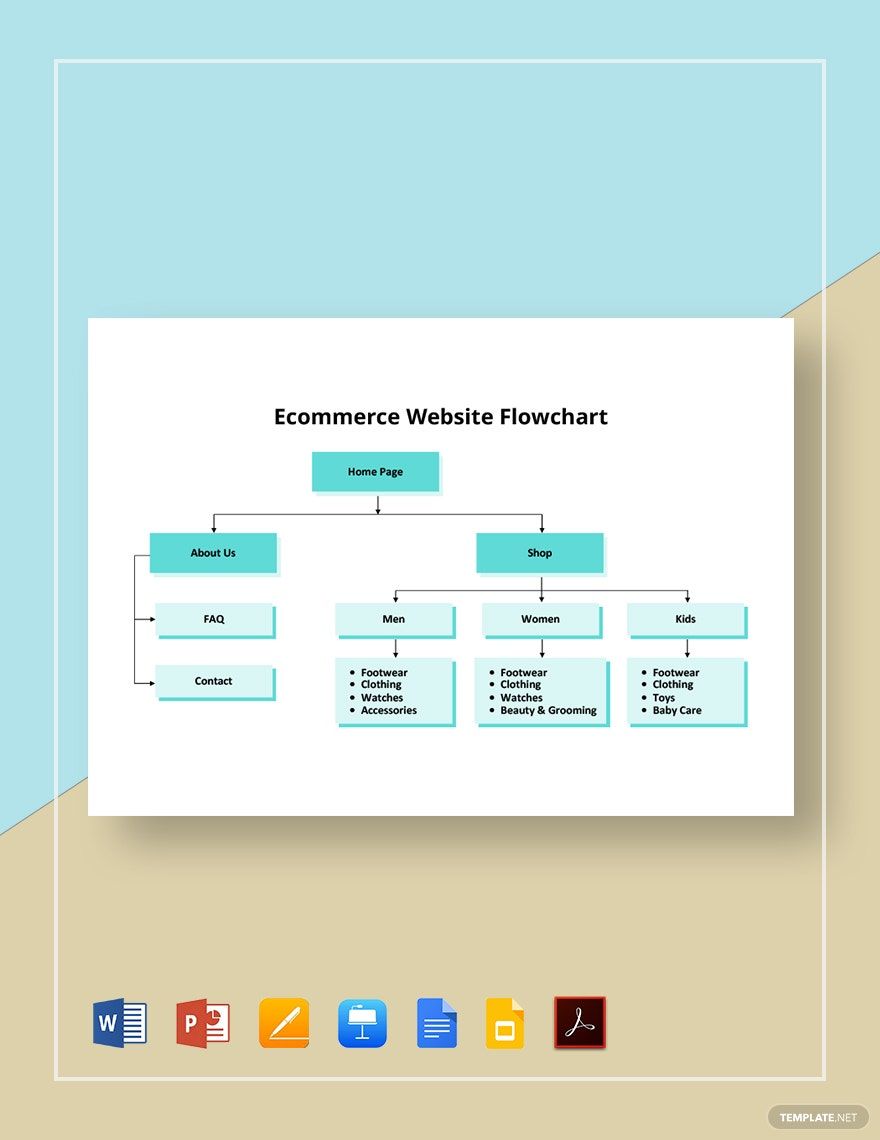
Flowcharts are quite helpful, even for an online marketplace. After all, the Houston Chronicle (a publication from the US) points out that all sorts of other businesses and industries get plenty of use out of these diagrams. So, whether you’re working on your checkout process, website navigation, or account registration, a simple flowchart will serve you well.
However, maybe you’re not familiar with how a flowchart is made in Apple Pages. If so, don’t sweat it--simply read through our tips (below) and find out all that you need!
1. Prepare Your Workspace in Apple Pages
To start off, access the Document tab (to the right of the window) after opening a new file in Apple Pages. In that tab, turn off the Document Body option.
Next, under the same tab, choose the landscape format (picture of a horizontal document) for the Page Orientation.
2. Your E-commerce Flowchart’s Title and Starting Point
Now it’s time to start working on the chart itself. Click the Text button (in the program’s upper section) and insert a title at the top of your page. When thinking of what to write, keep the title short while informing the reader of the chart’s contents. For example, input something similar to “Goods Return Processing” or “Order Processing Workflow.”
After that, insert an oval as your e-commerce flowchart’s starting point. Go into the Shape menu (located above) and place the shape where you need it. With the new oval selected, type in a proper label.
3. The Steps in Your E-commerce Flowchart
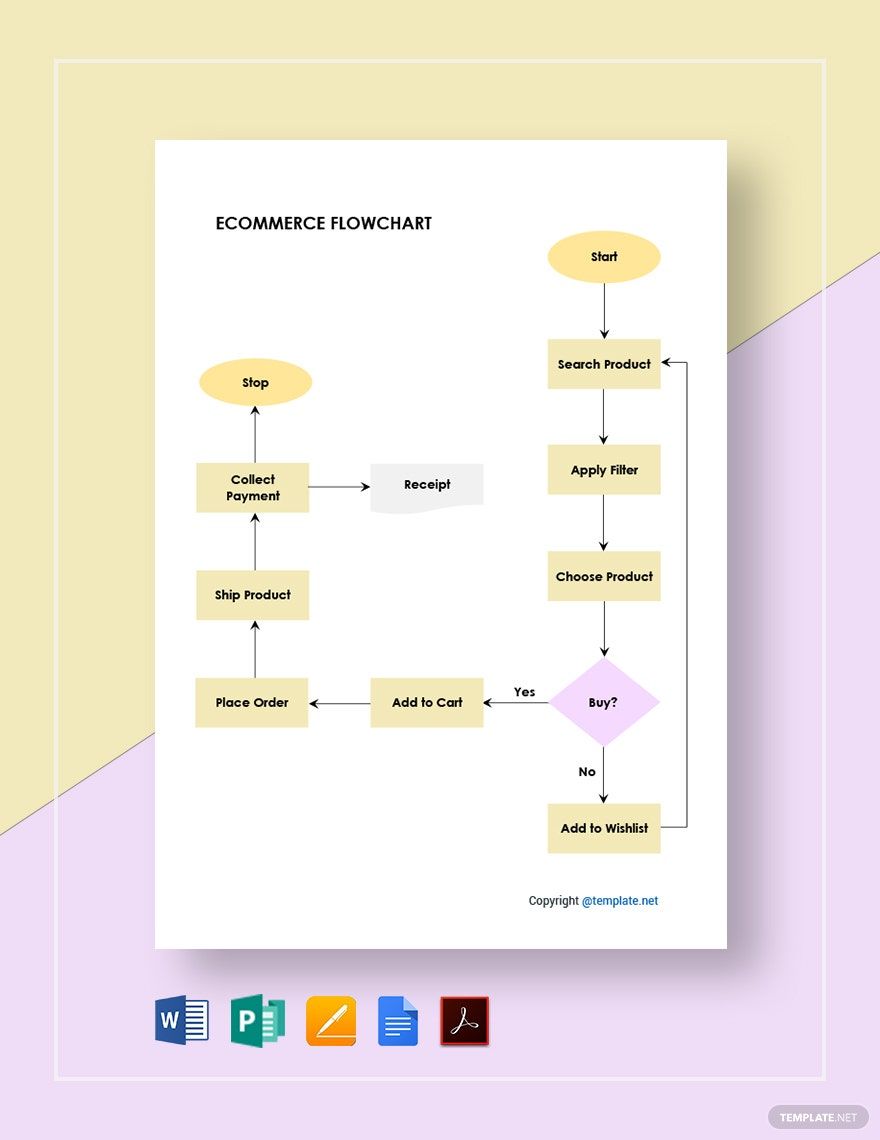
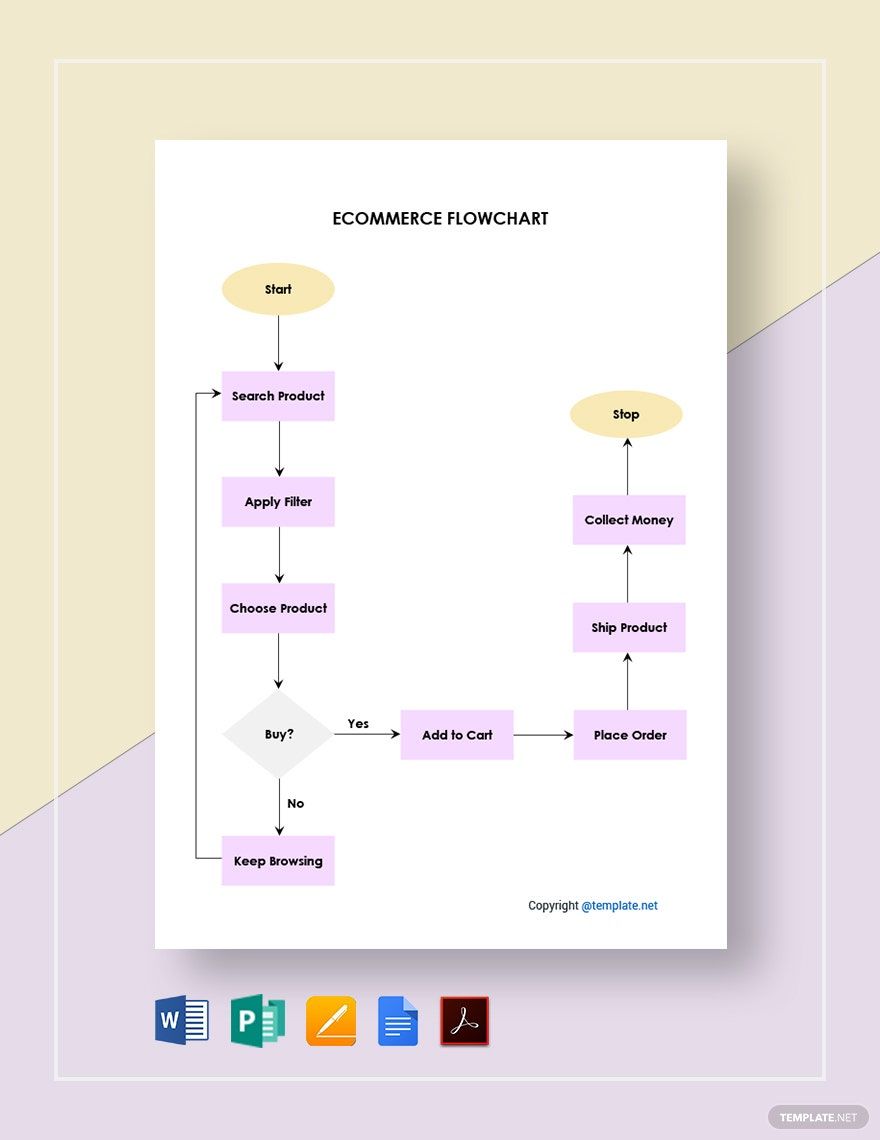
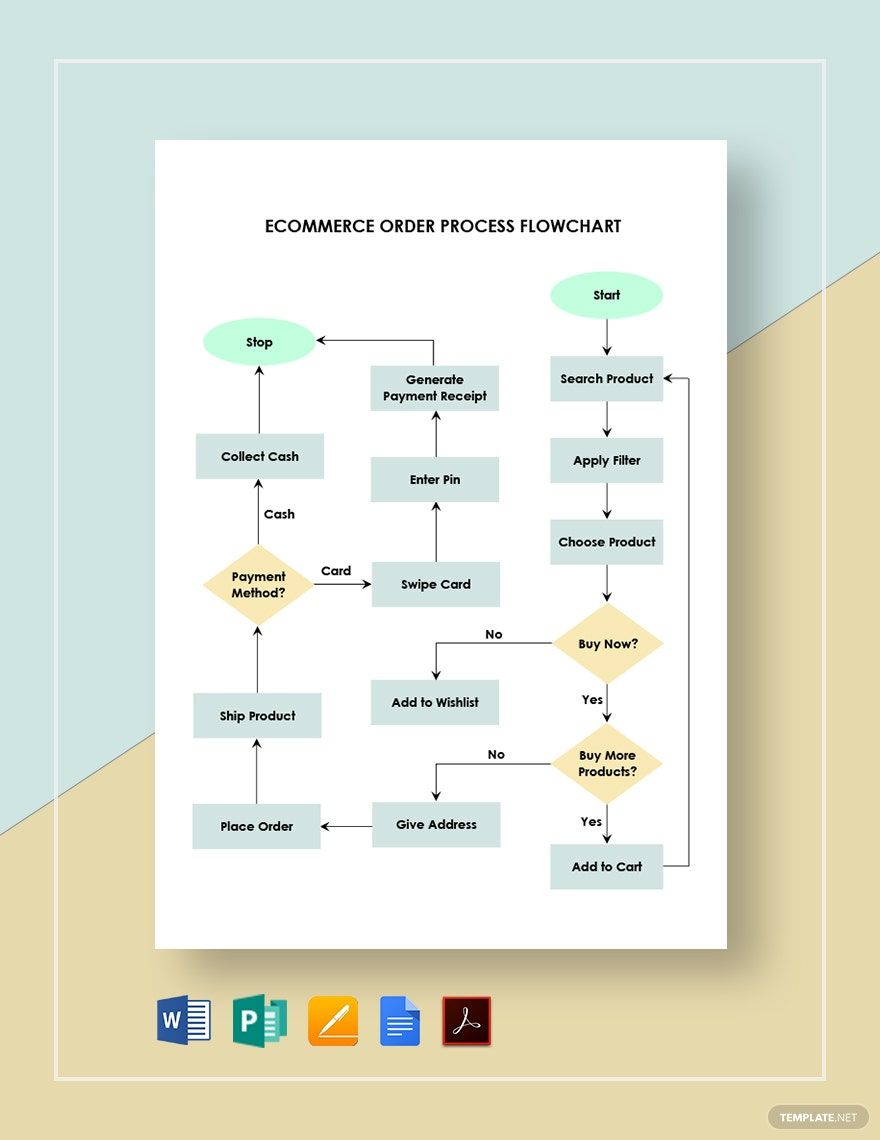
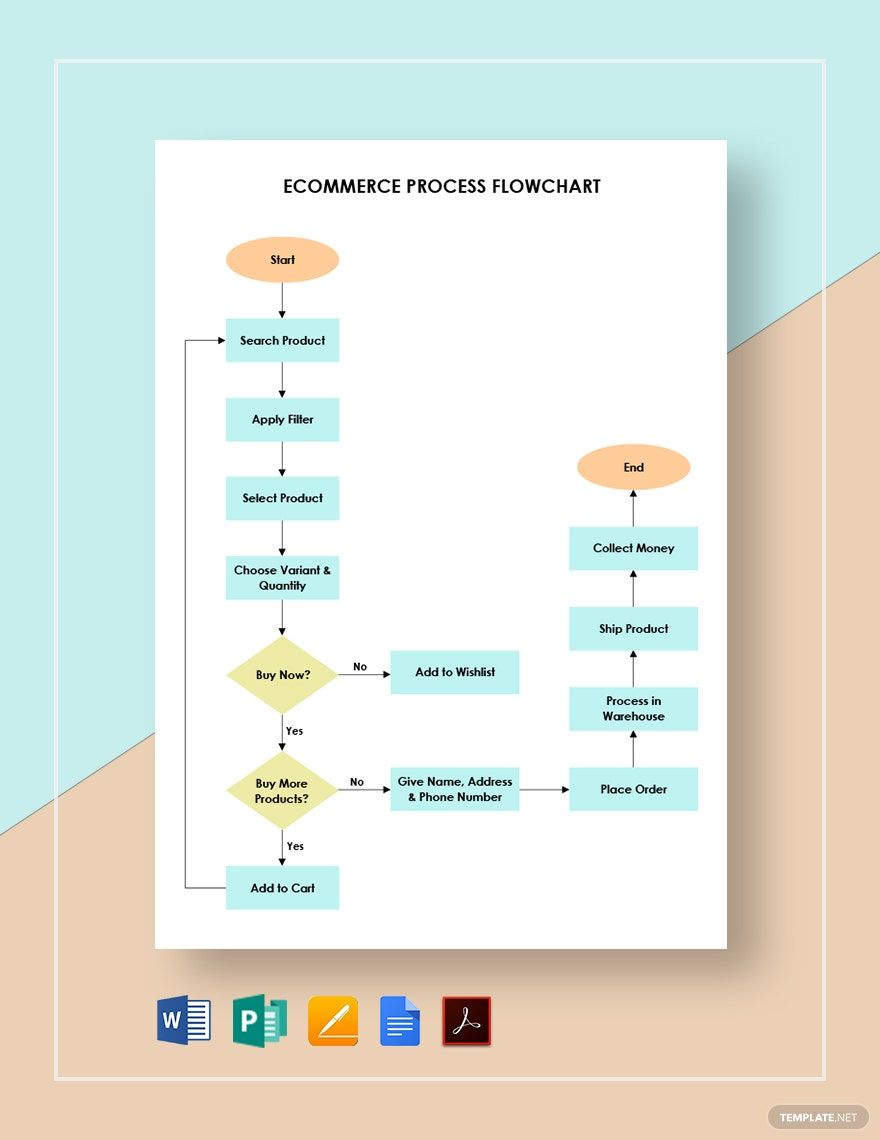
Besides the flowchart’s beginning point, there are several other shapes in a flowchart design. These are the rectangles, parallelograms, and diamonds.
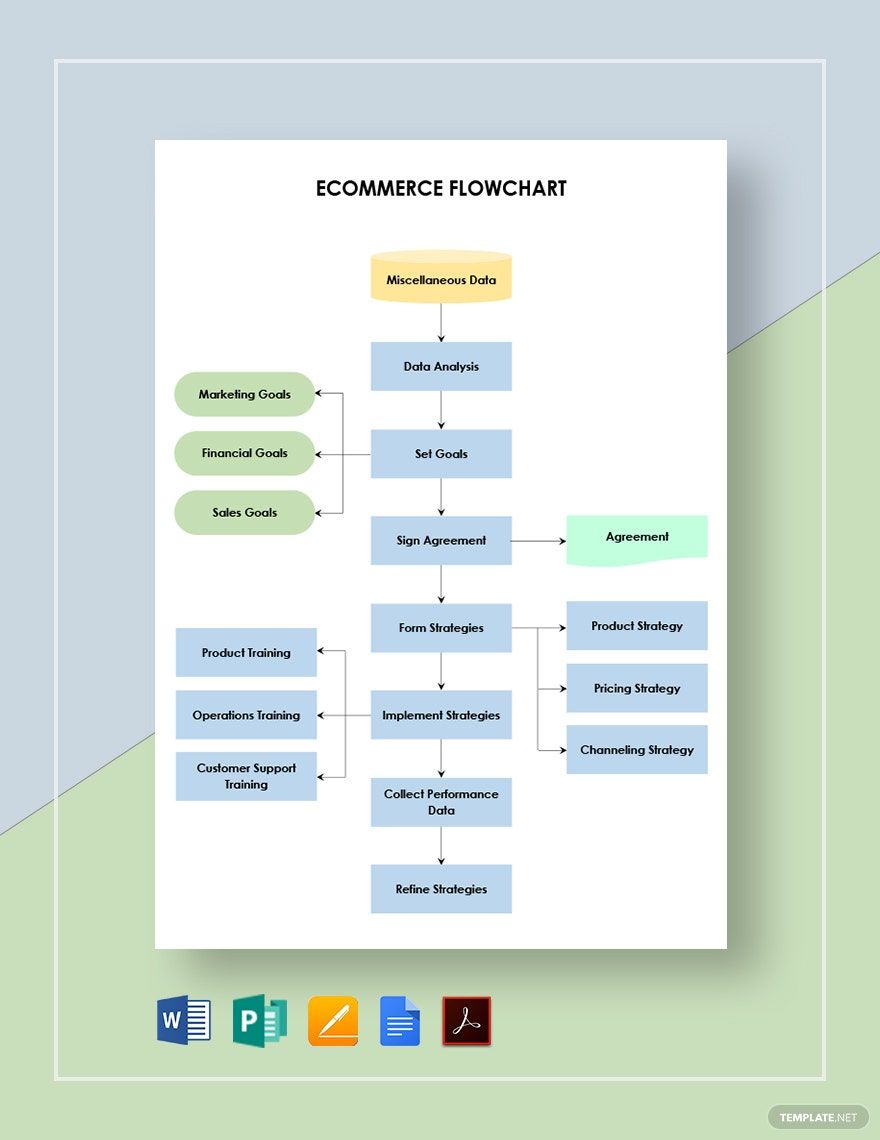
Rectangles represent all the different actions found in your e-commerce procedure. Meanwhile, parallelograms represent inputs and outputs, which either go into actions or come out of actions respectively. Inputs and outputs refer to things like user data, store products, finance documents, marketing information, and so on.
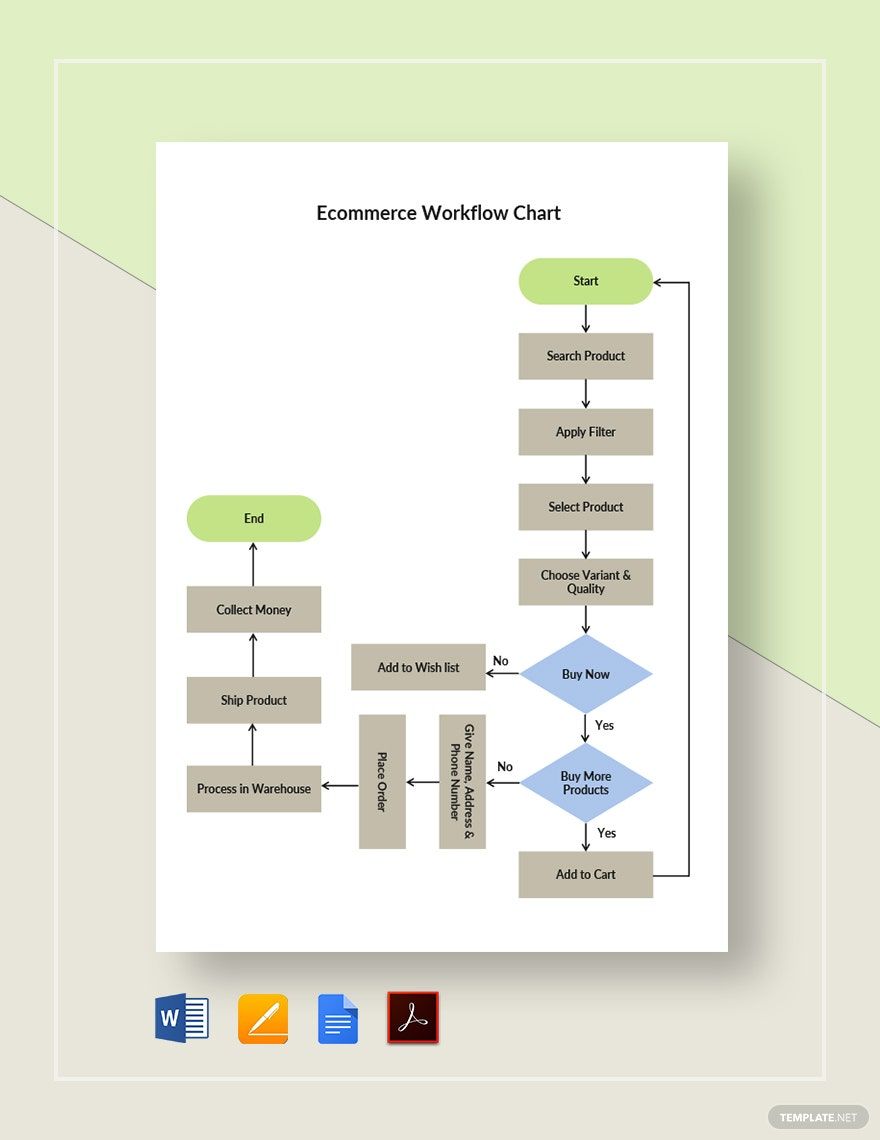
Diamonds are for decisions. When a decision is in a flowchart, it splits into at least two separate sequence paths, sometimes meeting back to a single step later on. Also, for representing the various flows in your e-commerce diagram, insert arrows in-between the shapes.
4. Loops and Supplementary Content
In some e-commerce flowcharts, there are paths that loop back to a previous step. So, if your own process has any such loop, arrange your shapes and arrows accordingly. And, if you’d like to spruce up your chart, take advantage of shape colors and your own image files for better reader comprehension.
So, with that, you now have the knowledge for easy flowchart creation! But, if you want a little extra help, consider downloading one of our E-commerce Flowchart Templates!
