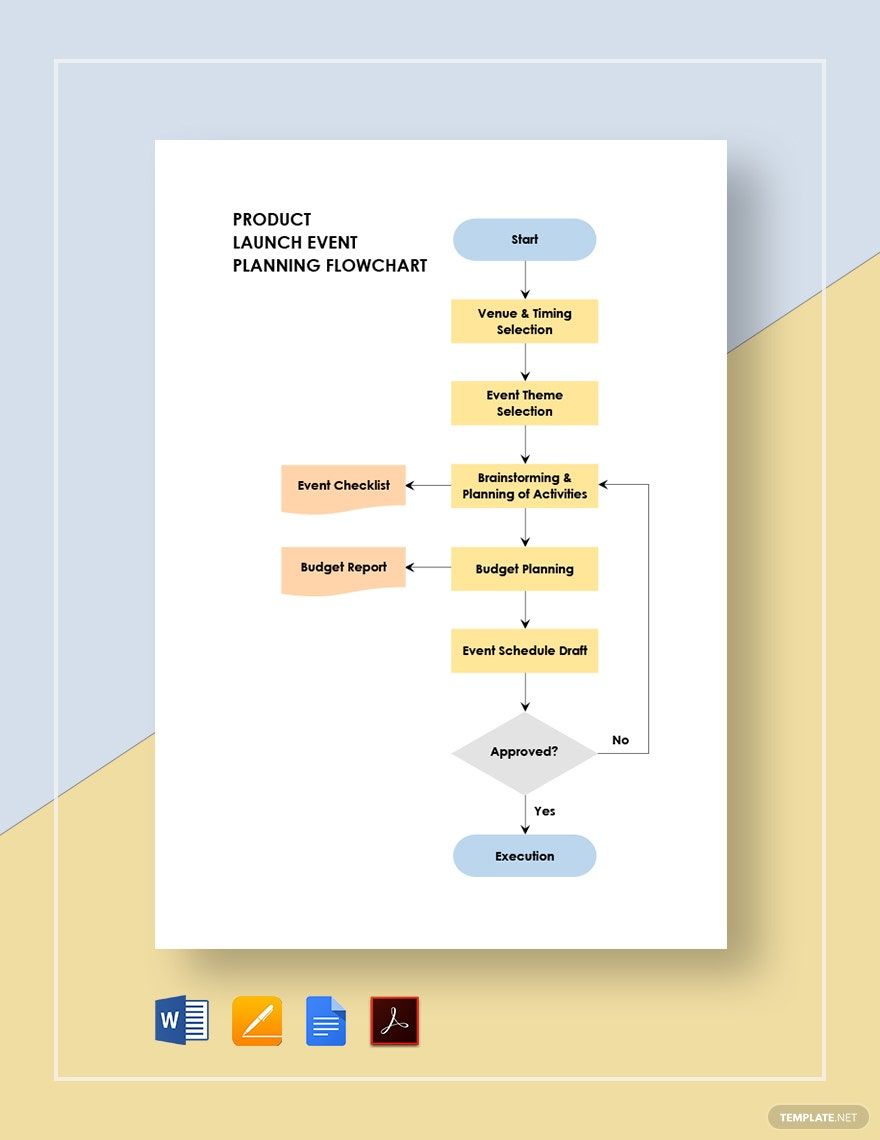
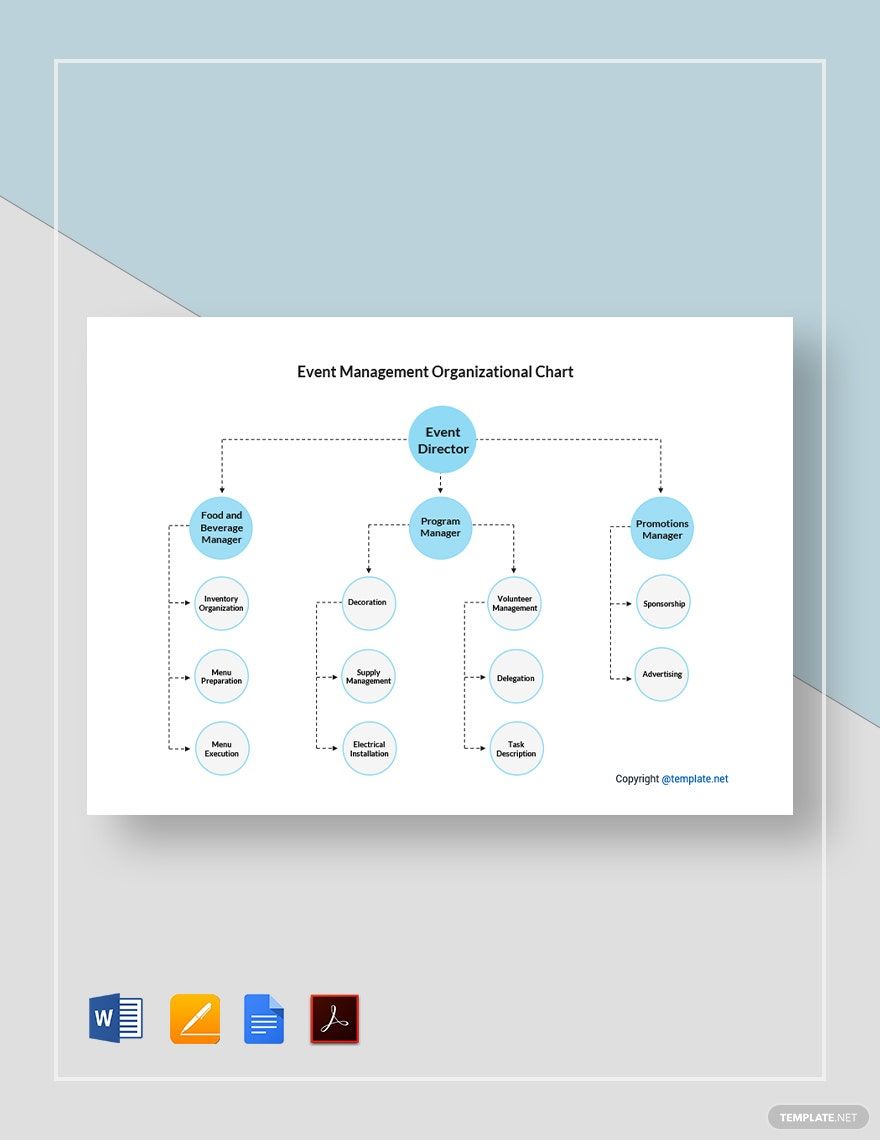
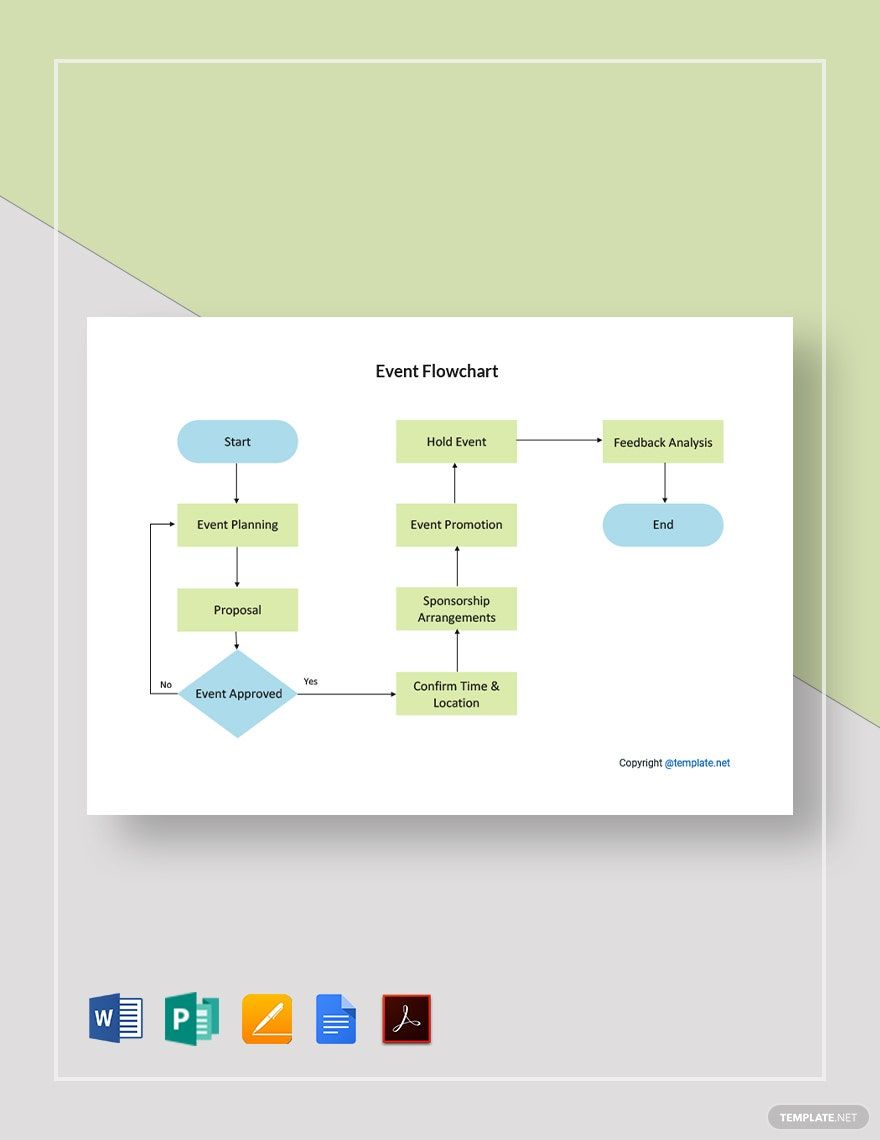
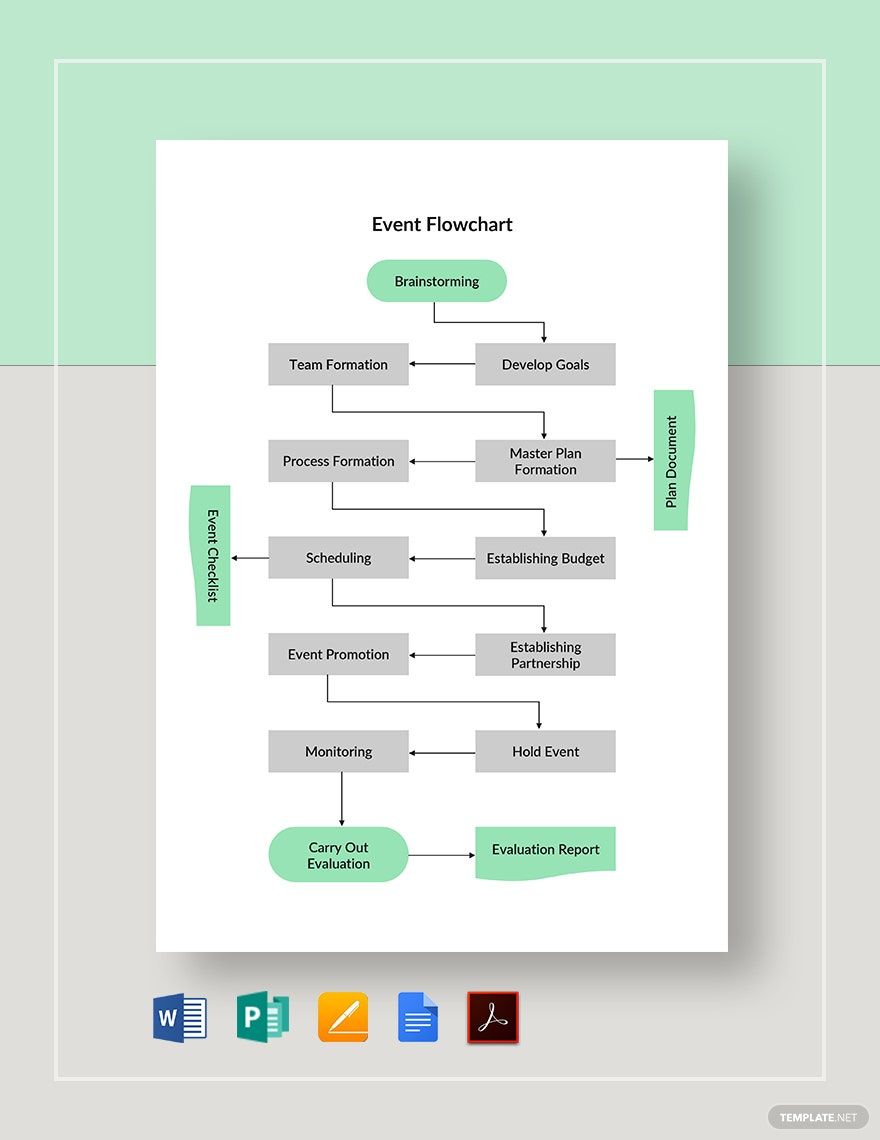
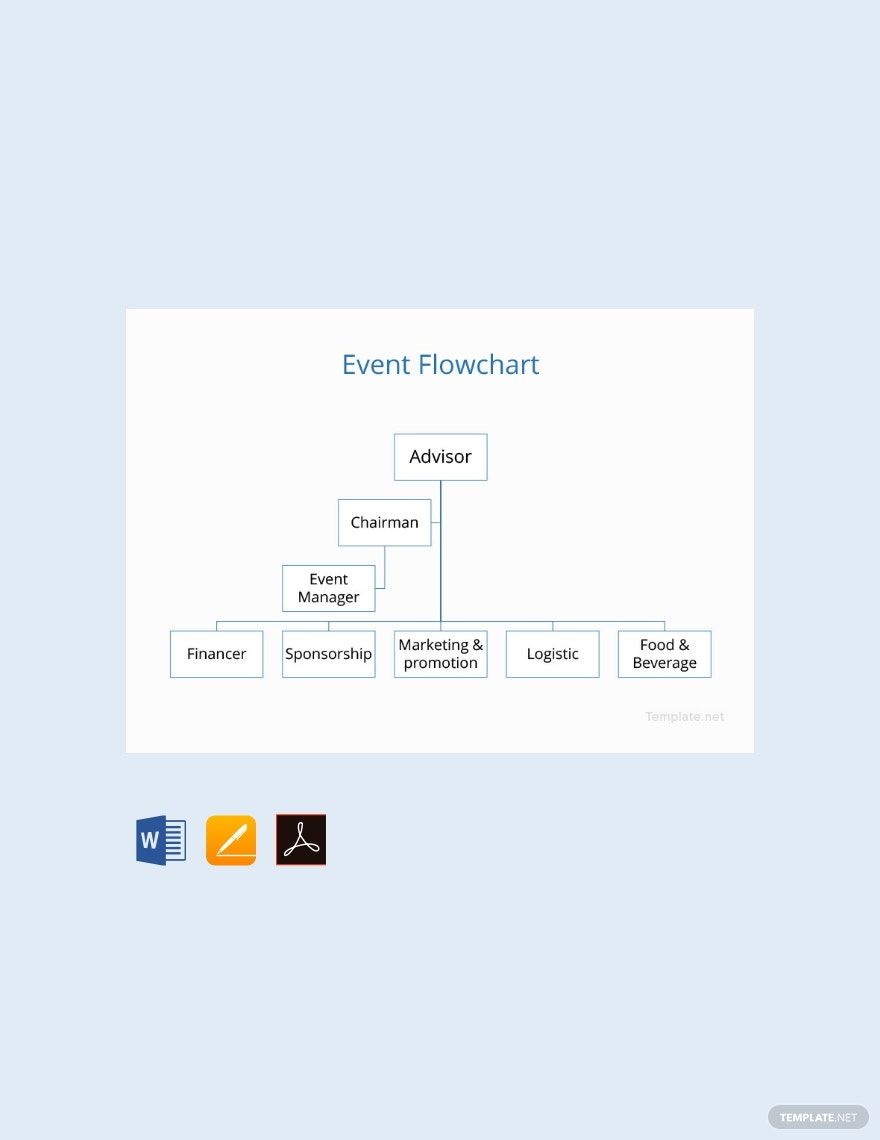
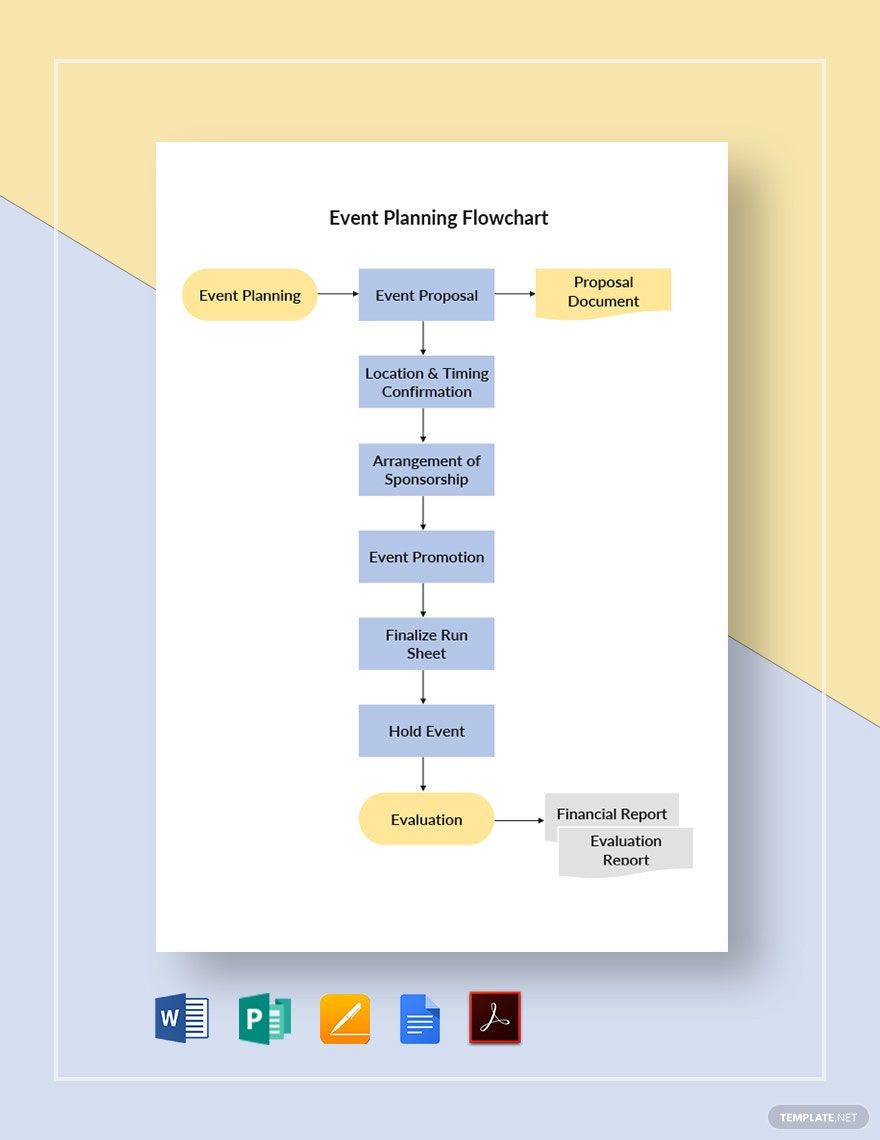
An African proverb says, "For tomorrow belongs to the people who prepare for it today." Yes, planning takes you to good results. Whether it is for party planning or planning for an event to a product launch, you need a smooth process to follow. To get there you need an event flowchart. Why start from nothing? When you know you can choose from this top-of-the-line collection of Event Flowchart Templates In Google Docs! These templates are 100% customizable and are easily editable in Google Docs. These come with A4 & US Letter Sizes! What are you waiting for? Grab one of these templates now!
How to Make an Event Flowchart In Google Docs
Preparation makes any event successful. Your event is more likely going to be a failure without any preparation. Forbes says that the event planning of business-to-business companies mostly spend 5-8 weeks. Whether it's a personal event or a business event, you need to get your plans straight. To make your event management successful, you need an event flowchart to assist you.
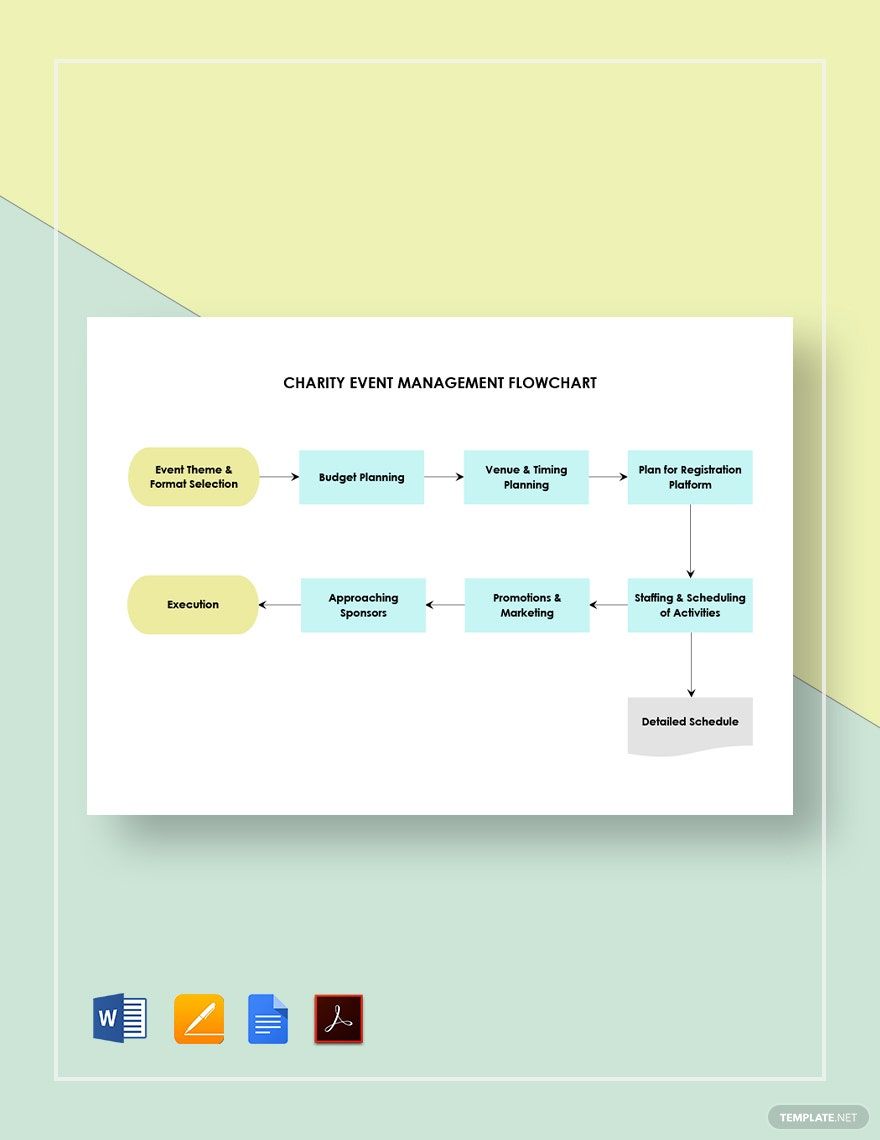
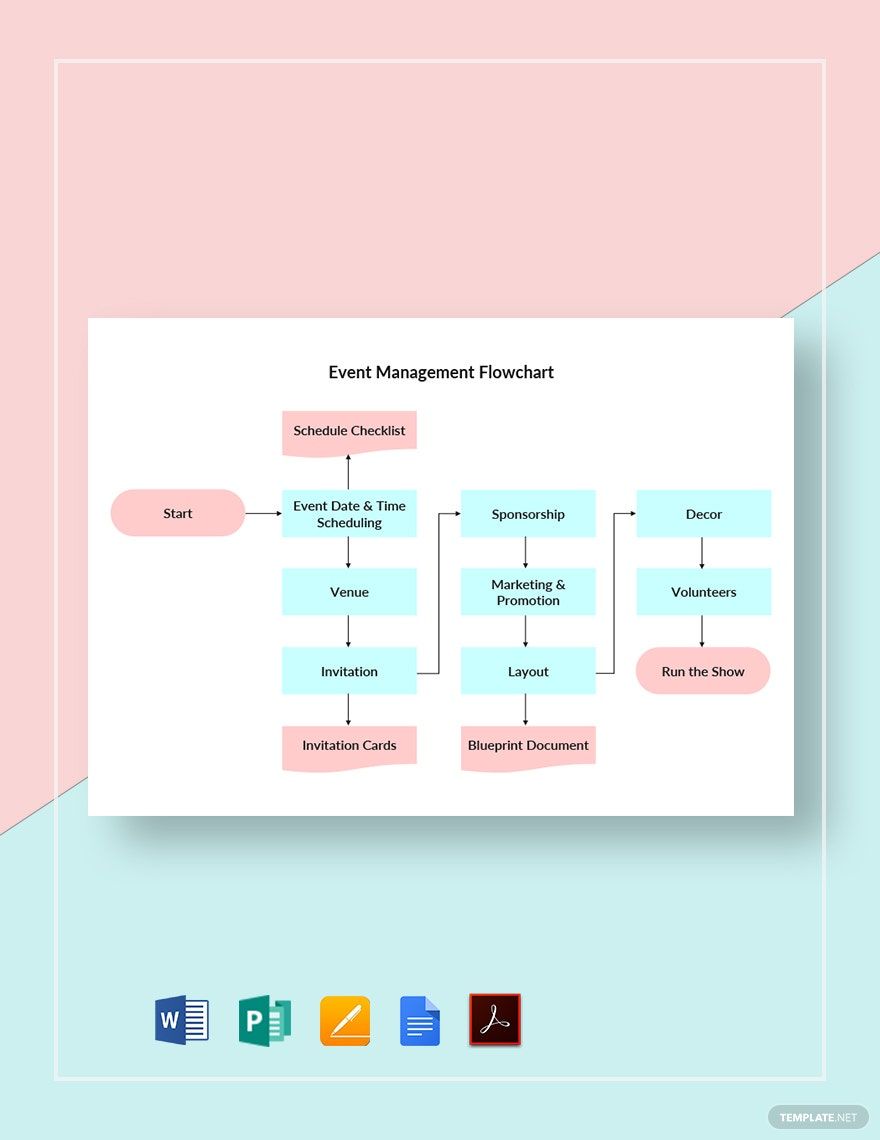
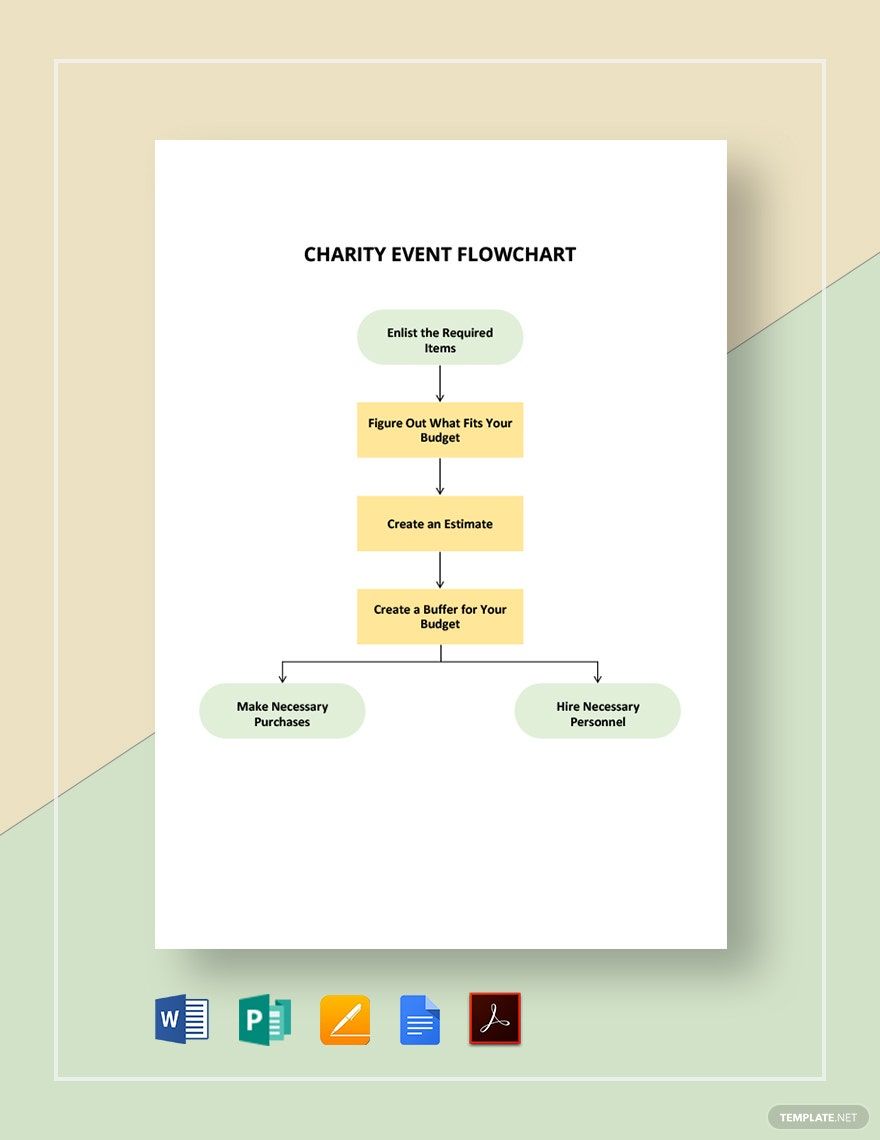
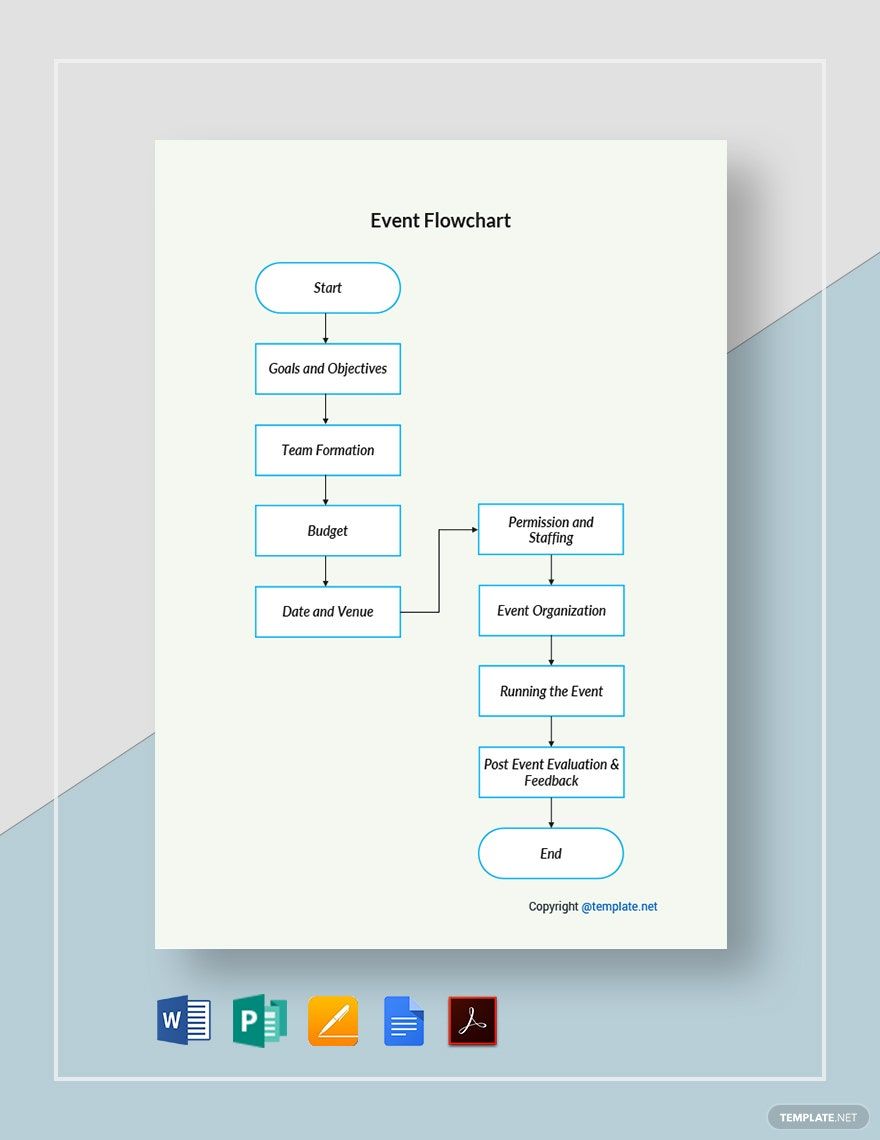
Flowcharts save time and make things less confusing. It gives a visual presentation of the process of preparing for your event. Don't have an idea of how to make an event flowchart yet? Well, here are simple steps to help you:
1. List the Details
Starting to create an event flowchart is really easy. All you need is a pen and paper. In the first step, you have to list the details that your flowchart should have. Begin with listing the things that you need to prepare for the event. It's okay if the details are not in sequence because all you need are the information first. List the date, venue, budget, goals and objectives, the planner, and more.
2. Arrange the Details
Of course, you have to arrange your list in order. You have to start on the first step. Do you want to start with the event proposal? Do you have to start on the event schedule? Regardless, you have to make sure that you get the arrangement right. When you are arranging, make sure only to include the essential details. Don't add unnecessary steps that can only make your event planning chart incomprehensible.
3. Create an Outline
The third step is to make an outline for your flowchart in event planning. This is going to help you avoid too many mistakes when you'd do your flowchart on any software. Now, you can start outlining your chart. Draw how you want your flowchart to look like. You must familiarize yourself with the shapes in a flowchart. A terminator points to the start and the end of your flowchart. An action or process represents a step in your flowchart. Those are just examples. To add, you have to include a flowline that marks the flow of the direction.
4. Start Making the Flowchart In Google Docs
Once you have a visual presentation of your flowchart, start making it on Google Docs. Google Docs is a great channel to create diagrams. You can also customize and edit templates there. Don't forget to put colors on your chart so that it won't look dull and boring. But, make sure that you won't overdo the colors and the design of the flowchart, or else it will look unprofessional.
5. Review the Flowchart
Don't leave your chart unreviewed. Make sure that everything is correct. Check if you have incorporated all the necessary details on your flowchart. Did you forget something? Did you use the wrong shape? Does your flowchart have clarity? When you are done, you can save it to your google drive or immediately print it.


