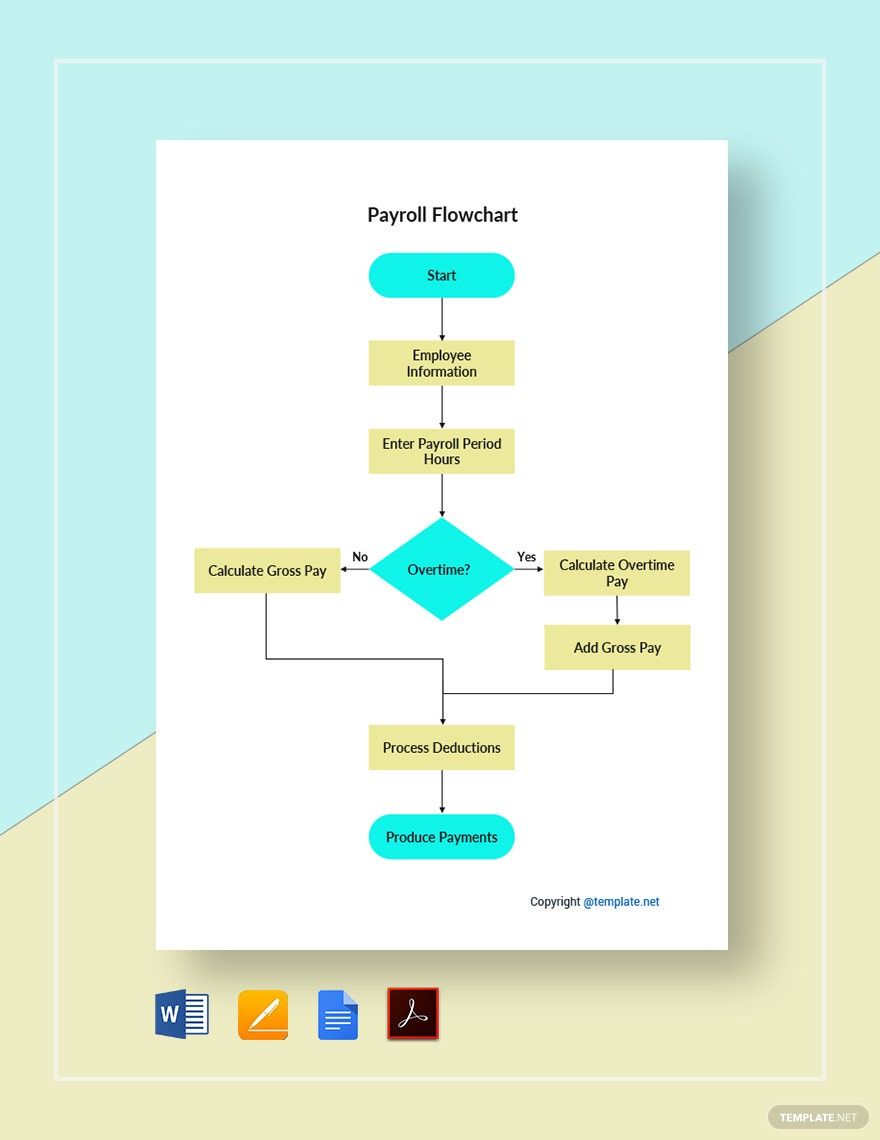
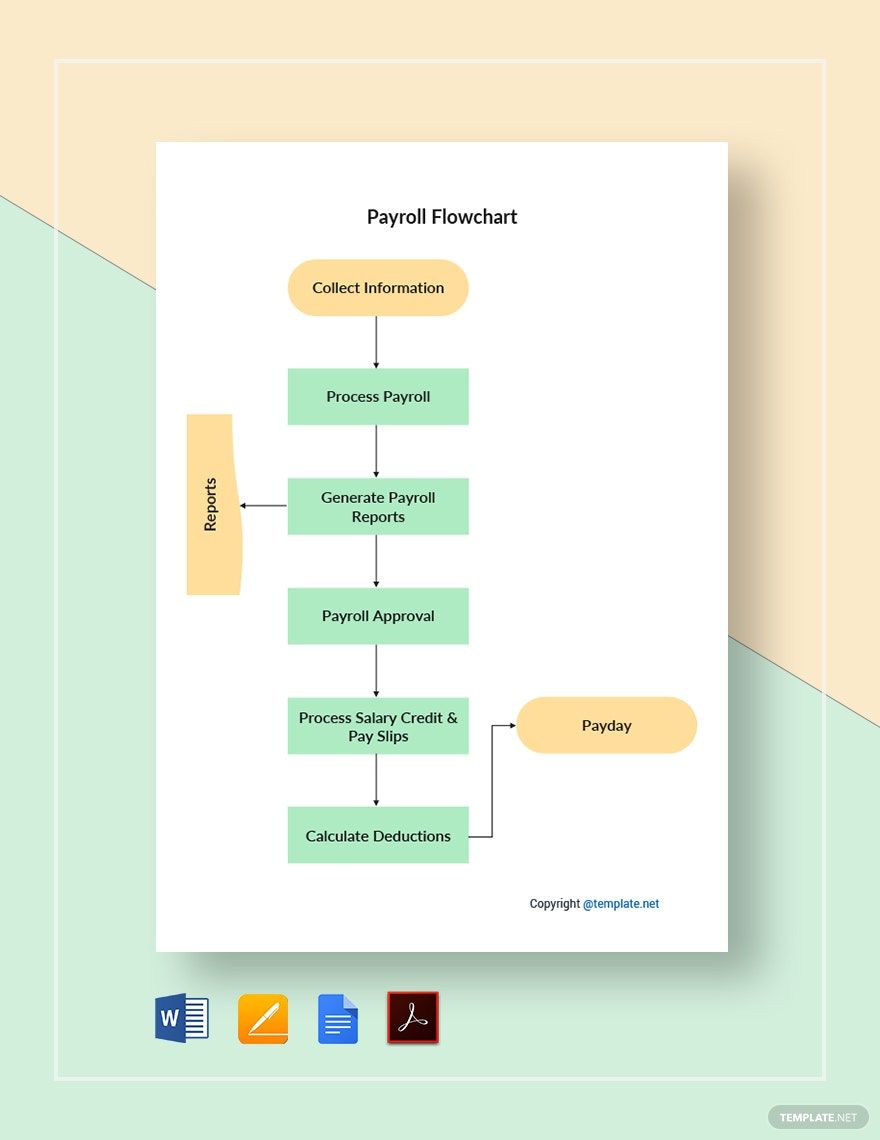
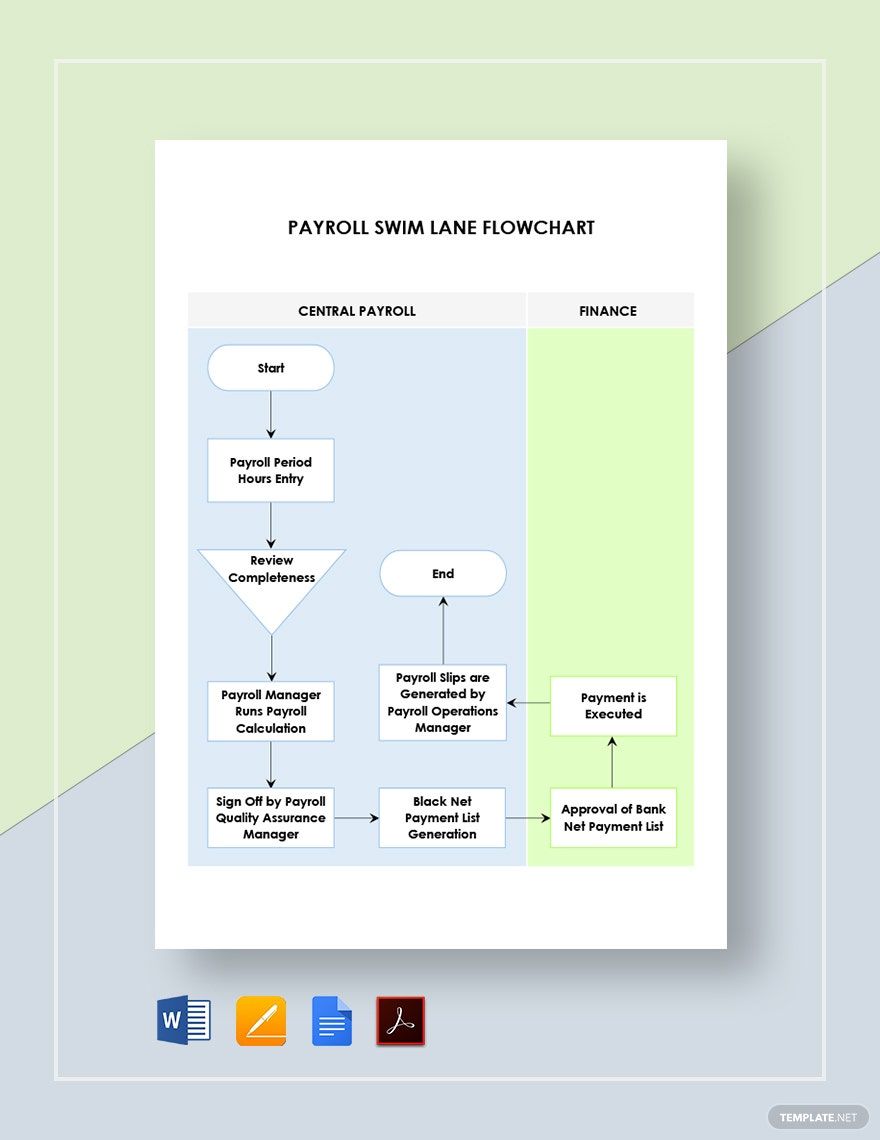
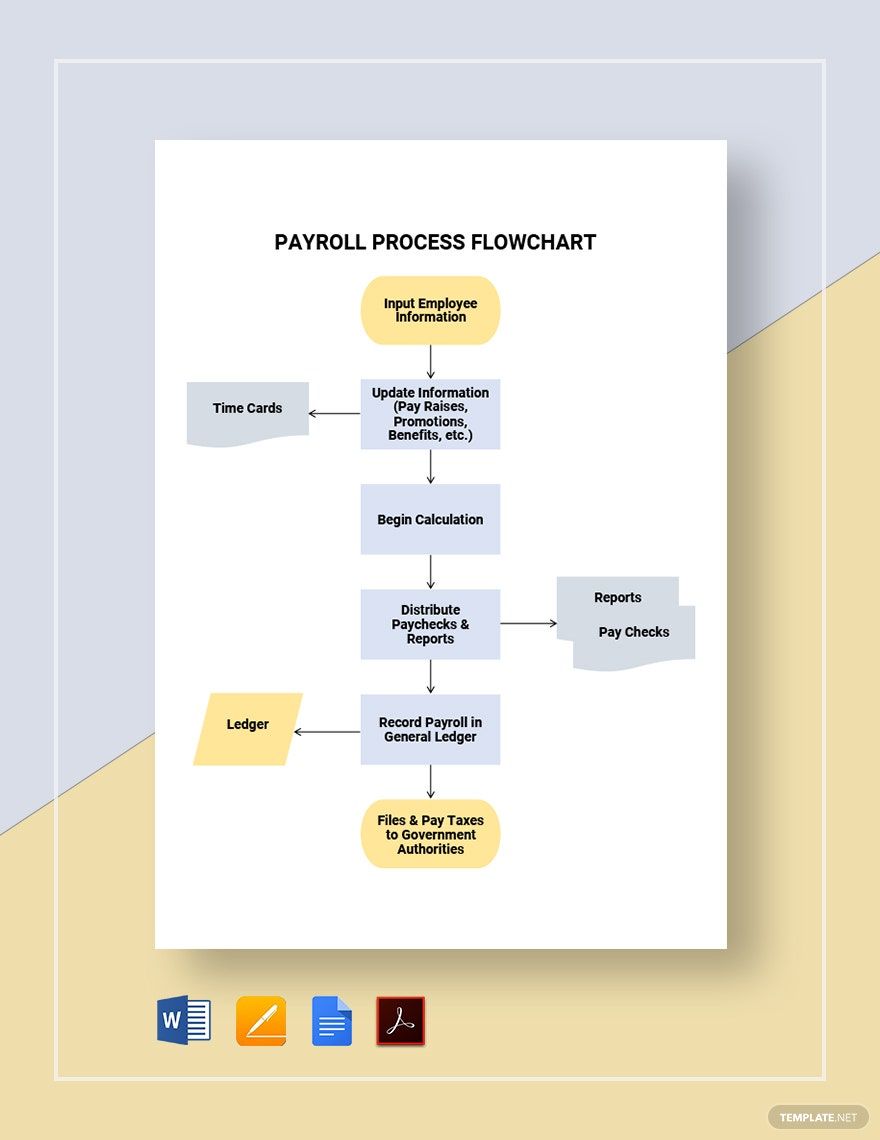
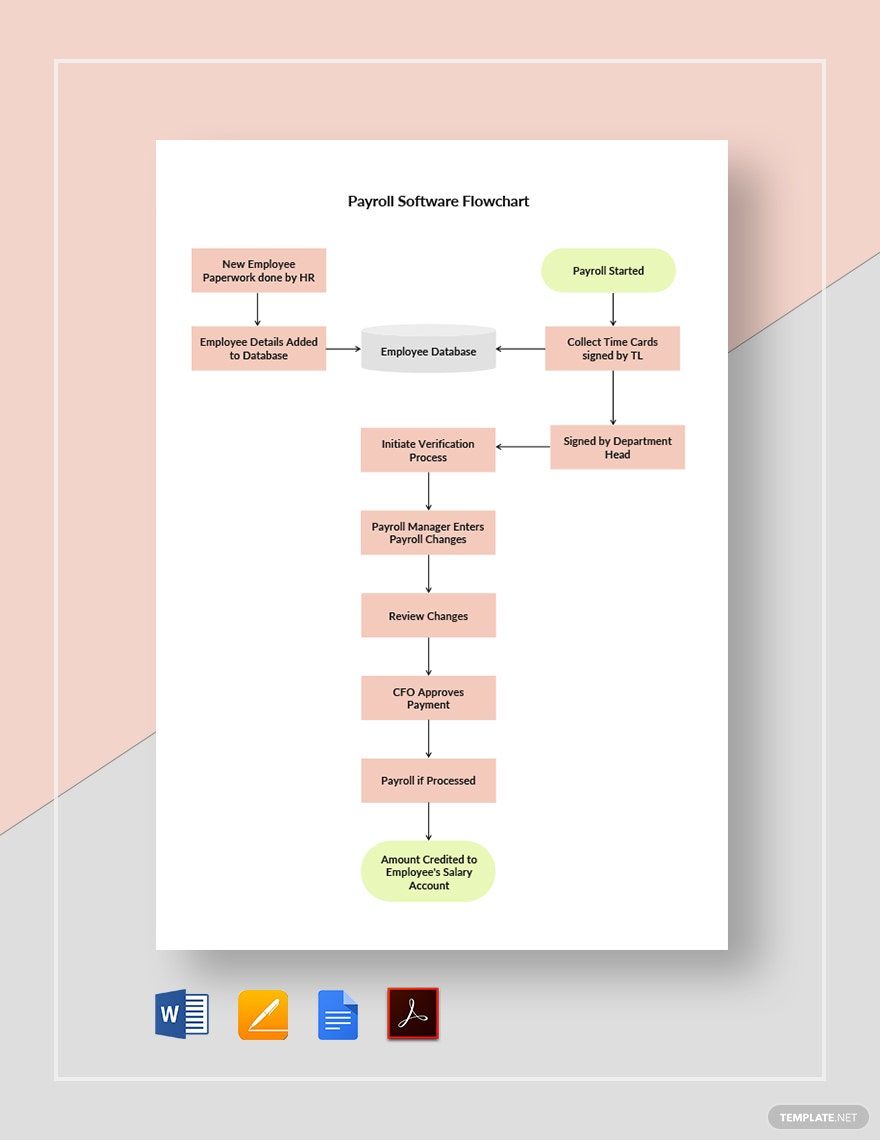
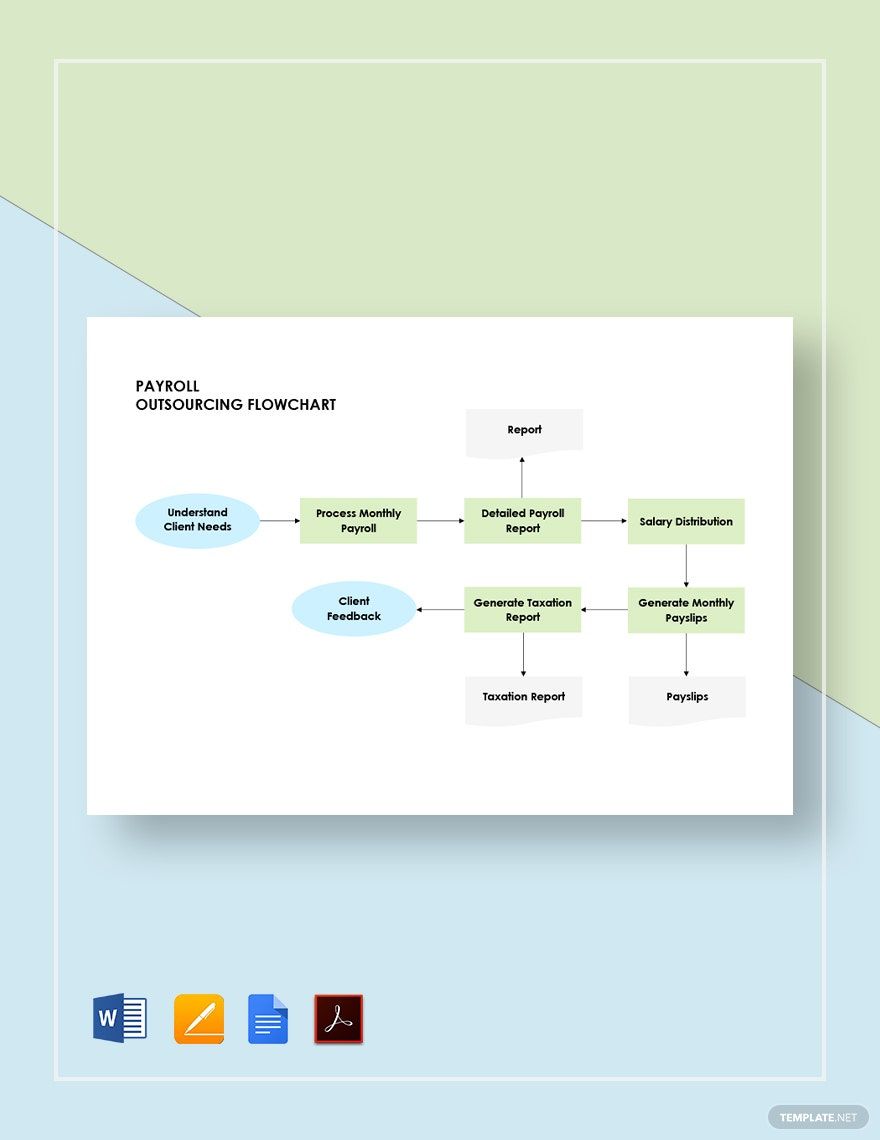
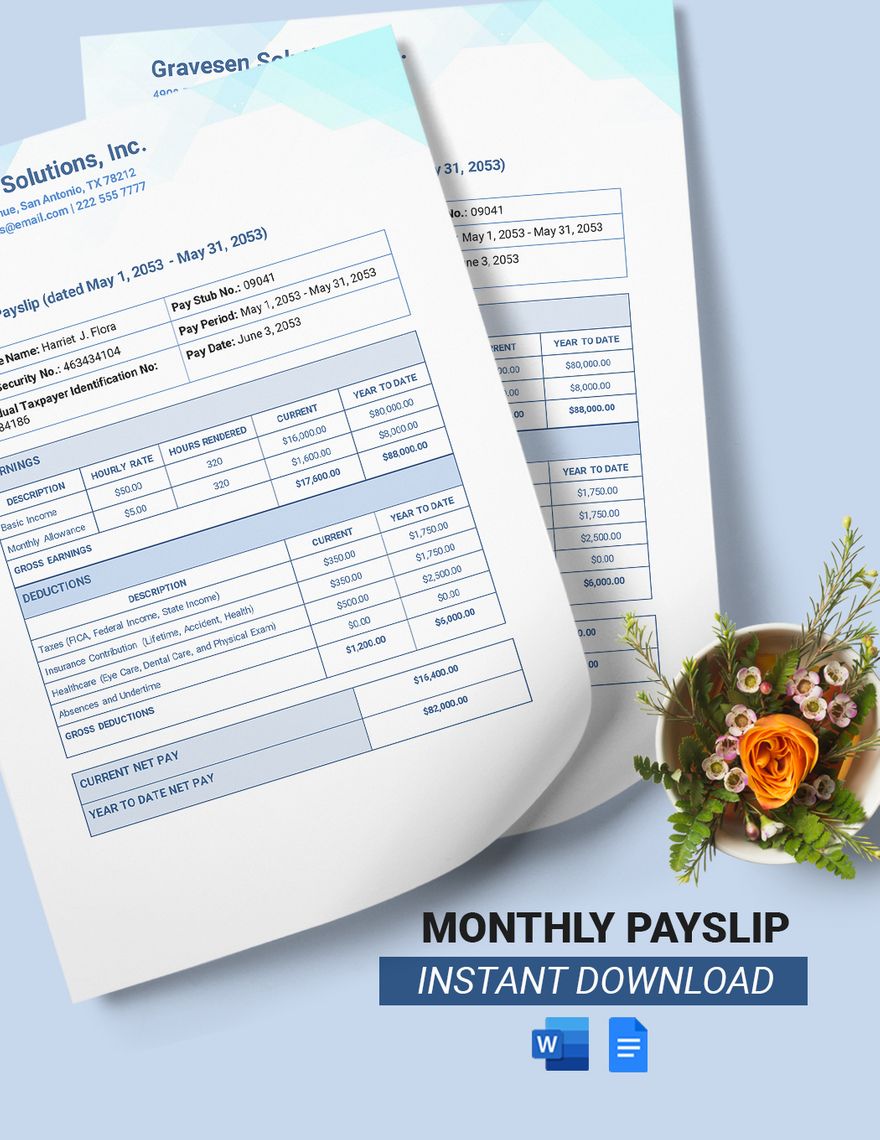
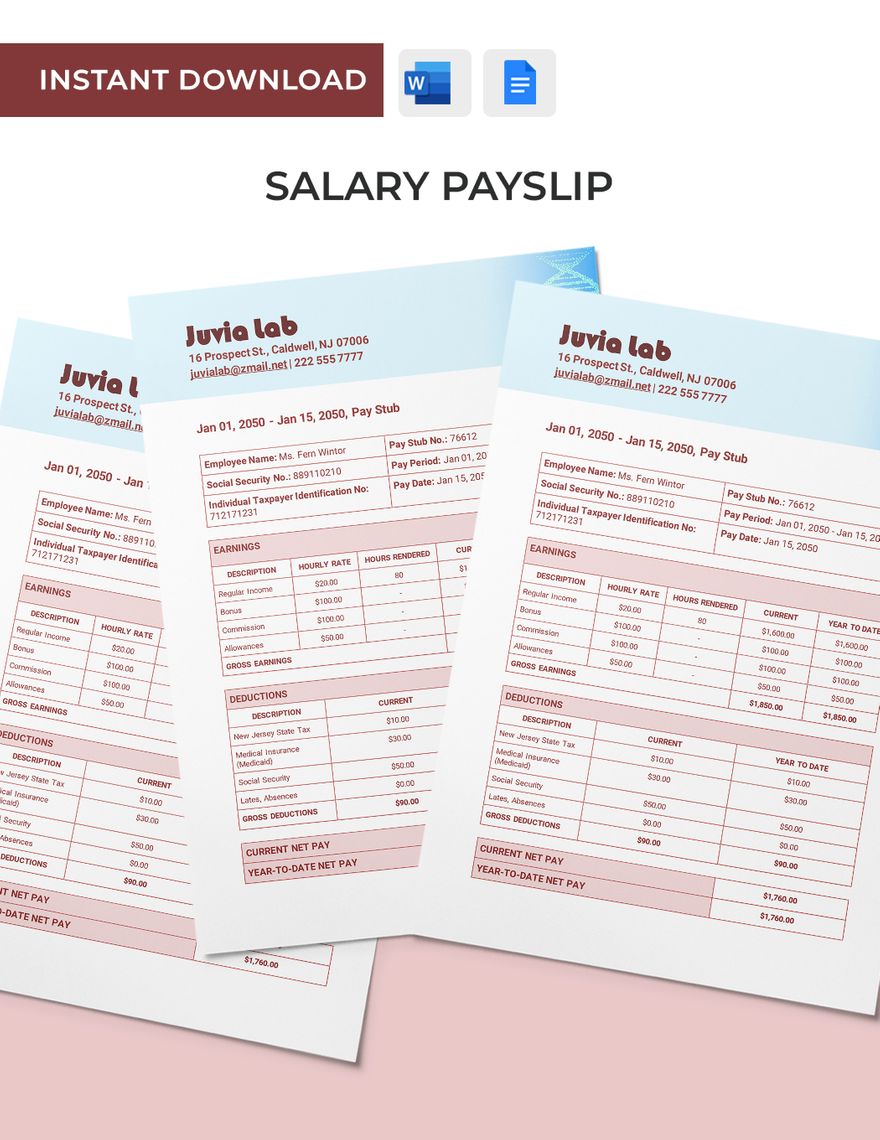
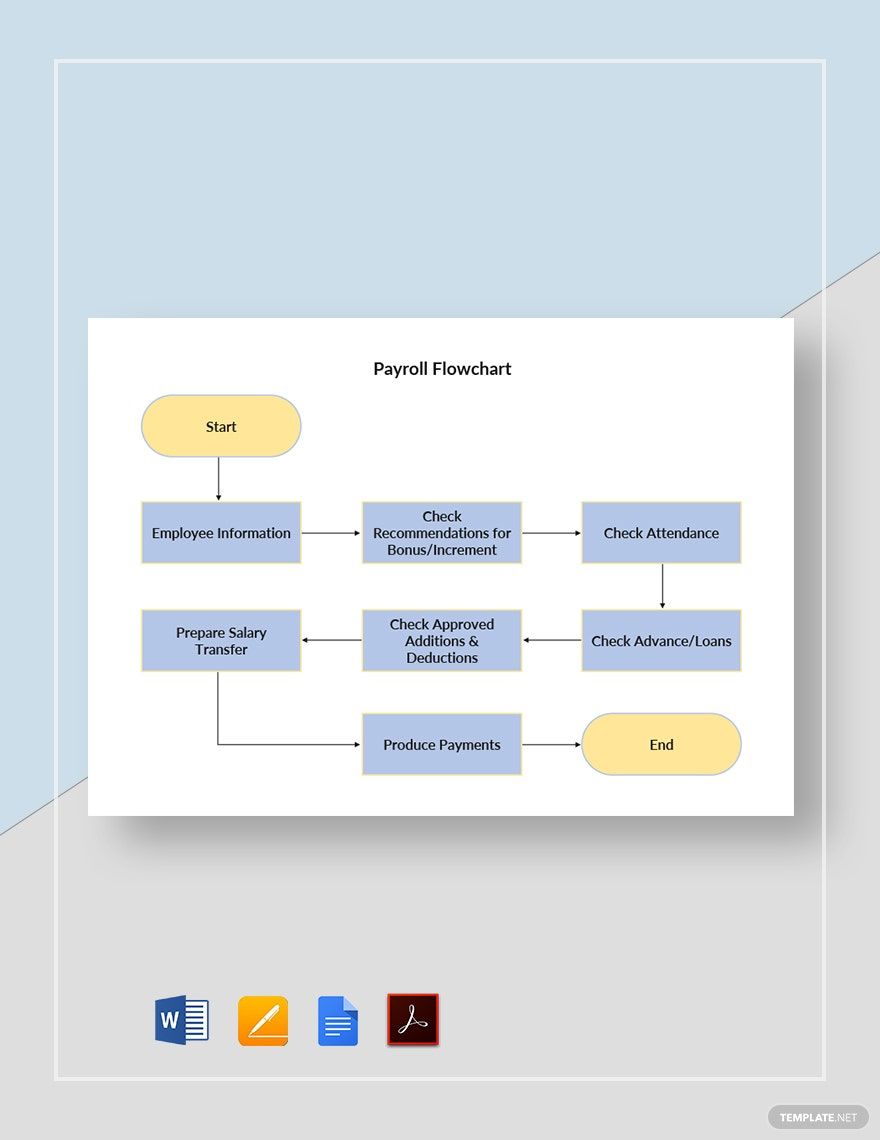
Every business needs employees in order to function. However, finding and keeping your staff requires compensating them for their hard work. That’s why it’s important that you duly process each expected salary. If you’re looking to streamline this workflow, then what you need is a flowchart. And we’re here to help you put one together with our professional Payroll Flowchart Templates! Whether you’re a small business or a large company, our content is fit for complementing your payroll management. Plus, our samples are 100% customizable in Google Docs, providing convenient editing on browsers. Don’t keep waiting and download now—take advantage of our original templates for your HRM tasks!
How to Make a Payroll Flowchart in Google Docs
Be it manual labor or deskwork, a business’s personnel need adequate payment. So, when it comes to quickly and efficiently calculating salaries, using a flowchart is always a good idea.
According to an article from Chron (a business-oriented publication), flowcharts use symbols for an easier time making and understanding the different steps in a process. It’s also stated that this type of diagram is utilized by practically every industry, so you’re sure to find use in it too!
Are you creating your own chart in Google Docs? Then do consider reading our tips below.
1. Make Your Payroll Flowchart in the Drawing Window
Google Docs has a very nifty feature that makes chart and diagram creation more intuitive. That, of course, is the Drawing window.
Open the Drawing window by first accessing the Insert menu (in the above toolbar). Next, go to Drawing and then choose New. The Drawing window is now open and ready for creating your payroll flowchart!
2. Appropriately Name Your Payroll Flowchart
An informative title is necessary for your diagram, especially when showing it to other employees. To give your flowchart document a title, use the Drawing window’s Text Box feature (found in its own toolbar).
Click-drag the new text box into the top of the Drawing window’s work area before writing down your title. When thinking of what to type, it’s advisable that you make it describe the chart’s contents. So, write something akin to “Software Programming Workers’ Payroll” or “Overtime Documentation for Internal Control Staff.”
3. Build Your Payroll Flowchart with Shapes
When working on a system for accounting work, your flowchart needs a few basic symbols. Create these symbols by using the Shape menu (located to the left of Text Box).
The required shapes are ovals for your start and end, rectangles for actions, parallelograms for inputs and outputs, and diamonds for decisions. Reposition the shapes by click-dragging them around, while click-dragging their nodes to resize them.
4. Include Lines in Your Payroll Flowchart
In any flowchart, lines are used to show how a workflow system progresses. Link your steps together using the Select Line menu, next to Shape.
Select either the Curved Connector or the Elbow Connector. Then, place your choice into a spot between two adjacent shapes. Click-drag both ends of the line to a node on each shape. Your new Connector will automatically reorient itself when one of the shapes is repositioned.
Did you read through all of our tips? Just remember what you’ve learned for an easier time managing your salary-based tasks! And if you want easily editable content for your work, then use one of our Payroll Flowchart Templates.
