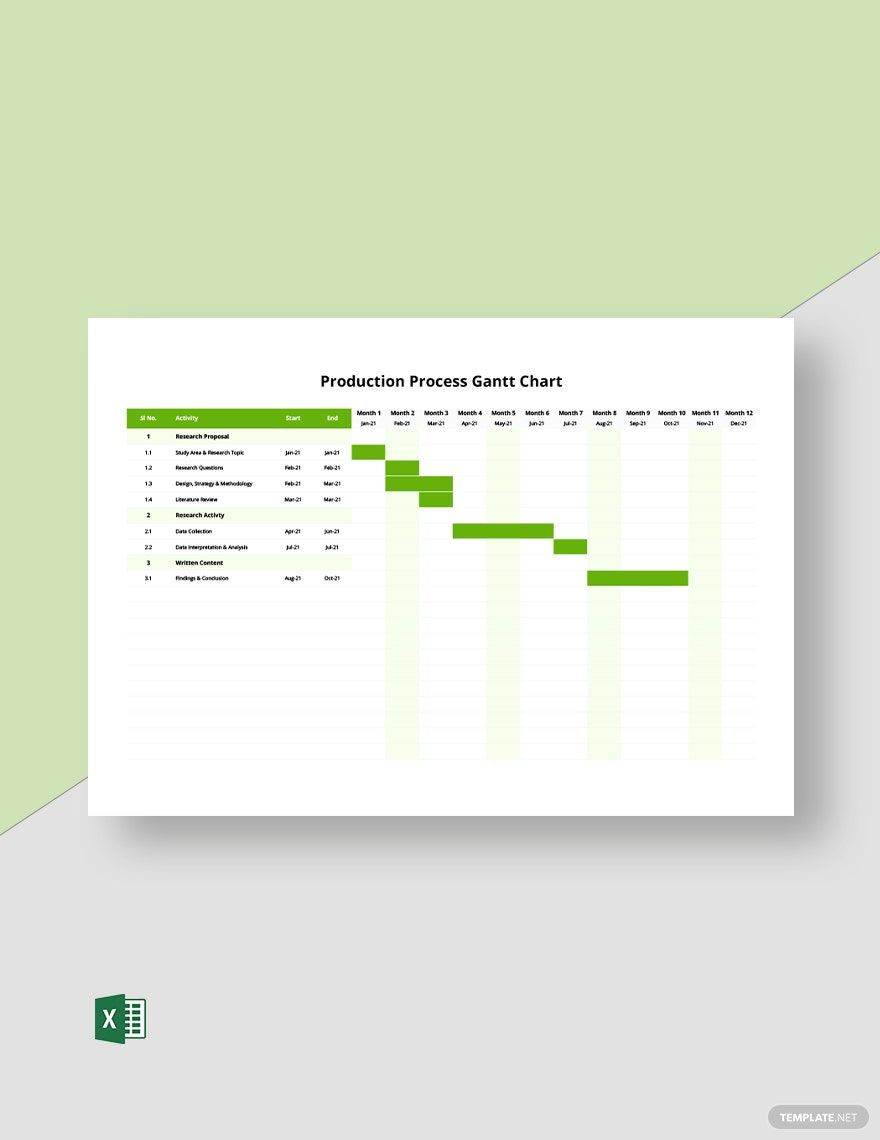
Companies need to make sure that their production process is appropriately followed in prioritizing the safety of the products they produce. With the series of steps that bind to complete a daily operation in transforming raw materials, are your employees capable of undergoing the same tasks every day? Even recurring actions could provide disruption. And perhaps, you don’t want that to happen in your production. So, to avoid this instance, we offer a Ready-Made and High-Quality Production Flowchart Templates in Word, Pages, Google Docs, and PDF that you can easily download. Get your copy in A4 or US Letter size. Achieve a continuous movement with a well-laid process. Get the appropriate tool by downloading our template today!
What is a Production Flowchart?
A production flowchart is a visual representation of the different workflow procedures in the industry. It plots out a detailed process of manufacturing, tracking orders, and many more. It’s a helpful tool in allowing the employee to follow a step by step order of the process.
How to Create a Production Flowchart
A safety check always starts in the production process. Coffee, vinegar, bread, steel, and other raw materials undergo several procedures to pass quality control. With cleanliness and safety being top priorities, it’s common for other companies to get this aspect failing. Especially with food production, 600 million people are typically affected with food exposure to poisonous substances that lead to severe illnesses, according to the World Health Organization. That is why production management is vitally important as this helps cease these occurrences.
In improving the quality of the product your company produces, align your objectives with the actions employees do. Operate daily by creating a Production Flowchart. Read through the following tips to do it conveniently.
1. Figure Out the Recurring Issue
Begin by determining the root cause of failed events in the production. Here, gather enough information about the issue. Define it and prioritize its origin. It could be in the electronic system where it’s coming from or other factors, so inspection is a must. Align all of them with the needs of your potential target. Now, come up with a list of tasks to accomplish to resolve this issue.
2. Construct a Flow Diagram
Don’t settle on a draft alone. Instead, make it more visually understandable for the users. But how is this done? Achieve this by transforming the concept into a visual diagram. Start by choosing a software you're most comfortable with. Choose an appropriate layout; horizontal or vertical. Draw shapes with a new document. Rounded edges rectangle are commonly used in this process. Make sure it’s enough to hold your process channels. Don’t forget to make the flow directional. With that said, use connectors to bind the whole output.
3. Produce a Step by Step Guide
It’s not an informative diagram without the corresponding tasks in it. So, complete the guide with the labels in every shape. Do this step starting from left to right, or top to bottom. Avoid putting lengthy text. Three words are enough as long as it sums up the action that needs to be done. One important thing to remember is to position the list of tasks in sequence. It helps employees avoid unnecessary mistakes.
4. Keep It Professional-looking
For the designs, it’s not mandatory at all. Limit it with the adjustments in text sizes and styles. Or if you want to enhance it, changing the background colors will do. But of course, ensure that it’s not distracting in the eyes. Generally, you’ll have to create a simple chart that’s highly informative. If it does the job for everyone, it’s time to test it out.
5. Test It Out
In testing your new workflow structure, execution is necessary. If one step fails, then you can quickly assess it. So, let the whole team review the procedure. Is it workable on an efficient time scale? Once done, print enough sample charts. You can choose to put it up on walls or keep a soft copy.
