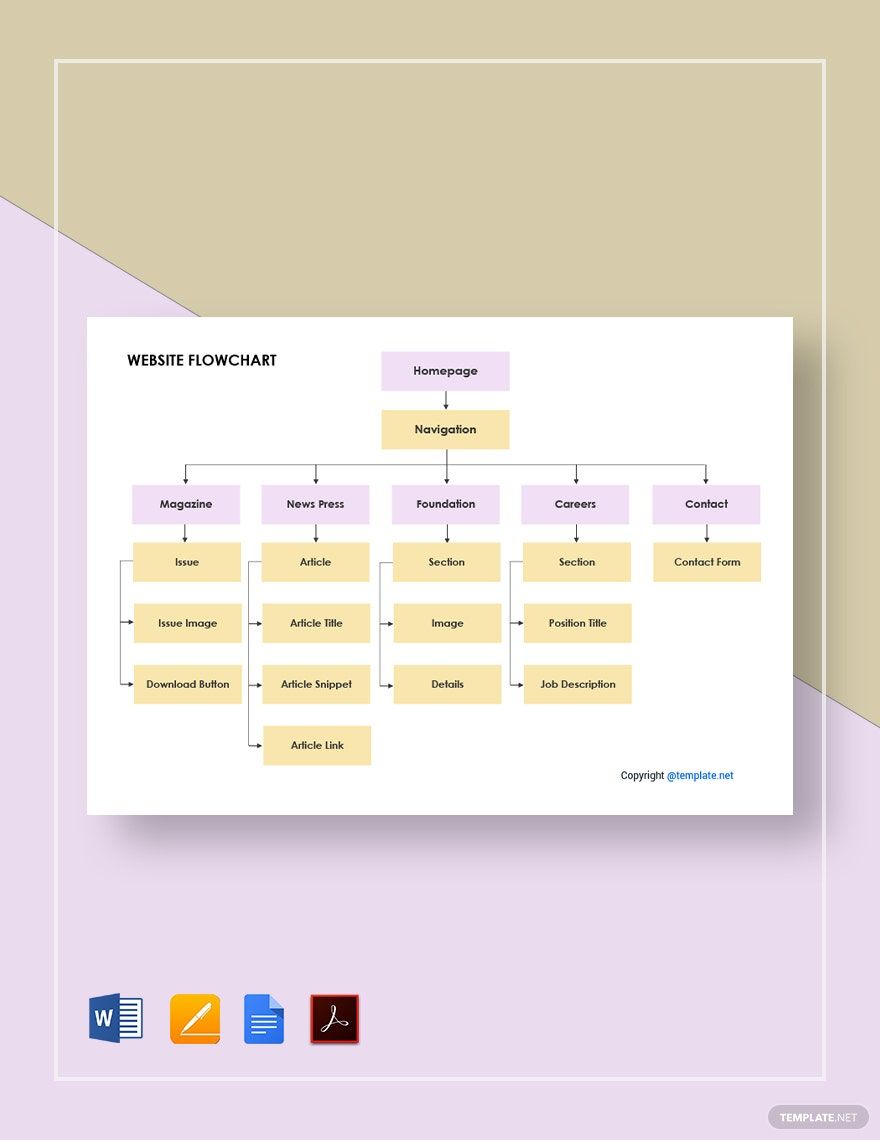
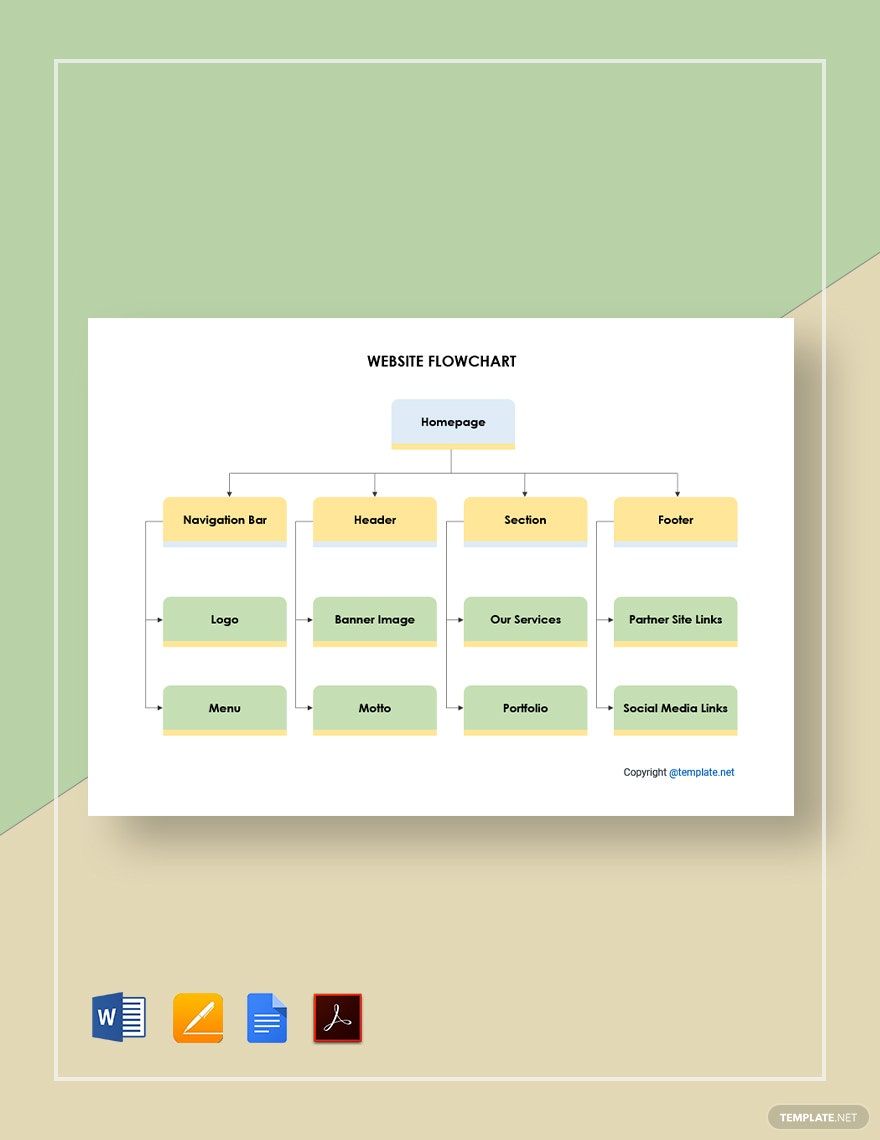
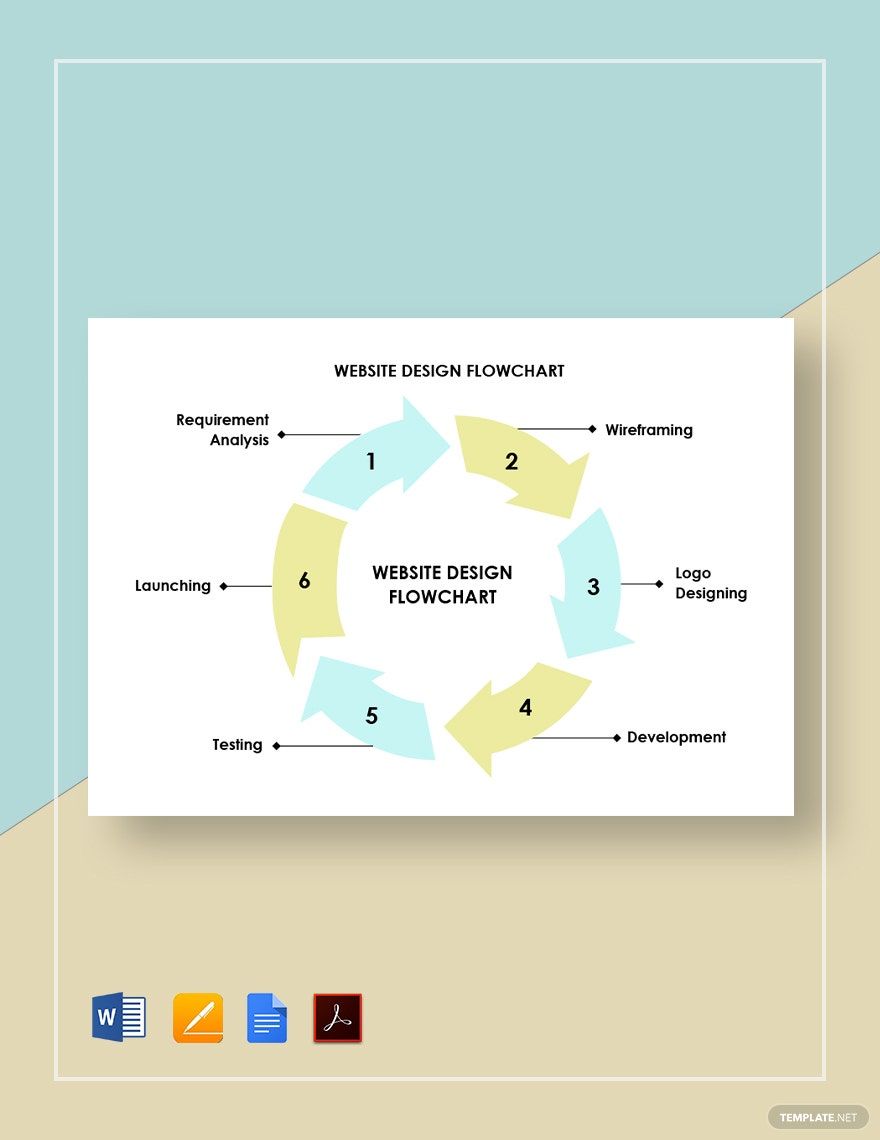
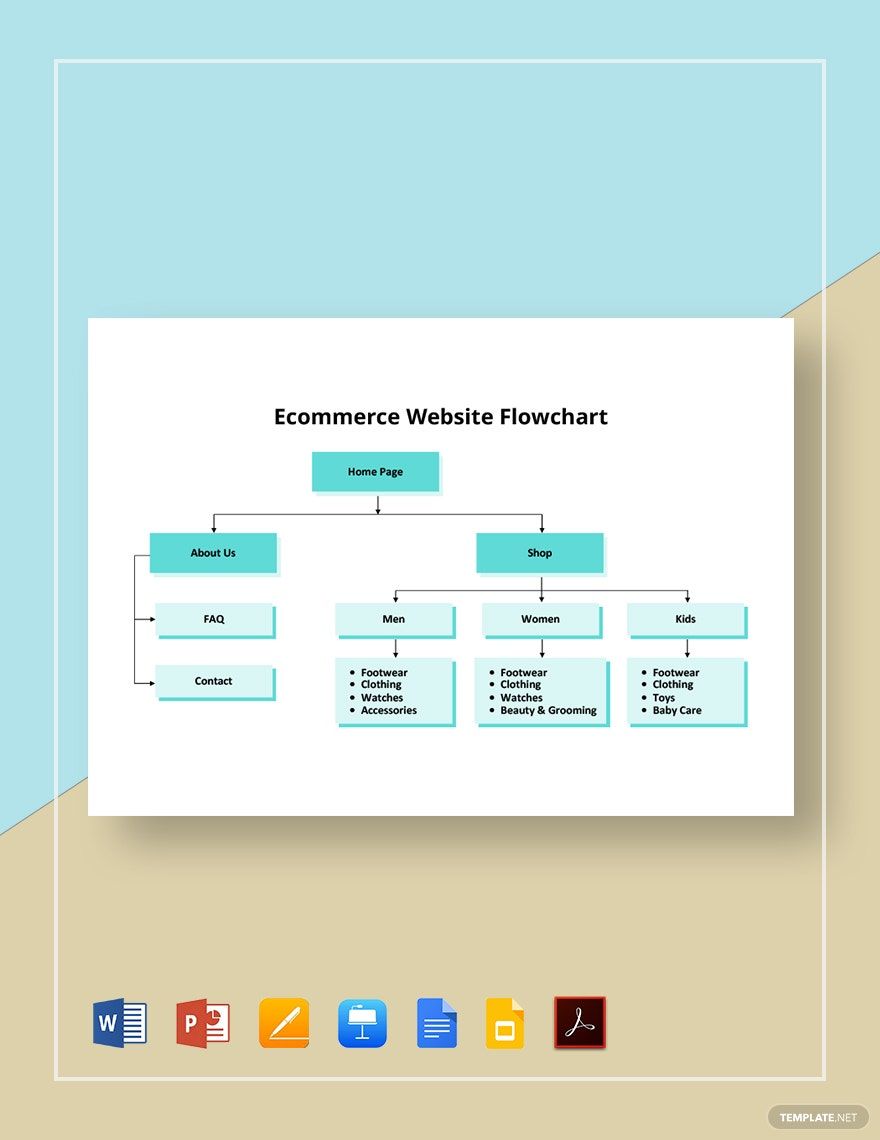
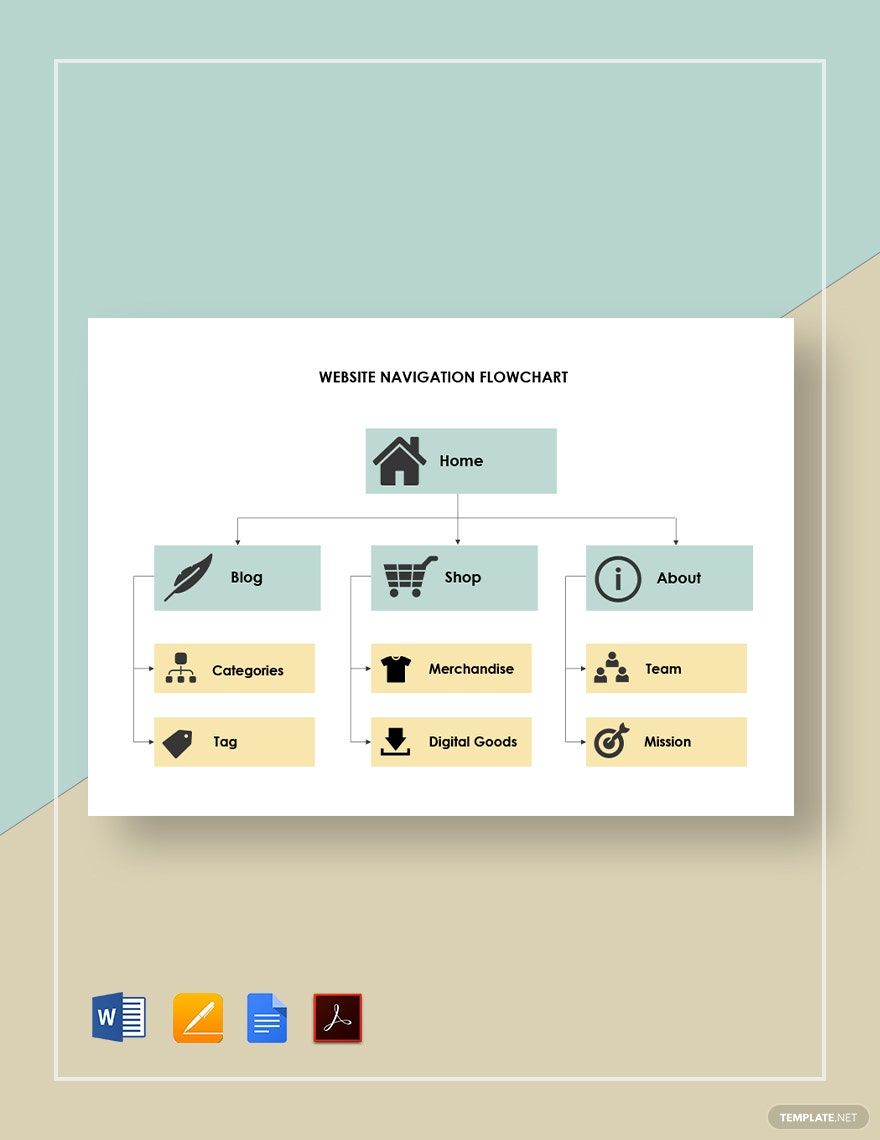
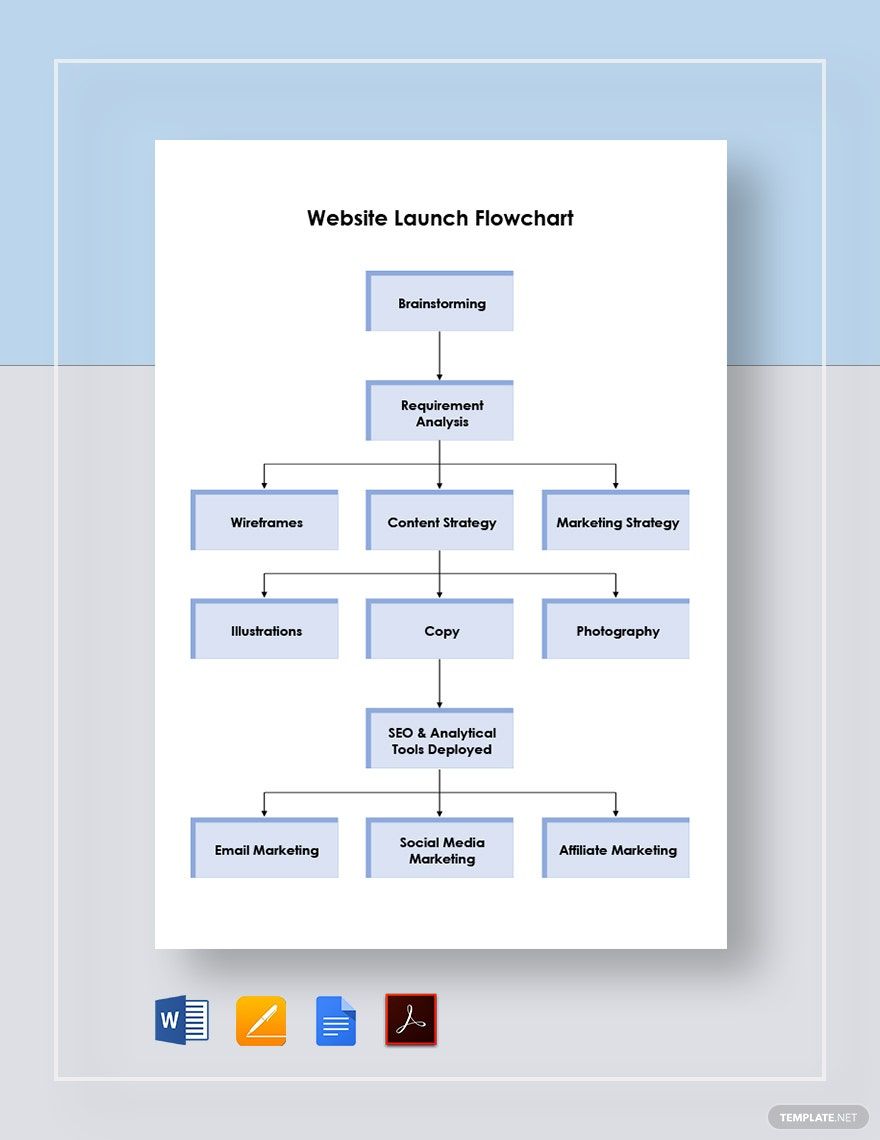
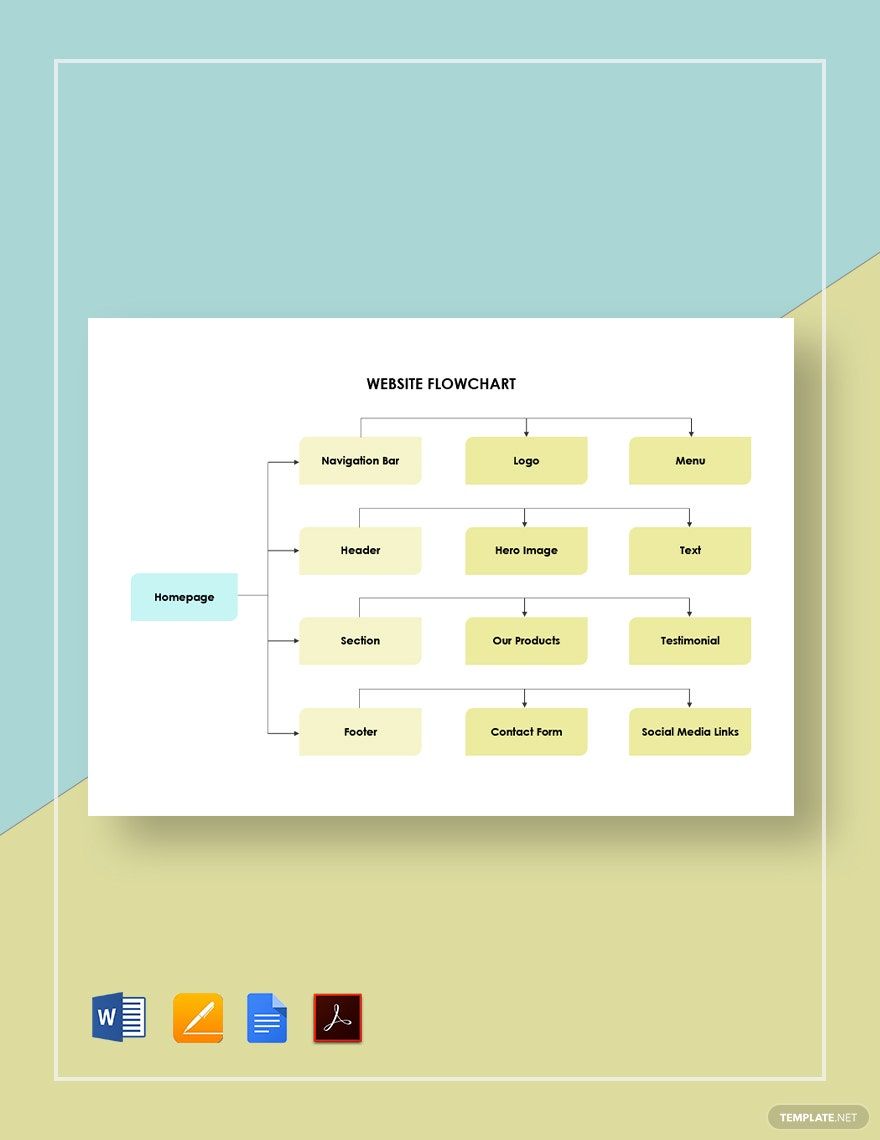
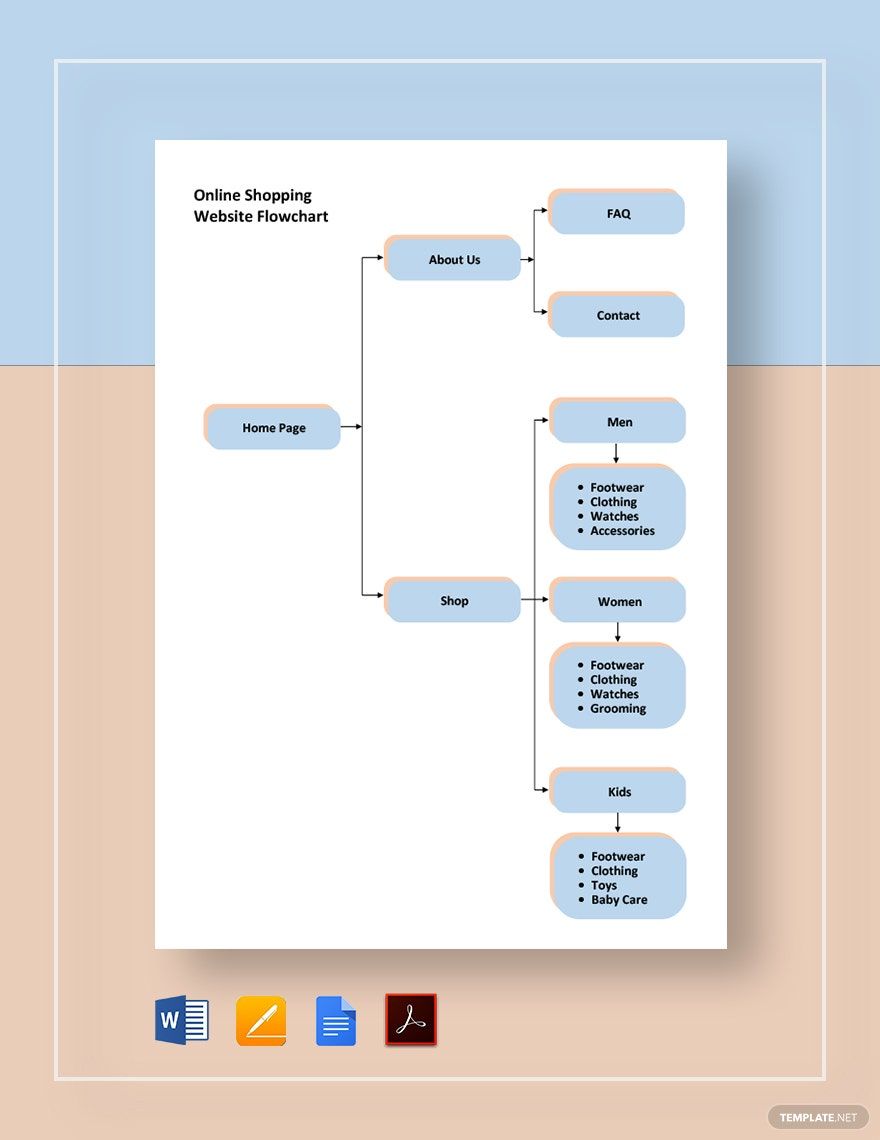
Save time from the hectic task of website designing by using a proper flowchart that defines all the steps of web development and programming in order. Whether you’re discussing website navigation or putting together a site for blog users, incorporating a flowchart can streamline your work. Make it even easier by using our professional Website Flowchart Templates and complete your task in no time. Our easily editable flowchart samples come fully compatible with Google Docs in which you can add all the specifications mentioned by the client and personalize them. Download and design a website layout. Subscribe now to start downloading!
How to Make a Website Flowchart in Google Docs?
From designing a creative homepage banner to integrating a web application, there’s plenty of elements that go into setting up a proper website. They are the headers, navigational bars, different pages, content and graphics on each page, etc. With that being said, utilizing the versatility of a flowchart can cut down on the time and tedium that goes into that work.
Smallbusiness.chron.com describes the flowchart as a diagram that uses simple visuals to show how a process or procedure should be carried out. If you’re not sure how to make a flowchart for your website, have a look at our tips below:
1. Universal Shapes
Before creating your flowchart, it’s crucial to understand some universally understood shapes and symbols used in flowcharts at first. There are ovals for the start and end of your chart, rectangles as a single step, arrows for directing the flow path, and diamonds as decisions between splitting paths, etc.
2. Start Making Your Flowchart
First, open a blank document in Google Docs. Next, go to Insert > Drawing > New, and then a new sub-window should show up in the Docs--this is where you’ll be assembling a flowchart. Now, insert an oval by going to Shape > Shapes; position either at the top or bottom of the window (repositioning can be done by click-dragging it around).
You can resize the oval by click-dragging the square nodes around it, and rotating with the circular node above. After that, Double-click the inside of your shape to type in its label.
3. Add Lines and Other Shapes
With the start of your chart laid down, it’s time to proceed with the rest of it. Click on the dropdown button next to Line and choose 'Arrows' to connect the start to the next part--you also have arrow options under 'Symbols'. Make sure all the arrows in the design point in the direction of where to proceed.
To insert a rectangle for a step, go to Shape > Shapes and pick any of the rectangle options you prefer. For a decision/diamond, go through the same path. Also, remember to label these shapes as well; for decisions, labeling them with a question is usually more suitable.
4. Loops and Additional Markers
When setting up the separate paths from a decision, add short-answer labels next to the arrows that lead to their steps rather than reserving a shape for that answer. To add a shapeless label, simply click on 'Text Box' above and position it right next to its arrow.
To end the flowchart, add another oval and label it appropriately. Sometimes, some flowcharts simply loop back to the start or have both a loopback and a separate ending point. Be sure to keep that in mind when planning out the structure of your chart and how it should end.
If you’d like some well-made infographics to help in your website creation and/or maintenance, then feel free to look at our Website Flowchart Templates. Stand up to the promises made in your proposal by using them effectively!
