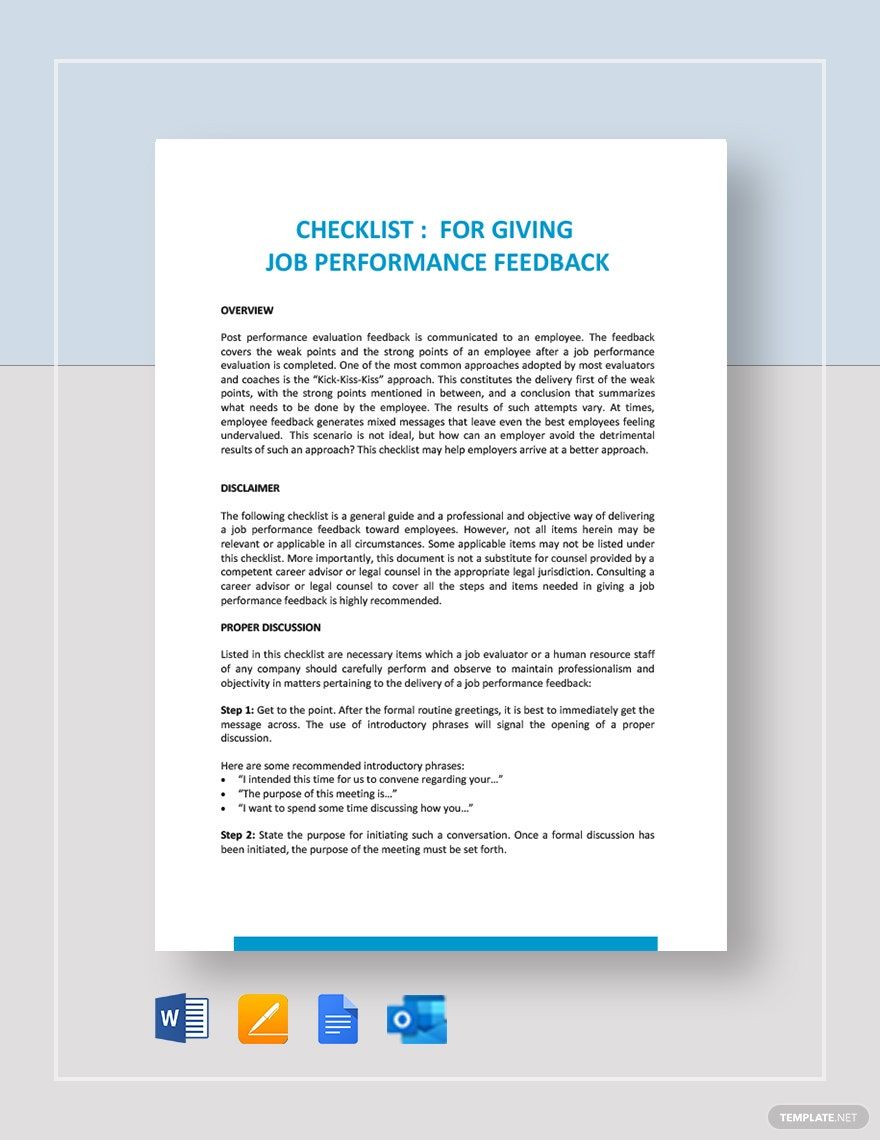
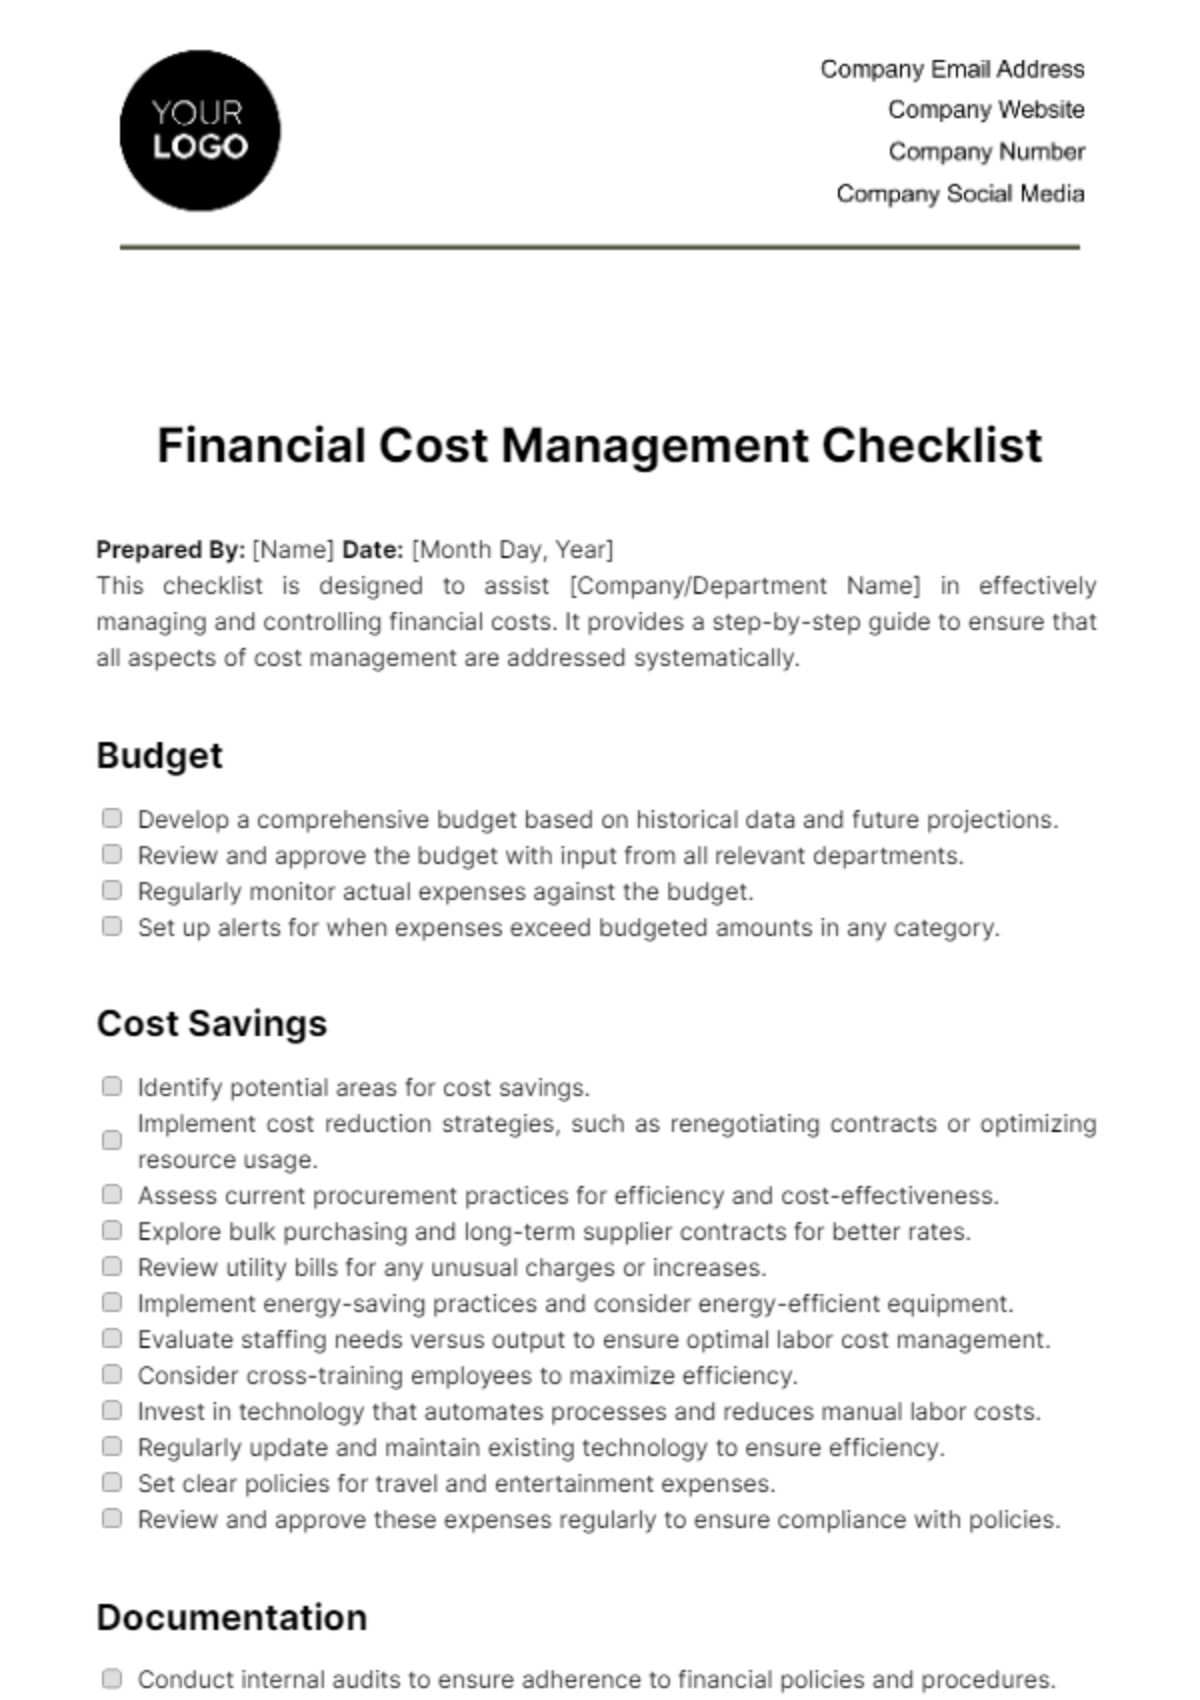
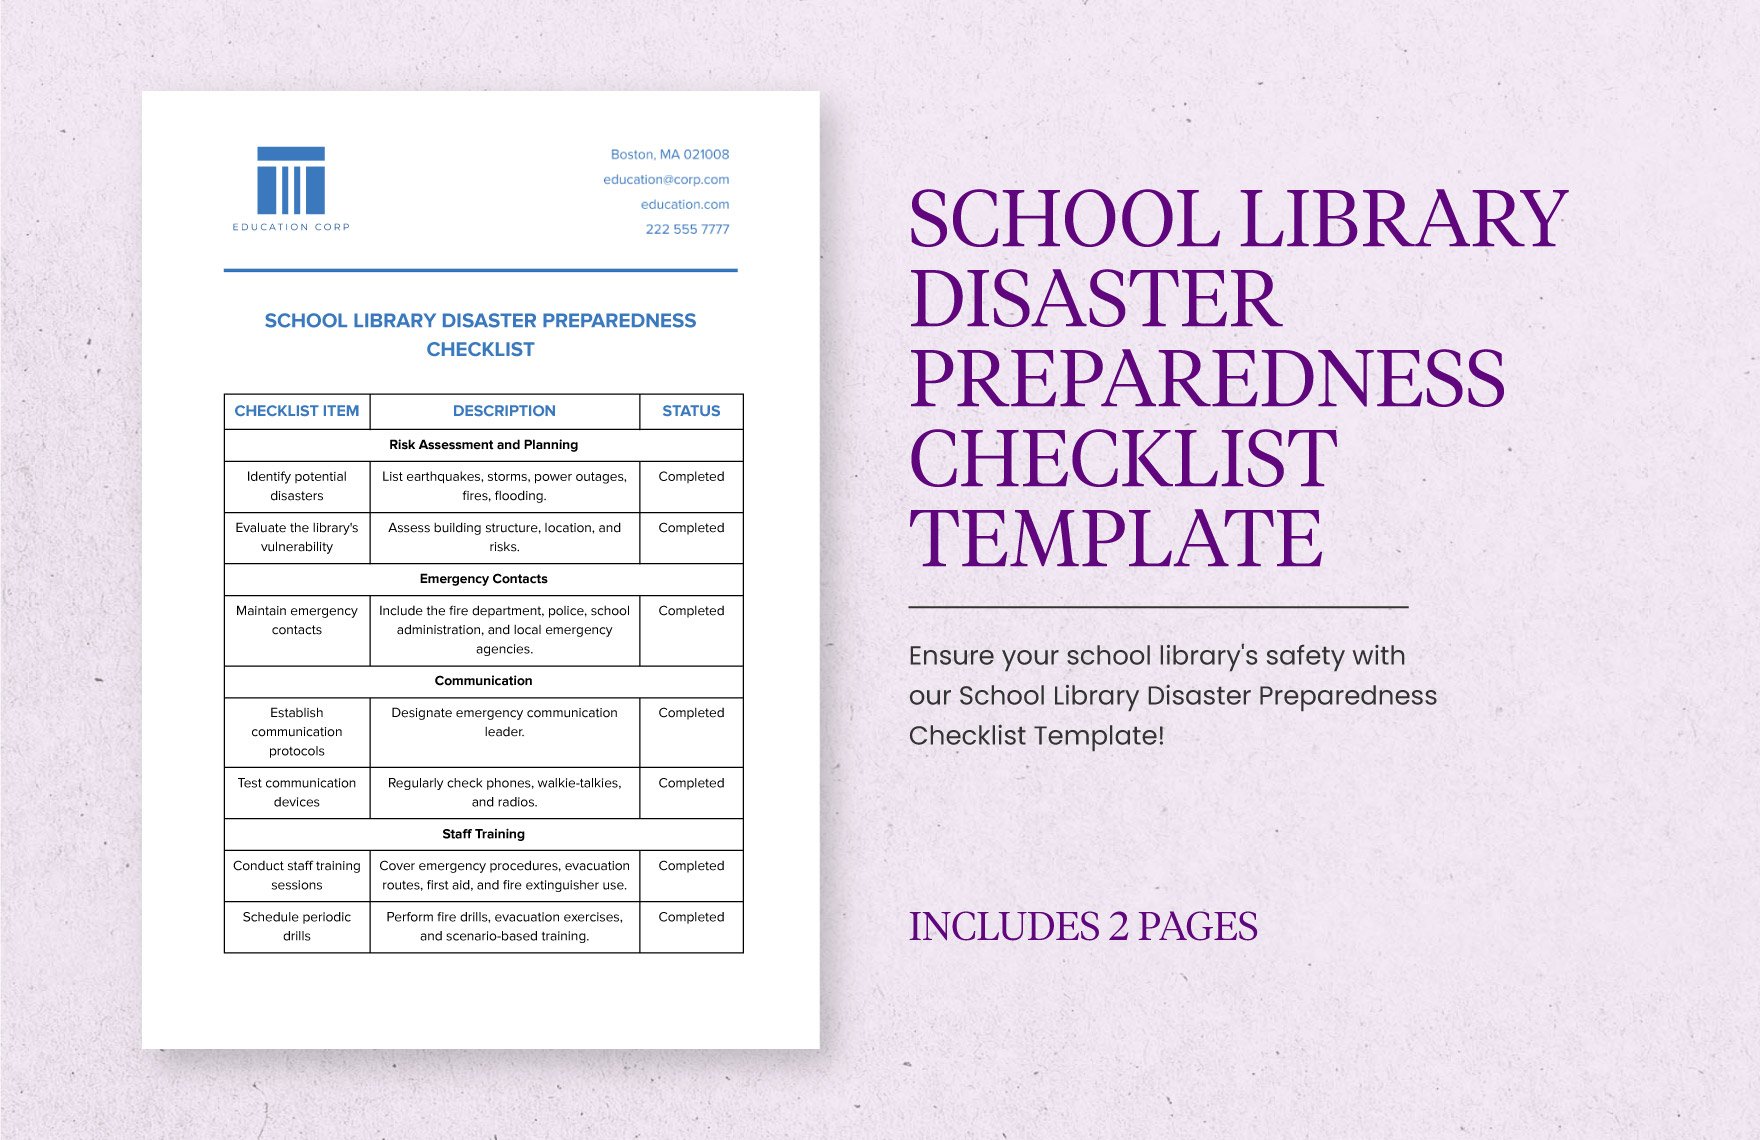
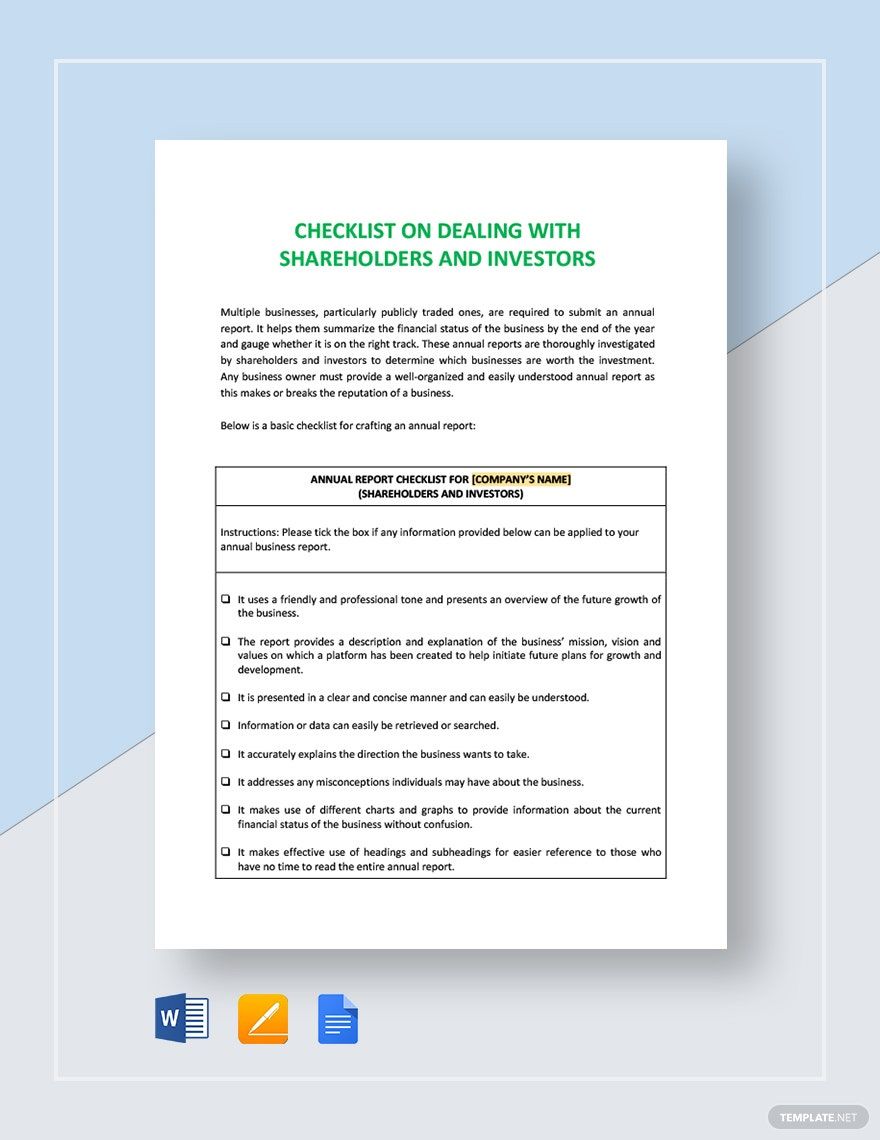
There goes the saying that "things didn't quite go according to plan", which is an issue that no party planner wants to experience. By using a planning checklist, you'll have a very high chance of pulling off a successful event since every detail is being documented. By subscribing to Template.net easily editable templates, you'll have no problem creating high-quality and well-written planning checklist templates for your events. Our templates can be downloaded whenever and wherever you need them, and you can even choose from file formats that are supported in Google Docs, Apple Pages, and MS Word. Go ahead, subscribe to our templates now.
What Is a Planning Checklist?
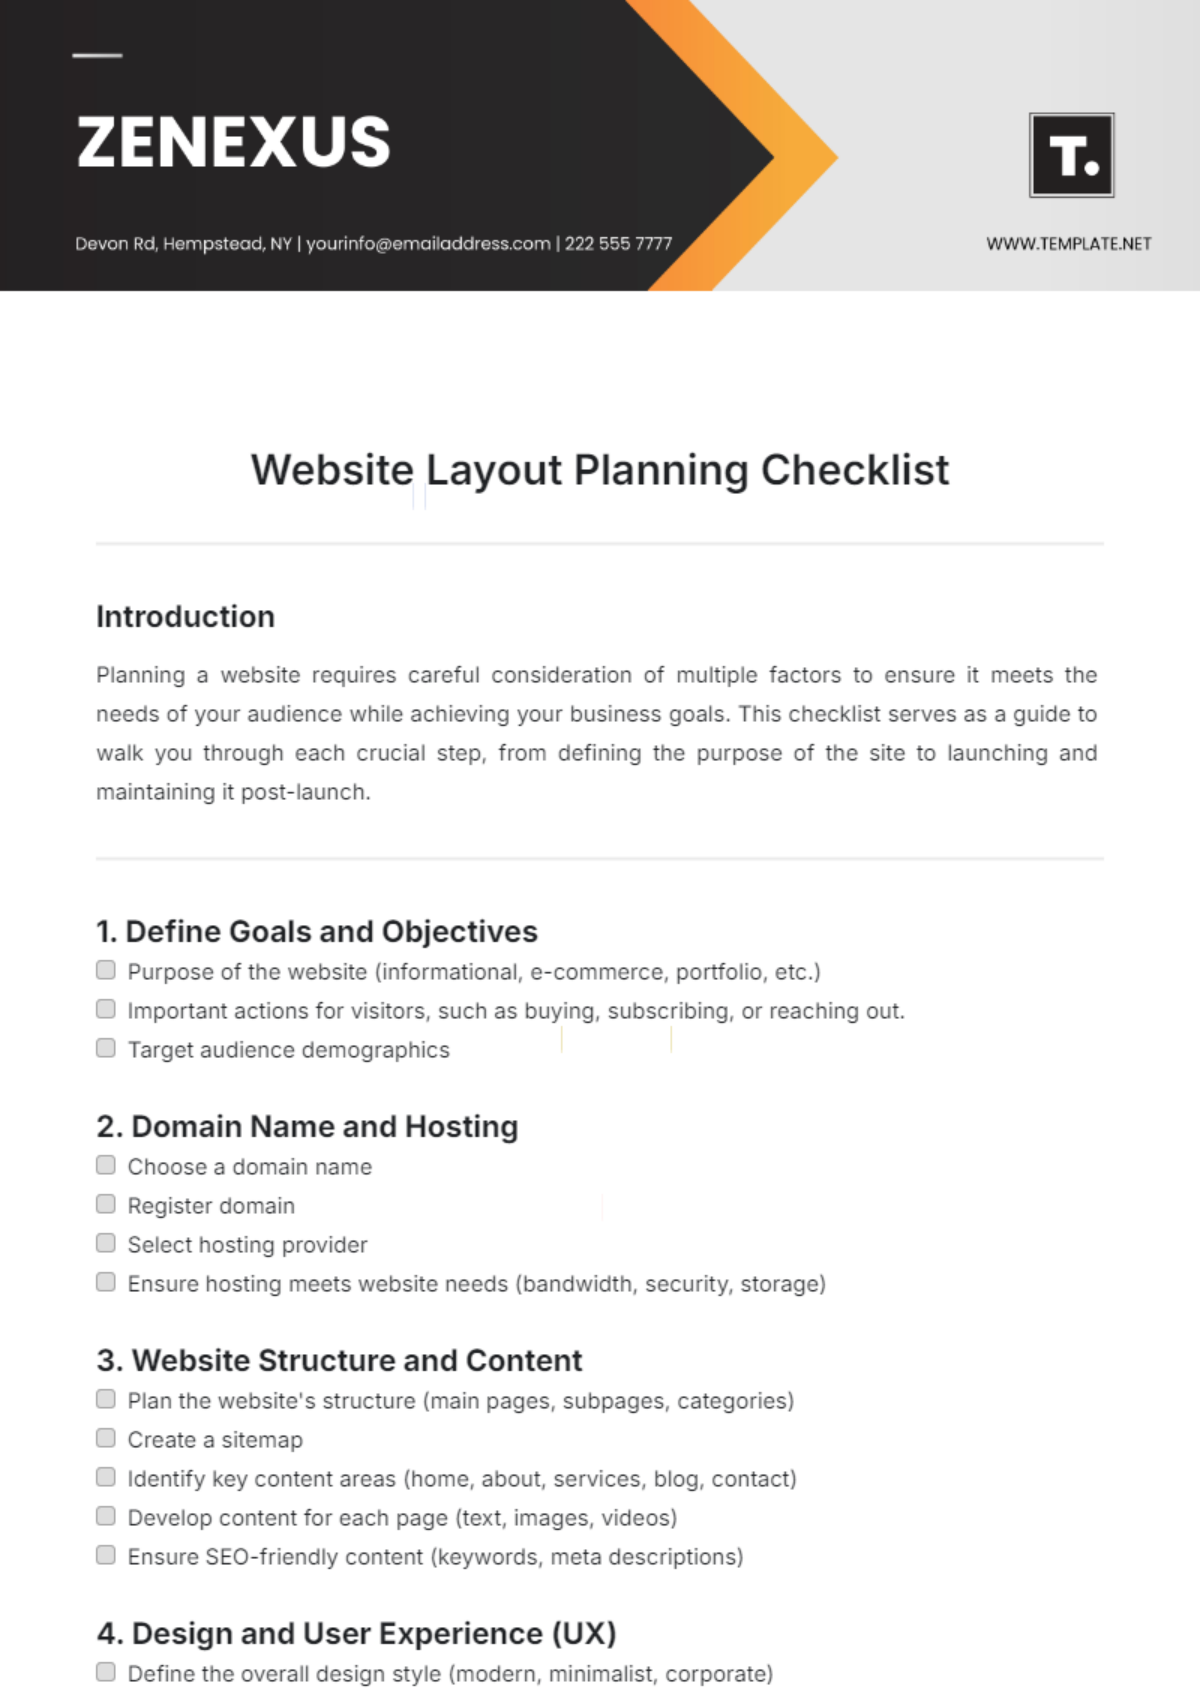
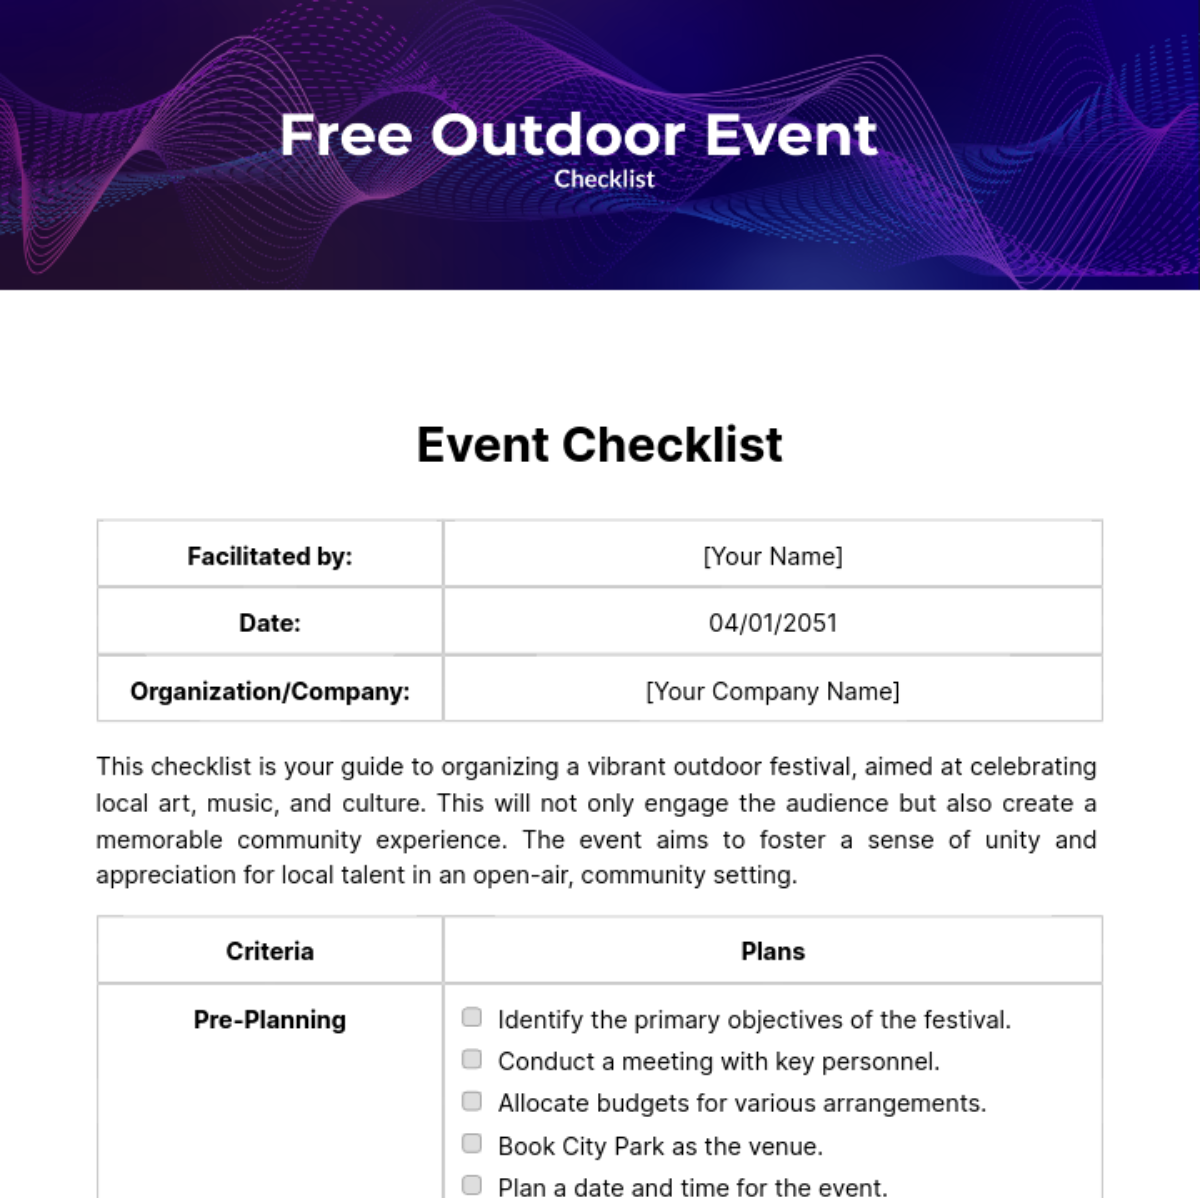
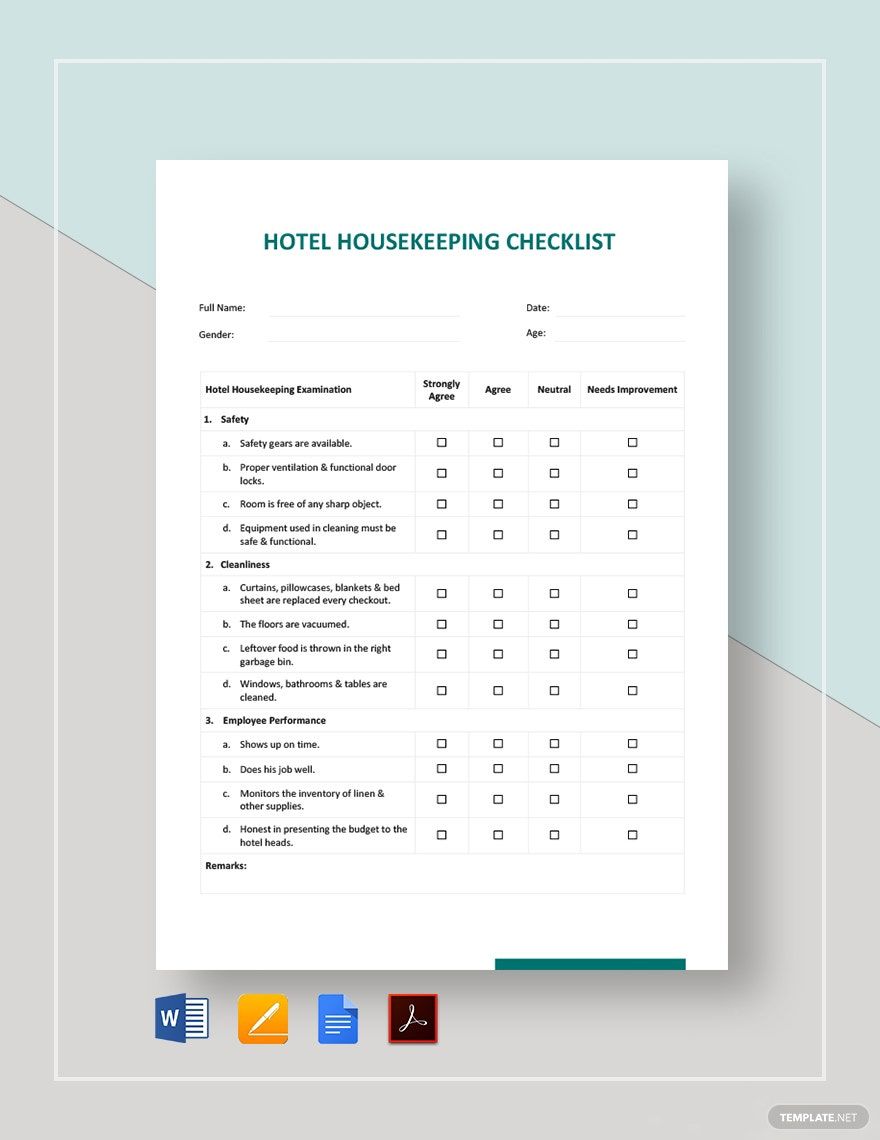
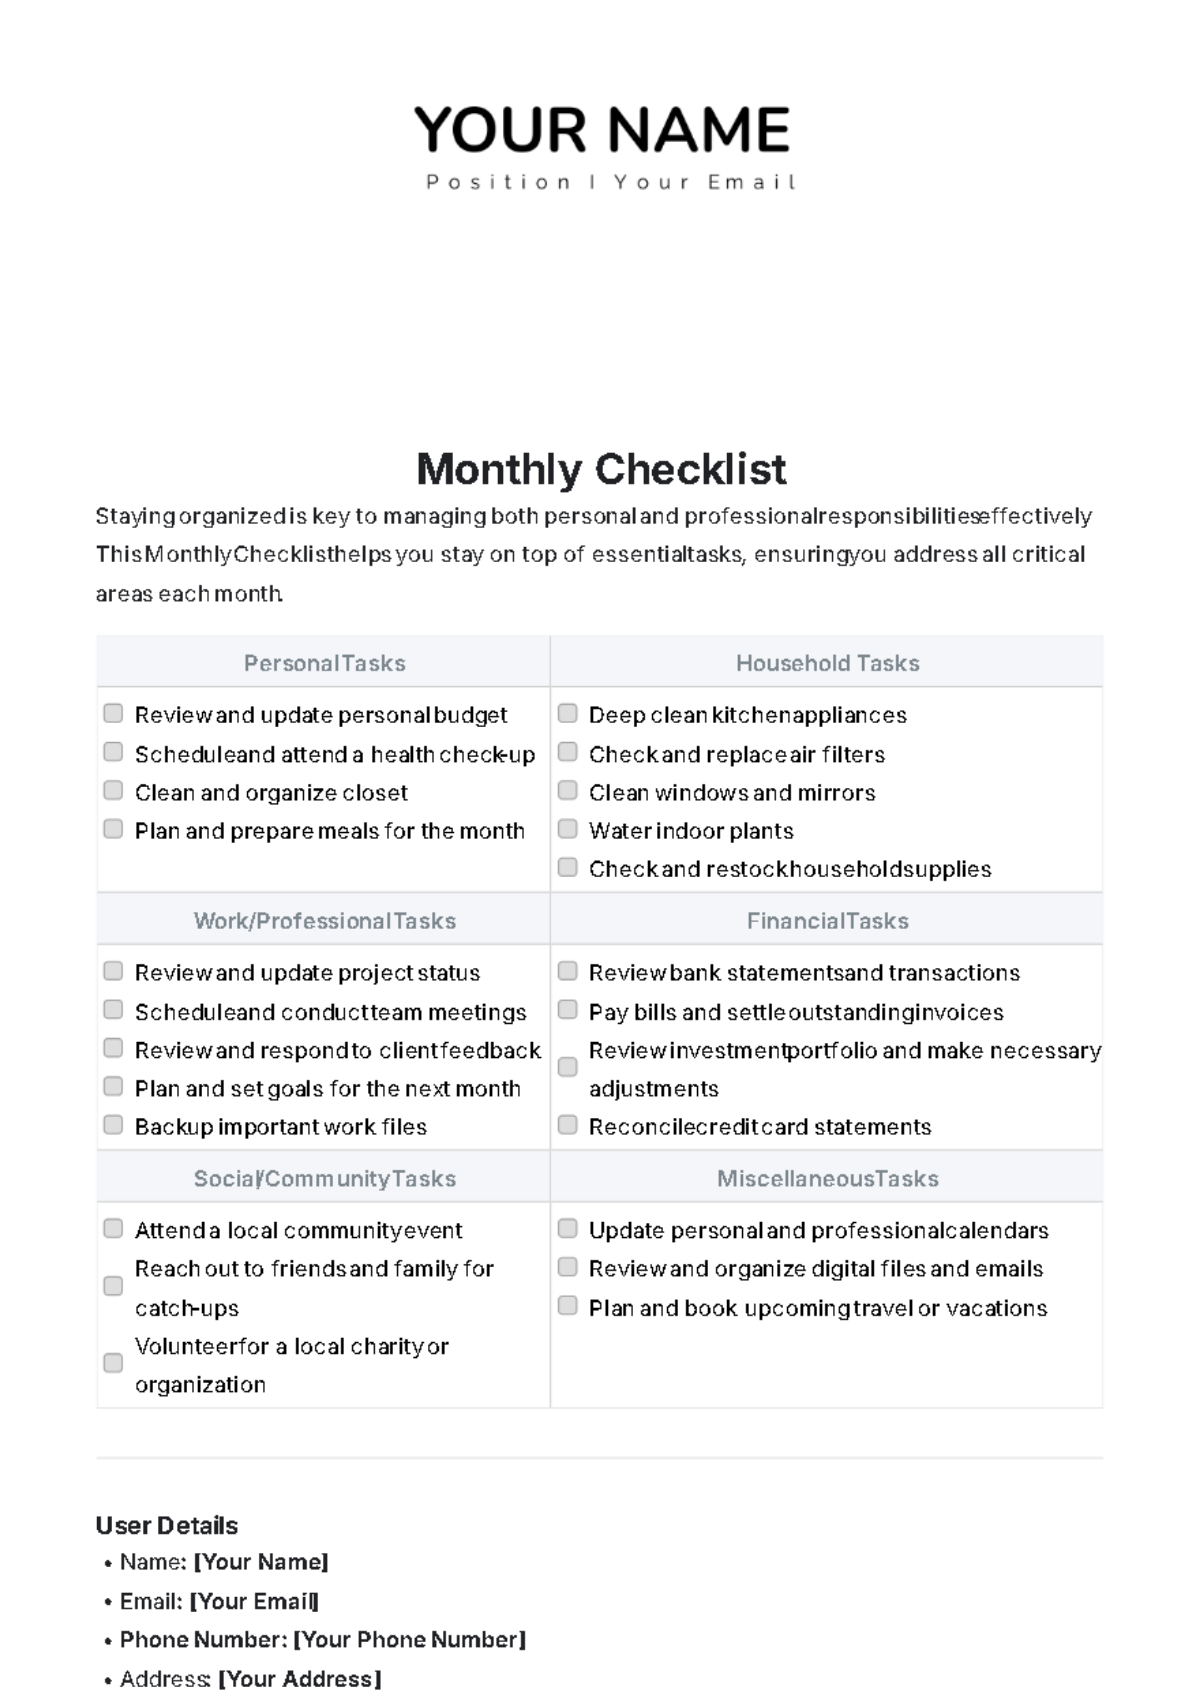
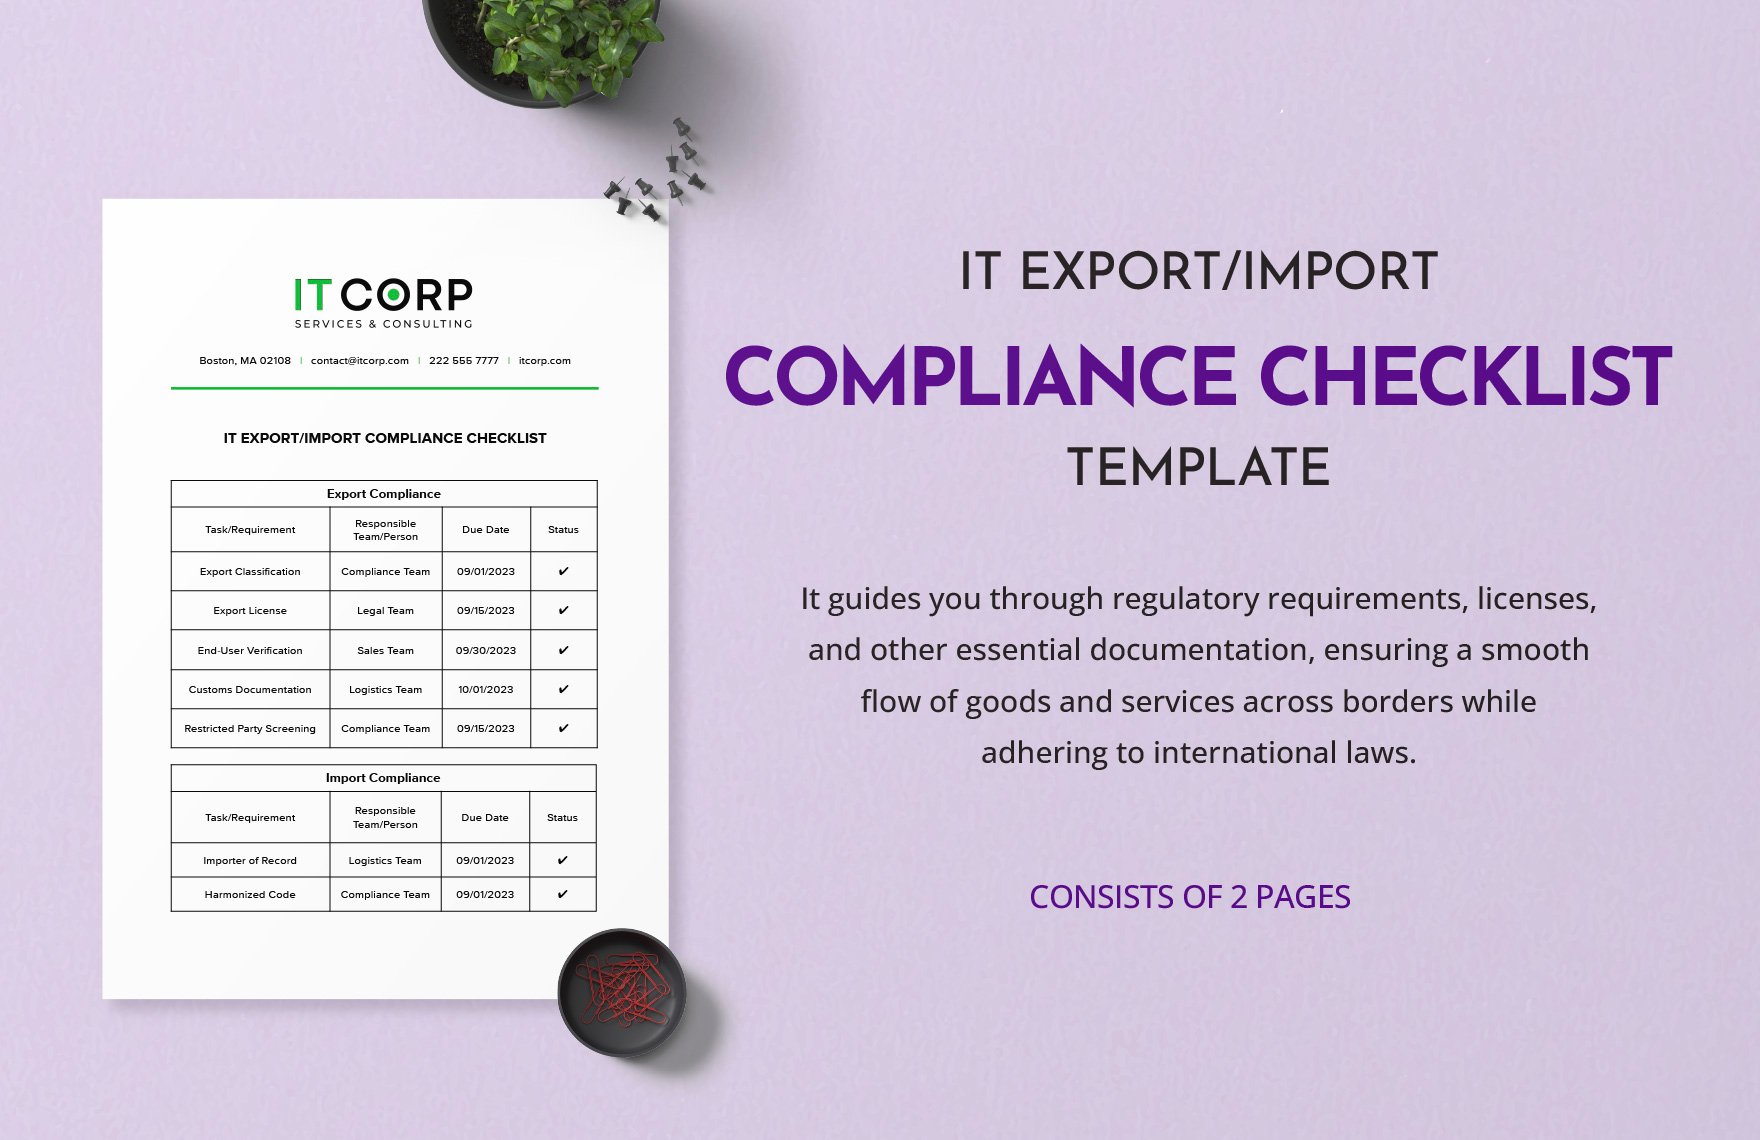
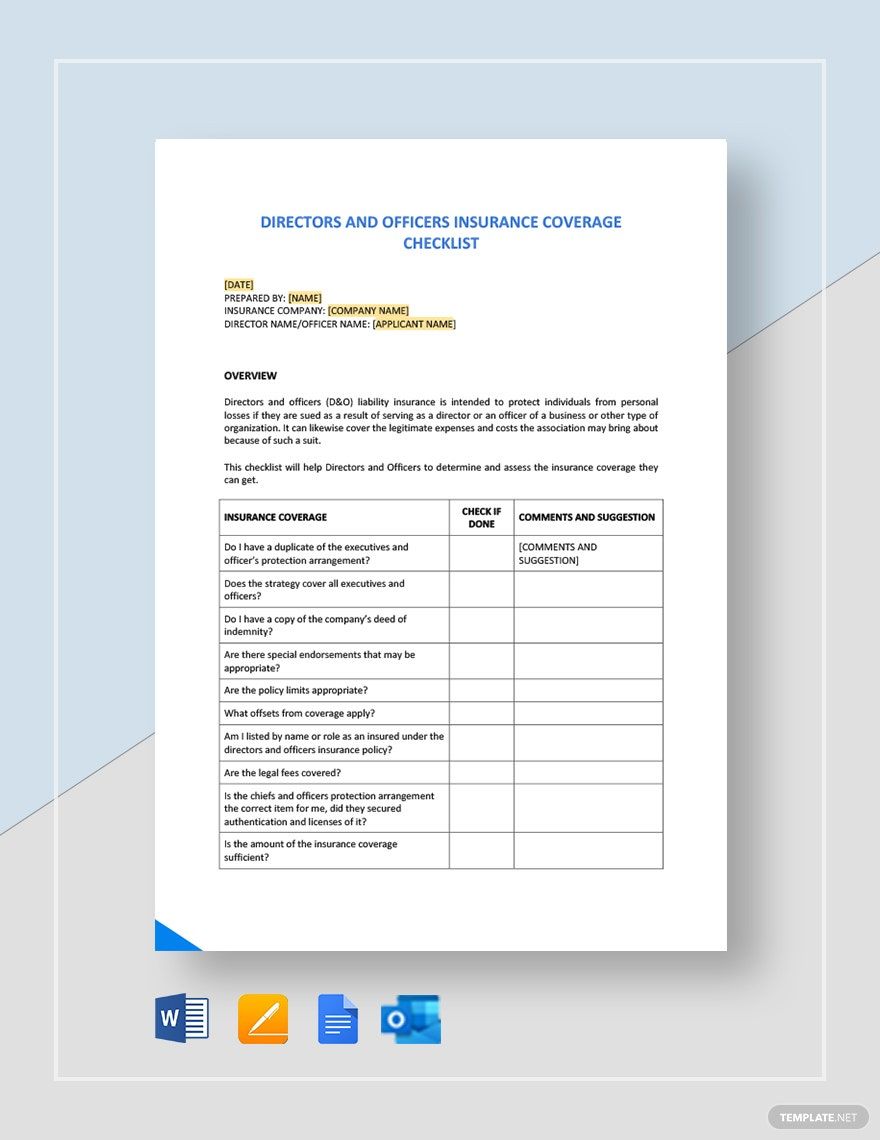
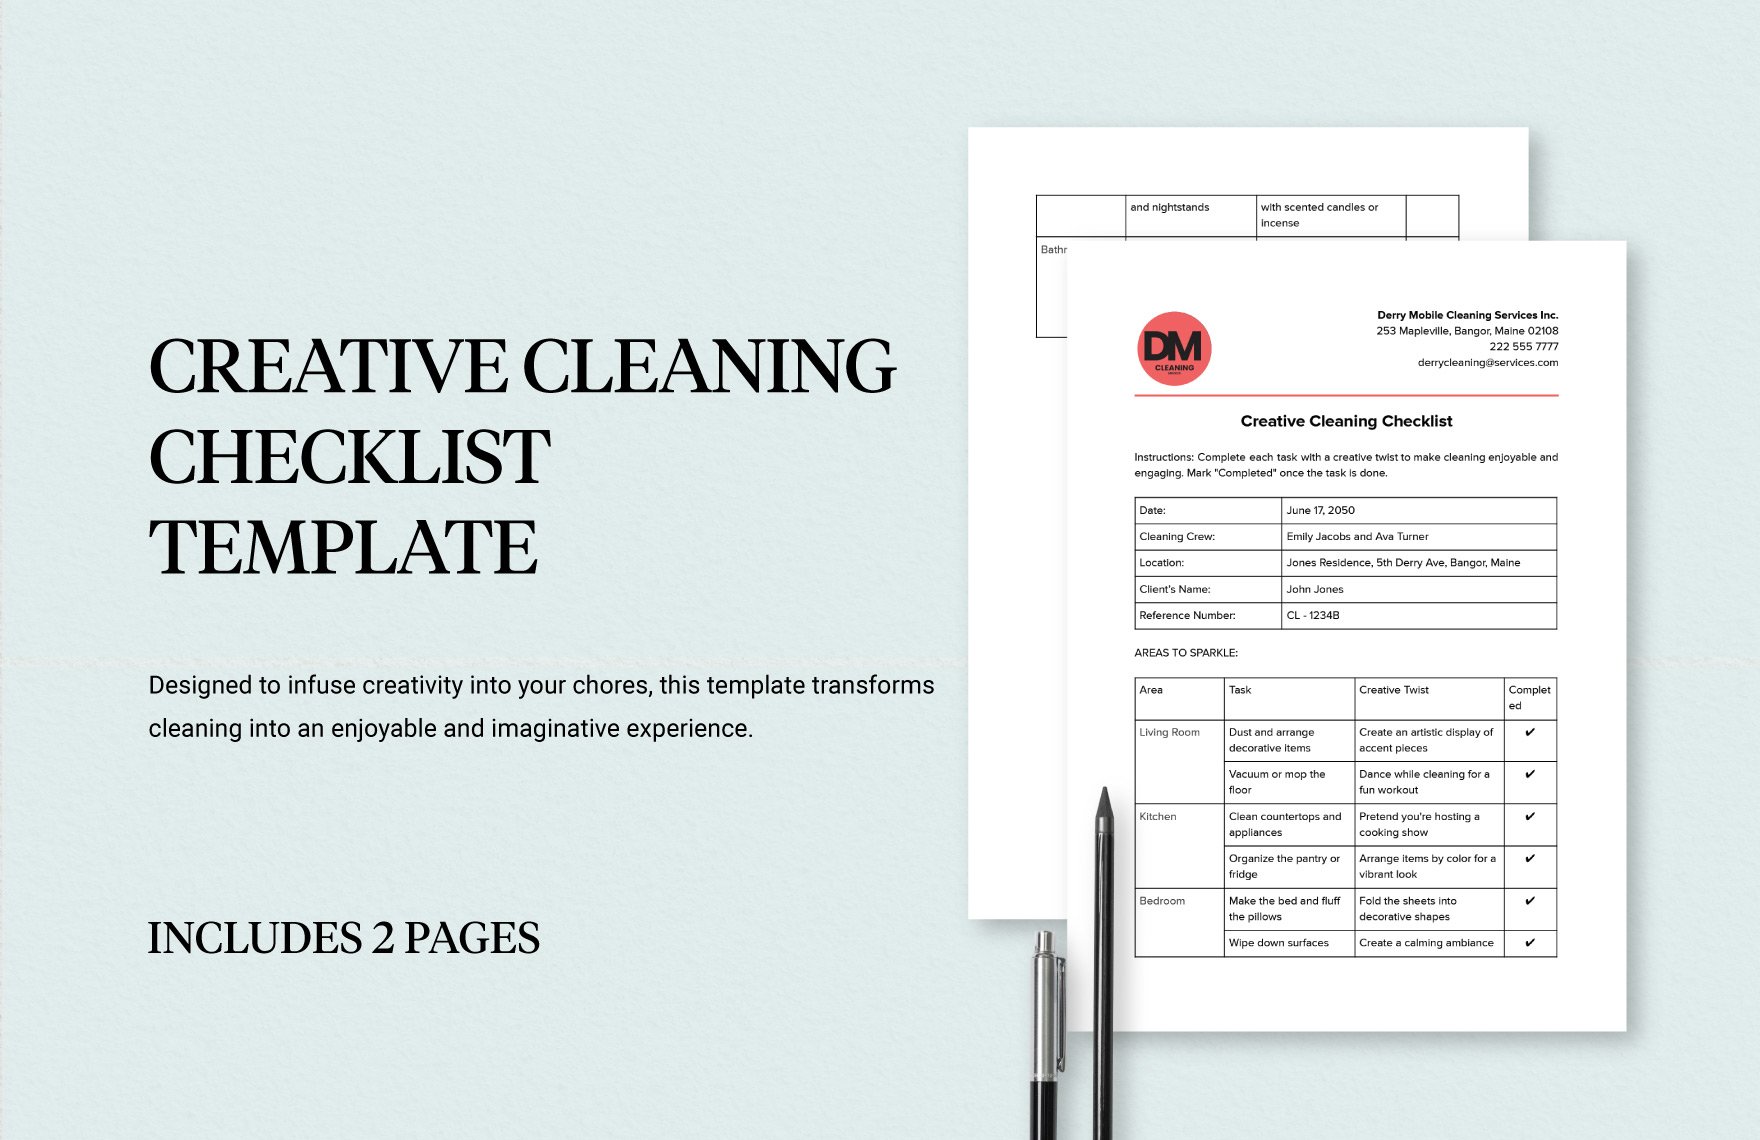
An event planning checklist (or simply a planning checklist) is a document that contains a list of things to do during a pre-event planning phase. This tool is considered as every event or party planner's best friend since it helps them to keep track of what they have and what still needs to be done.
How to Create a Planning Checklist?
Whether it's a baby shower, a bachelorette party, or a family reunion, if it's about creating your own planning checklist, all the necessary information are provided below. In just six steps, you'll be able to make stunning and very effective checklists for planning whatever event you have in mind, guaranteed.
1. Identify what needs to be planned
Before you can start creating a planning checklist for your party, event, or project checklist, it is a must that you know exactly what needs to be planned. If you're making one for a wedding event, you should be aware that your checklist would include the reception venue, transportation for the guests, the florist, and the caterers. Doing this can give you a clearer picture of the possible content of your planning checklist.
2. Determine how much time you have for planning
Of course, you'll be able to do more things if you have a lot of time in your hands, which is why it would be best to use it as a factor when creating your planning checklist. Let's just put it this way, if you've got a lot of time, then you'll be able to put more things in your checklist. So, don't take for granted your calendar, use it as a reference.
3. Familiarize yourself with the basics of checklists
Aside from the definition that was just provided earlier, what else do you know about planning checklists? Having enough knowledge about checklists will not only help you with its design and content, but it will also motivate compliance. As long as you're knowledgeable or at least familiar with the tool that you're using as your reference, there is a greater chance of yielding positive results.
4. Prepare all the details to be included in the checklist
Prepare all the details that you wish to put in your planning checklist, and just like the first step, this may also be dependent on the type of planning checklist you're making. If you're making a kid's birthday party invitation, you should write everything that you think is appropriate for the party such as games, the food that a lot of kids love, and mascots.
5. Start designing the checklist and make sure no details are left out
There are a lot of tools that you can use for making your own planning checklist ranging from Microsoft Excel to the very basic Notepad. Whichever tool is most convenient and user-friendly to you, we recommend you use it for creating your planning checklist. When adding the content, refer to the list of details that you prepare in the previous step and make sure none of it gets left out.
6. Review your checklist and execute the plan
Before you can start using your checklist, try to review everything and see if there is a need to add or take out some points from the list. Afterward, you can start using it to execute your plan. You can either save your sample checklist in a digital format and use it straight from your mobile device, or you can also have it printed on paper.
