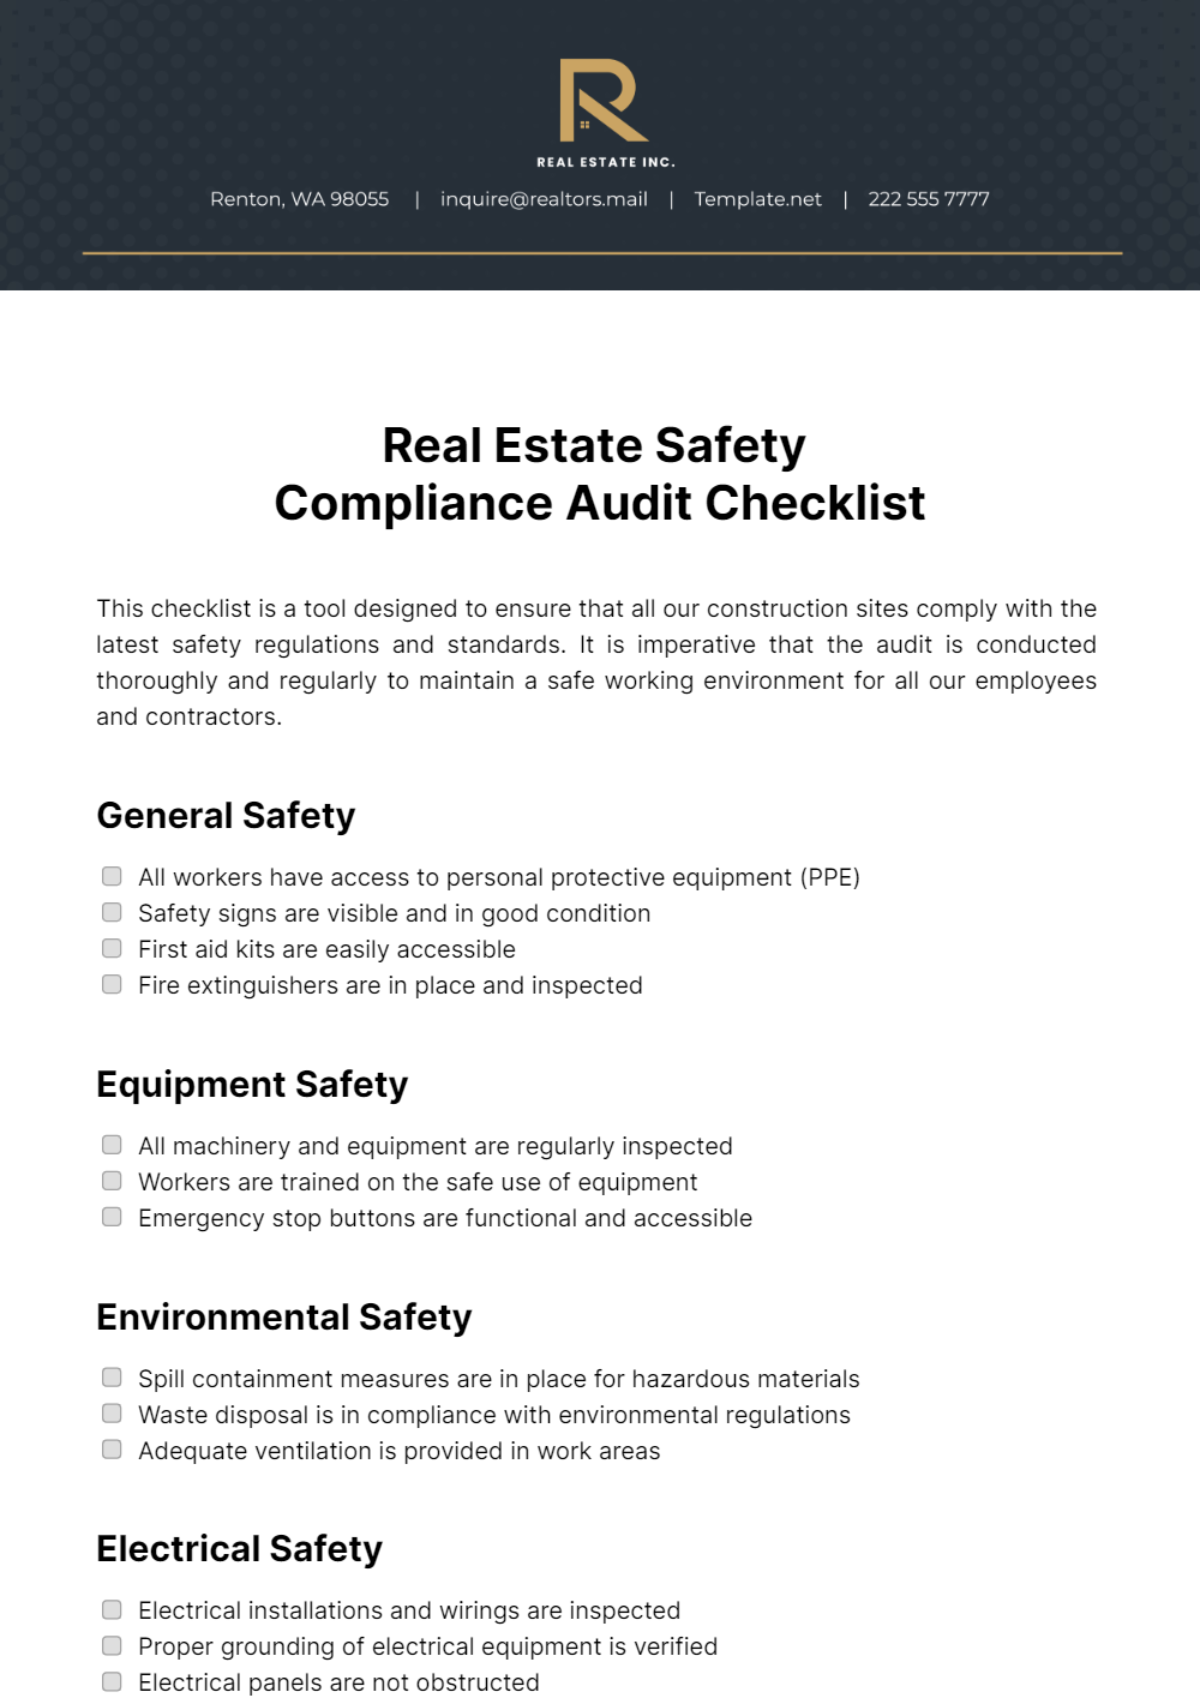
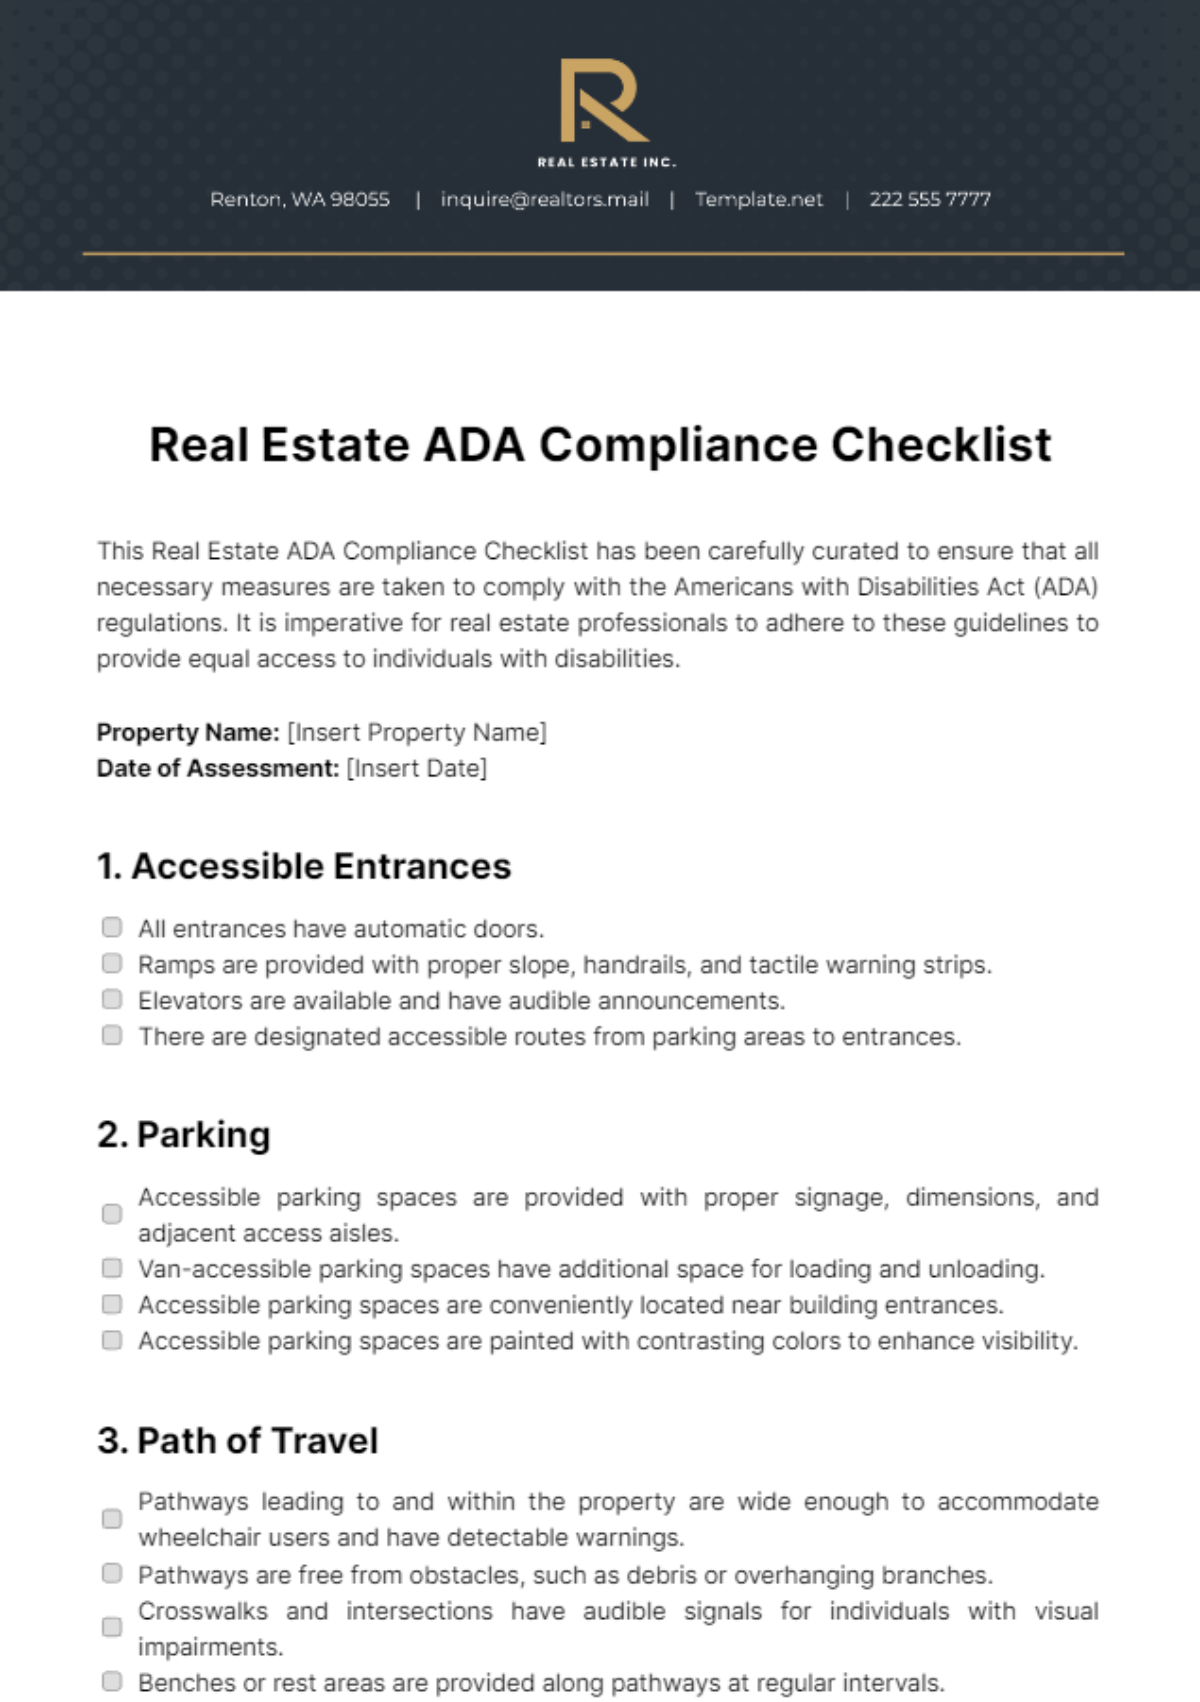
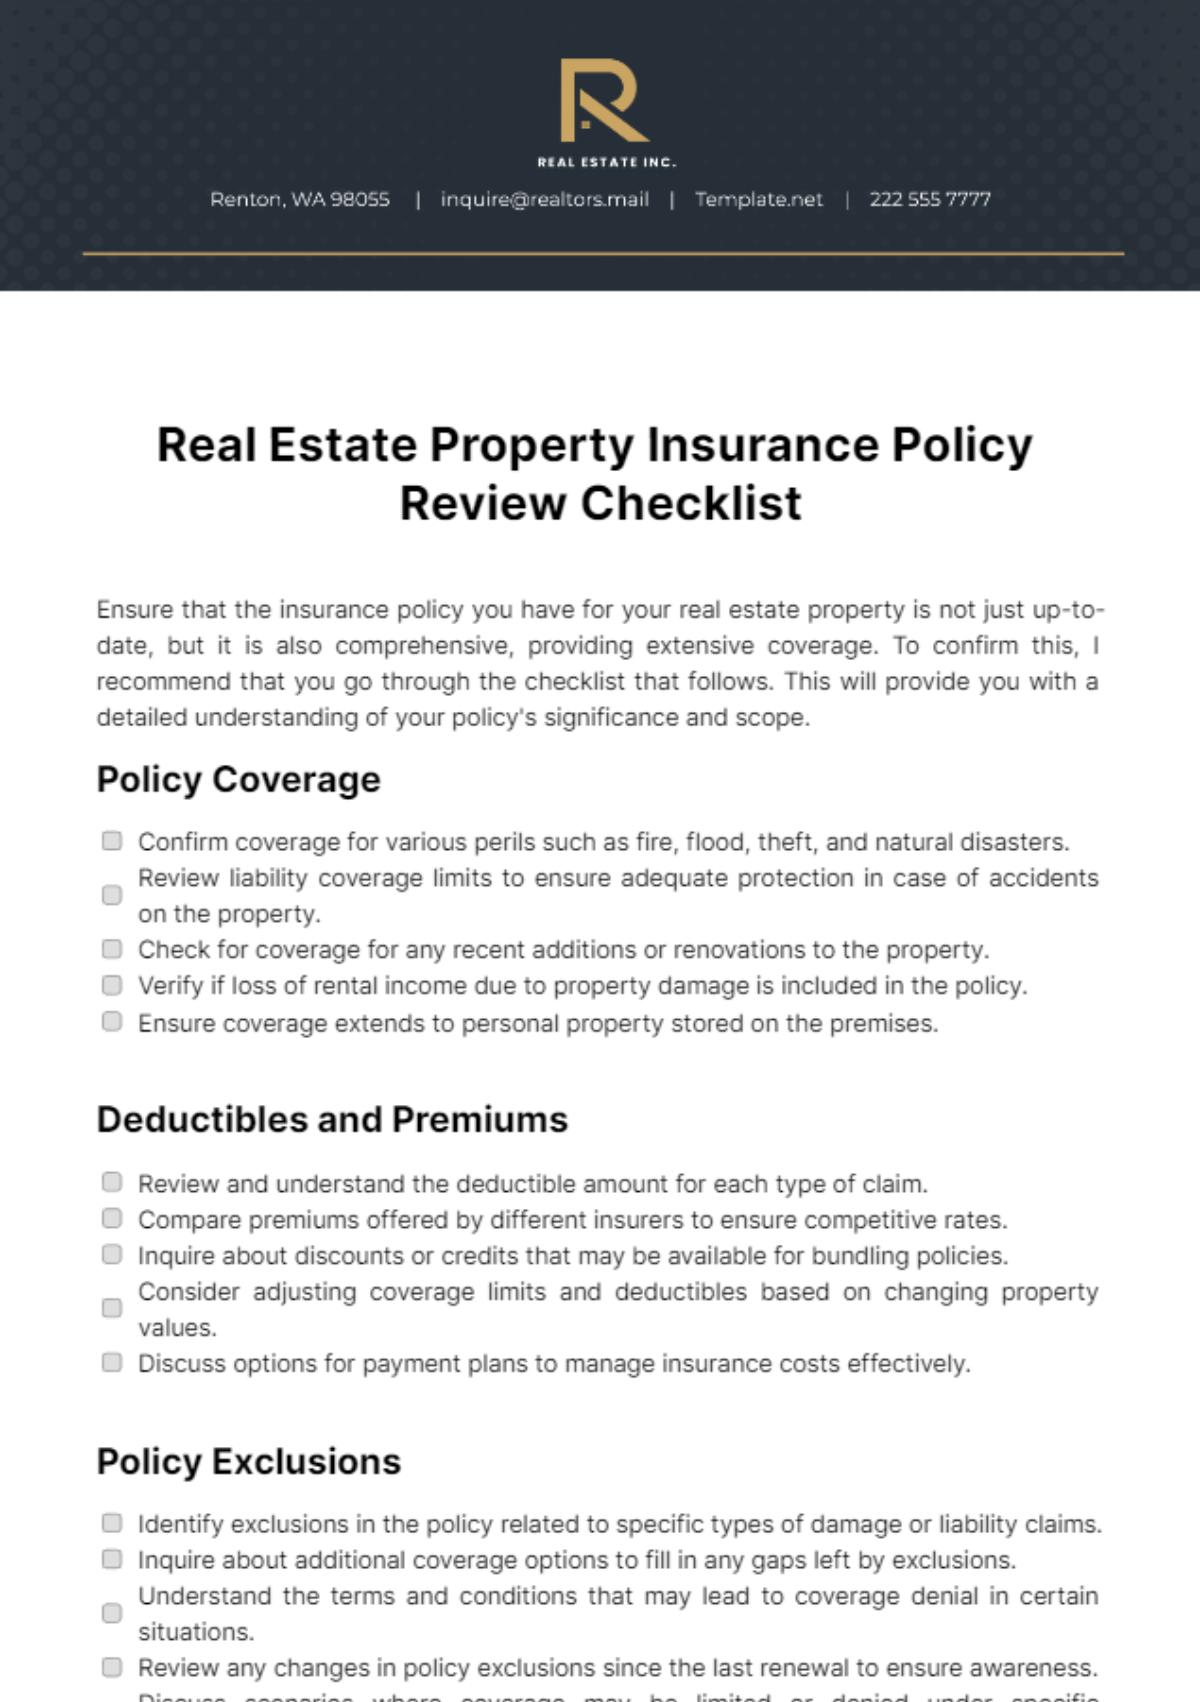
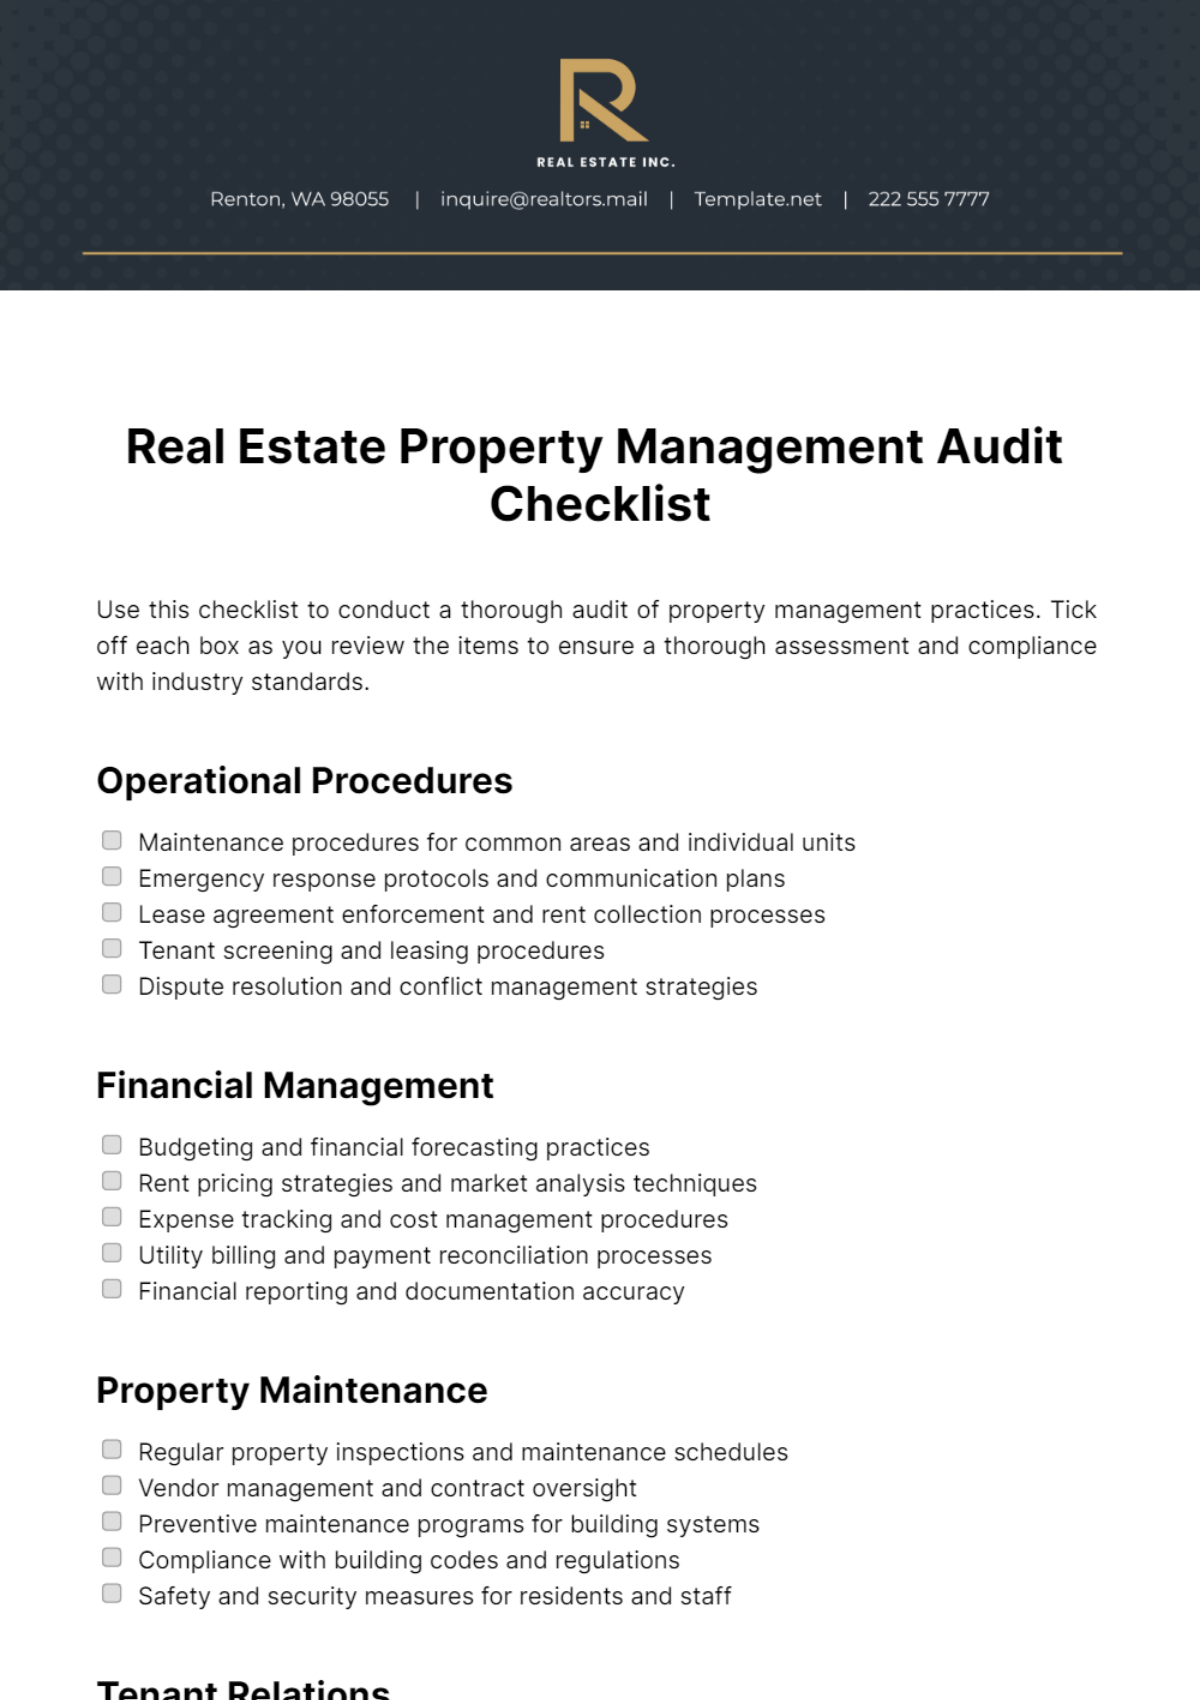
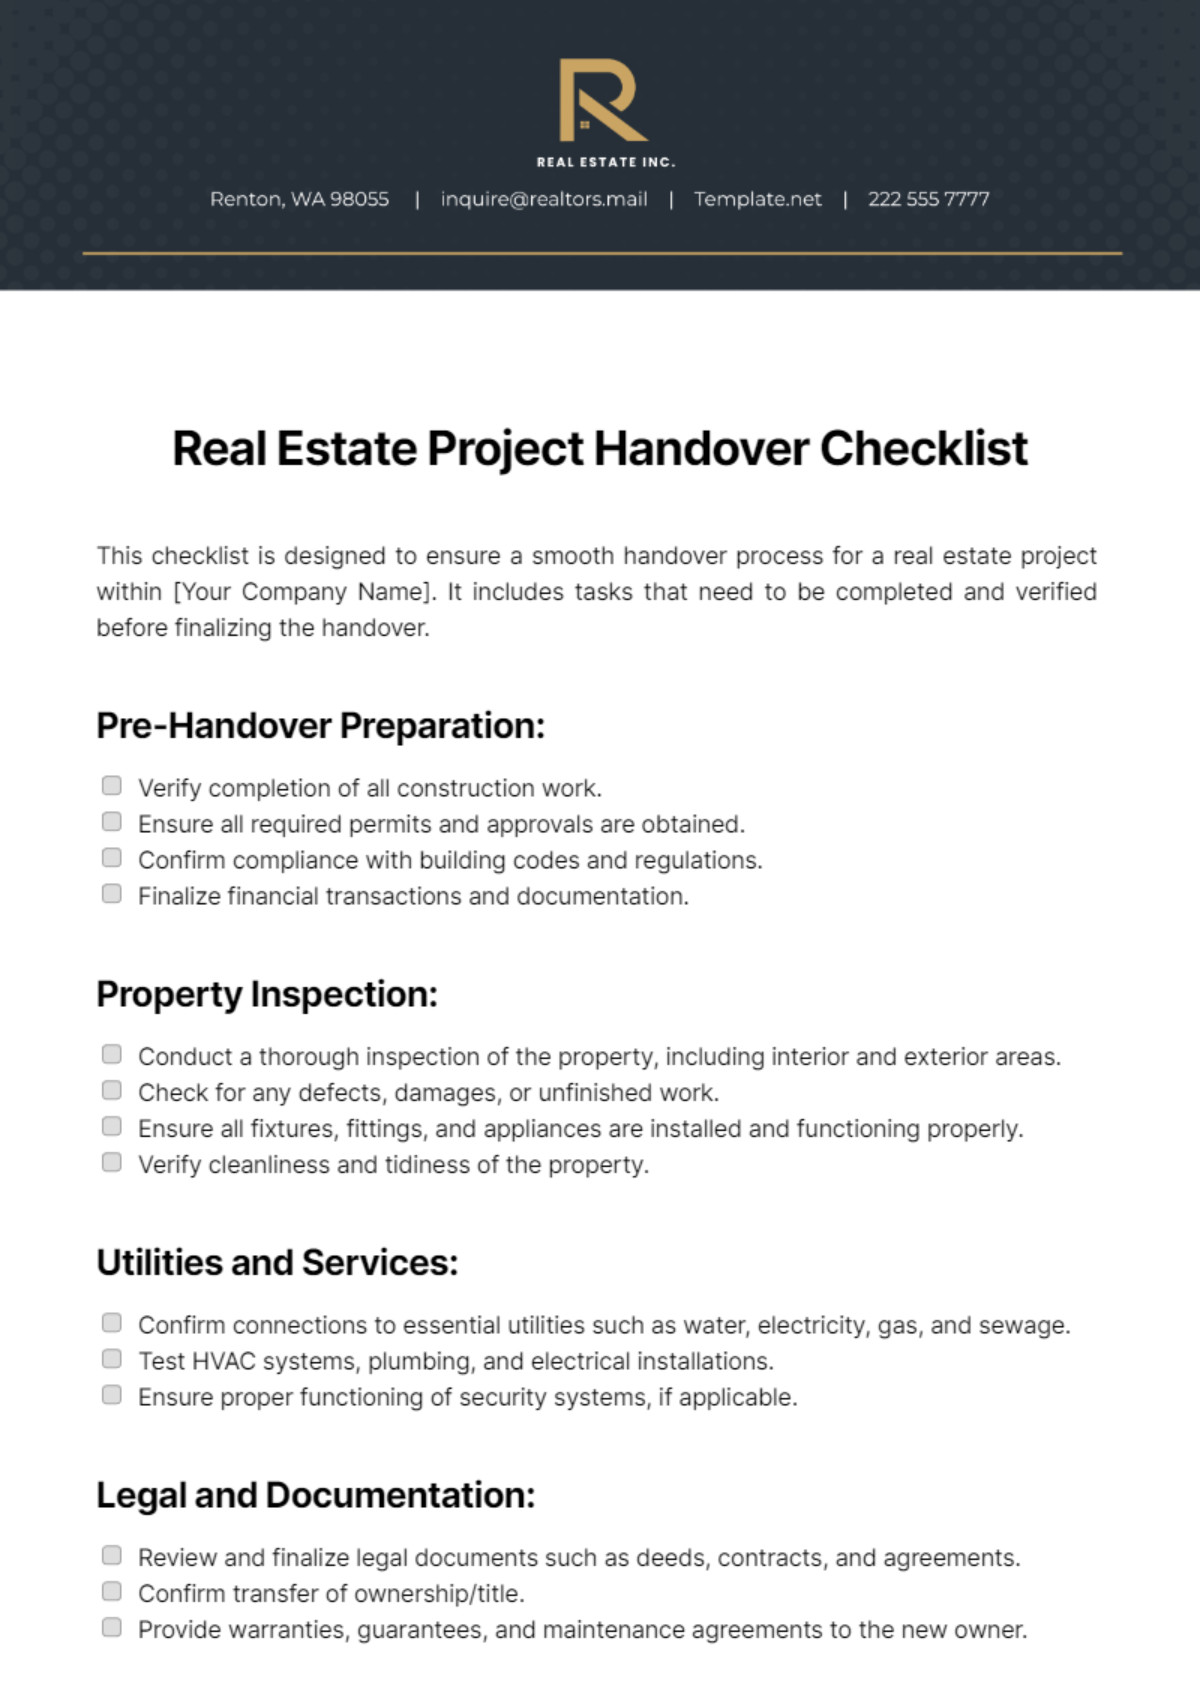
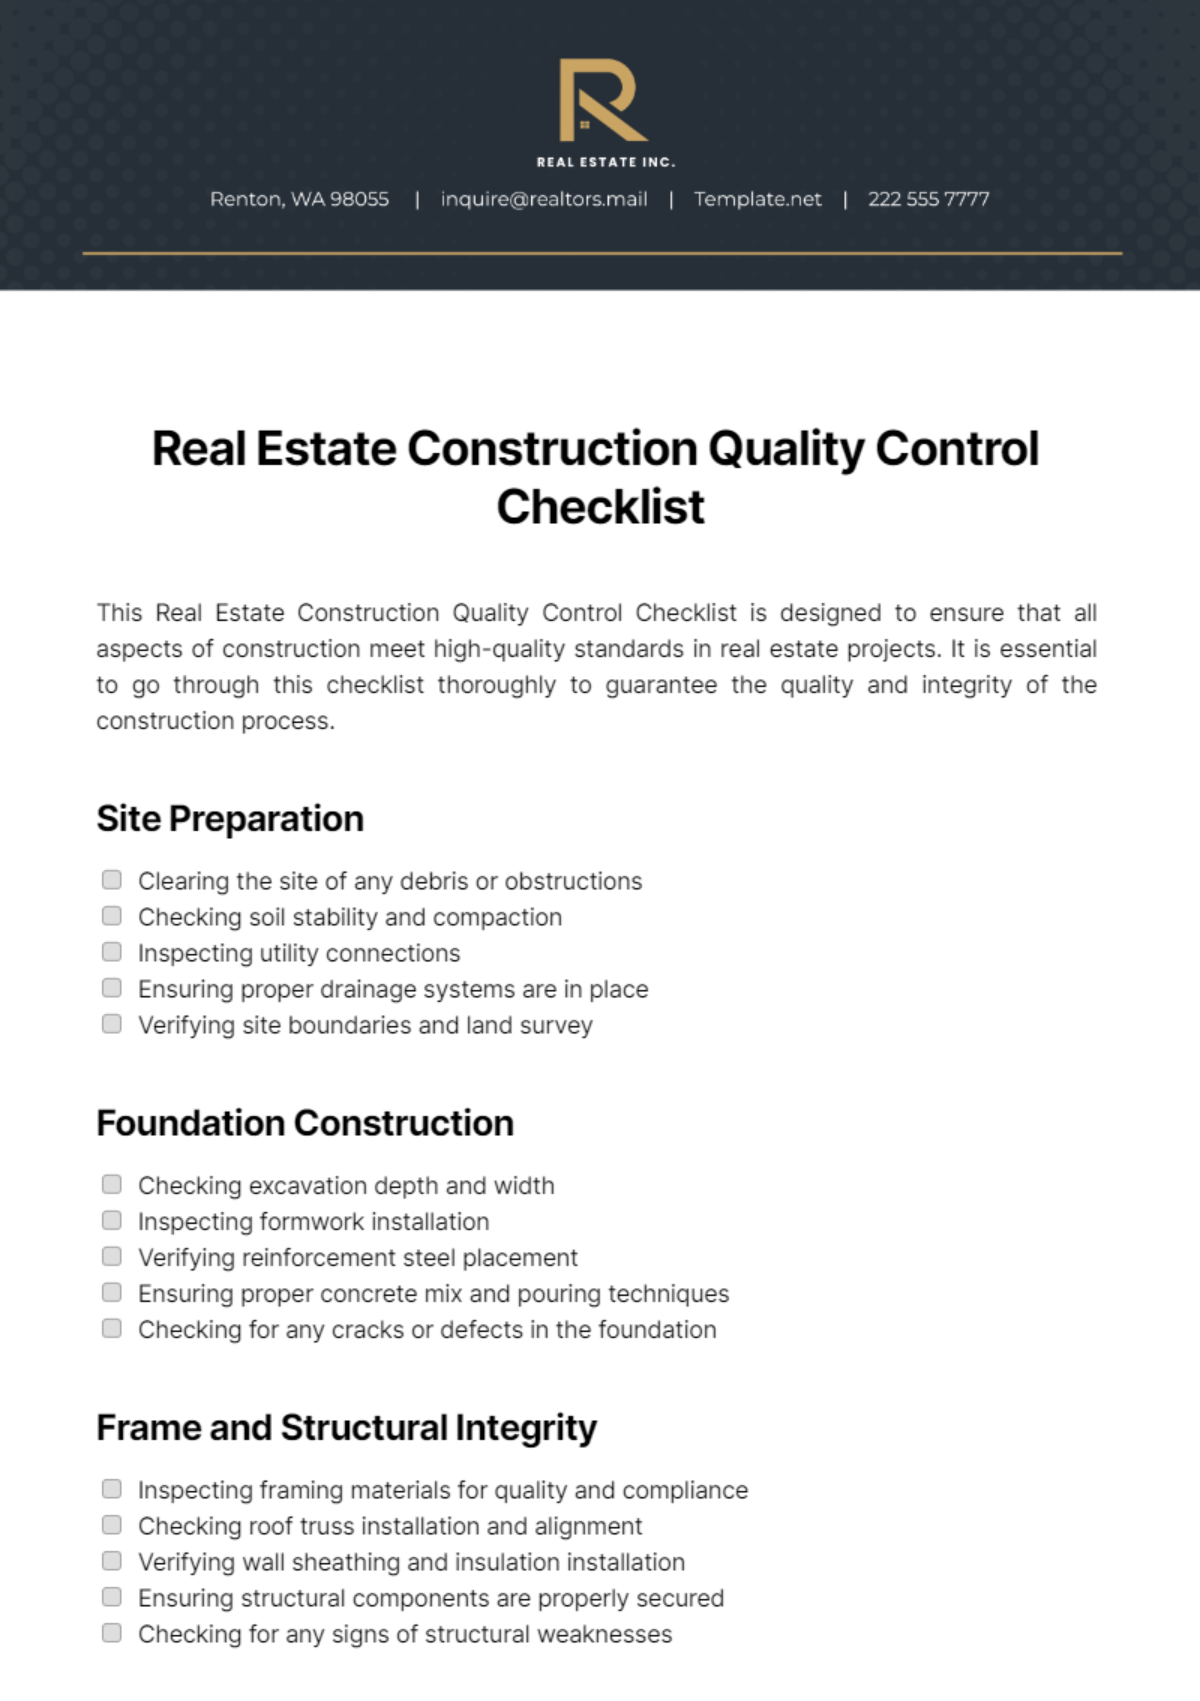
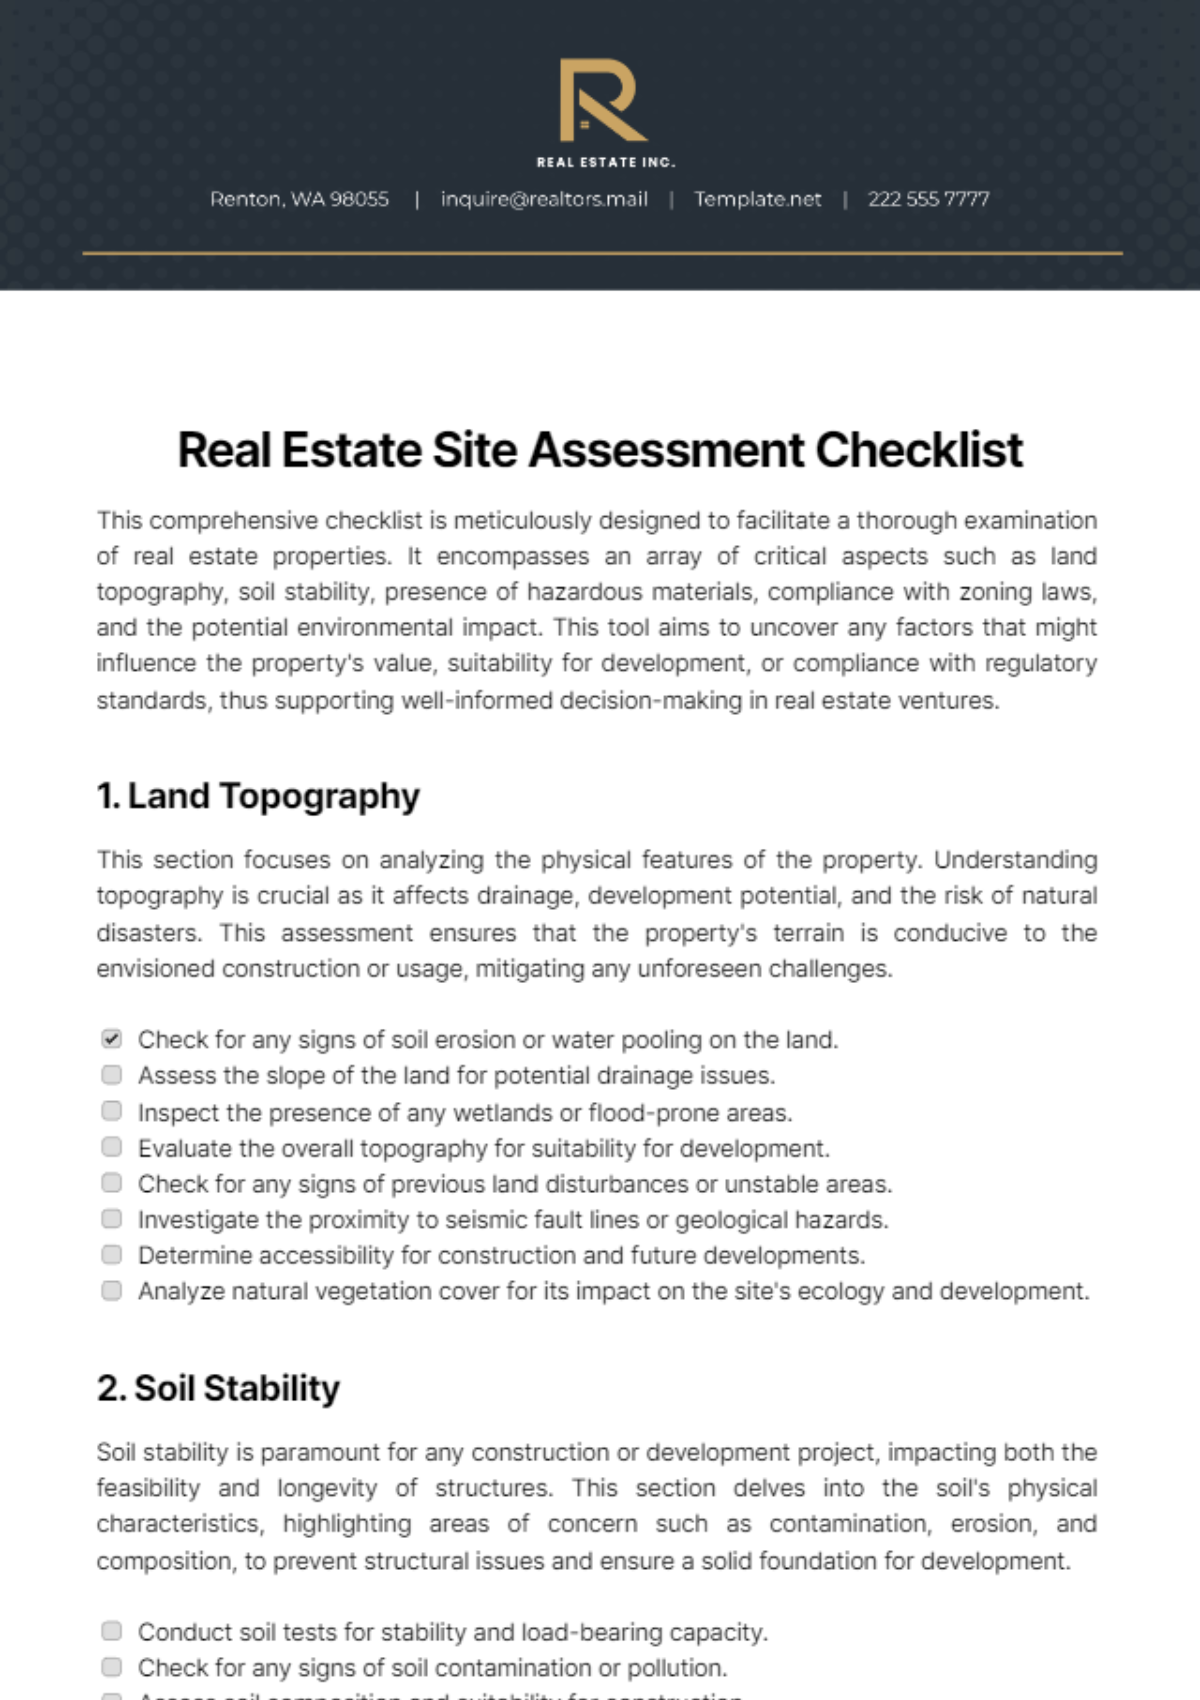
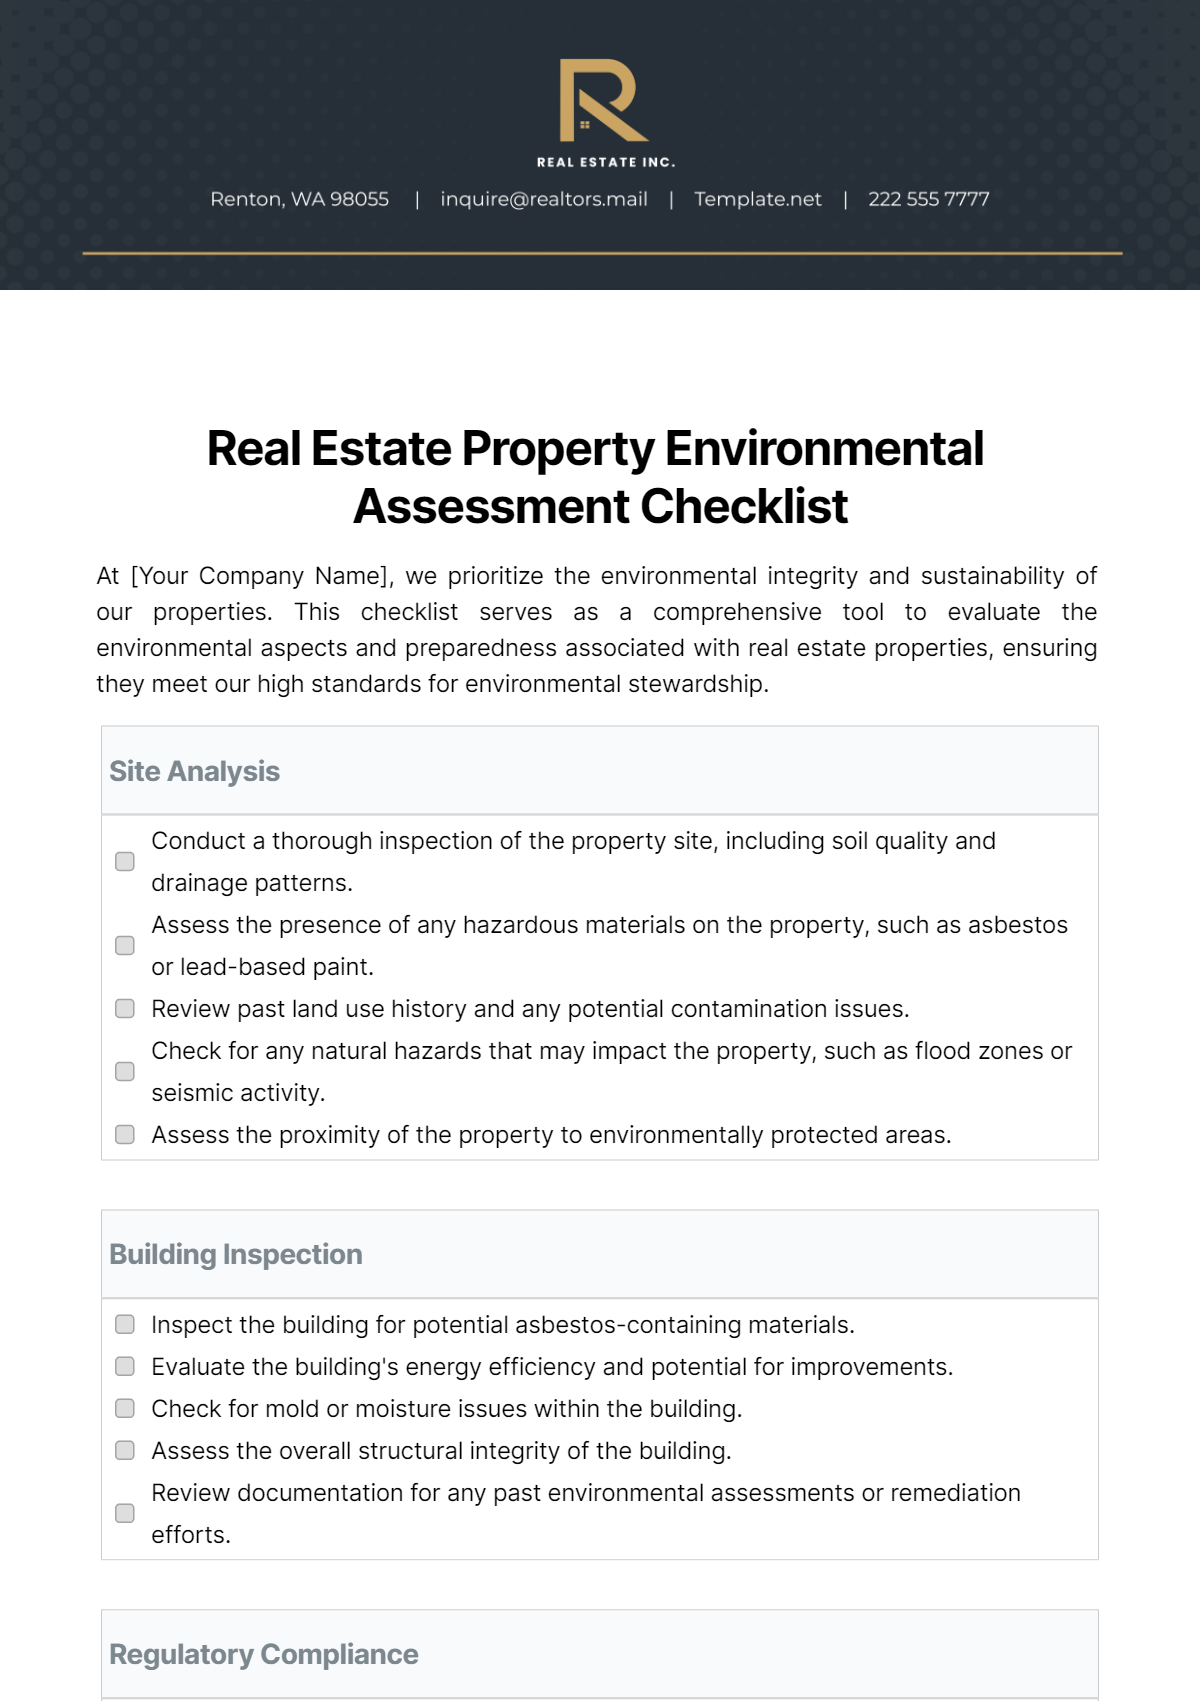
Make Your Real Estate Transaction Smooth and Efficient with Real Estate Checklist Templates from Template.net.
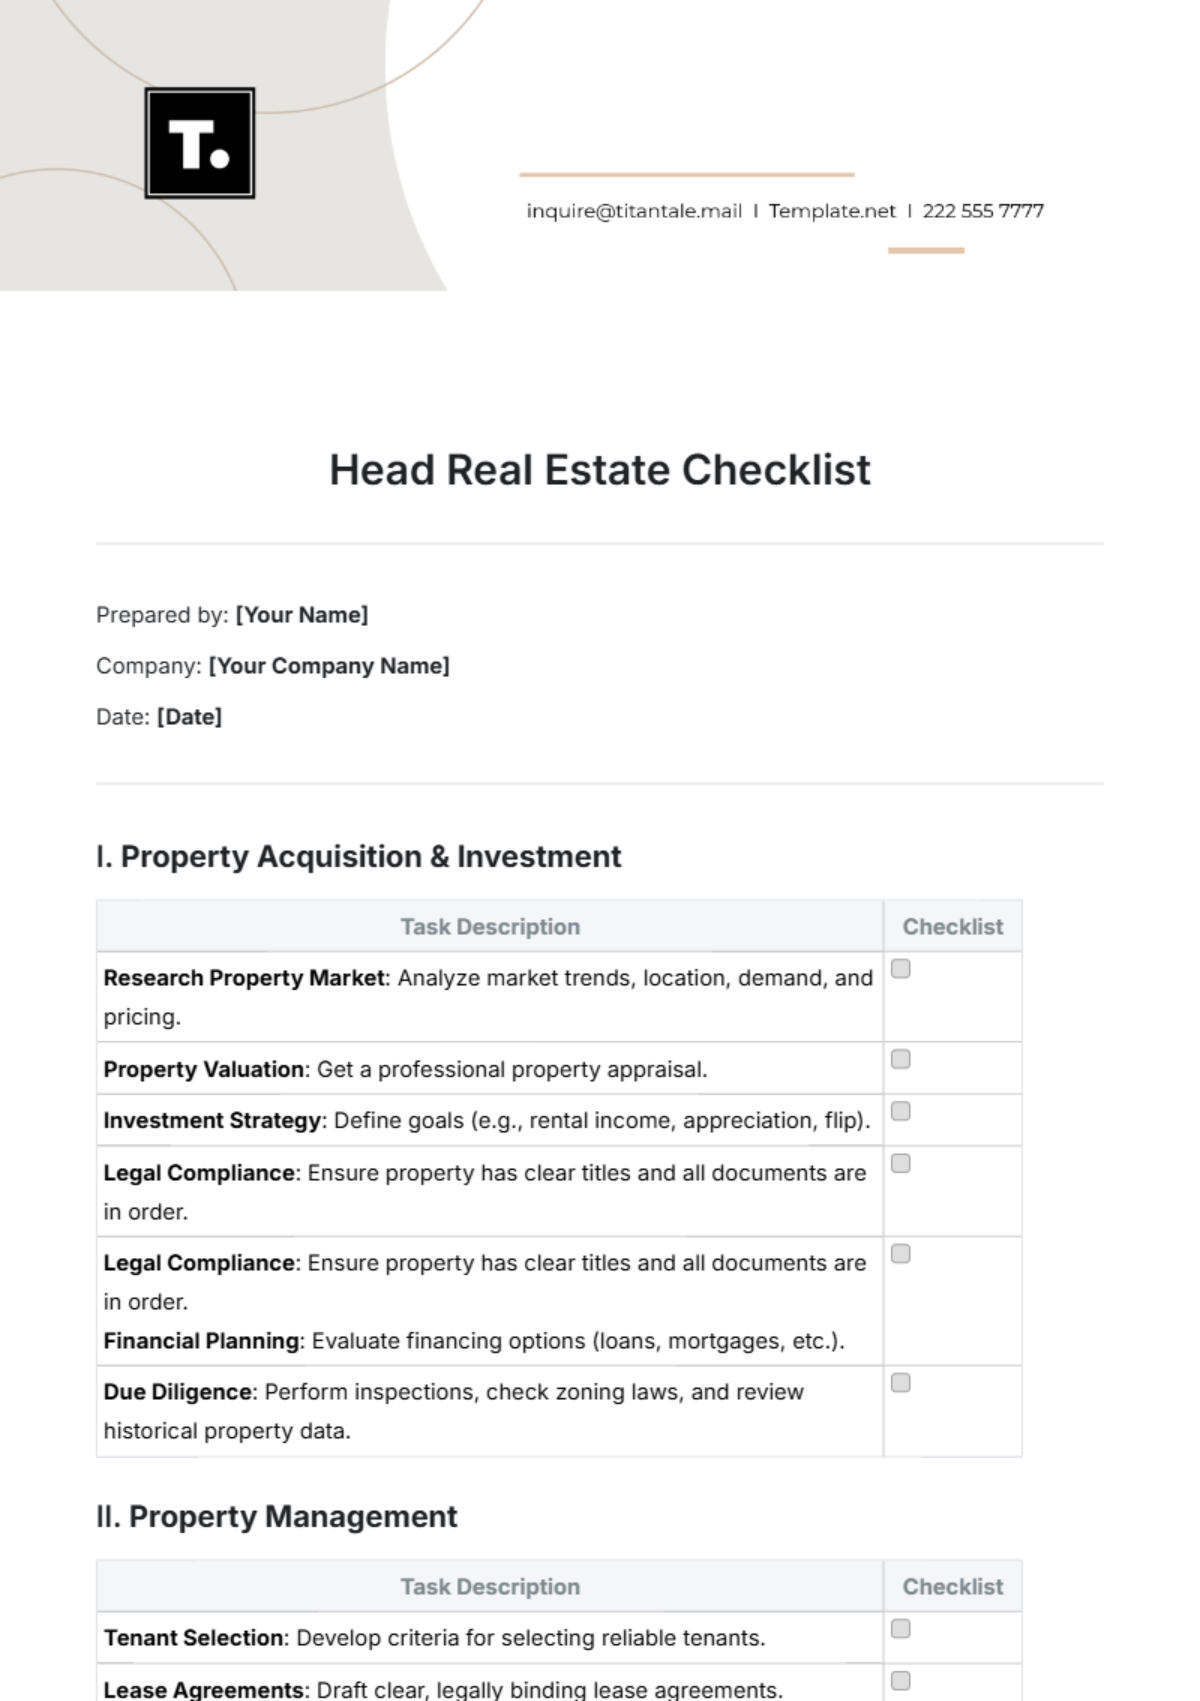
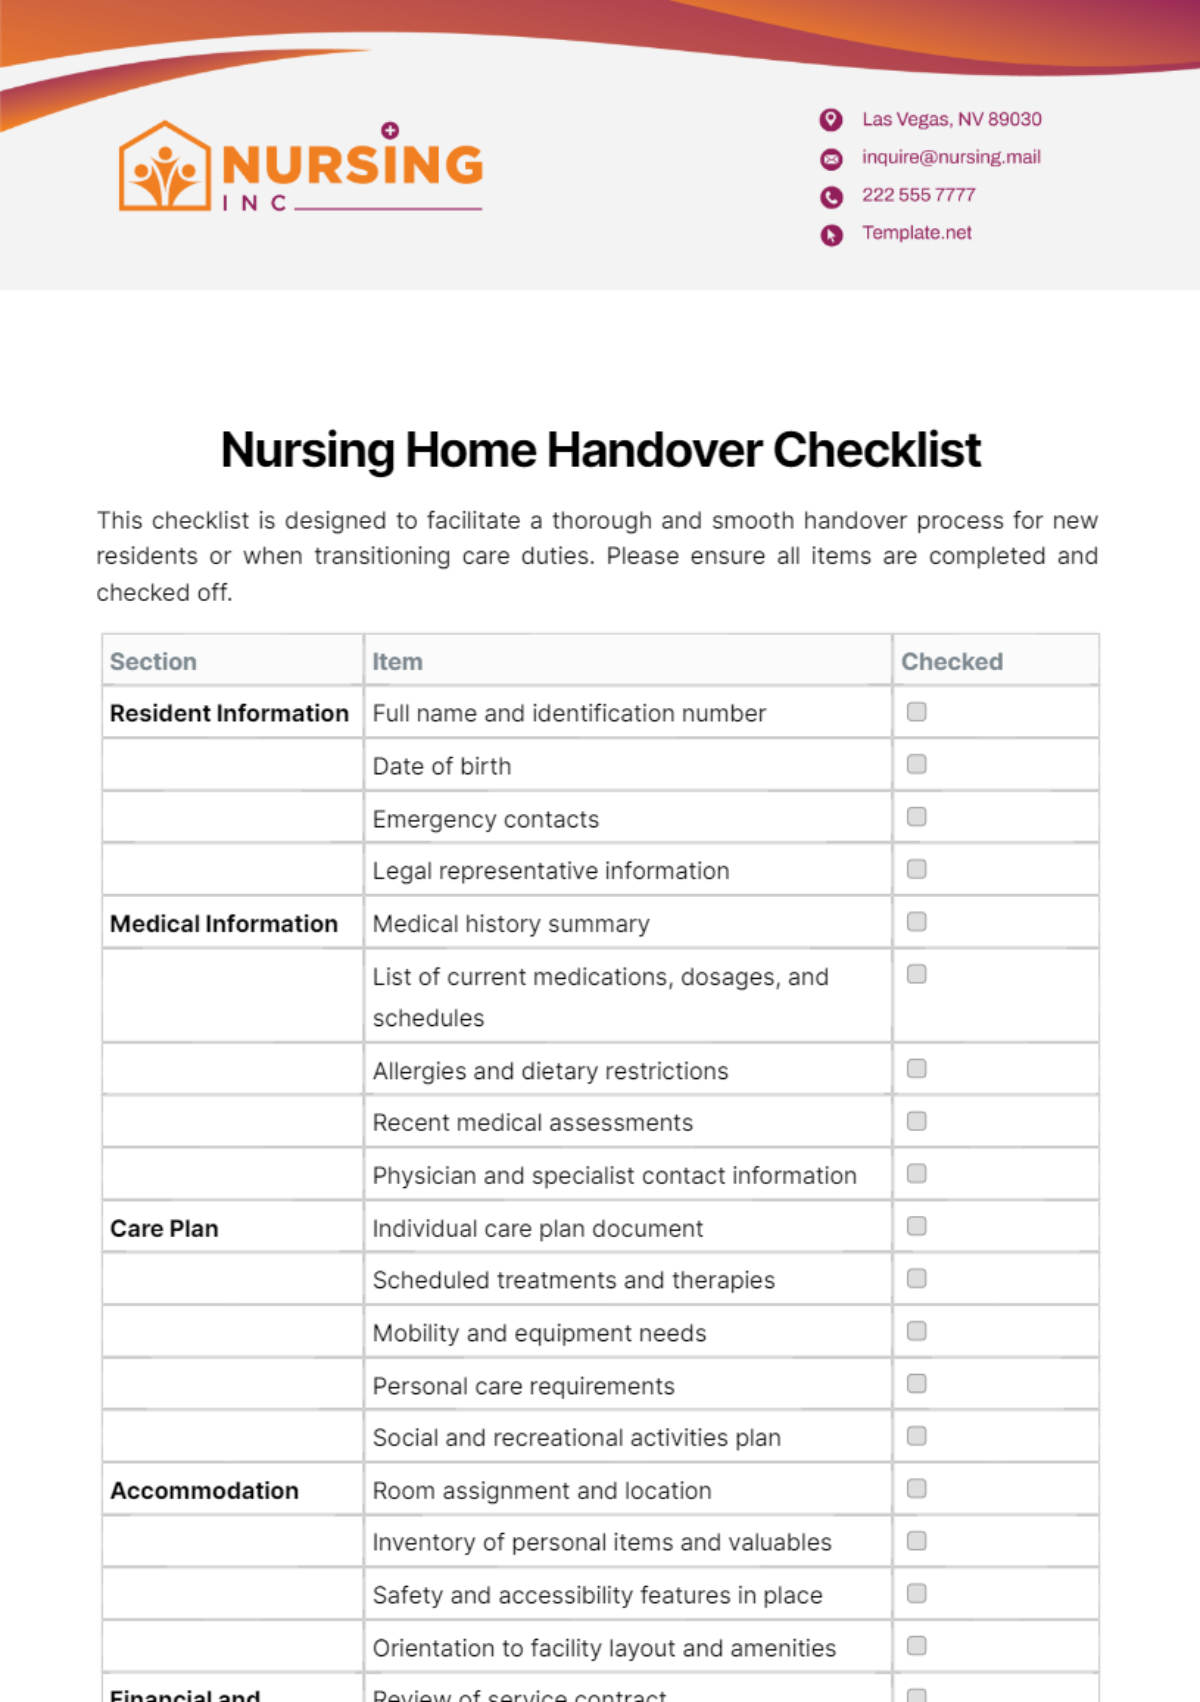
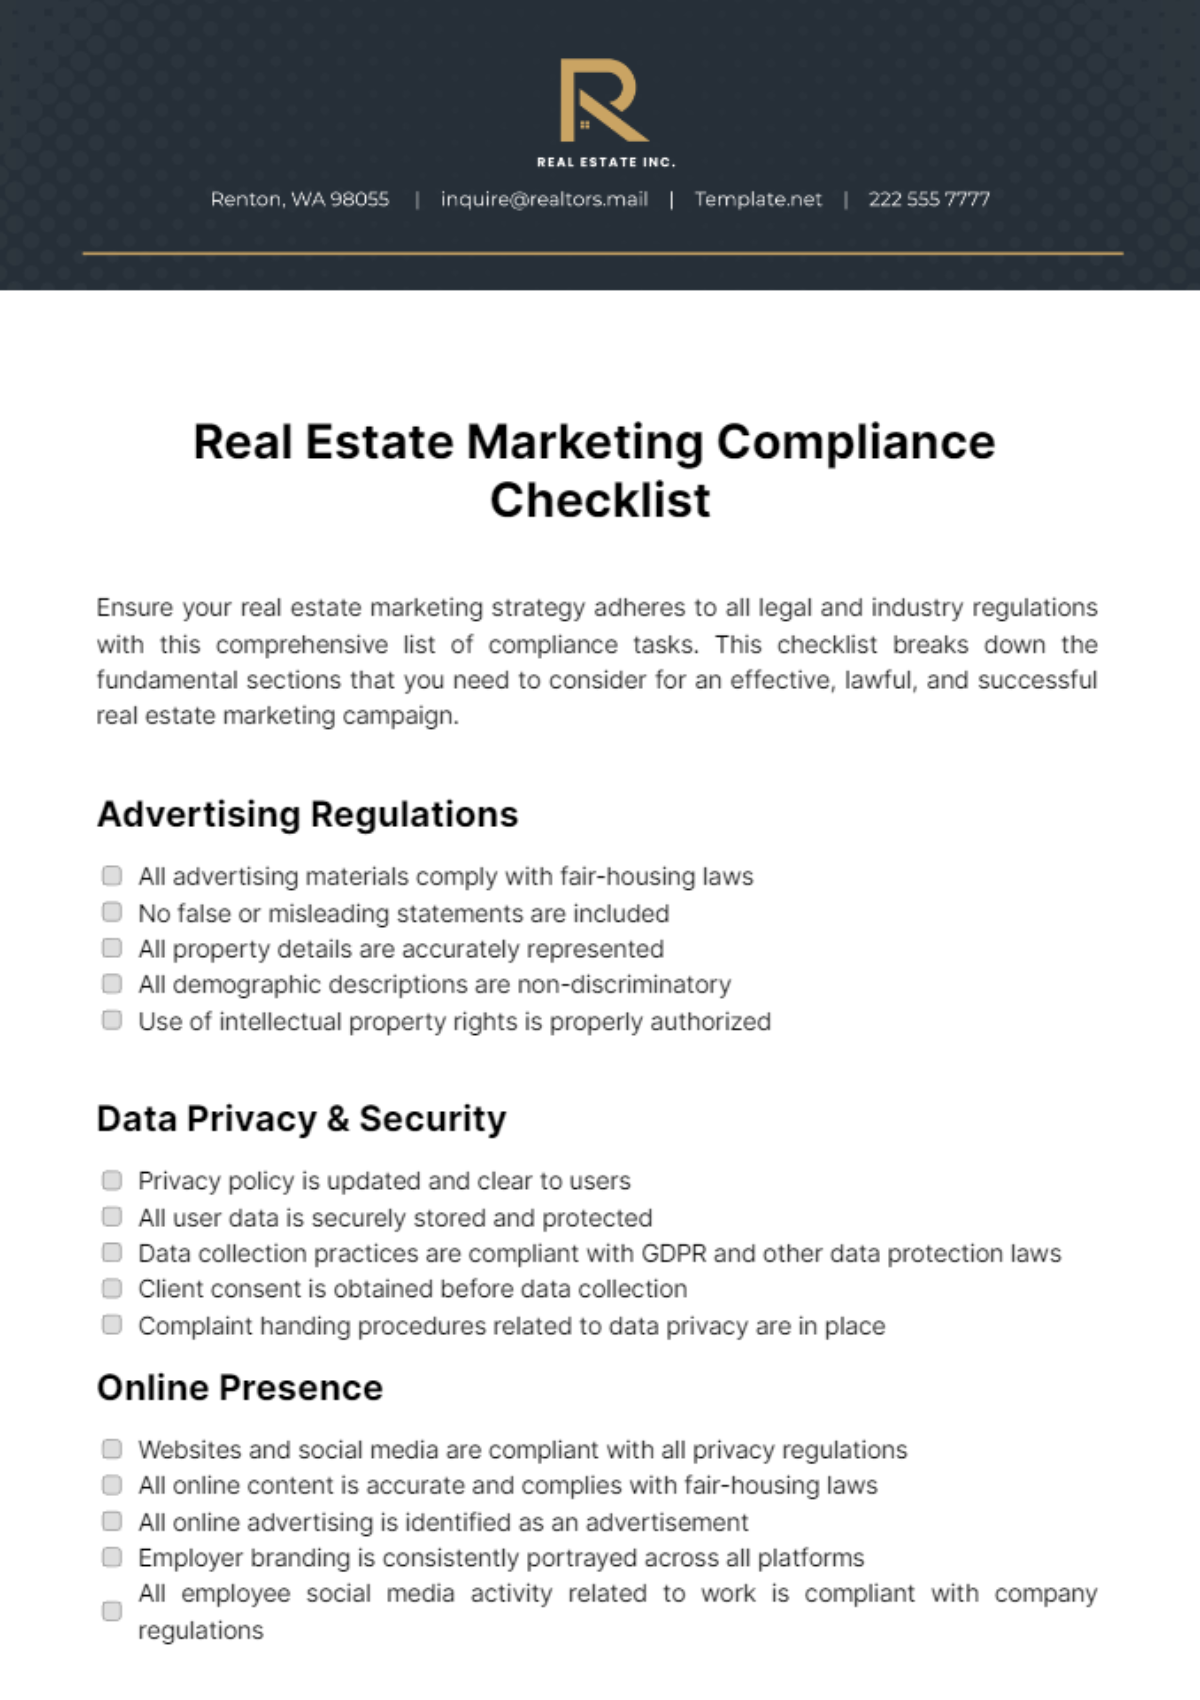
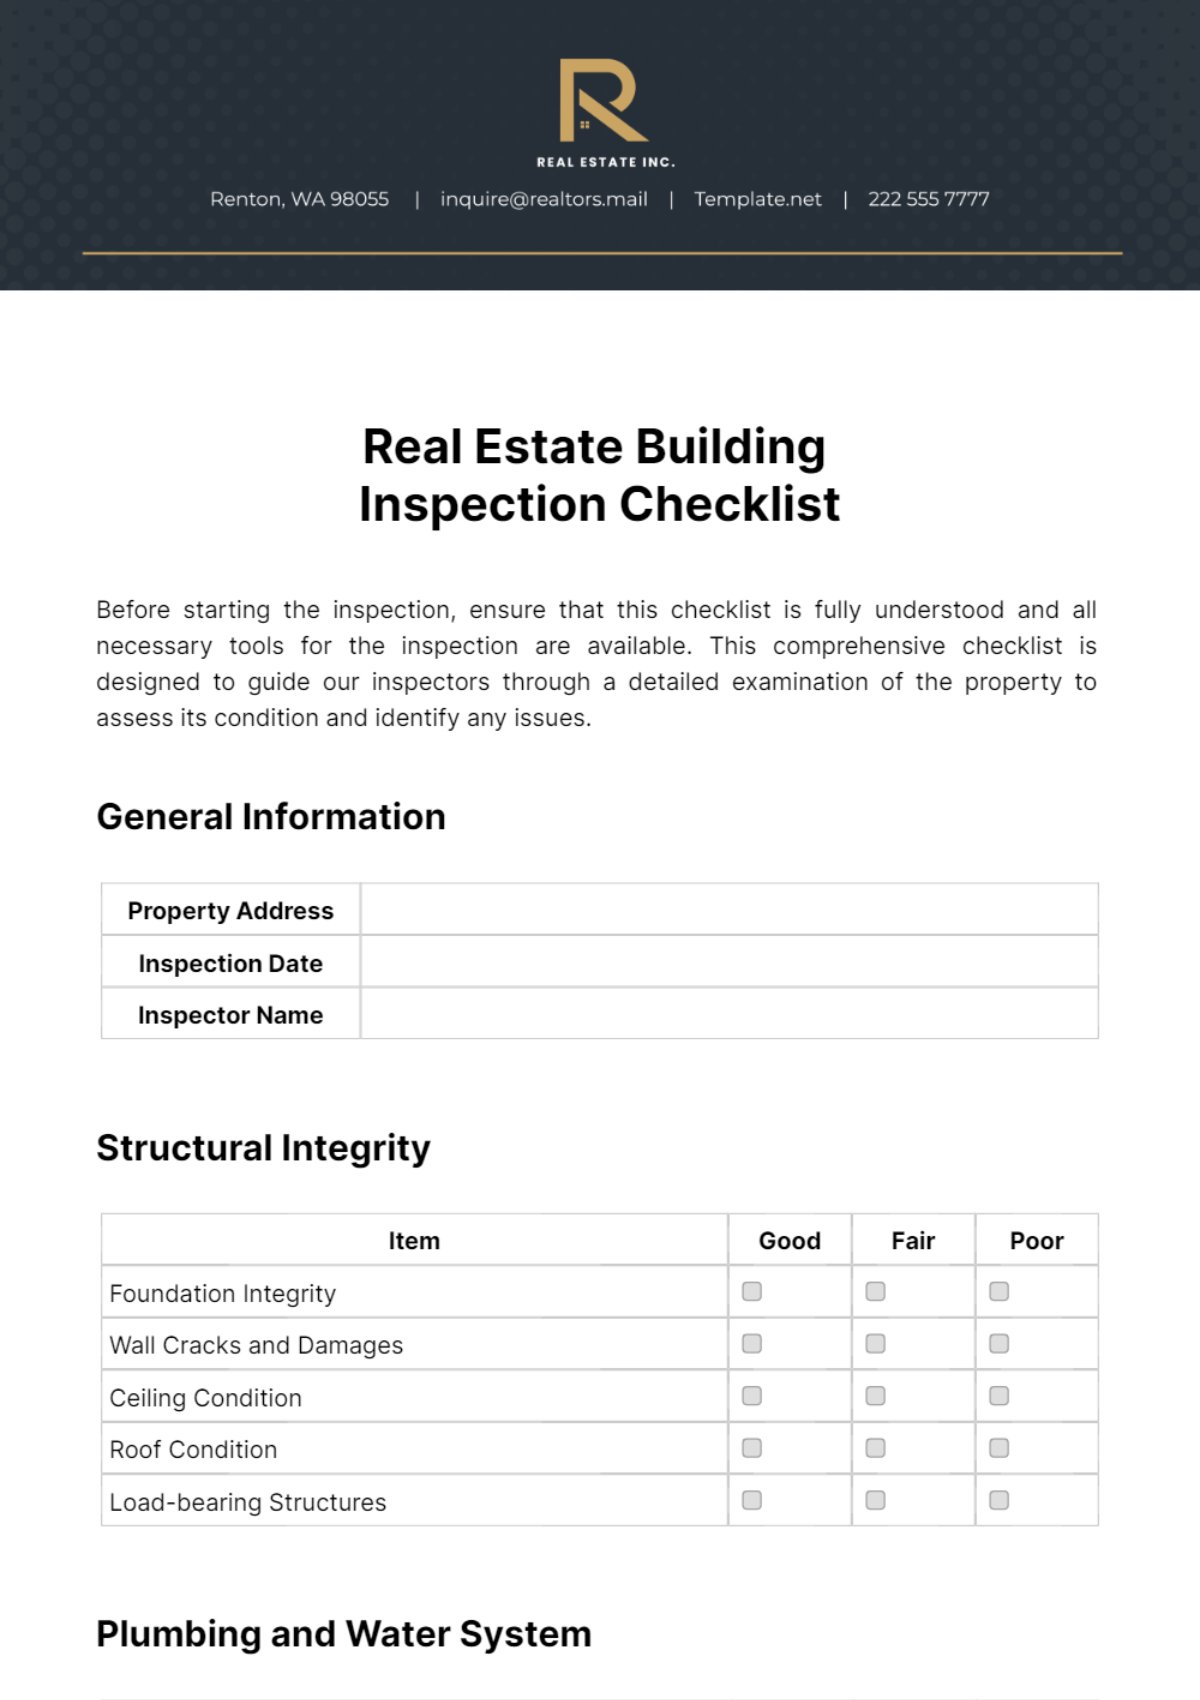
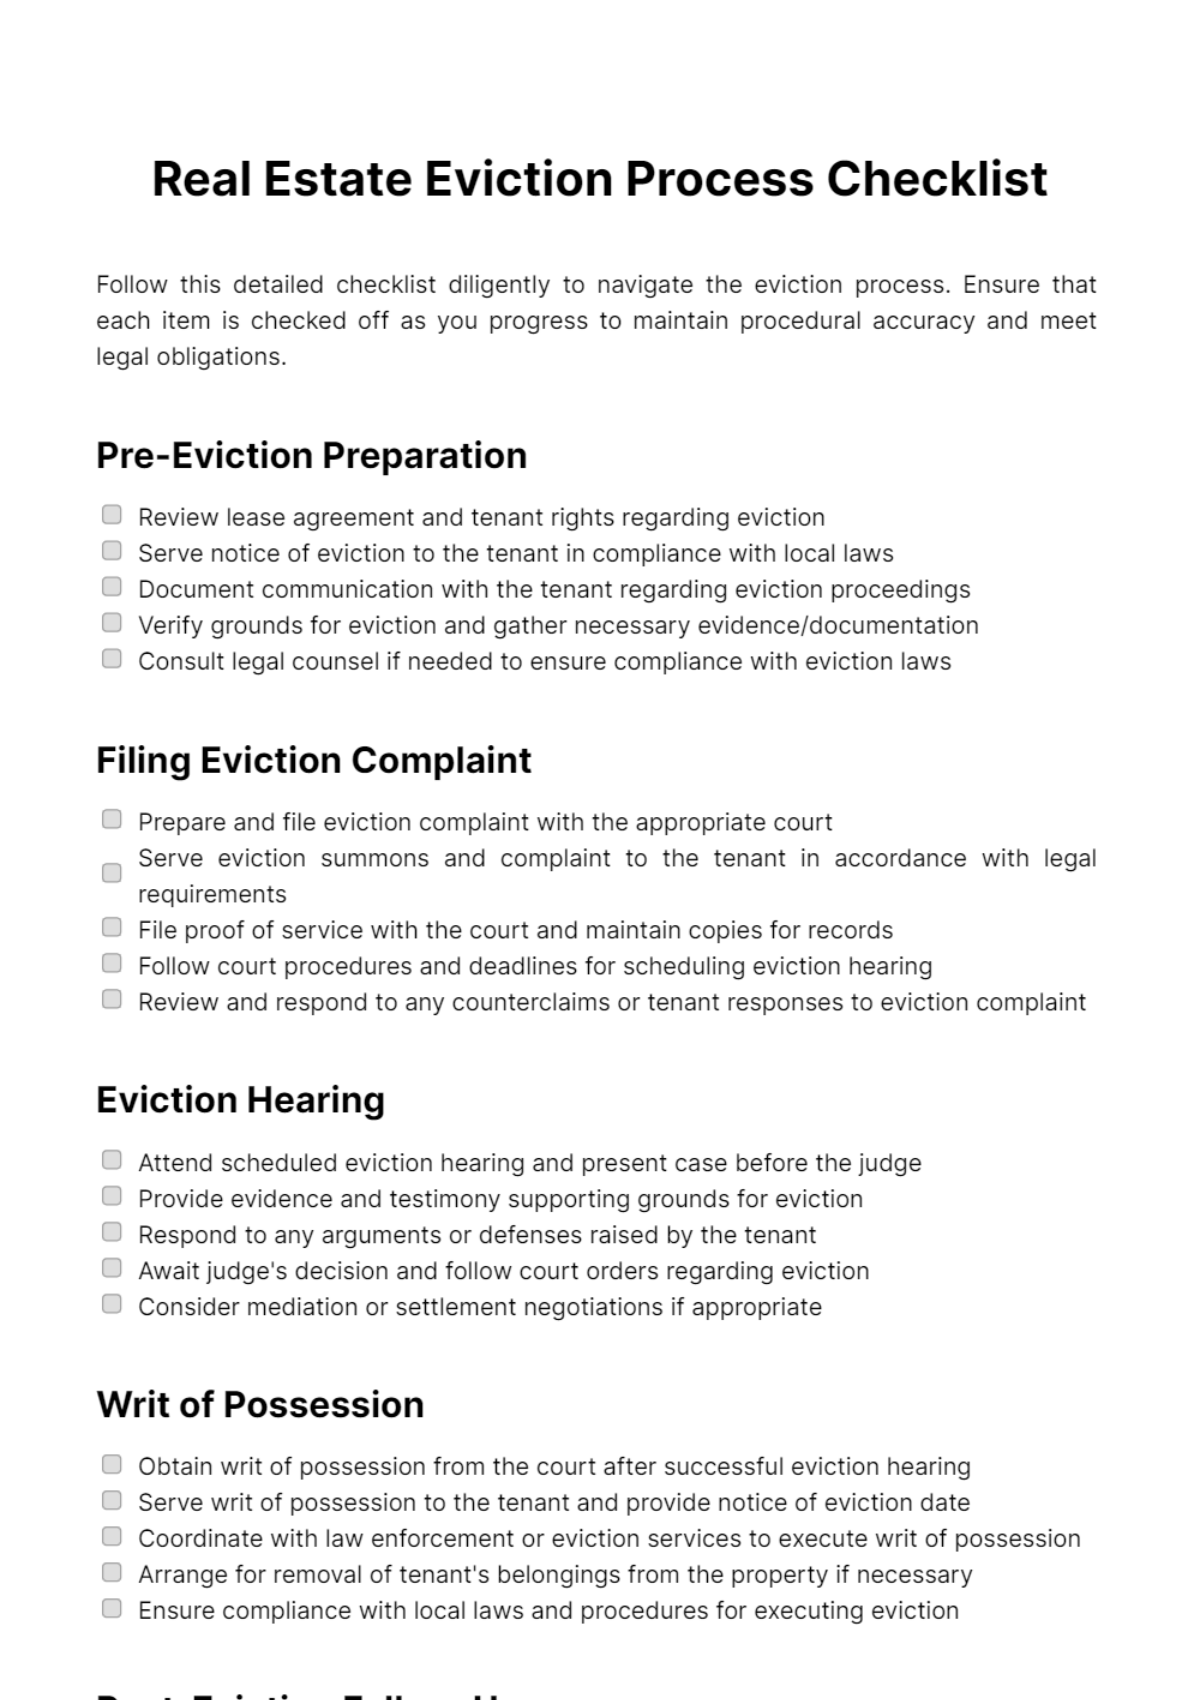
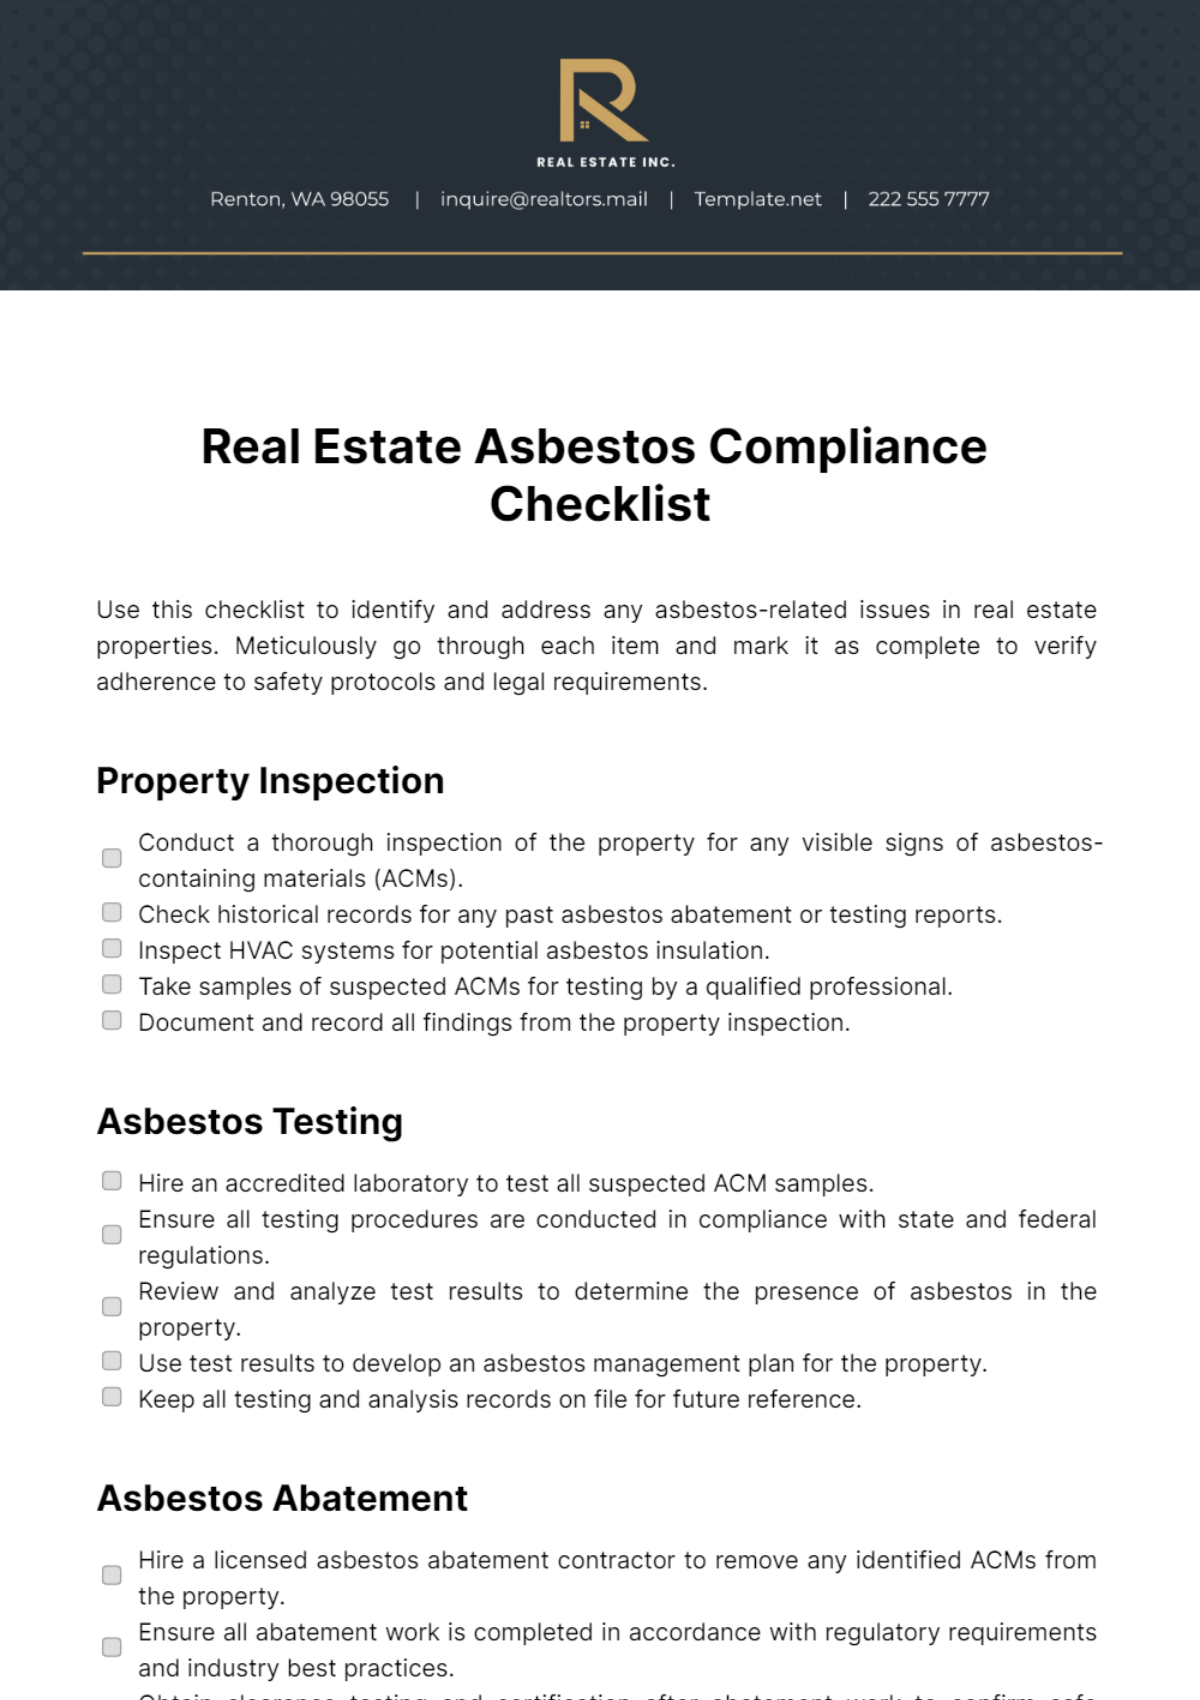
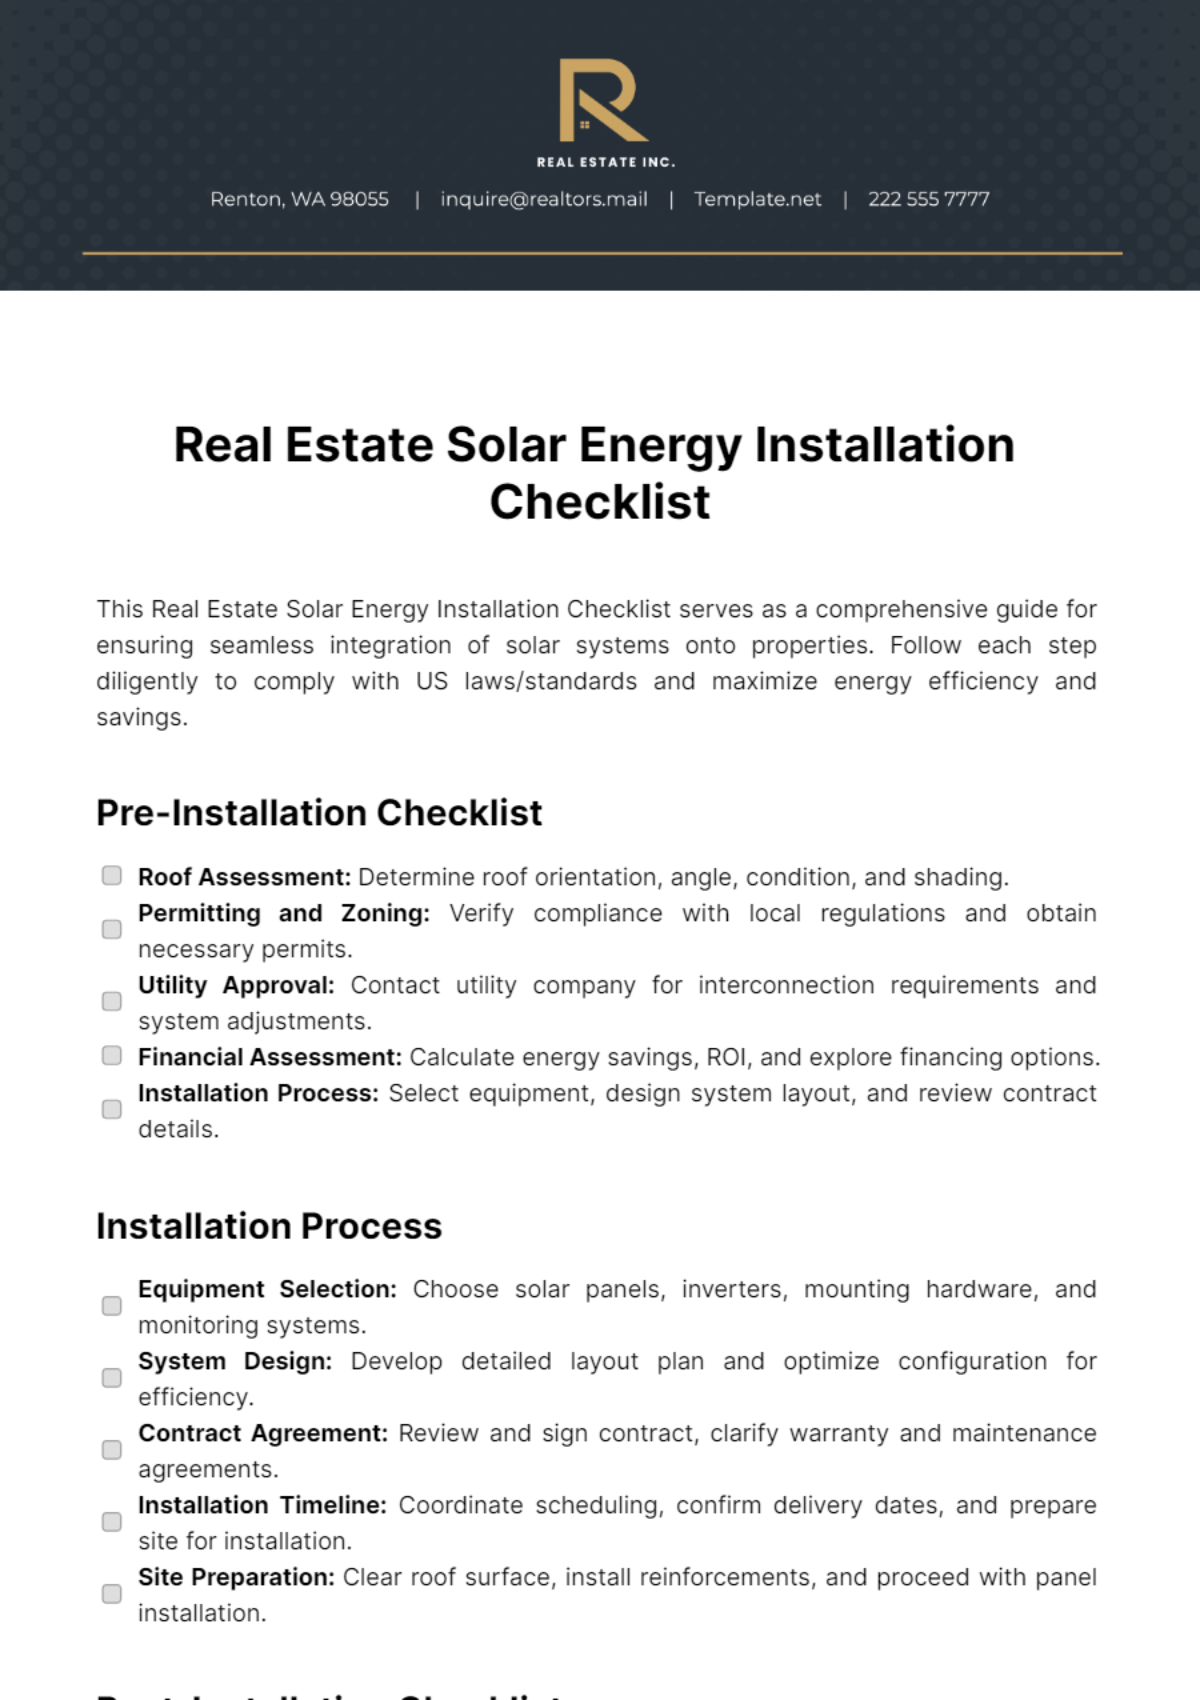
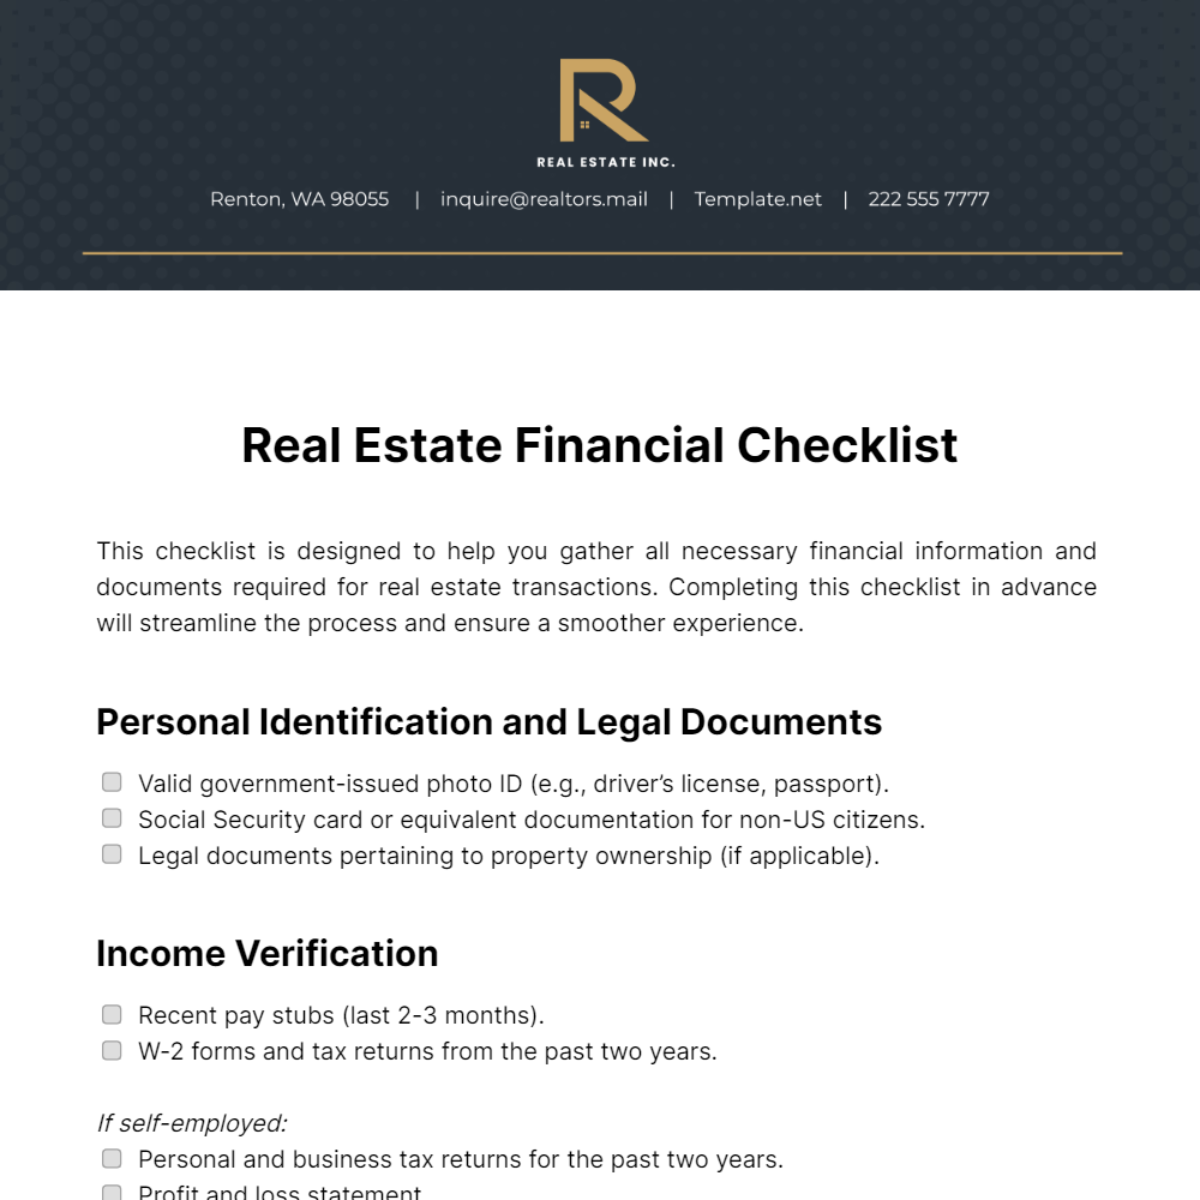
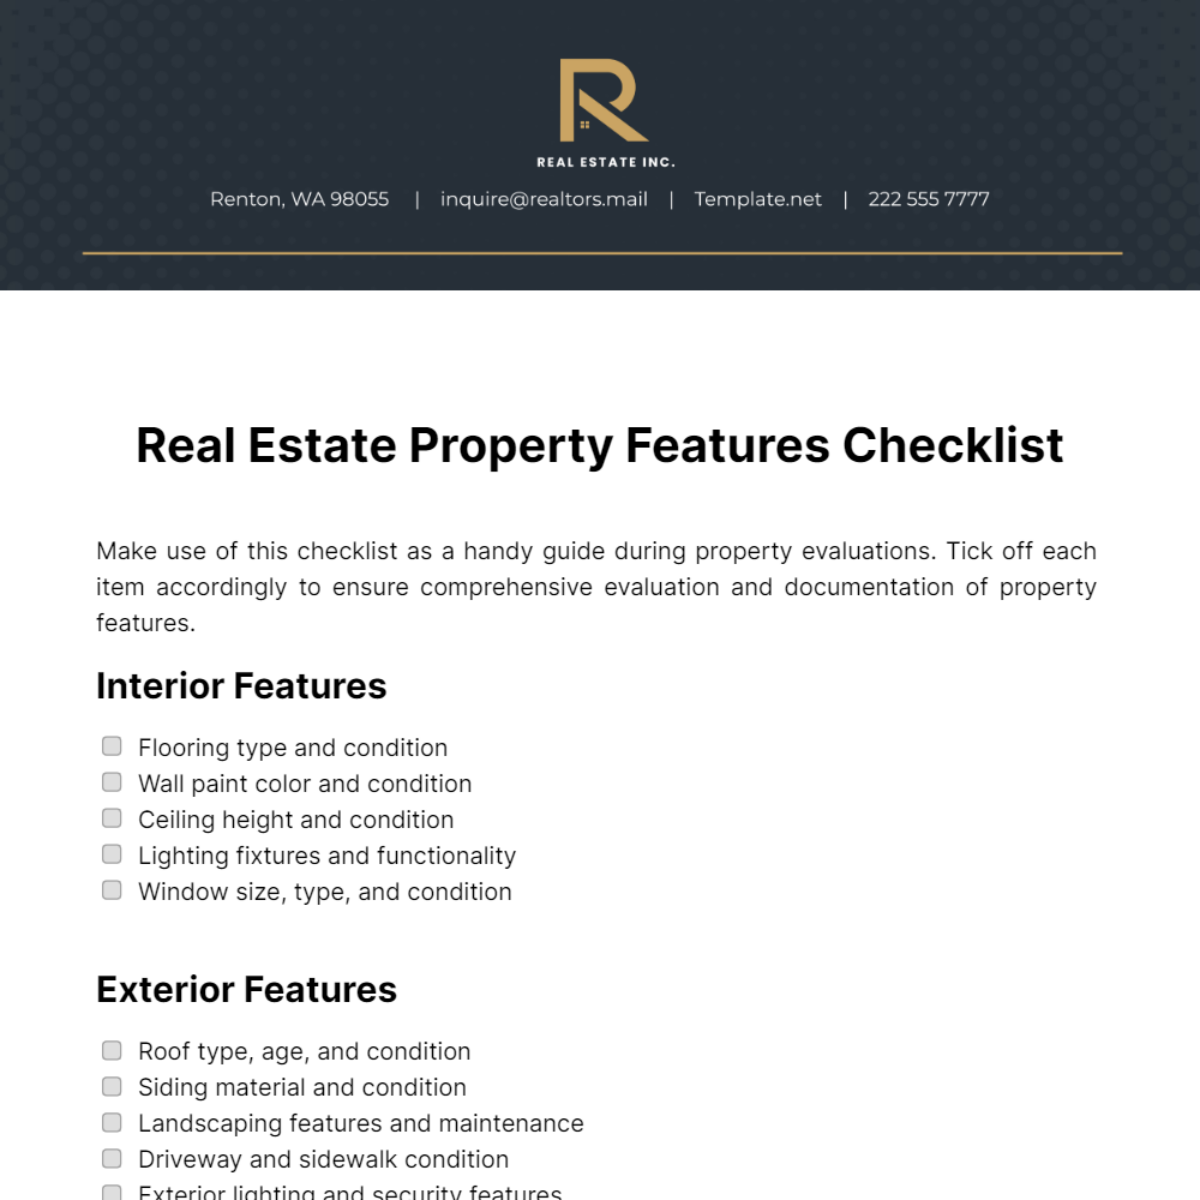
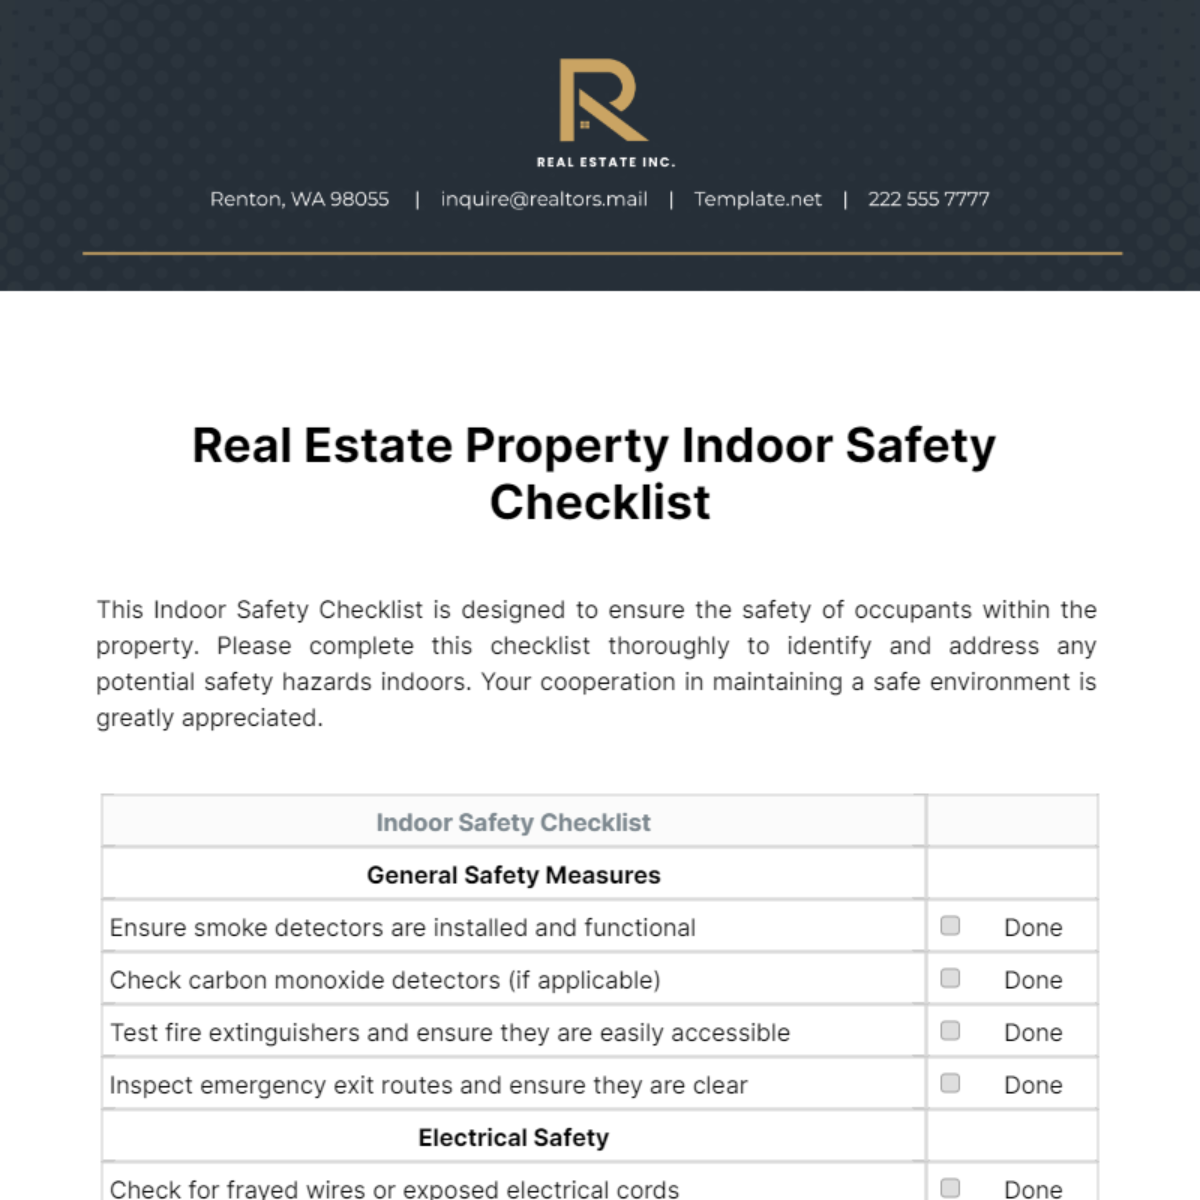
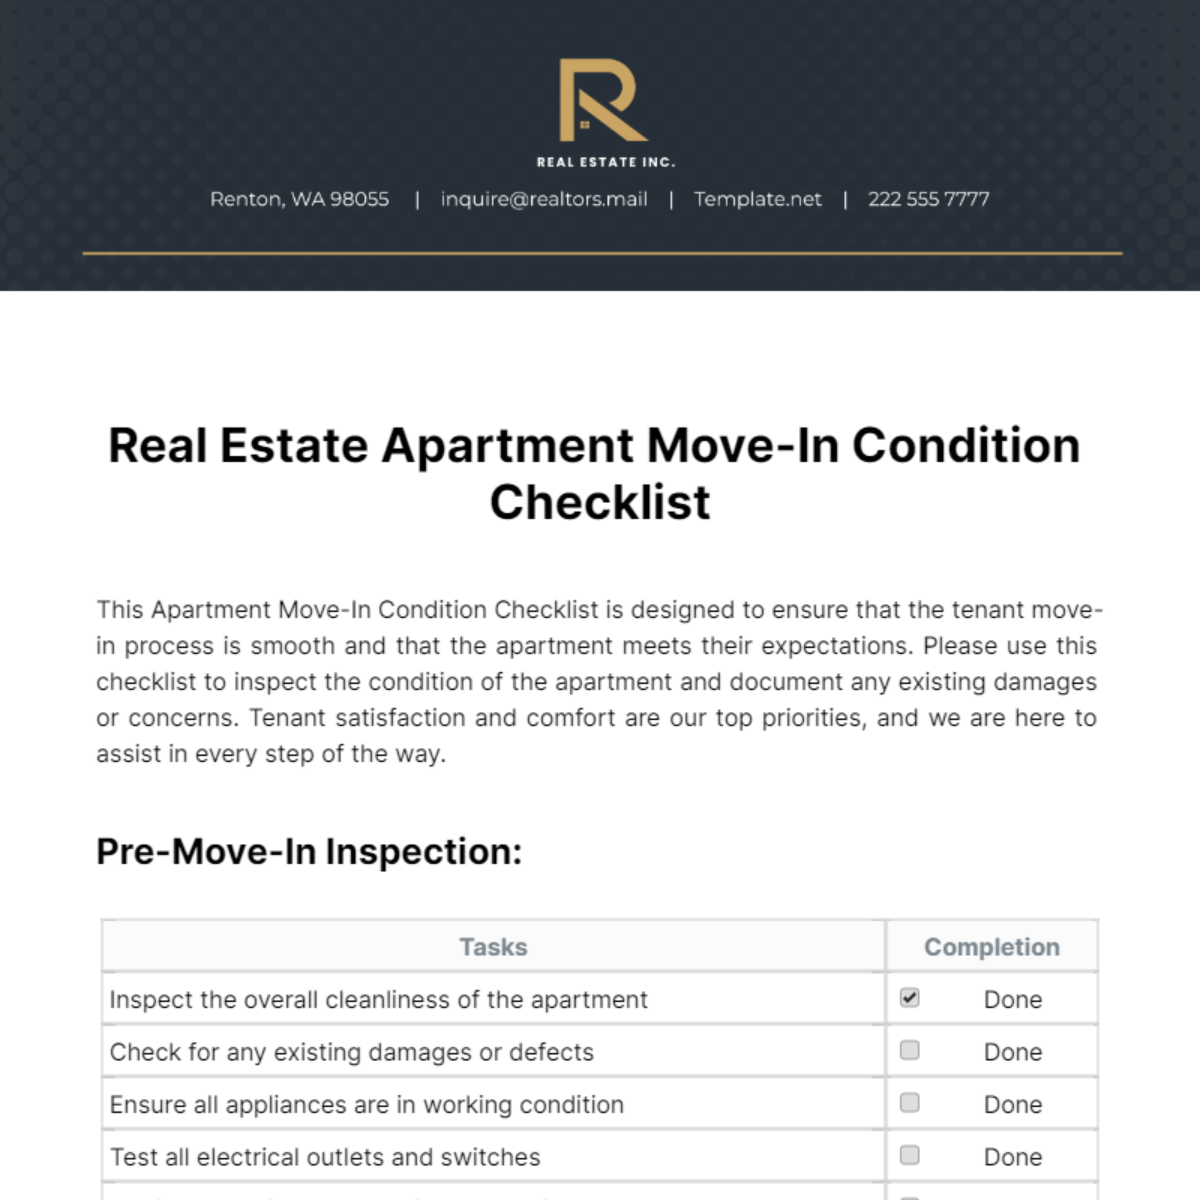
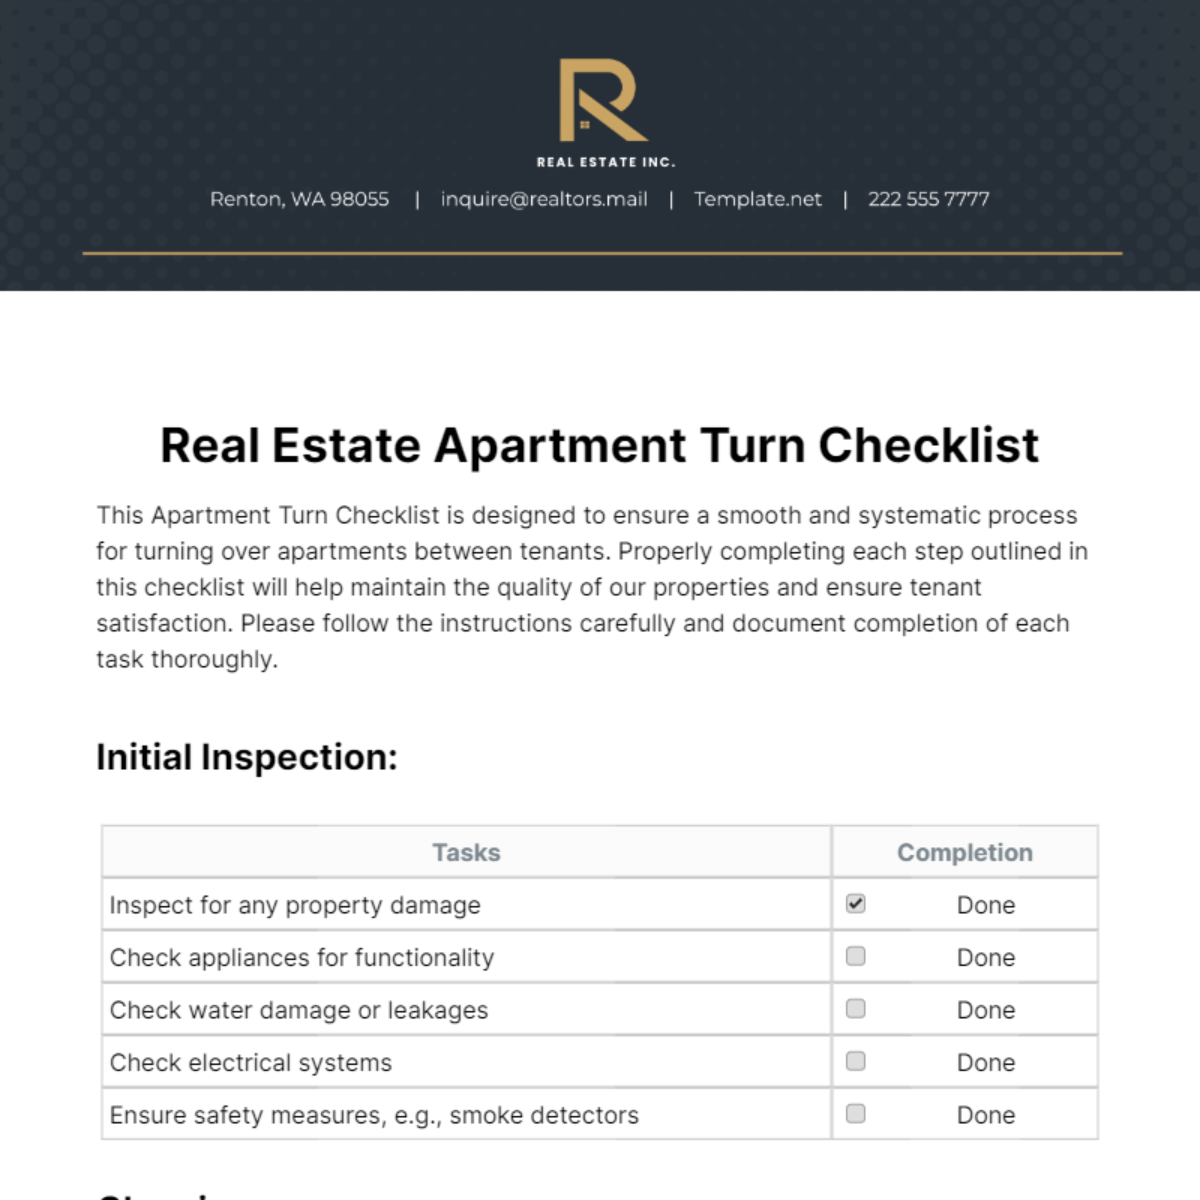
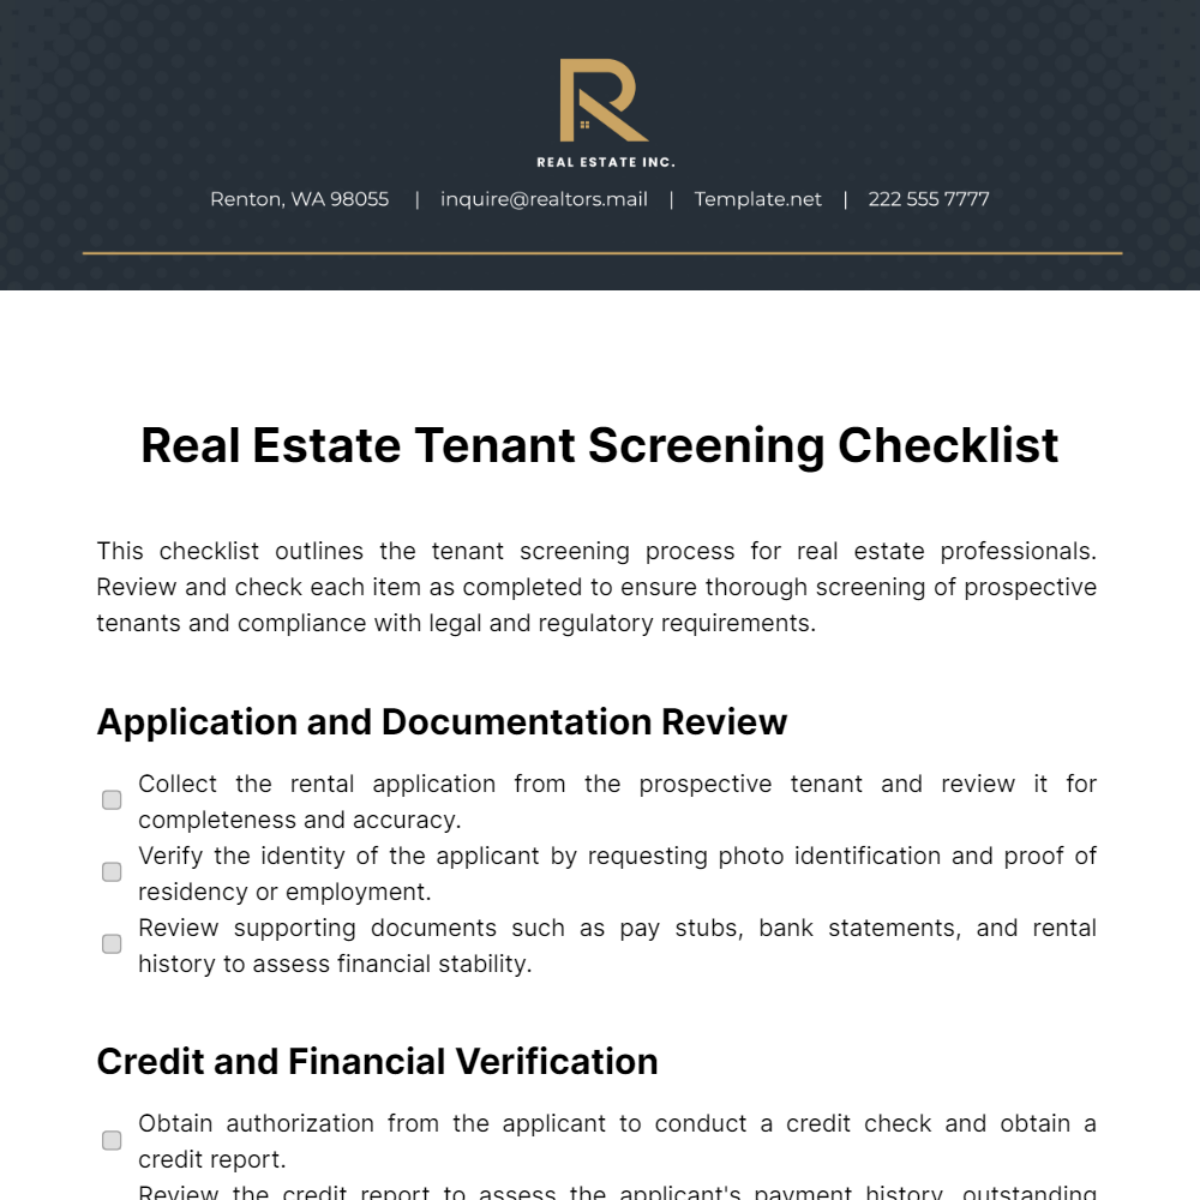
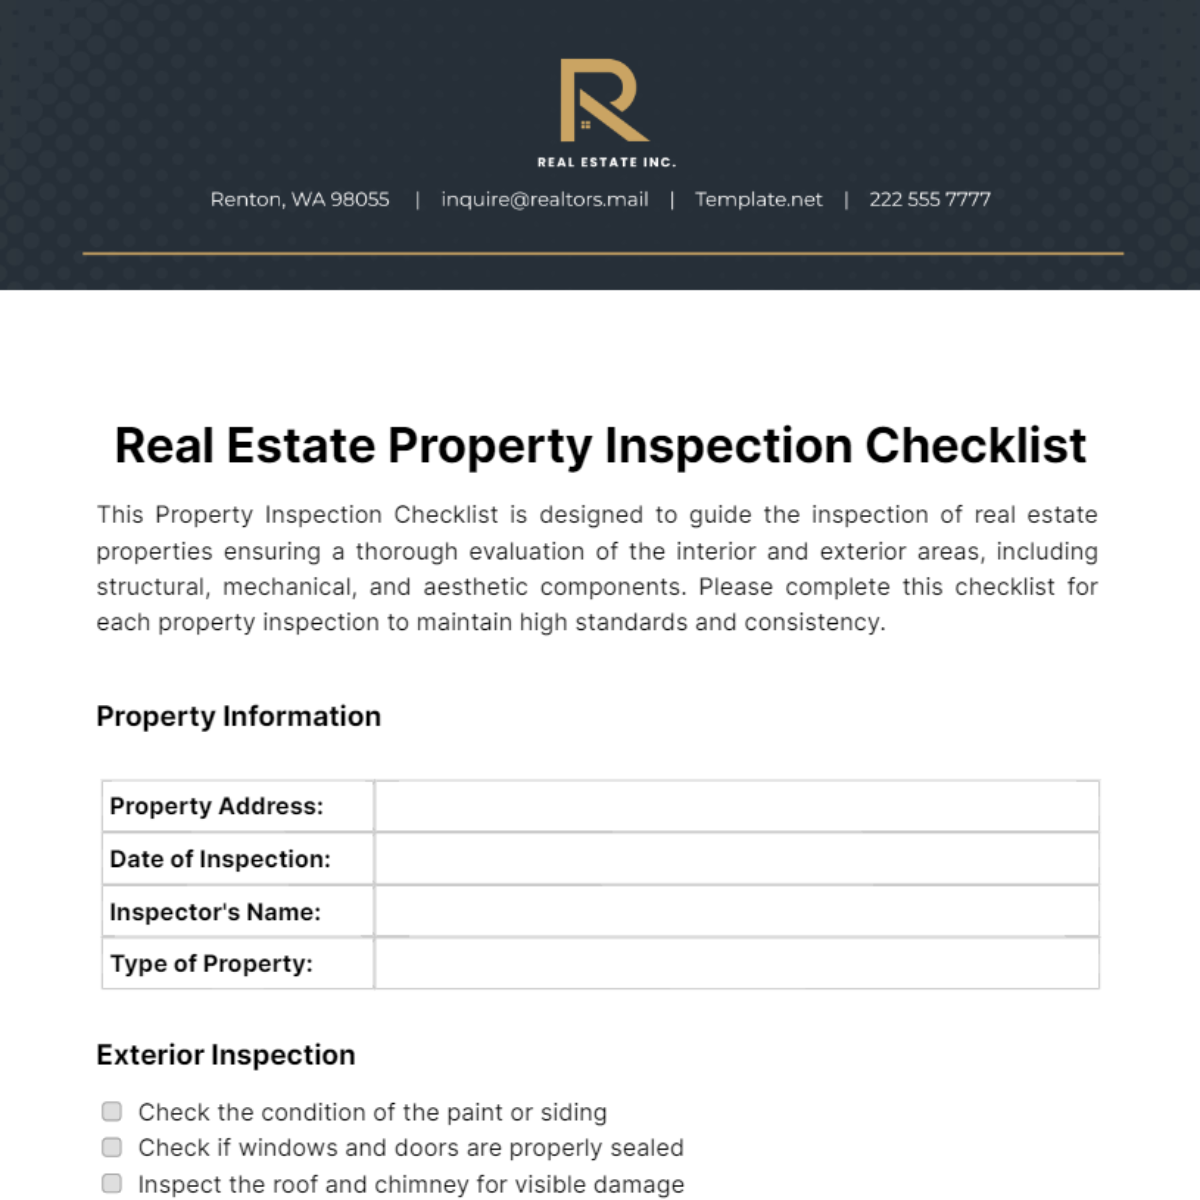
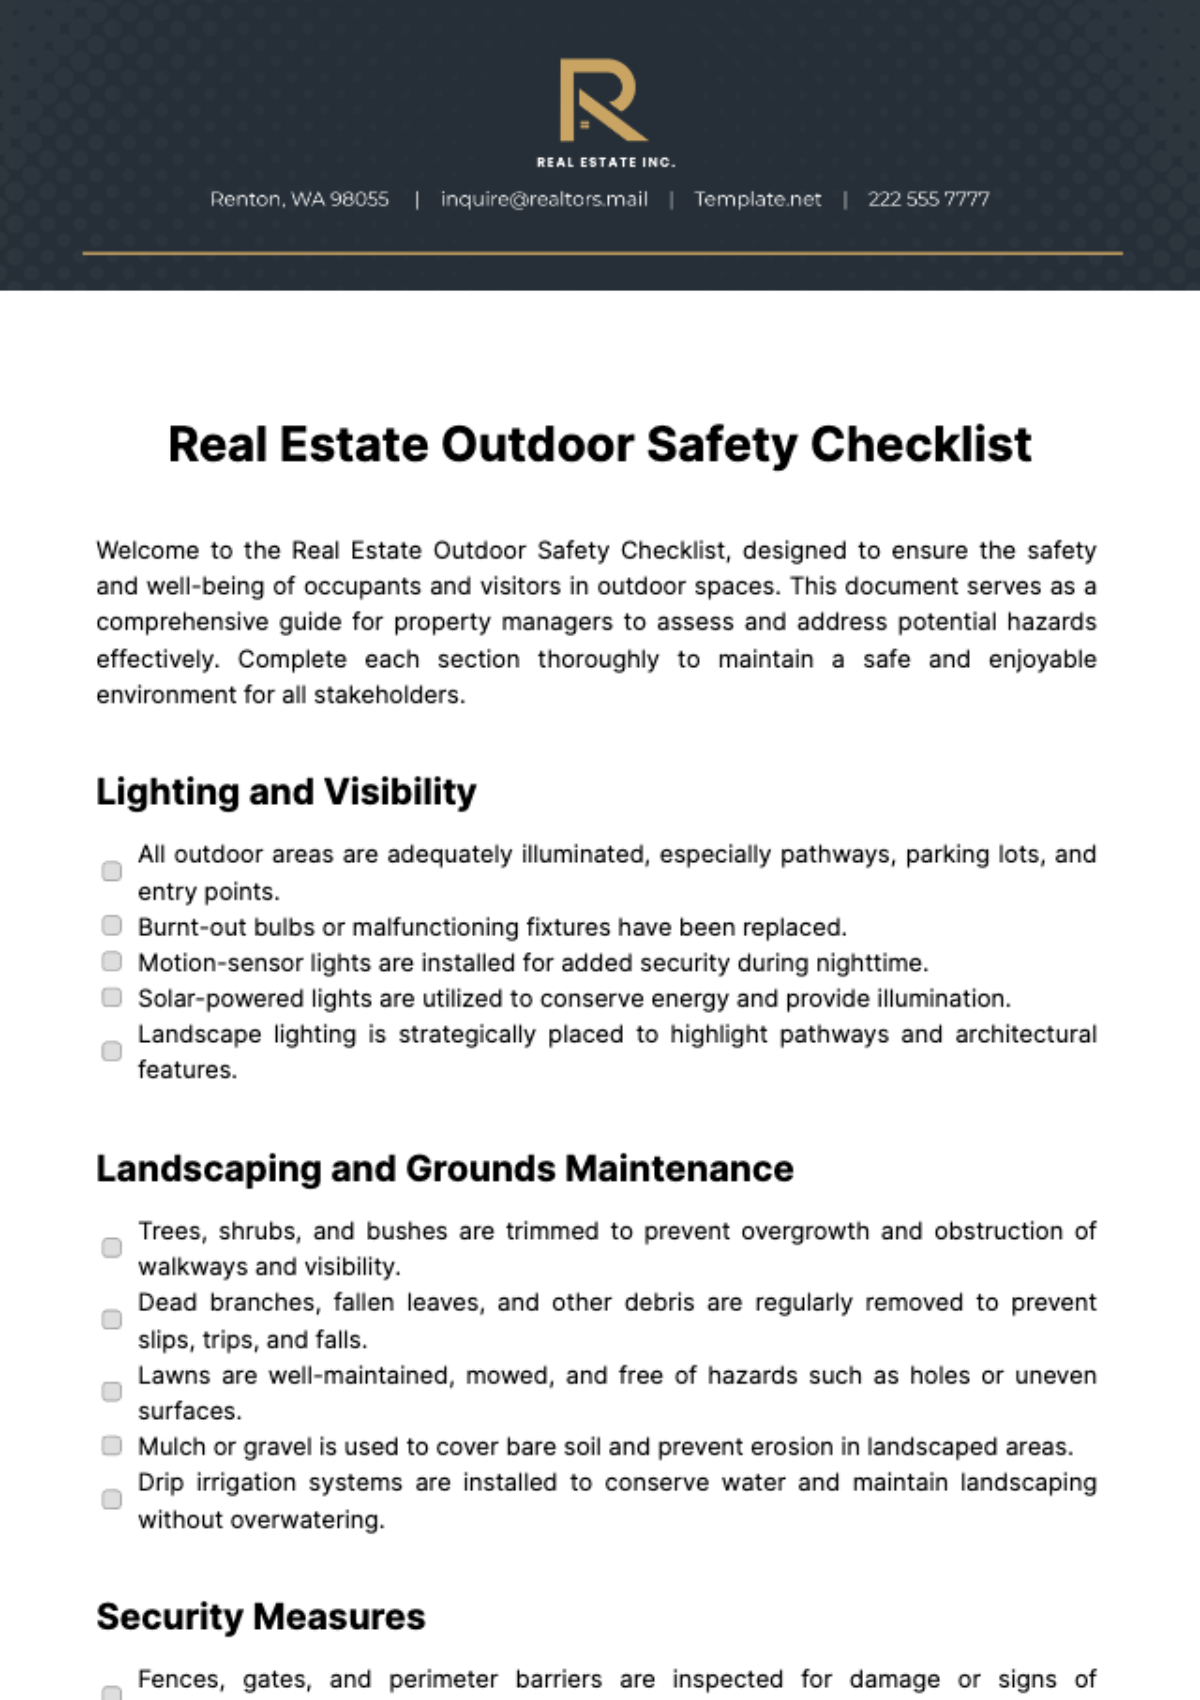
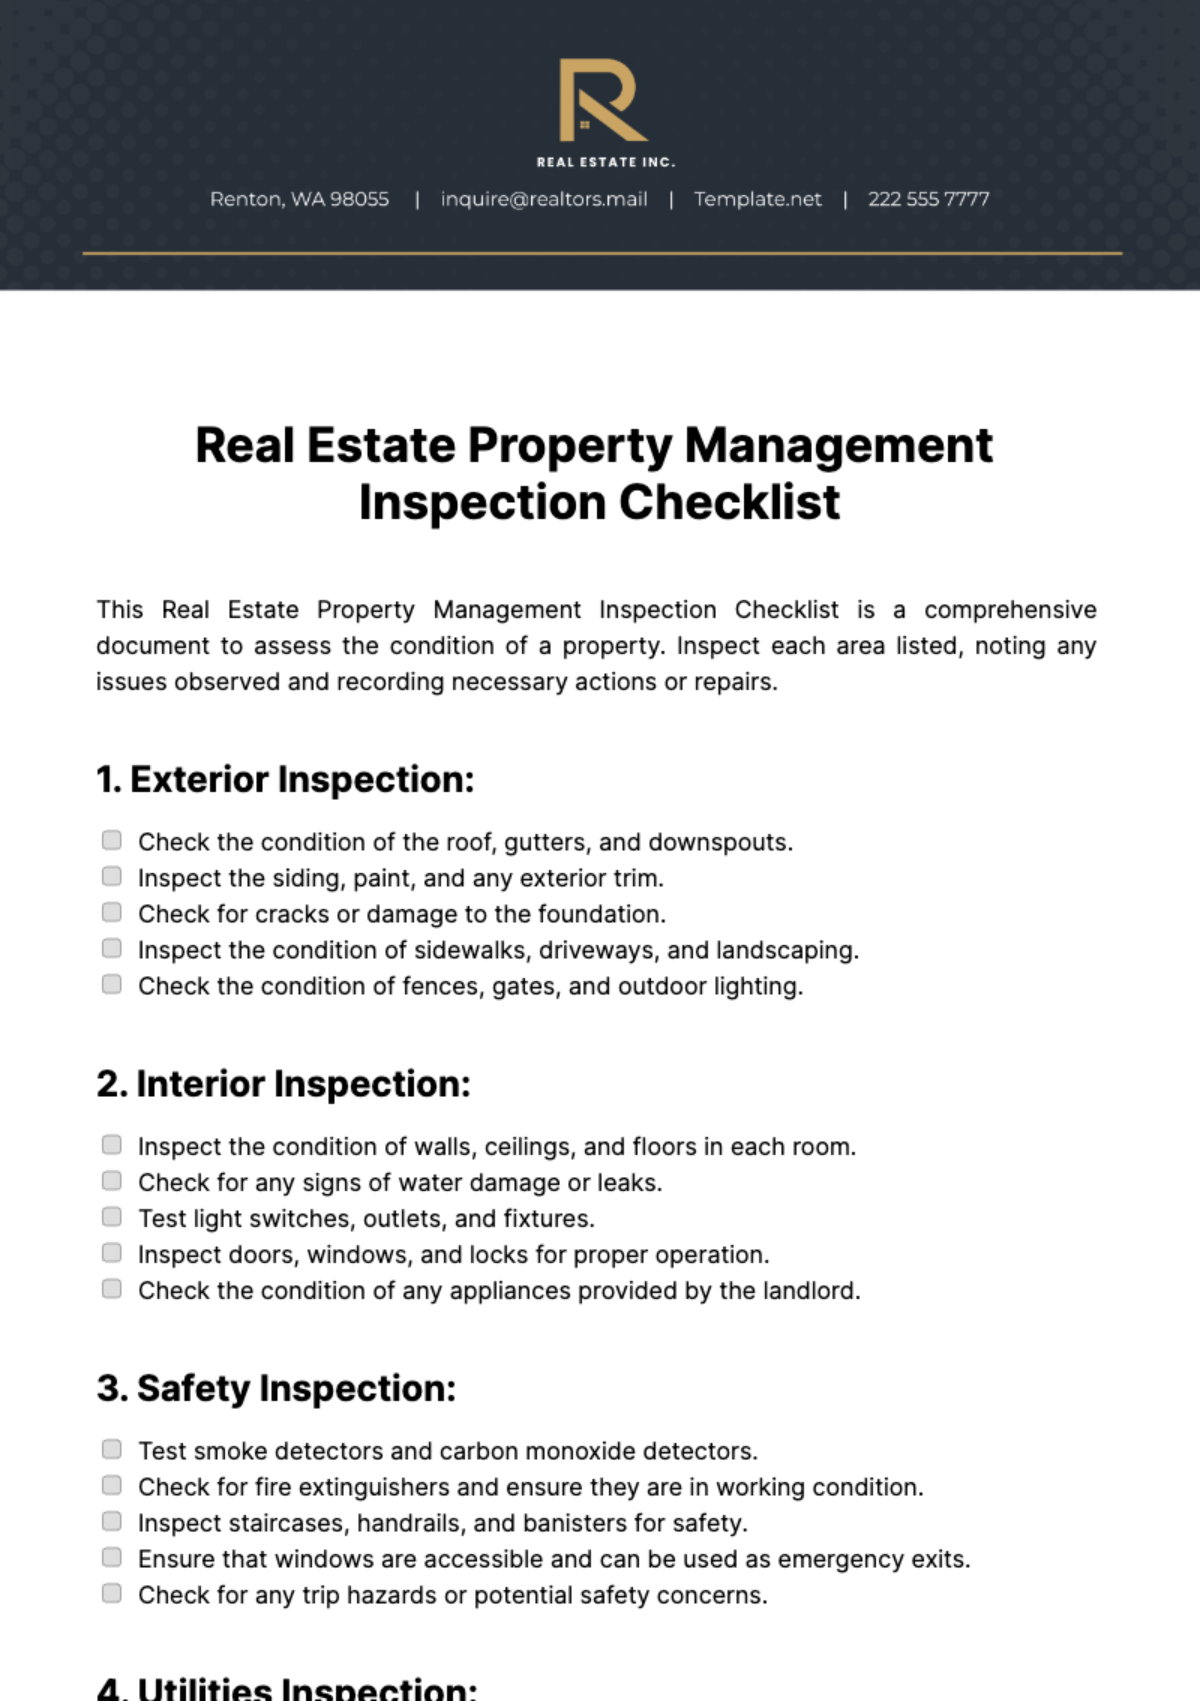
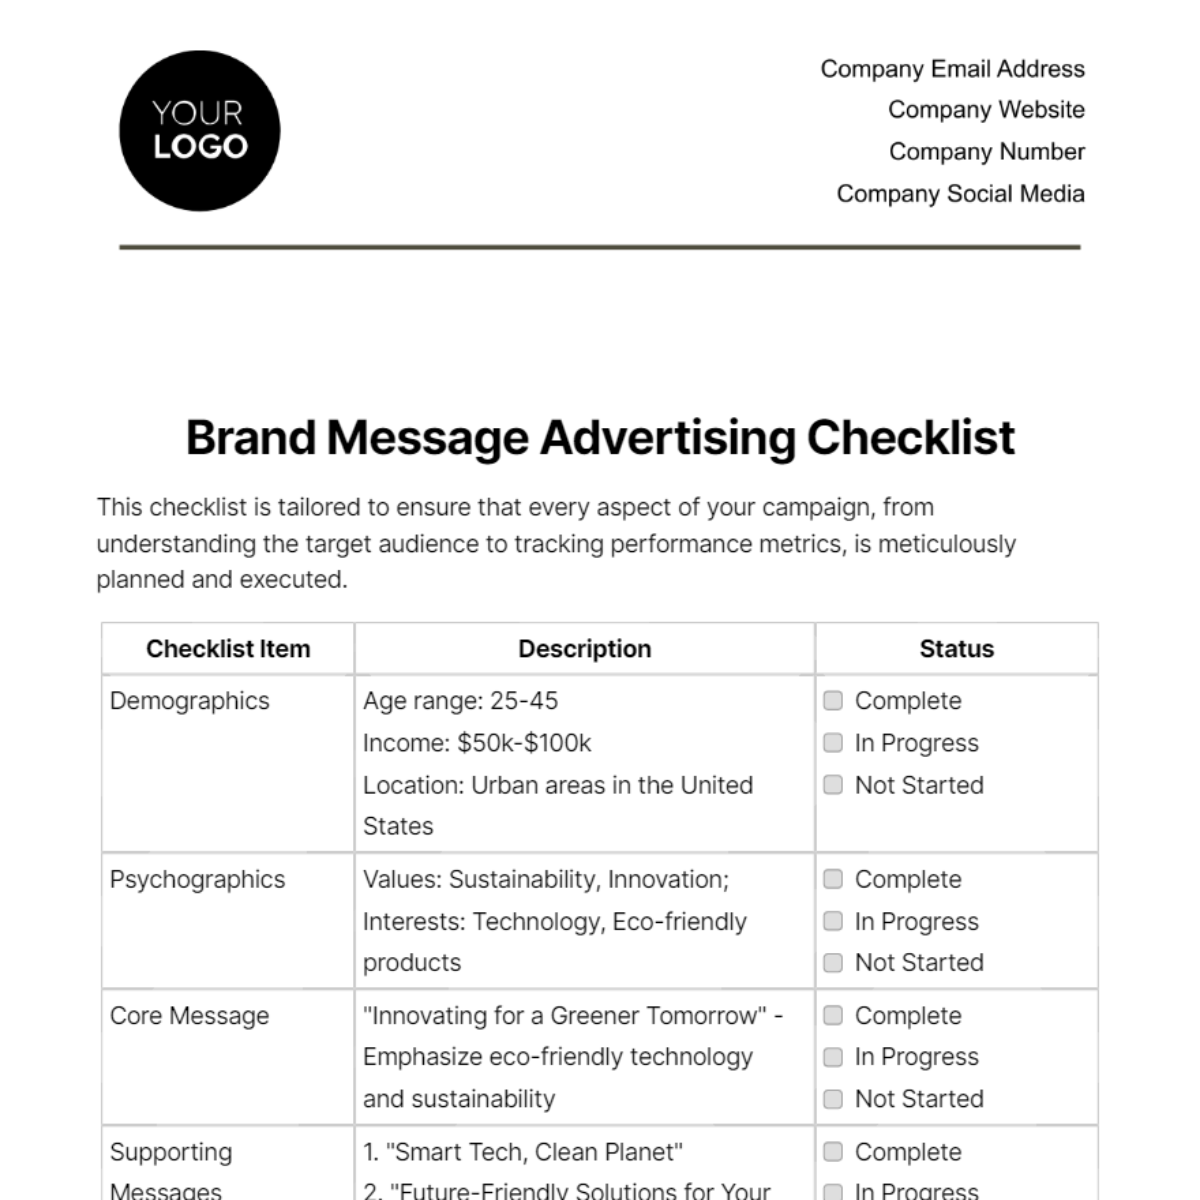
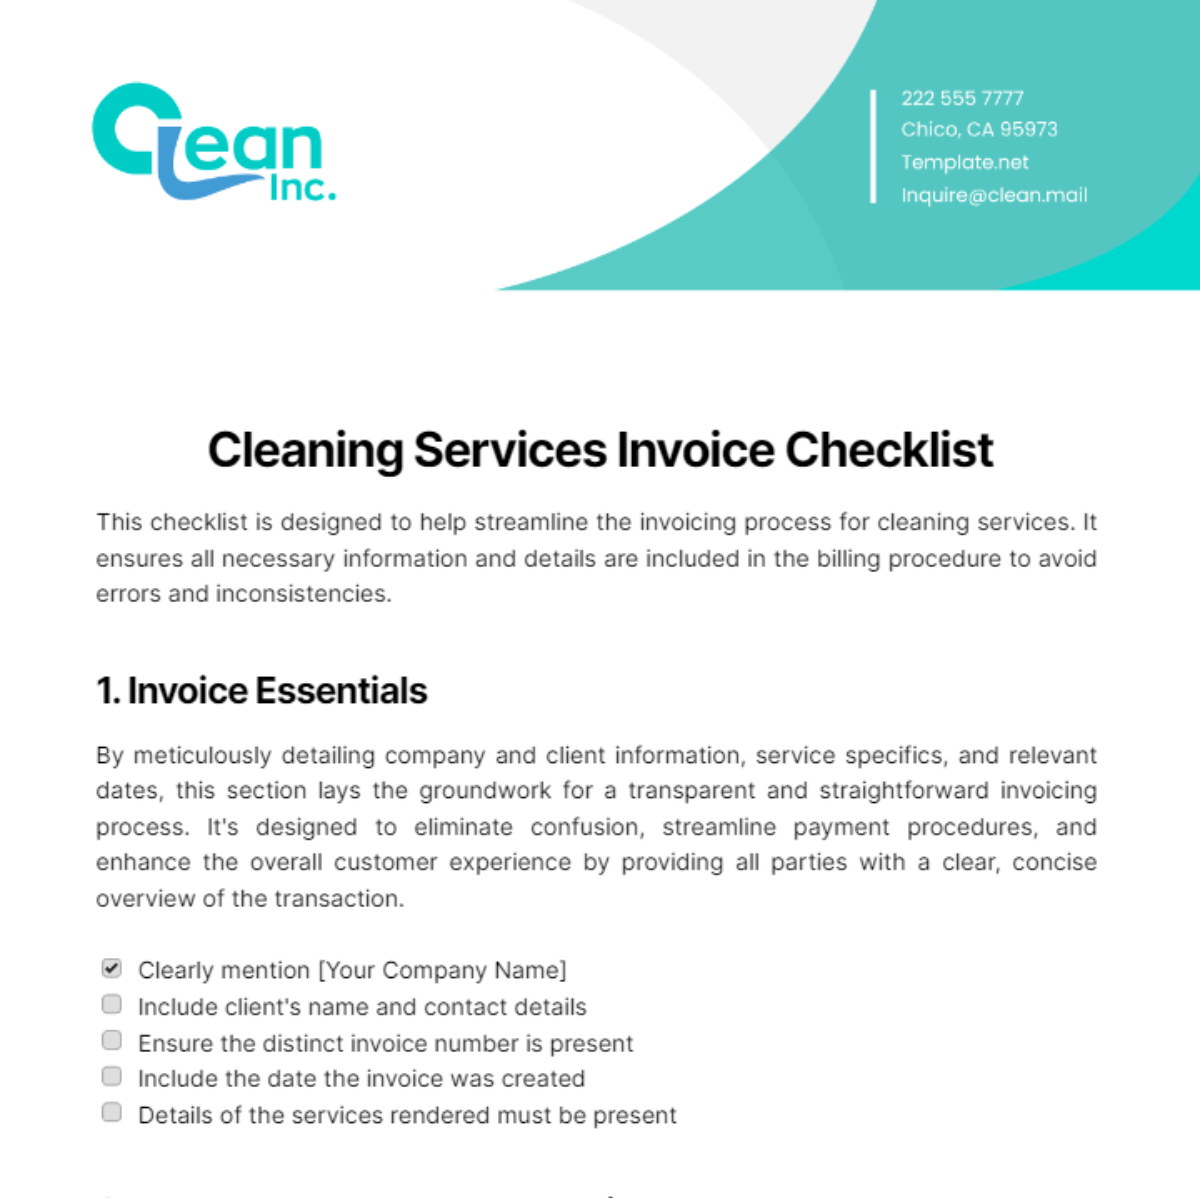
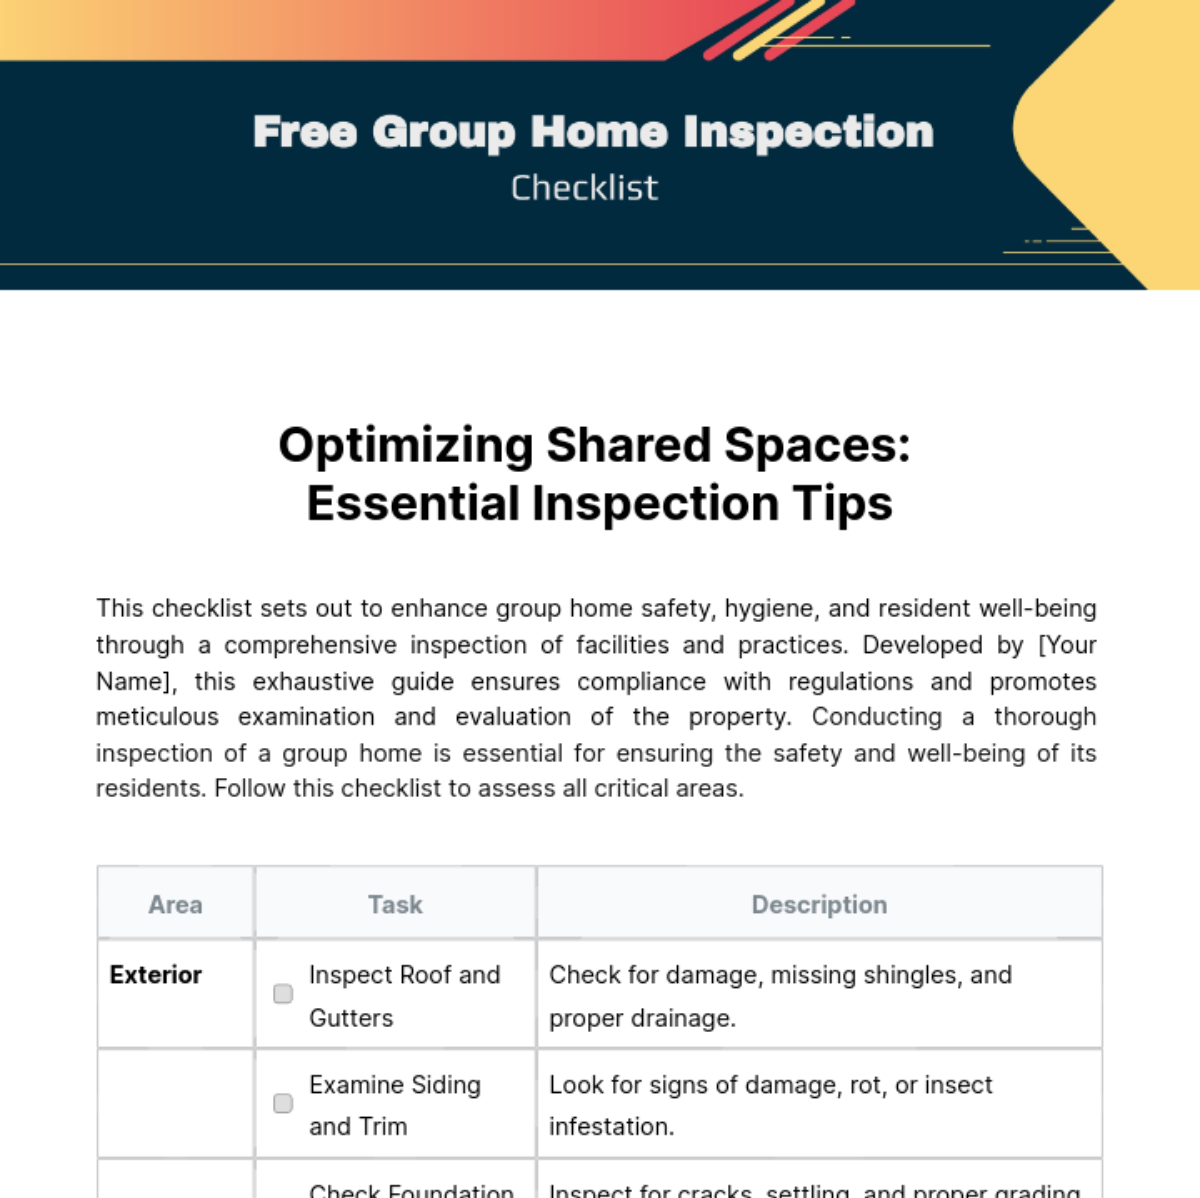
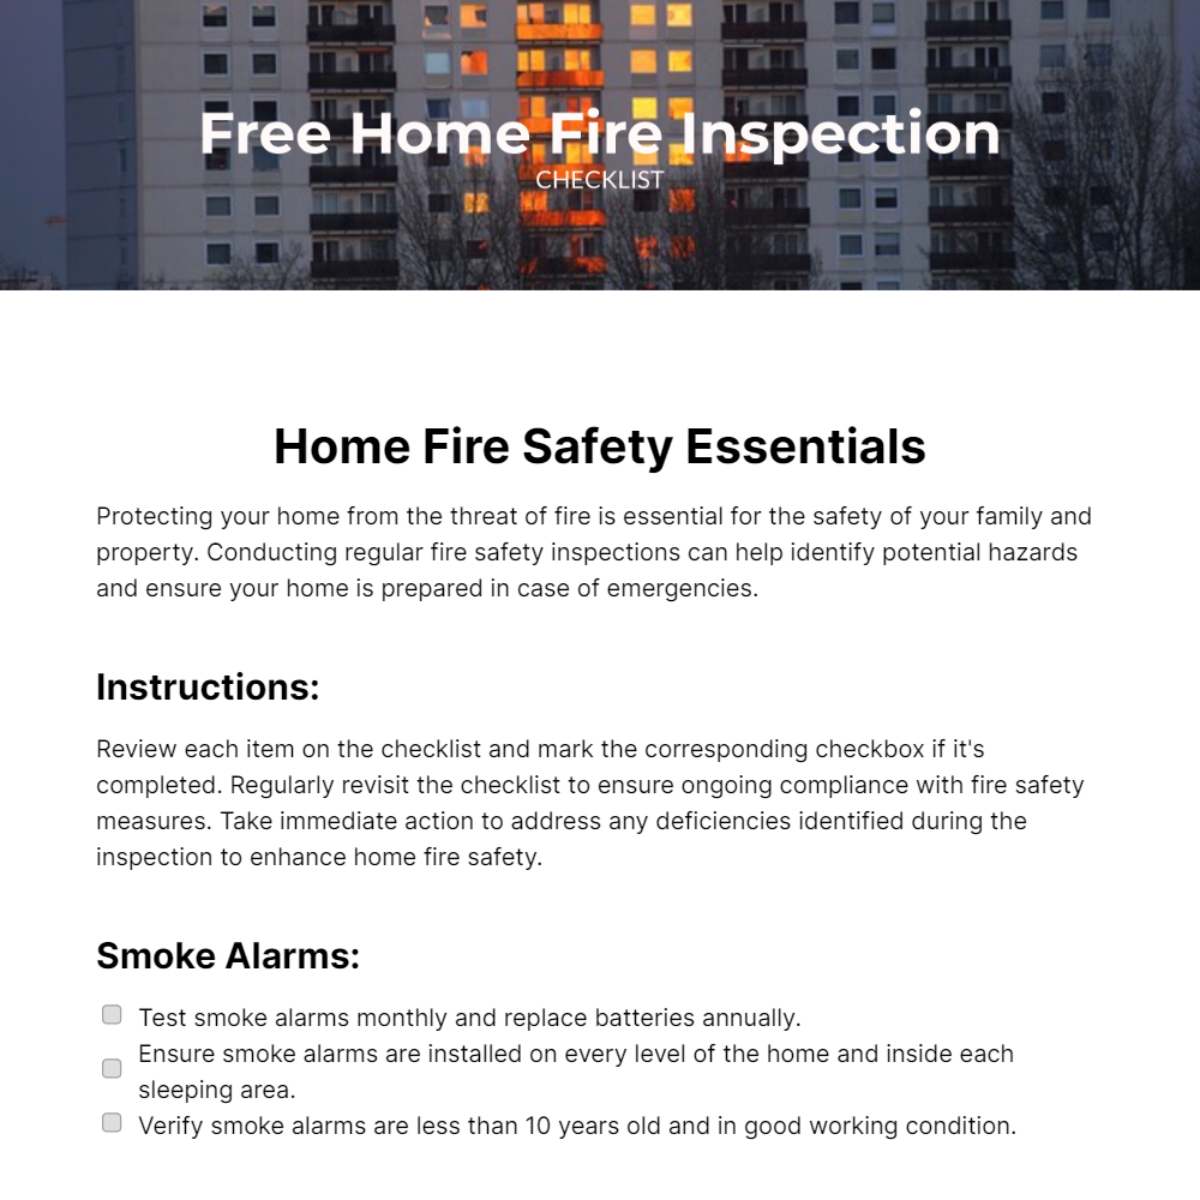
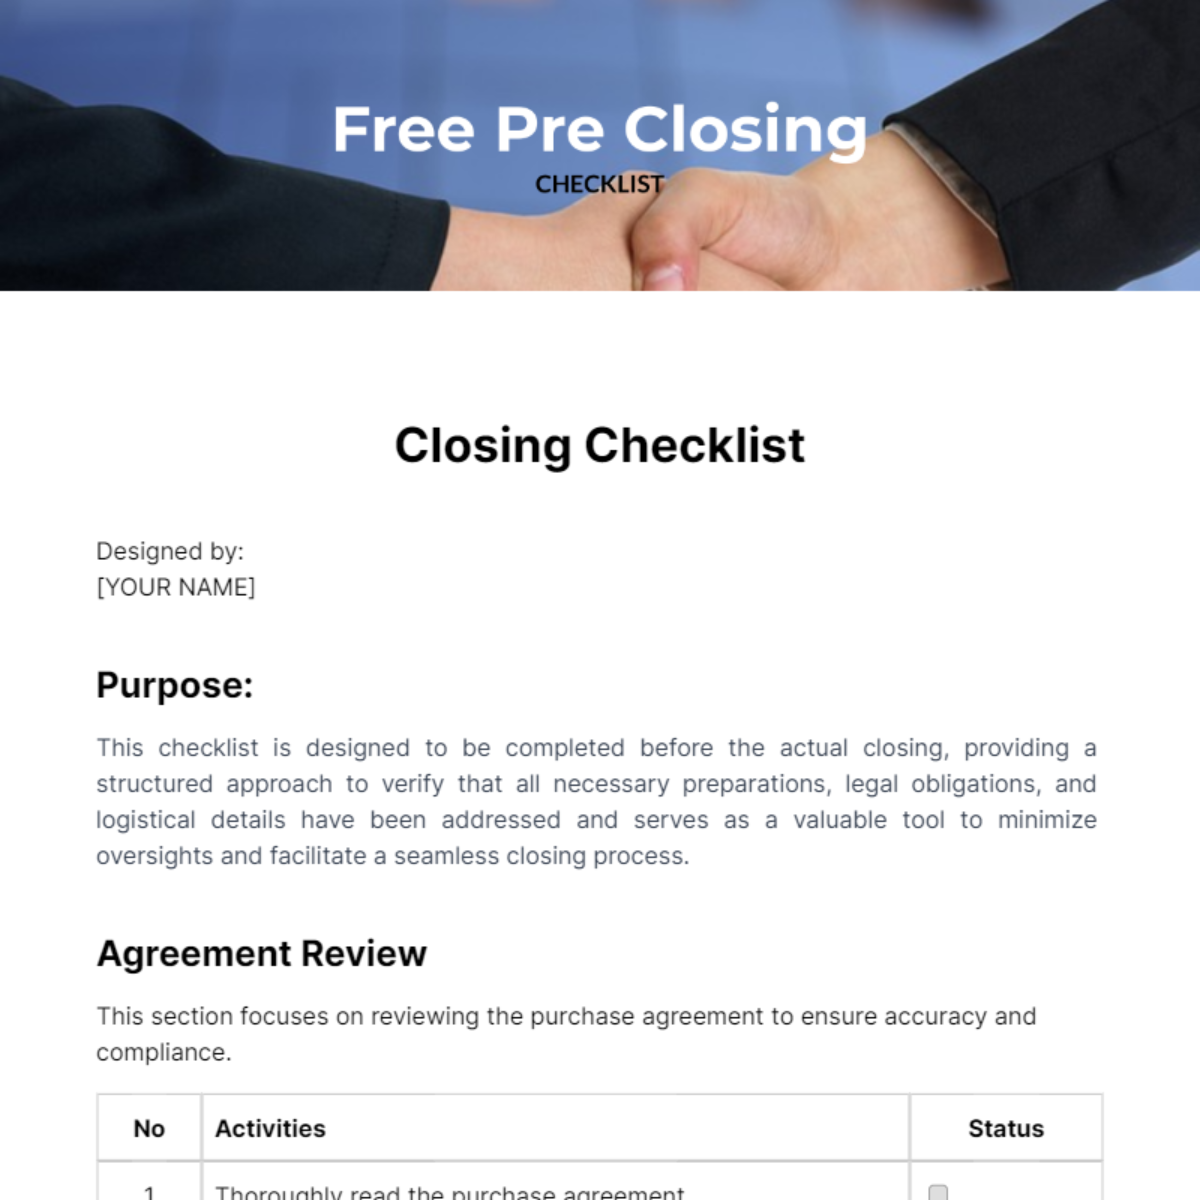
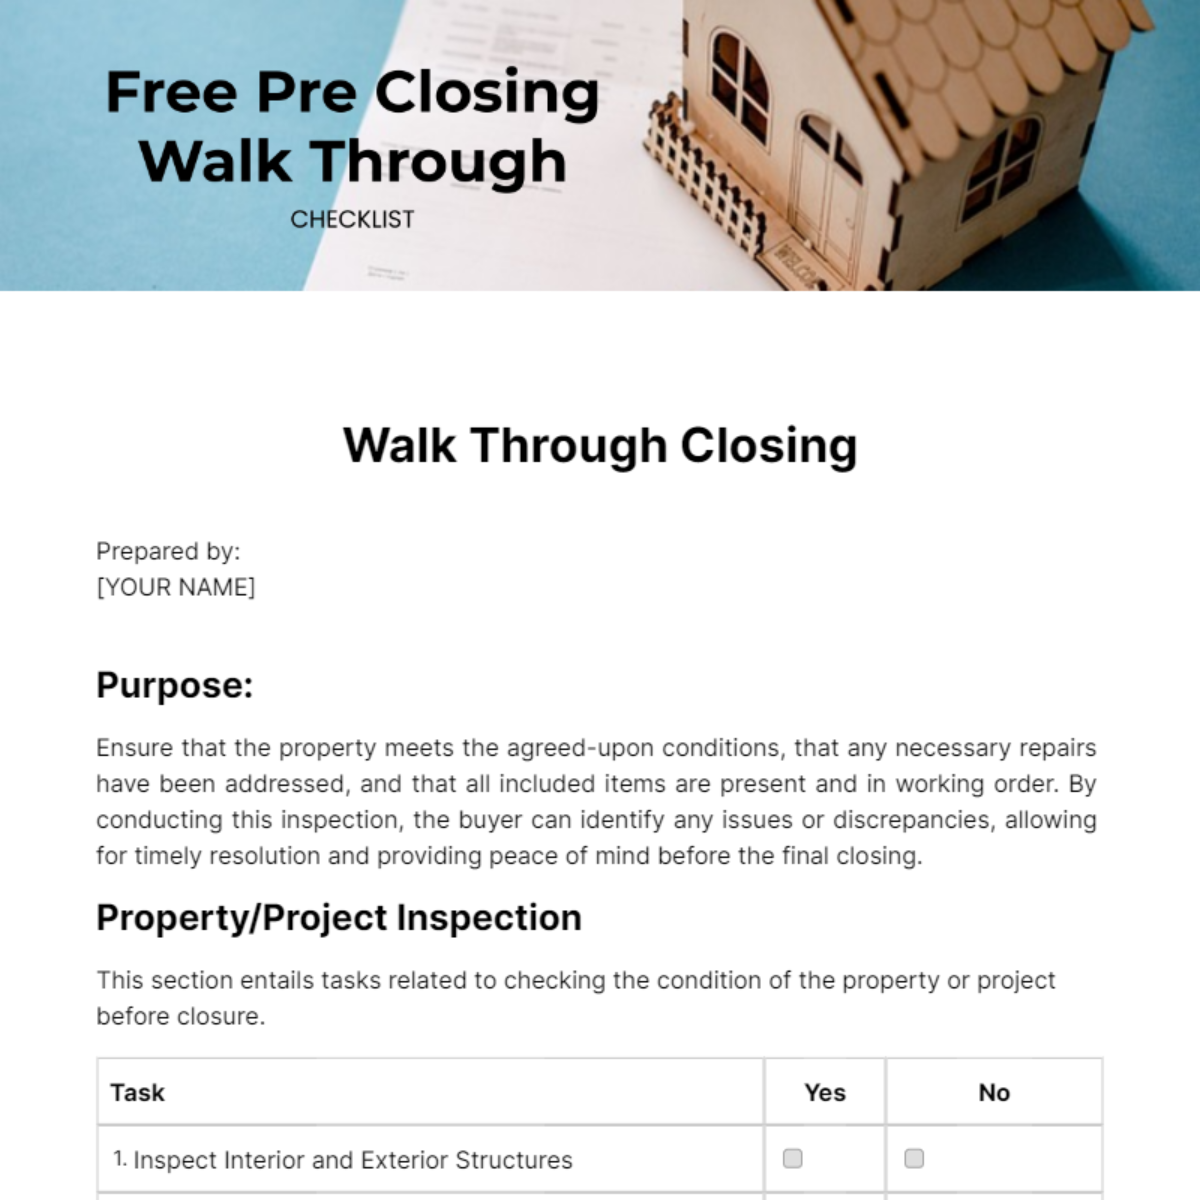
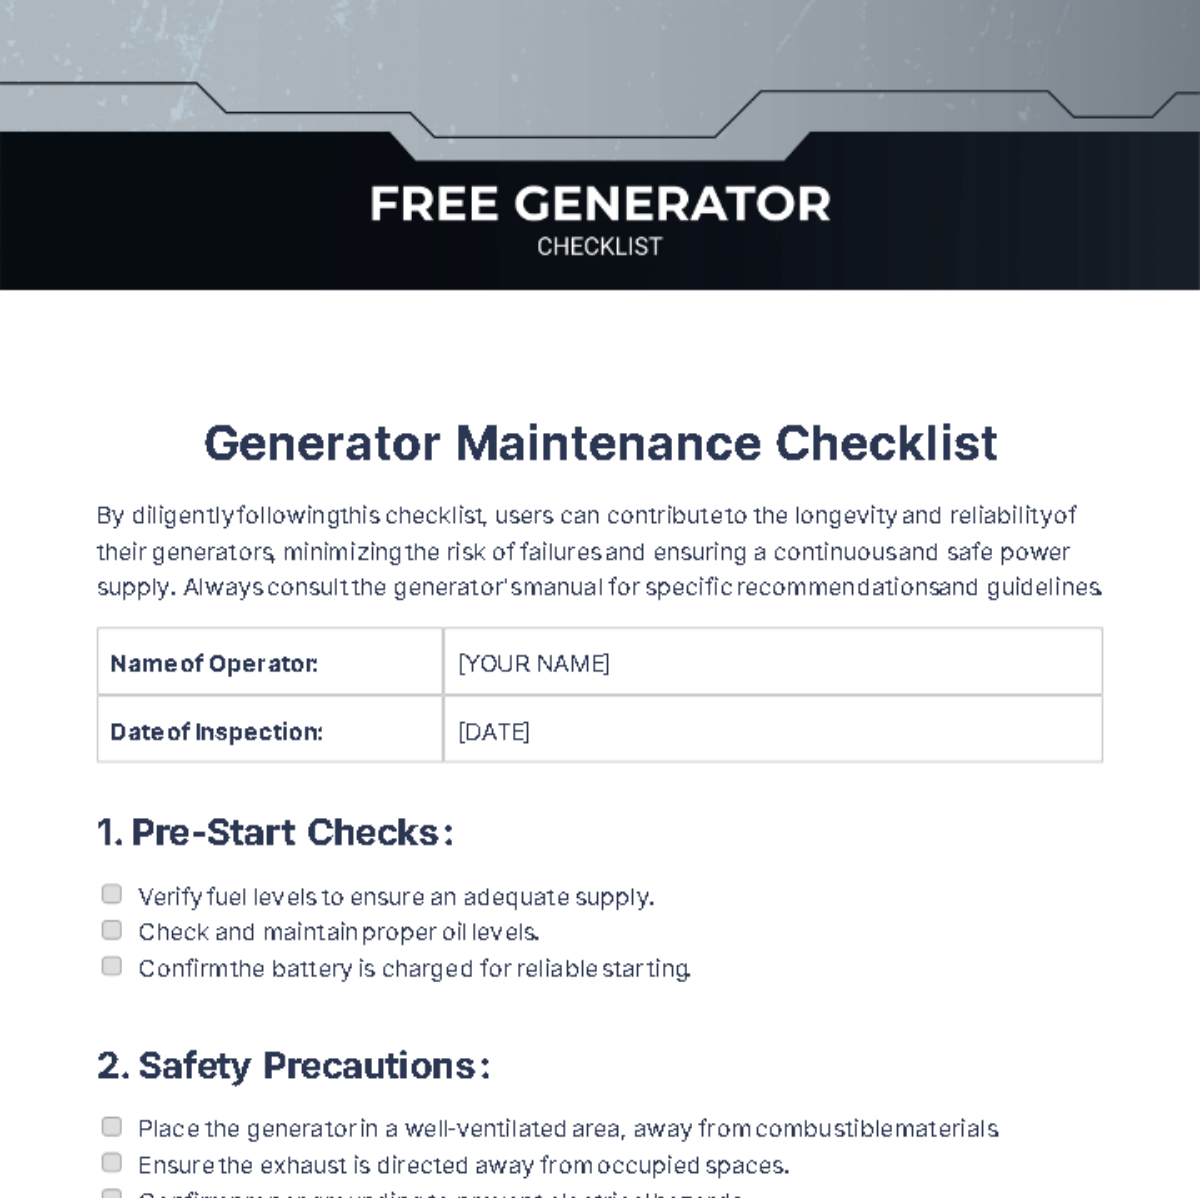
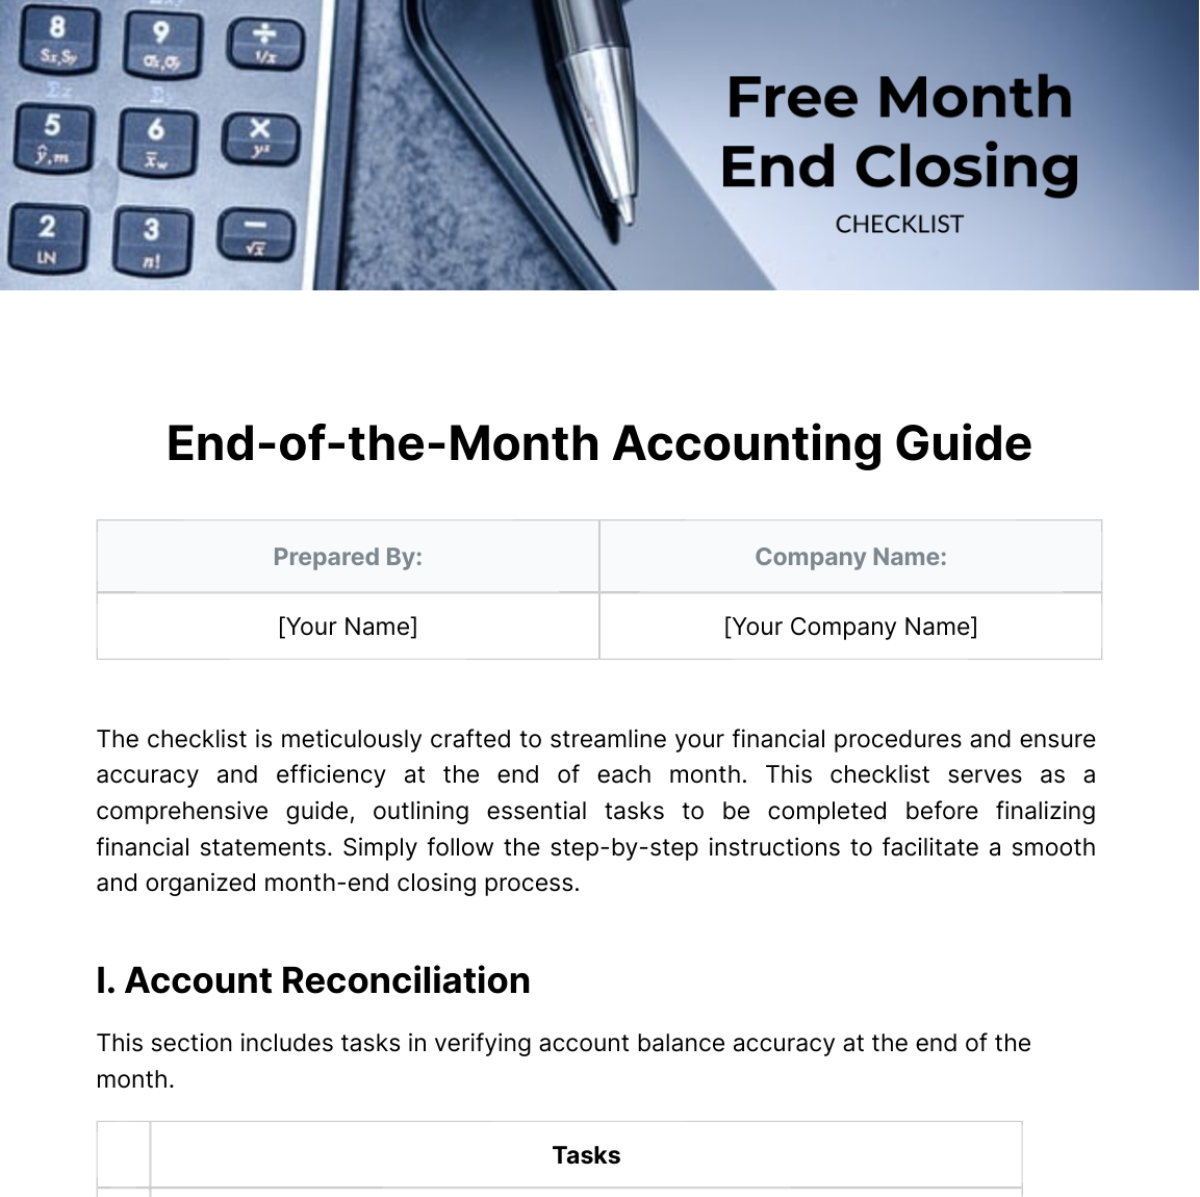
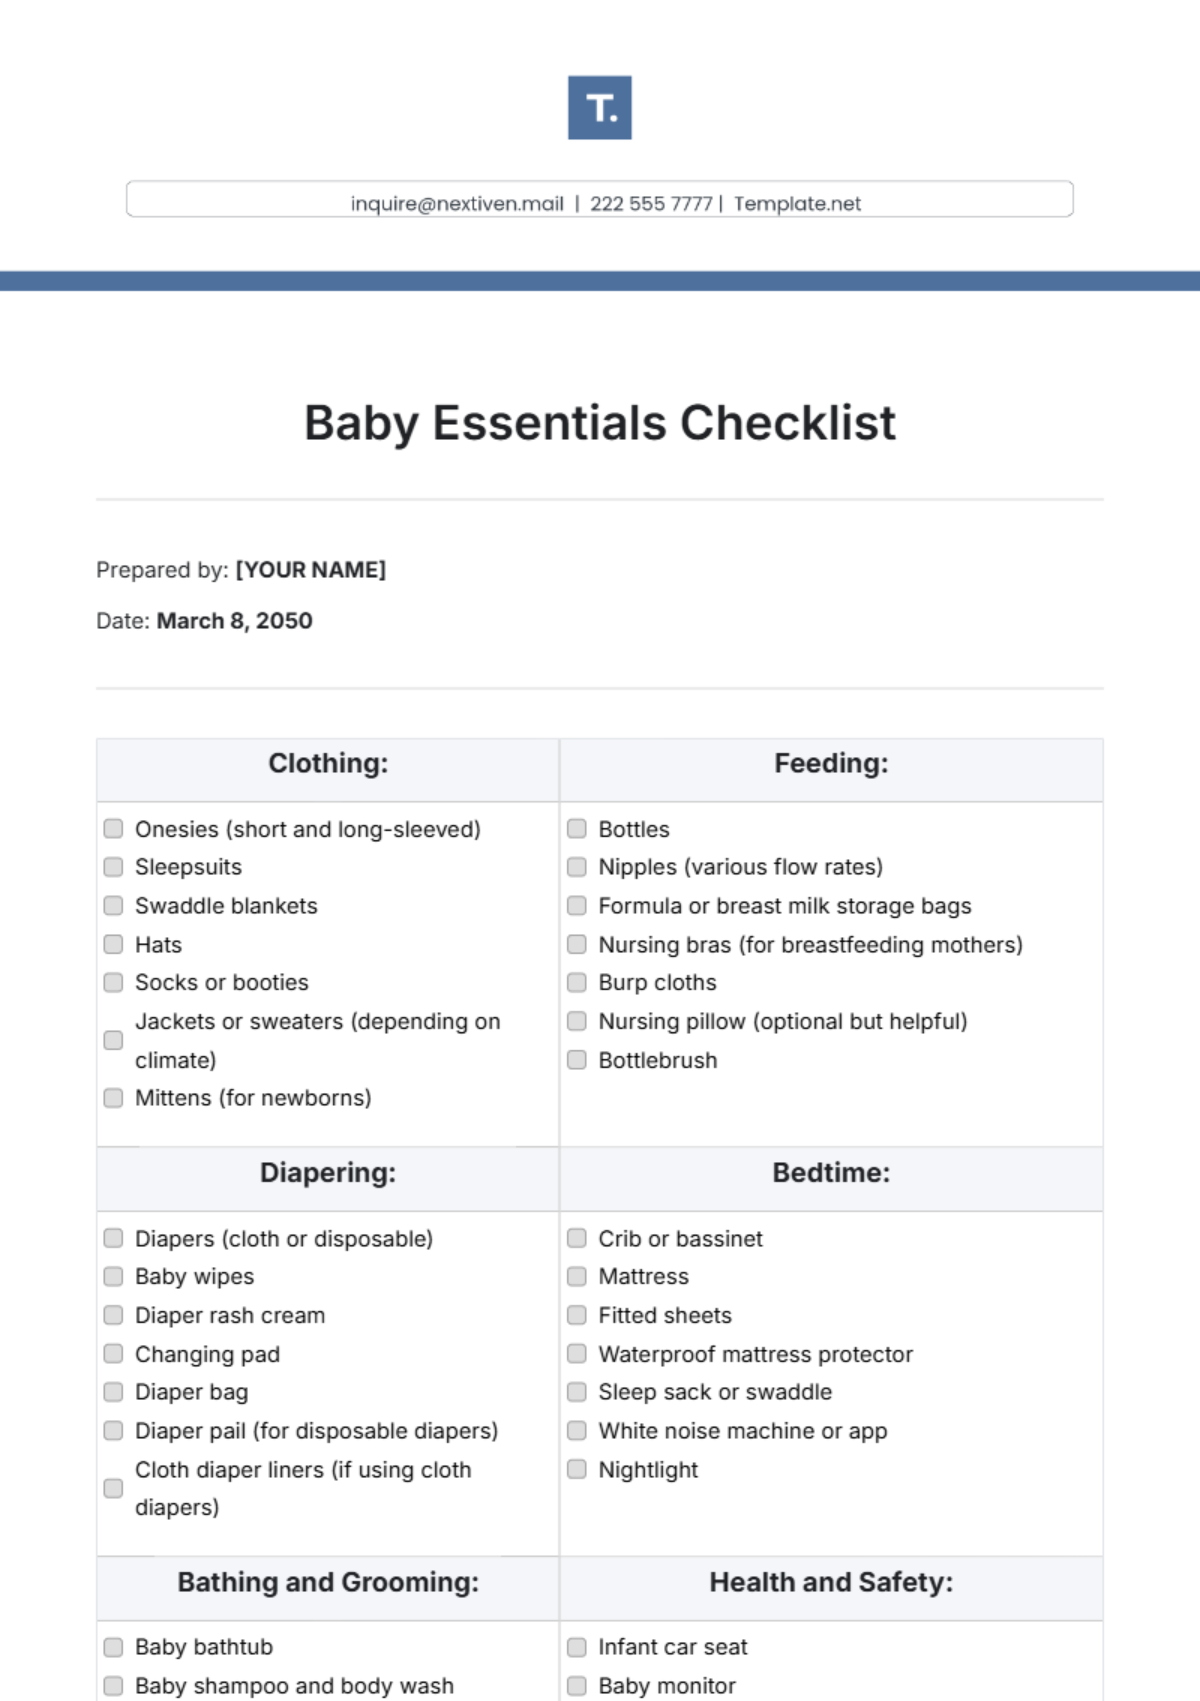
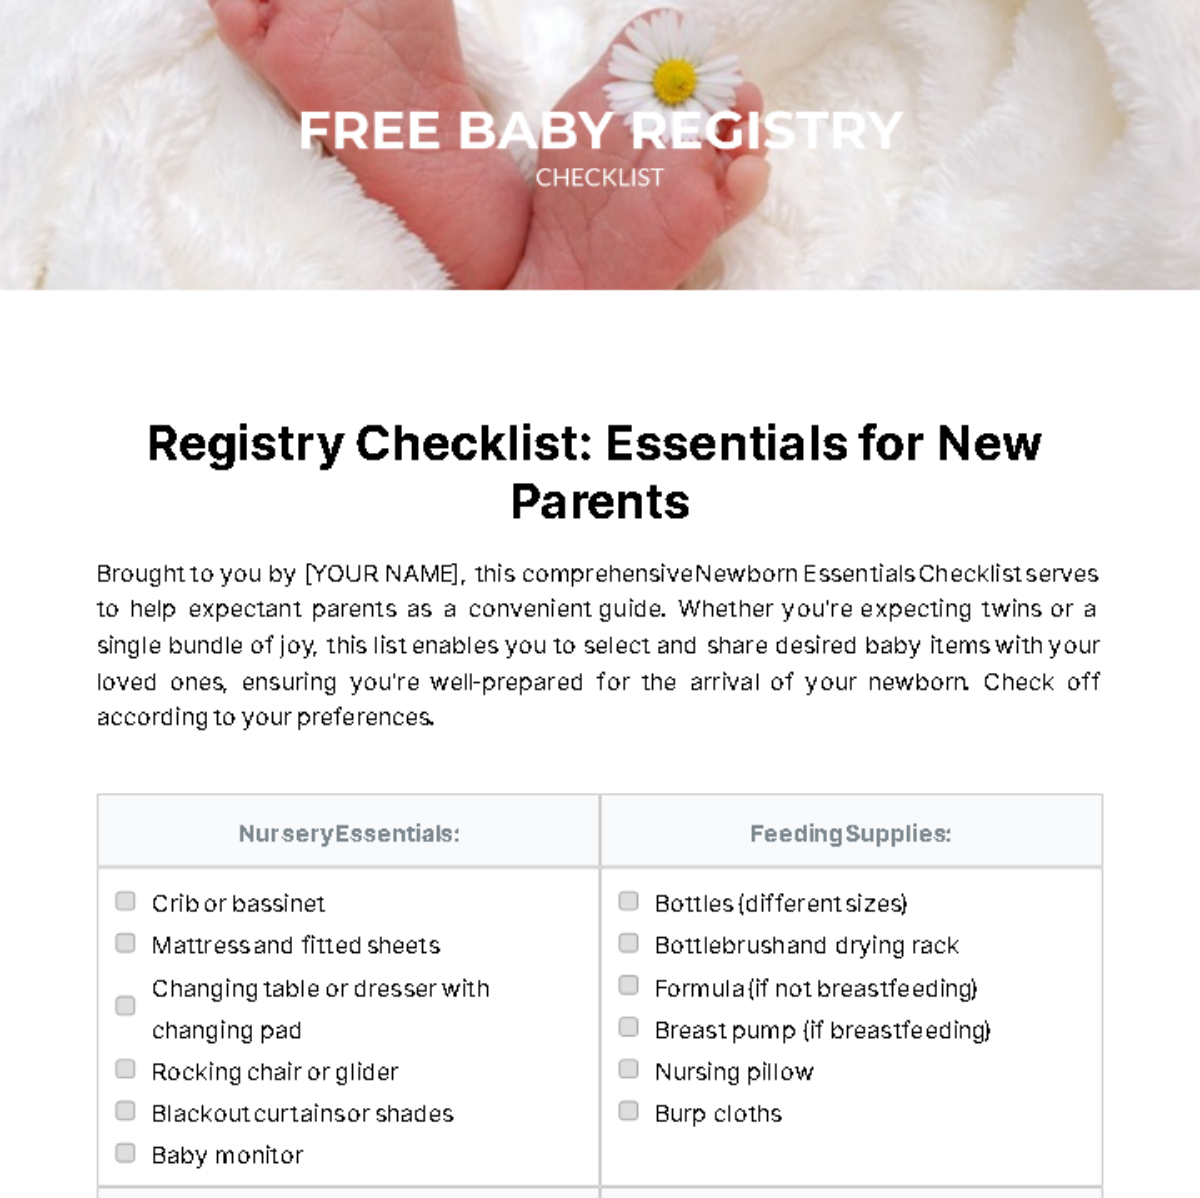
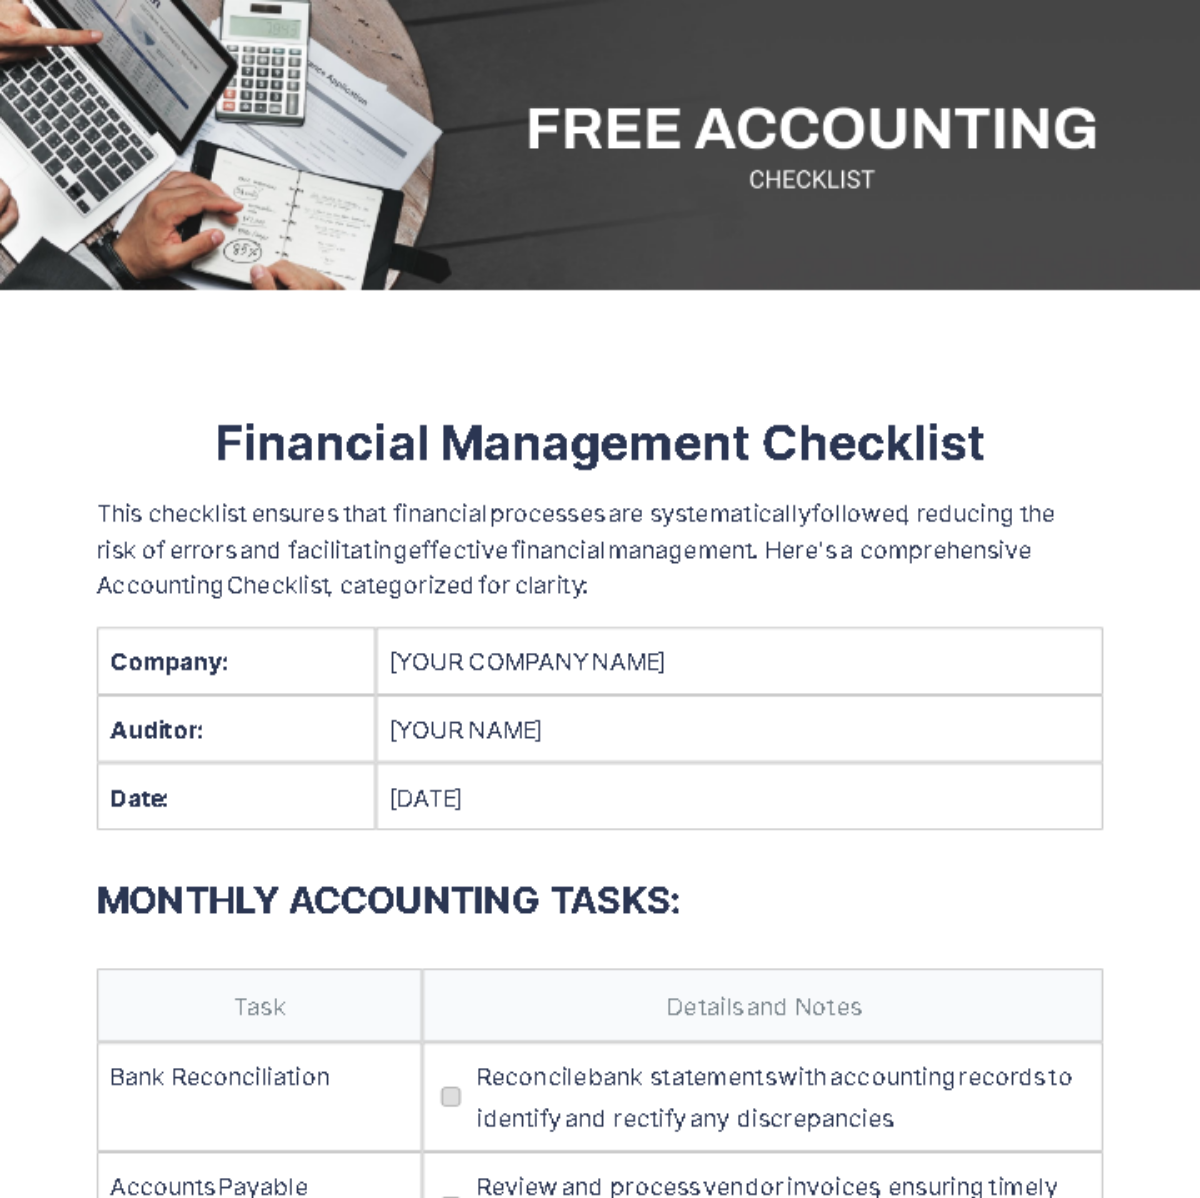
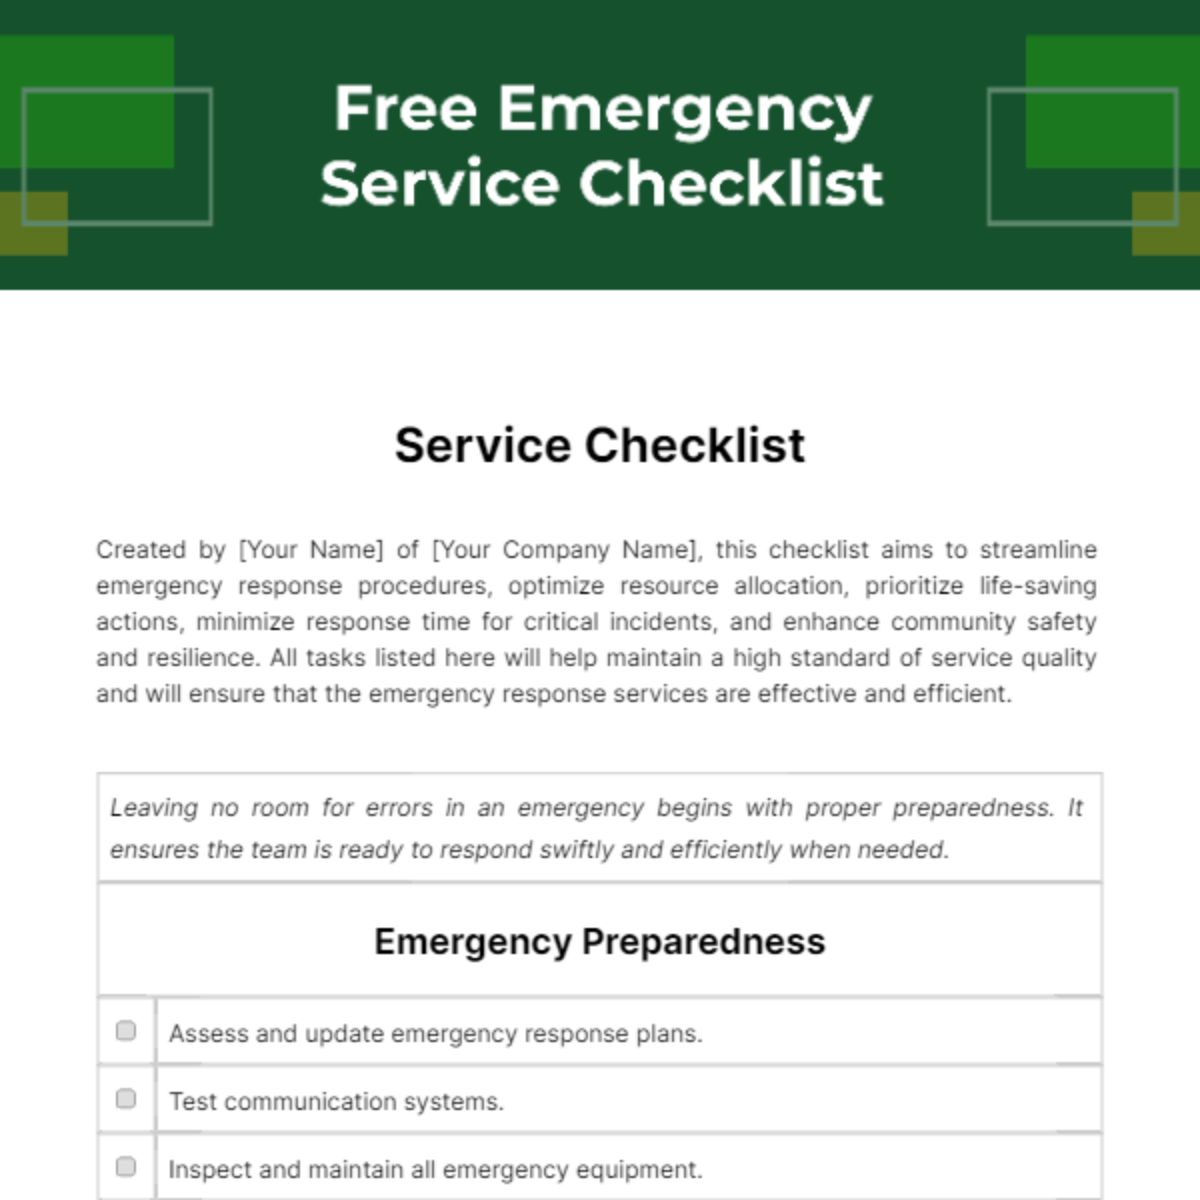
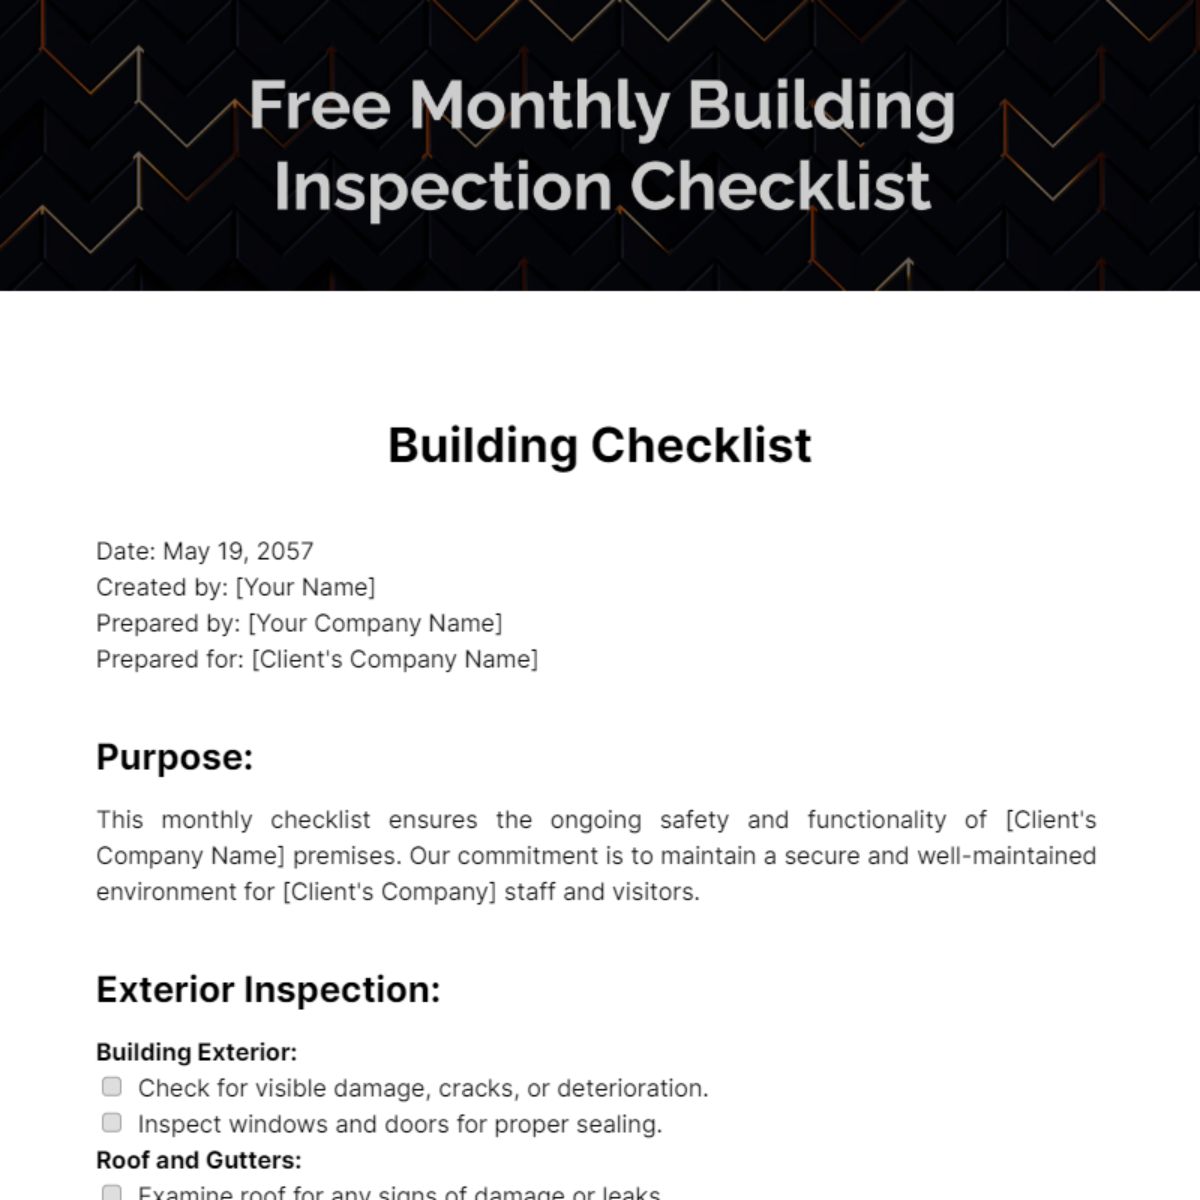
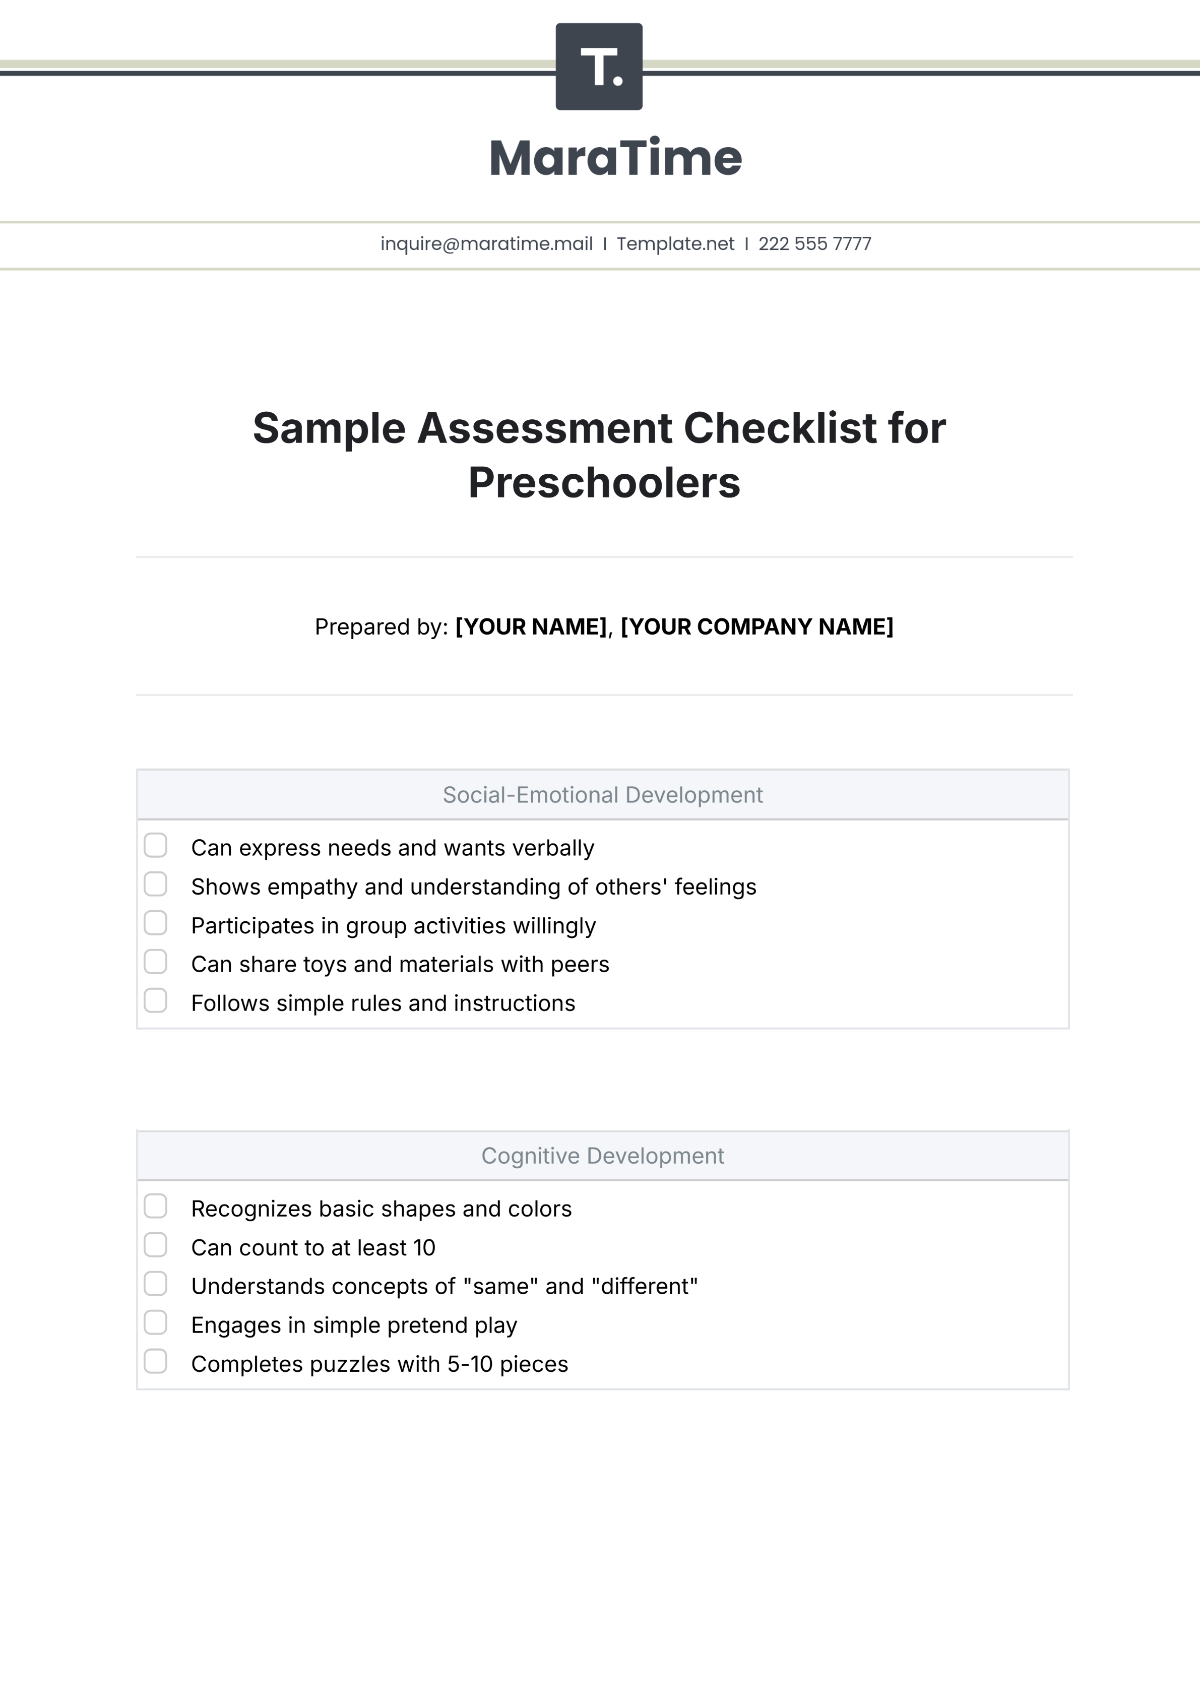
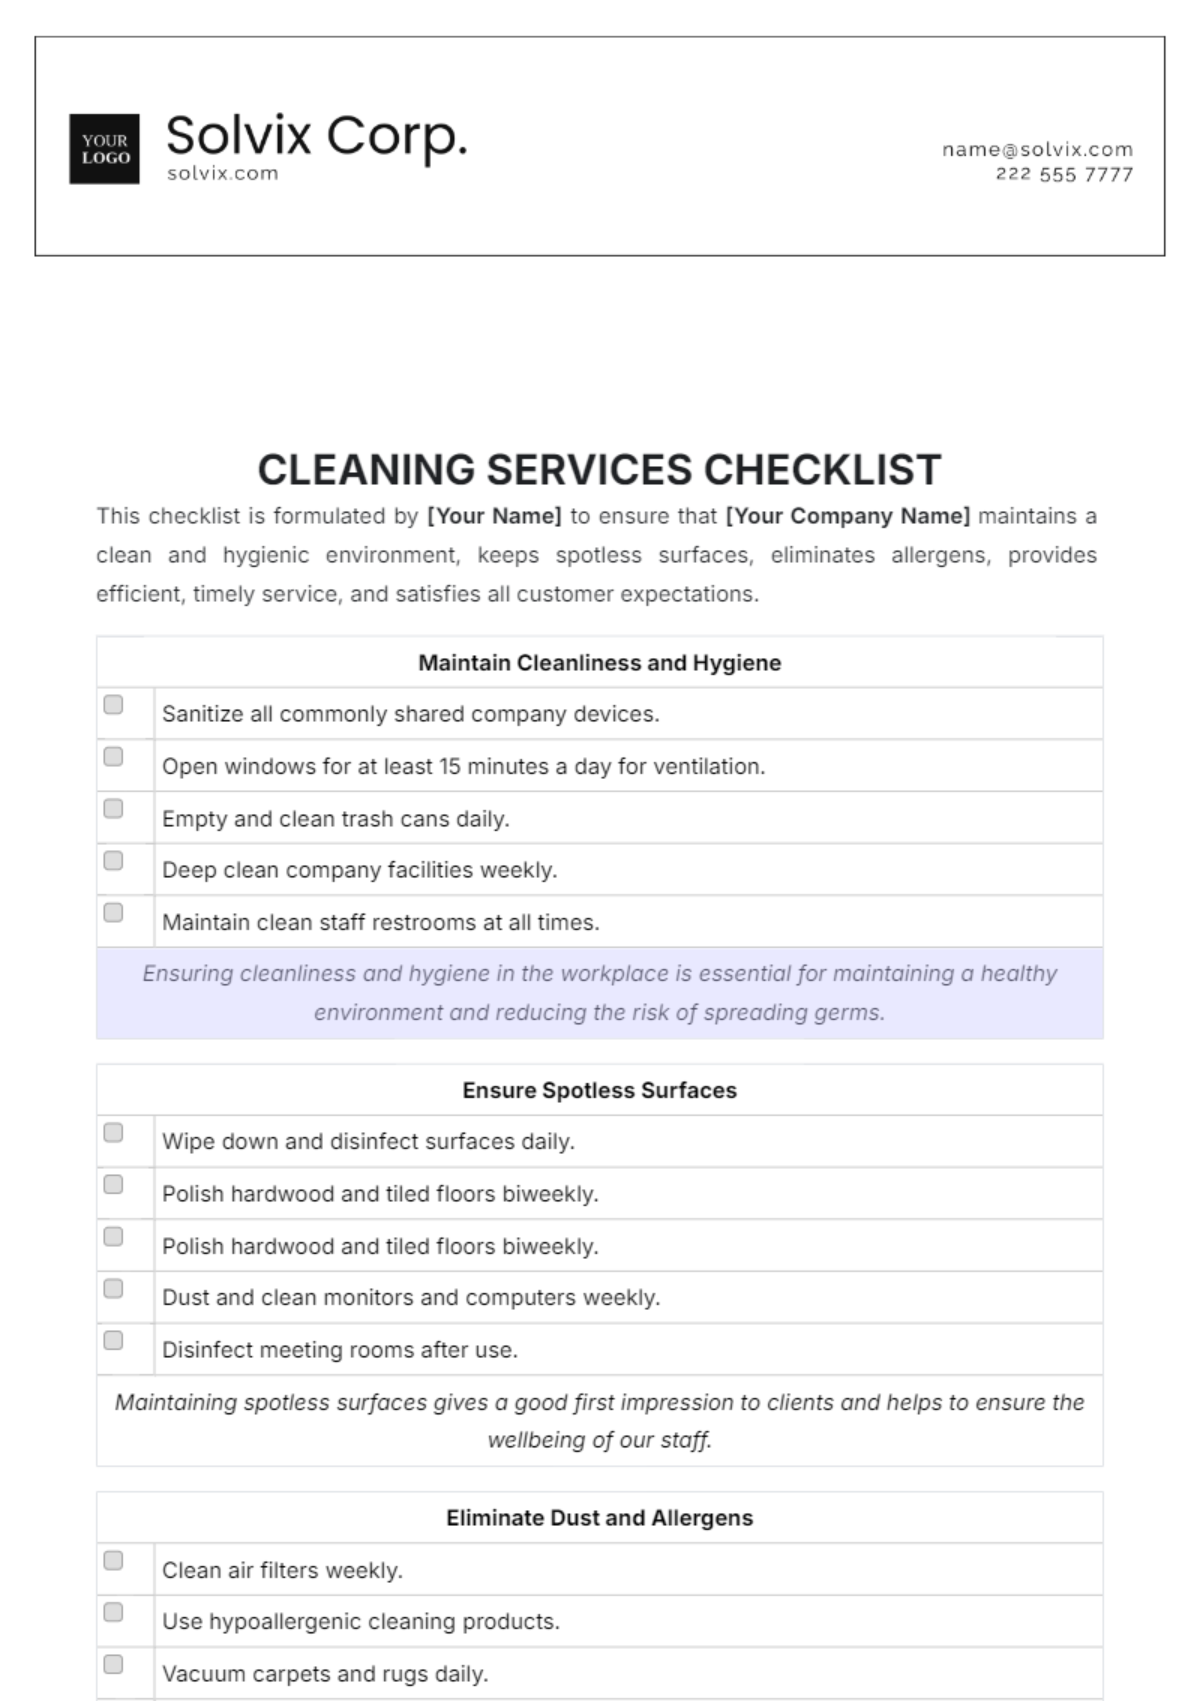
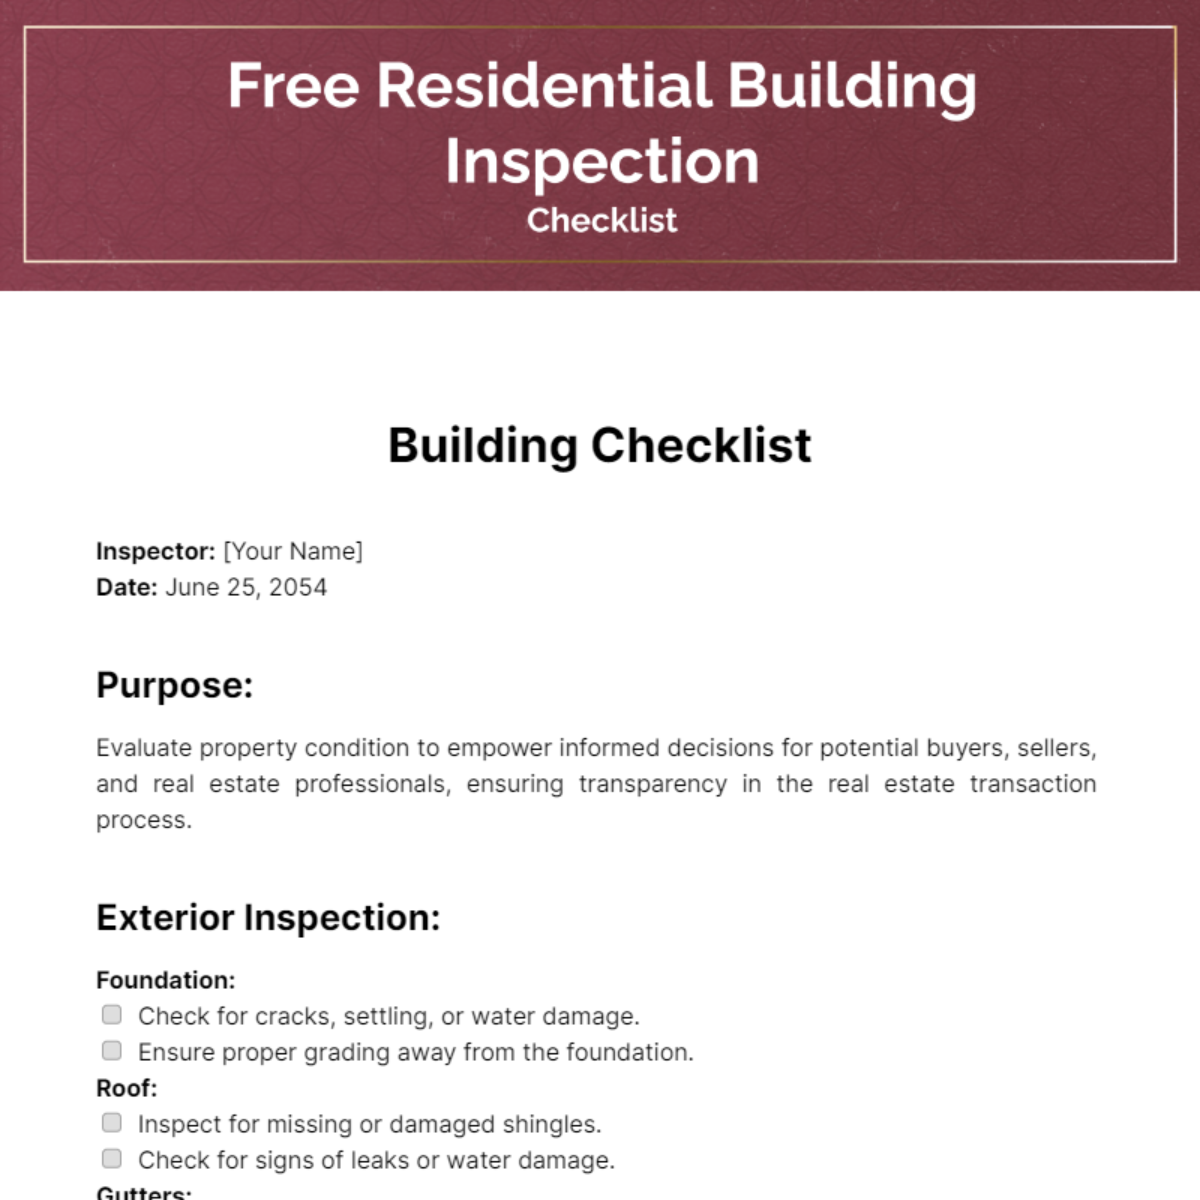
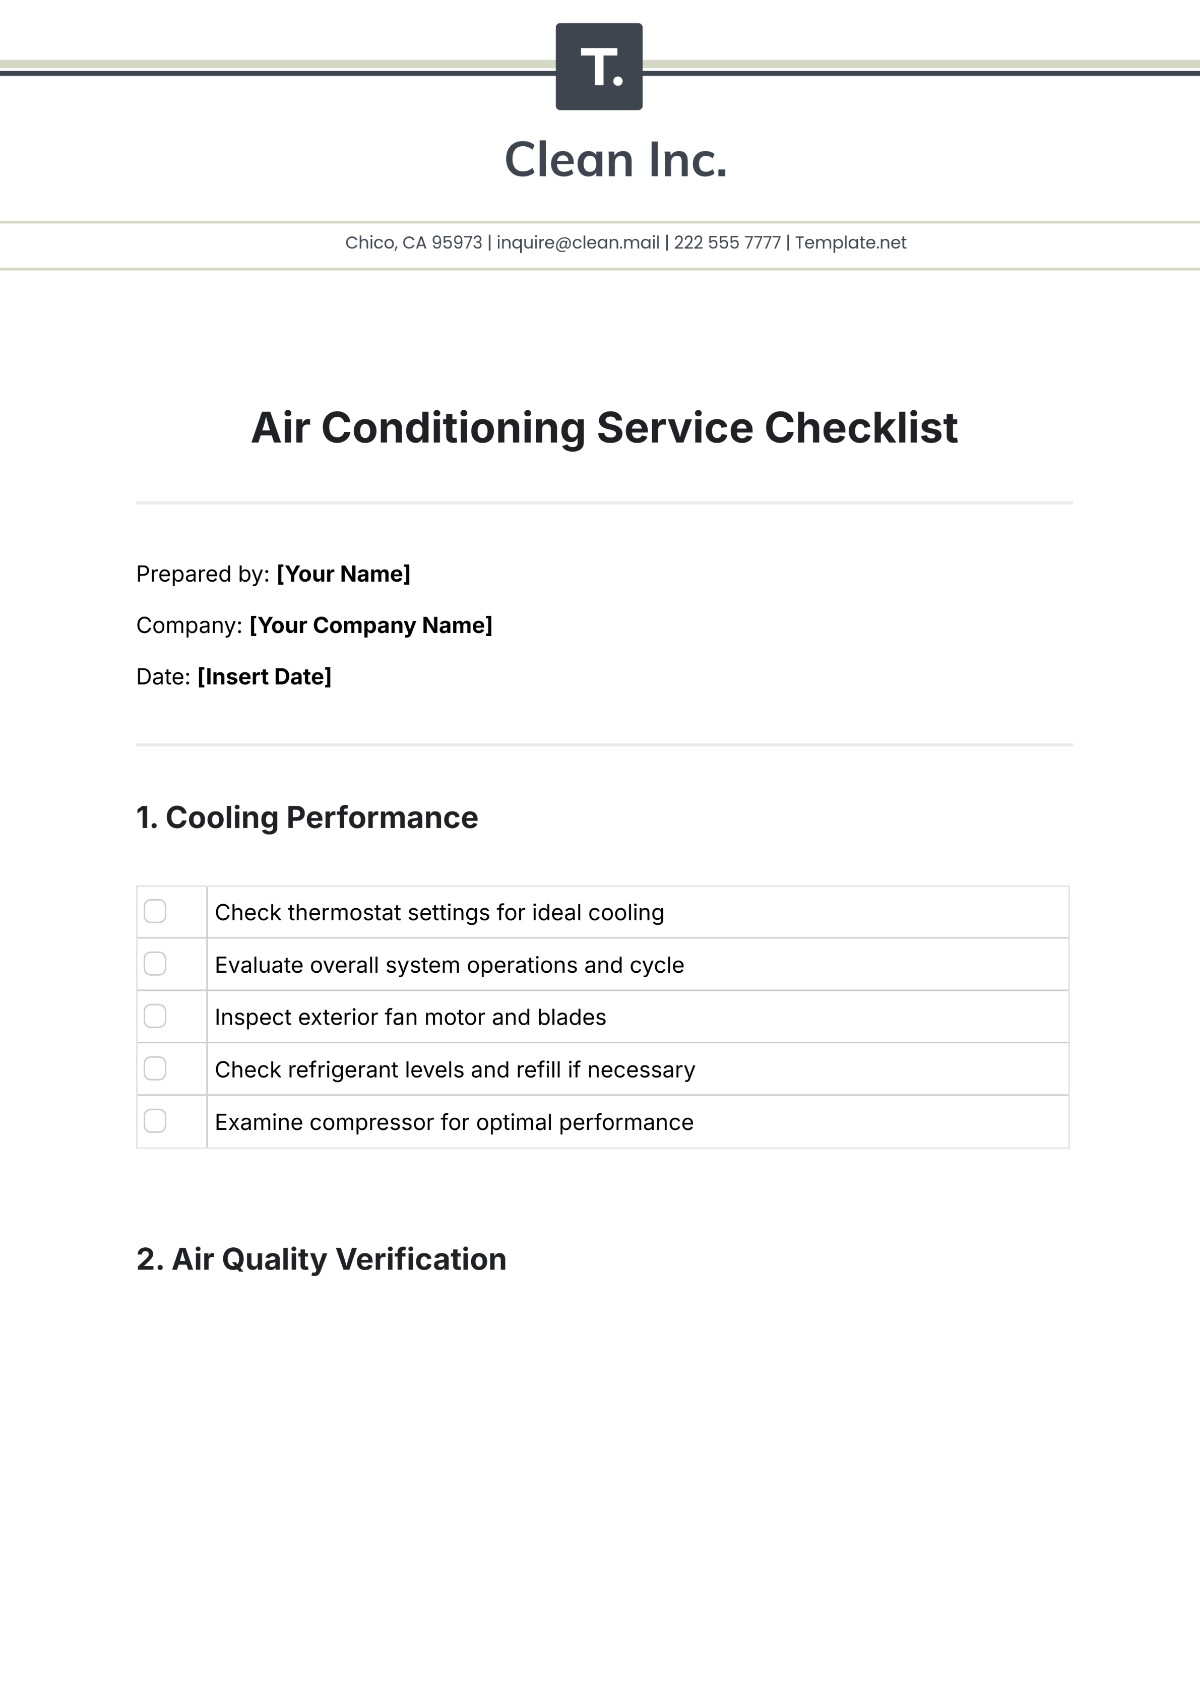
Keep your real estate business organized, enhance client satisfaction, and boost your productivity with our meticulously crafted Real Estate Checklist Templates. Designed for real estate agents or brokers, these templates help streamline your processes by organizing transactions and ensuring every detail is accounted for. Use them to efficiently coordinate closing checklists or manage property inspections. Each template includes essential details like tasks, deadlines, and contact information. No prior design experience is necessary as these templates offer a professional-grade layout, ready to download and implement, saving you both time and effort. With customizable layouts ideal for print distribution, you'll find these templates invaluable for maintaining high industry standards.
Discover the many checklist templates we have on hand tailored specifically for the real estate industry. Simply select a template from our extensive collection, swap in your business logo, and tweak the colors and fonts to match your branding. Add advanced touches like dragging and dropping relevant icons, incorporating animated effects, or utilizing AI-powered text tools to craft comprehensive checklists effortlessly. With endless possibilities and no design skills required, you can create visually appealing and highly functional checklists in just a few clicks. Our library is regularly updated to provide you with the latest designs and layouts. When you’re finished, download your checklist for physical distribution or share it electronically via email, making it an ideal tool for managing communication across multiple channels and collaborating with your team in real-time.

