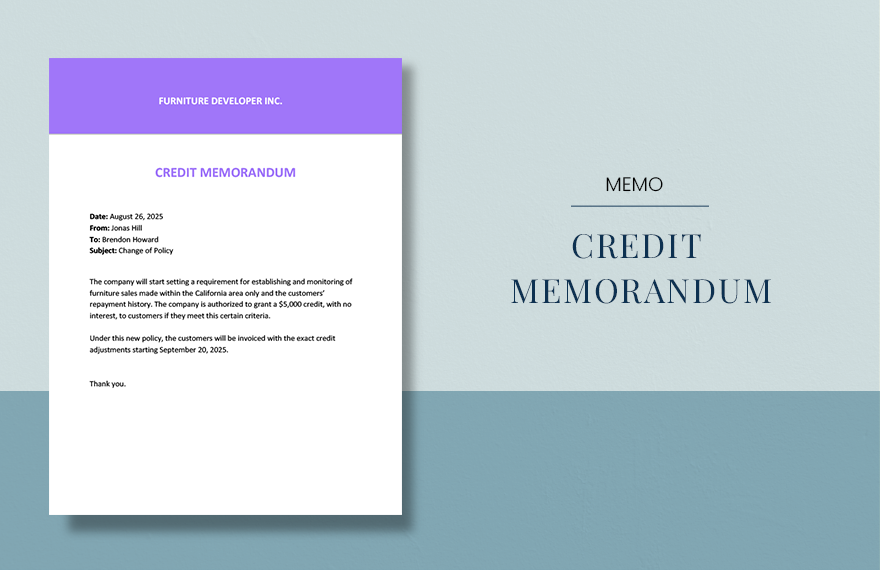
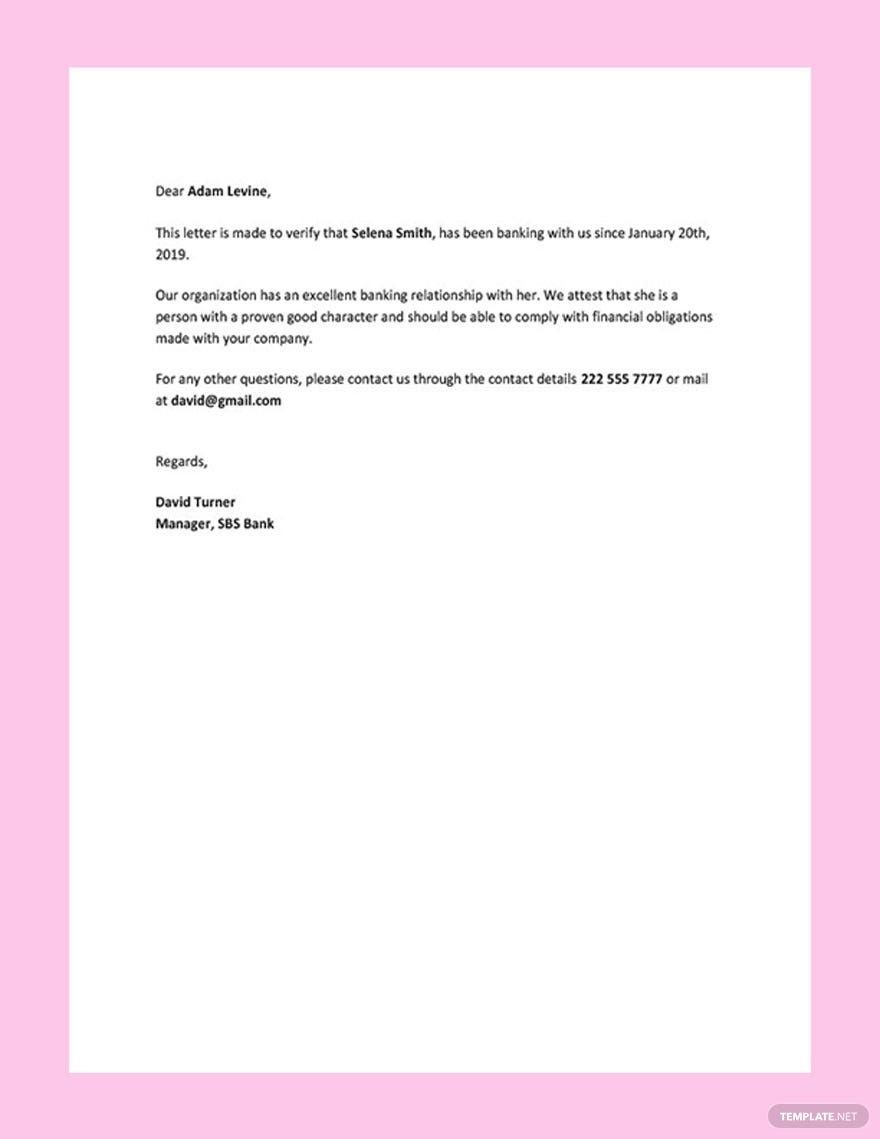
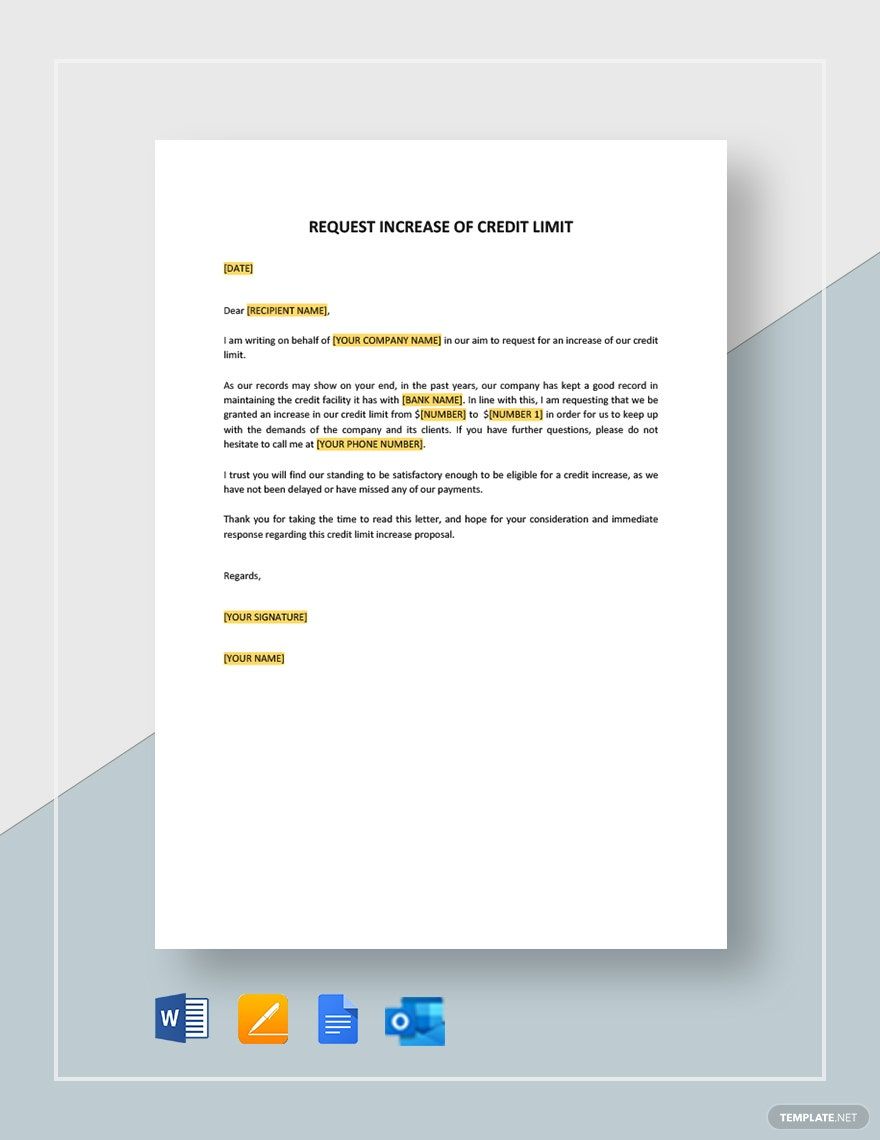
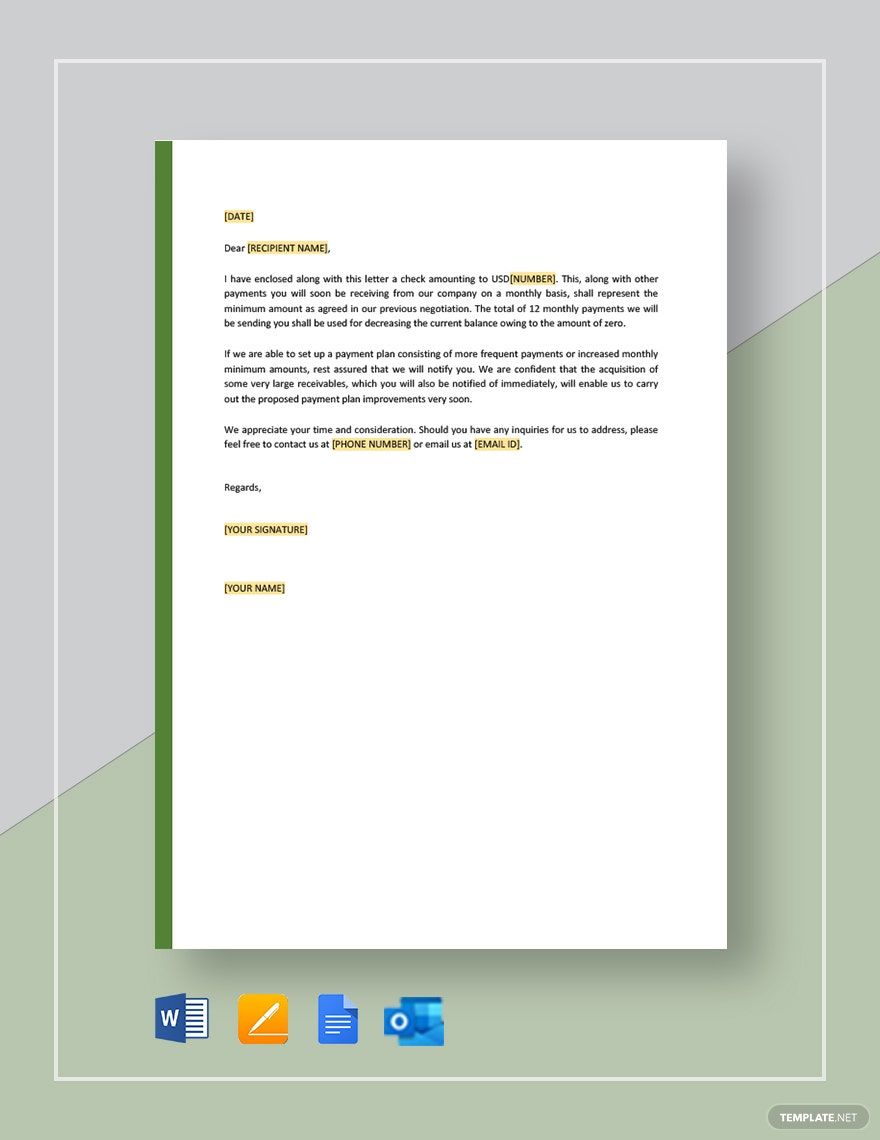
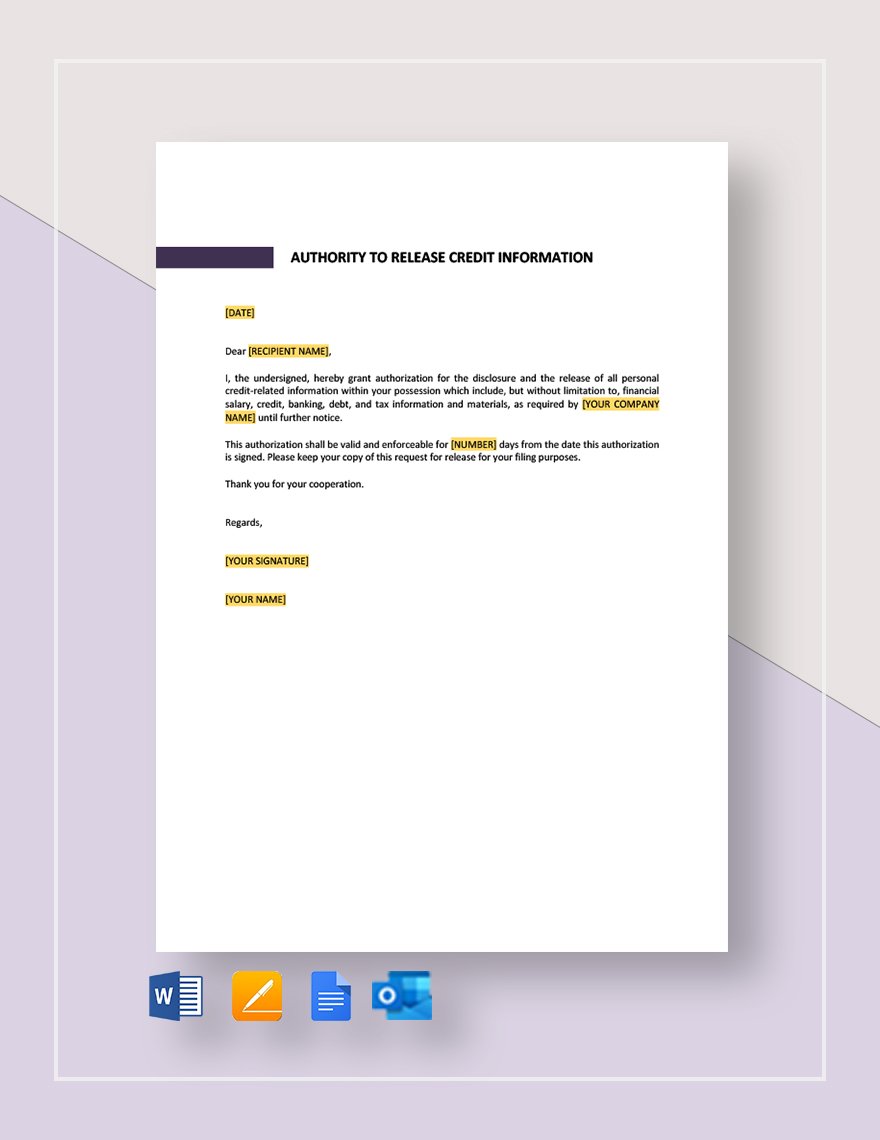
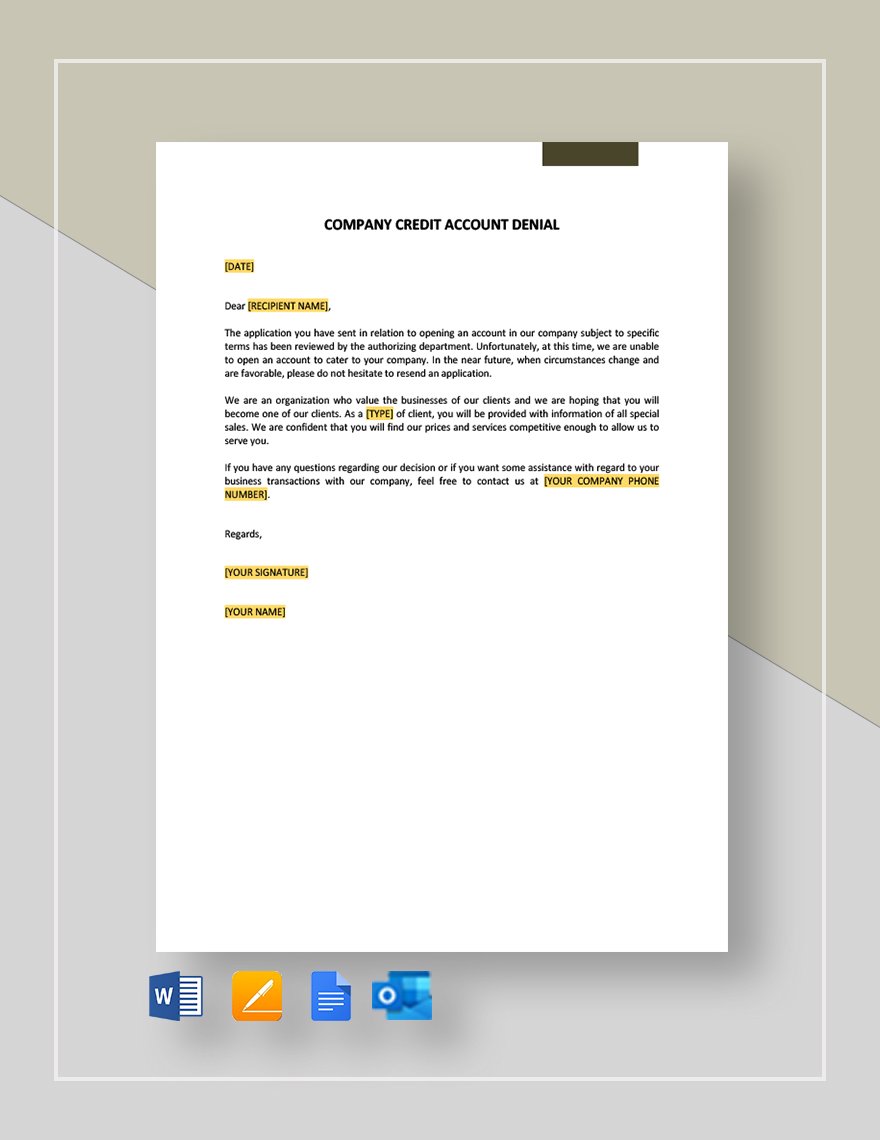
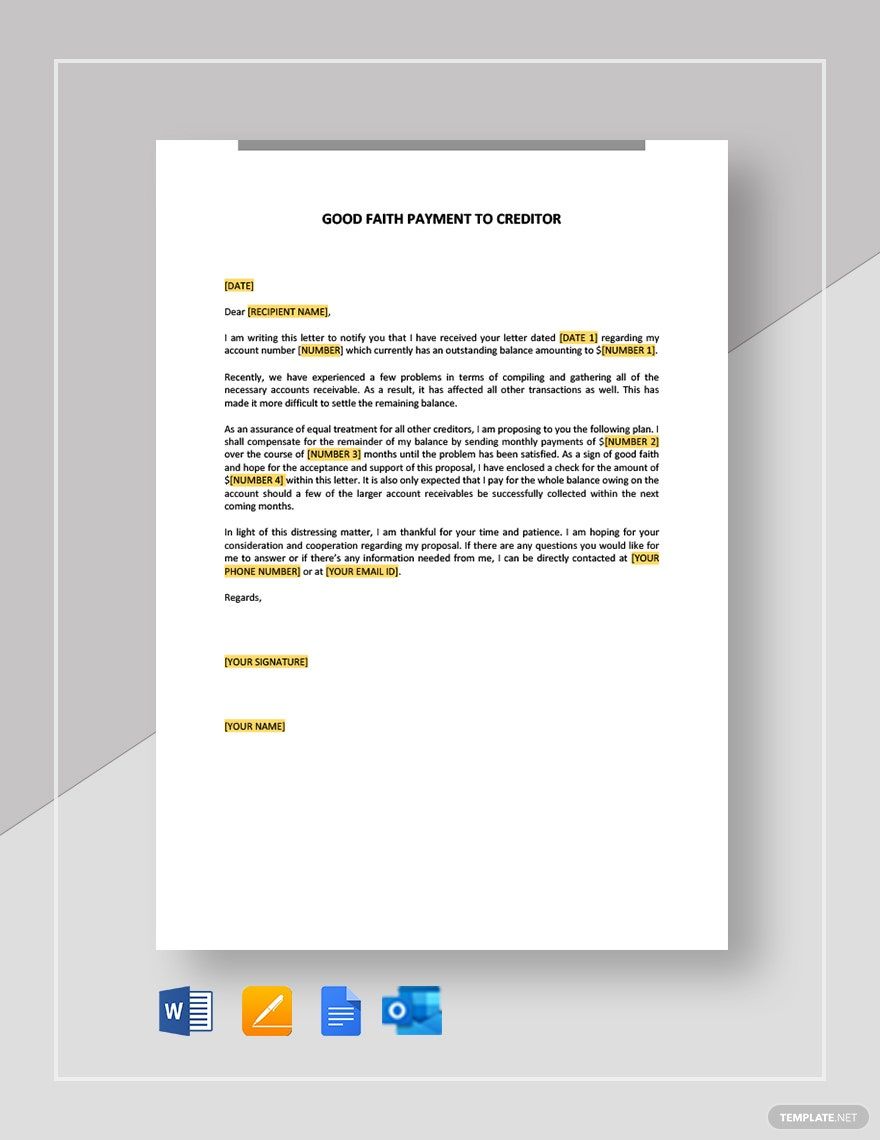
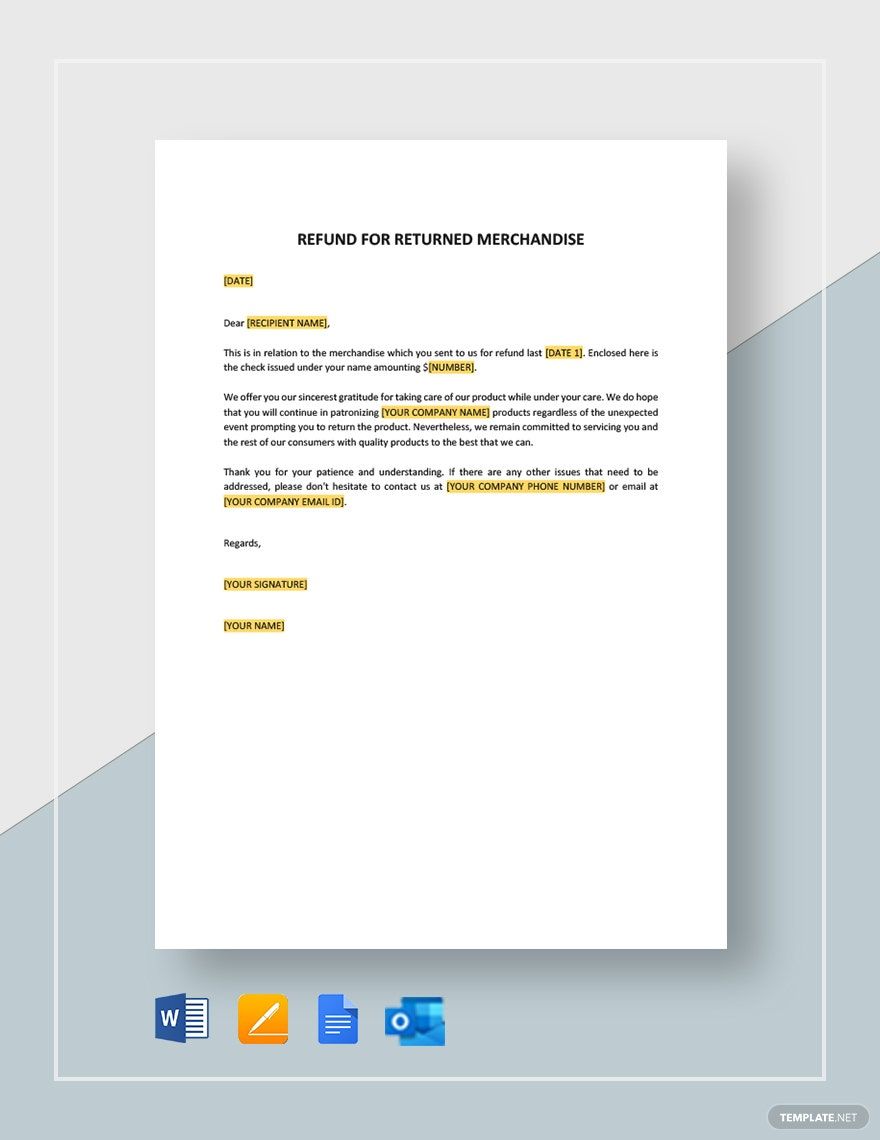
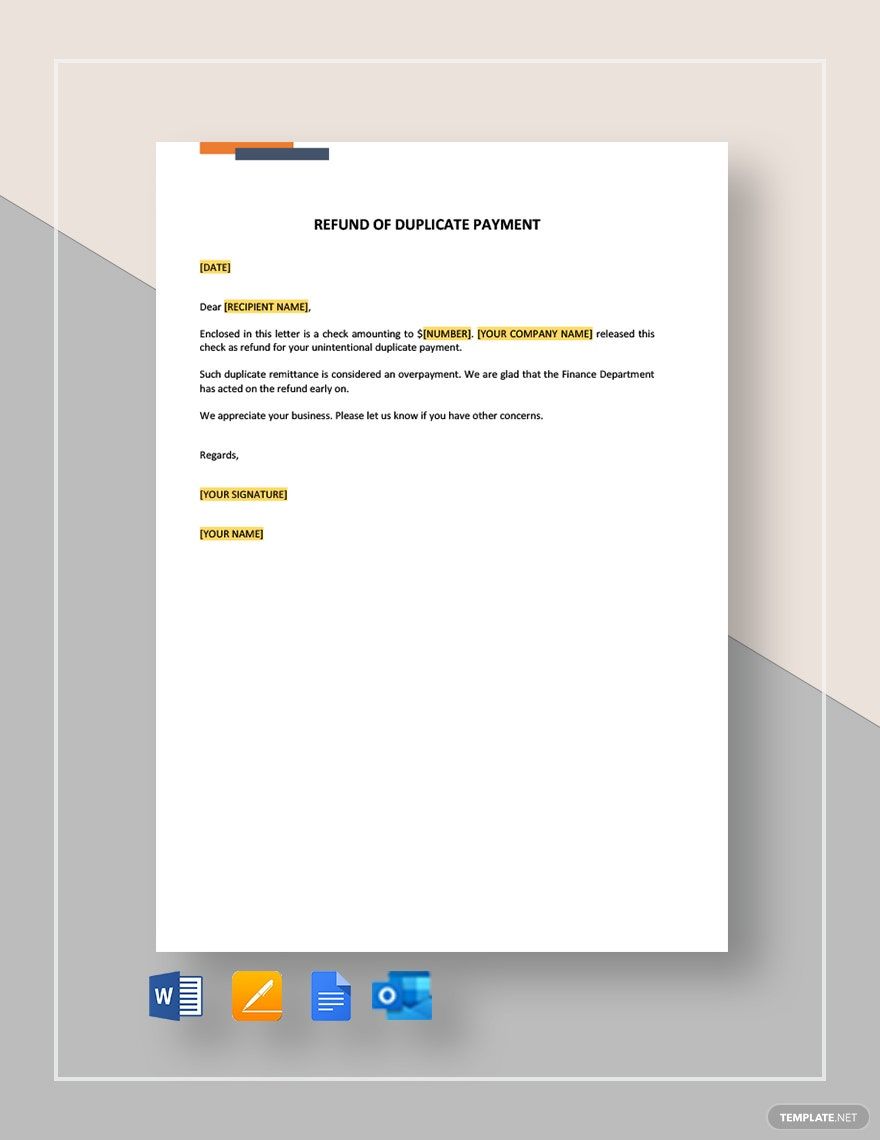
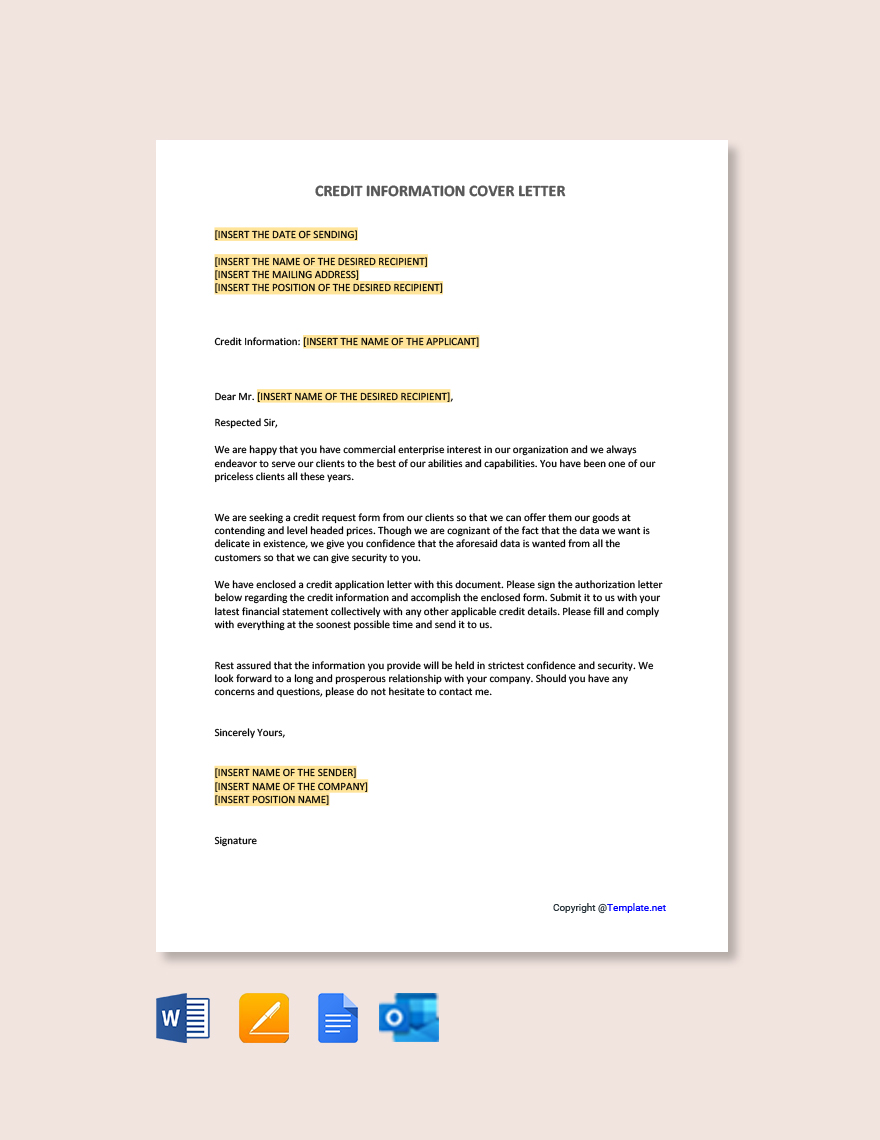
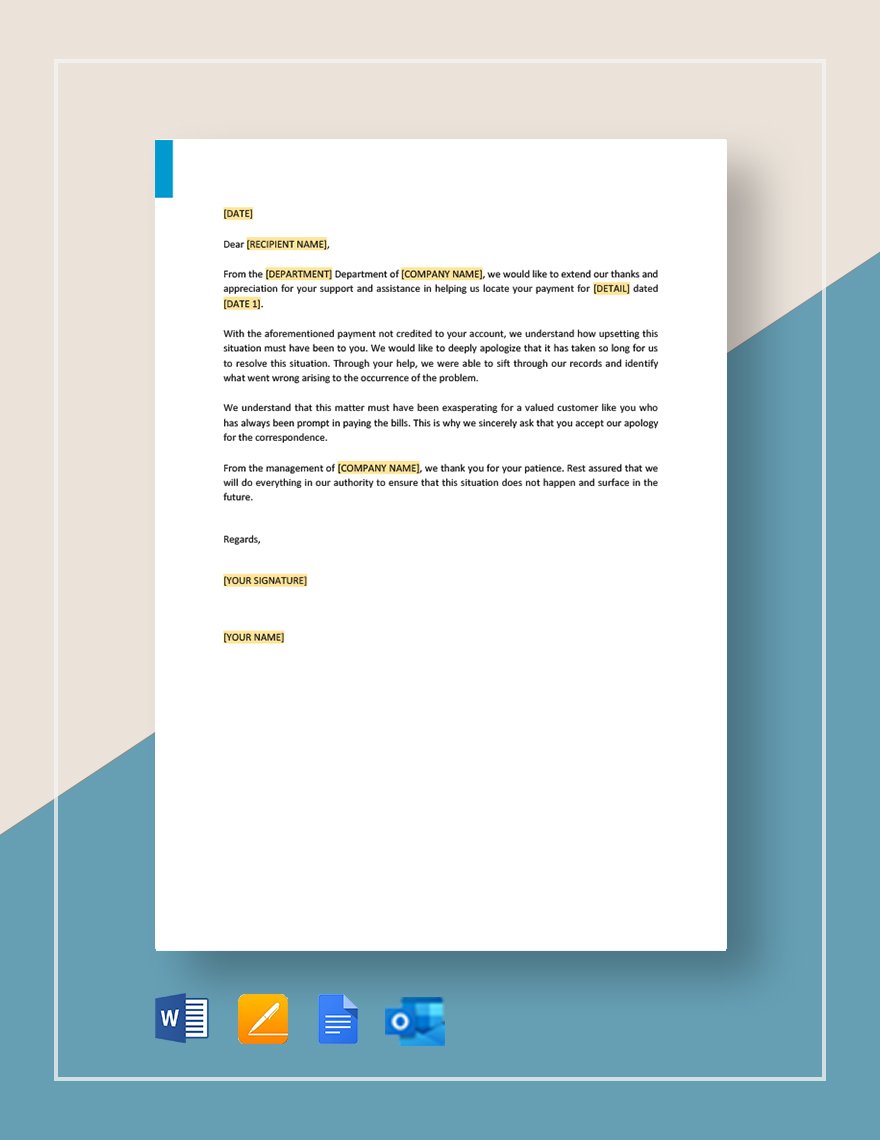
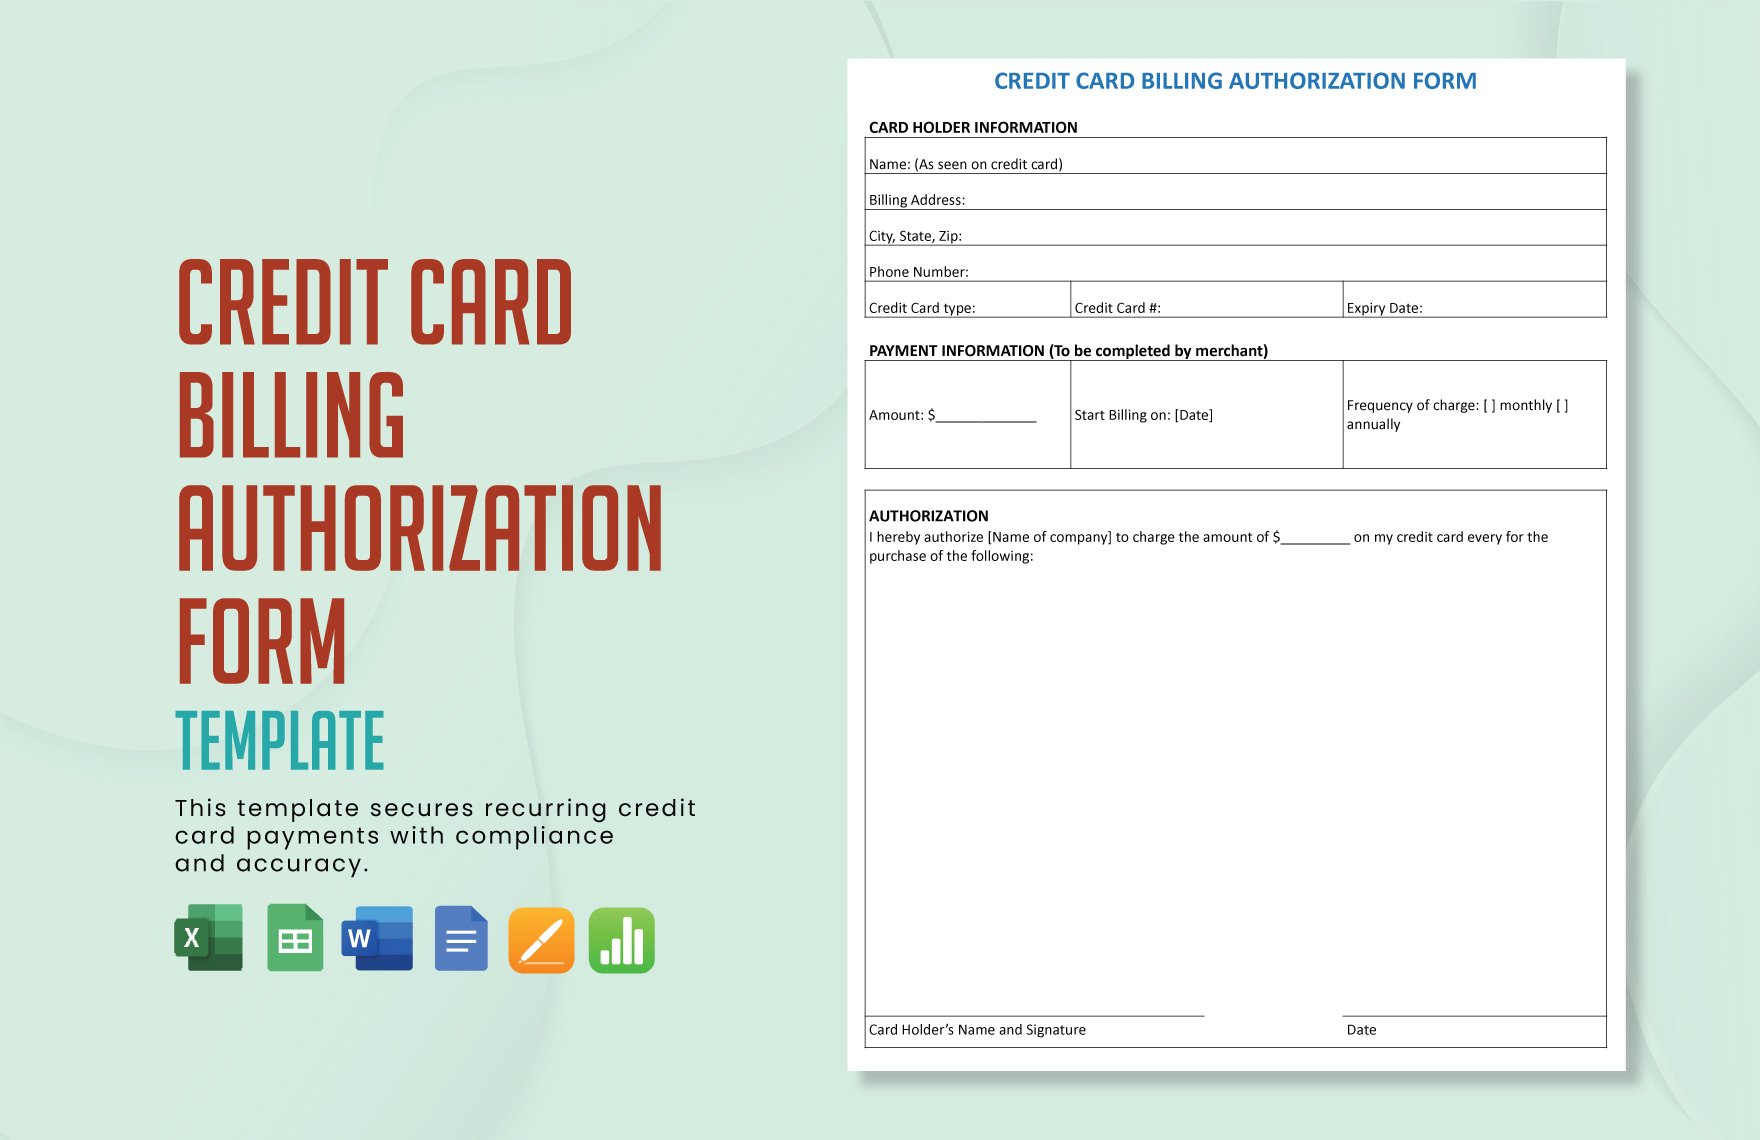
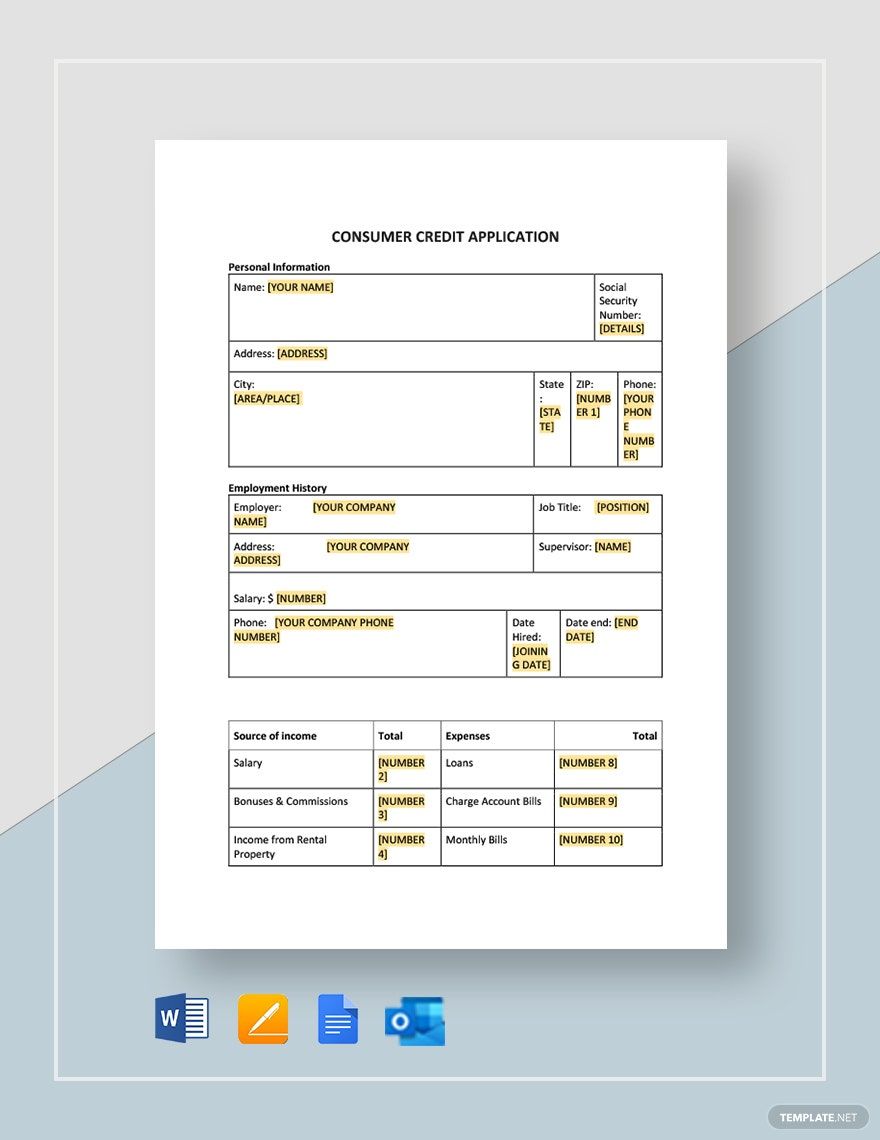
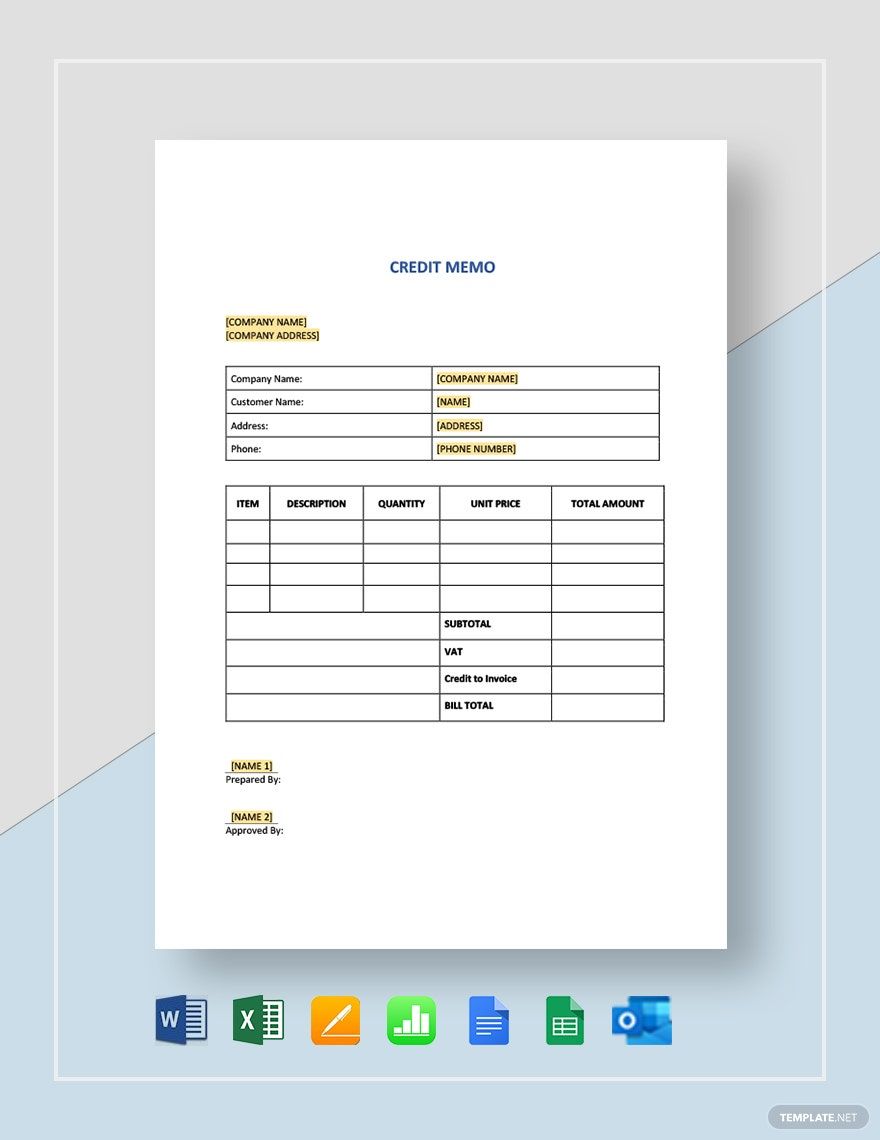
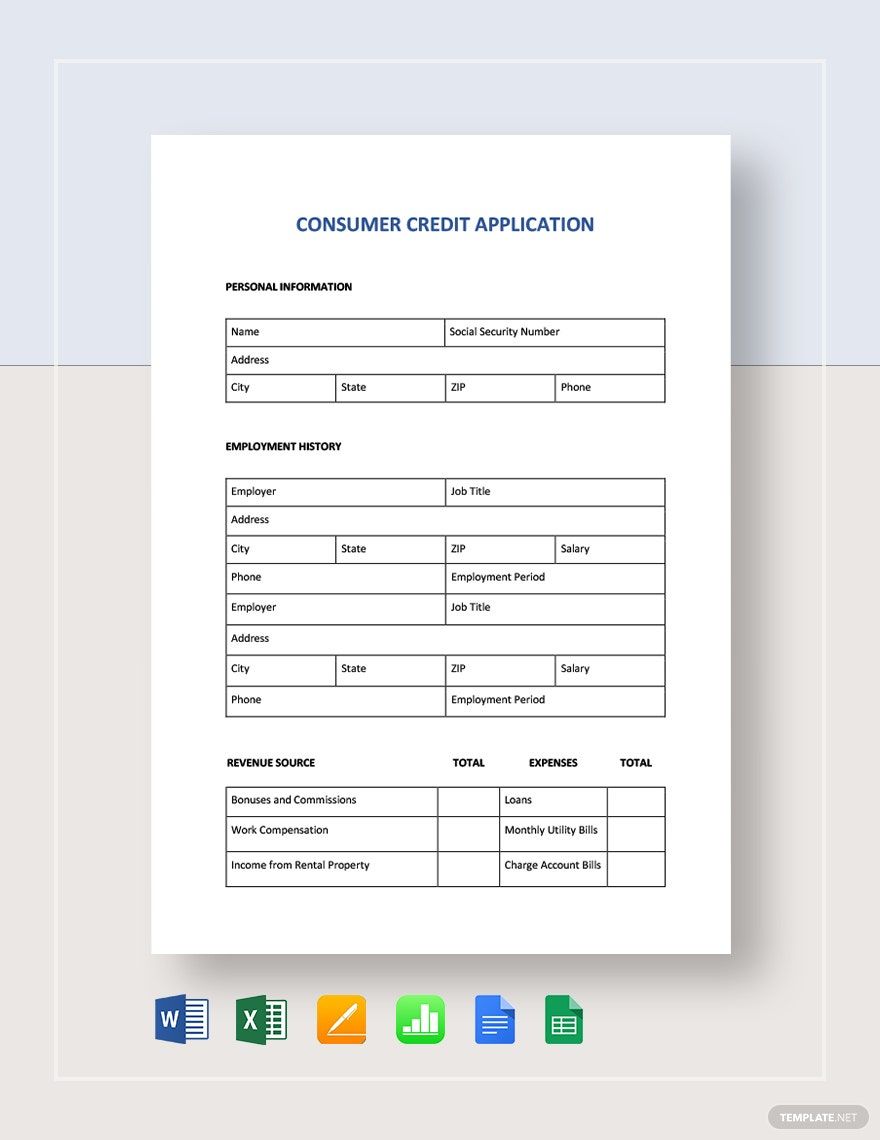
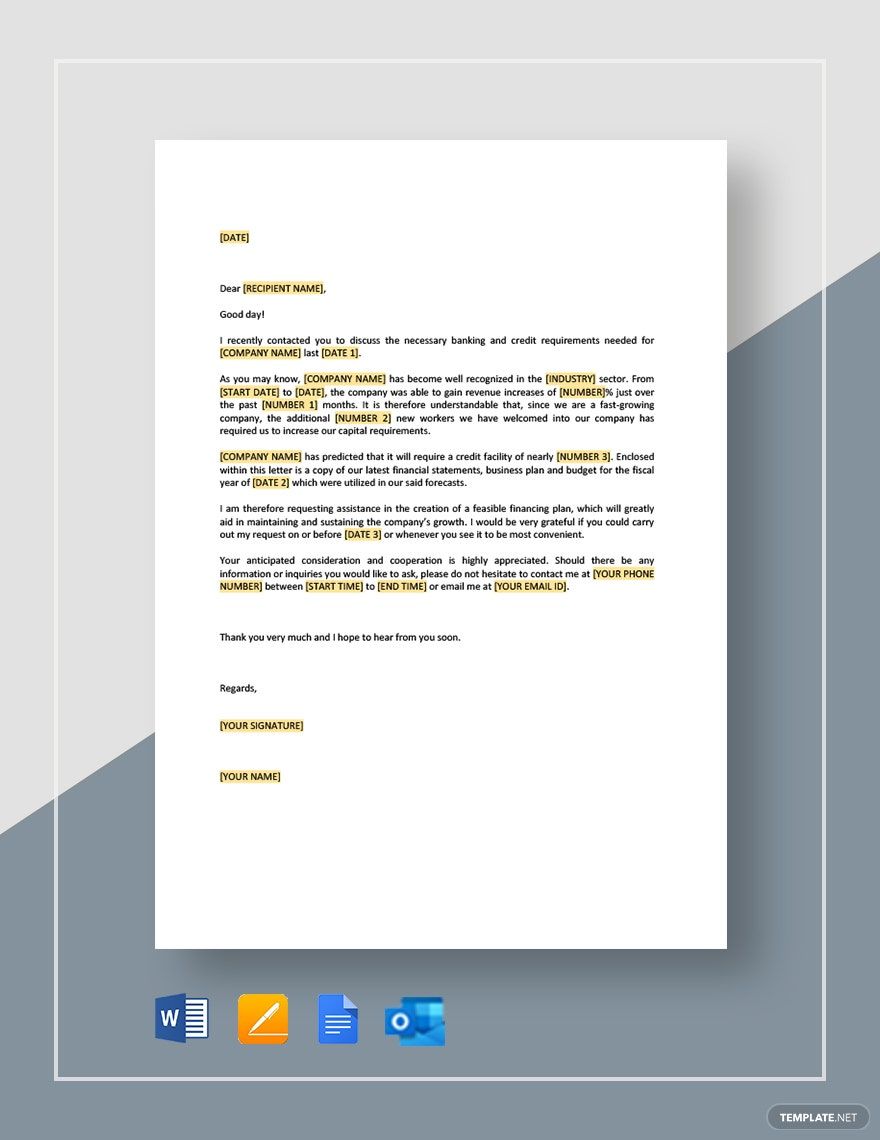
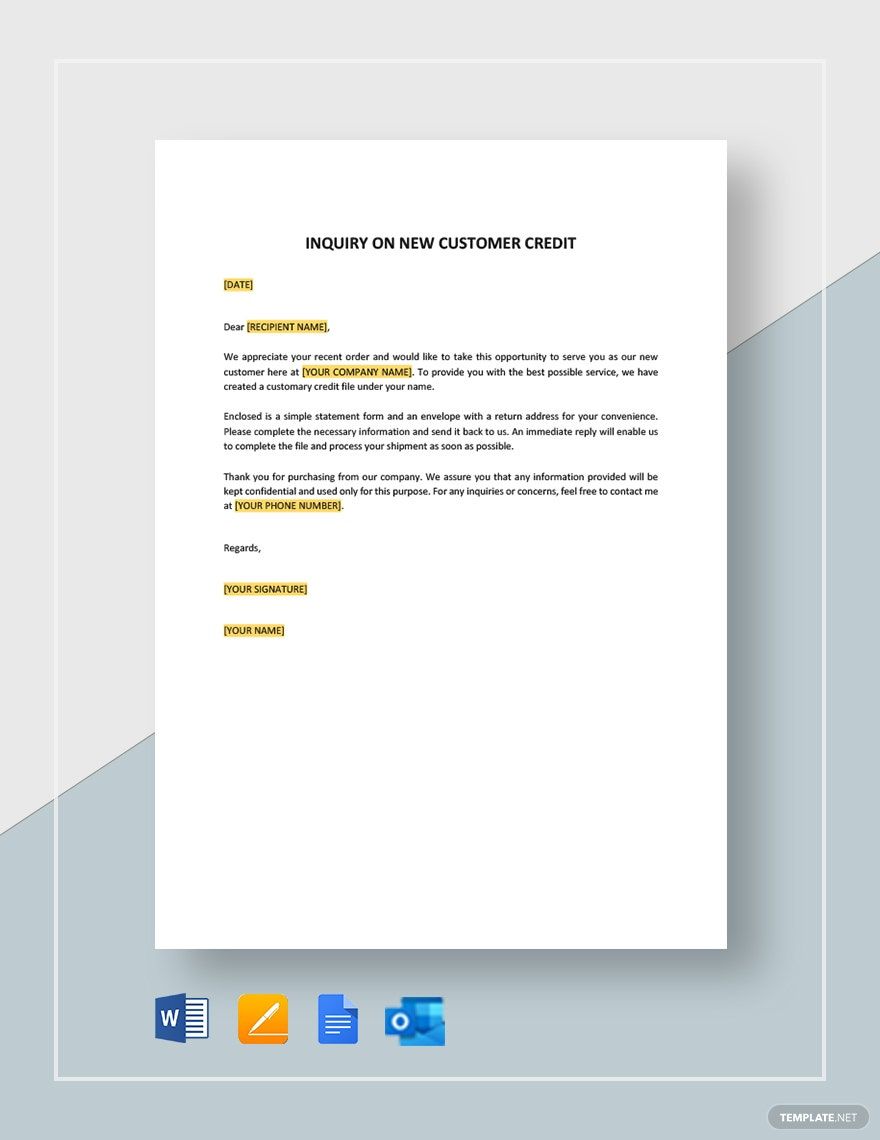
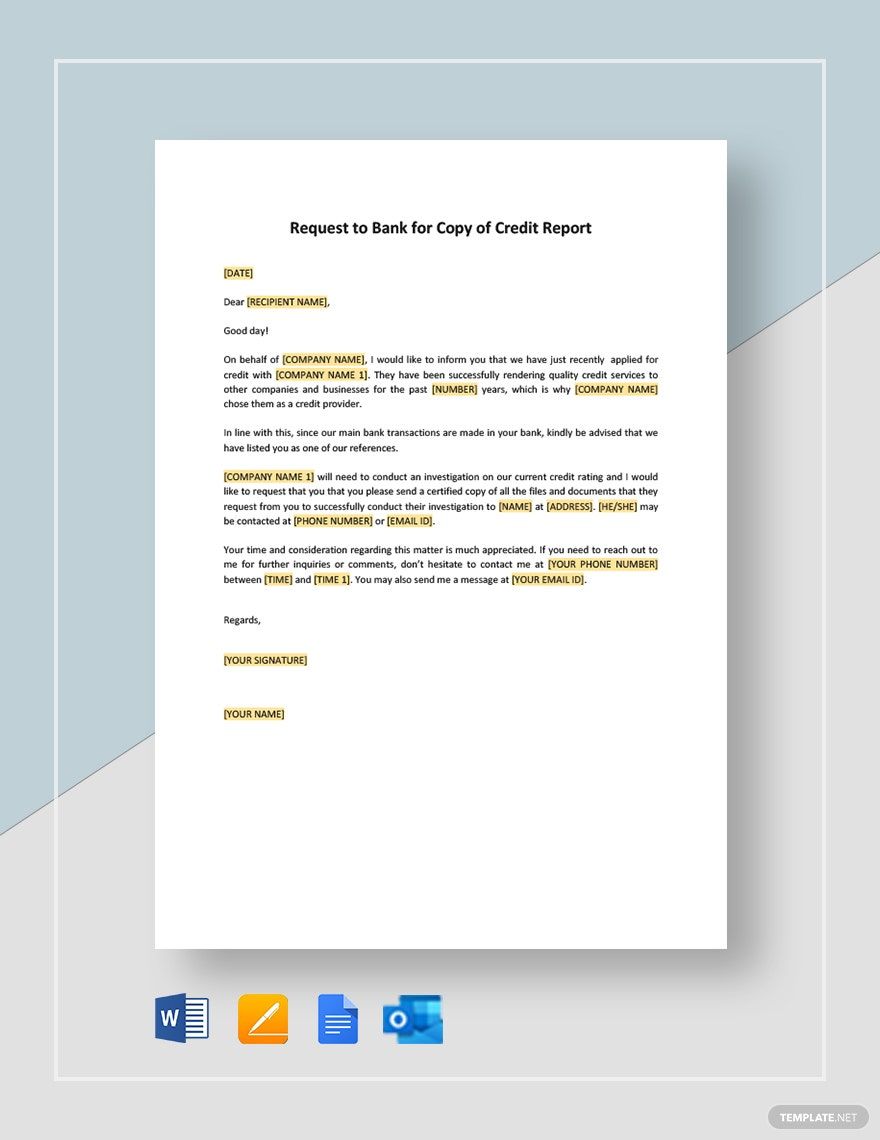
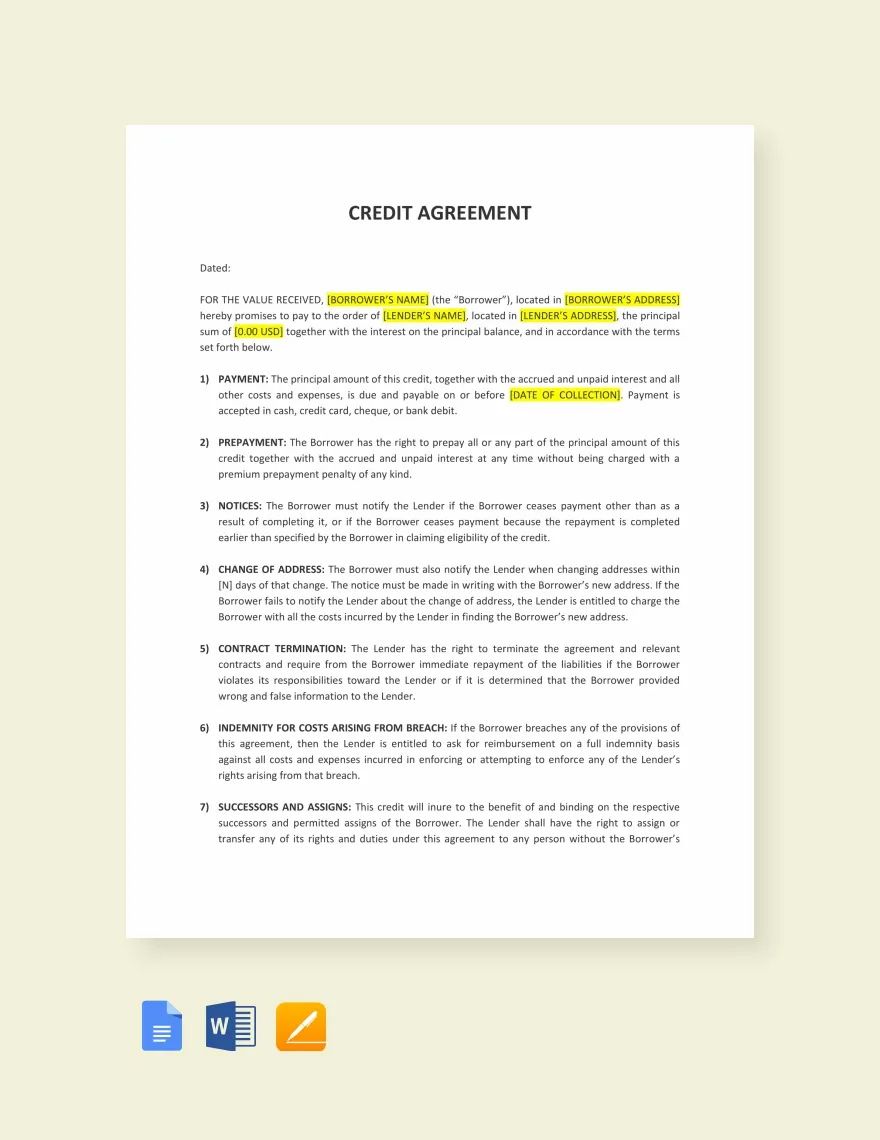
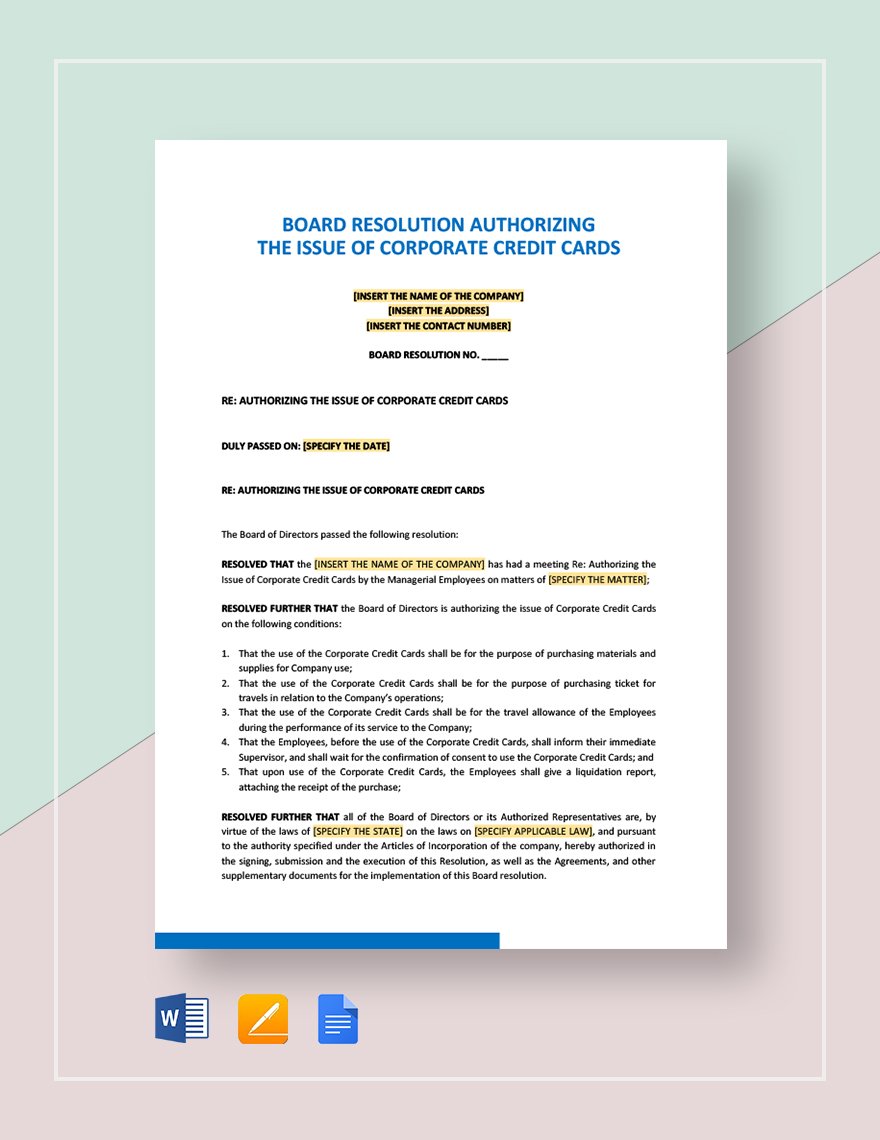
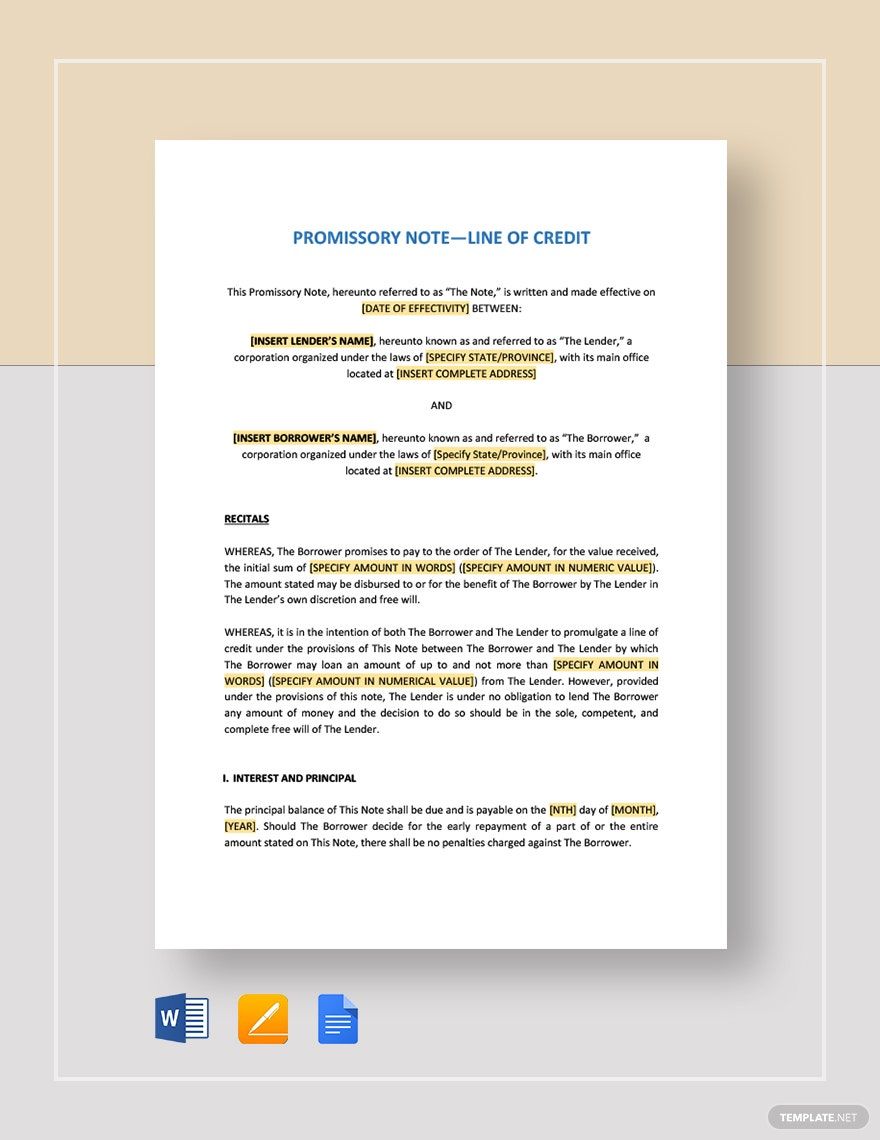
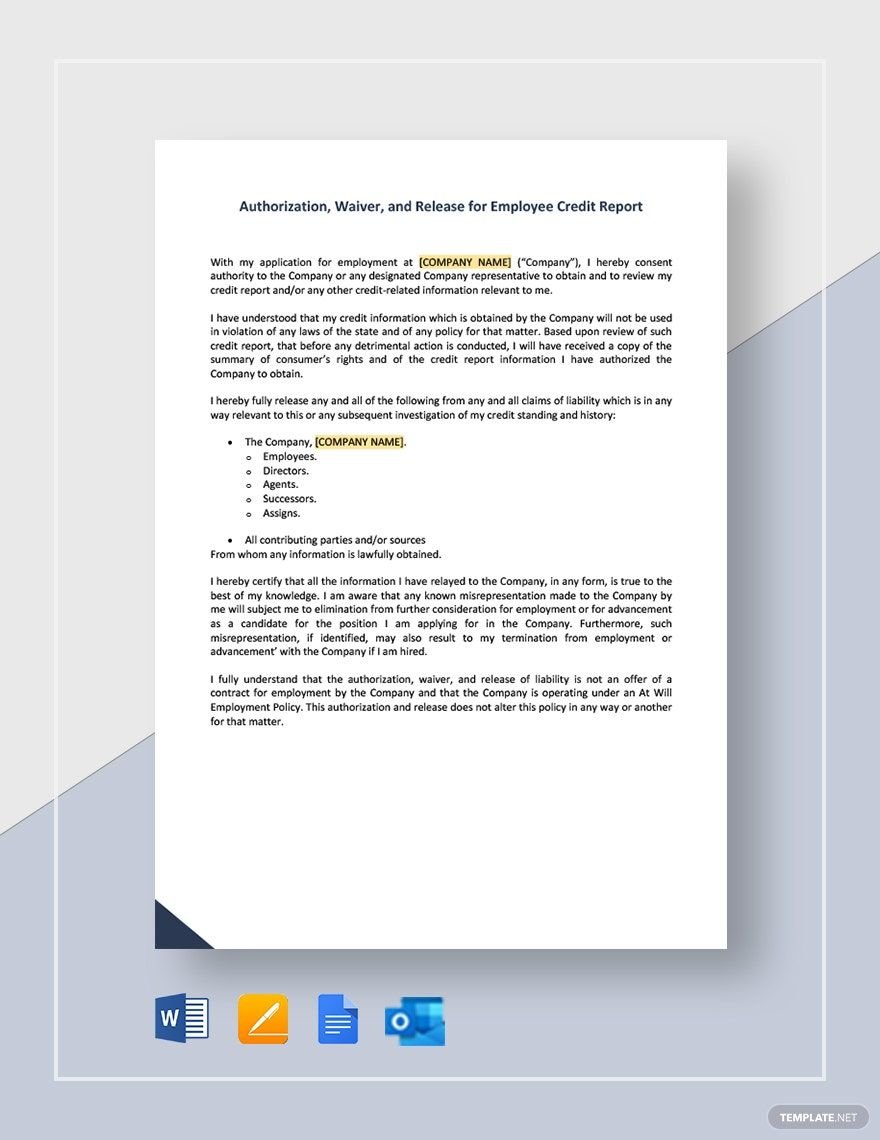
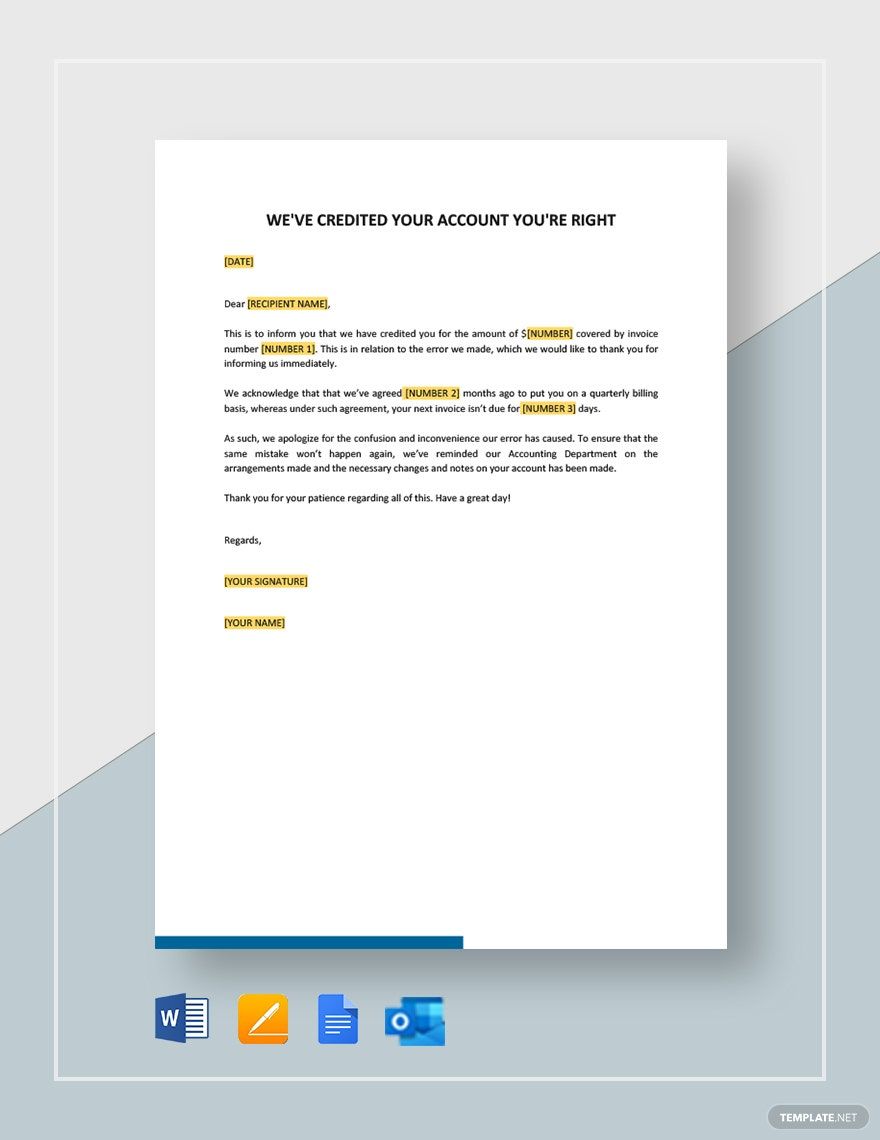
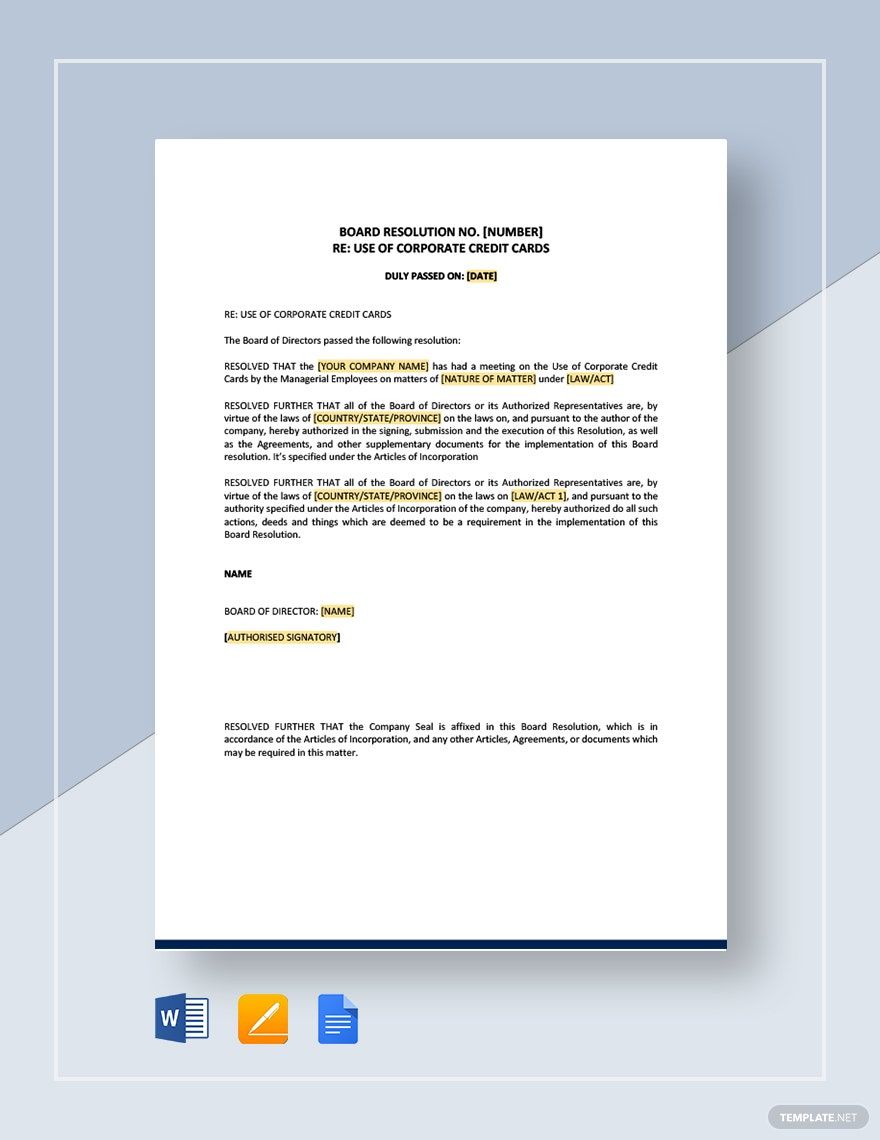
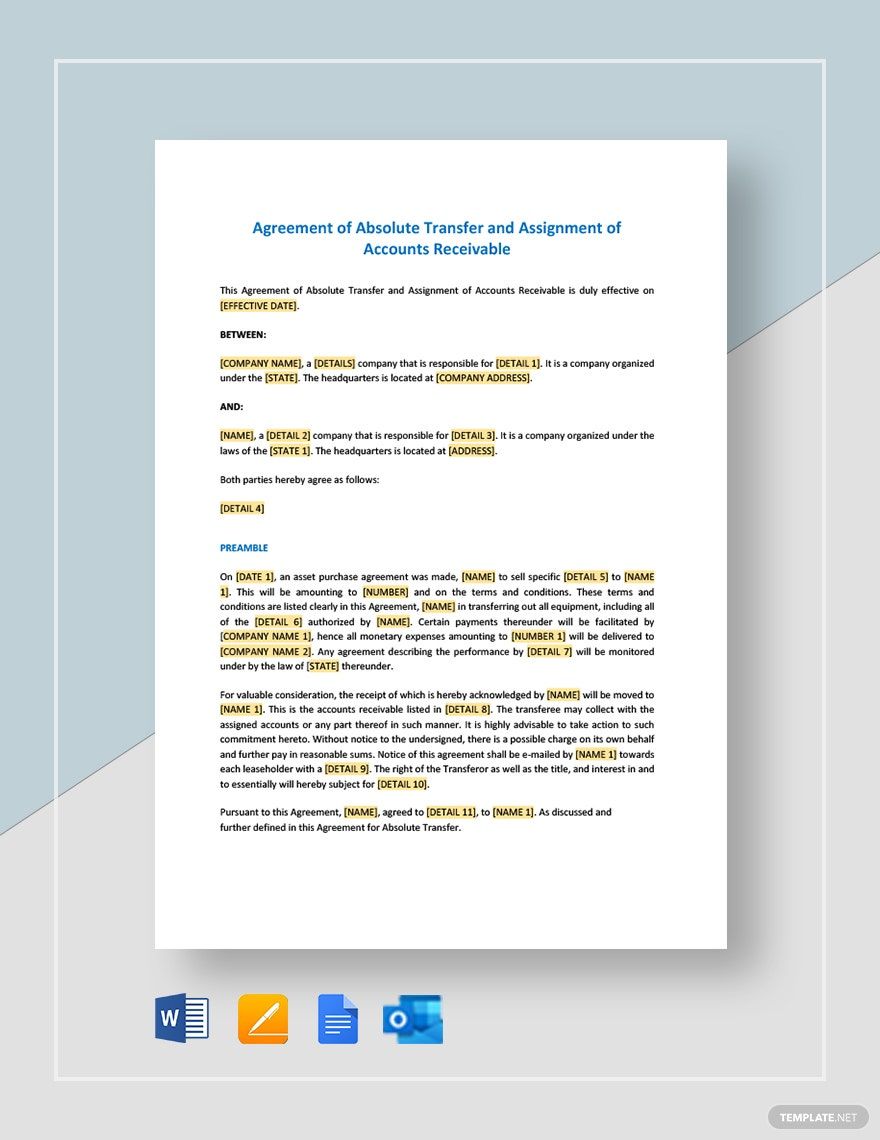
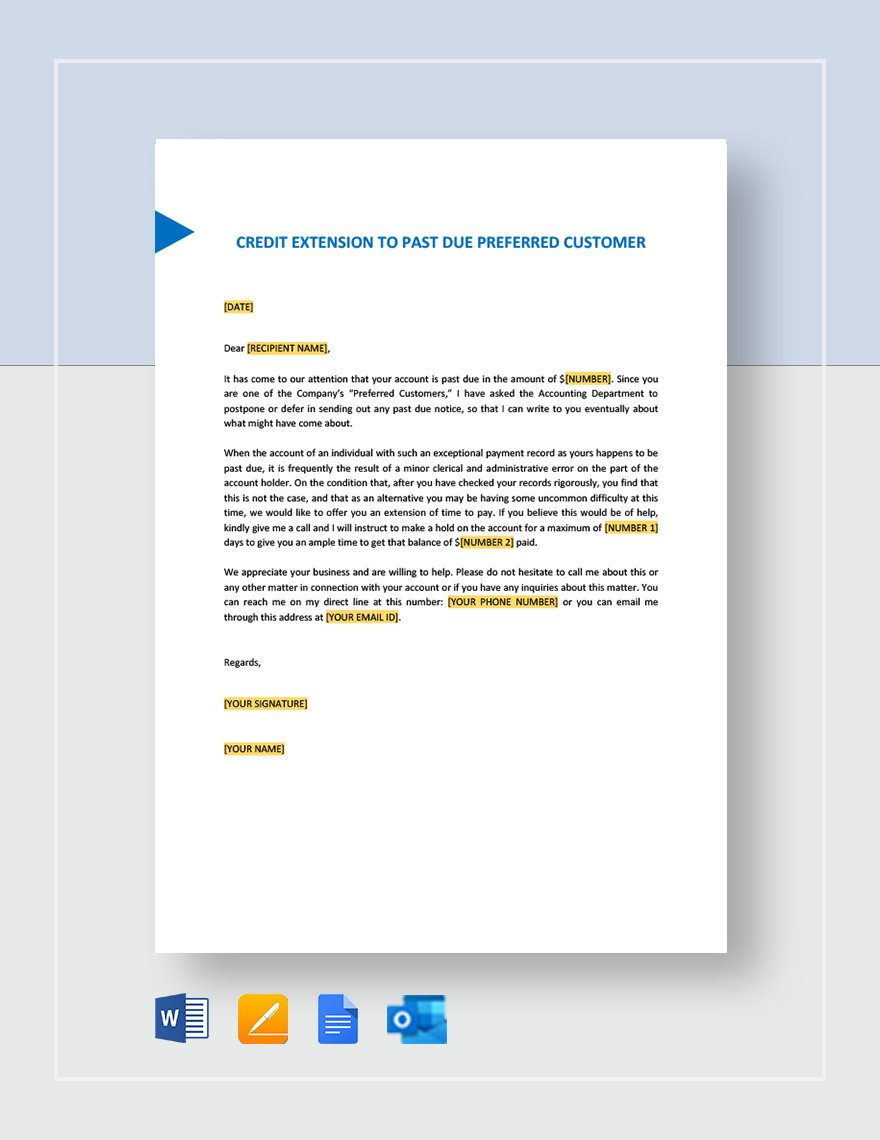
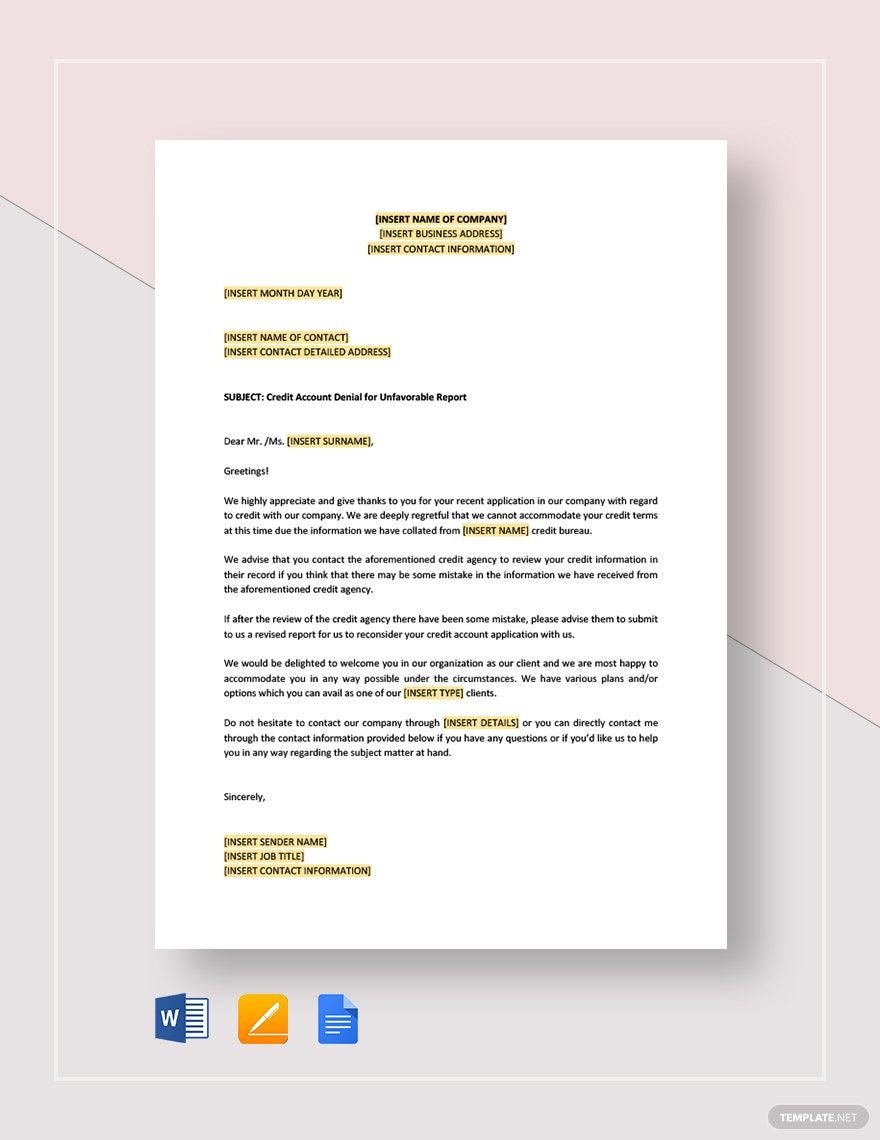
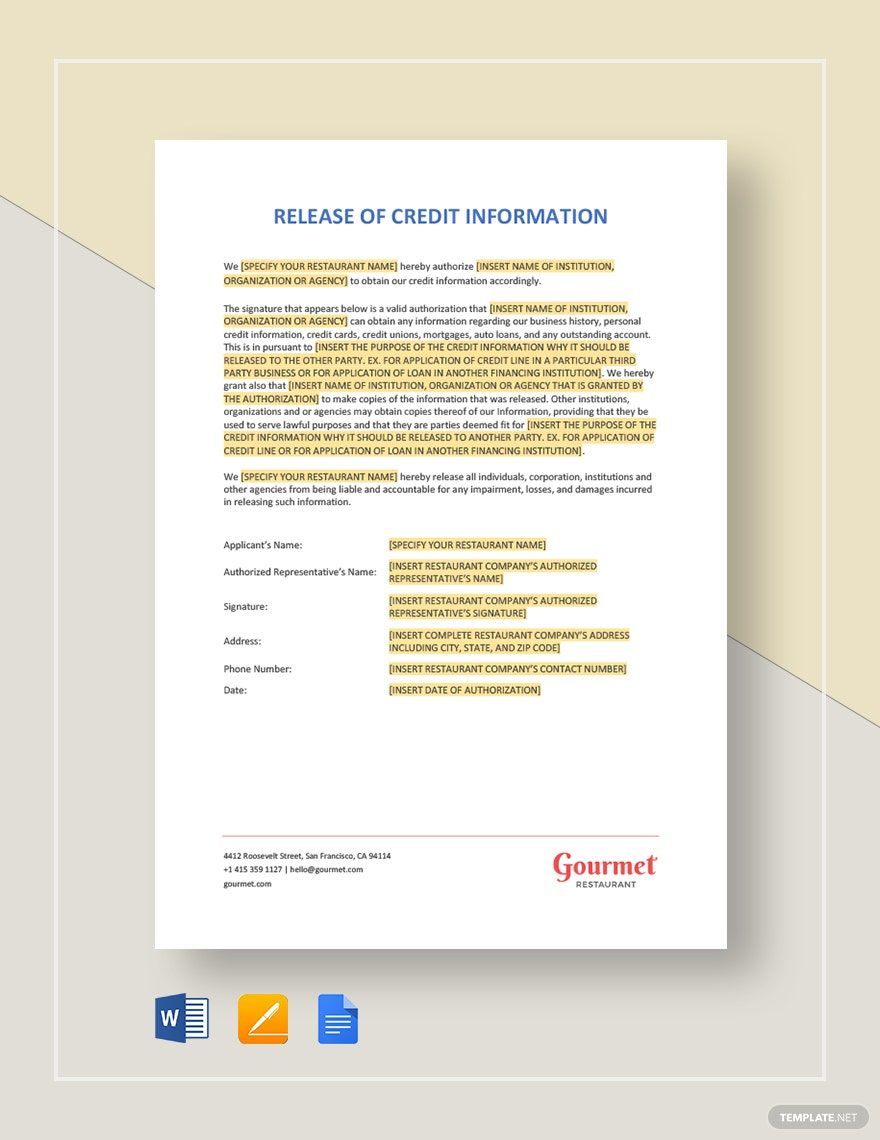
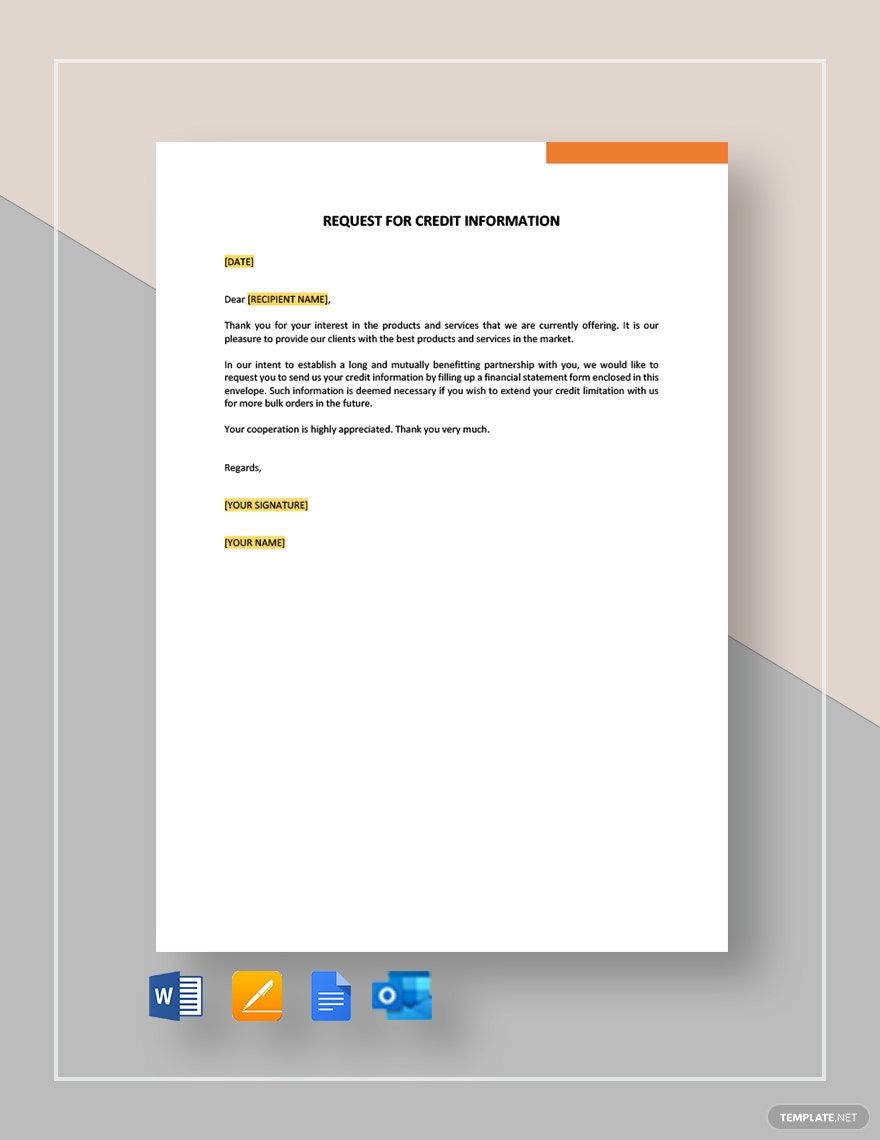
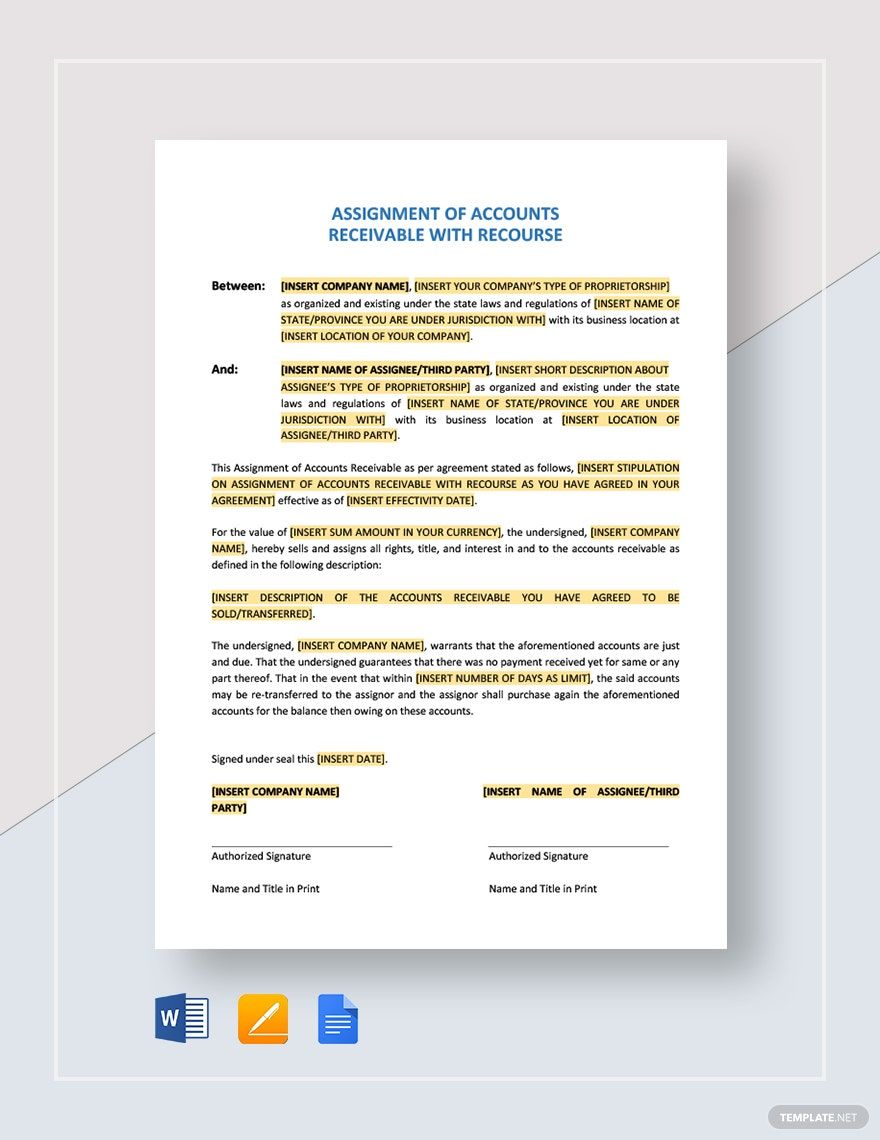
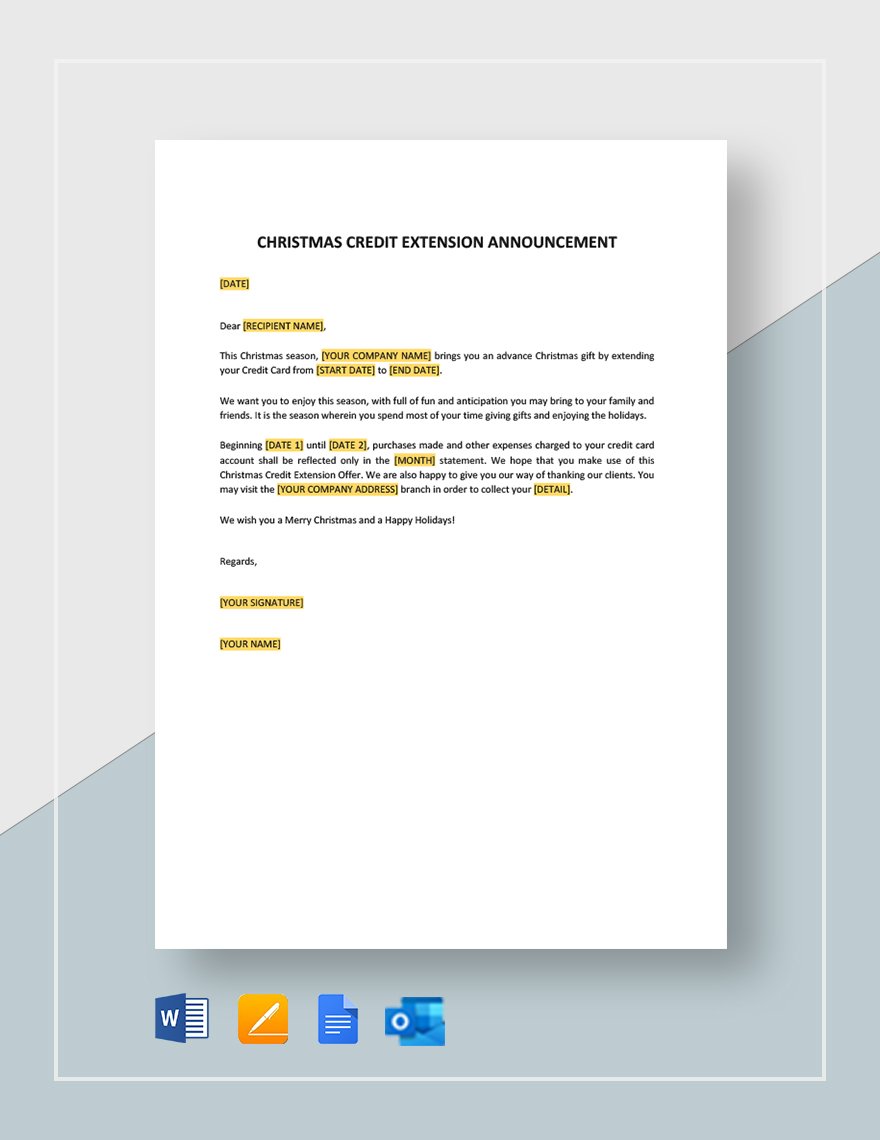
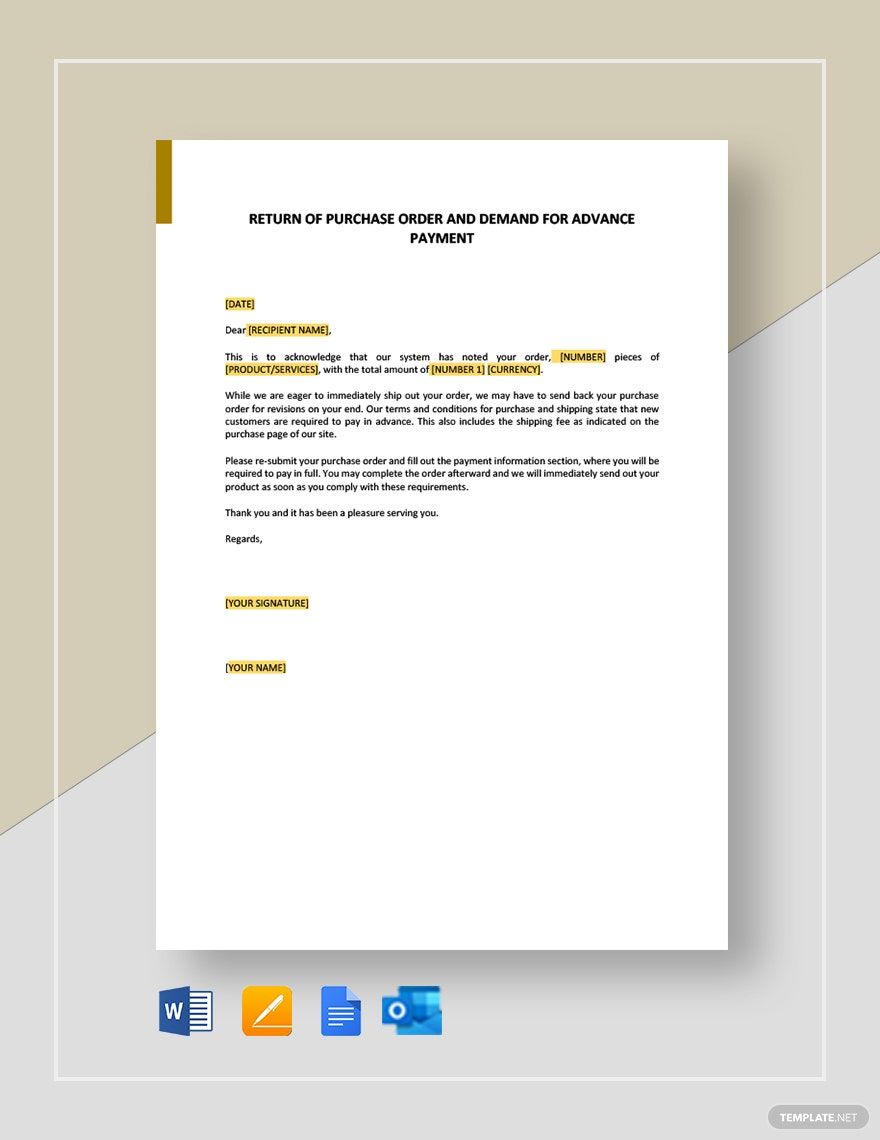
Get to make a document used by financial institutions when a client wishes to make a credit transaction. To help you craft one easily, download one of our premium Credit Templates used for example in credit card authorization and other transactions. These files are perfect for preparing detailed credit applications and enable easy loan processes when extending credit to customers. These are all 100% customizable, easily editable, and printable in Google Docs. They also come with well-researched contents to better suit business specifications. We guarantee downloading it will be worth your while. Download now!
How to Create a Credit in Google Docs
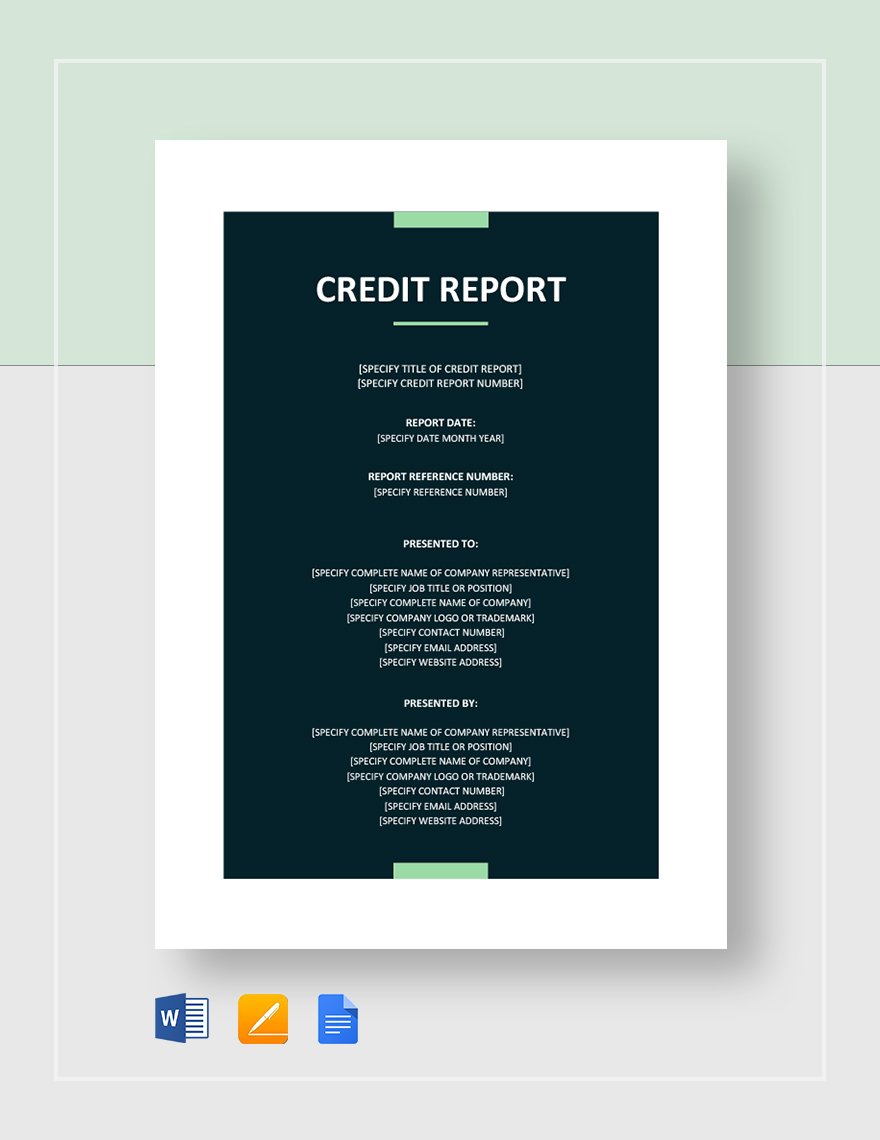
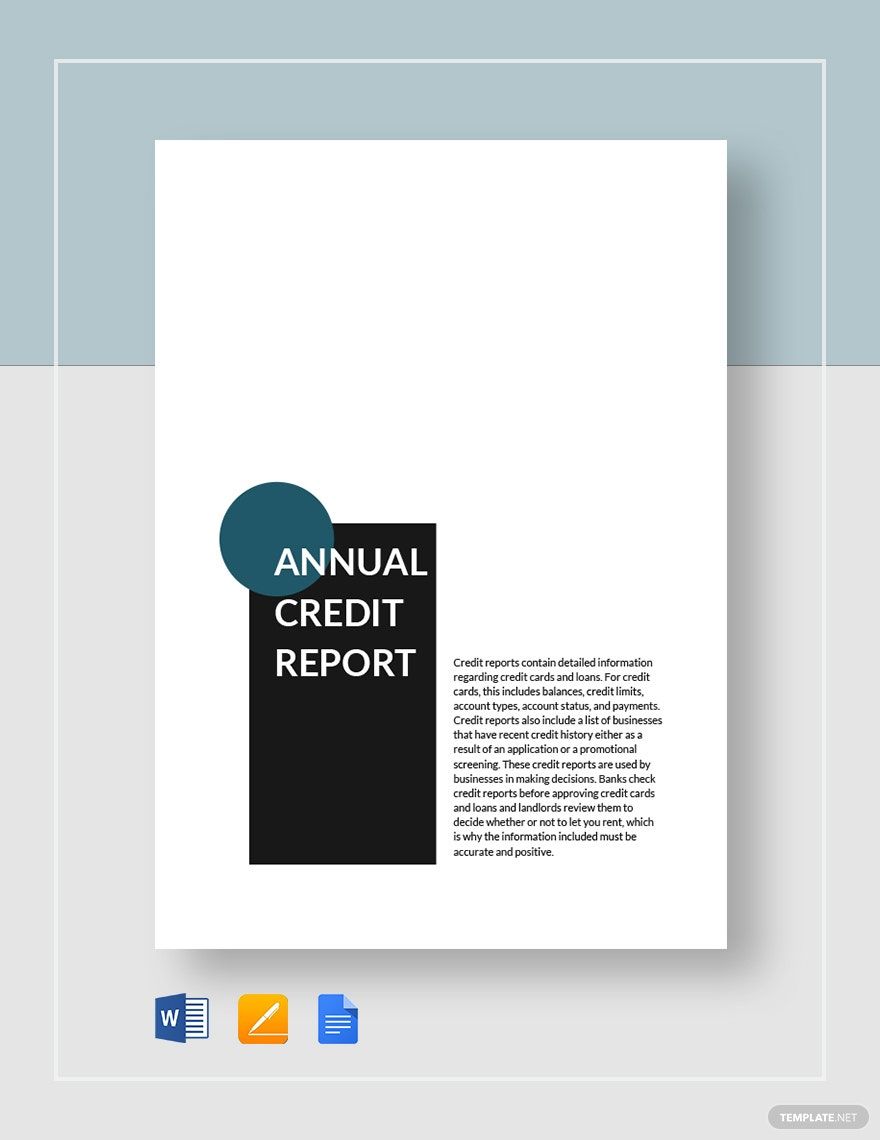
Credit report is an outline of the financial history of a person. It includes credit and loan accounts, bankruptcy, late payment, and the like. This report primarily proves if a certain person has the ability to have the payment or not. Experian, Equifax, and Transunion are the three major credit bureaus in the United States. Any of these credit bureaus gather data about the client's private financial details and their bill-paying practices. Based on the gathered data, they will create a credit report and bank or lending institutions use the reports together with other details to assess the creditworthiness of loan applicants.
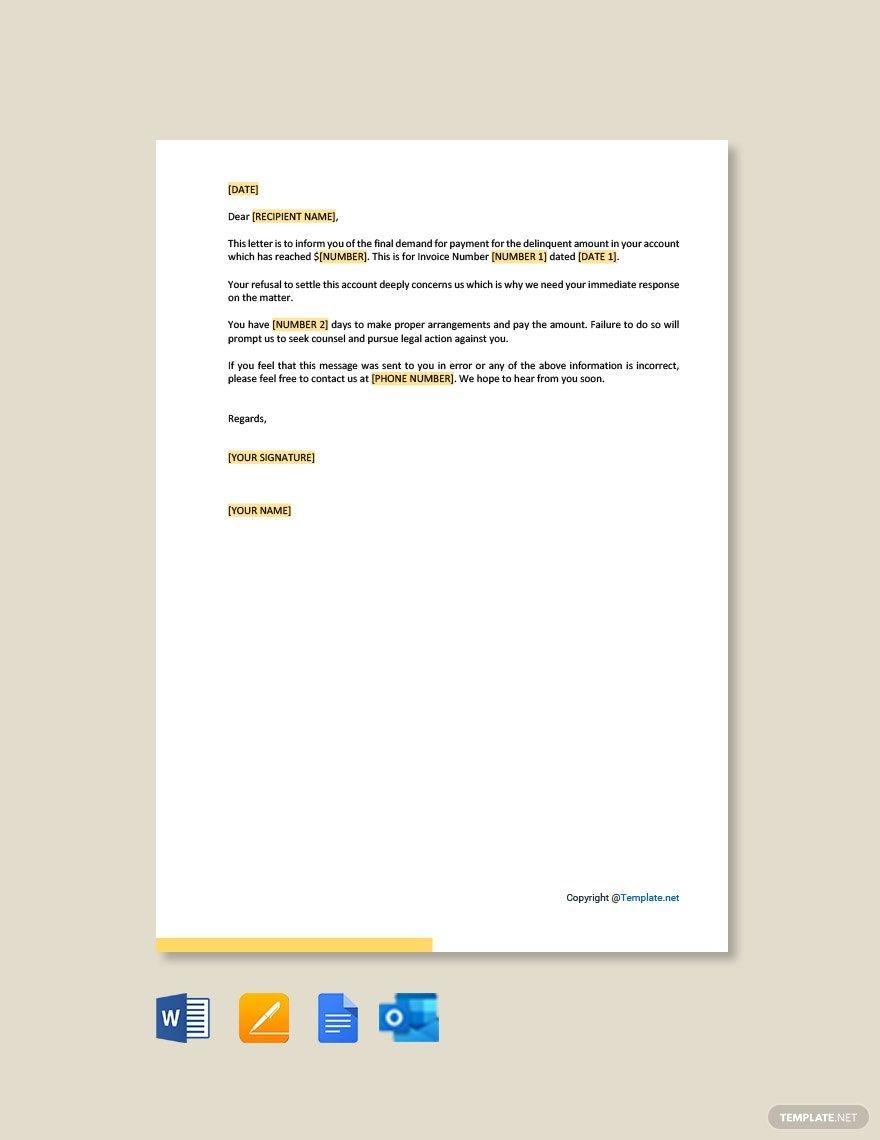
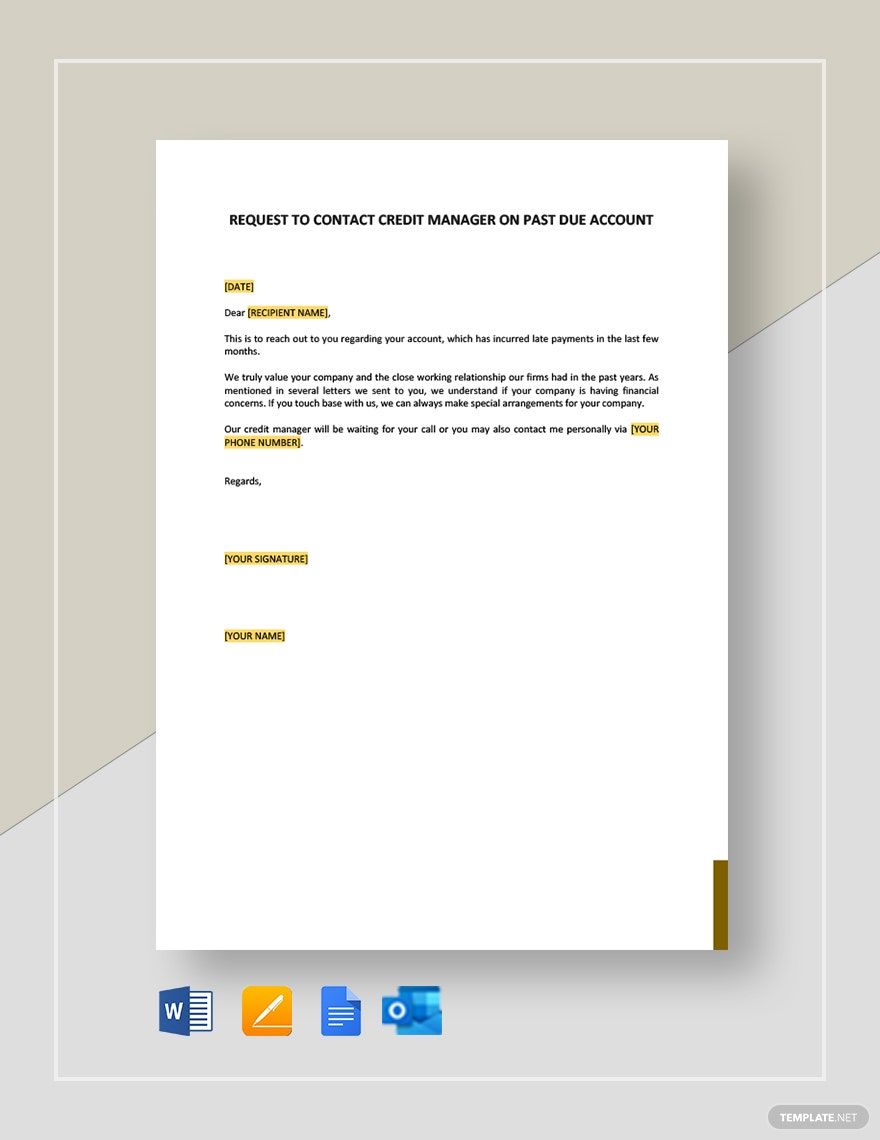
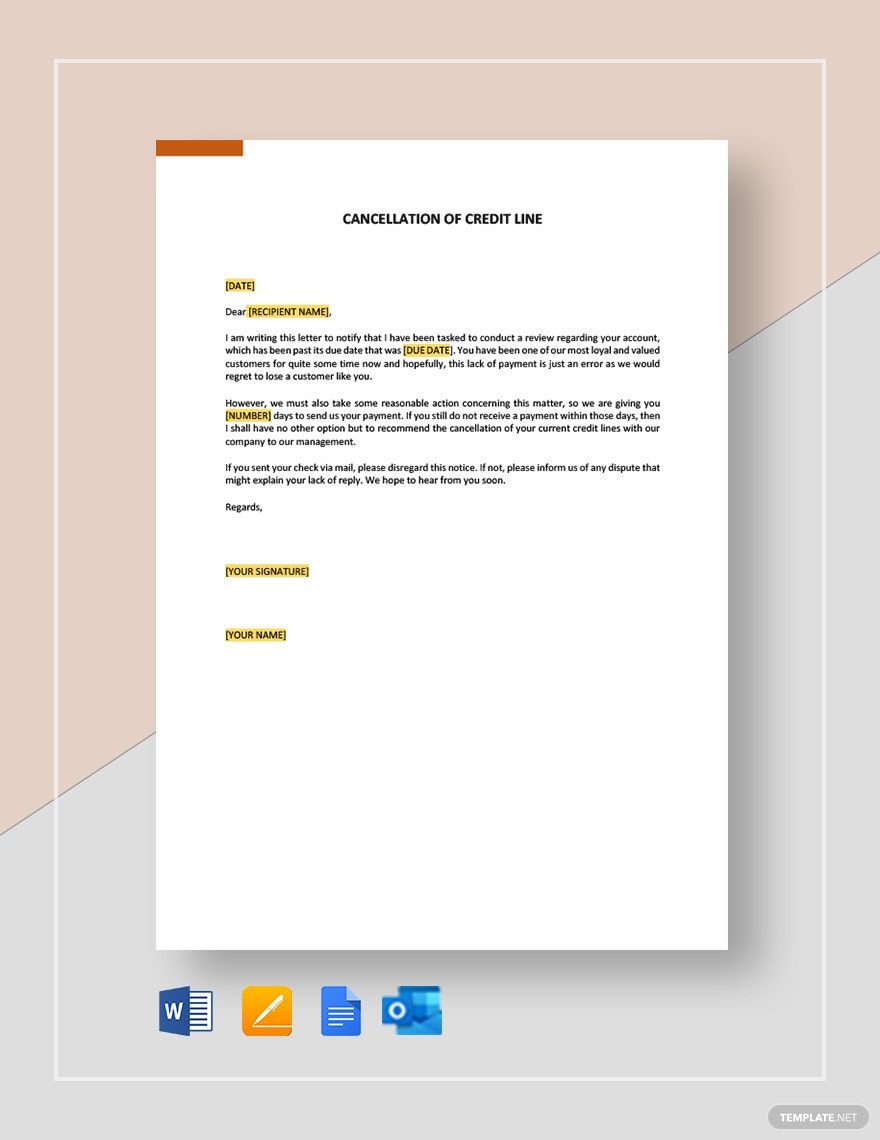
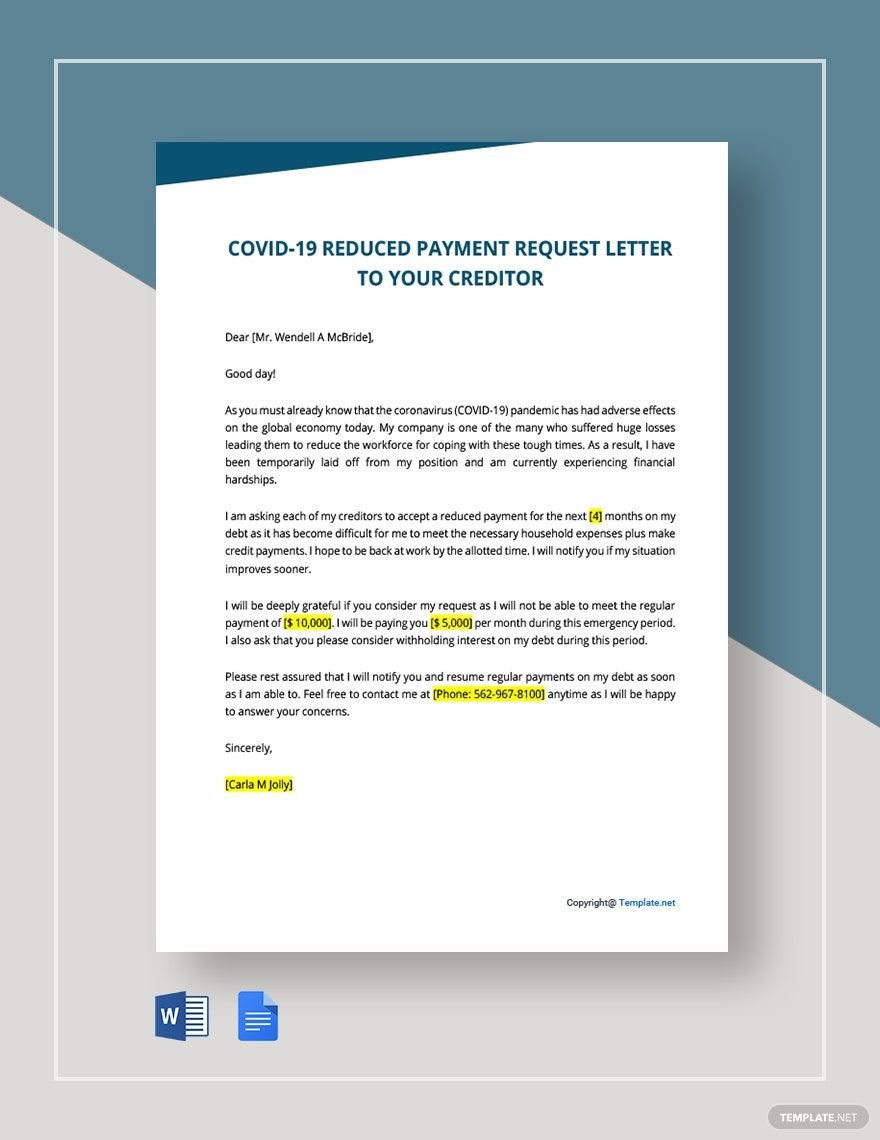
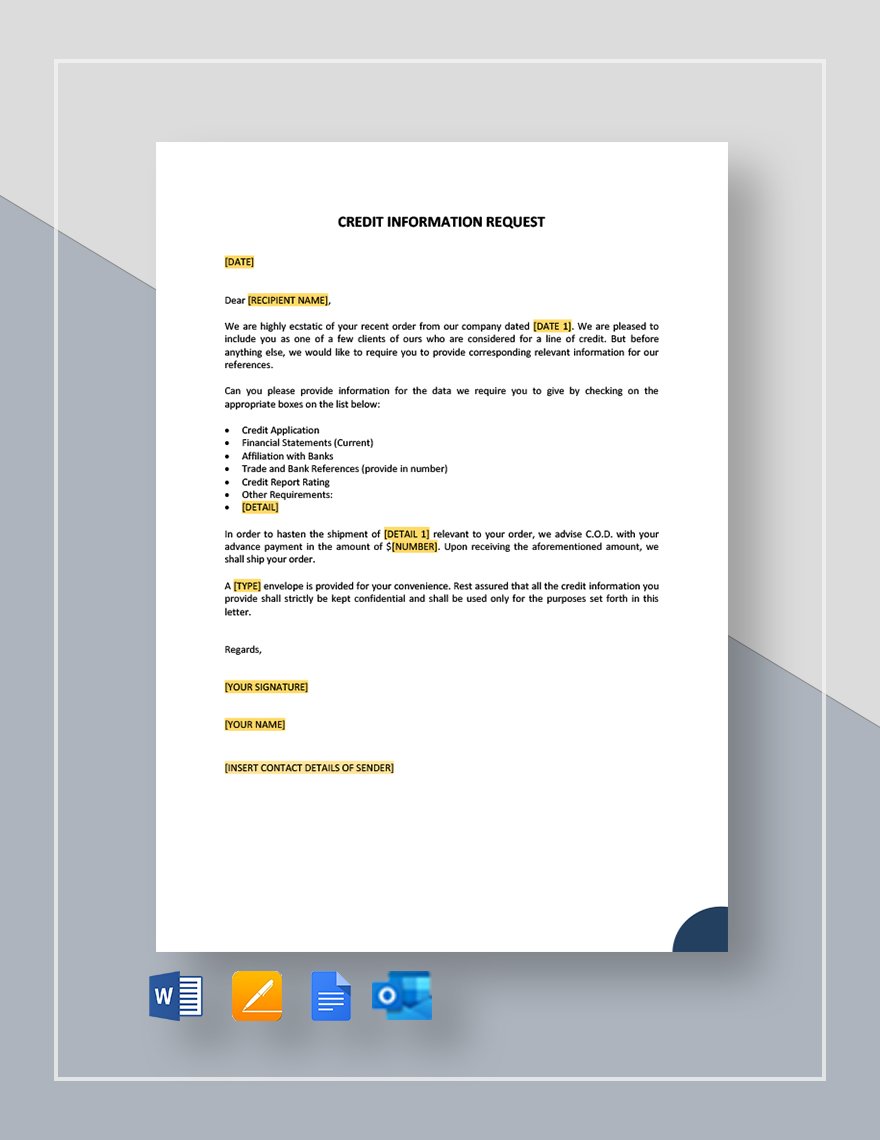
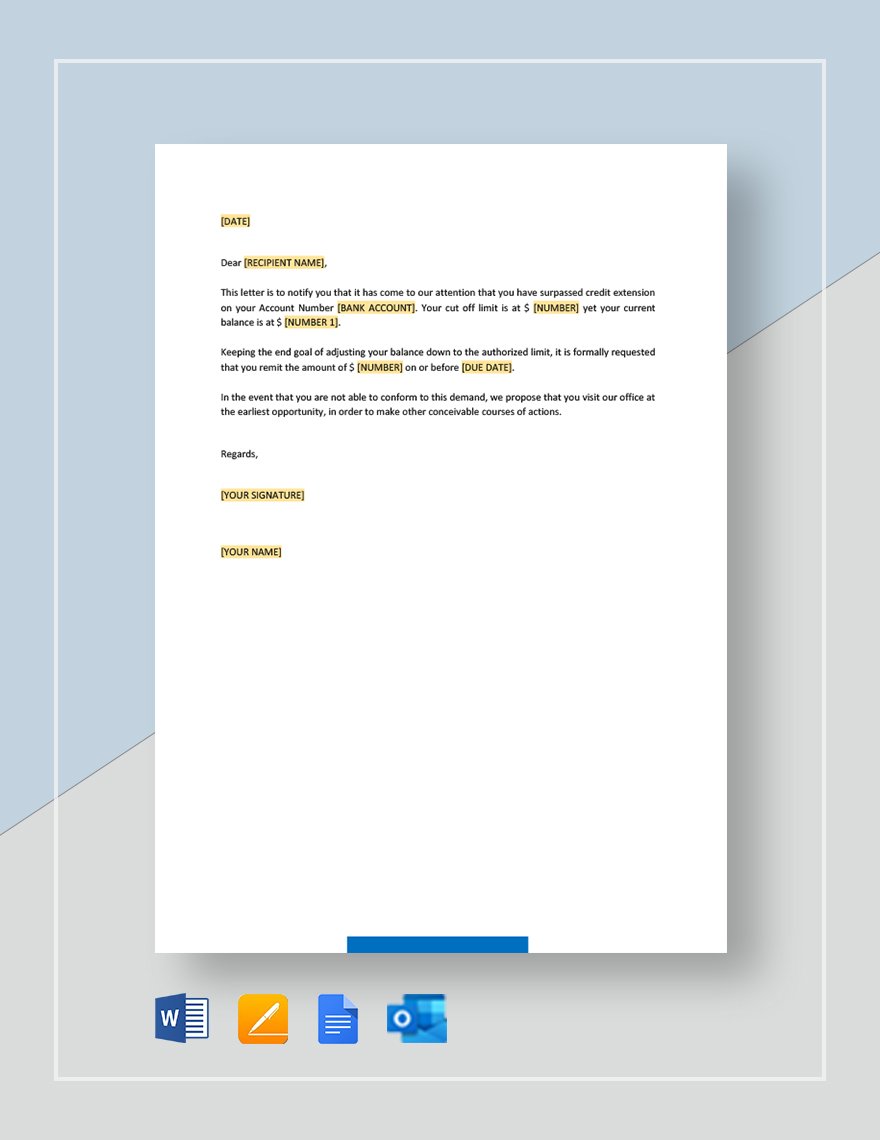
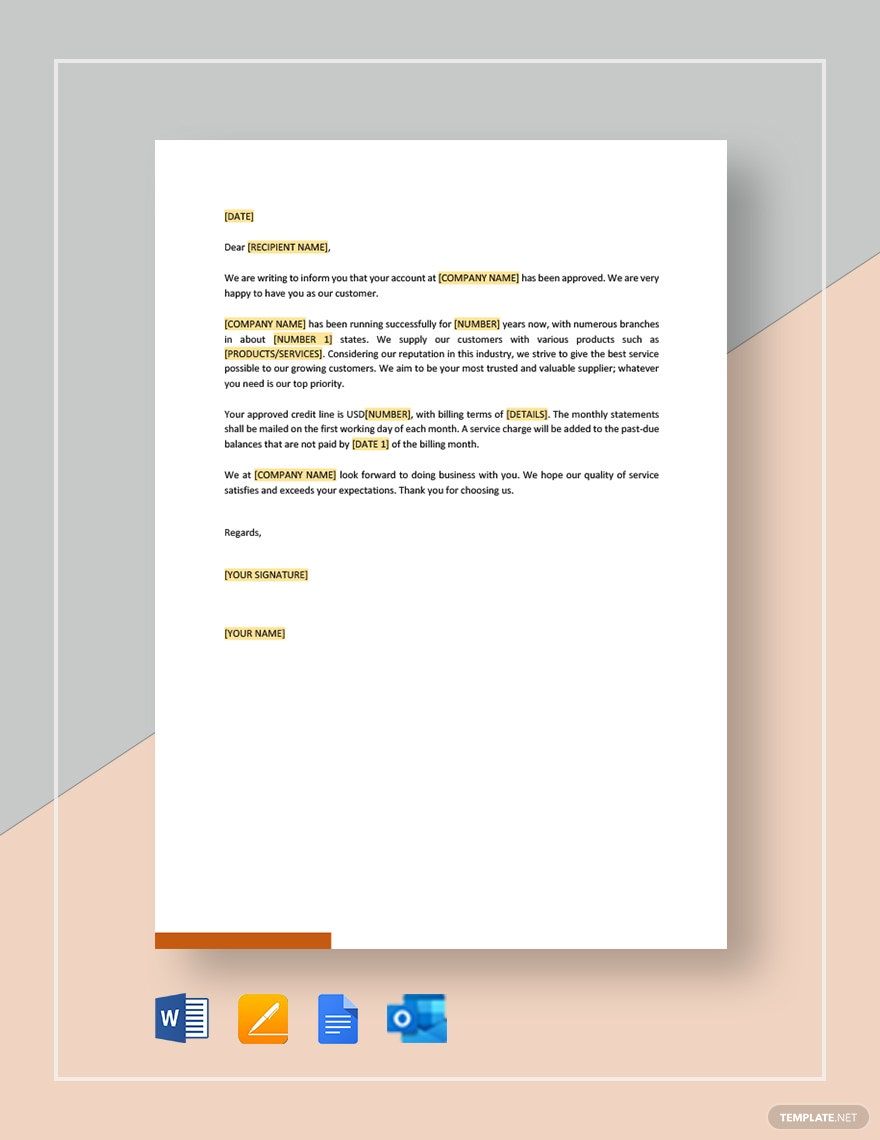
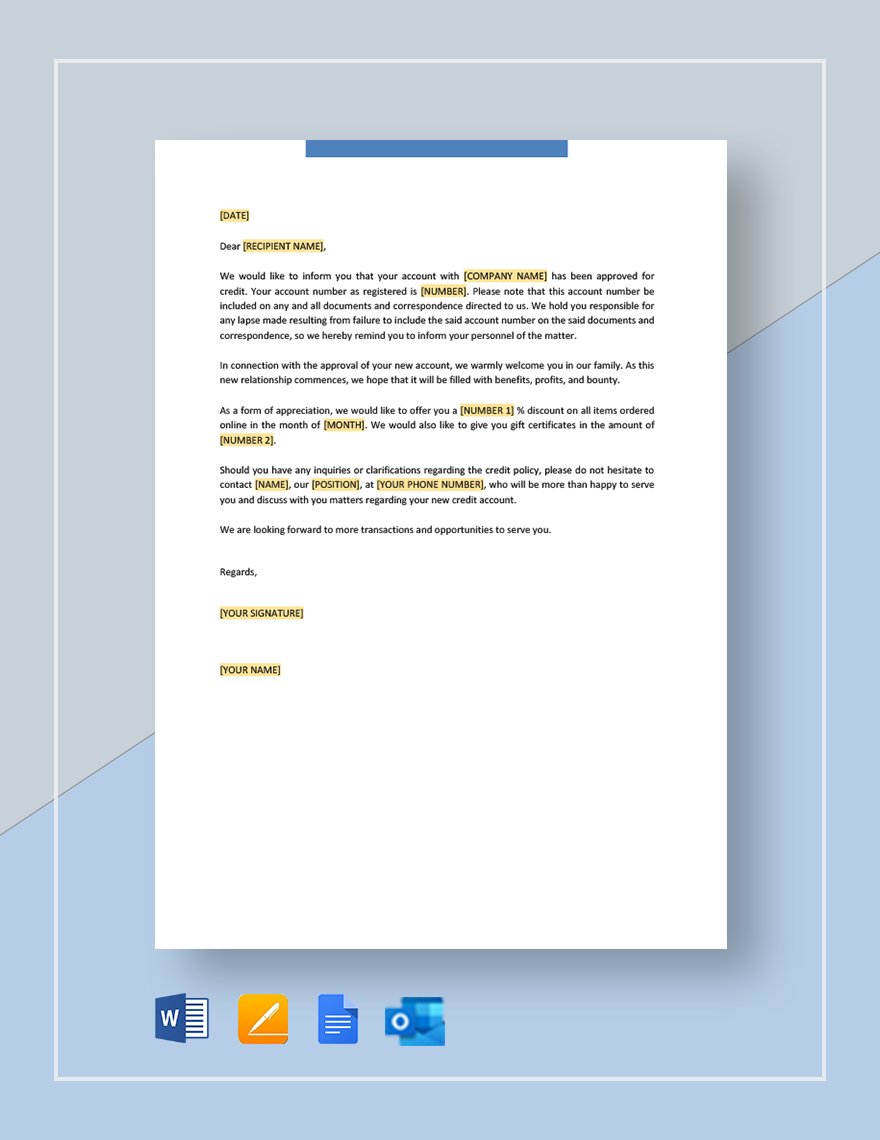
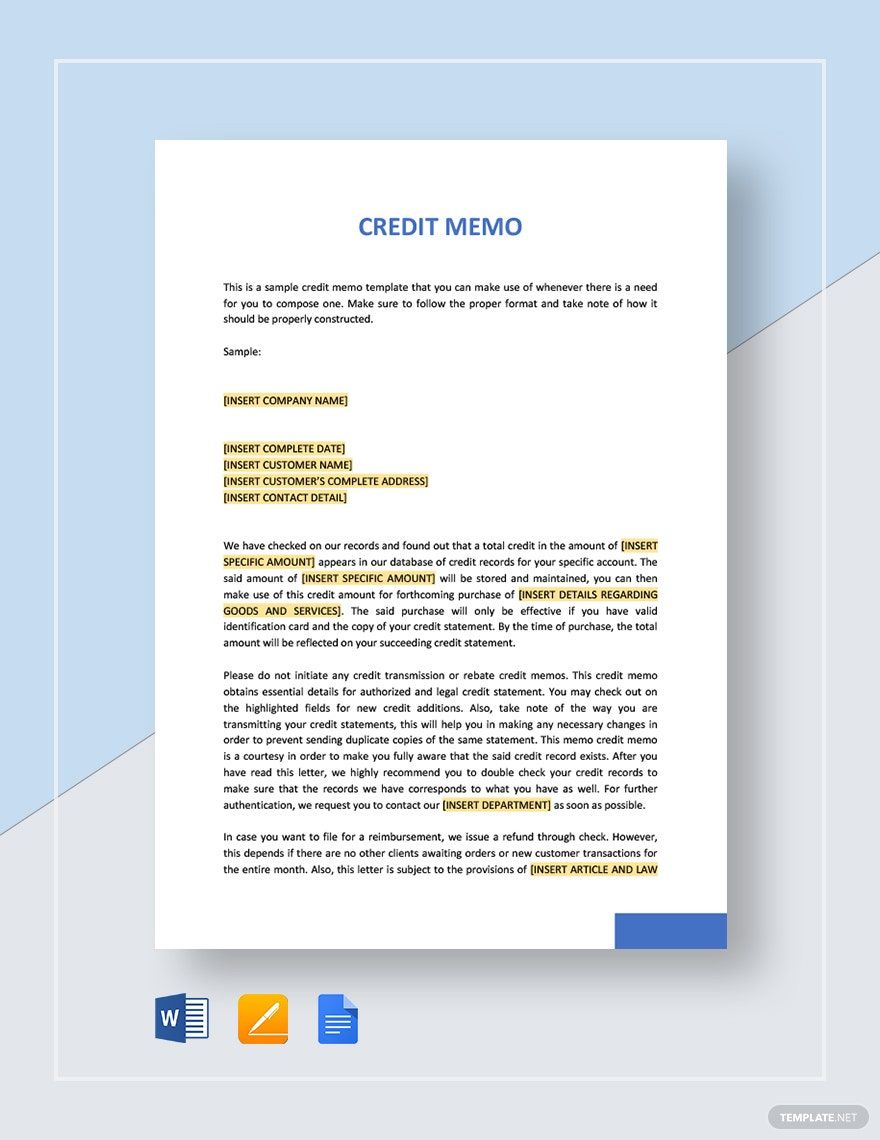
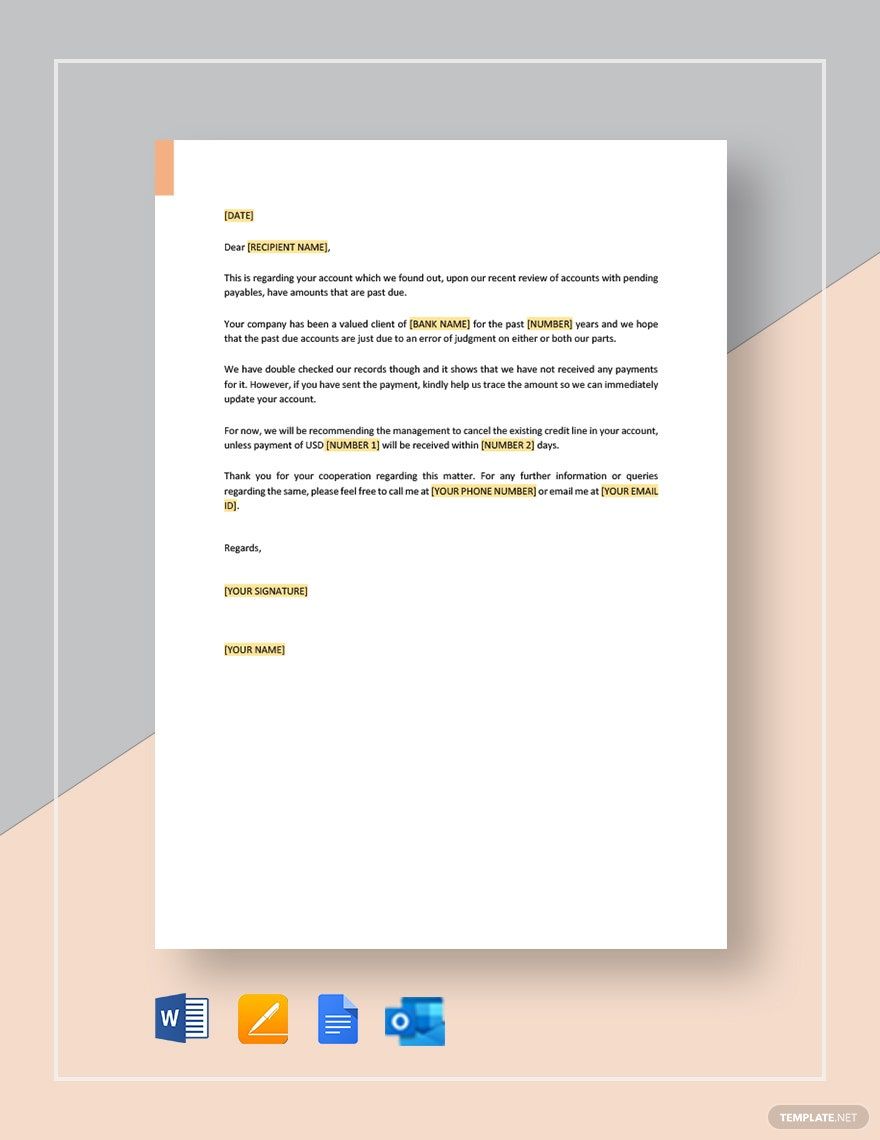
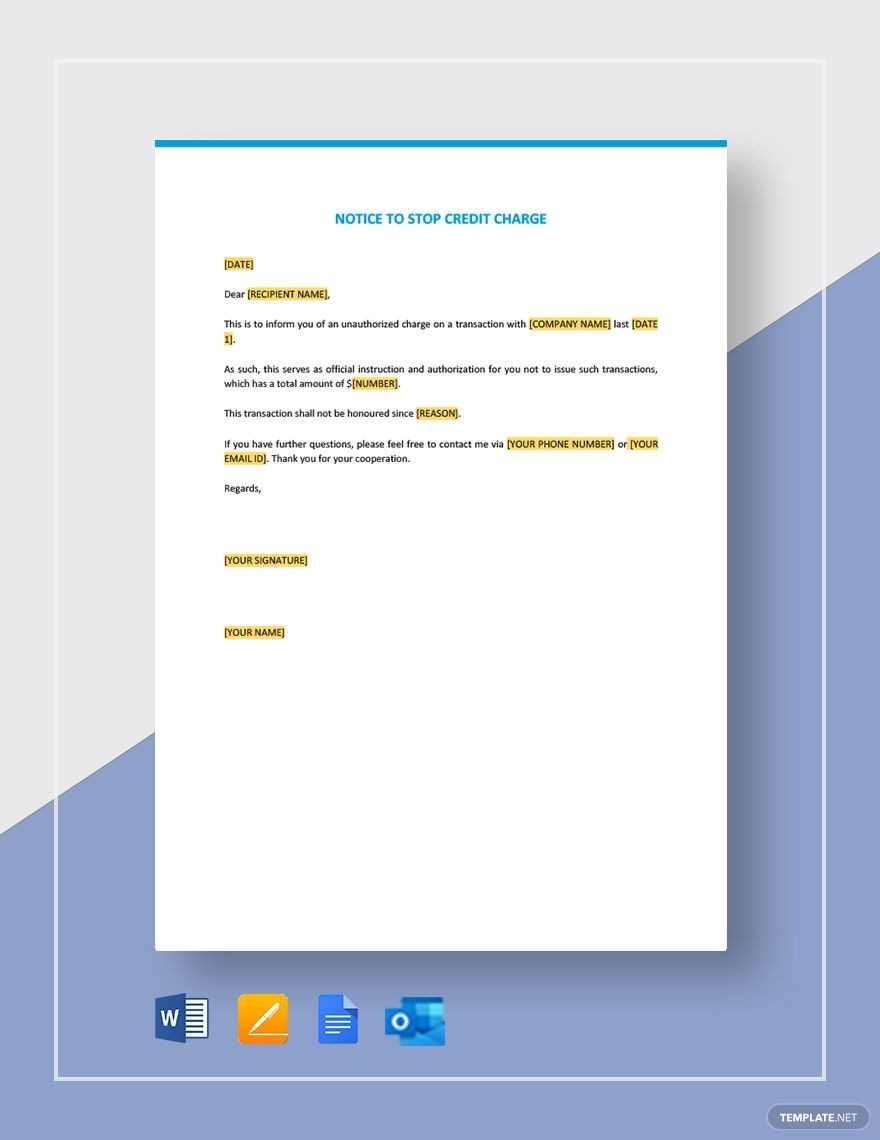
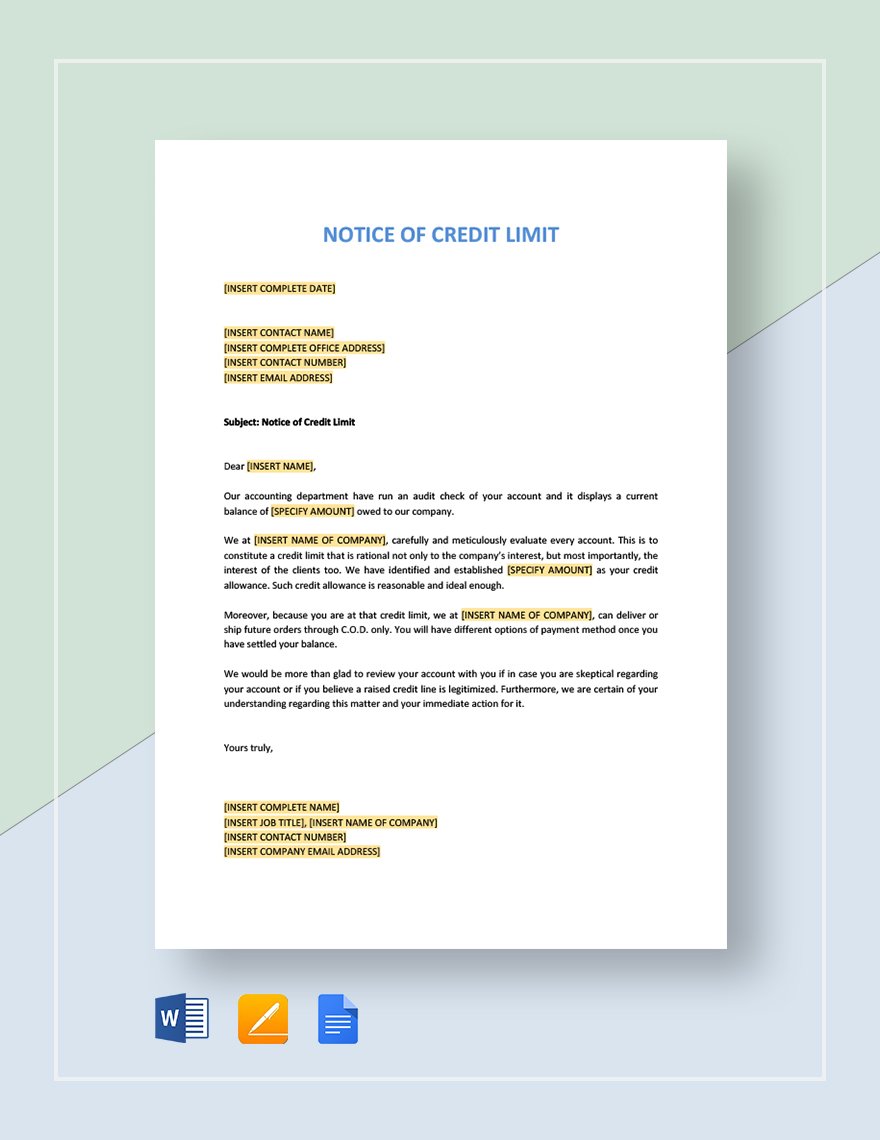
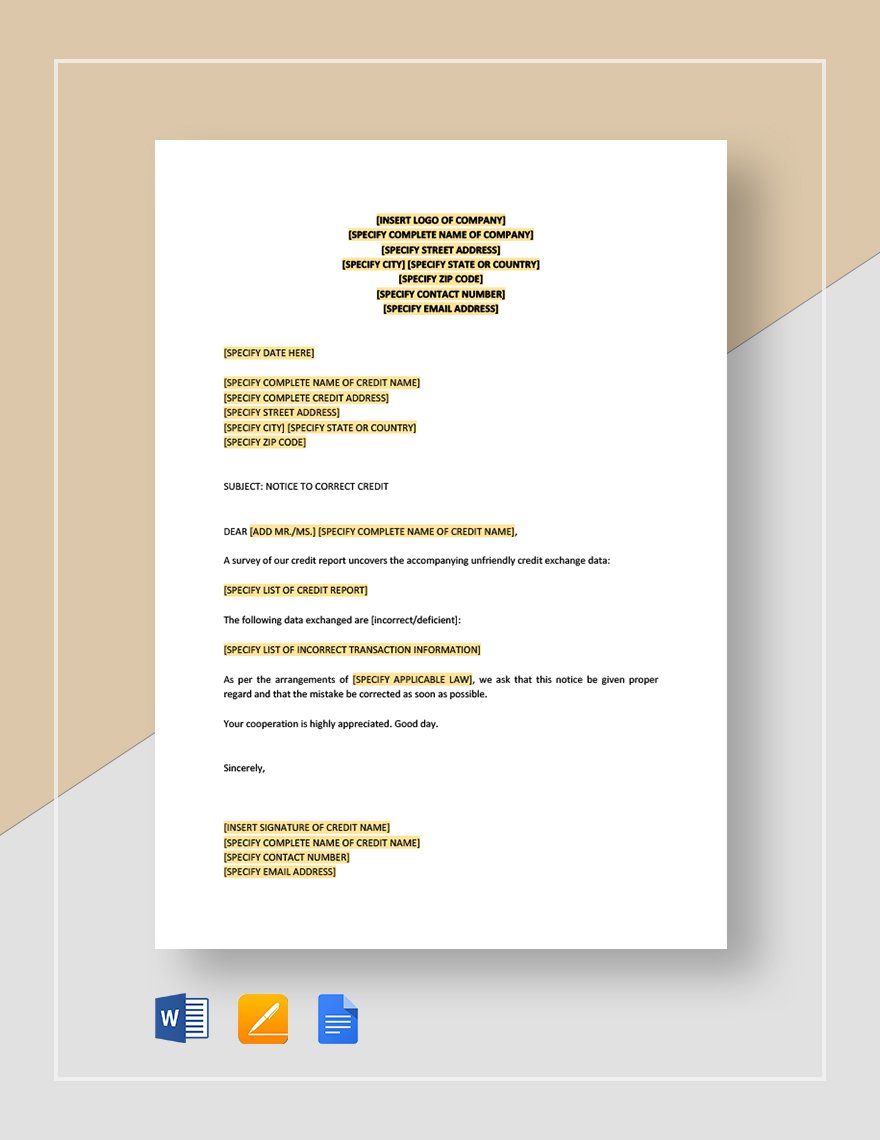
To let your clients know if their credit request is being approved or rejected, it is best to write a credit letter. A credit letter serves as a letter of response after a client submits a credit application form. The goal is to inform the client of their application status. It also serves as a legal paper telling the client about the results of the credit report. Credit letters could also be a dispute letter or a debt validation letter.
Using Google Docs, writing your letter can be a hassle-free one. Google Docs is a great tool for typing papers, creating digital presentations, and sharing documents. Once you create your document, Google Docs instantly saves your file.
In this short guide, we will present useful tips in creating credit in the form of a letter.
1. Identify your Recipient
First off, you need to know your recipient. A credit letter must be addressed to the client who starts to open a credit account. That client's name can be found at the beginning of a previously submitted credit application. Also, it has to be placed at the inside heading, at the salutation of the credit letter and included on the top line of your envelope.
Take note, an article states, people do business with people first, businesses second. Addressing your client by name means to acknowledge their personal significance and value as a human being.
2. Establish an Objective
Credit letter's primary objective is to inform the client of a credit authorization or rejection. Informing for an authorization is always convenient. Your tone and style should be warm and welcoming while refusing an application could be a sensitive matter. Avoid sounding apologetic.
According to an article, to help your reader understand your reply, be short and direct. If the request was denied, in the first paragraph clarify the variables or criteria used to judge the request and indicate which of those variables did not meet the appropriate standard.
3. Emphasize your Scope
Your scope of the credit letter can be determined if you have already decided to approve or reject the application. If the credit is granted, use an inviting tone and then elaborate the boundaries, terms, and conditions. An article suggests, in your letter, the client must know these following questions: How much credit is being granted? What interest rate is being applied? What payment options are available? What penalty provisions are attached?
4. Build a Goodwill
Whether your sample letter allows or rejects the credit, is important to maintain goodwill and trust. Building goodwill in business can help you develop connections that guarantee your business ' long-term success.
5. Close your Letter
In closing your letter, be professional. After you have written your last paragraph, sign off between a complimentary close such as "Sincerely," or "Thank you," and your printed name.
6. Review and Revise
After you have written the credit letter, take some time to review the whole document. Look for glaring errors and revise them right away. Since you are writing a credit letter, keep in mind the accurateness and cohesiveness of the details. Choose your words and tone carefully.
