Finance Accounts Software User Guide
I. Introduction
A. Purpose of the Guide
Welcome to the comprehensive user guide for [Your Company Name]'s Finance Accounts Software. This document is crafted to be your premier reference, providing detailed instructions, tips, and insights on every aspect of our software. Whether you're a seasoned finance professional or new to financial management, this guide is tailored to help you navigate and maximize the utility of our robust software system. By the end of this guide, you will be well-equipped to manage your financial data effectively, streamline your processes, and make informed decisions.
B. Overview of the Finance Accounts Software
The [Your Company Name] Finance Accounts Software is a sophisticated, yet user-friendly application designed to meet a wide range of financial tracking and management needs. Our software stands out due to its comprehensive features, including transaction recording, account management, budgeting tools, financial reporting, and much more. With a focus on accuracy, efficiency, and security, our software is trusted by businesses and financial professionals globally. This guide will take you through every functionality and feature, ensuring you have the knowledge to utilize every aspect of the software fully.
C. Target Audience
This guide is designed for a broad audience, ranging from business owners managing their finances to accountants in charge of client portfolios to individuals keen on organizing their financial records. Regardless of your financial acumen or familiarity with digital finance tools, this guide will serve as a valuable resource. It provides the necessary guidance to users of all levels, ensuring everyone can effectively use the [Your Company Name] Finance Accounts Software to its full potential.
II. Getting Started
A. System Requirements
Before initiating the installation process, it's crucial to ensure that your computer system meets the following requirements to run the [Your Company Name] Finance Accounts Software effectively:
Requirement | Specifications |
Operating System | Windows 10 or higher / macOS X 10.14 or higher |
Processor | Minimum Intel i5 or equivalent |
RAM | 8GB or higher recommended for optimal performance |
Hard Disk Space | At least 500MB of free space for installation, additional space for data |
B. Installation Process
Follow these detailed steps to install the [Your Company Name] Finance Accounts Software on your system:
Download the Installer: Navigate to the official [Your Company Name] website. Locate the Finance Accounts Software section and click on the download link for the latest version of the software.
Run the Installer: Once the download is complete, locate the downloaded file in your system. It typically resides in the 'Downloads' folder unless specified otherwise. Double-click on the file to initiate the installation process.
Accept the License Agreement: A window will pop up, presenting the End User License Agreement (EULA). Take a moment to read through the agreement. Accepting these terms is mandatory to proceed with the installation, so ensure you understand your rights and obligations.
Select Installation Folder: You'll be prompted to choose a destination folder for the installation. You can go with the default location or click 'Browse' to select a different folder. Ensure you have the necessary permissions for the chosen directory.
Complete the Installation: After setting your preferences, click 'Install.' The installer will show a progress bar indicating the installation status. Once the installation is complete, click 'Finish' to exit the installer. You might be prompted to restart your computer to complete the setup process.
C. Registration and First-time Setup
Upon launching the software for the first time, you will be taken through the registration and initial setup process:
Enter License Key: A prompt will request the license key that came with your purchase. Enter the key in the designated field to activate your software.
Create an Account: You will need to create an administrative account. Fill in the required fields, including company details and contact information. Create a strong password as this account will have full access to your financial data.
Setup Preferences: Finally, configure the initial settings such as regional configurations (language, currency, date format), account chart structure, and any other pertinent settings that will help personalize your experience.
D. Navigation Basics
Familiarize yourself with the user interface of the [Your Company Name] Finance Accounts Software to navigate efficiently:
Dashboard: This is the home screen you'll see upon logging in. It provides a summary view of your financial health, including quick glimpses of recent transactions, account balances, and upcoming financial obligations.
Accounts Section: Here, you manage all your accounts. You can add new accounts, edit existing ones, or delve into detailed transactional histories.
Reports Module: Access a variety of financial reports that can be customized and generated based on your needs. Whether you need a balance sheet, income statement, or detailed ledger reports, it's all available here.
Settings Menu: This is where you can fine-tune the application settings, manage user accounts, update your company details, and customize the software to better fit your operational needs.
III. Setting Up Your Accounts
A. How to Create a New Account
Efficient financial management begins with properly set up accounts. Follow these steps to create a new account within the software:
Go to Accounts Section: Click on 'Accounts' from the main navigation bar. This section houses all your financial account details.
Create a New Account: Look for the 'New Account' button, typically located at the top of the screen or in a clearly marked section for account modifications.
Enter Account Details: A form will appear asking for various details about the new account. Fill in the account name, type (such as checking, savings, or credit), initial balance, and any other pertinent details. Be as precise as possible to ensure accurate tracking.
Save the Account: Review all the details you've entered for accuracy. Once you're satisfied, click 'Save'. Your new account will now be listed with your other financial accounts.
B. Importing Data from Other Systems
Transitioning from another system? Importing your existing financial data is straightforward with our software:
Prepare Your Data: Ensure your financial data is formatted correctly, typically in a CSV or Excel file. Our software provides a template to which you can match your data for a smoother import process.
Go to Import Section: Within the software, navigate to the 'Import Data' feature under the 'Settings' menu or a similarly named section dedicated to data management.
Select File to Import: Click the 'Browse' button to locate and select the file you wish to import from your computer.
Map the Data: The software will ask you to map the columns in your file to the corresponding fields in the software. This step is crucial to ensure that all data goes into the correct place.
Complete the Import: After mapping the data, initiate the import process. The software will provide a summary of the imported data for your review. Verify the information, and if all looks good, complete the import process.
C. Setting Up Users and Permissions
To ensure data security and efficient workflow, our software allows you to set up multiple users each with specific roles and permissions:
Navigate to User Management: Under the 'Settings' menu, find and click on 'User Management' or a similar section devoted to user accounts.
Add a New User: Click the 'Add User' button. You'll be prompted to enter details such as the user's name, and email, and assign a role. Roles might be predefined such as 'Administrator', 'Accountant', 'Viewer', etc., each with its set of permissions.
Assign Roles: Assign a role to the new user. Each role comes with a predefined set of permissions that determine what the user can view, edit, or manage within the software. Choose the role that fits the user's needs and responsibilities.
Save the User: After filling out all the details and selecting the appropriate role, click 'Save'. The new user will now have access to the software according to the permissions of their assigned role.
IV. Features Overview
A. Dashboard and Reporting Tools
The dashboard is the heart of the [Your Company Name] Finance Accounts Software, providing users with a snapshot of their financial health and activities. Here's what you can expect:
Overview of Financial Status: The dashboard displays a concise summary of your financial status, including current account balances, upcoming bills, and receivables. This high-level view ensures that you're always aware of your financial standing.
Recent Transactions: A section of the dashboard is dedicated to showing recent transactions across all accounts. This feature allows for quick review and reconciliation of recent activity.
Quick Reports: Access to quick reports is a click away. Generate common reports such as Profit & Loss, Cash Flow Statements, and Budget vs. Actual directly from the dashboard for convenience.
Customizable Widgets: Personalize your dashboard with widgets that matter most to your business. You can add, remove, or rearrange widgets to suit your preferences and business needs.
B. Using the Dashboard effectively
Regular Check-ins: Make it a habit to check the dashboard regularly to stay informed of your financial status.
Customization: Take advantage of the customization features to ensure the information you need is always front and center.
Actionable Insights: Use the insights gained from the dashboard to make informed financial decisions or adjustments to your strategies.
C. Transaction Entry and Management
Efficiently managing your transactions is crucial for accurate financial records. The [Your Company Name] Finance Accounts Software provides an intuitive and robust transaction management system.
Entering Transactions: Easily add new transactions with details such as date, amount, accounts involved, and category. The software supports various types of transactions including expenses, income, transfers, and more.
Editing and Deleting: Mistakes happen, and our software makes it simple to edit or delete transactions. Just find the transaction in question and use the edit or delete option.
Recurring Transactions: For regular payments or incomes, set up recurring transactions. This feature ensures that your regular transactions are recorded automatically, saving time and ensuring consistency.
Categorization: Categorizing transactions helps in better financial tracking and reporting. Assign categories to each transaction to keep your finances organized and ready for detailed analysis.
D. Best practices for Transaction Management:
Consistency: Regularly update your transactions to keep your accounts up-to-date.
Review: Periodically review transactions to ensure accuracy and completeness.
Categorization: Make use of categories for better reporting and analysis.
E. Budgeting and Forecasting
A powerful feature of the [Your Company Name] Finance Accounts Software is its budgeting and forecasting tools. These tools help you plan and manage your finances effectively.
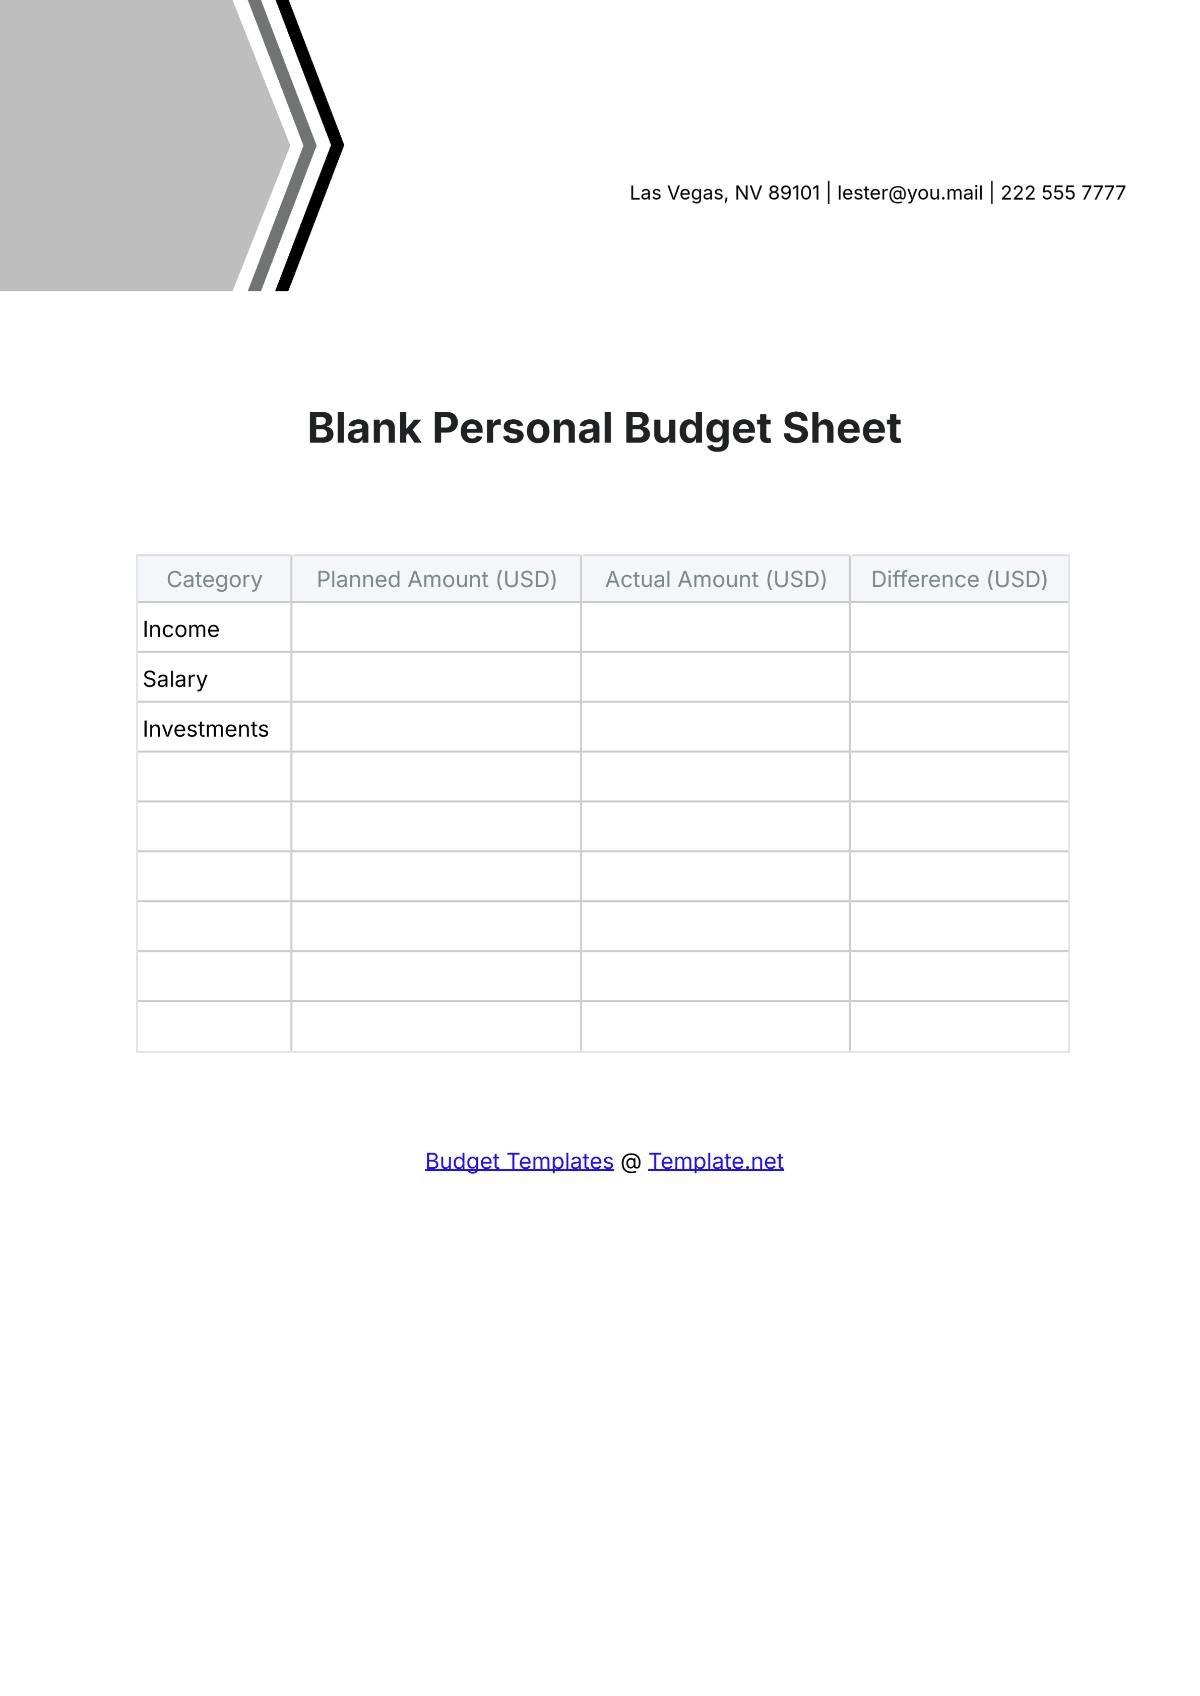
Creating Budgets: Set up budgets for various categories or overall business operations. Input your expected income and expenses, and the software will track actuals against these budgets.
Monitoring Progress: As transactions are recorded, the software compares them against your set budgets. You can see at a glance which categories are over or under budget, helping you adjust spending or expectations accordingly.
Forecasting: Use historical data to forecast future financial trends. The software can help predict future cash flow, revenues, and expenses, aiding in long-term planning and decision-making.
F. How to make the most of Budgeting and Forecasting
Regular Updates: Keep your budgets updated with the latest information to ensure accuracy.
Review Variances: Regularly check the variances between actual and budgeted amounts. Investigate and understand any significant differences.
Informed Planning: Use the insights from budgeting and forecasting for strategic planning and resource allocation.
G. Asset and Liability Tracking
Managing assets and liabilities is made easier with [Your Company Name] Finance Accounts Software. Track what you own and what you owe efficiently with the following features:
Asset Management: Record and manage your assets, including details like purchase date, value, depreciation, and current status. This helps in understanding the value of assets over time.
Liability Tracking: Keep a record of liabilities, including loans and accounts payable. Track due dates, interest rates, and payment schedules to ensure you never miss a liability payment.
Net Worth Calculation: The software automatically calculates your net worth by subtracting total liabilities from total assets, giving you a clearer picture of your financial health.
H. Effective Asset and Liability Management
Accuracy: Ensure all assets and liabilities are recorded accurately to maintain a clear financial picture.
Regular Review: Assets and liabilities should be reviewed periodically for changes in value, depreciation, or any other adjustments.
Strategic Decisions: Use the information from asset and liability tracking to make informed decisions about investments, divestments, or debt management.
I. Tax Settings and Reports
Handling taxes correctly is critical for any business or individual. The [Your Company Name] Finance Accounts Software simplifies tax management with dedicated features.
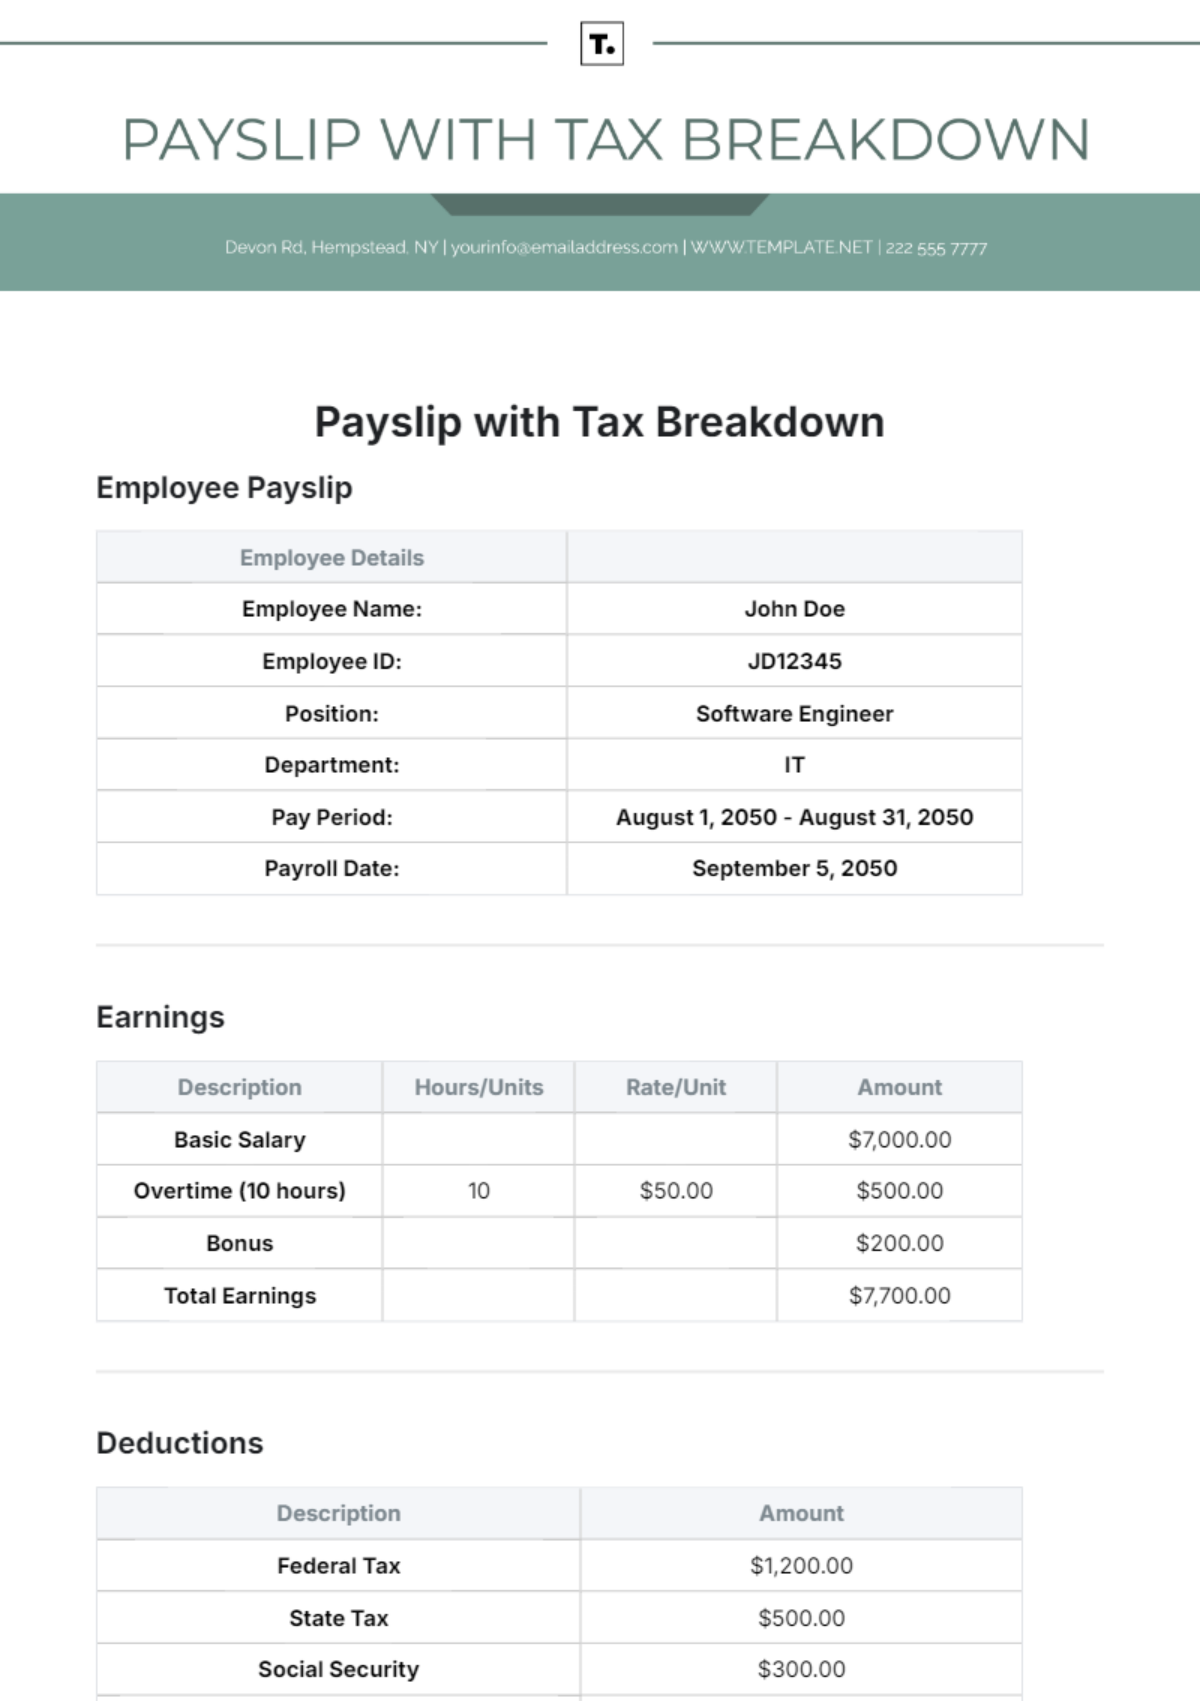
Tax Categories: Define tax categories according to the relevant tax regulations. Assign these categories to transactions to automate tax calculations.
Tax Reports: Generate tax reports with all the necessary details for tax filing. The software can compile transactions, calculate taxes owed or refundable, and organize them into the required formats.
Tax Planning: Use the software's insights to plan for tax payments or savings. By understanding your tax obligations ahead of time, you can better manage cash flow and investment decisions.
J. Tax Management Best Practices:
Regular Updates: Keep tax categories and rates updated according to the latest regulations.
Documentation: Ensure all transactions are documented and categorized correctly for accurate tax reporting.
Consultation: Consider consulting with a tax professional to ensure you're leveraging the software's tax features effectively.
