Manufacturing Root Cause Analysis
I. Executive Summary
In [2050], [Your Company Name] experienced a critical manufacturing issue involving the production of Smart Home Thermostat. A substantial number of defective units, representing approximately [10%] of the total output during a two-month period, disrupted operations. The defects ranged from dimensional discrepancies to functional failures, directly affecting the product's performance, customer satisfaction, and the company’s bottom line.
This report presents a detailed analysis of the root causes of these defects and outlines corrective actions taken to resolve the issue. Additionally, we will discuss long-term preventive measures to ensure that similar issues do not recur. By identifying the underlying causes, this analysis aims to improve manufacturing processes, reduce costs, and rebuild customer trust.
The findings and recommendations presented in this report will enable [Your Company Name] to implement sustainable improvements, enhance operational efficiency, and maintain product quality across future production cycles.
II. Problem Description
A. Overview of the Issue
In [May 2050], during routine quality checks, the production of Smart Home Thermostat revealed a concerning rate of defects. These defects primarily involved faulty assembly, which led to products not meeting the established quality standards. This problem was identified after [10%] of the produced units were found to have severe quality issues, resulting in customer dissatisfaction and operational disruptions. The defects ranged from physical imperfections to failures in key product features, which were not initially detected during earlier stages of production.
This situation presented an urgent challenge to the company, requiring immediate attention to both resolve the defects and understand their root causes. Given the significant volume of defective products, an in-depth investigation was necessary to prevent further issues and ensure that the company could meet its production targets without compromising product quality.
B. Impact Analysis
The issue had extensive financial, operational, and reputational consequences. The following summarizes the various impacts:
-
Financial Losses
The immediate financial implications of the defective units were substantial. The total cost of reworking and scrapping the defective products amounted to approximately $[750,000], covering materials, labor, and overhead costs associated with these defective units. In addition to this, there was a direct revenue loss of $[2,500,000] due to delayed shipments and refunds issued to affected customers. -
Operational Downtime
To address the issue, production was halted for a total of [five] days while the root cause was investigated. This unplanned downtime resulted in a [30%] reduction in the production output. The downtime also led to delays in fulfilling customer orders, contributing to a backlog in the supply chain. As a result, several products remained in inventory for longer than planned, causing further delays in meeting customer demand. -
Reputation Damage
The defects and resulting delays damaged [Your Company Name]'s reputation in the market. Key clients, some of whom had long-term contracts, voiced concerns about the quality of the product and the delays in delivery. This led to lost business opportunities and threatened customer loyalty. To regain customer trust, [Your Company Name] initiated proactive communication with affected clients, offering compensation and ensuring them that corrective actions were being taken.
III. Root Cause Analysis Methodology
A. RCA Framework
The root cause analysis was conducted using two primary methodologies: the 5 Whys technique and the Ishikawa (Fishbone) Diagram. These tools were selected for their ability to systematically identify underlying issues, from both human and machine-related factors to procedural and material shortcomings.
-
5 Whys Analysis
The 5 Whys method involved repeatedly asking the question "Why?" to identify the chain of events leading to the defects. The process helped reveal the fundamental causes. Below is a summary of the 5 Whys analysis:
Question |
Answer |

---|---|
Why did the defect occur? |
Improper alignment of machinery. |
Why was the alignment improper? |
Calibration procedures were skipped. |
Why were calibration procedures skipped? |
Operators were unaware of updated procedures. |
Why were operators unaware? |
Training sessions were delayed. |
Why were sessions delayed? |
Resource allocation issues in the training department. |
-
Fishbone Diagram
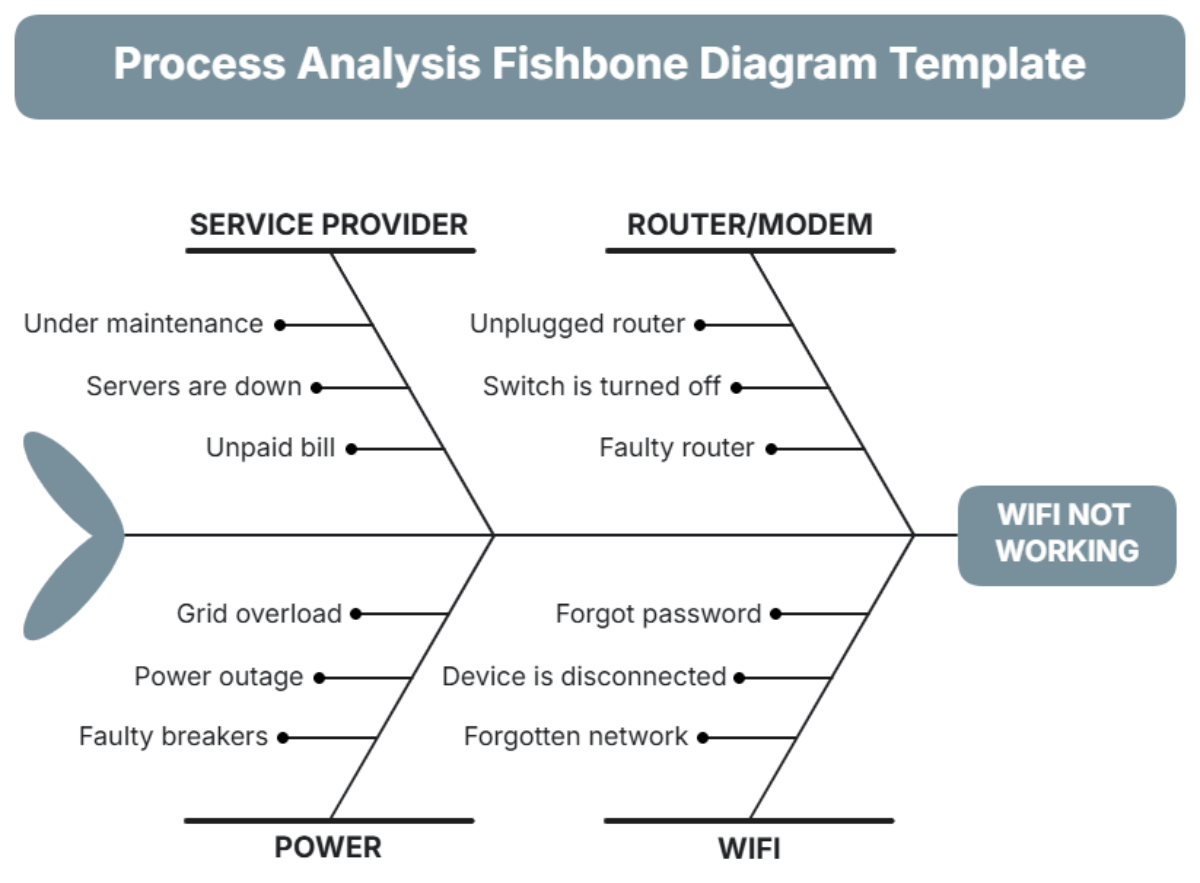
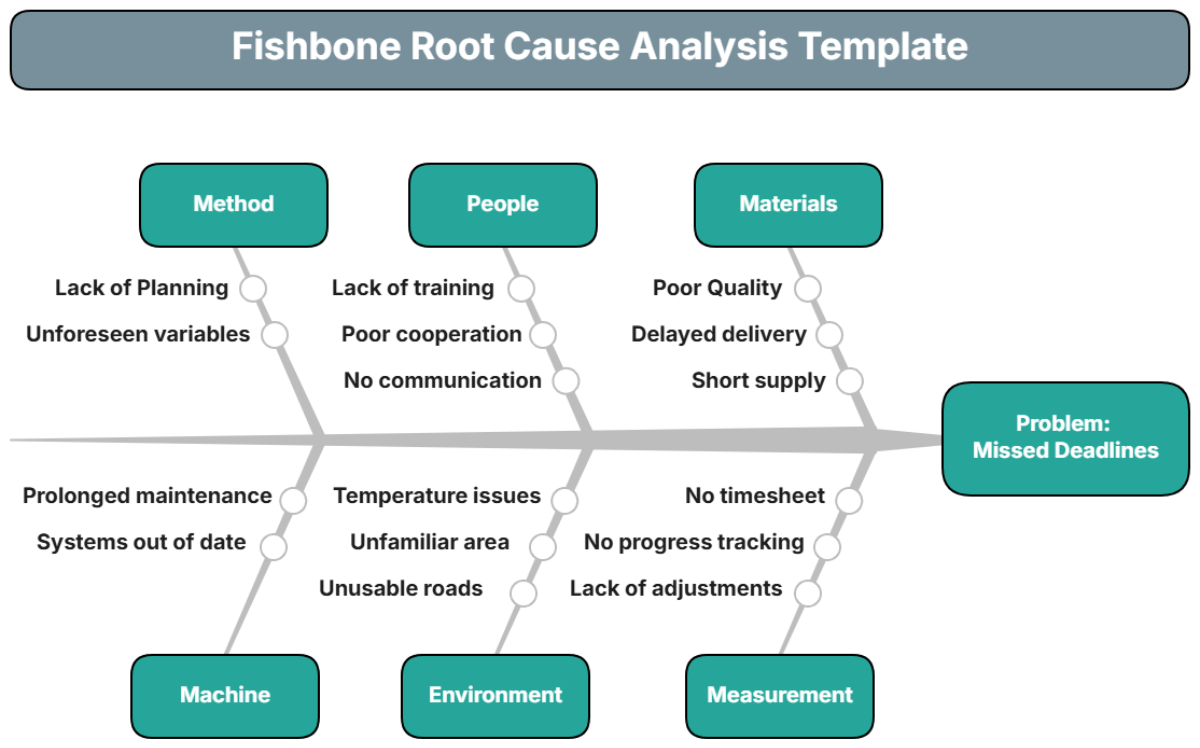
The Ishikawa Diagram categorized potential causes into four key areas: Man, Machine, Material, and Methods. This diagram helped visualize the relationship between various factors and their contribution to the defects.
Category |
Cause Description |
---|---|
Man |
Lack of operator training and insufficient communication of updates. |
Machine |
Faulty calibration of assembly equipment and aging machinery. |
Material |
Supplier non-conformance and inconsistent material testing. |
Methods |
Inconsistent quality control checks and outdated SOPs. |
B. Data Collection
To effectively identify the root causes, data was collected from multiple sources:
-
Interviews: In-depth interviews were conducted with production staff, machine operators, and maintenance teams to gather insights into the daily processes and potential operational gaps.
-
Inspection Reports: Quality control inspection reports were reviewed to assess the nature of the defects and determine when they were first identified.
-
Historical Data: Maintenance logs, operator training records, and previous defect rates were analyzed to understand if any recurring patterns had contributed to the issue.
This data-driven approach enabled the identification of key problem areas that required immediate attention.
IV. Root Causes Identified
A. Human Factors
-
Insufficient Training
One of the key root causes identified was the insufficient training provided to operators, particularly in handling newly upgraded equipment and understanding updated calibration procedures. Over [50%] of operators had not received training on the changes implemented in [2050], which led to errors in equipment handling and calibration. This gap in training caused discrepancies in machine alignment and, subsequently, defective products. -
Communication Gaps
In addition to insufficient training, there were also communication gaps regarding updated procedures and quality control standards. Operators were not consistently informed about new production protocols or changes to operational procedures. This lack of communication led to deviations from standard practices, contributing to defects in the production process.
B. Equipment Issues
-
Faulty Calibration
A significant contributing factor was the failure to calibrate assembly machines according to updated specifications. Scheduled calibration checks were skipped due to pressure to meet production targets. This error resulted in misalignment during the assembly process, causing defects in the final product. Maintenance logs revealed that calibration tasks were overdue for [several months], leading to further inaccuracies in production. -
Aging Equipment
Another major issue was the use of aging equipment, with [30%] of the machinery in the production line exceeding its recommended operational lifespan. As a result, these machines were prone to failure and inefficiency, which affected the quality of the products produced. The lack of timely equipment replacement was identified as a key issue that needed to be addressed to ensure consistent product quality.
C. Material Variability
-
Supplier Non-Conformance
A major supplier failed to meet the agreed-upon material specifications, leading to variability in the raw materials used in production. The inconsistent material quality directly impacted product features, resulting in defects such as poor fit and function. This non-conformance was not identified early enough, allowing substandard materials to enter the production process. -
Lack of Material Testing
The quality control team did not rigorously test incoming materials as part of the production process. This oversight, caused by staffing shortages and increased workload, led to the use of materials that did not meet the required standards. The lack of proper incoming material testing was a significant contributor to the defects identified in the final products.
D. Procedural Deficiencies
-
Inadequate Quality Control (QC) Checks
The QC team was unable to complete [30%] of the scheduled inspections during the affected period due to time constraints and understaffing. This failure to thoroughly inspect products during critical stages of production allowed defective units to pass through without detection. The insufficient QC checks contributed significantly to the widespread defects. -
Deviation from Standard Operating Procedures (SOPs)
Several deviations from the established SOPs were identified. These deviations were primarily due to outdated procedural documentation, which did not align with current production technologies and standards. As a result, operators were unsure of the correct procedures, leading to errors during assembly and testing.
V. Corrective Actions
A. Immediate Measures
-
Production Halt
To prevent the production of further defective units, [Your Company Name] halted production for two days. This temporary shutdown allowed the investigation team to perform a thorough analysis and implement corrective actions before resuming operations. -
Inspection of Inventory
A full inspection of all units produced during the affected period was conducted. Approximately [5,000 units] were found to be defective or in need of rework. The company initiated a recall to ensure that these units did not reach customers. -
Calibration and Maintenance
All affected machinery was recalibrated, and overdue maintenance tasks were expedited. The maintenance team worked overtime to perform critical repairs and ensure that all machines were functioning optimally before production resumed.
B. Training and Communication Improvements
-
Operator Training Programs
A comprehensive training program was implemented to bring all operators up to speed with the latest machinery upgrades and operational procedures. The training covered key areas such as calibration, assembly techniques, and quality control standards. The goal was to ensure that all operators were equipped with the necessary knowledge to avoid similar defects in the future. -
Enhanced Communication Channels
Communication was improved across departments to ensure that all updates and changes to processes were communicated in a timely and clear manner. Regular meetings and briefings were scheduled between production teams and management to ensure that any changes to SOPs, equipment, or quality standards were effectively communicated.
VI. Implementation Timeline
The implementation of corrective and preventive actions will take place over the next [12 months]. Below is a detailed timeline for key actions:
Action |
Timeline |
Responsible Department |
---|---|---|
Immediate Production Halt |
May 2050 |
Production & Quality Control |
Inspection of Defective Units |
May 2050 |
Quality Control |
Machinery Calibration and Maintenance |
May–June 2050 |
Maintenance |
Operator Training Program Rollout |
June 2050 |
HR & Production |
Supplier Quality Audits |
June–August 2050 |
Procurement & Quality Control |
Review & Update of SOPs |
July 2050 |
Operations & Quality Control |
Automation Integration (Phase 1) |
August 2050 |
IT & Quality Control |
Preventive Maintenance Program Launch |
August 2050 |
Maintenance |
This timeline will ensure that the necessary steps are completed promptly and that any future risks are minimized.
VII. Monitoring and Evaluation
To ensure that corrective actions remain effective and that long-term improvements are realized, [Your Company Name] has developed a robust monitoring and evaluation framework. Key performance indicators (KPIs) will be used to assess the impact of the actions taken, including:
-
Defect Rate Reduction
One of the most critical KPIs will be the reduction in defect rates across all production lines. A target of reducing defects by [80%] by the end of [2050] has been set. This will be closely monitored using real-time data from the newly implemented quality control systems. -
Operational Efficiency
Another KPI will focus on improving operational efficiency. With the new preventive maintenance program and reduced downtime, the company expects to achieve a [25%] improvement in production efficiency by [2051]. This will be tracked by comparing output levels before and after the implementation of corrective measures. -
Customer Satisfaction
Customer feedback will be collected through surveys and direct communication. A key goal is to increase customer satisfaction scores by [15%] by the end of [2051]. The company will also track repeat business and new client acquisitions as indicators of customer trust and satisfaction. -
Employee Engagement
Employee feedback regarding training, processes, and the work environment will be gathered through regular surveys. A target increase in employee engagement by [20%] is set for [2051], as the new training and communication programs are expected to improve job satisfaction and operational performance. -
Supplier Performance
Supplier audits and performance reviews will be conducted quarterly to ensure compliance with quality standards. A target of [95%] compliance with quality specifications from suppliers is set for [2051]. This will be tracked by monitoring material quality and supplier audit results.
By regularly evaluating these KPIs, [Your Company Name] will ensure that the corrective actions remain effective, and any necessary adjustments will be made in a timely manner.
VIII. Conclusion and Recommendations
This root cause analysis has provided a comprehensive understanding of the manufacturing issues faced by [Your Company Name]. Through a combination of human error, equipment issues, material inconsistencies, and procedural deficiencies, the company experienced a significant defect rate that impacted both financial performance and customer satisfaction. However, by adopting a systematic approach to root cause analysis, immediate corrective actions have been taken to address these issues.
Moving forward, the company is committed to implementing both corrective and preventive measures that will ensure sustained improvement in manufacturing quality and operational efficiency. The integration of advanced automation, regular training, rigorous supplier management, and enhanced communication practices will ensure that [Your Company Name] continues to meet the highest standards of quality and customer satisfaction.
The company is optimistic that the actions outlined in this report will restore its reputation, improve product quality, and enhance long-term profitability. Monitoring and evaluating the effectiveness of these actions will ensure continued success and provide a framework for future growth and operational excellence.