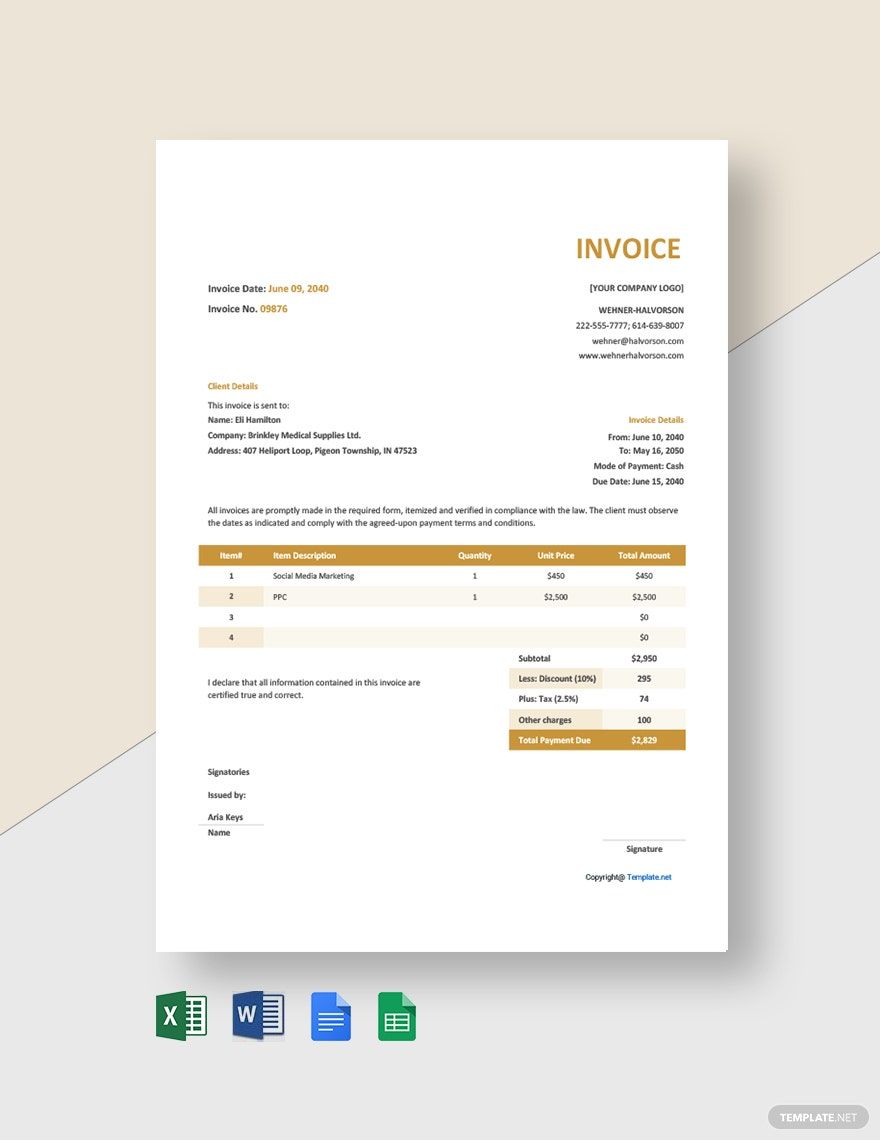
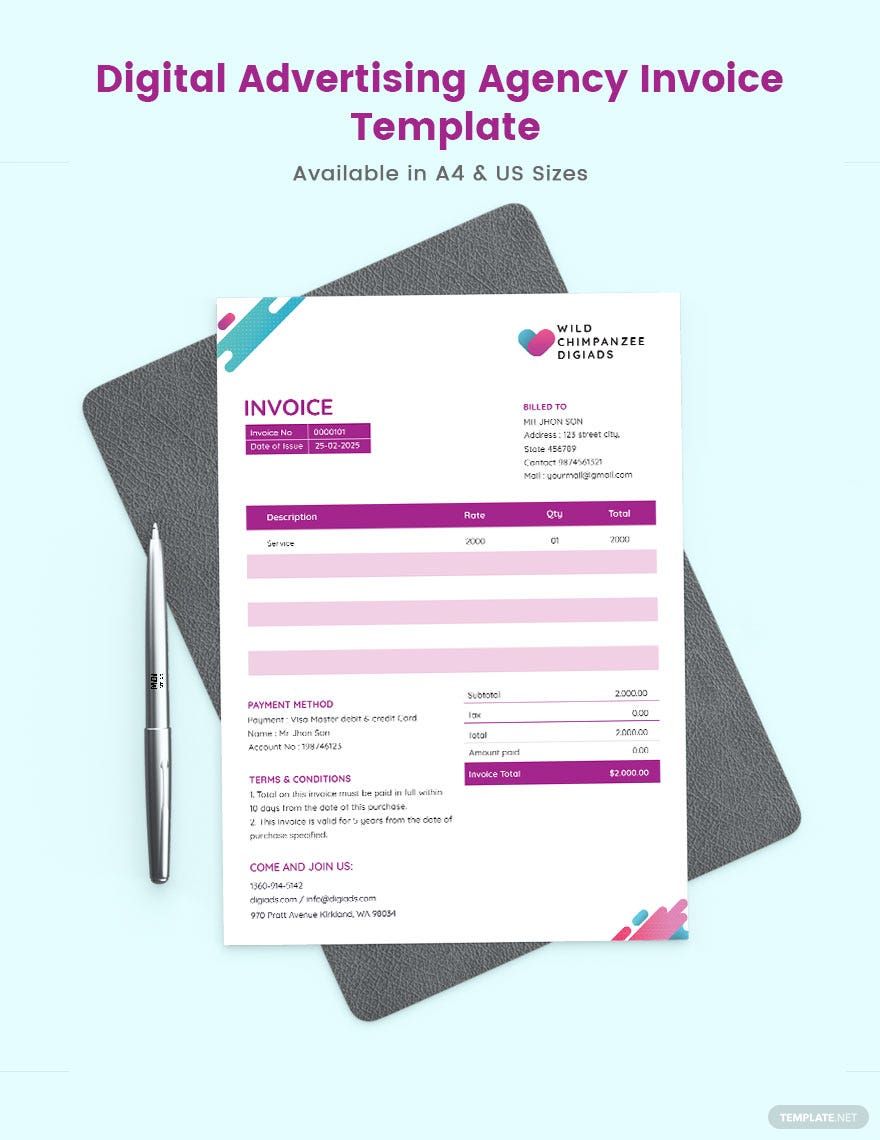
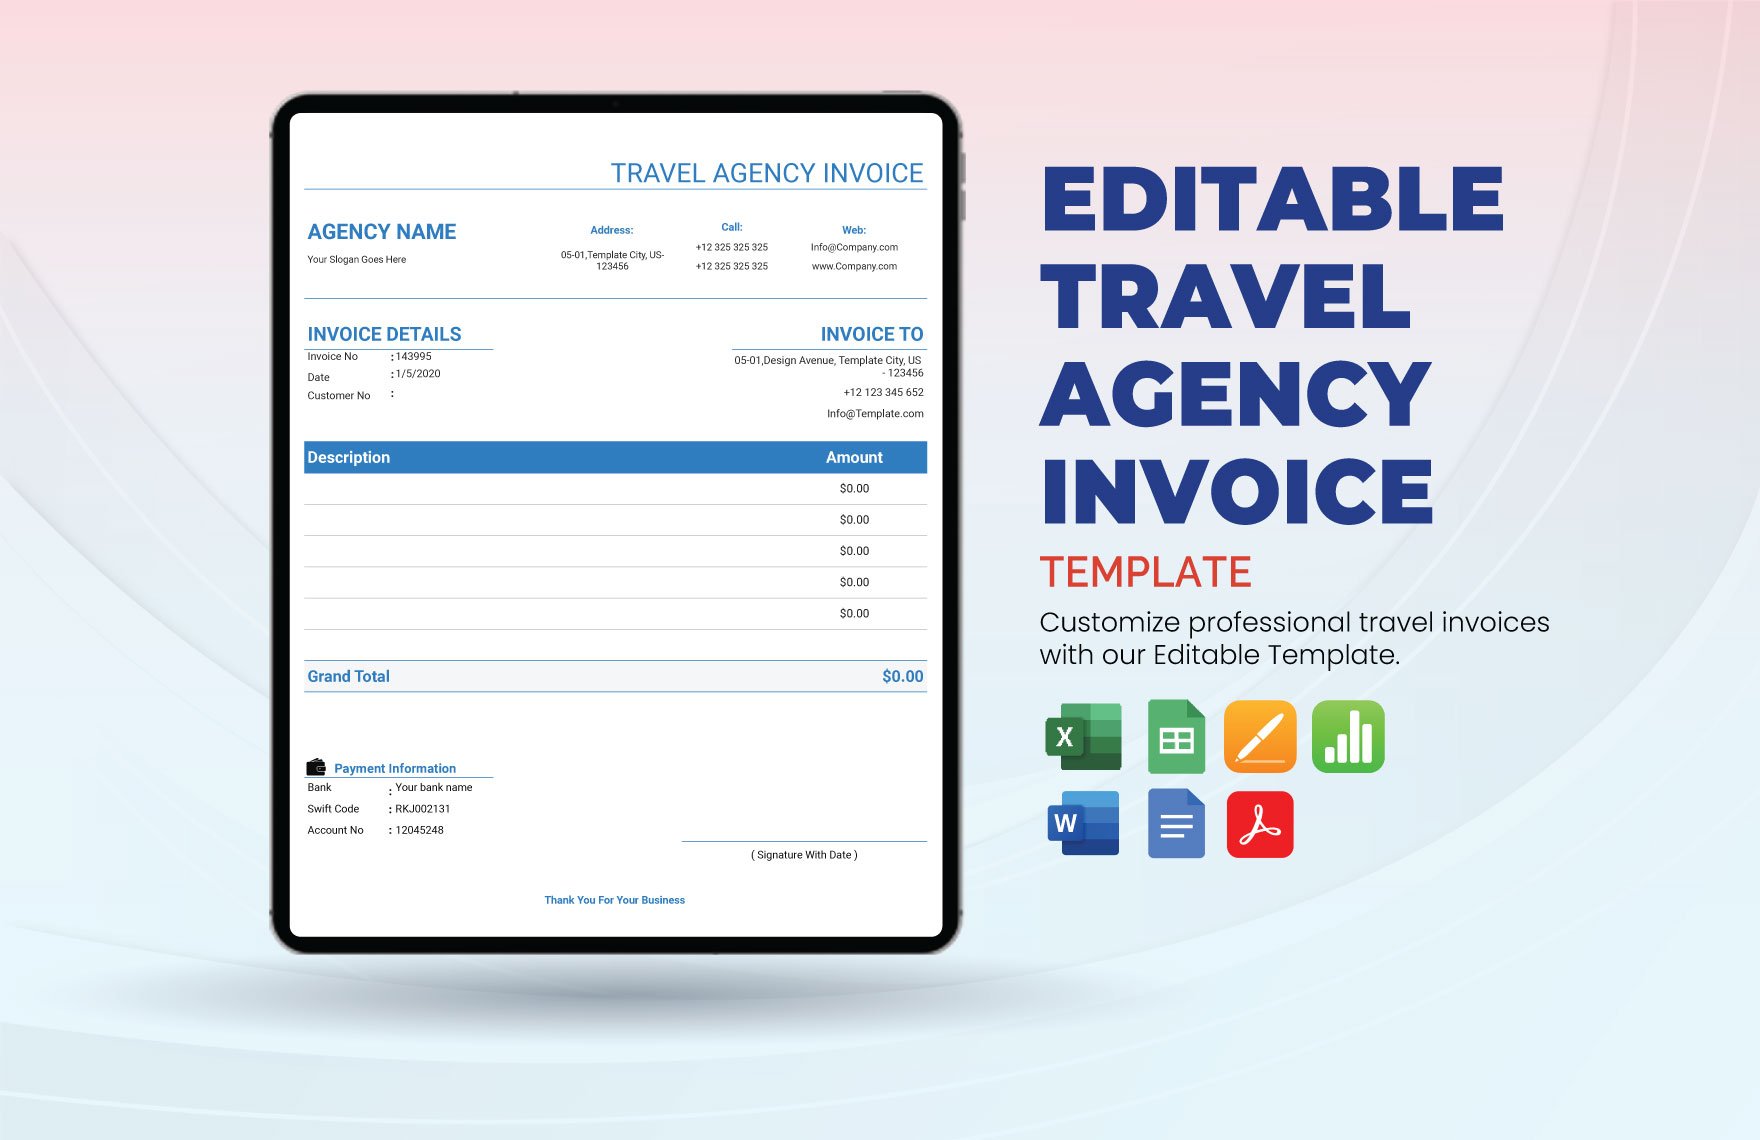
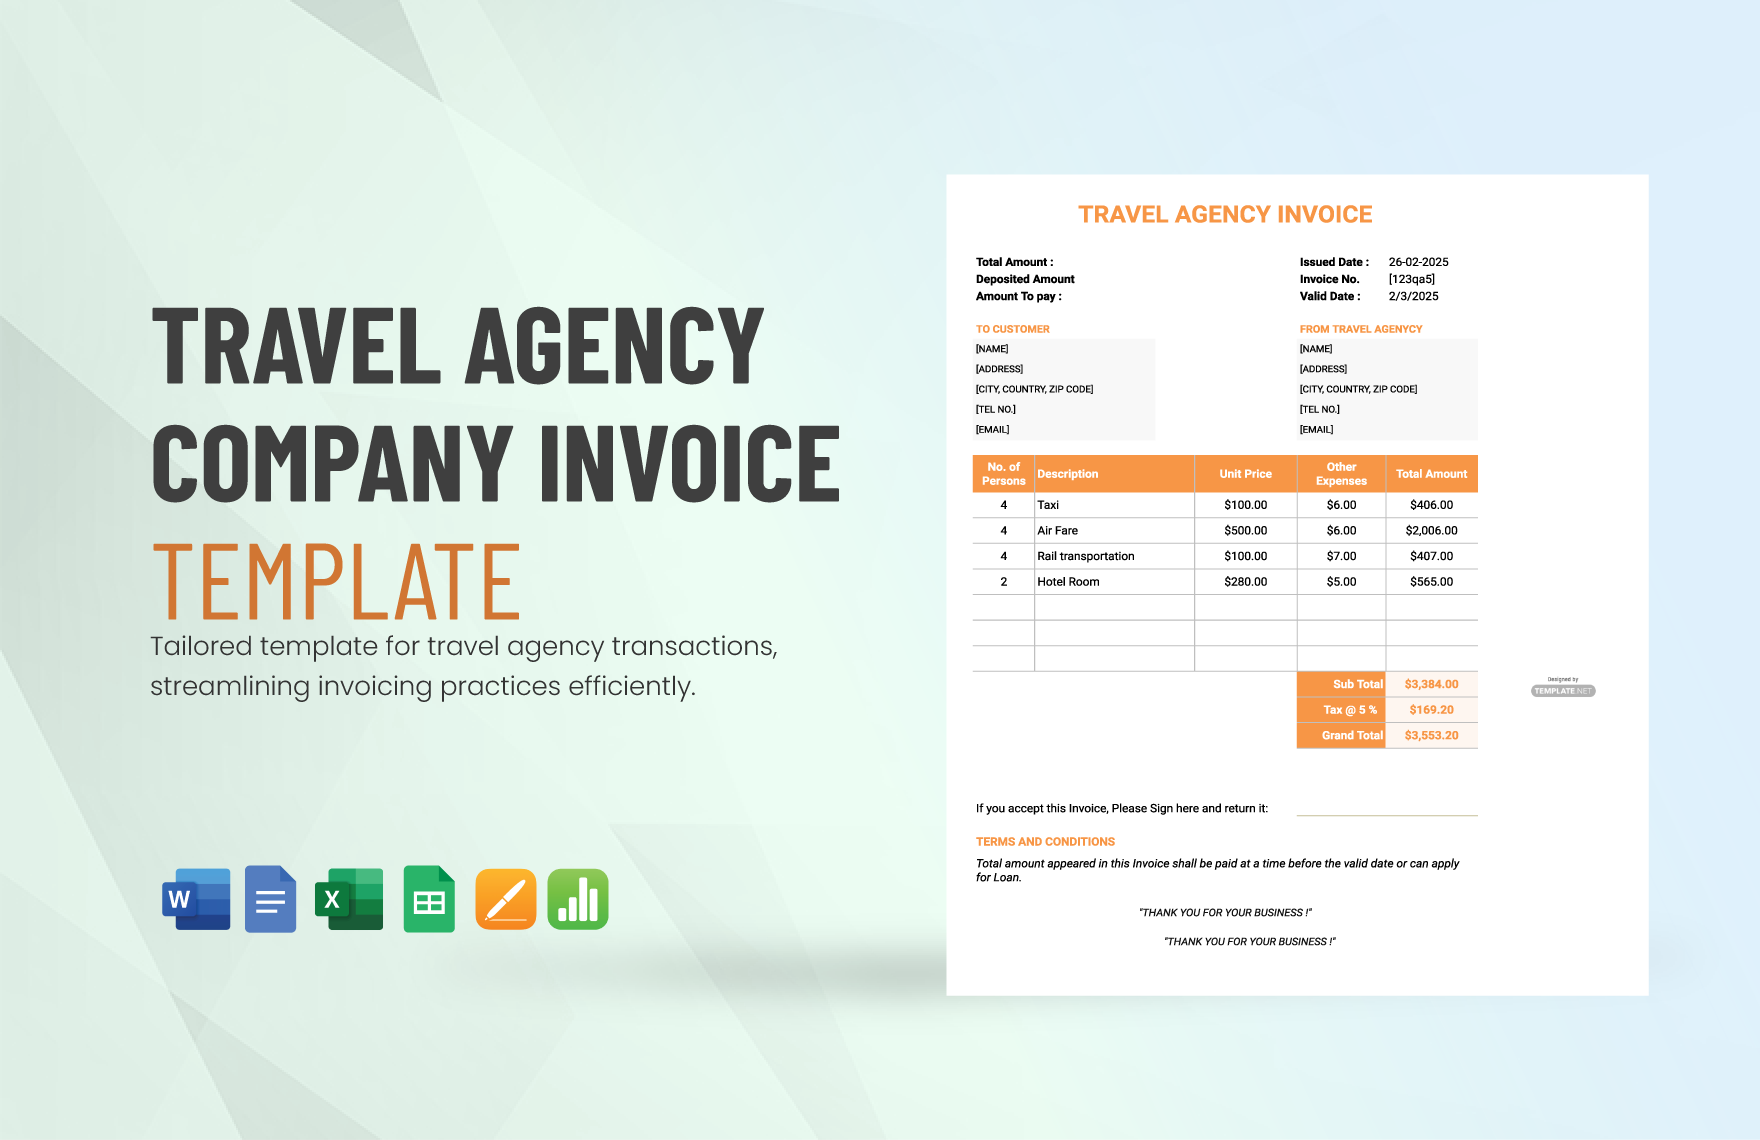
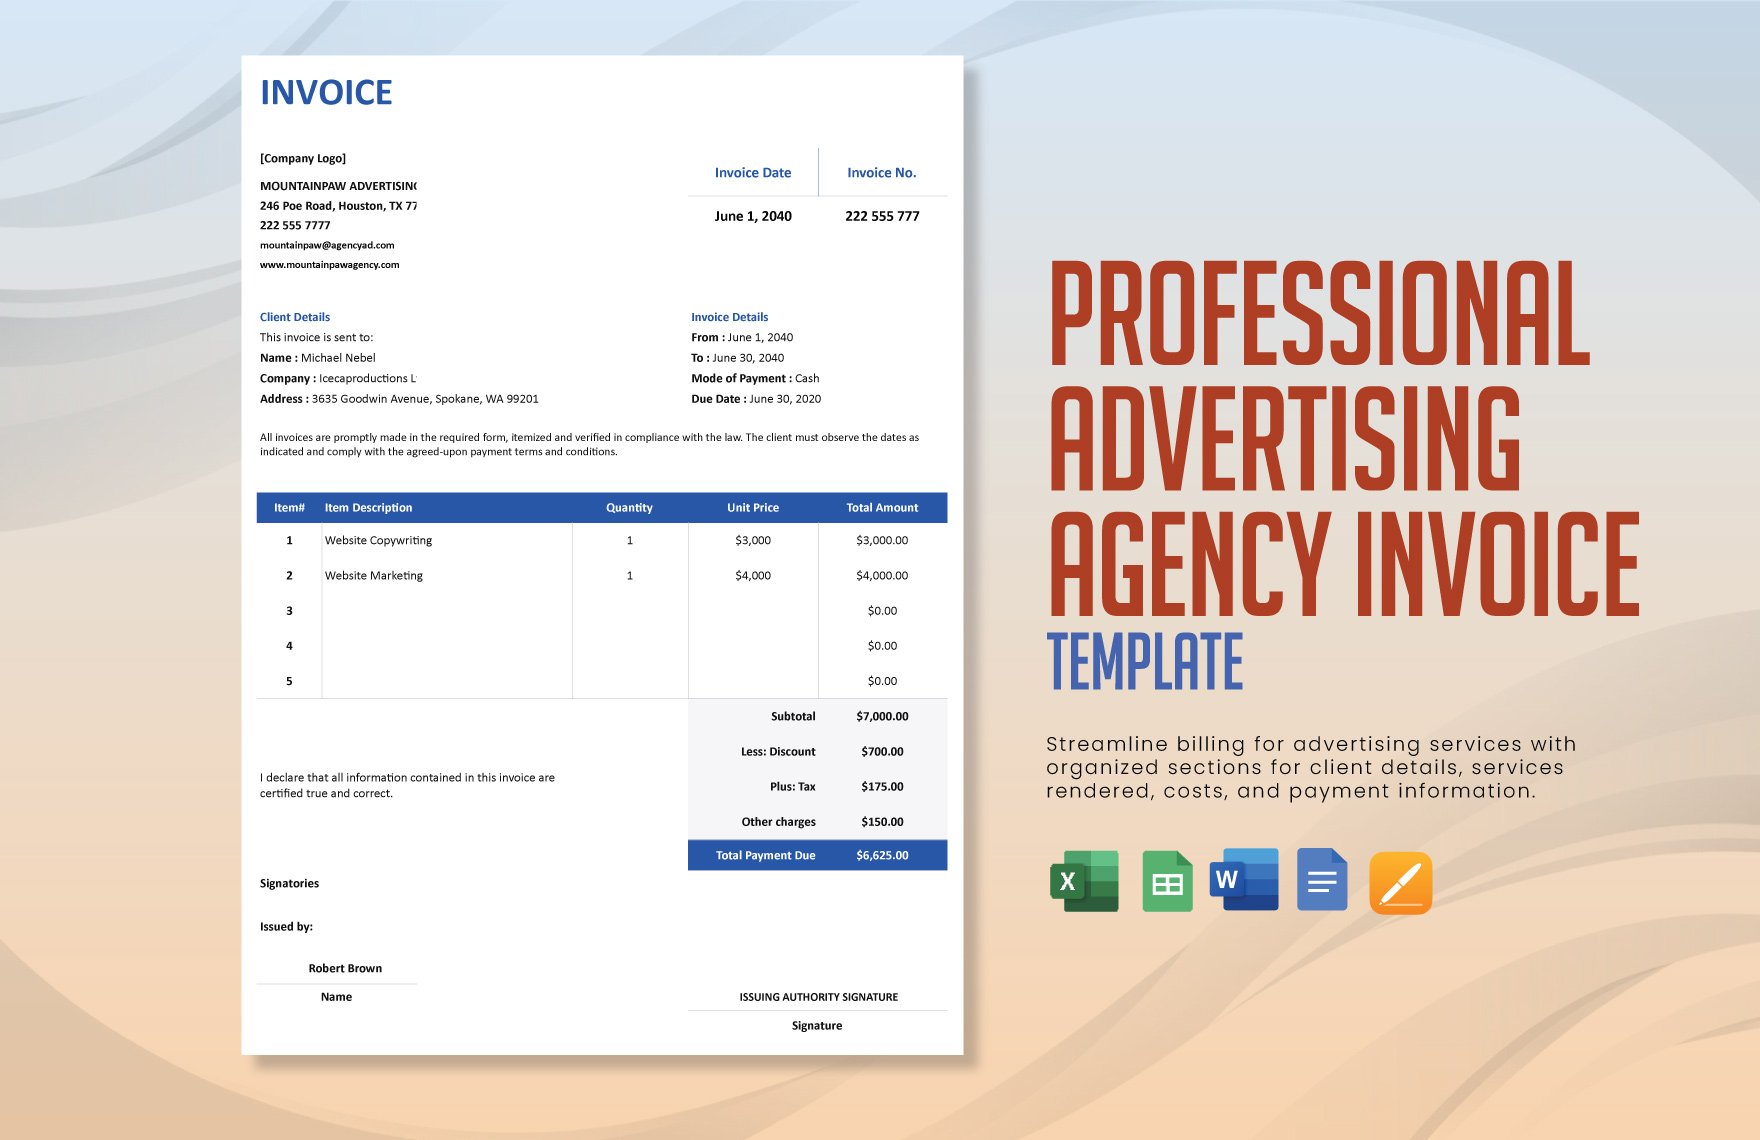
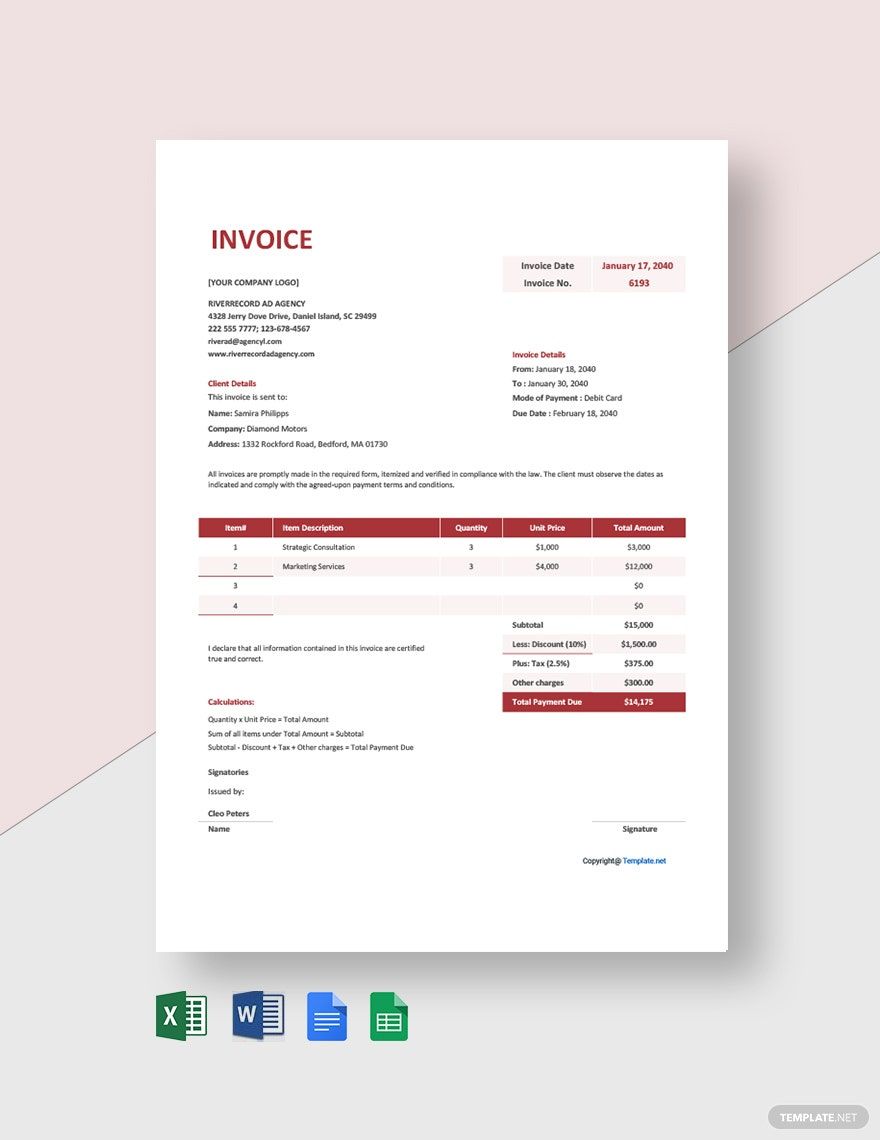
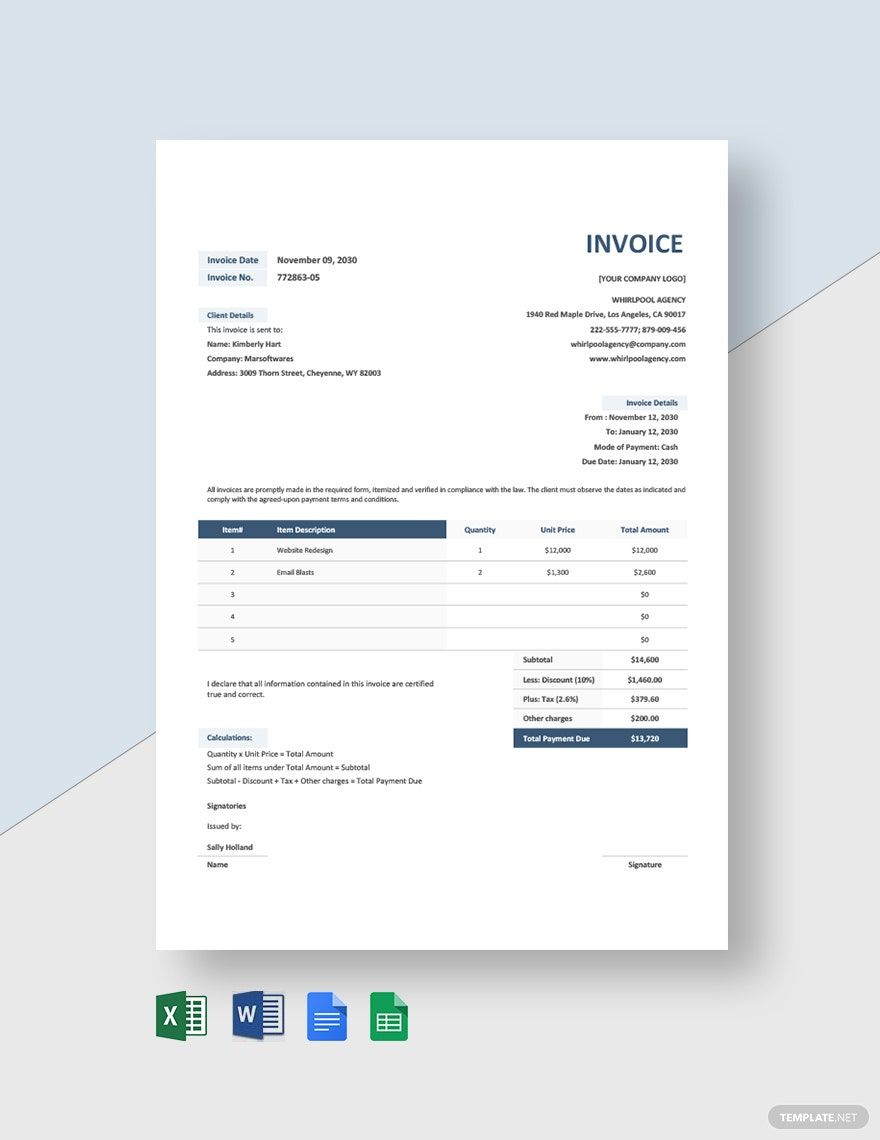
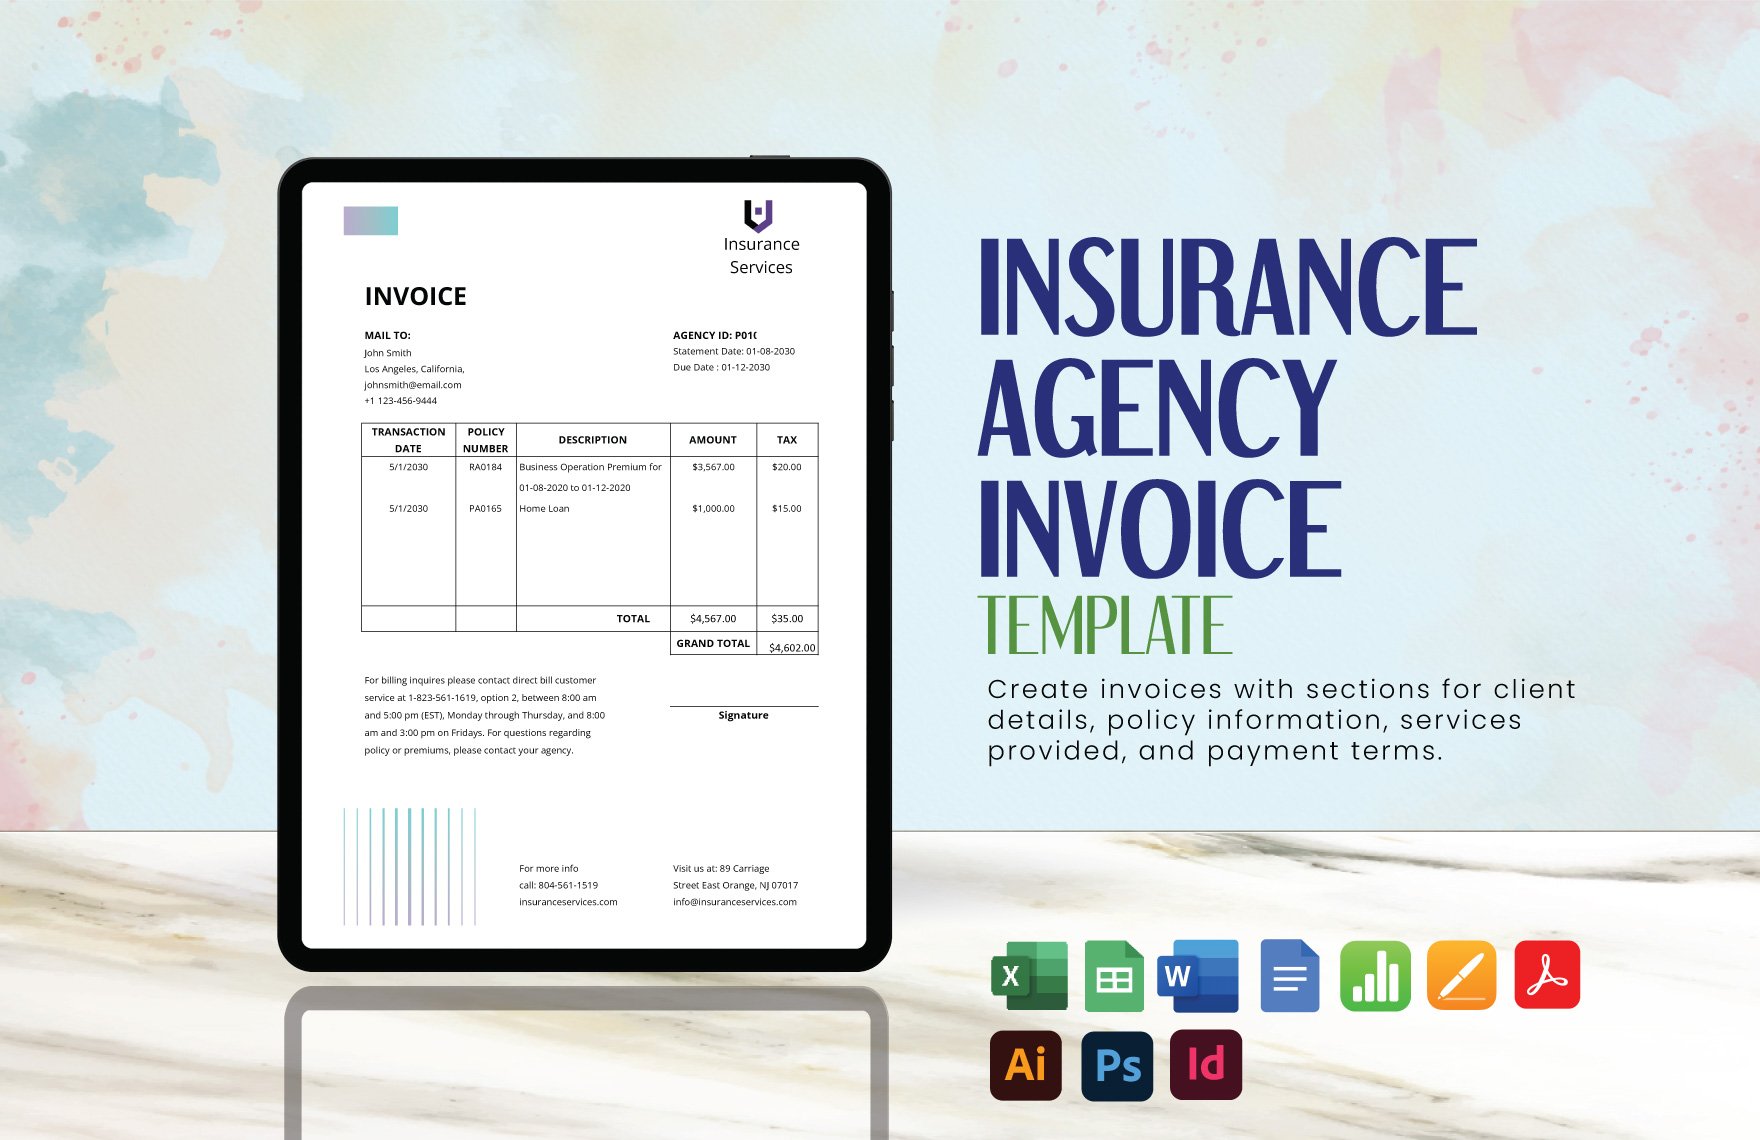
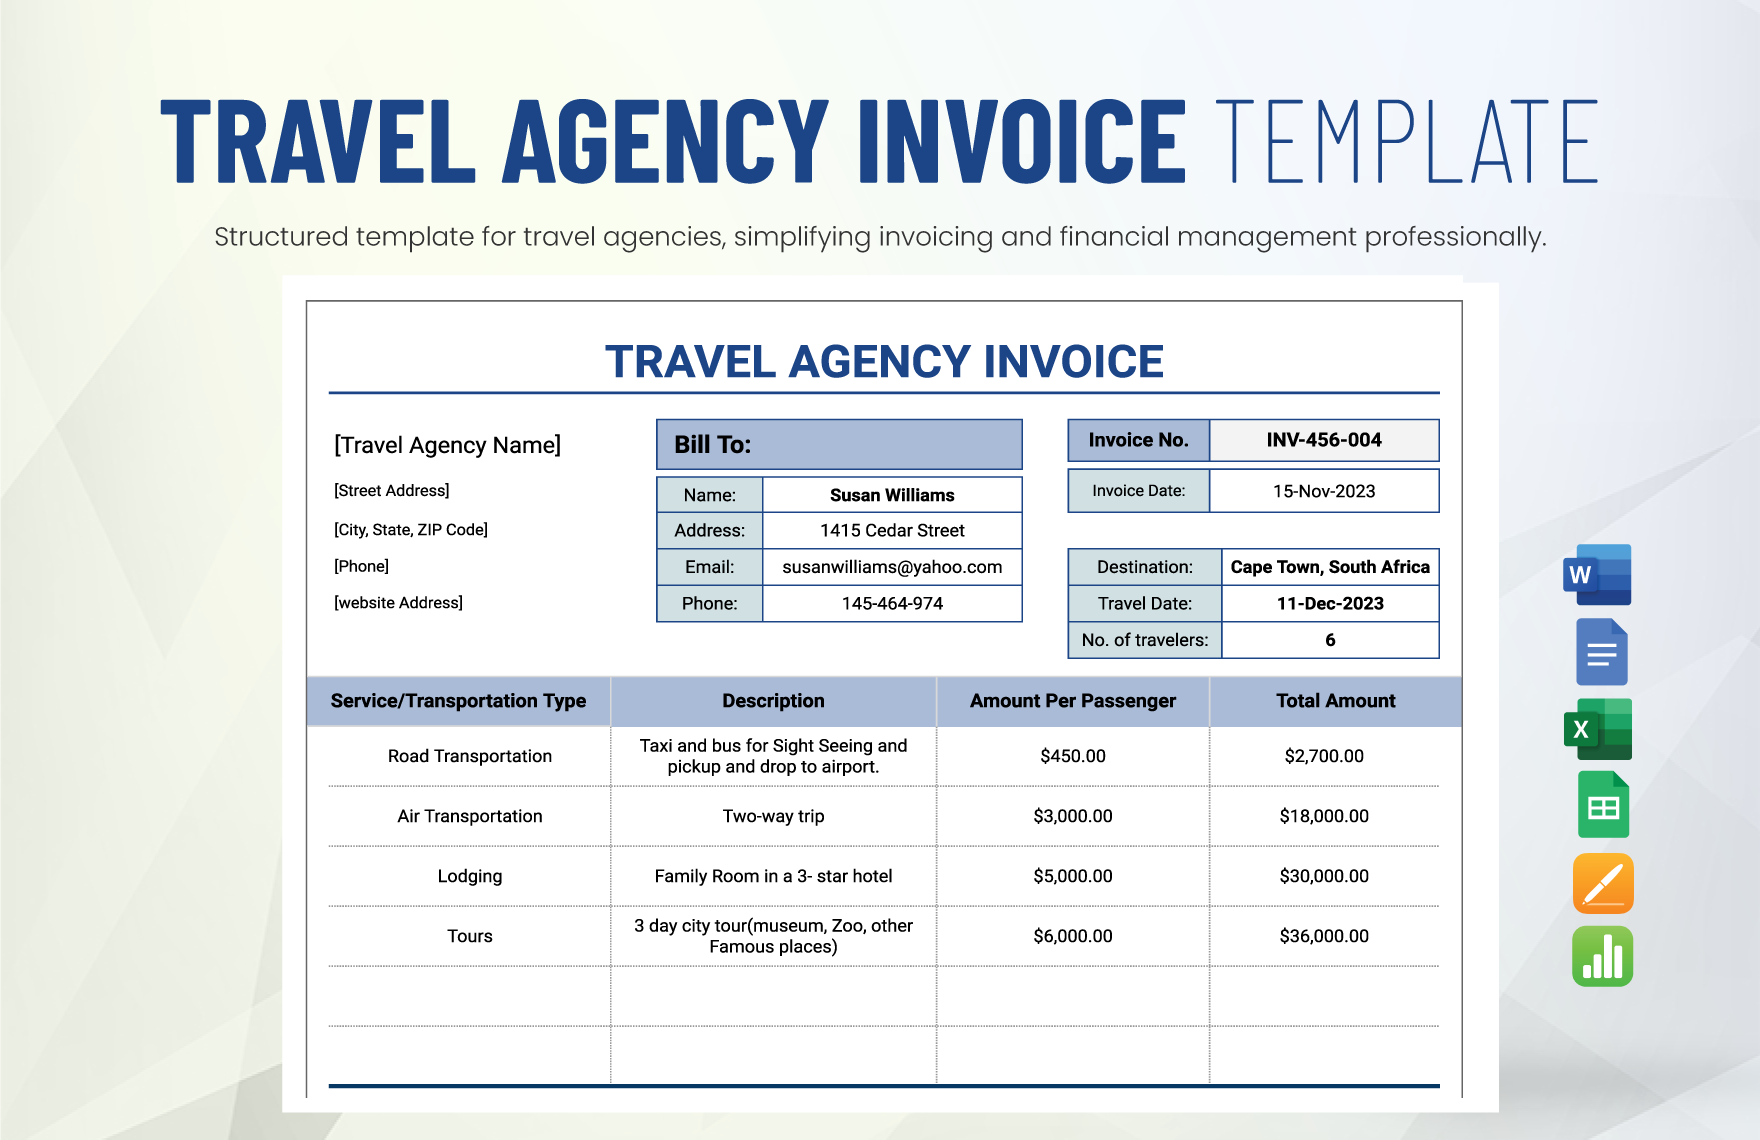
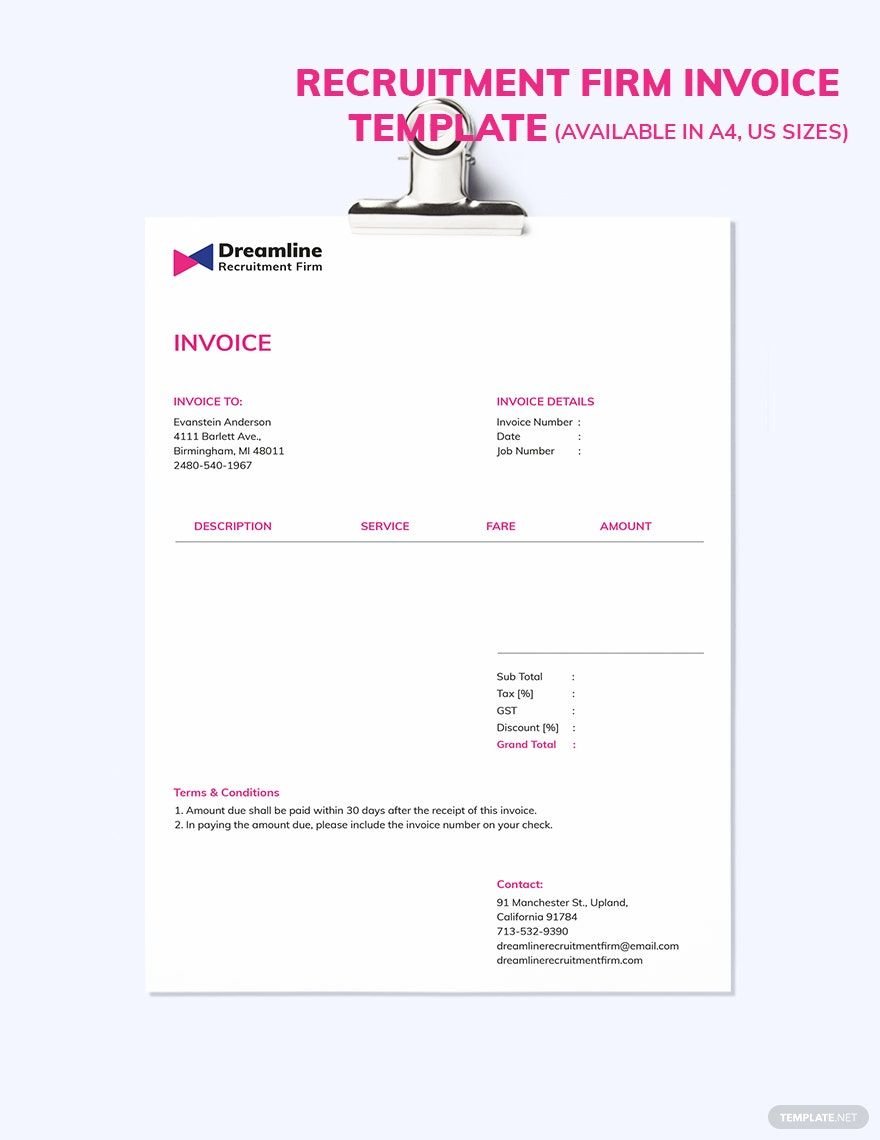
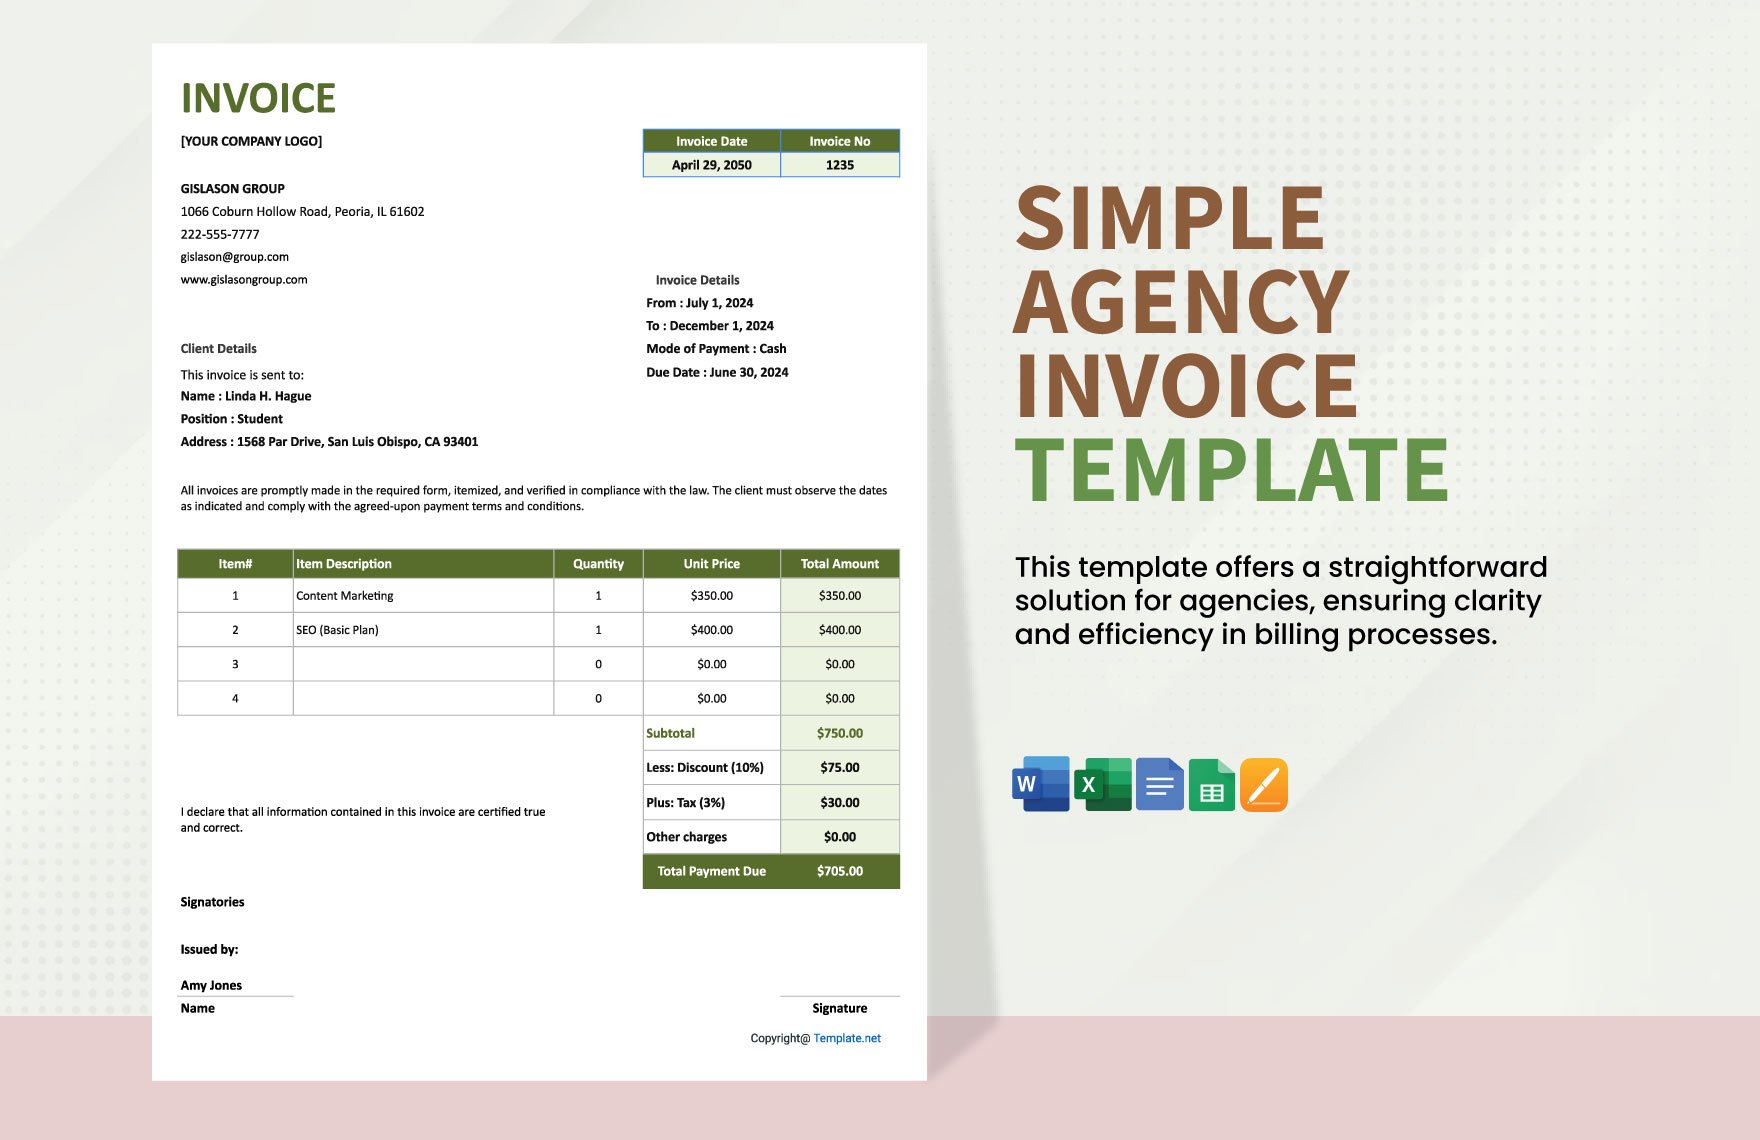
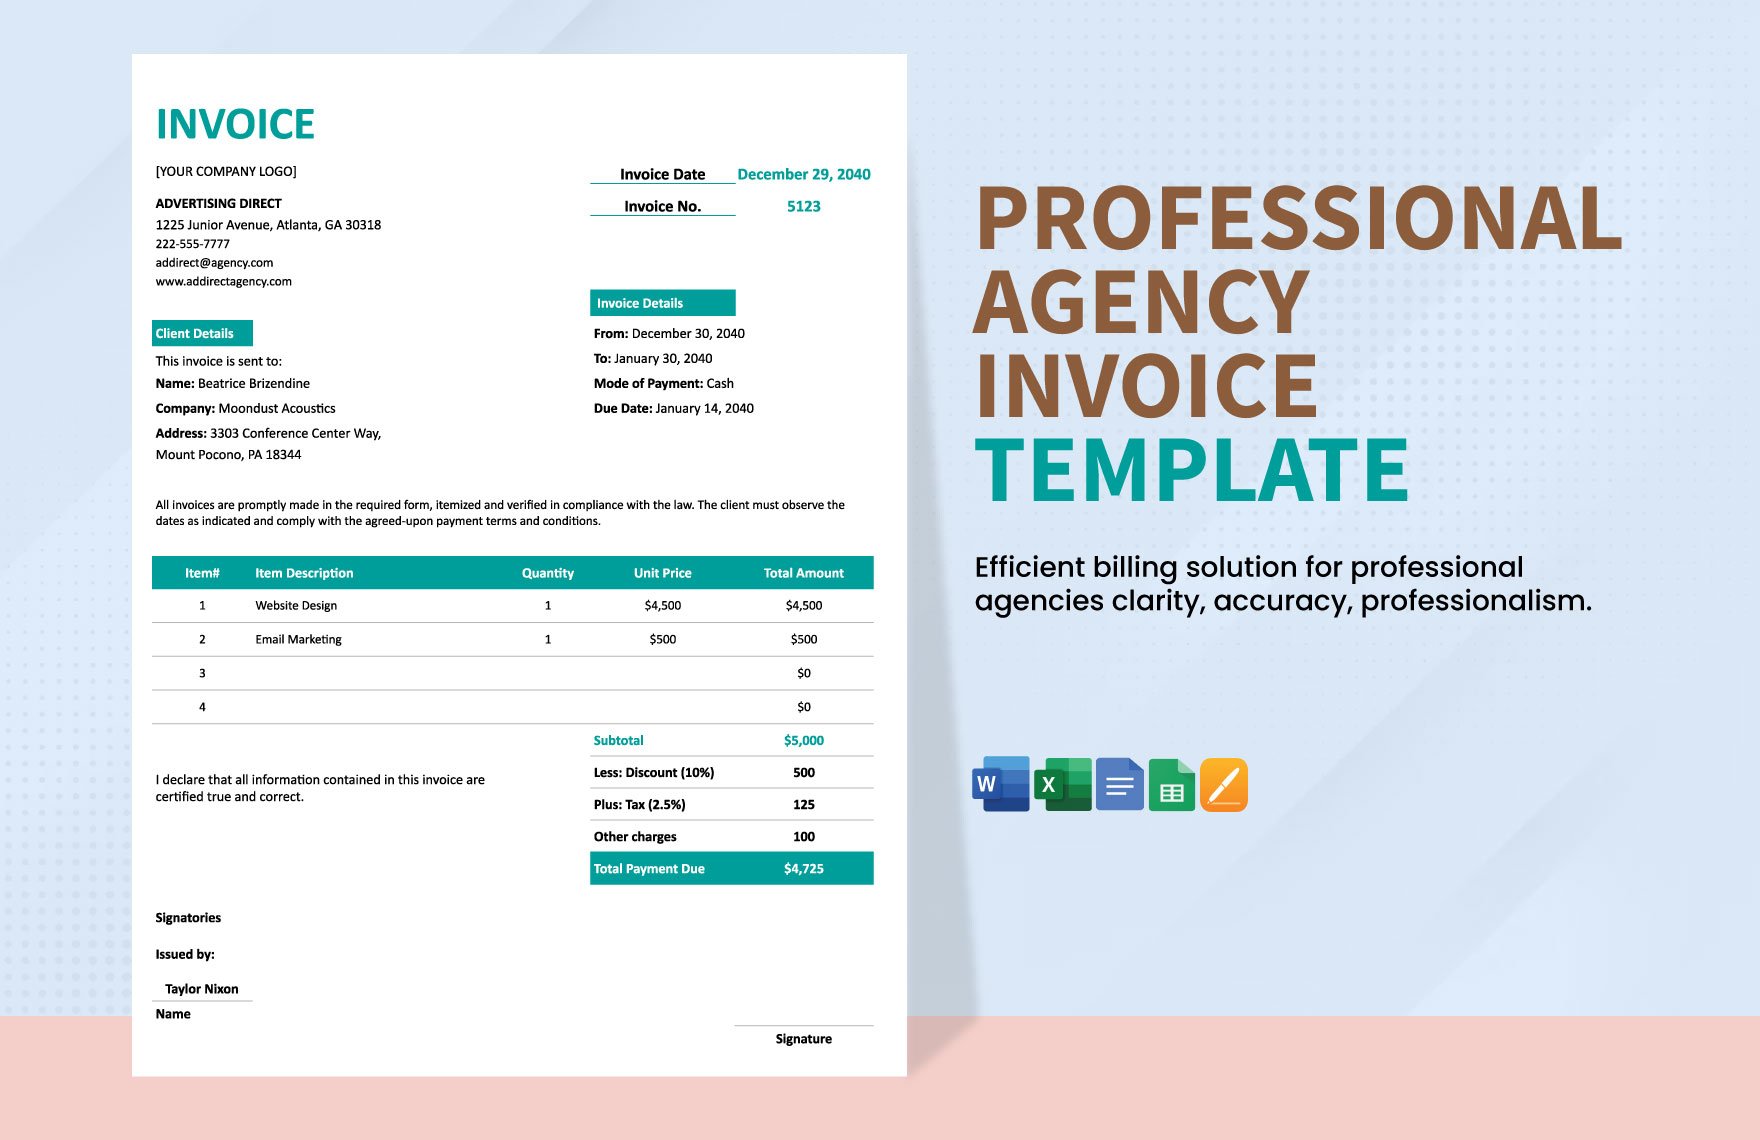
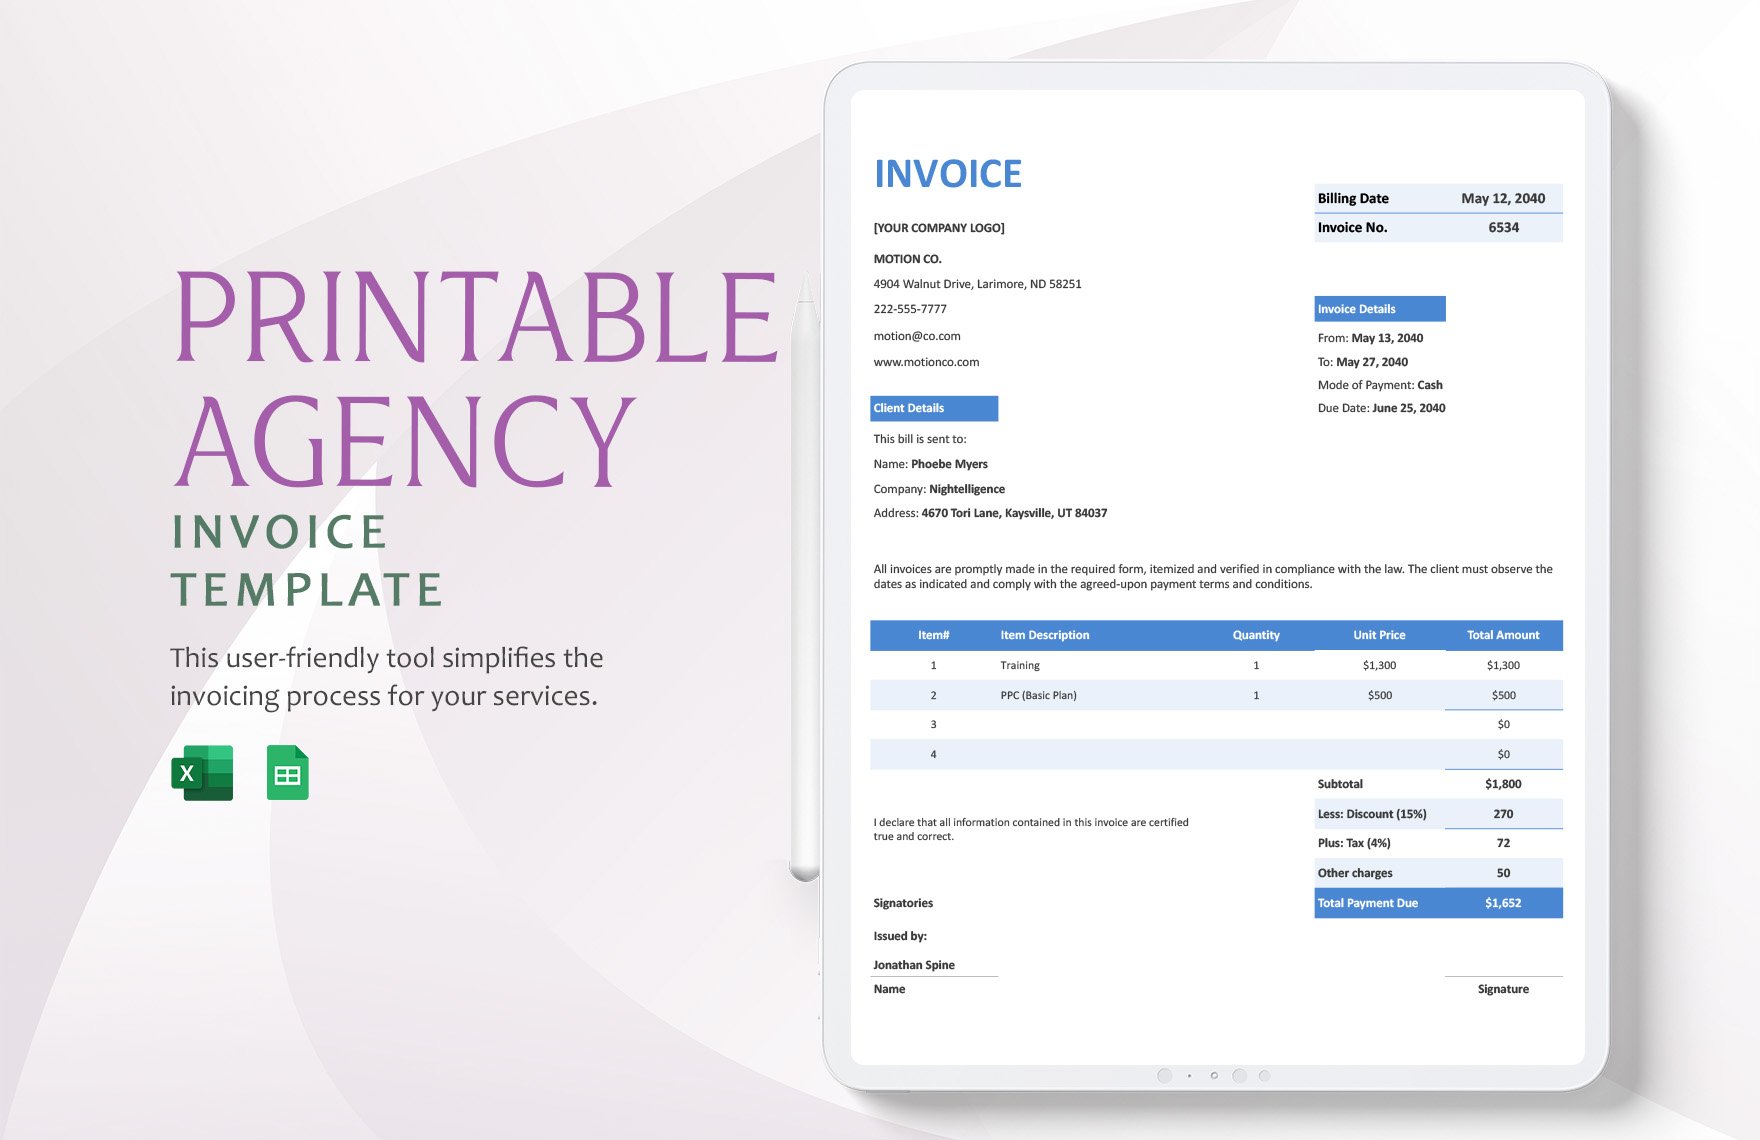
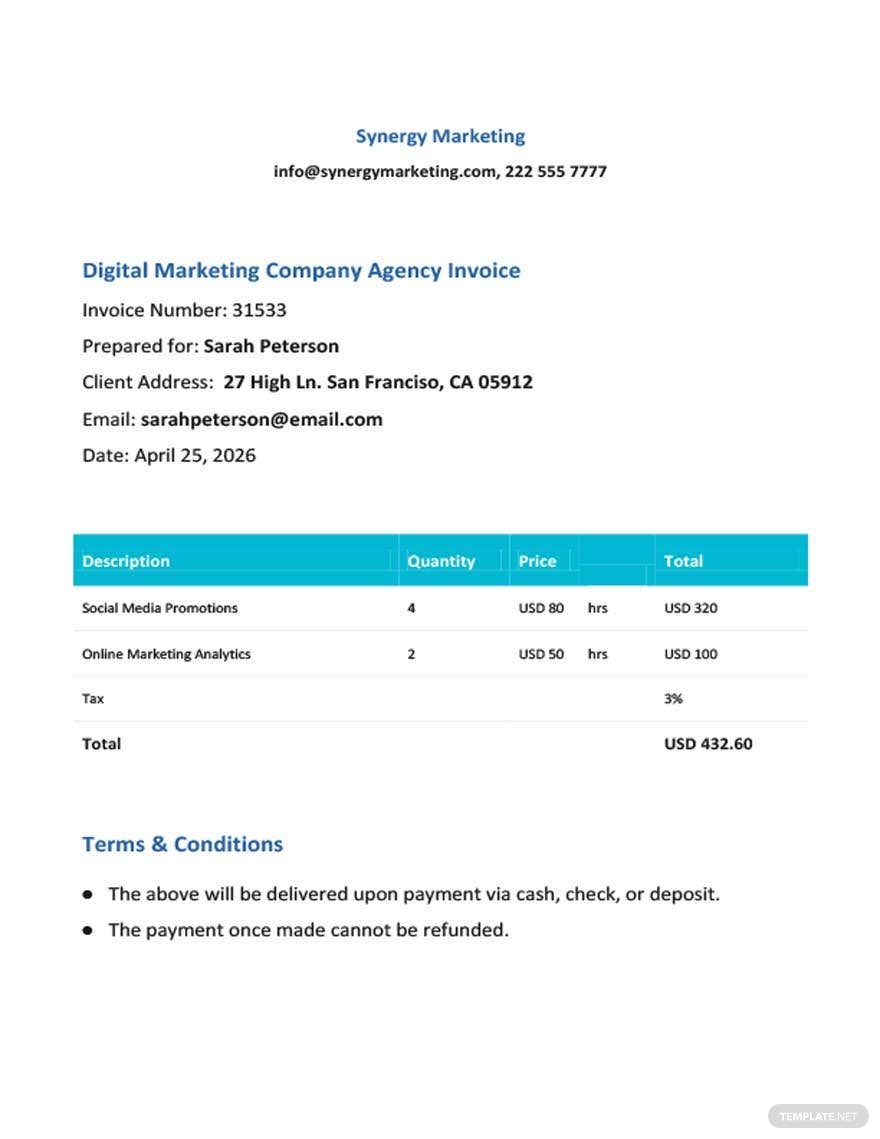
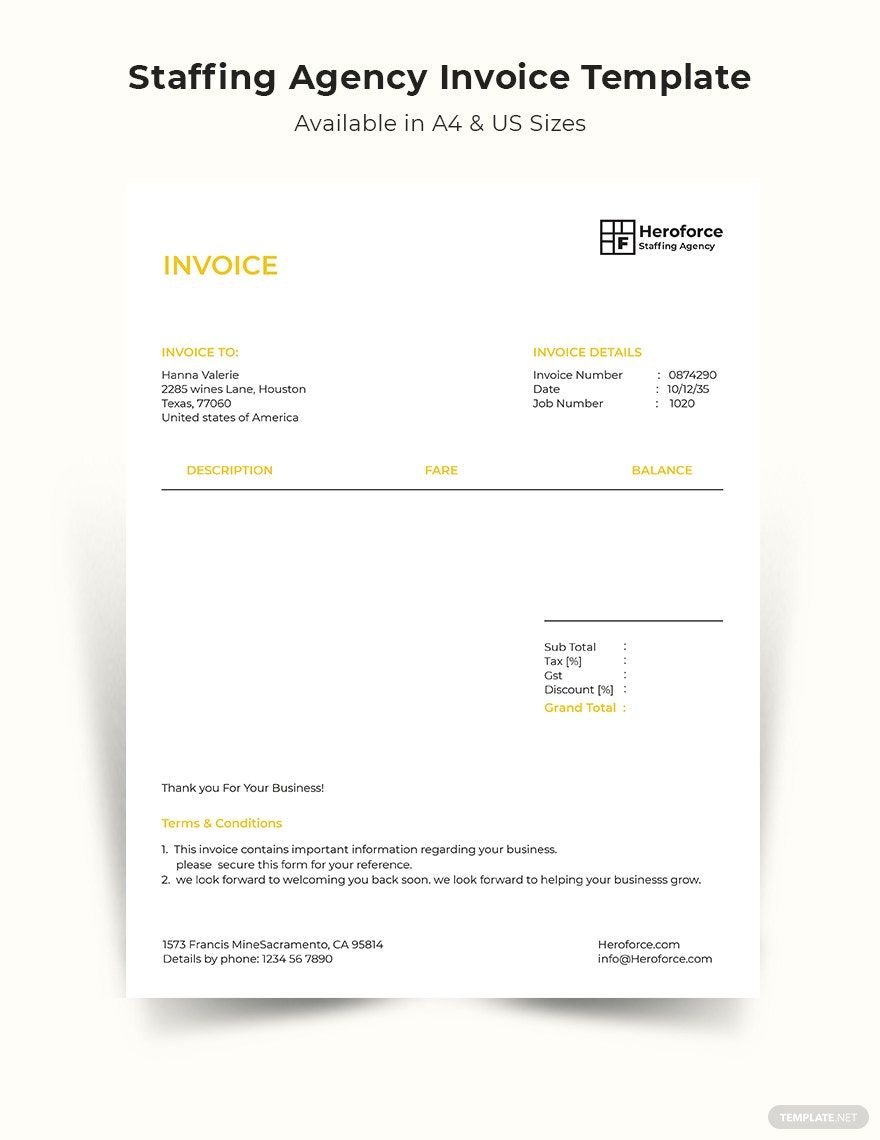
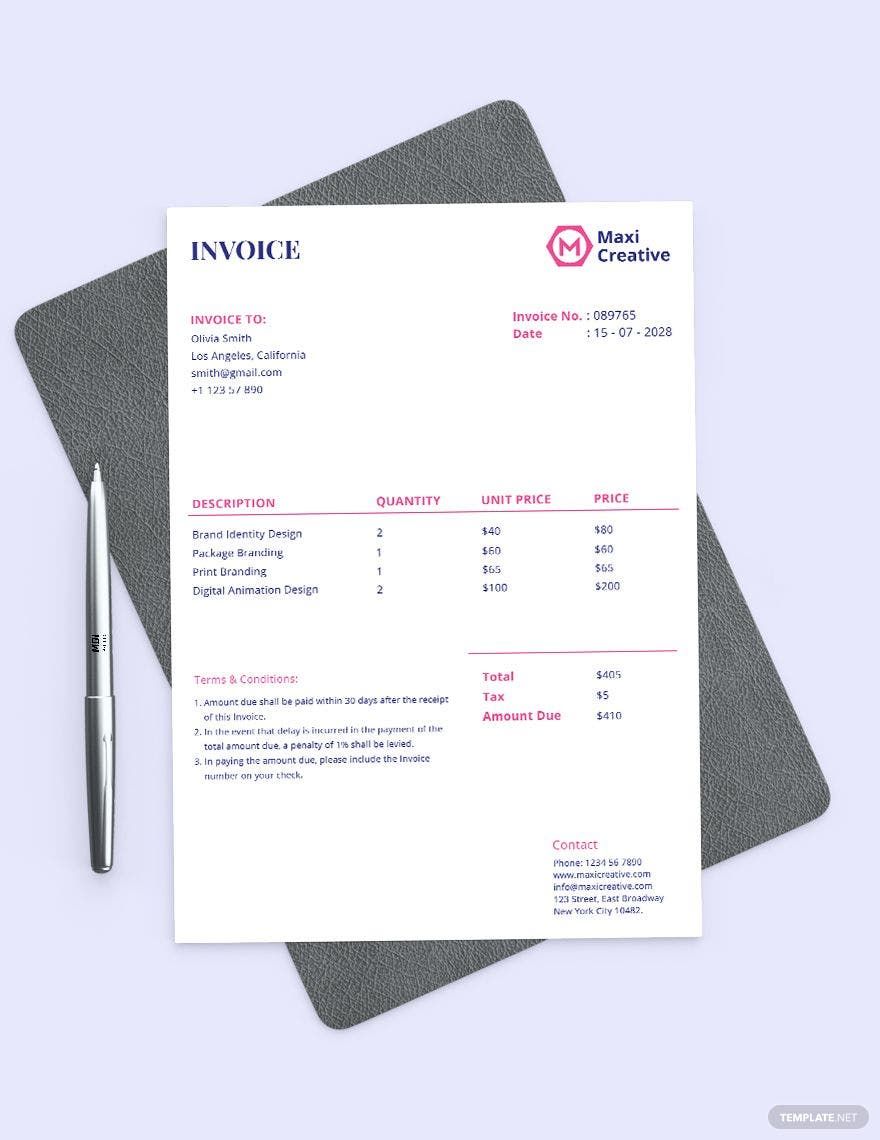
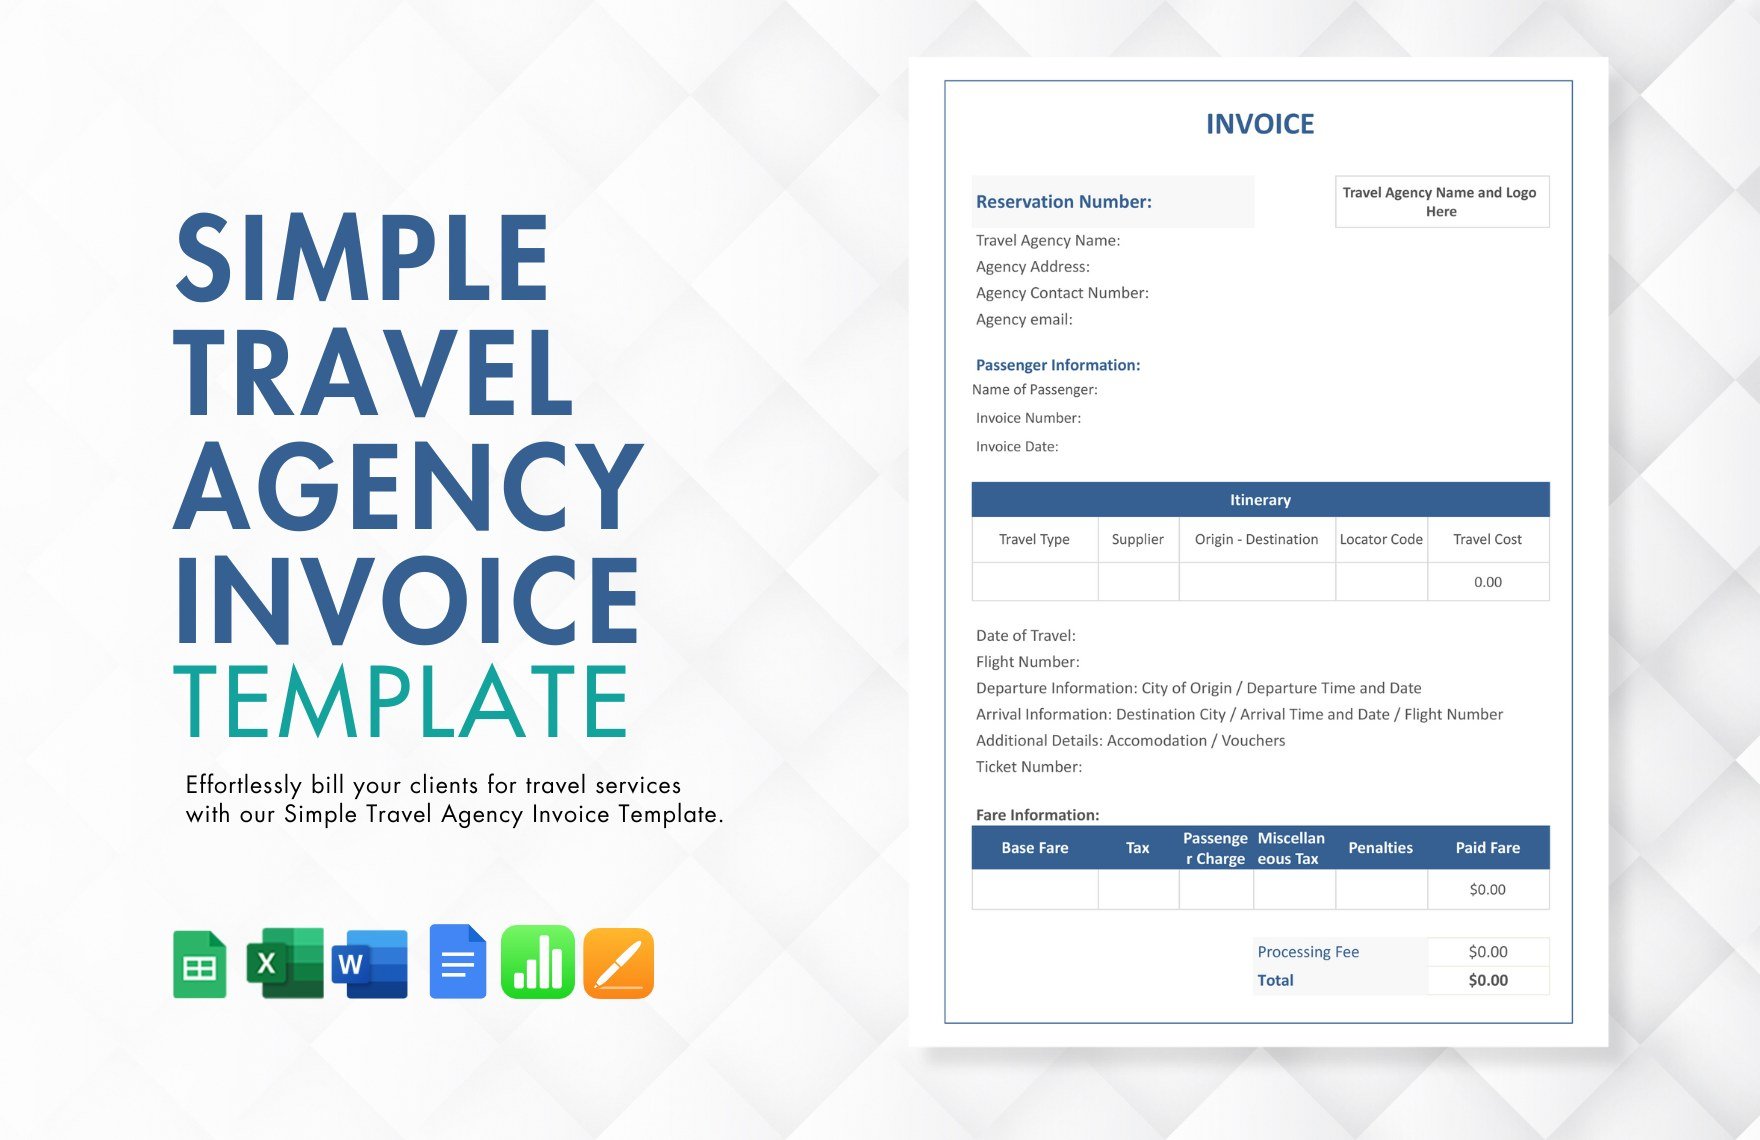
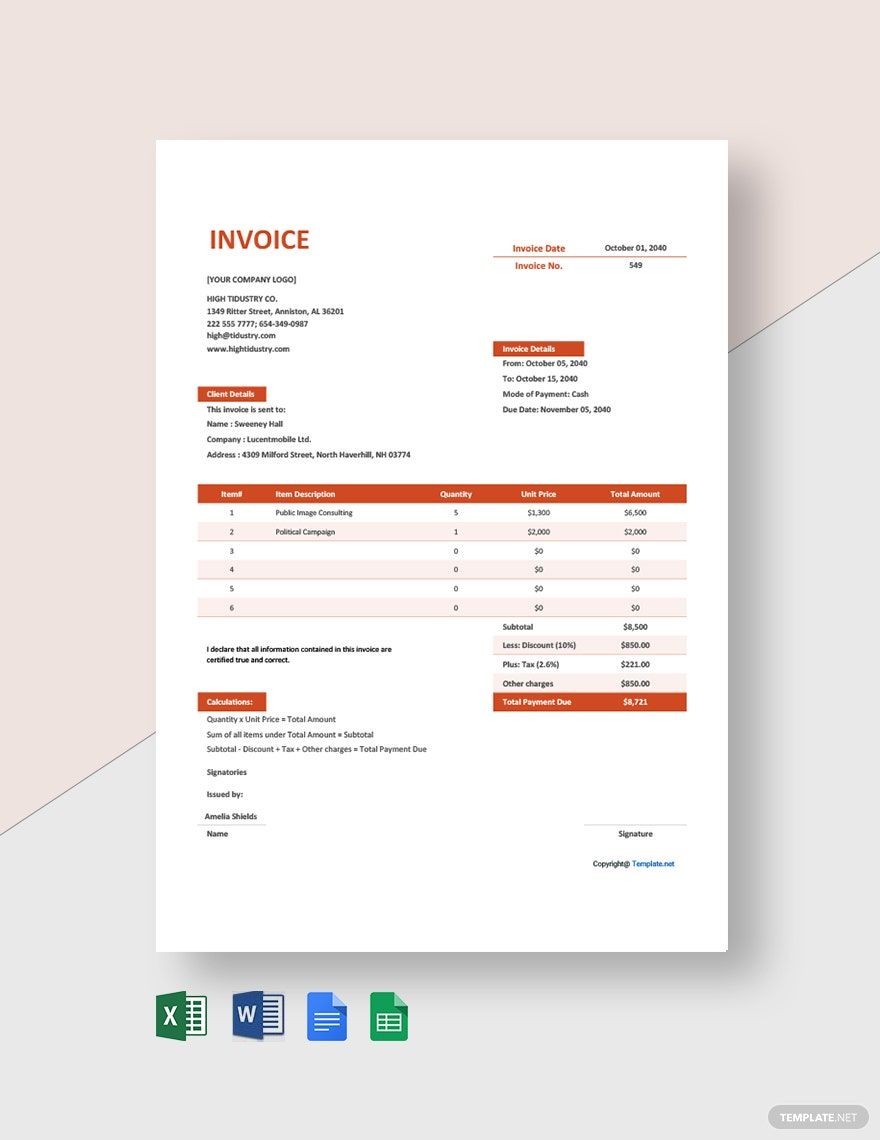
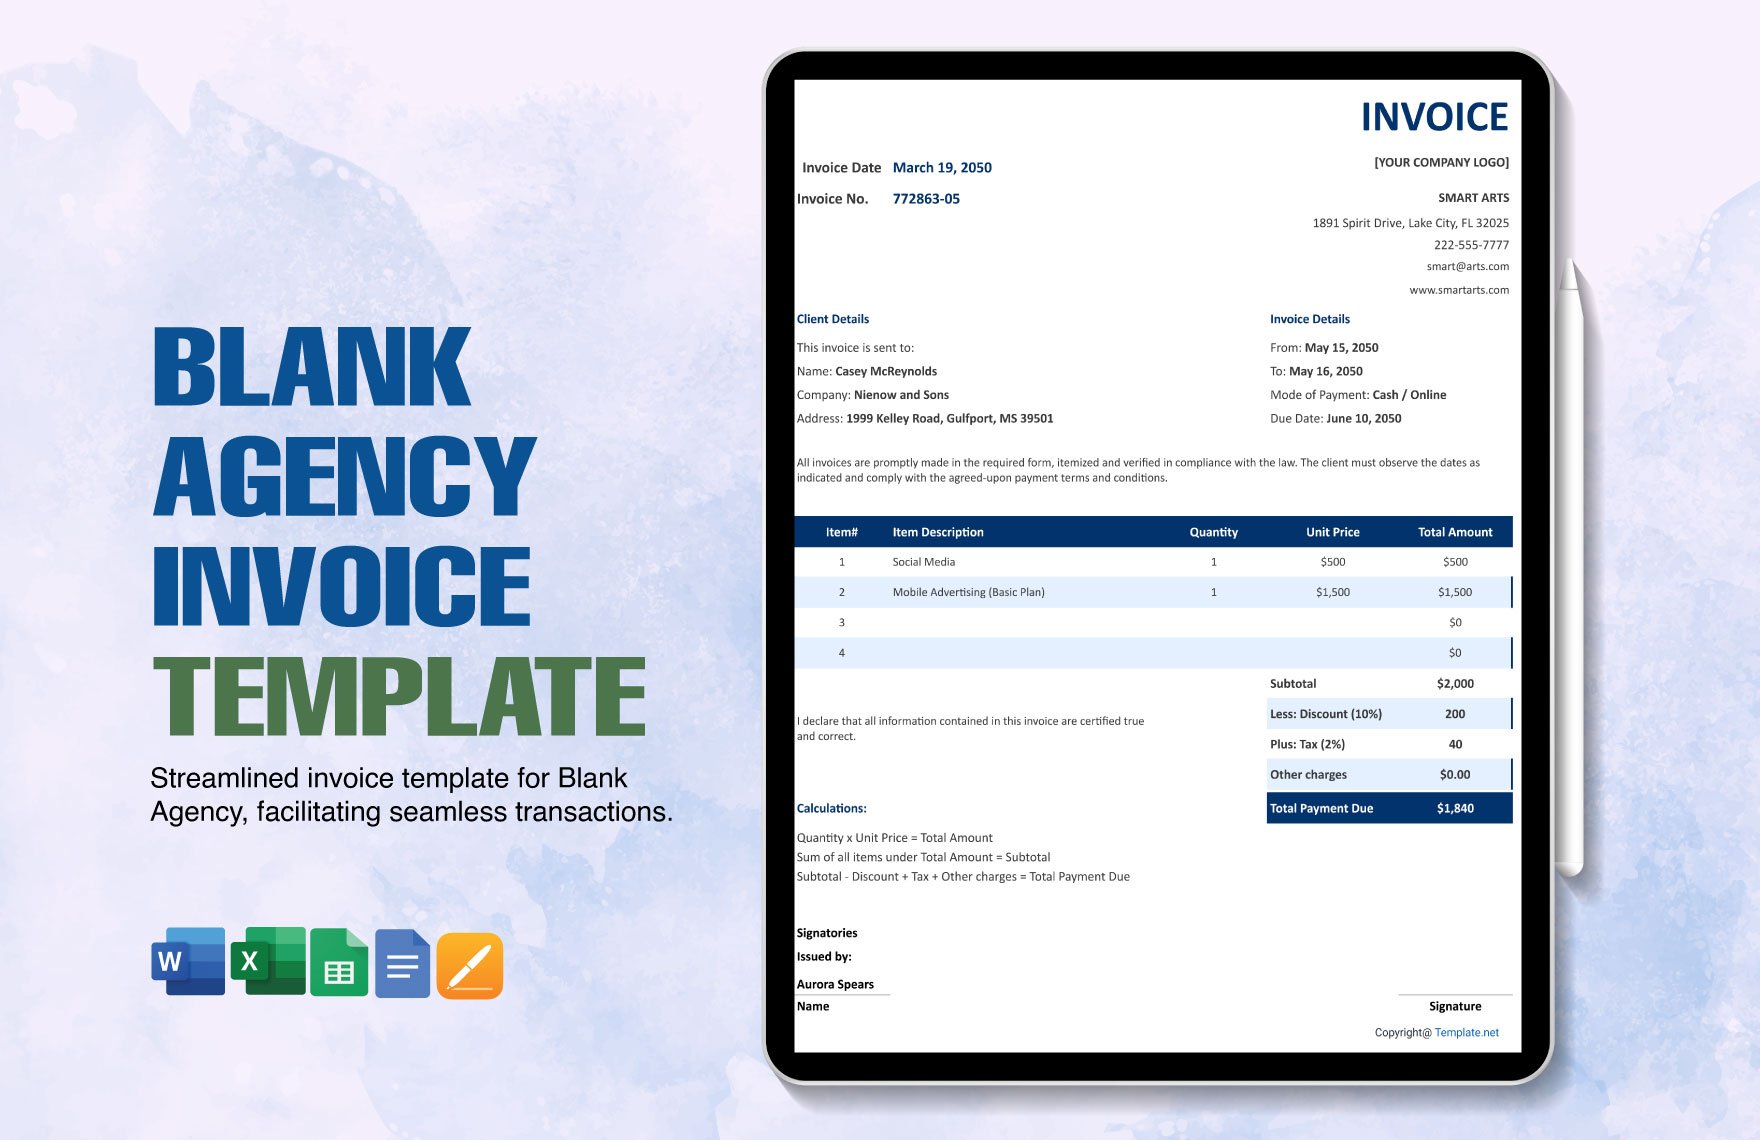
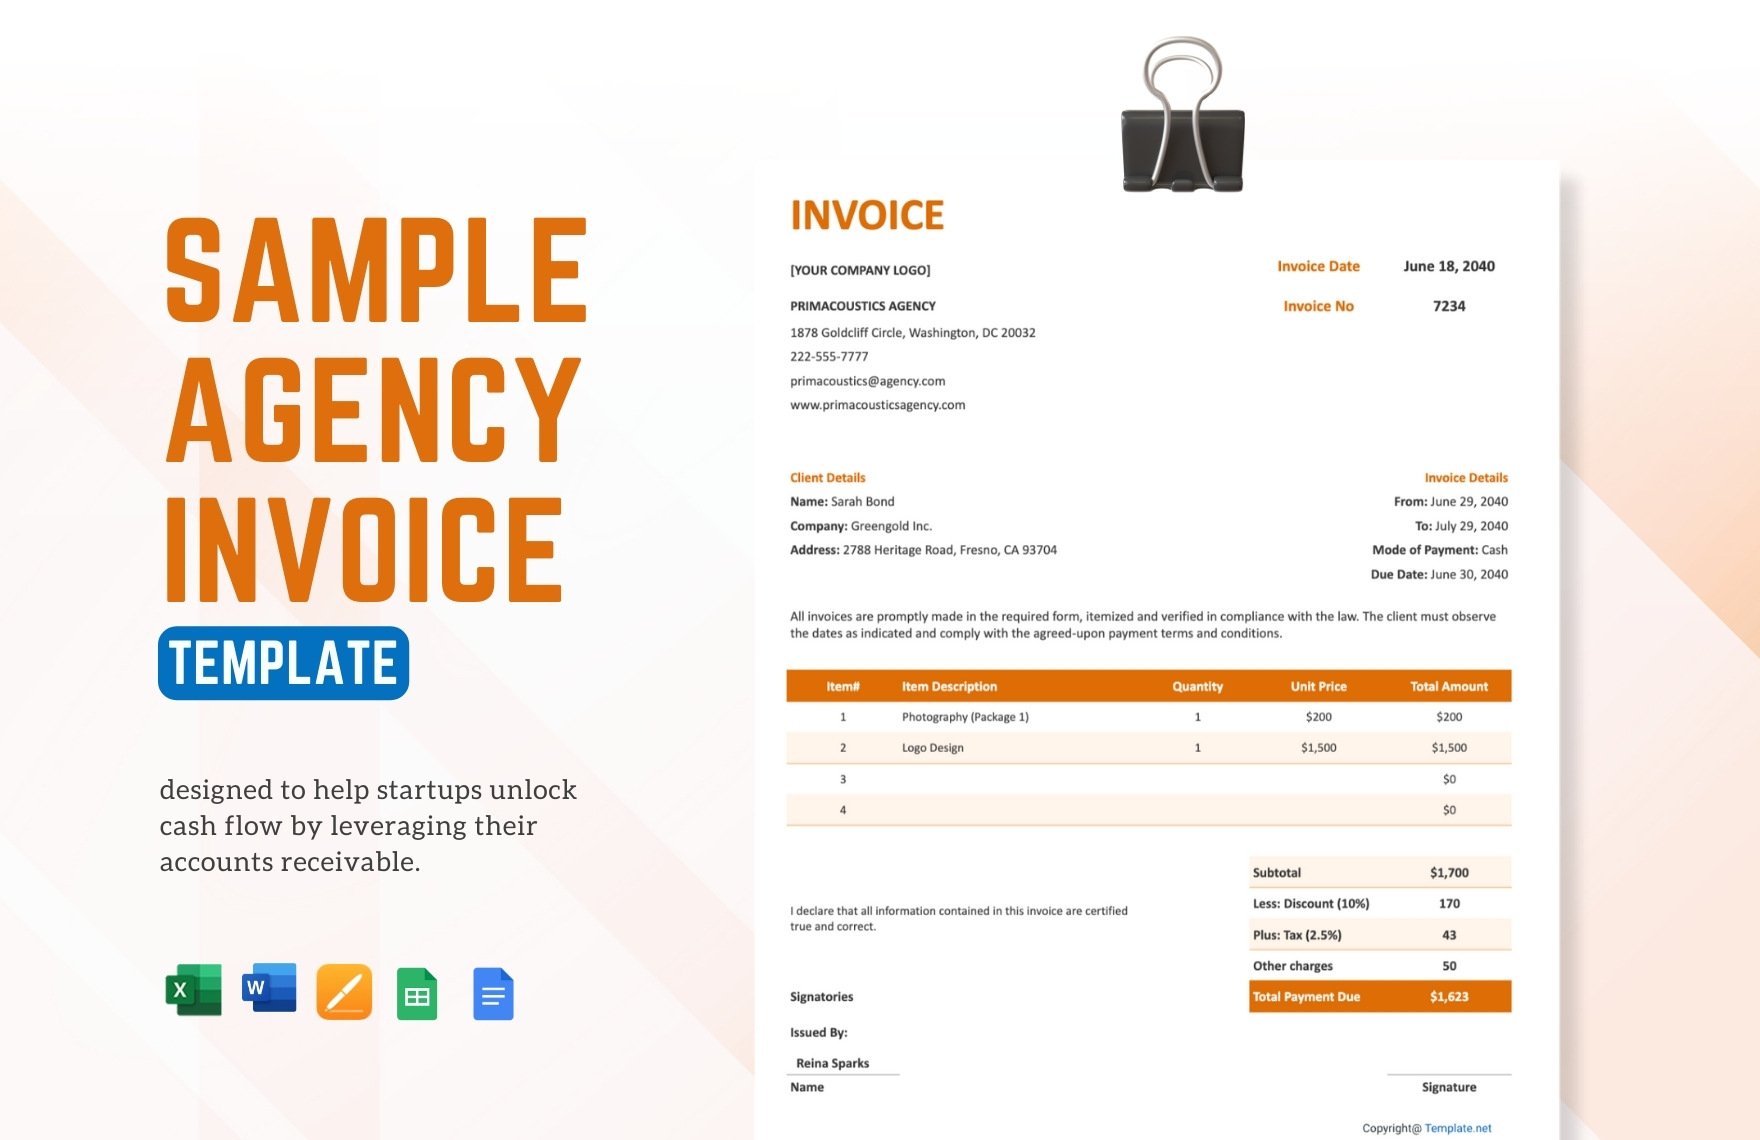
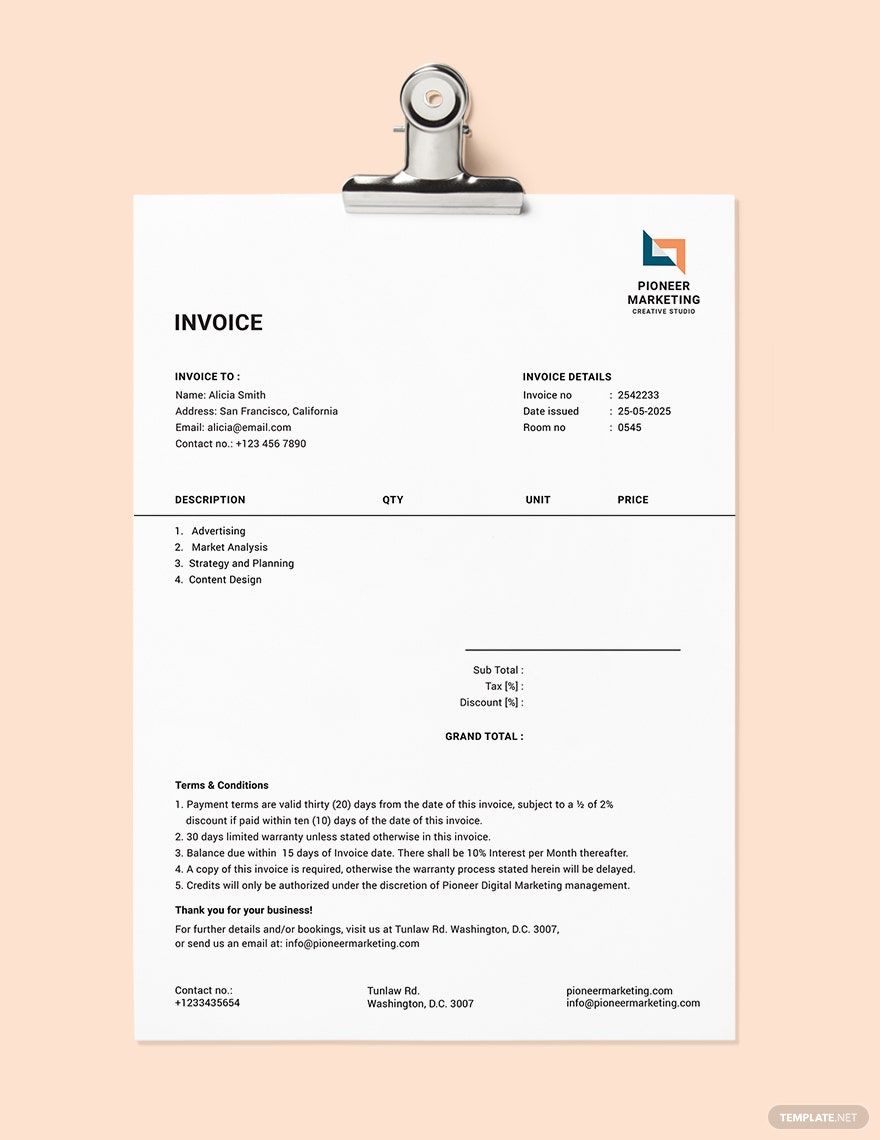
From social media marketing to customer care, there’s a wide array of different services offered by all kinds of agencies. No matter what your own business’s trade may be, it’s crucial that it appropriately handles orders and payments. This means incorporating certain professional documents, such as an invoice. Therefore, consider downloading one of our Agency Invoice Templates for a smoother time with your billing procedure! Our samples are easily editable, cutting down on time and hassle. Plus, they come compatible with Apple Pages, allowing for convenient editing on macOS. So, don’t wait much longer and download now--design a spiffy invoice for a tourism company, traveling agency, and more!
How to Make an Agency Invoice in Apple Pages
Invoices are important for any service-oriented company’s transactions. However, as described by The Balance (a business-oriented resource), invoices are for more than just billing and bookkeeping, as they also provide clients with other details about their payments. And so, a properly made invoice is essential for any agency, be it a freelancer business or a corporate entity.
Don’t worry if you’re not familiar with creating an invoice. Just have a look at our tips (below) and find out how easy it is using Apple Pages!
1. Prepare a Document for Your Agency Invoice
Before getting started on your invoice, it’s imperative that you set up a few things first.
With a fresh document ready in Apple Pages, open the Document sidebar menu (to the right) and set the Printer & Paper Size to match your region’s standard--usually A4 or US letter size. Next, depending on what your agency requires, set the Page Orientation to either the portrait or landscape option.
2. Input Your Agency Invoice’s General Details
An invoice is made instantly identifiable at a glance. So, in large bold letters, write down a descriptive title at the top of your page--something similar to “Model Agency Advertisement Invoice” or “Design Consultant Commission Invoice.”
Moving on, include your agency’s name, address, contact numbers, and email address. Right after that, write down the same information about your client.
3. Insert a Grid Table into Your Agency Invoice
For the next part of your invoice, use a table for detailing things like service descriptions, ordered quantities, hourly rates, and so on. In Pages’ upper toolbar, open the Table menu and then select which option fits your needs the most. With the new table put in place, use the top row for your column headers.
Next, insert a smaller table underneath, calculating and listing down the amounts for the subtotal, tax, discounts, and grand total.
4. Add a Slight Bit of Flair to Your Agency Invoice
Before finishing up, insert your agency’s logo in one of the upper corners of your document page--use an image file with adequate image resolution. And use some thoughtful color-coding on your tables for better readability. If your invoice needs to mention any additional remarks about the transaction, then write them down at the bottom of your invoice.
Whether you’re a tour operator, interior designer, or catering service, remembering our tips makes your agency invoices a lot easier to make! Feel free to come back if you ever need to do a review or if you need to download our Agency Invoice Templates!