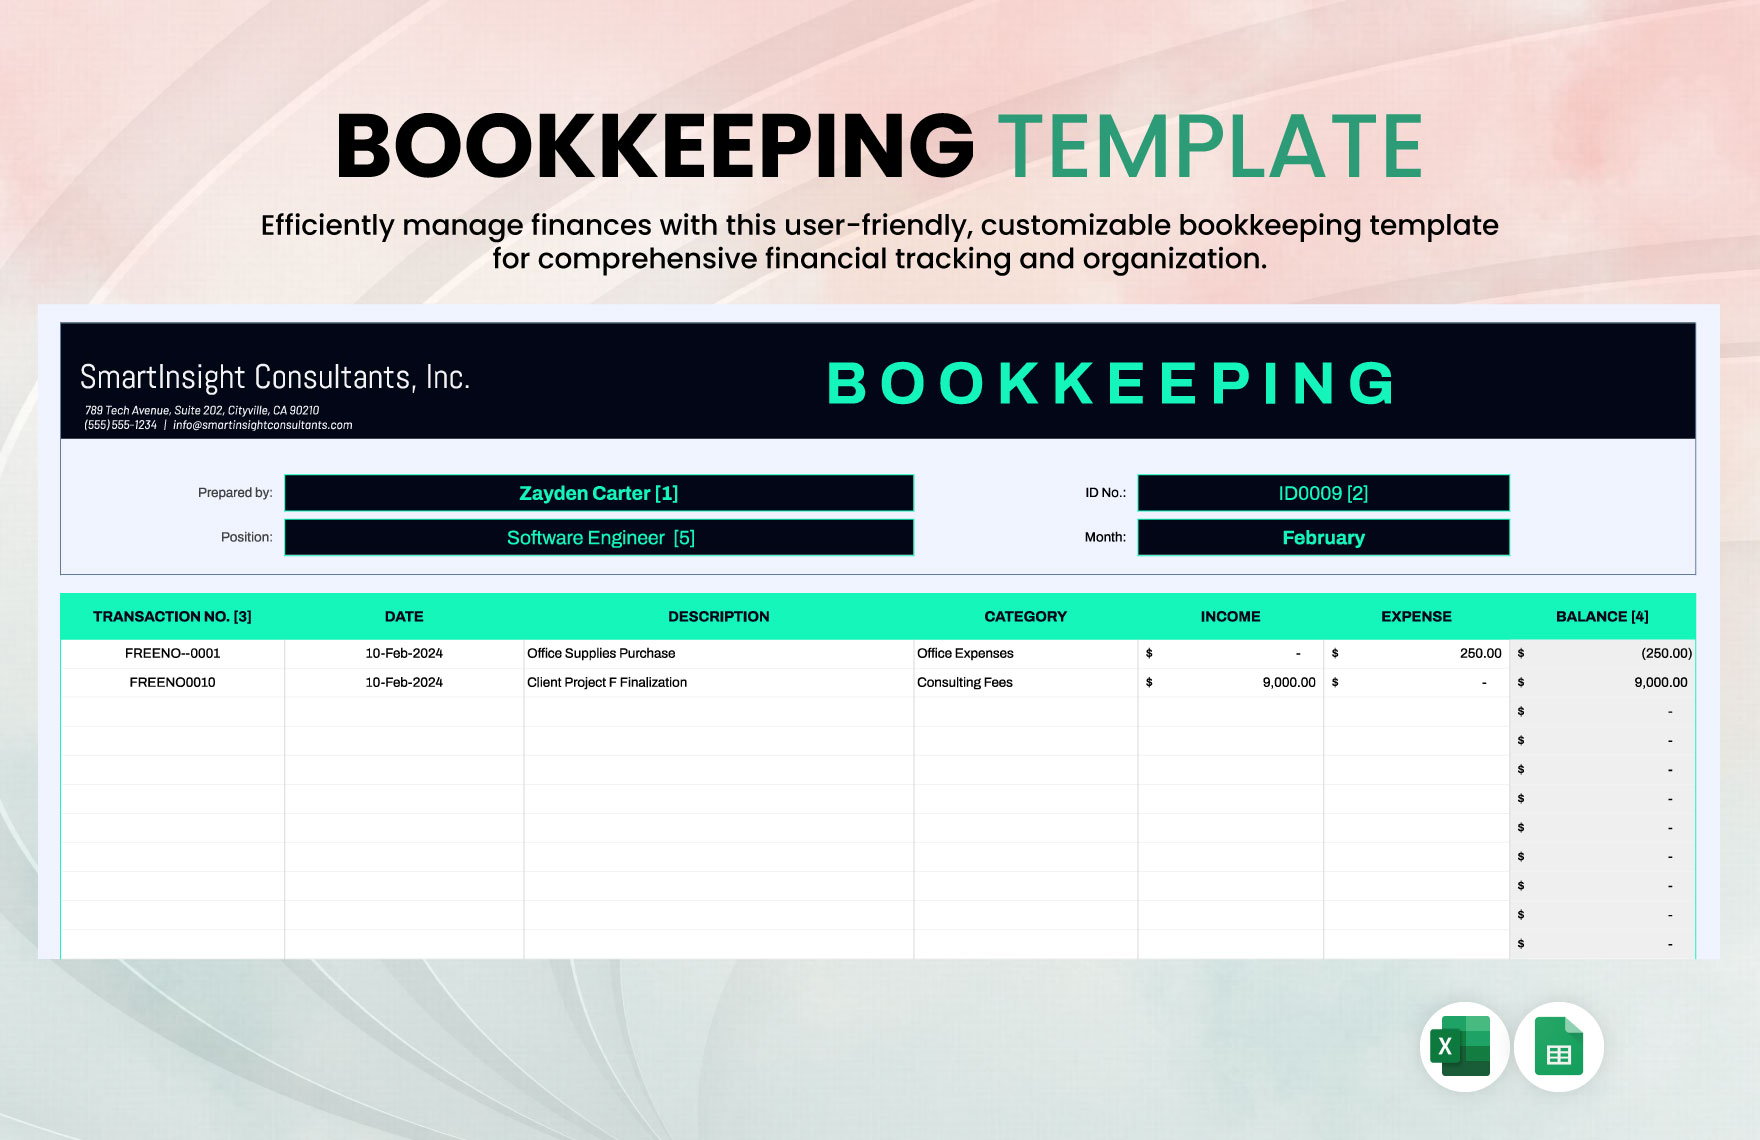
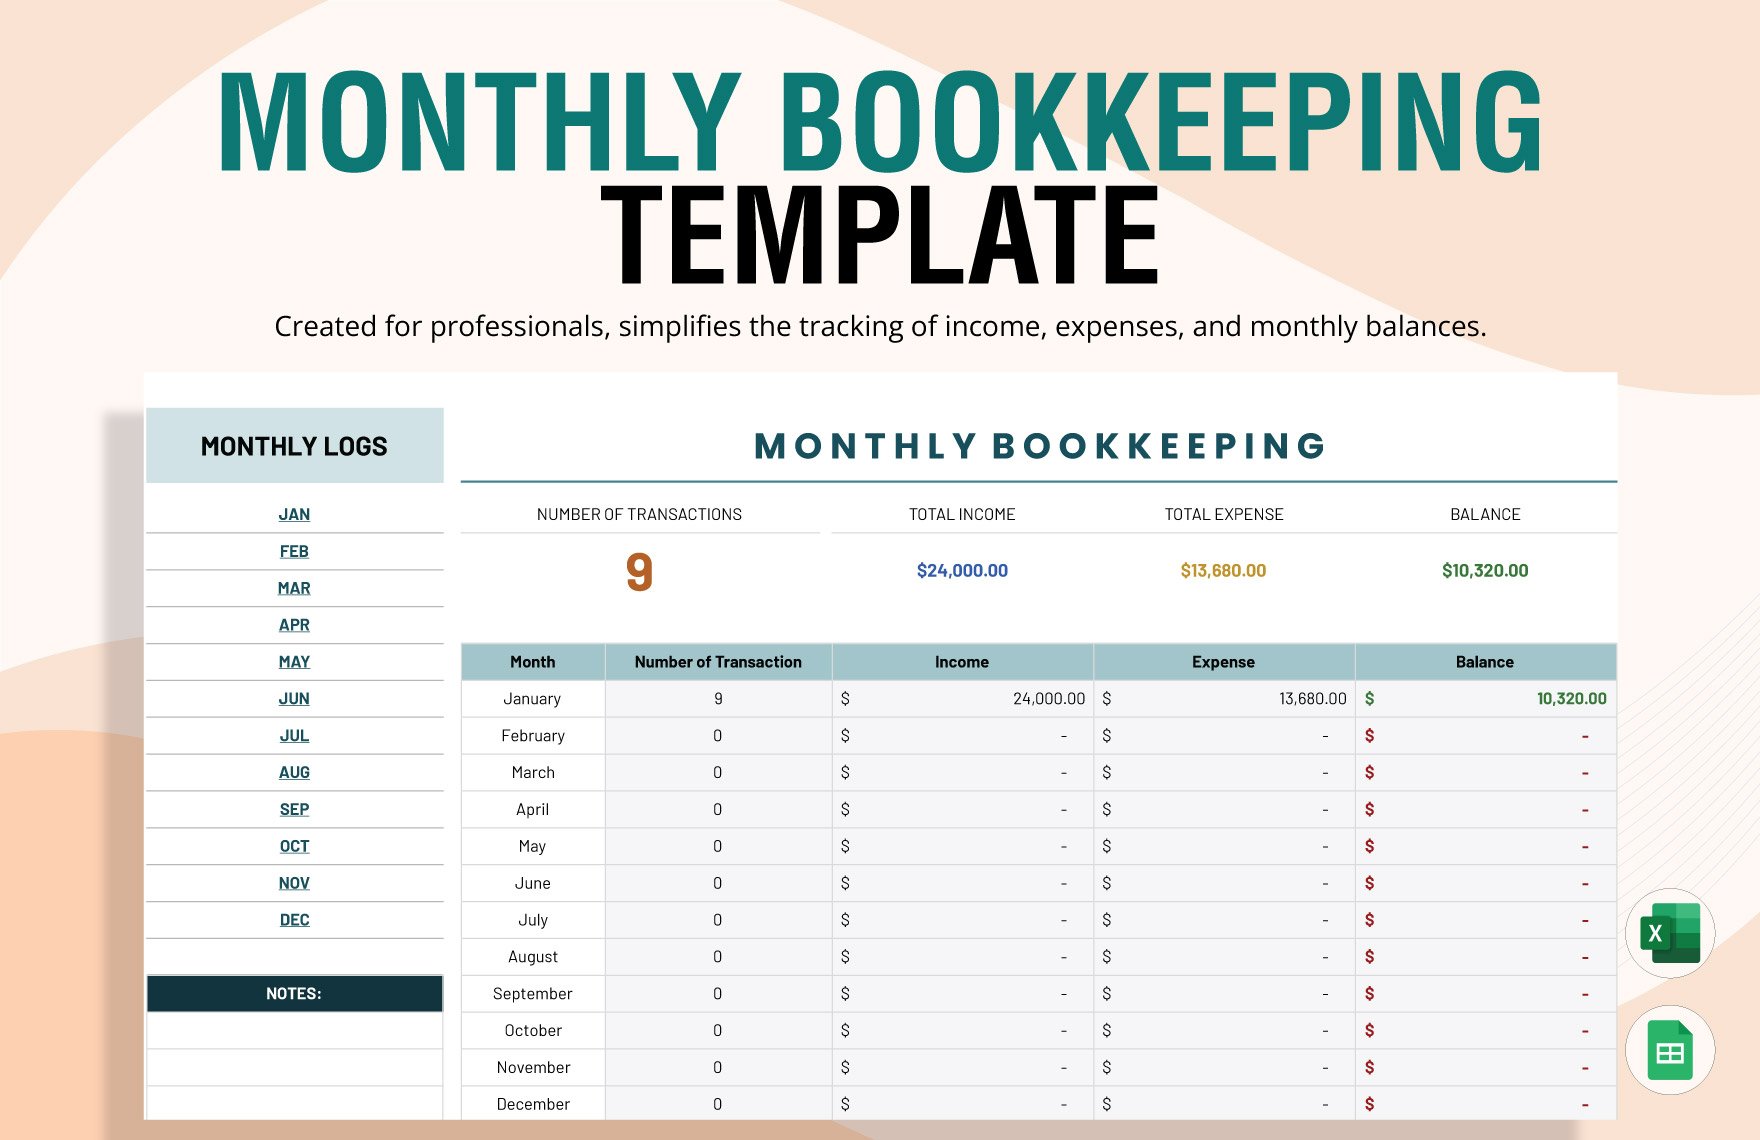
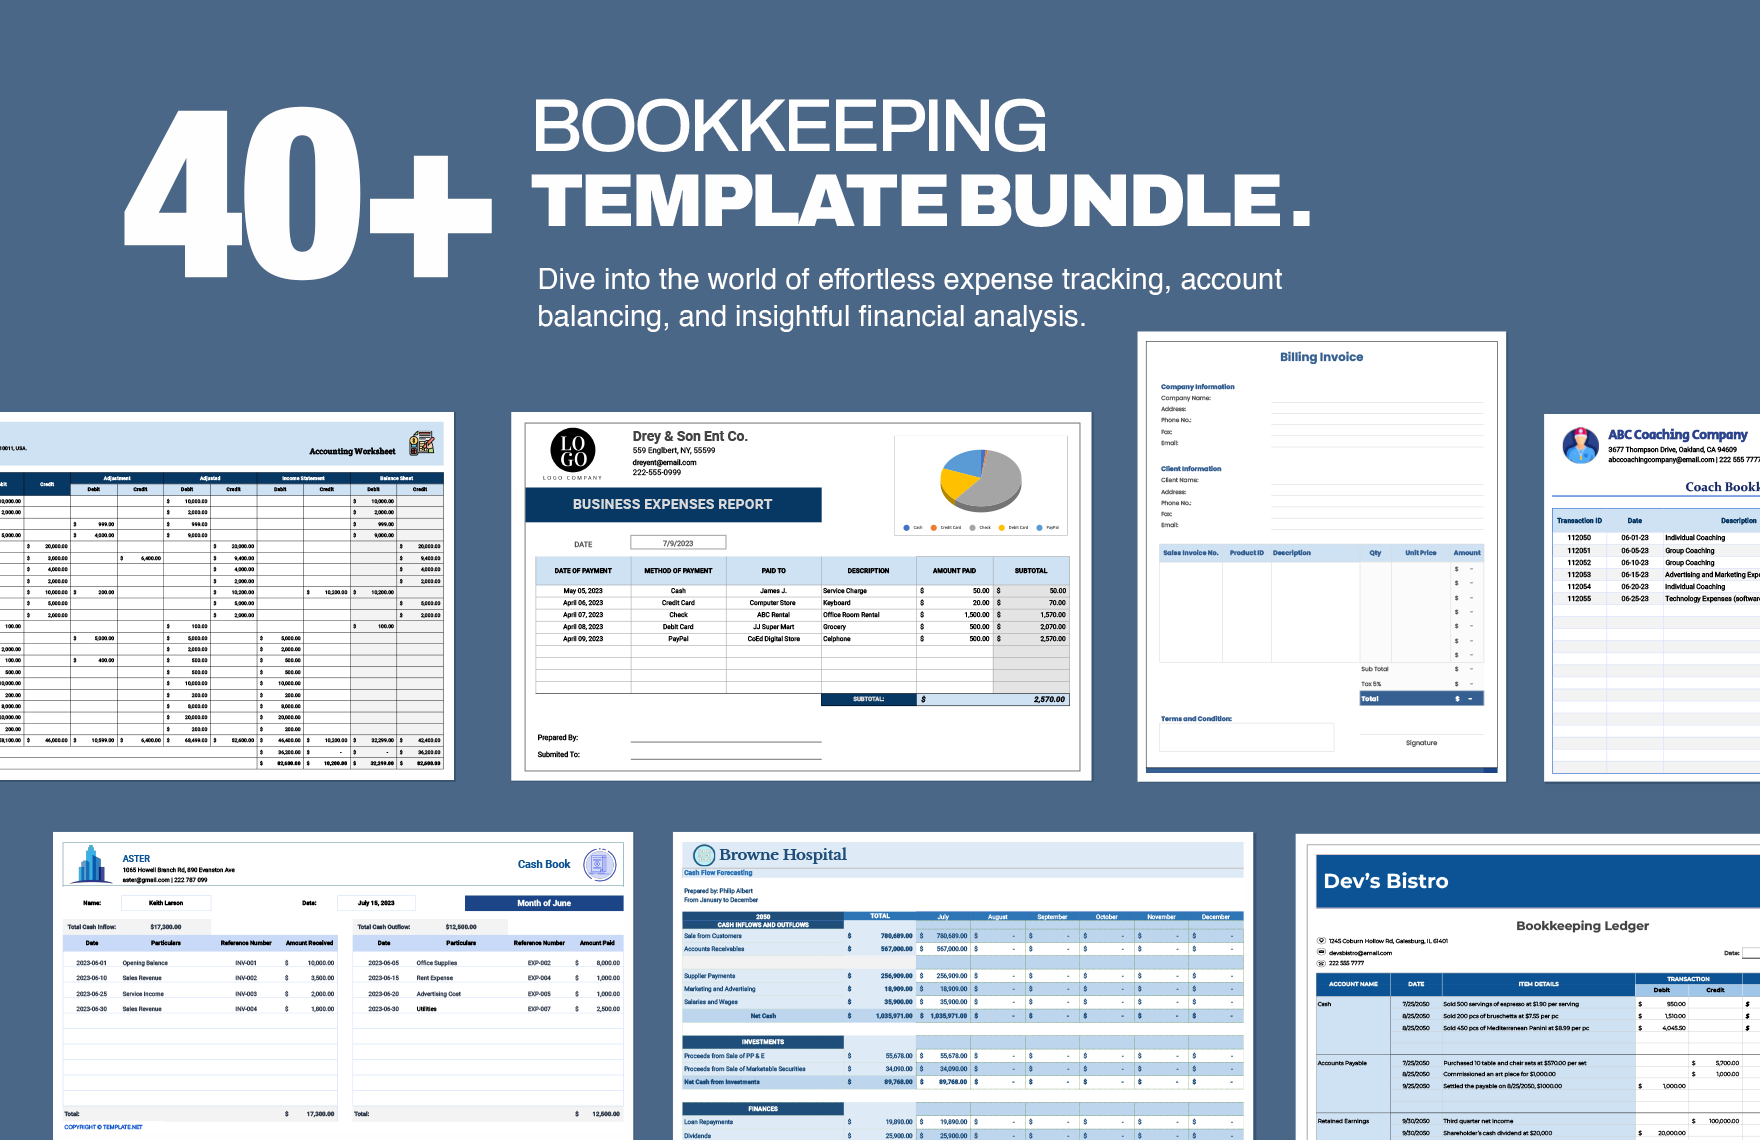
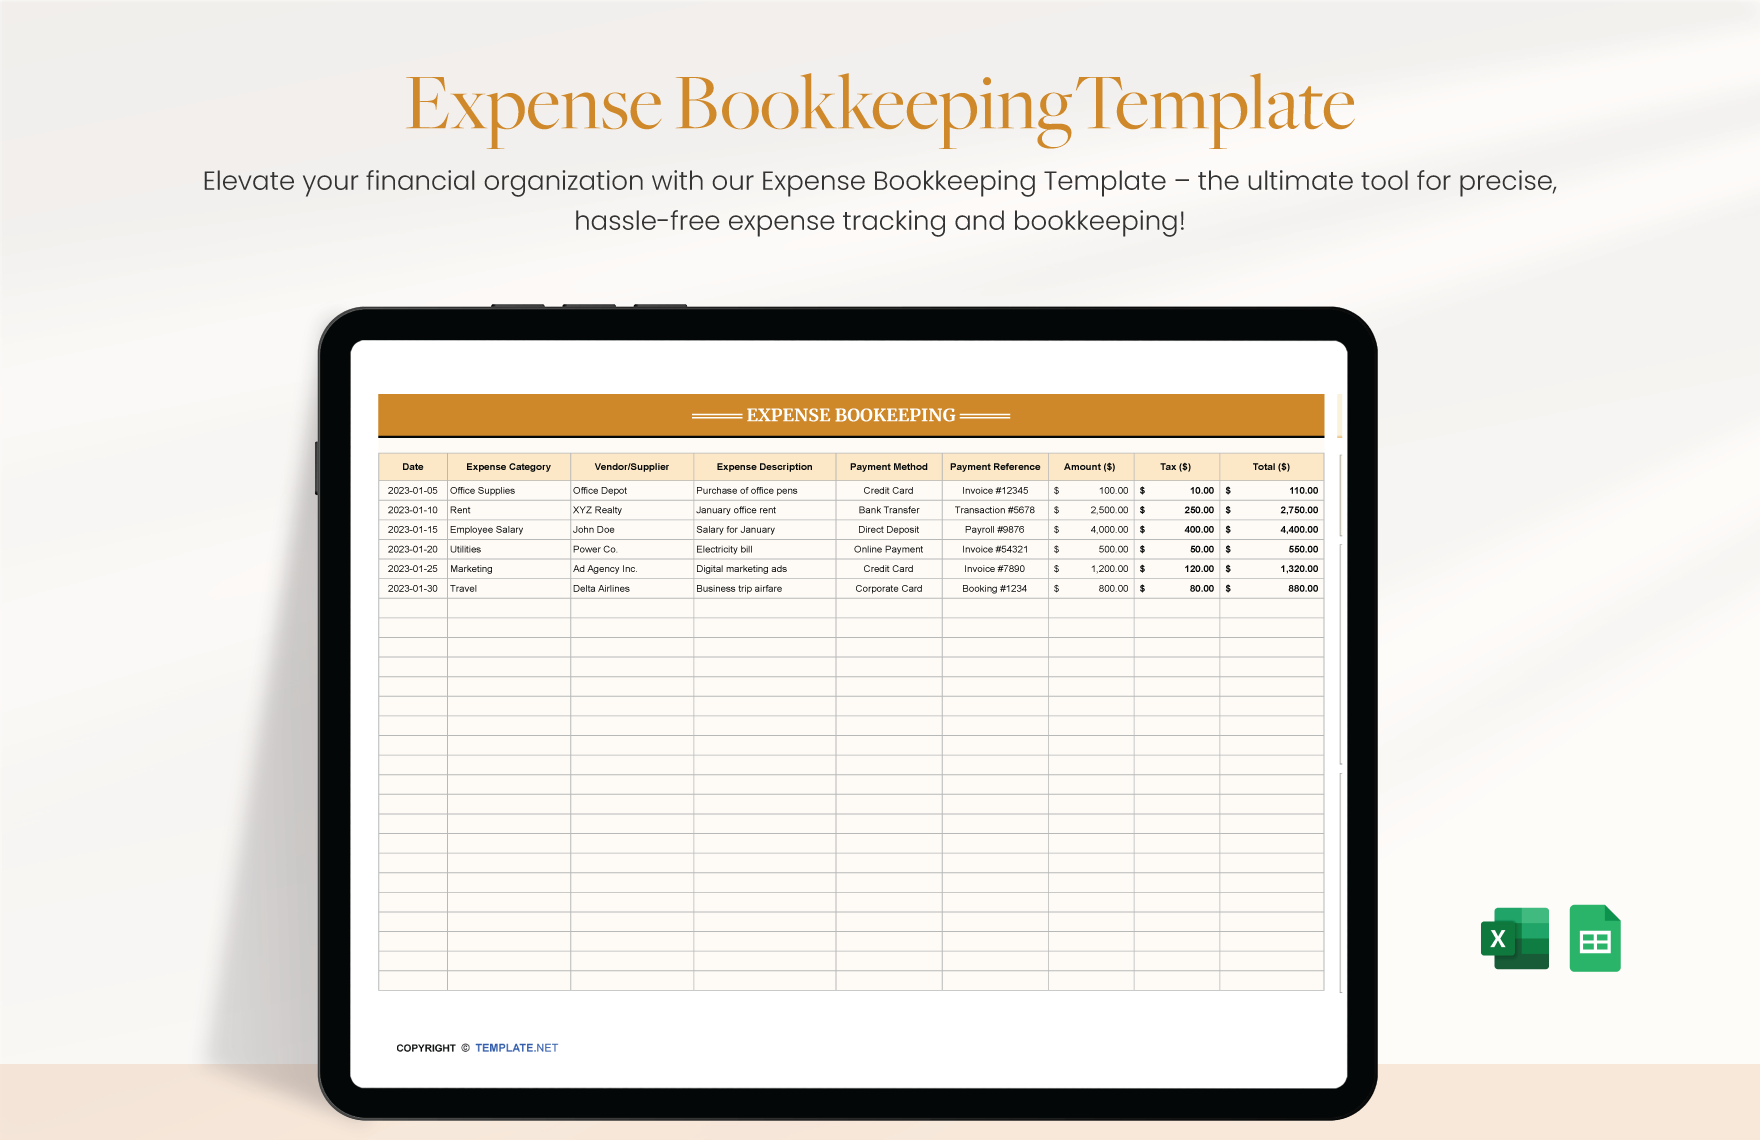
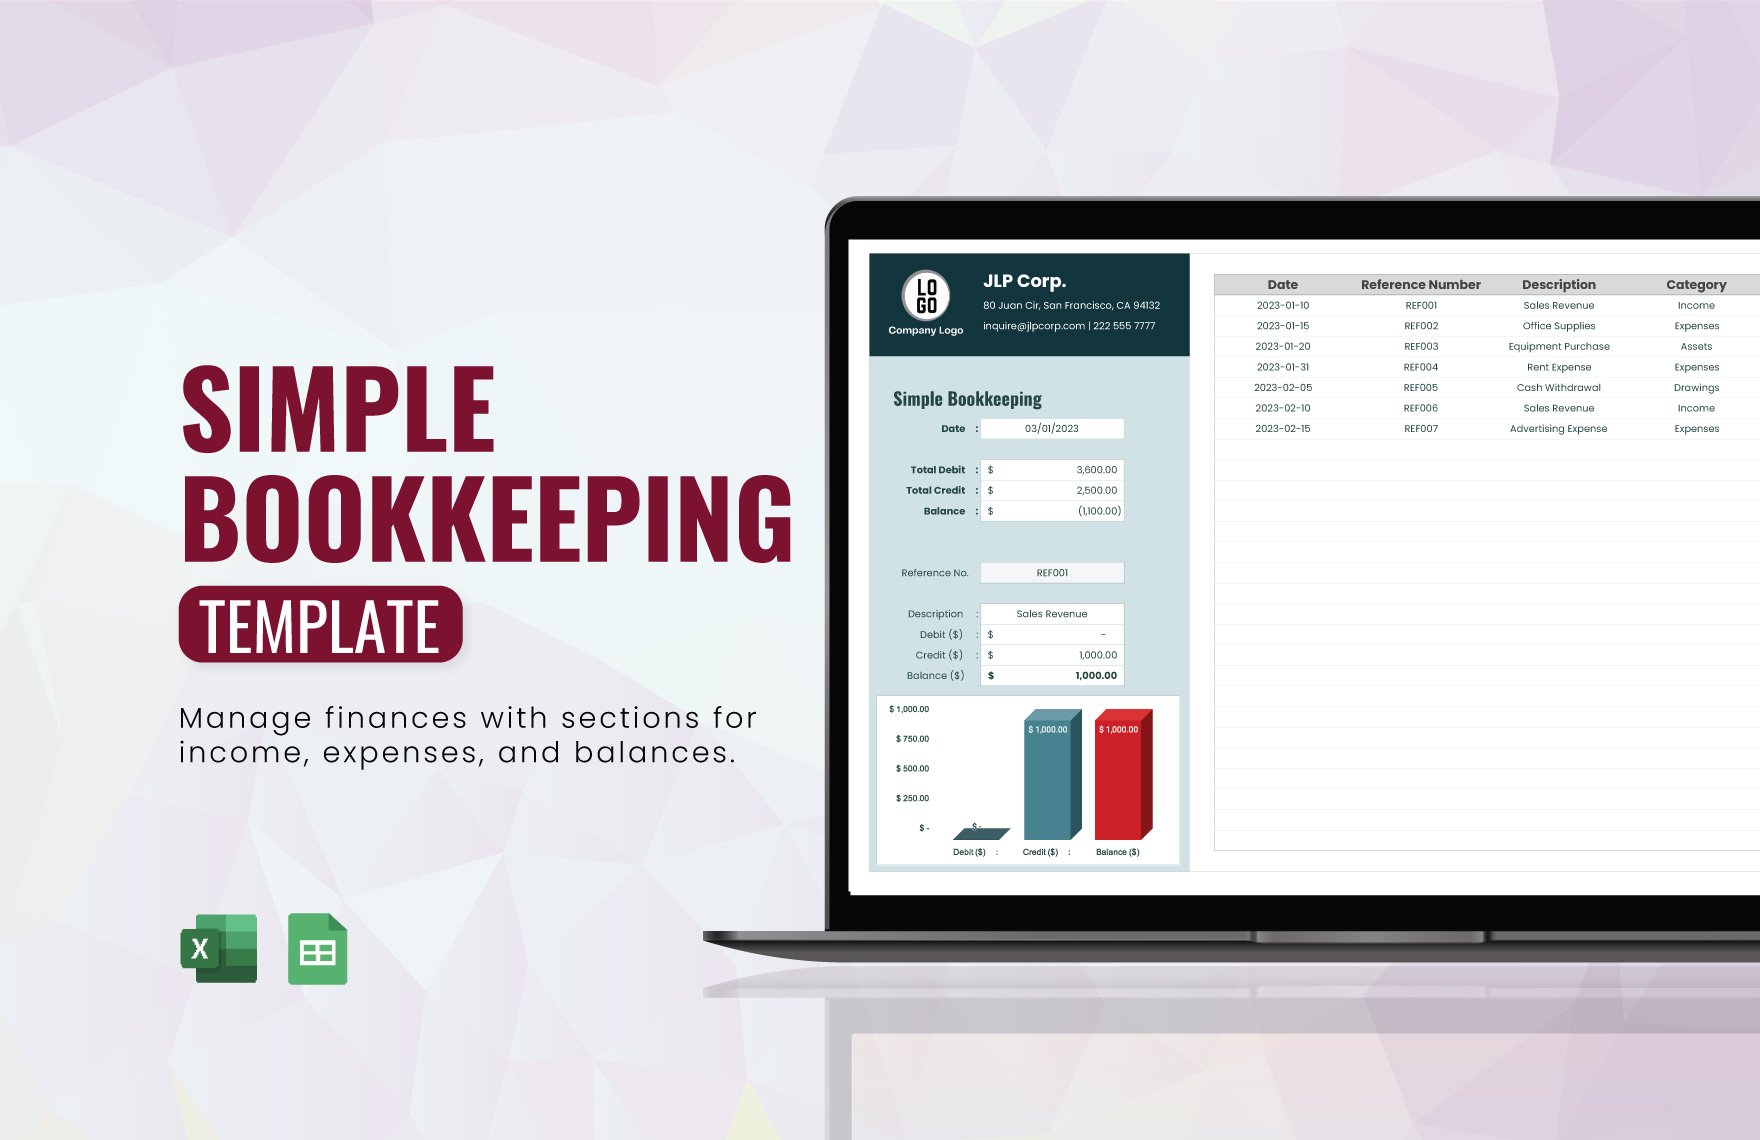
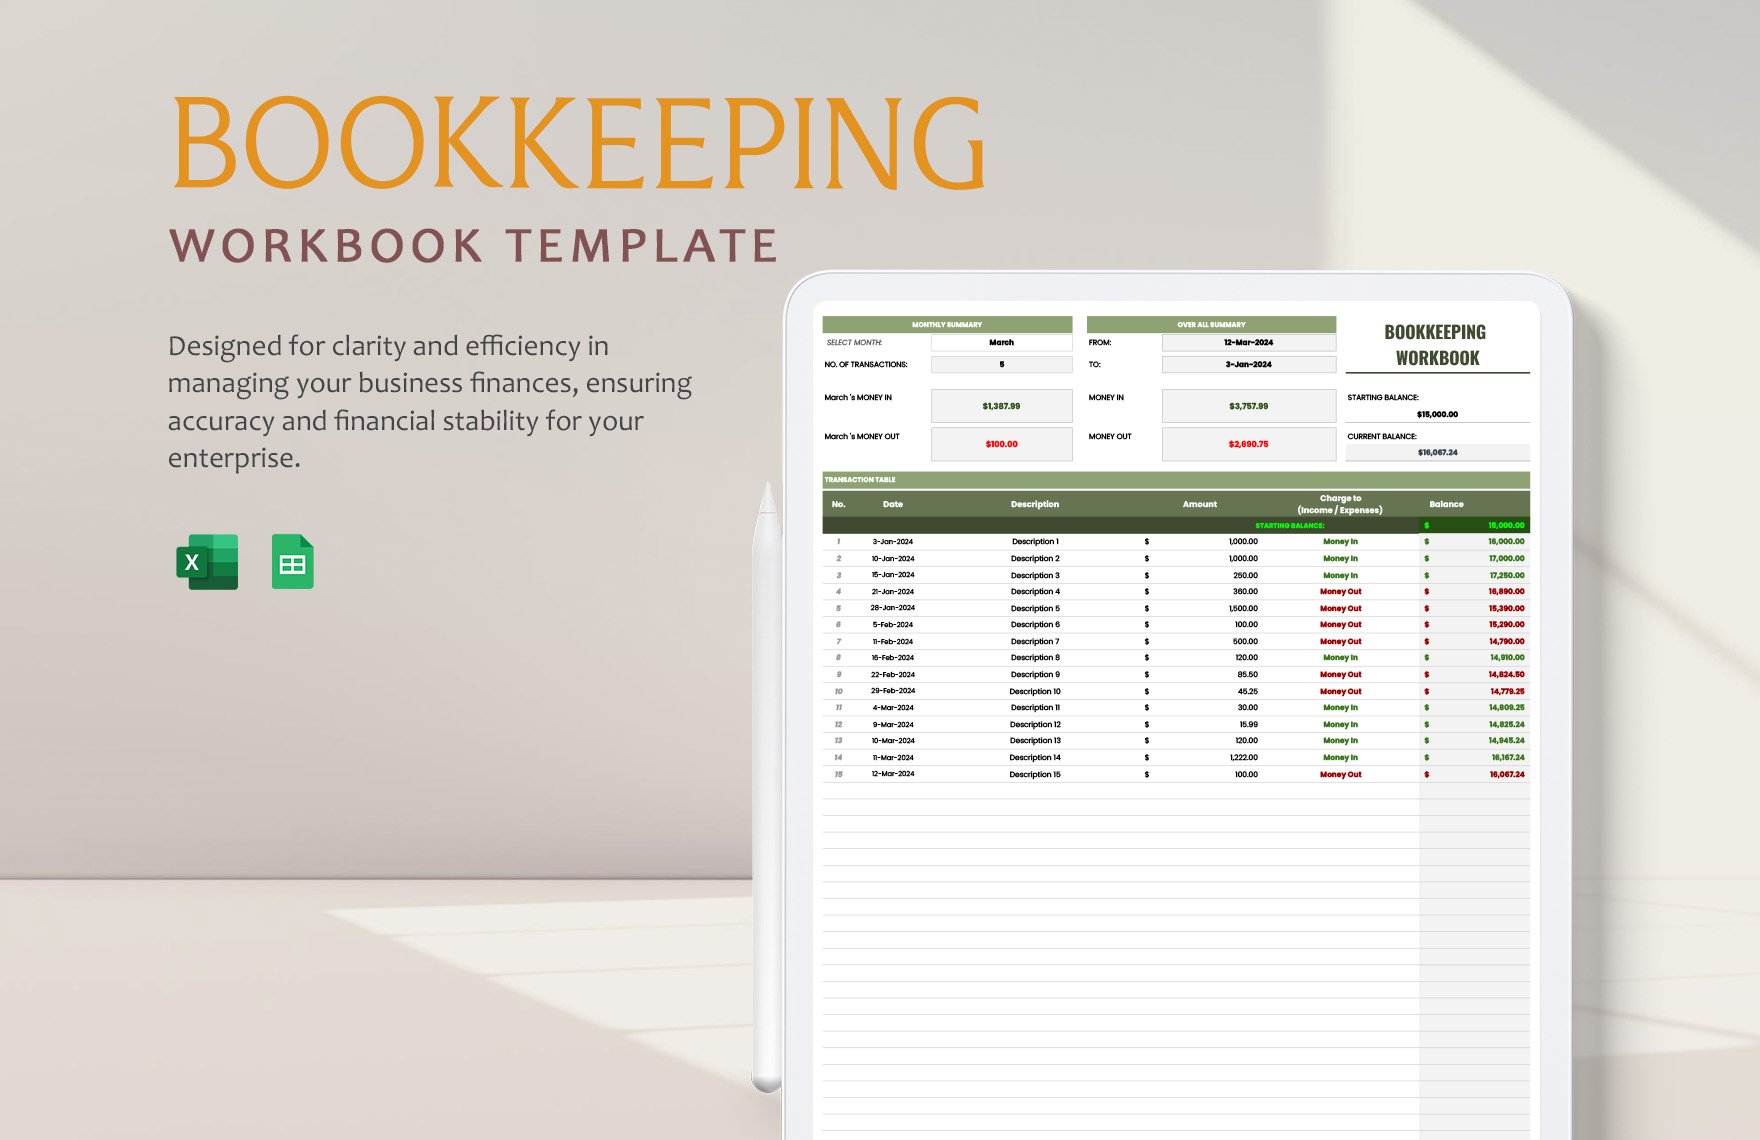
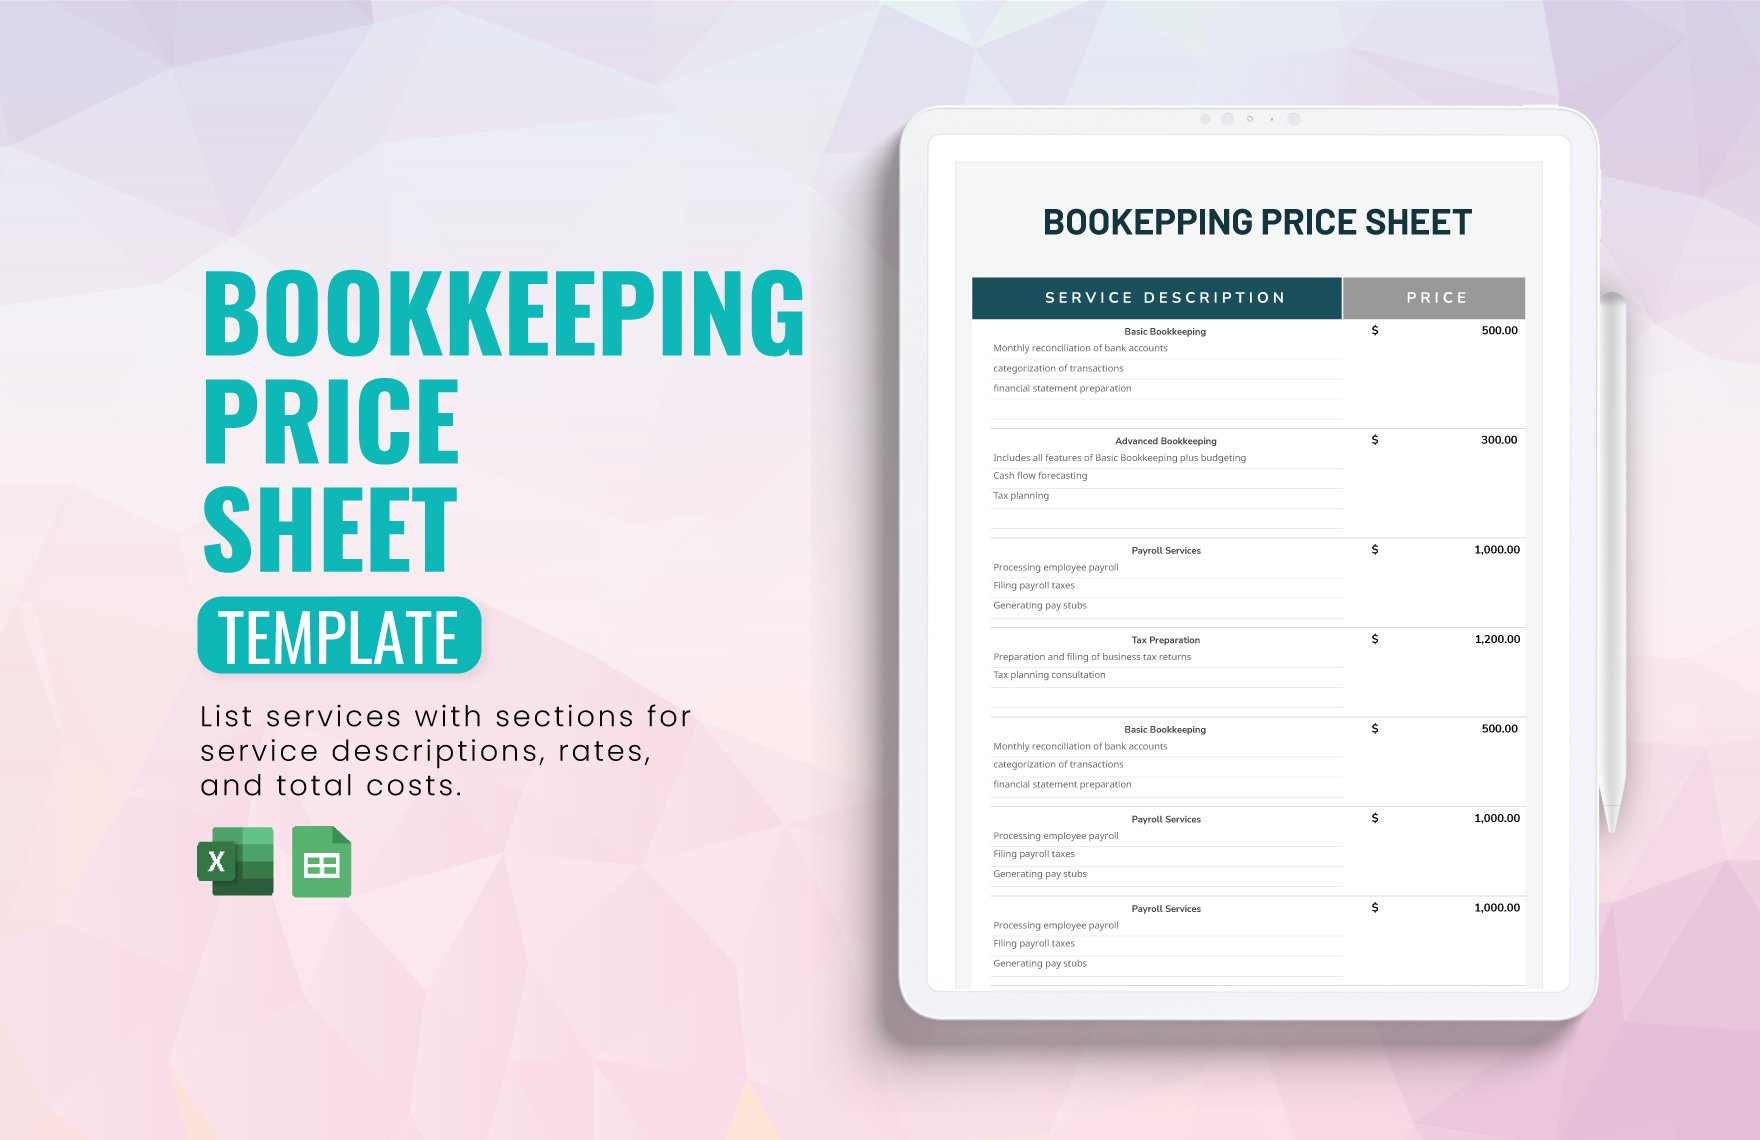
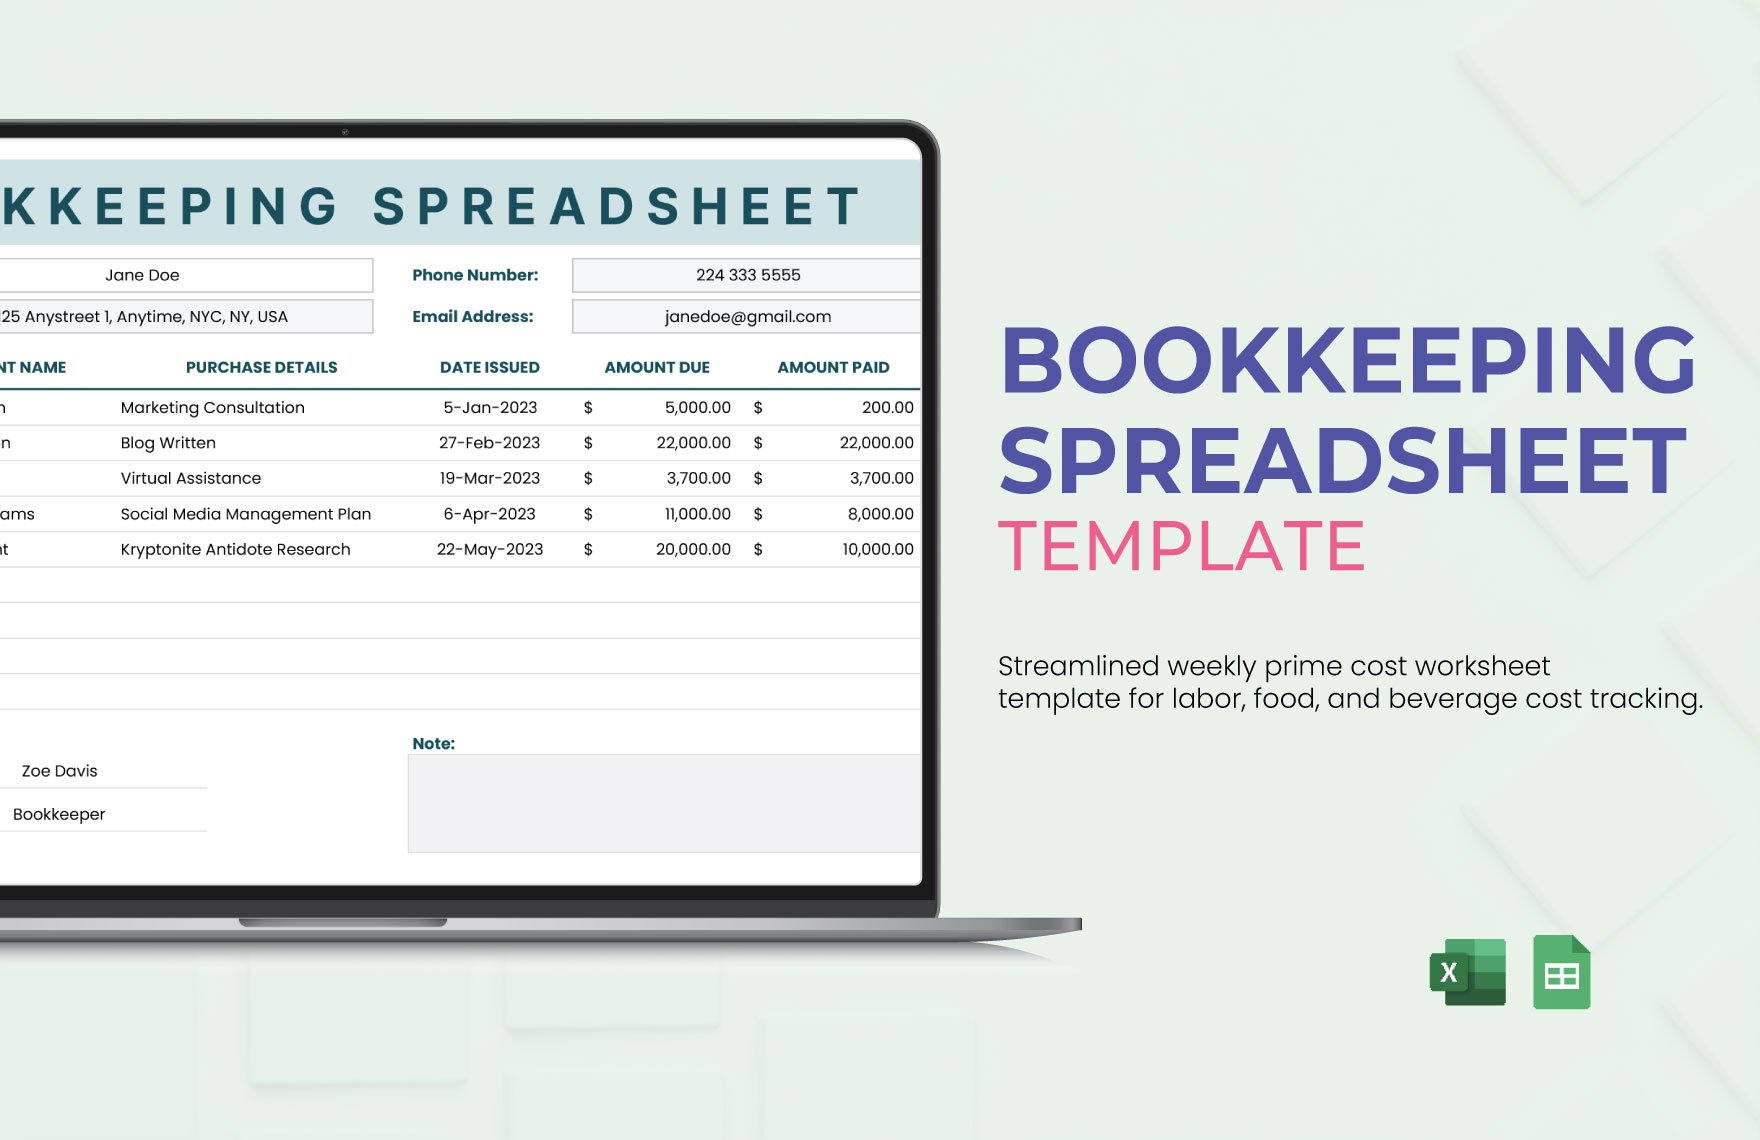
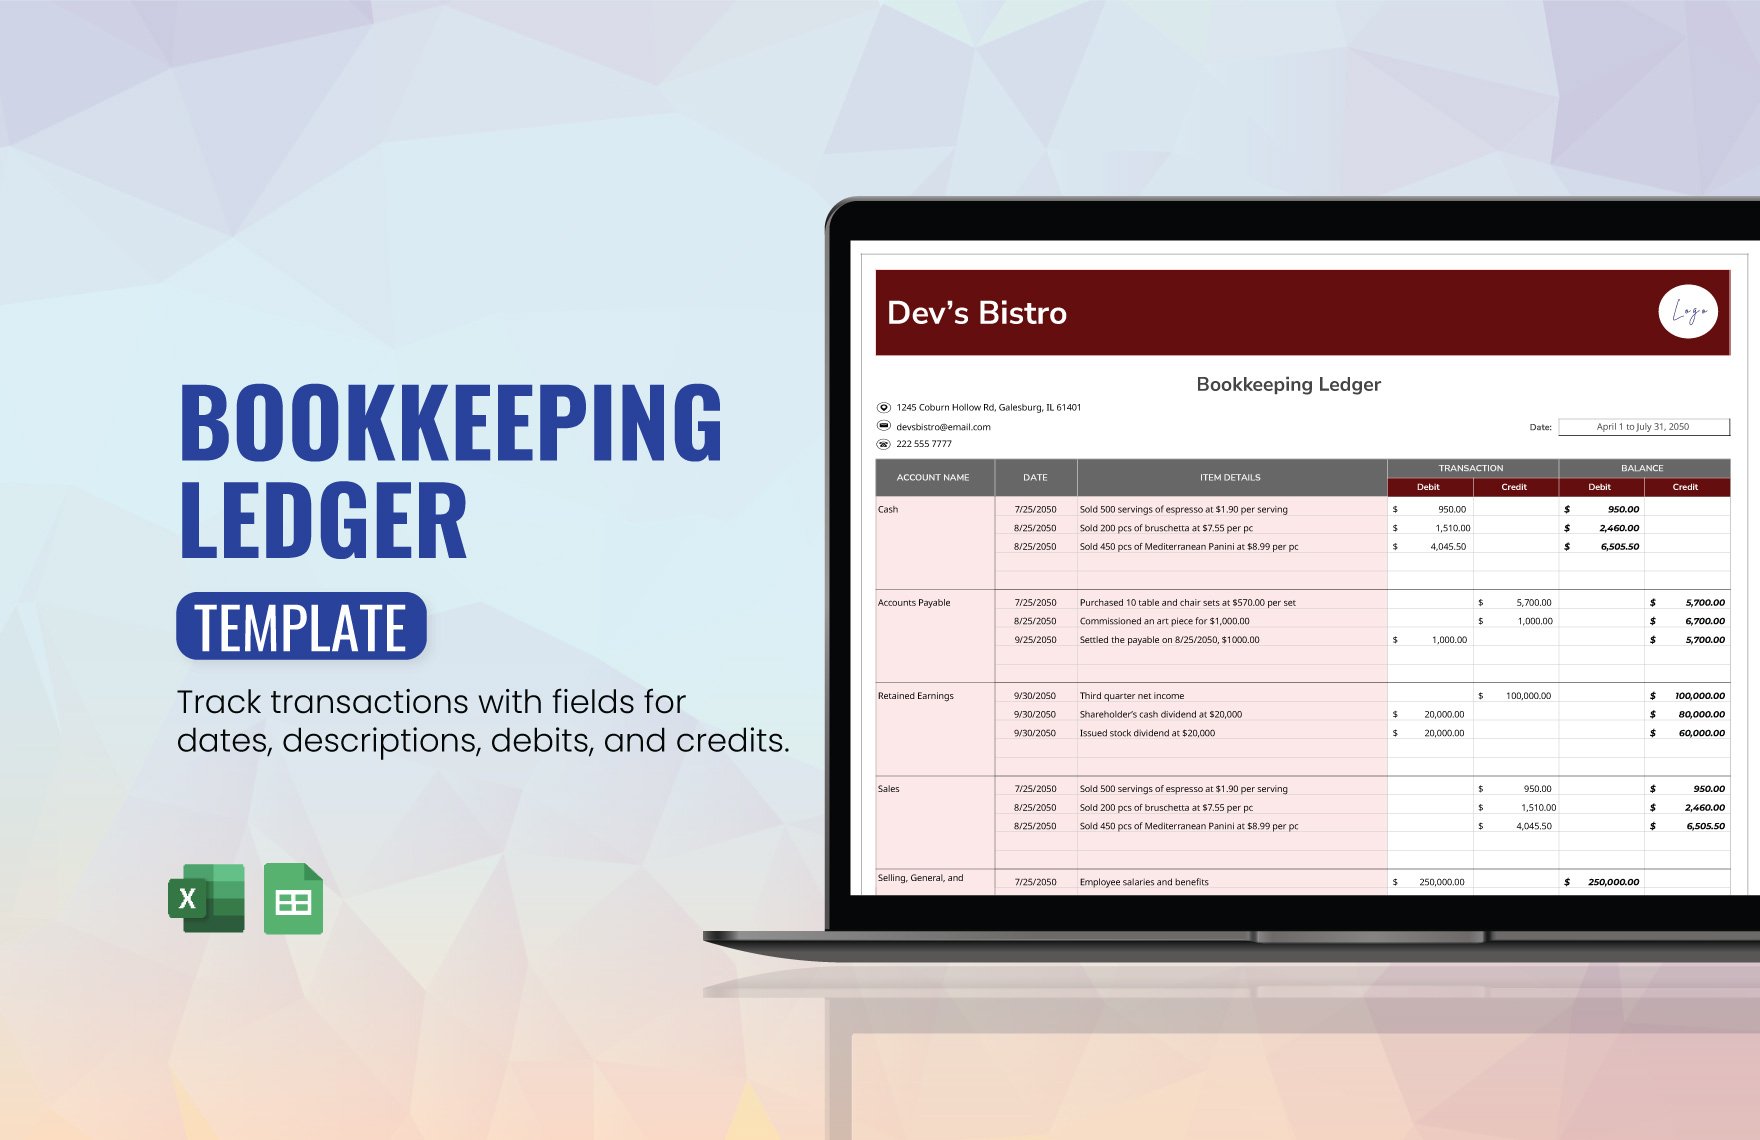
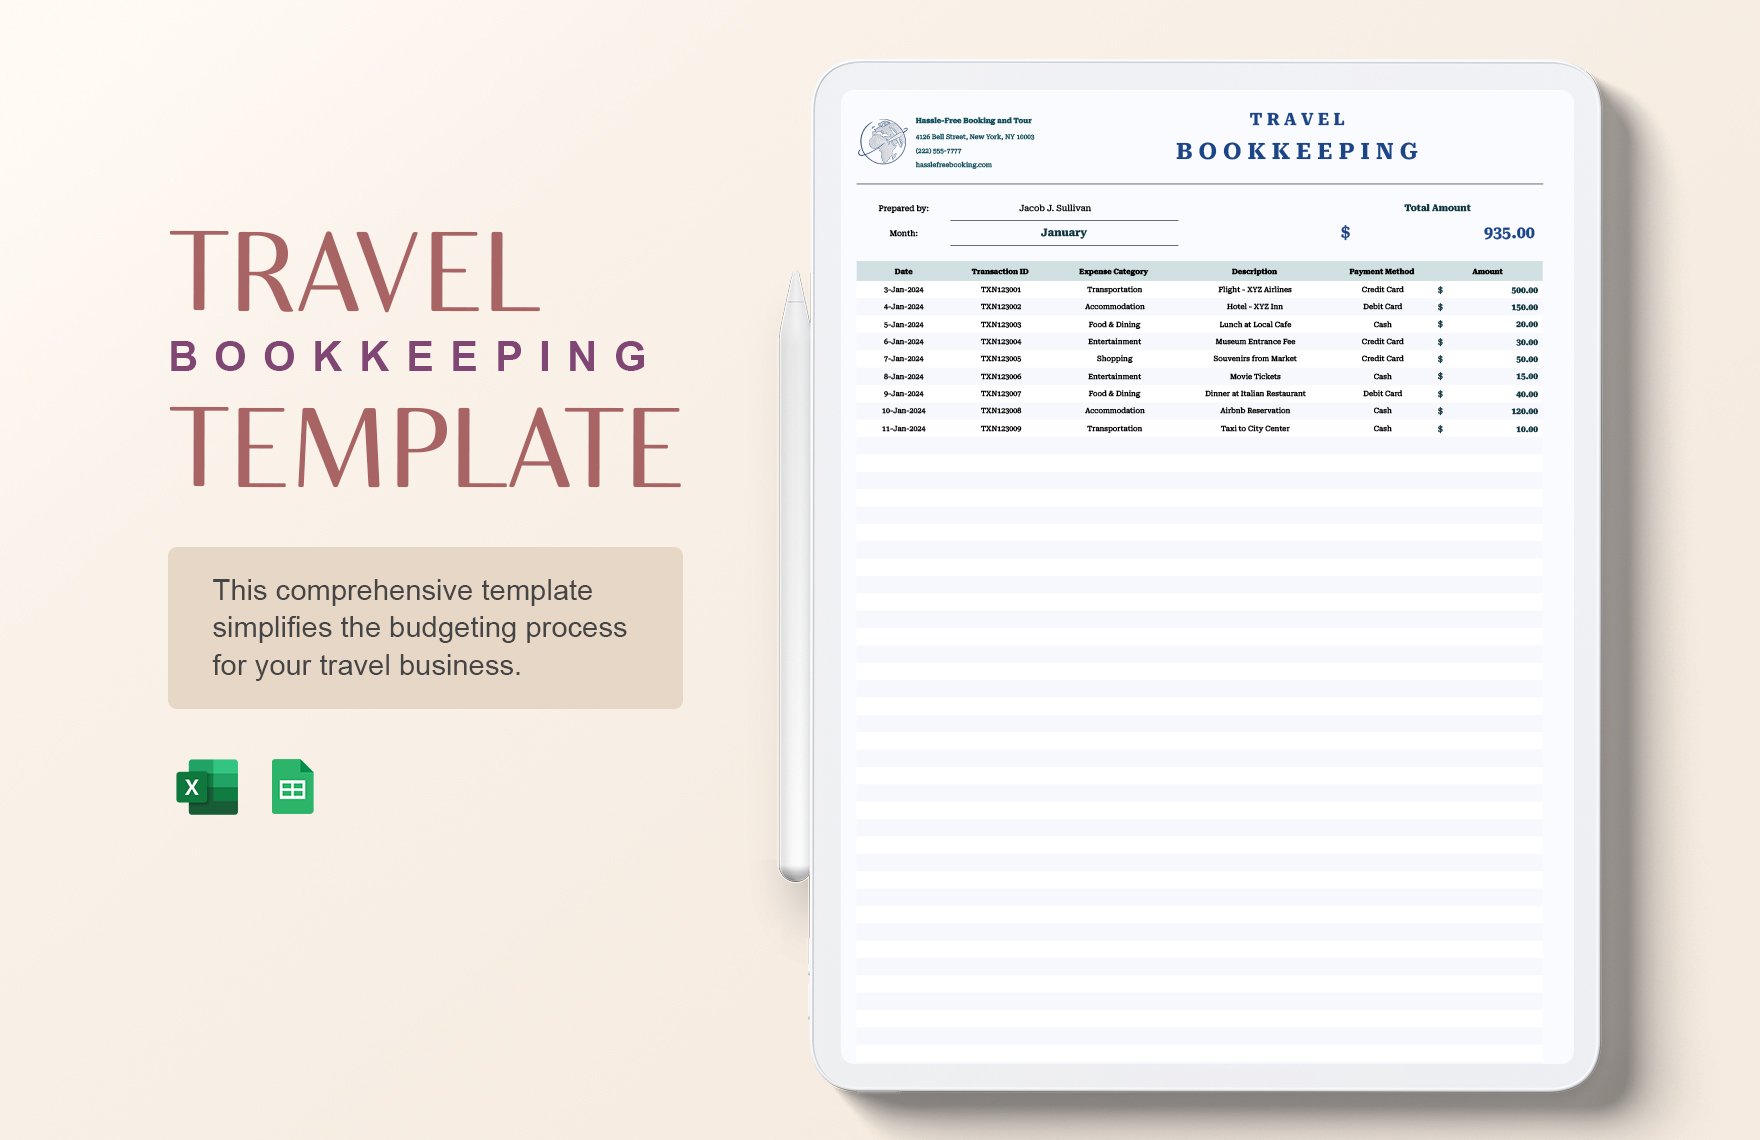
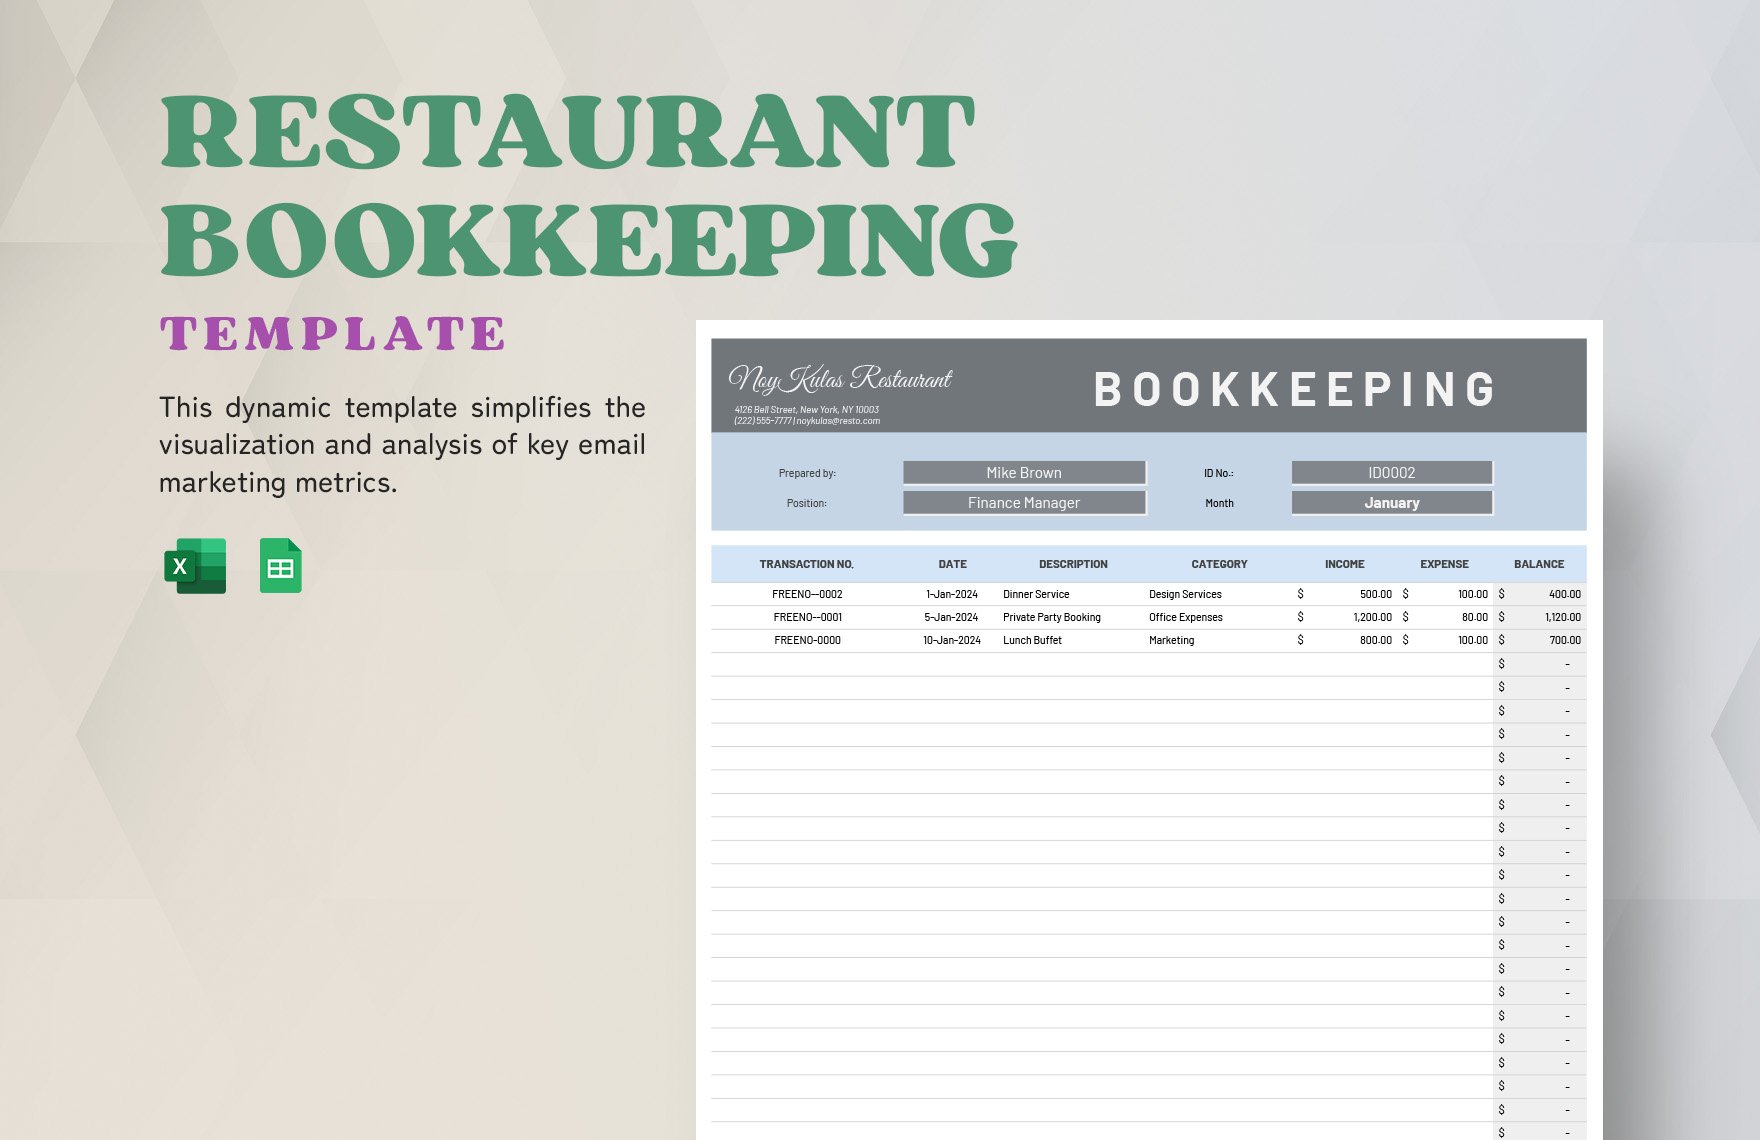
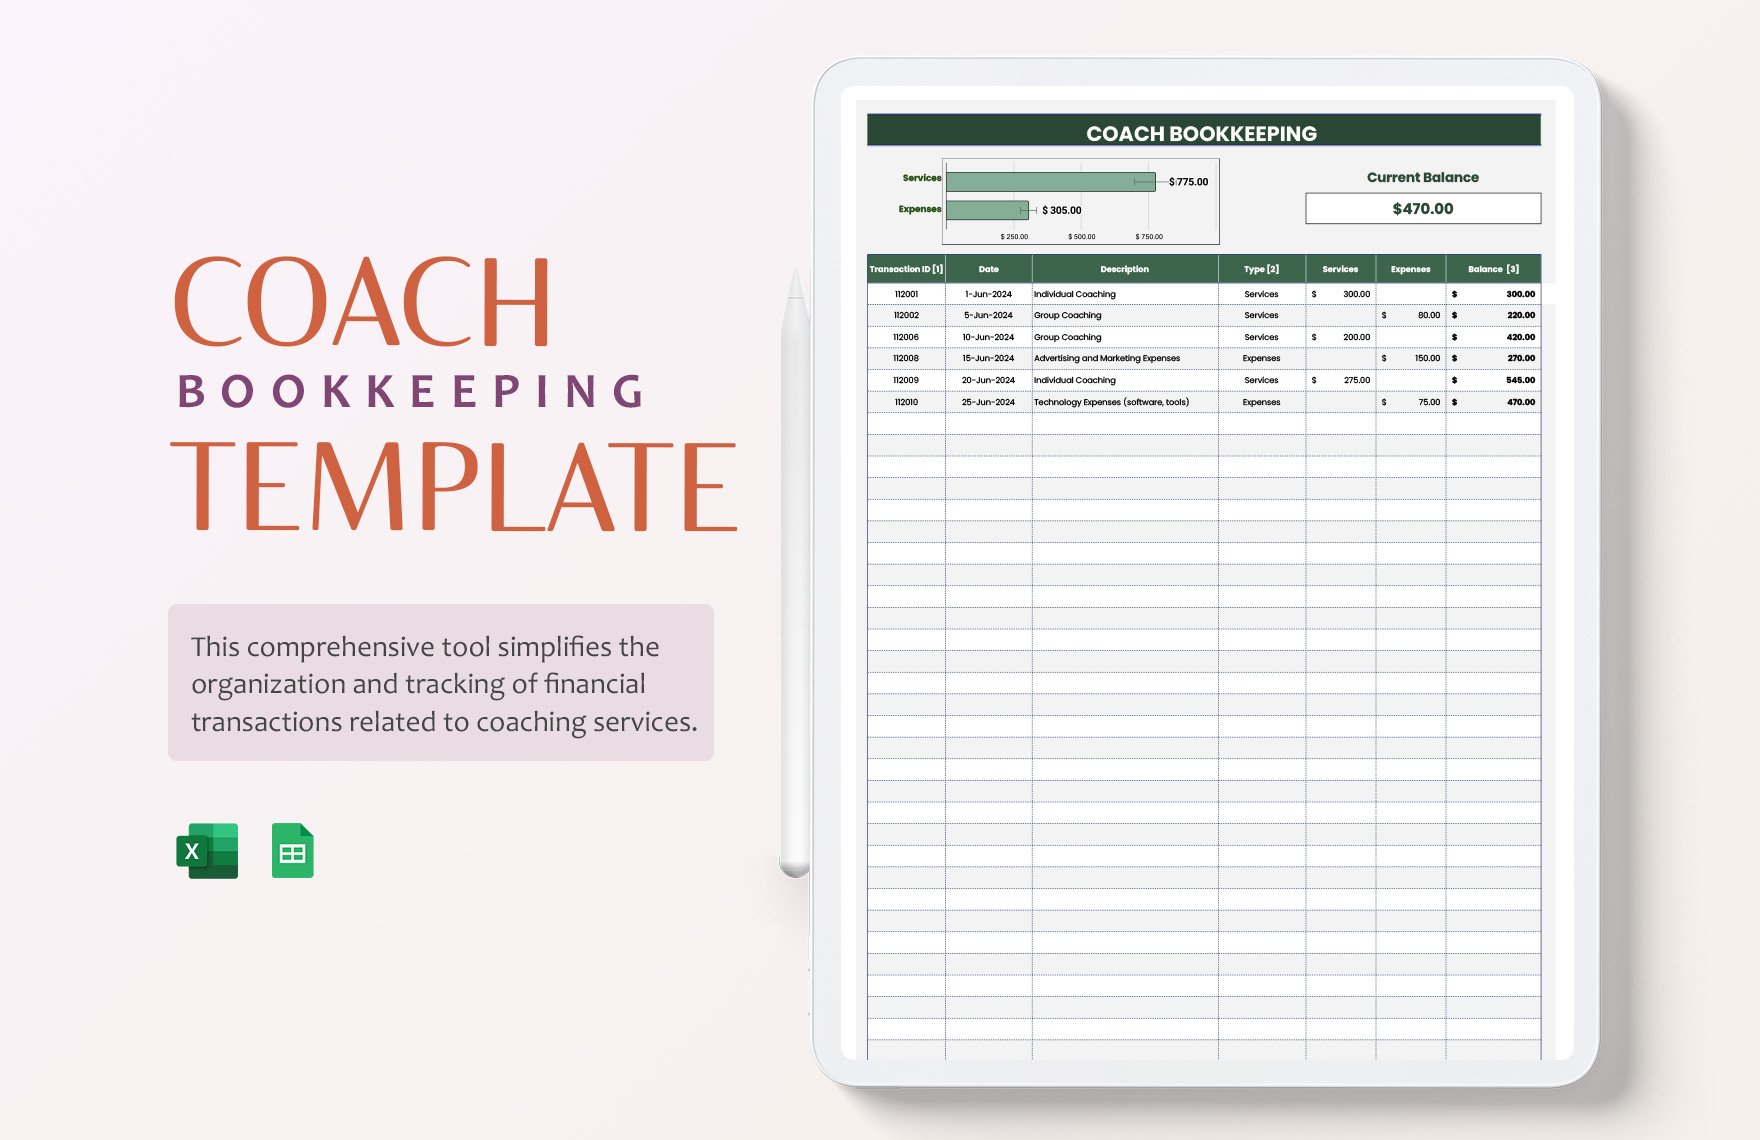
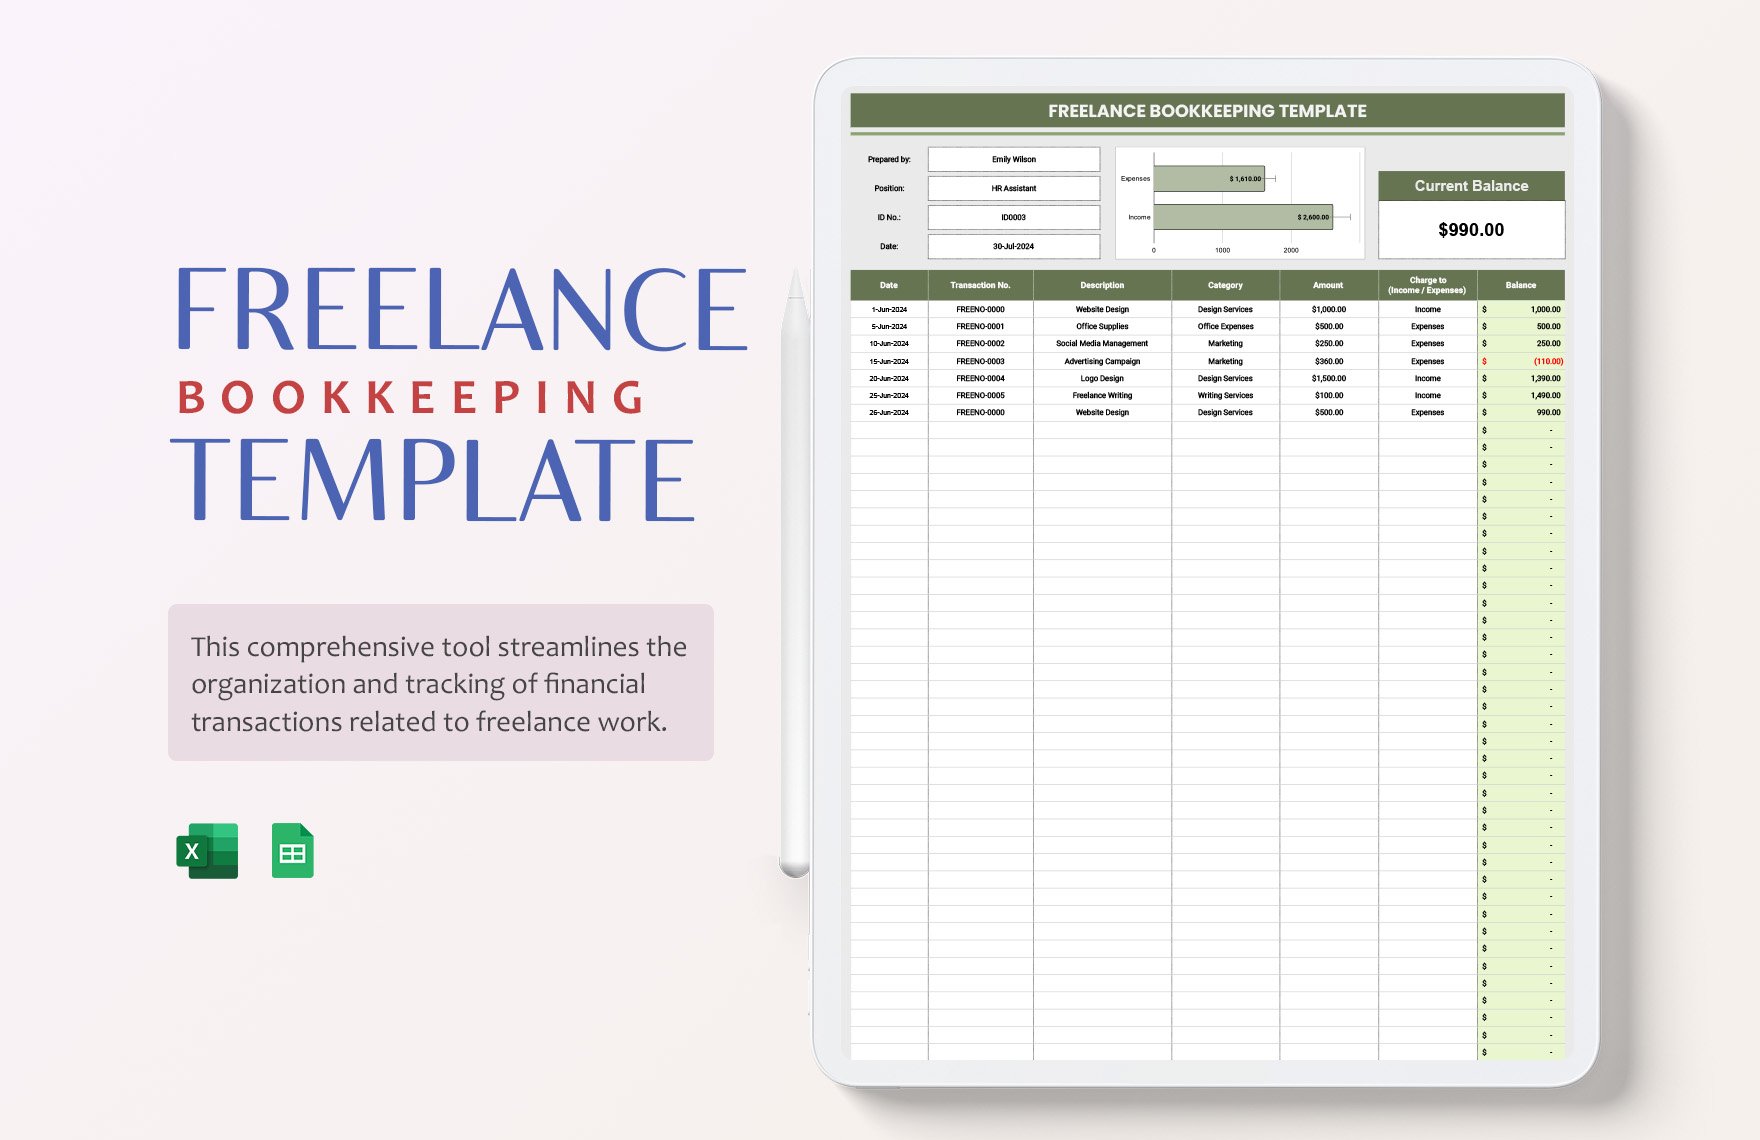
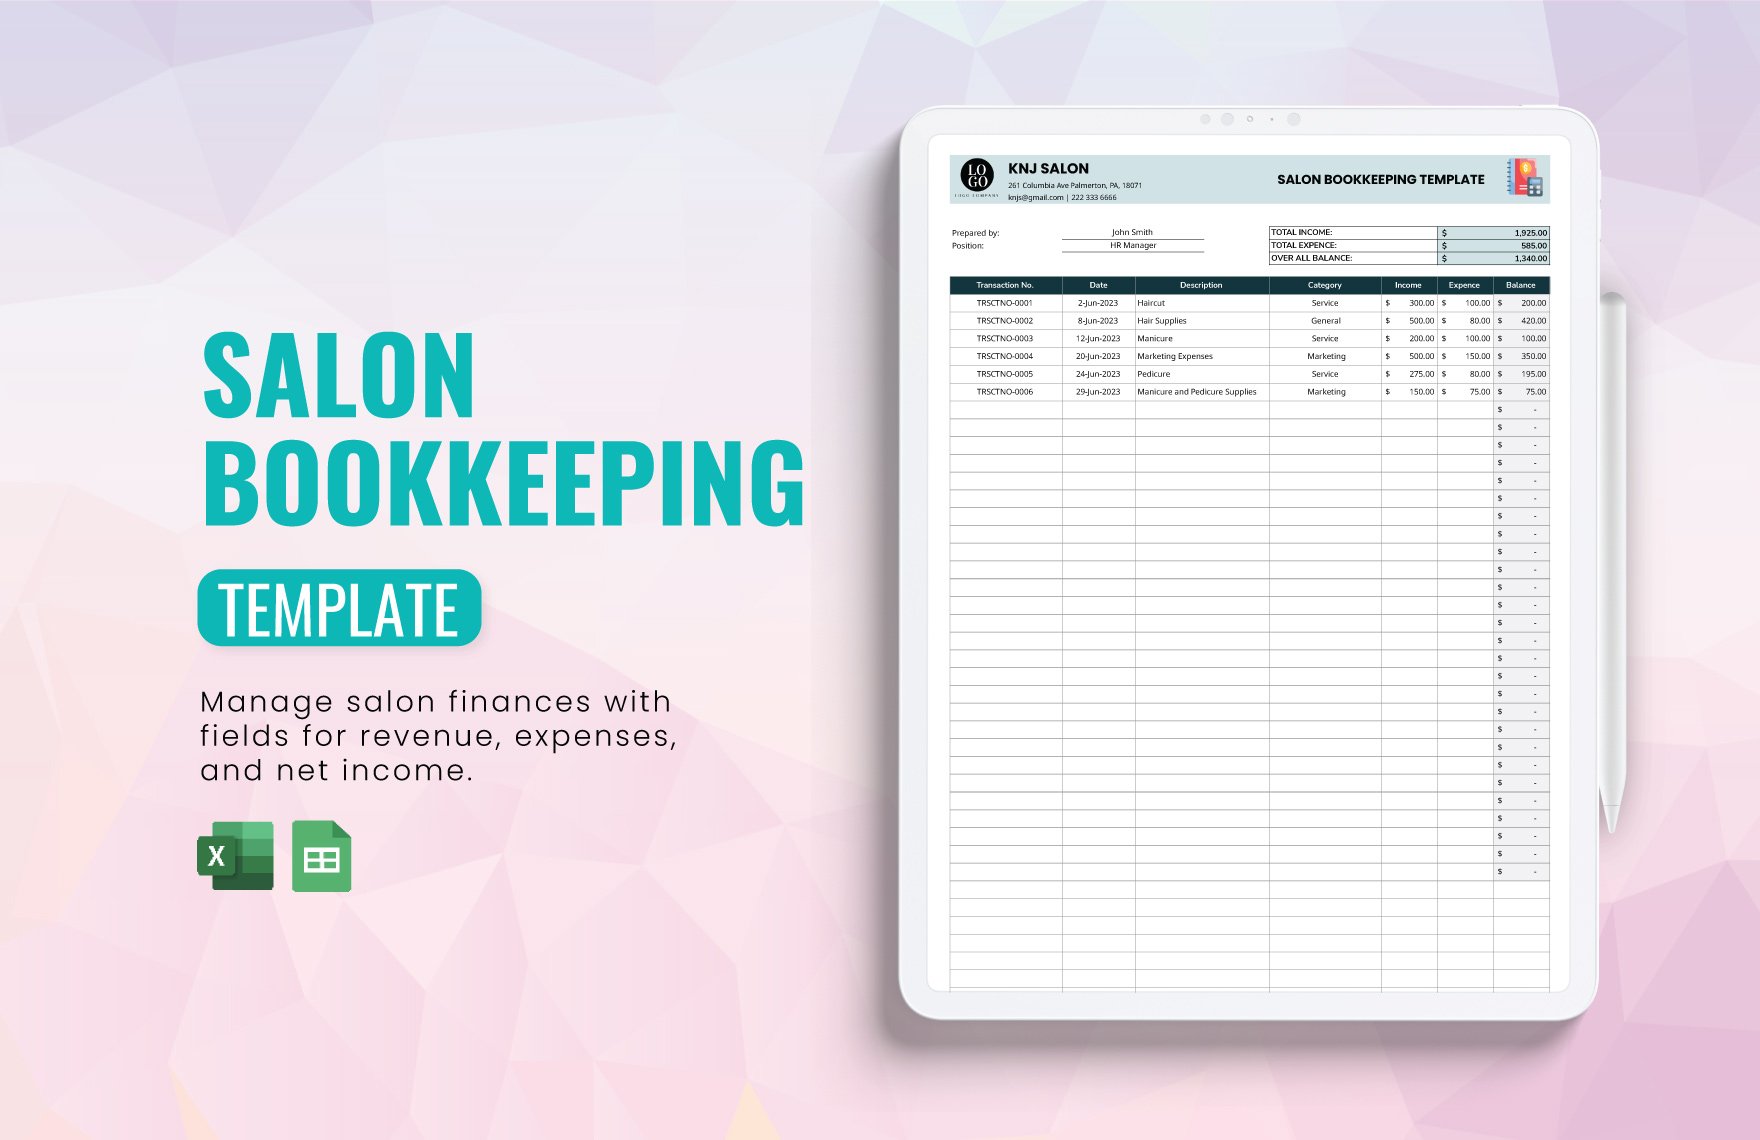
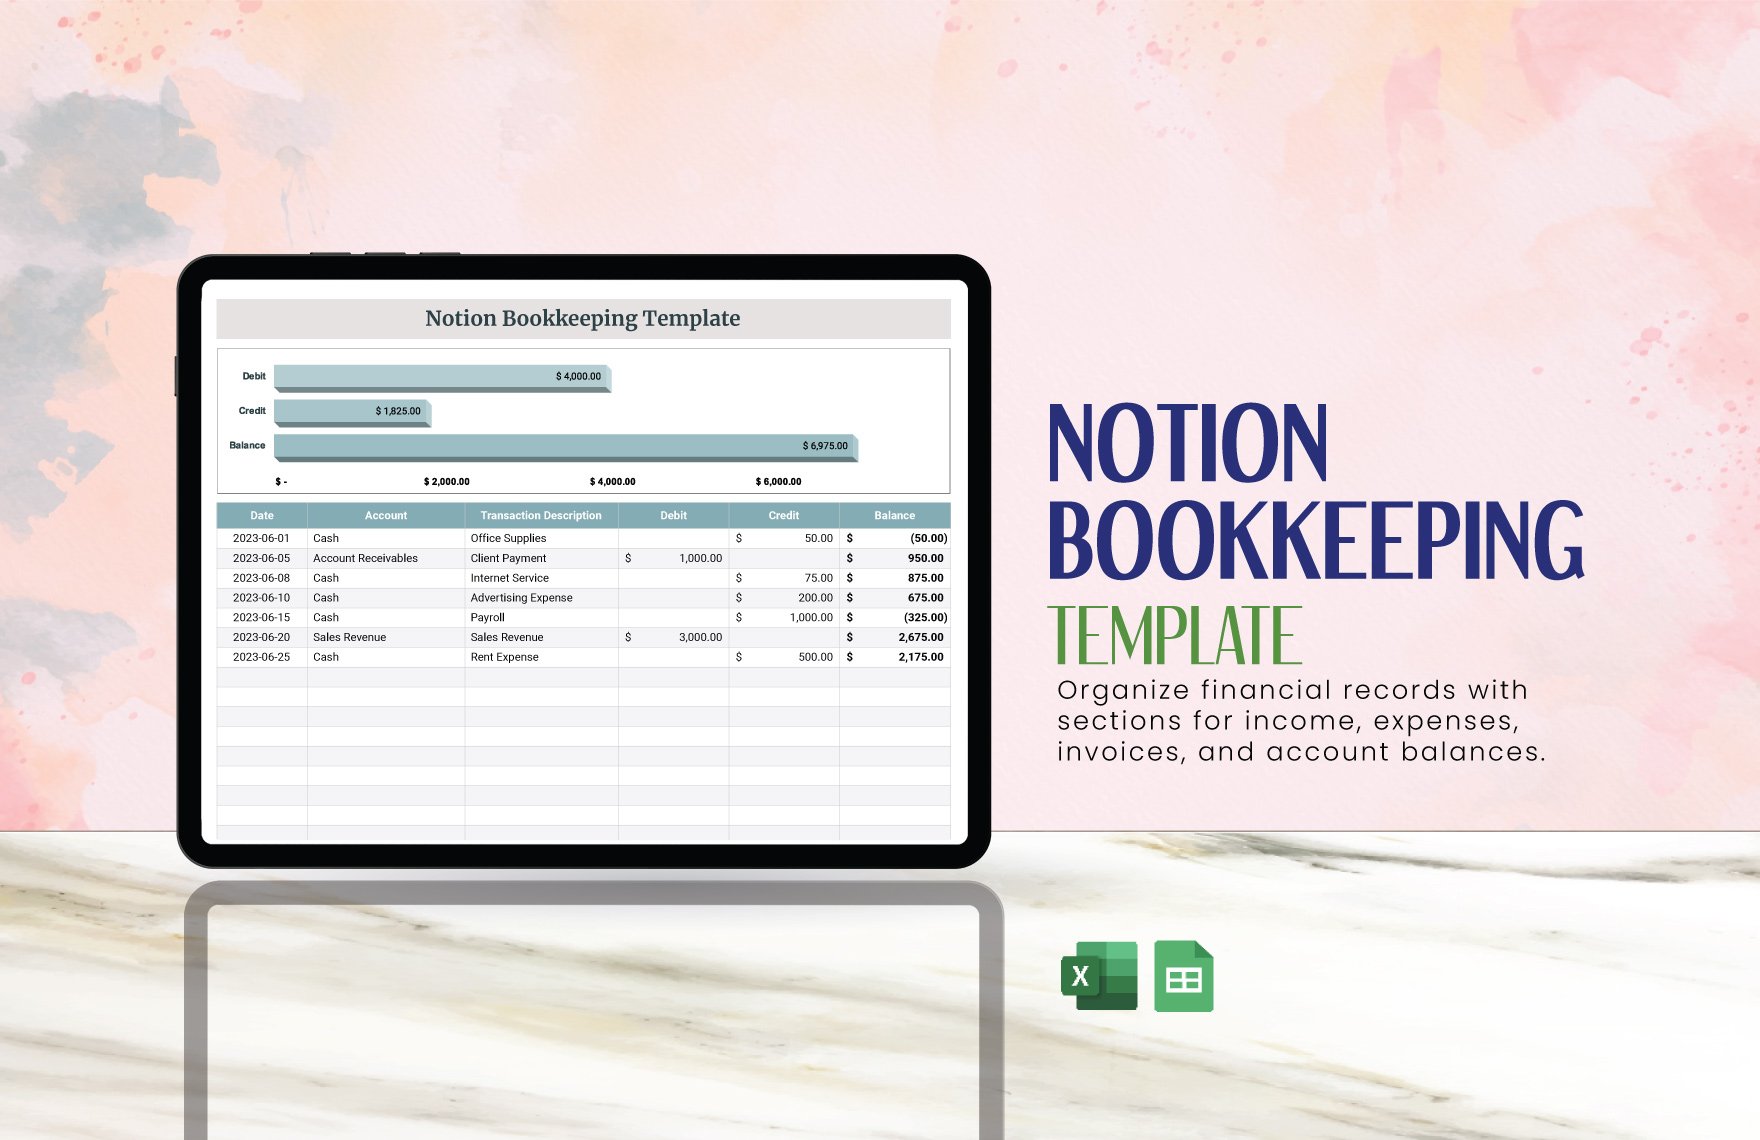
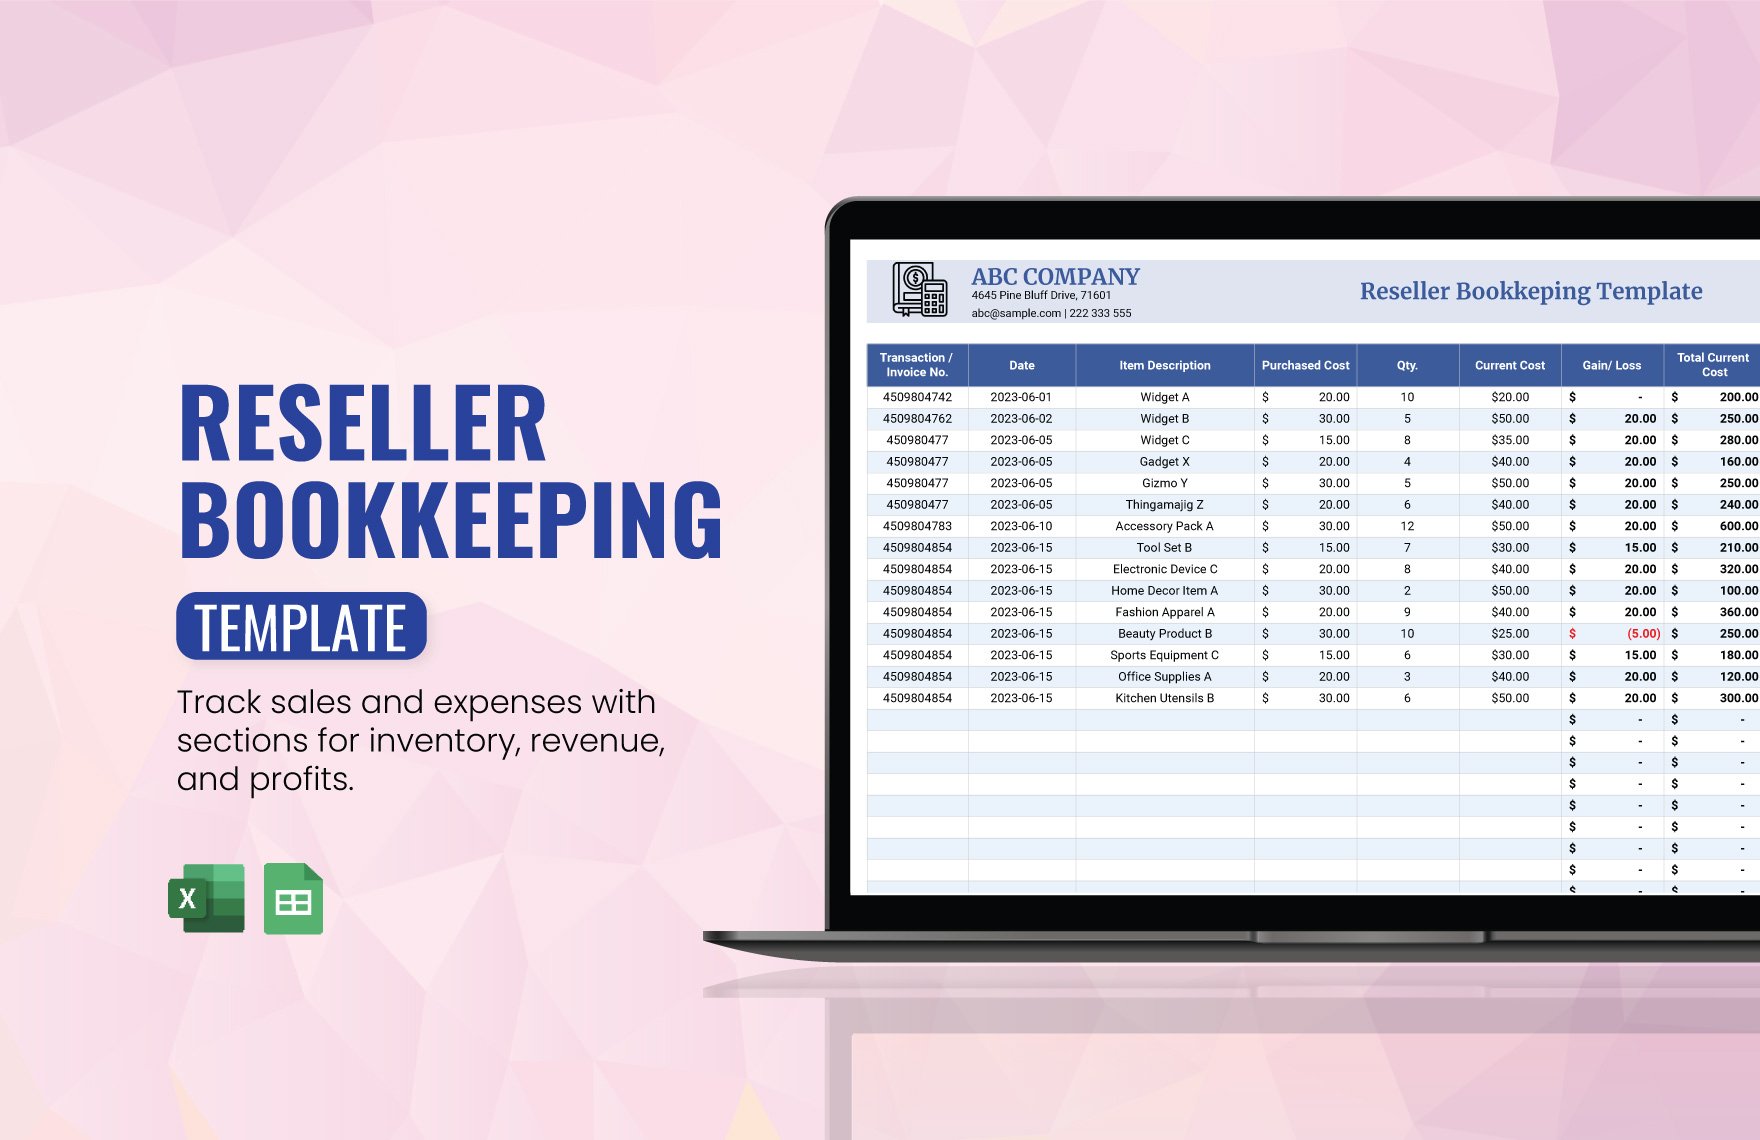
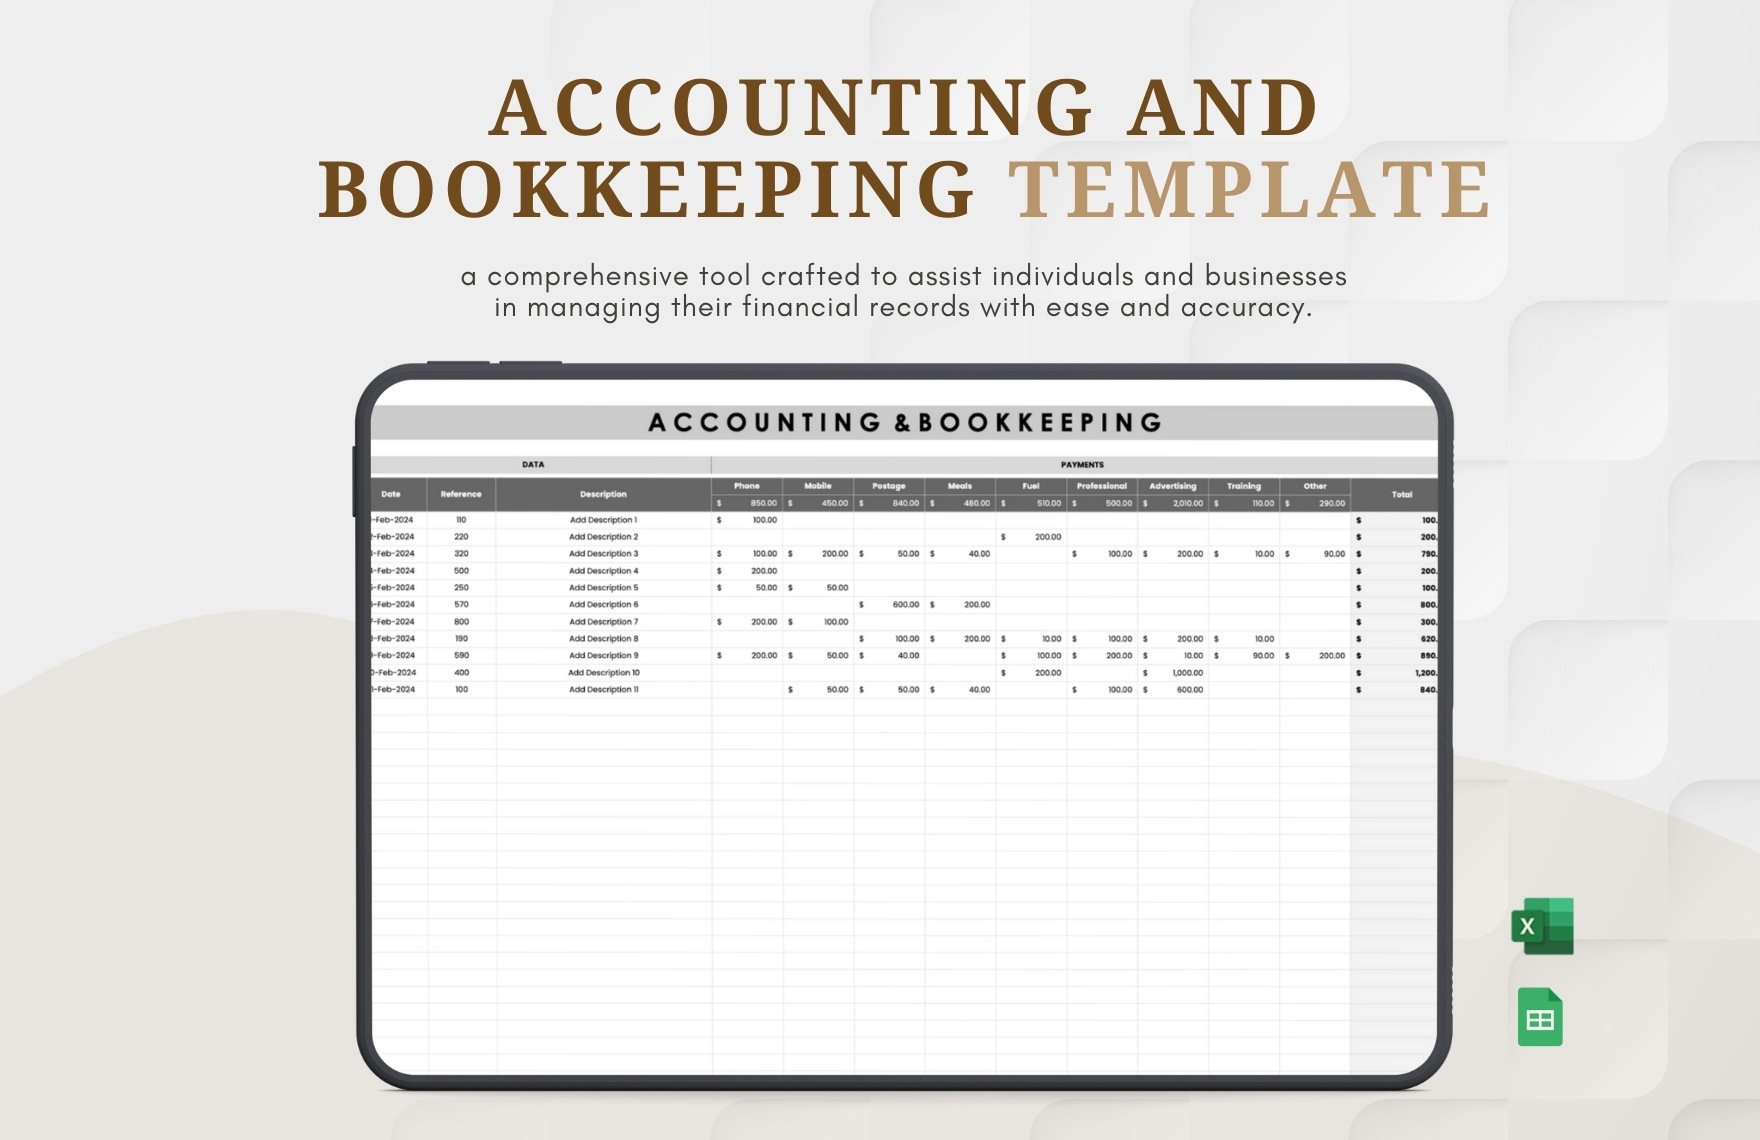
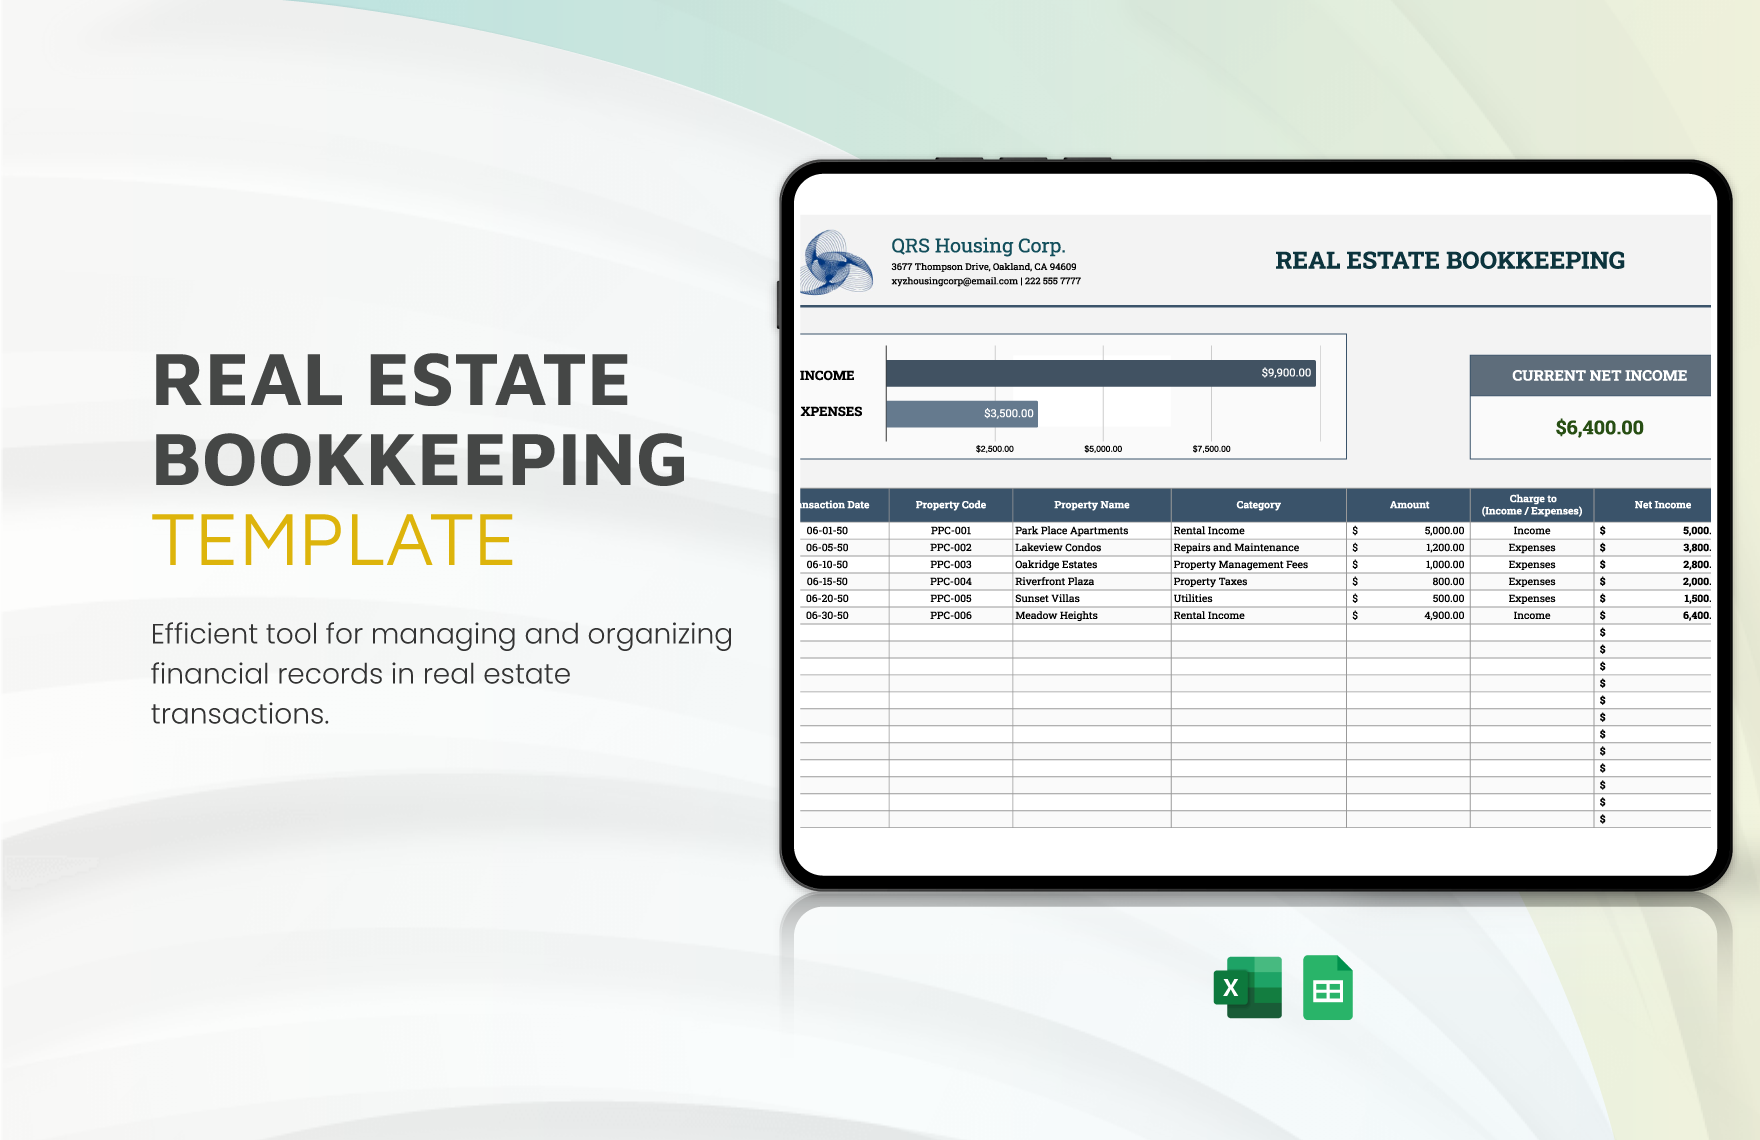
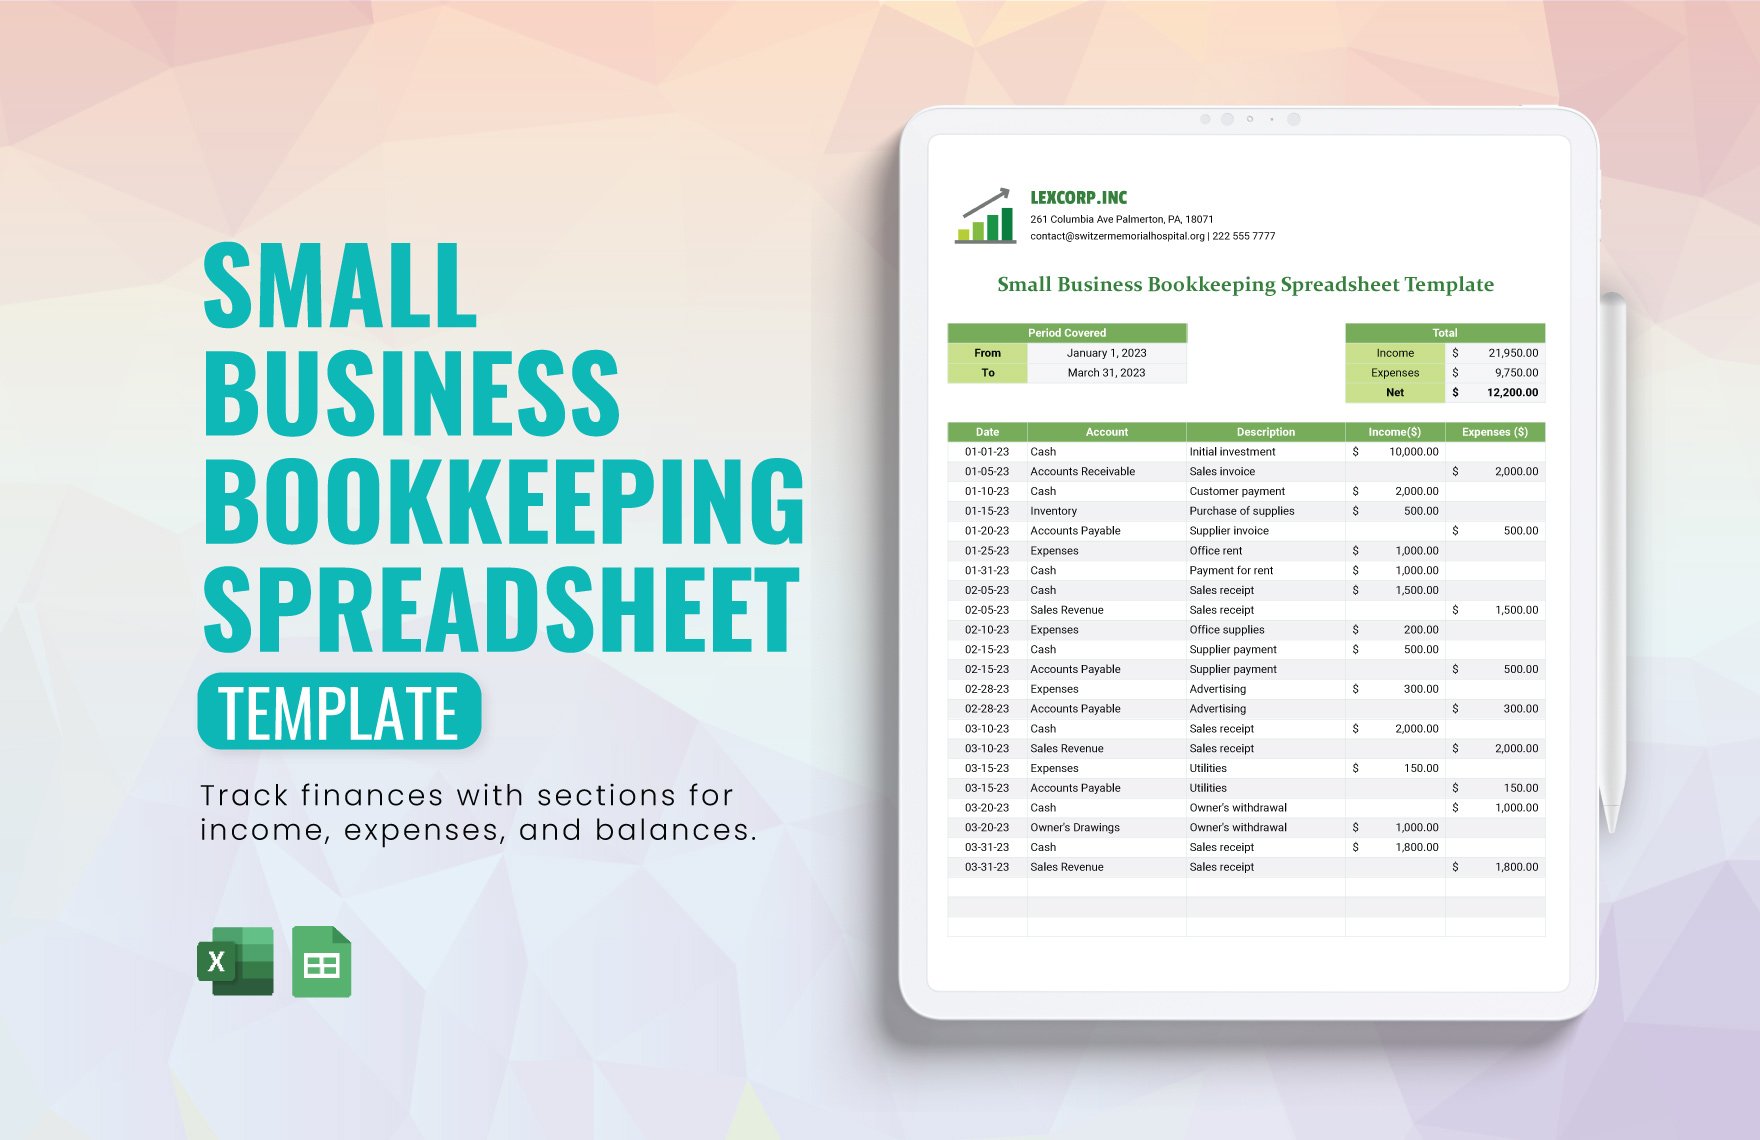
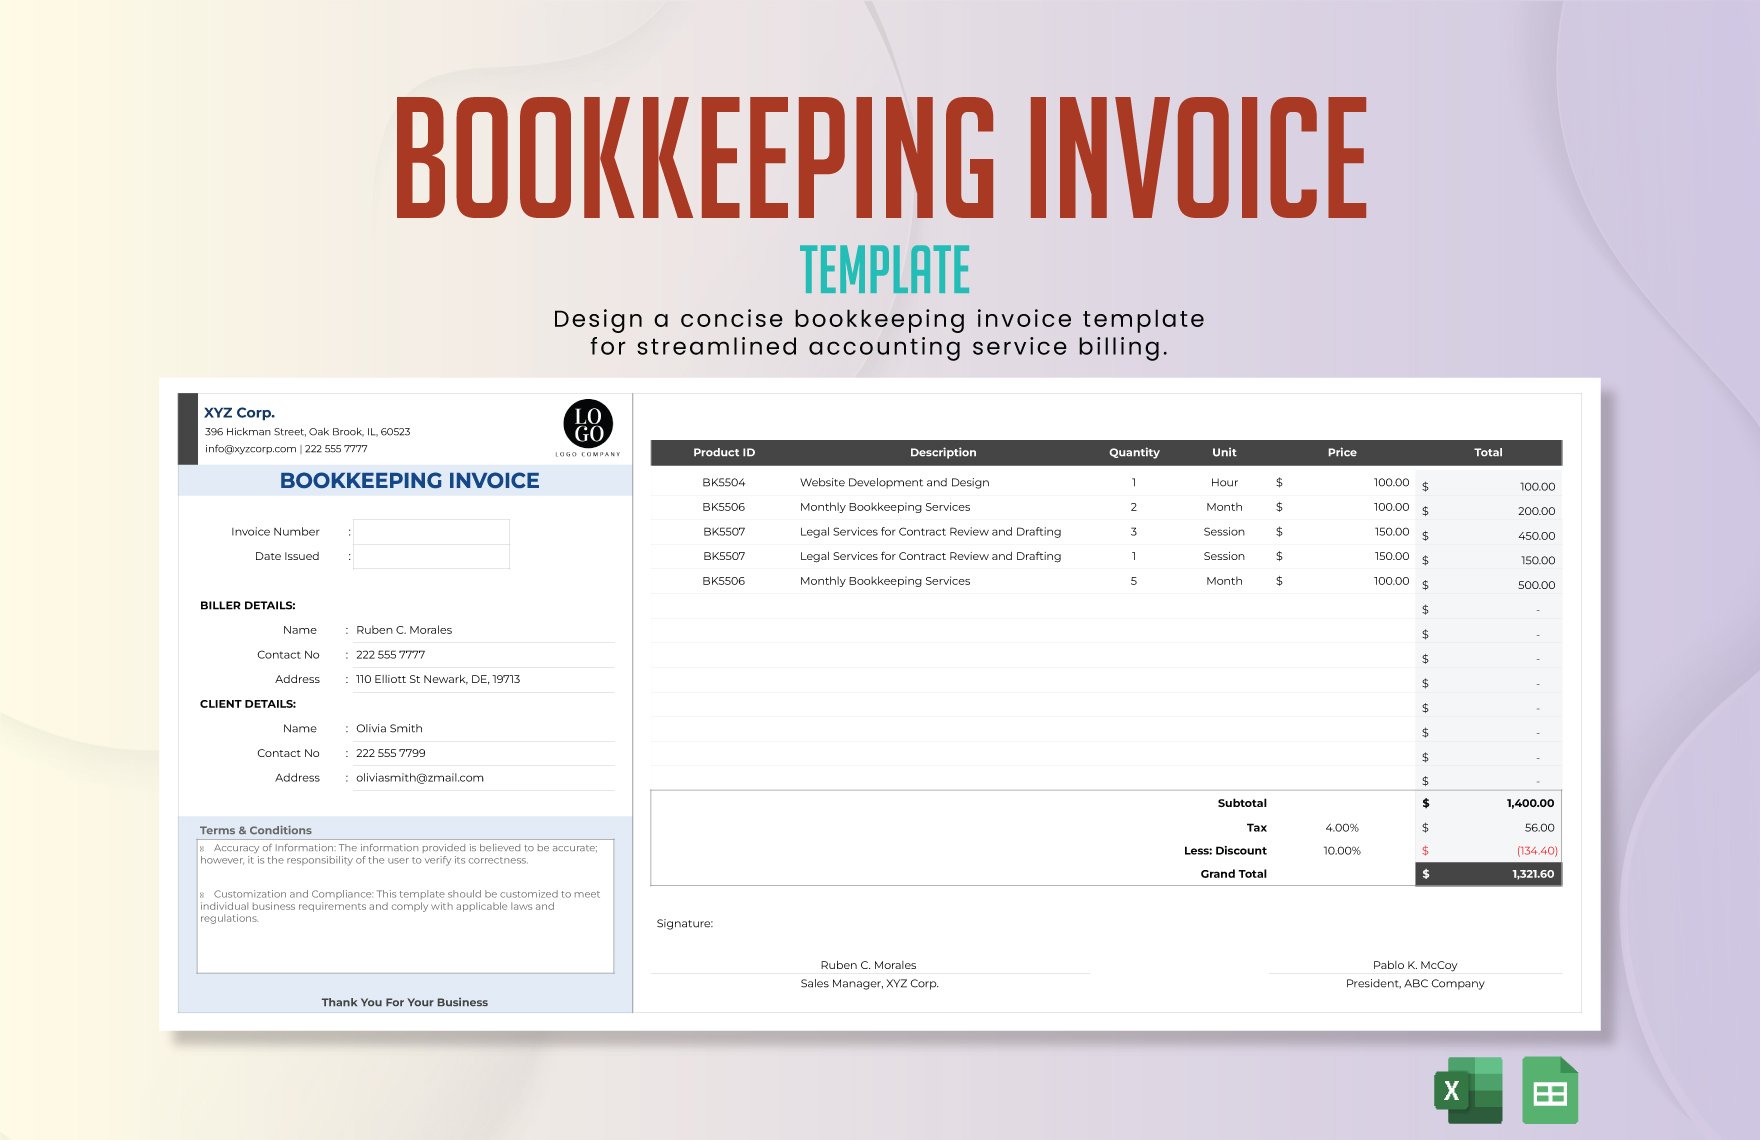
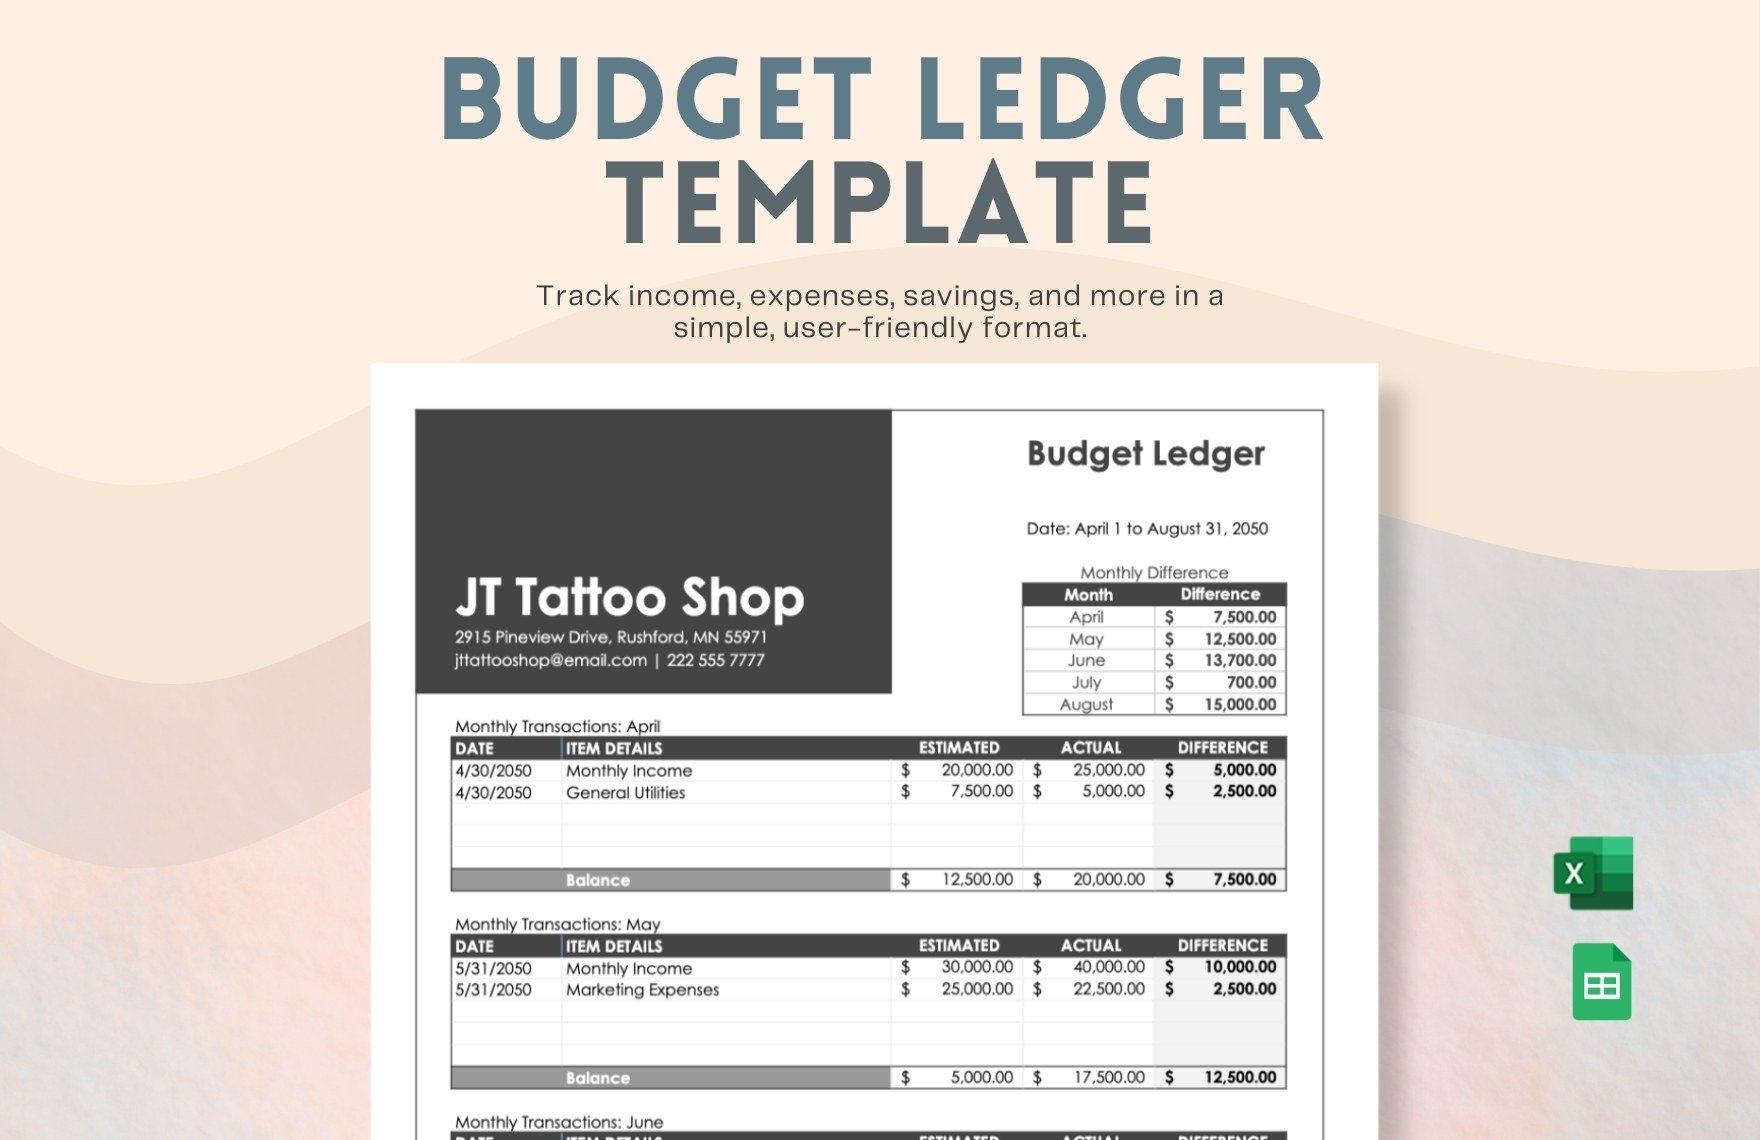
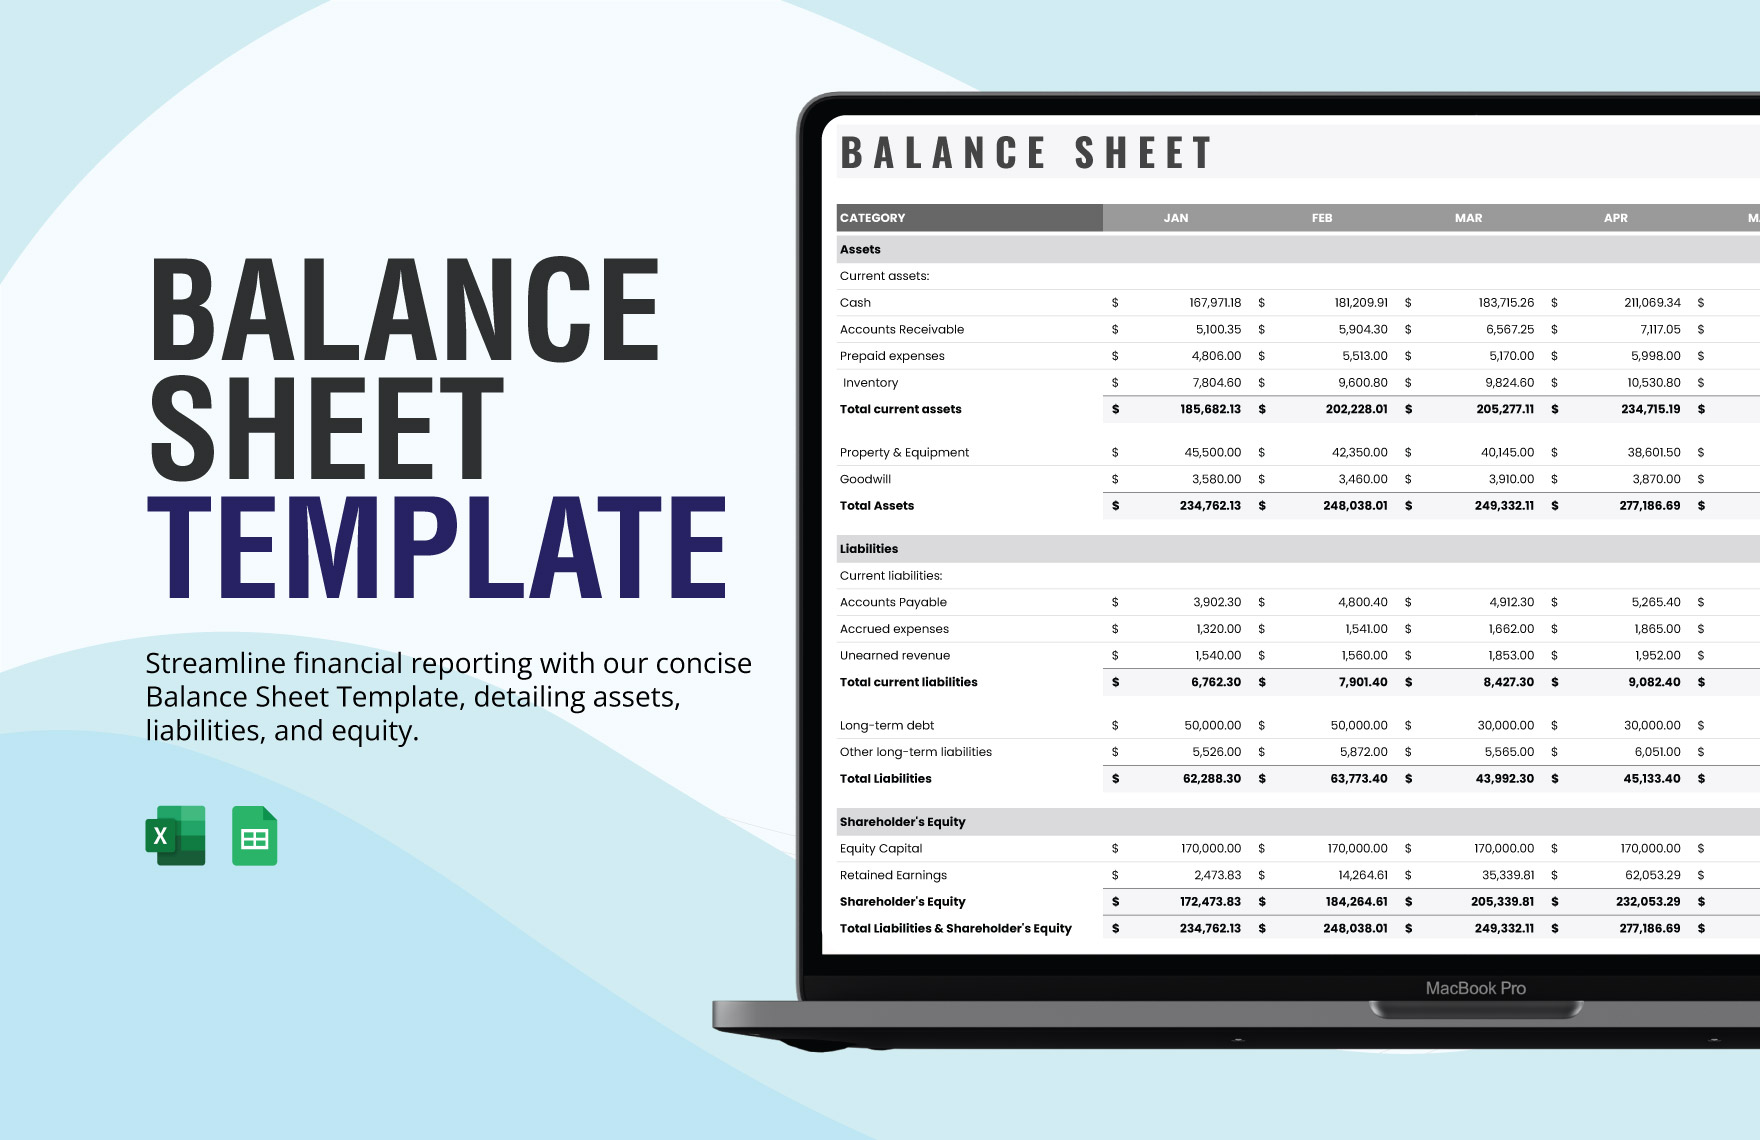
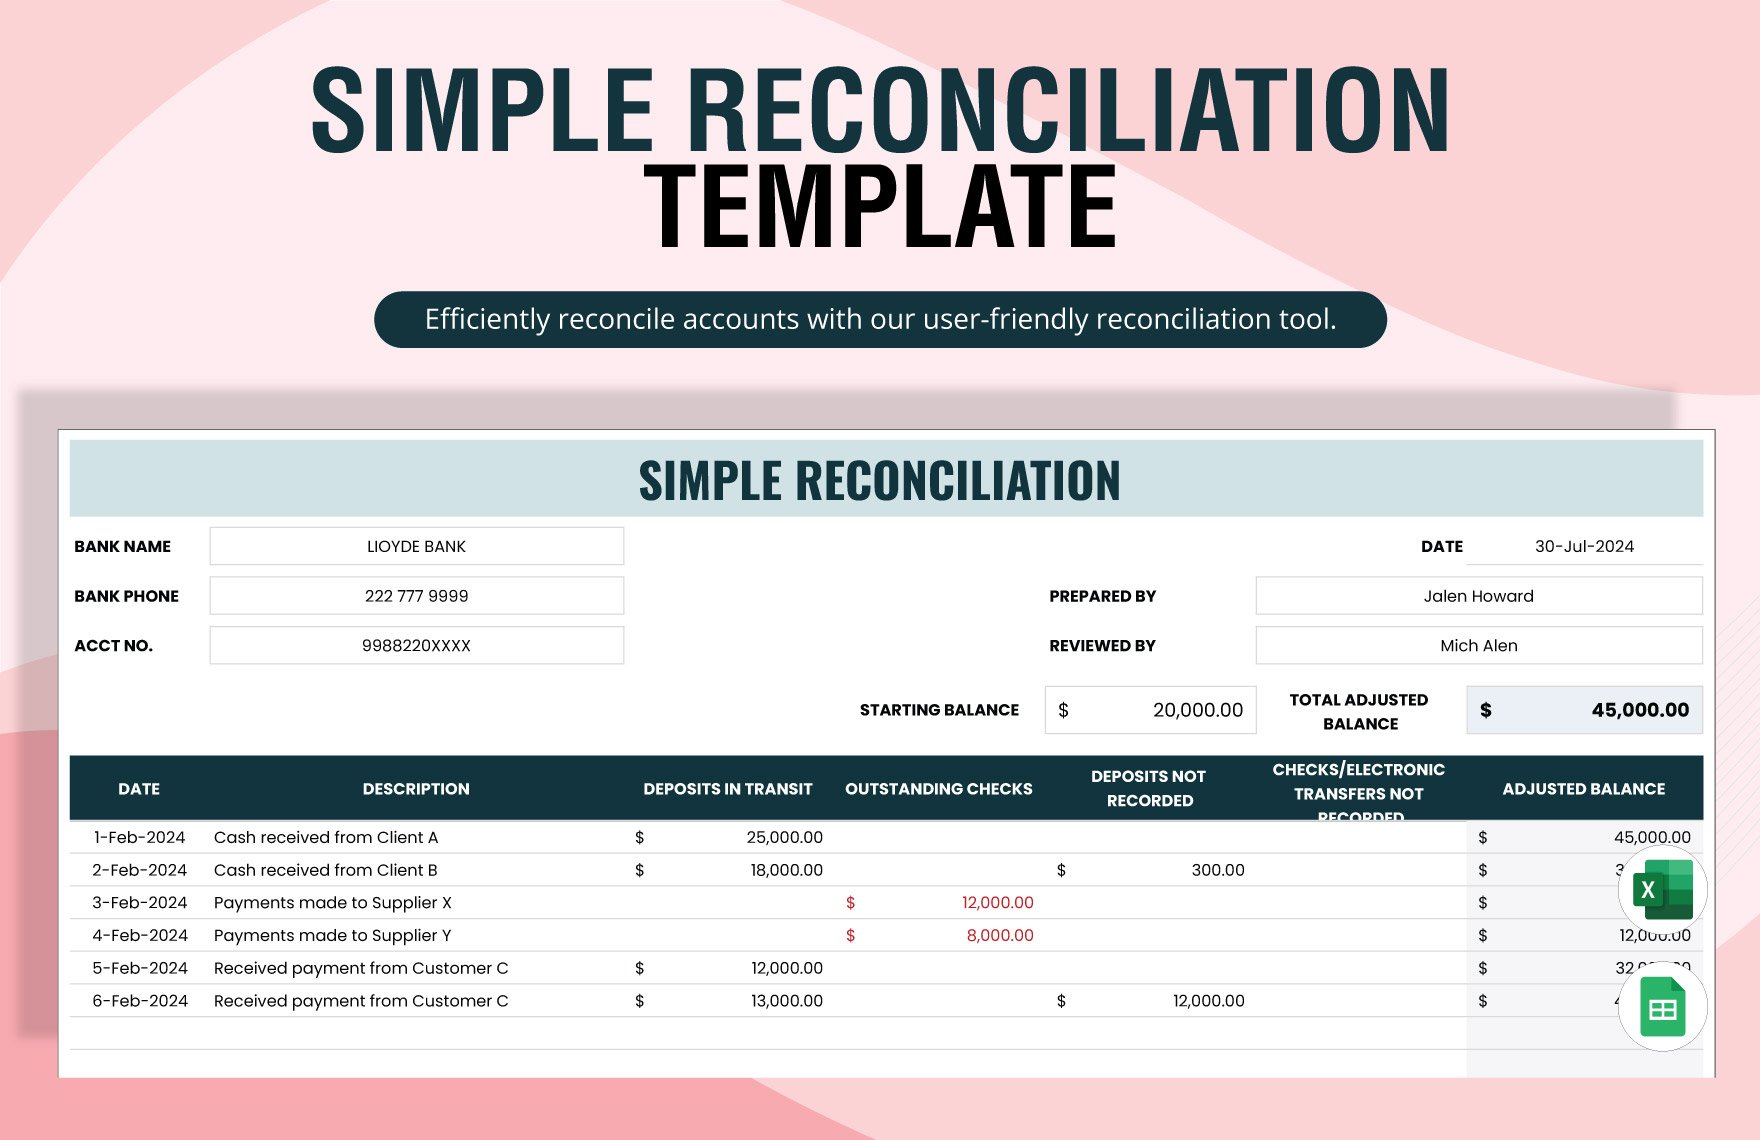
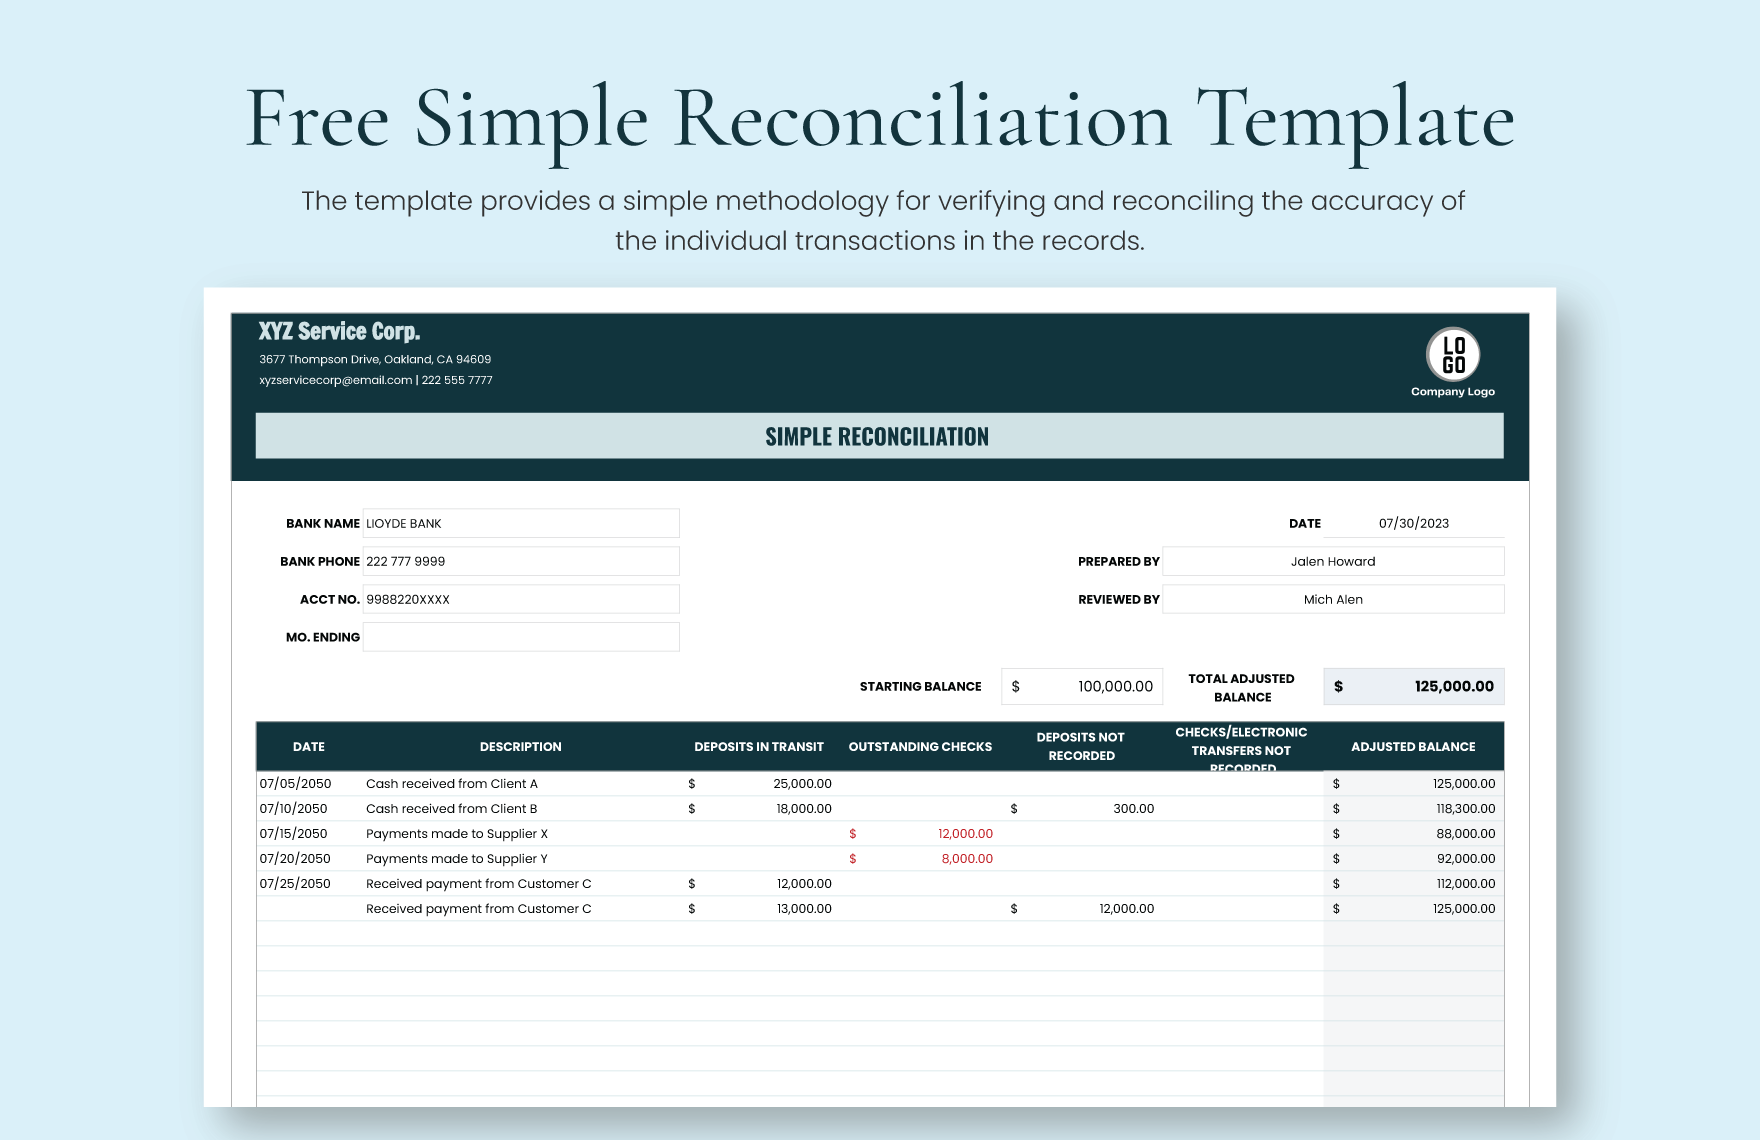
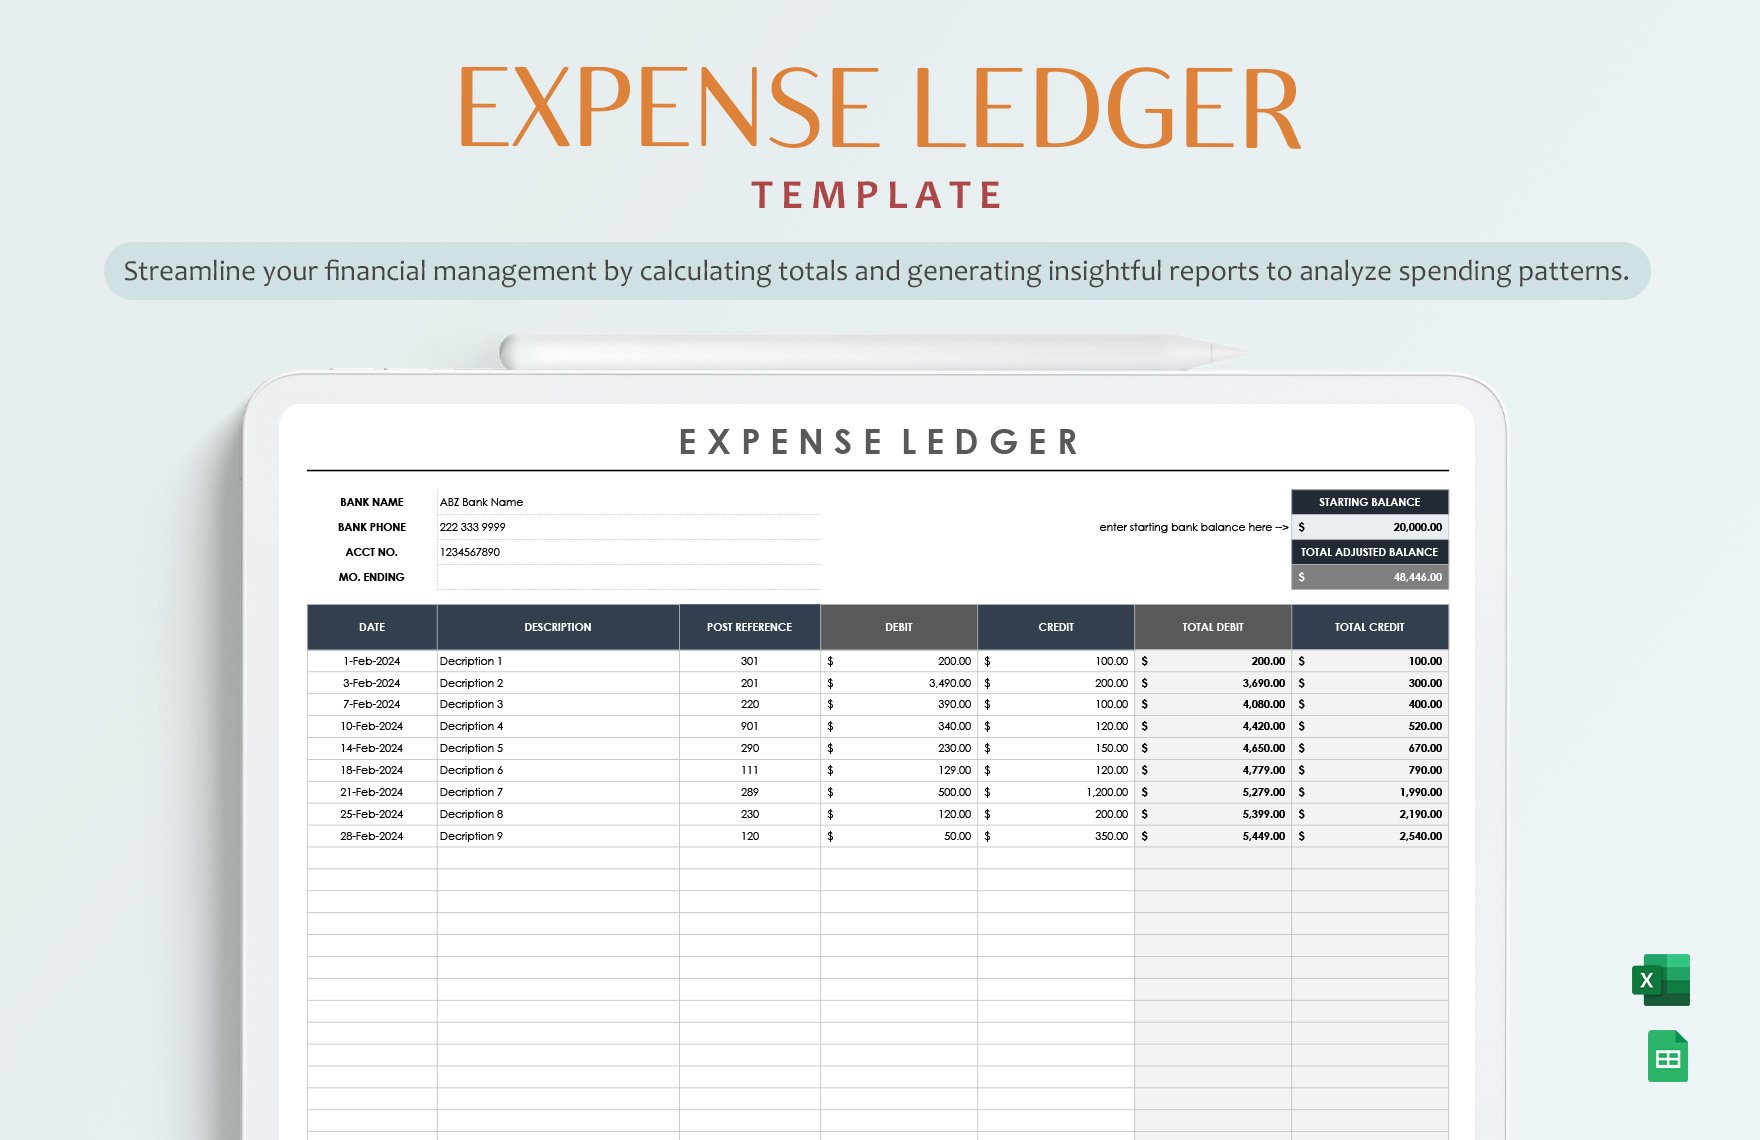
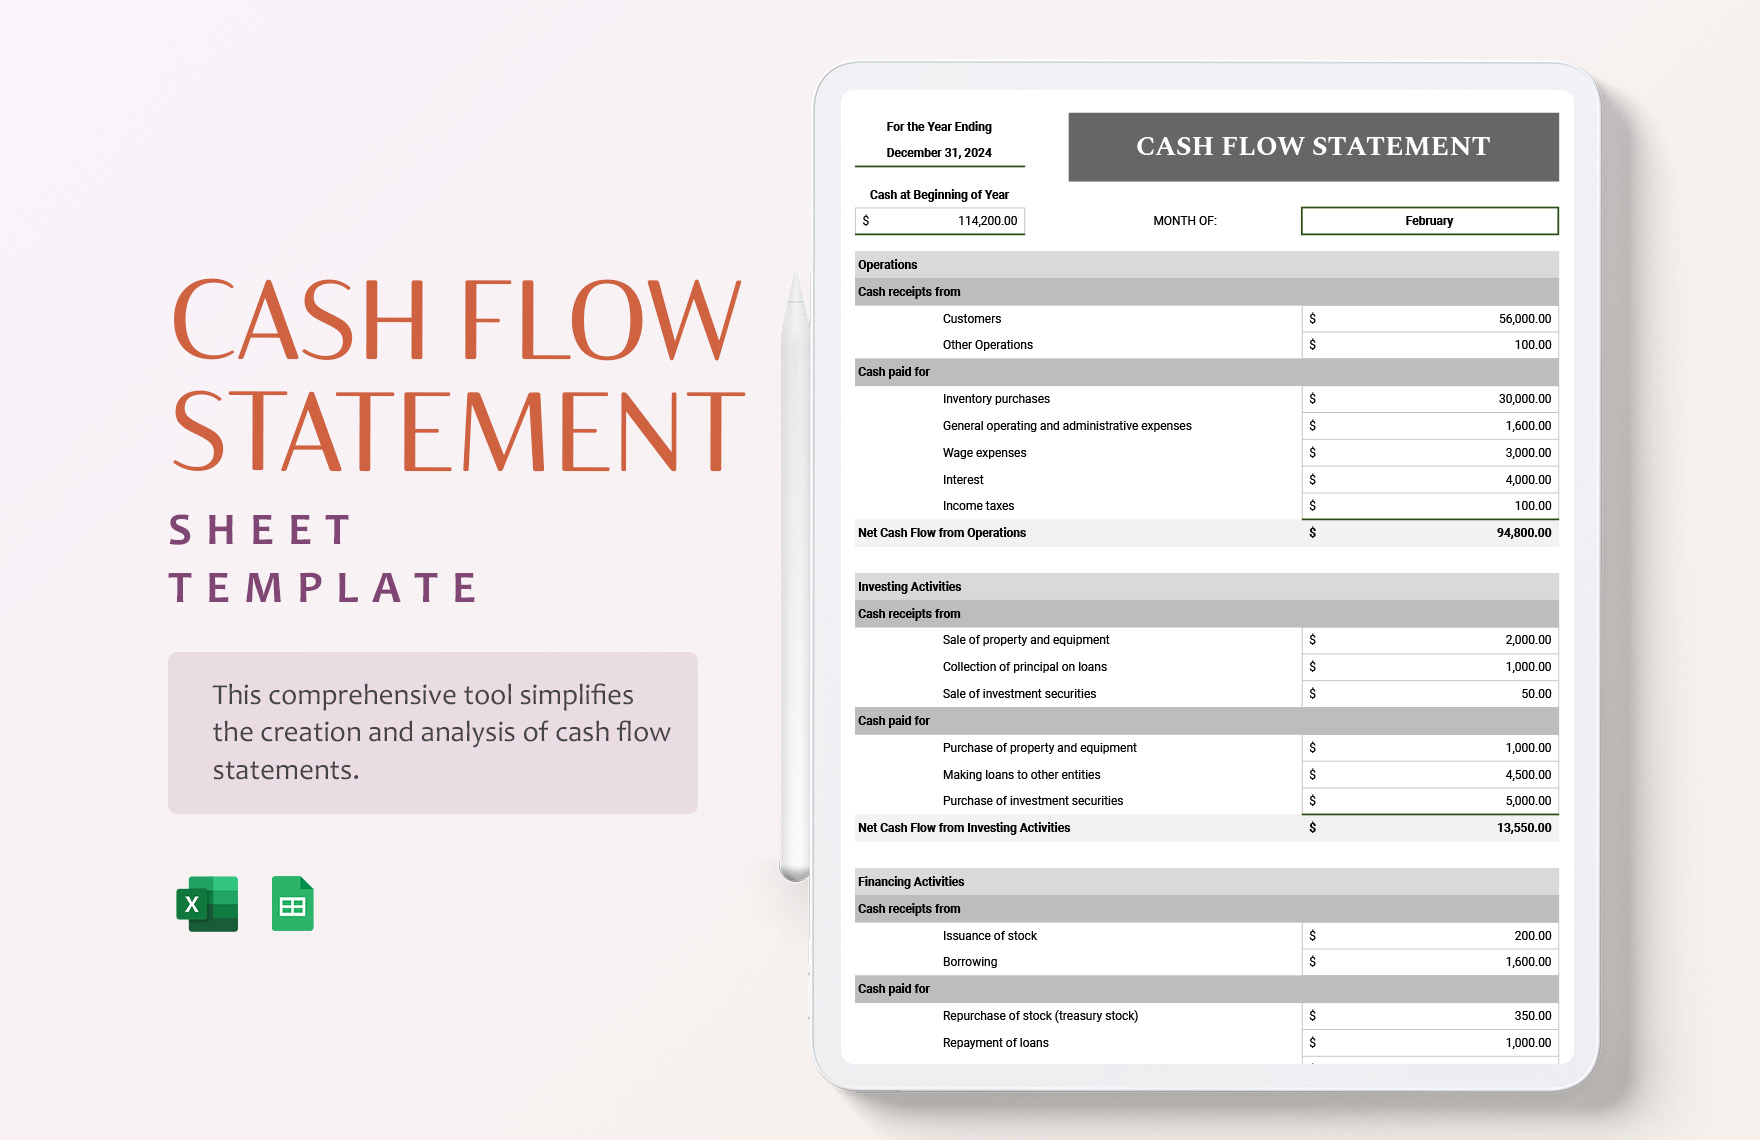
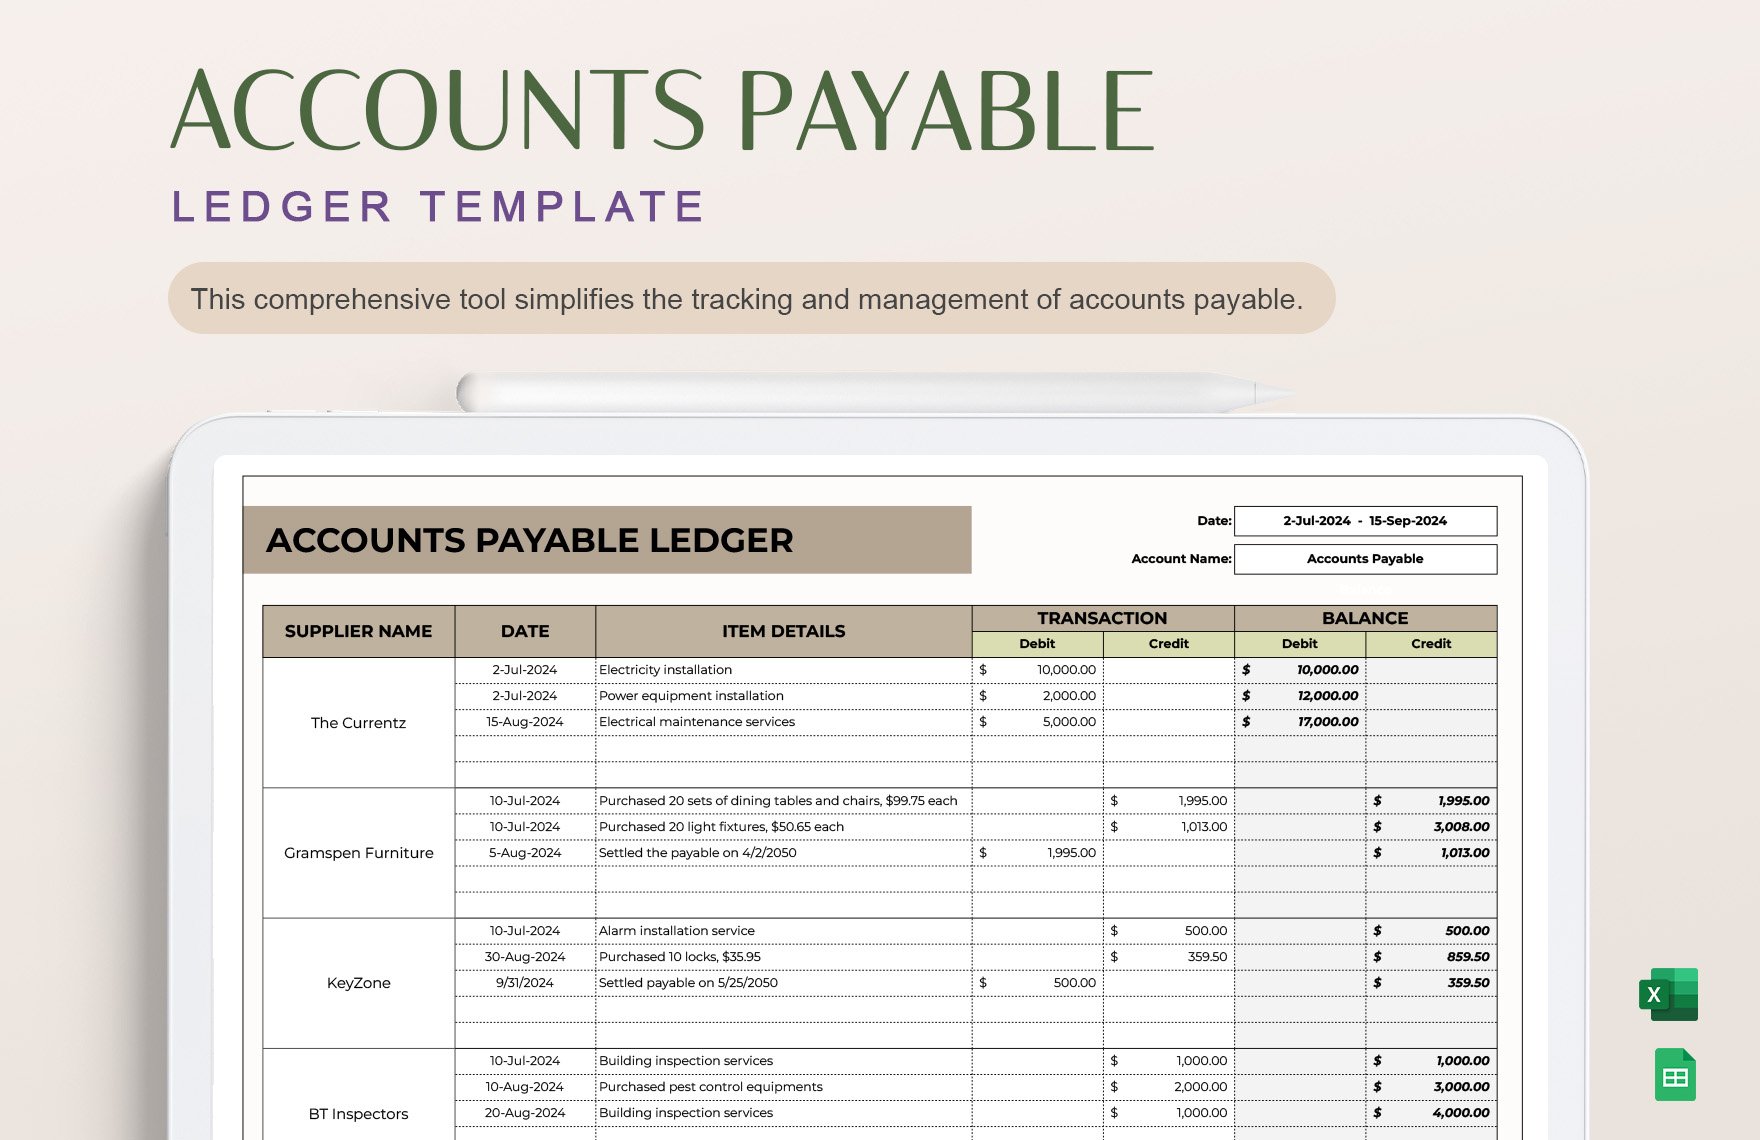
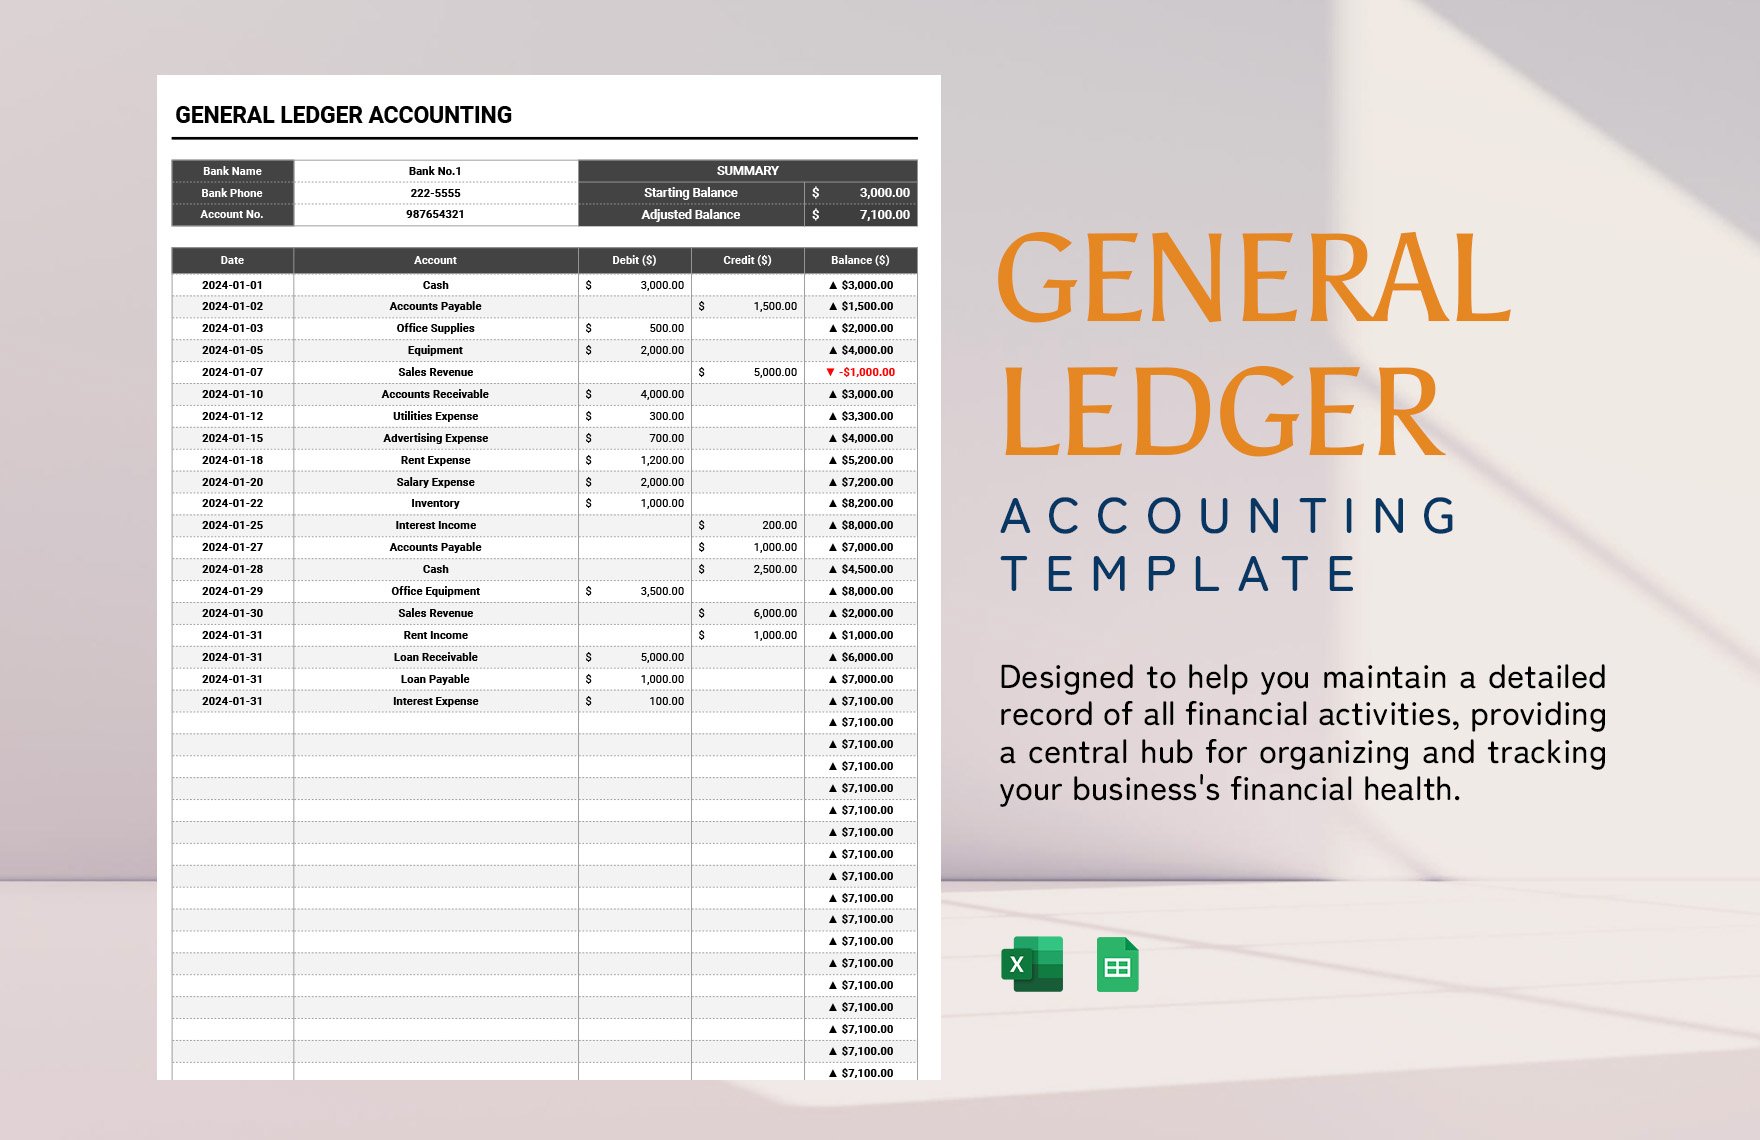
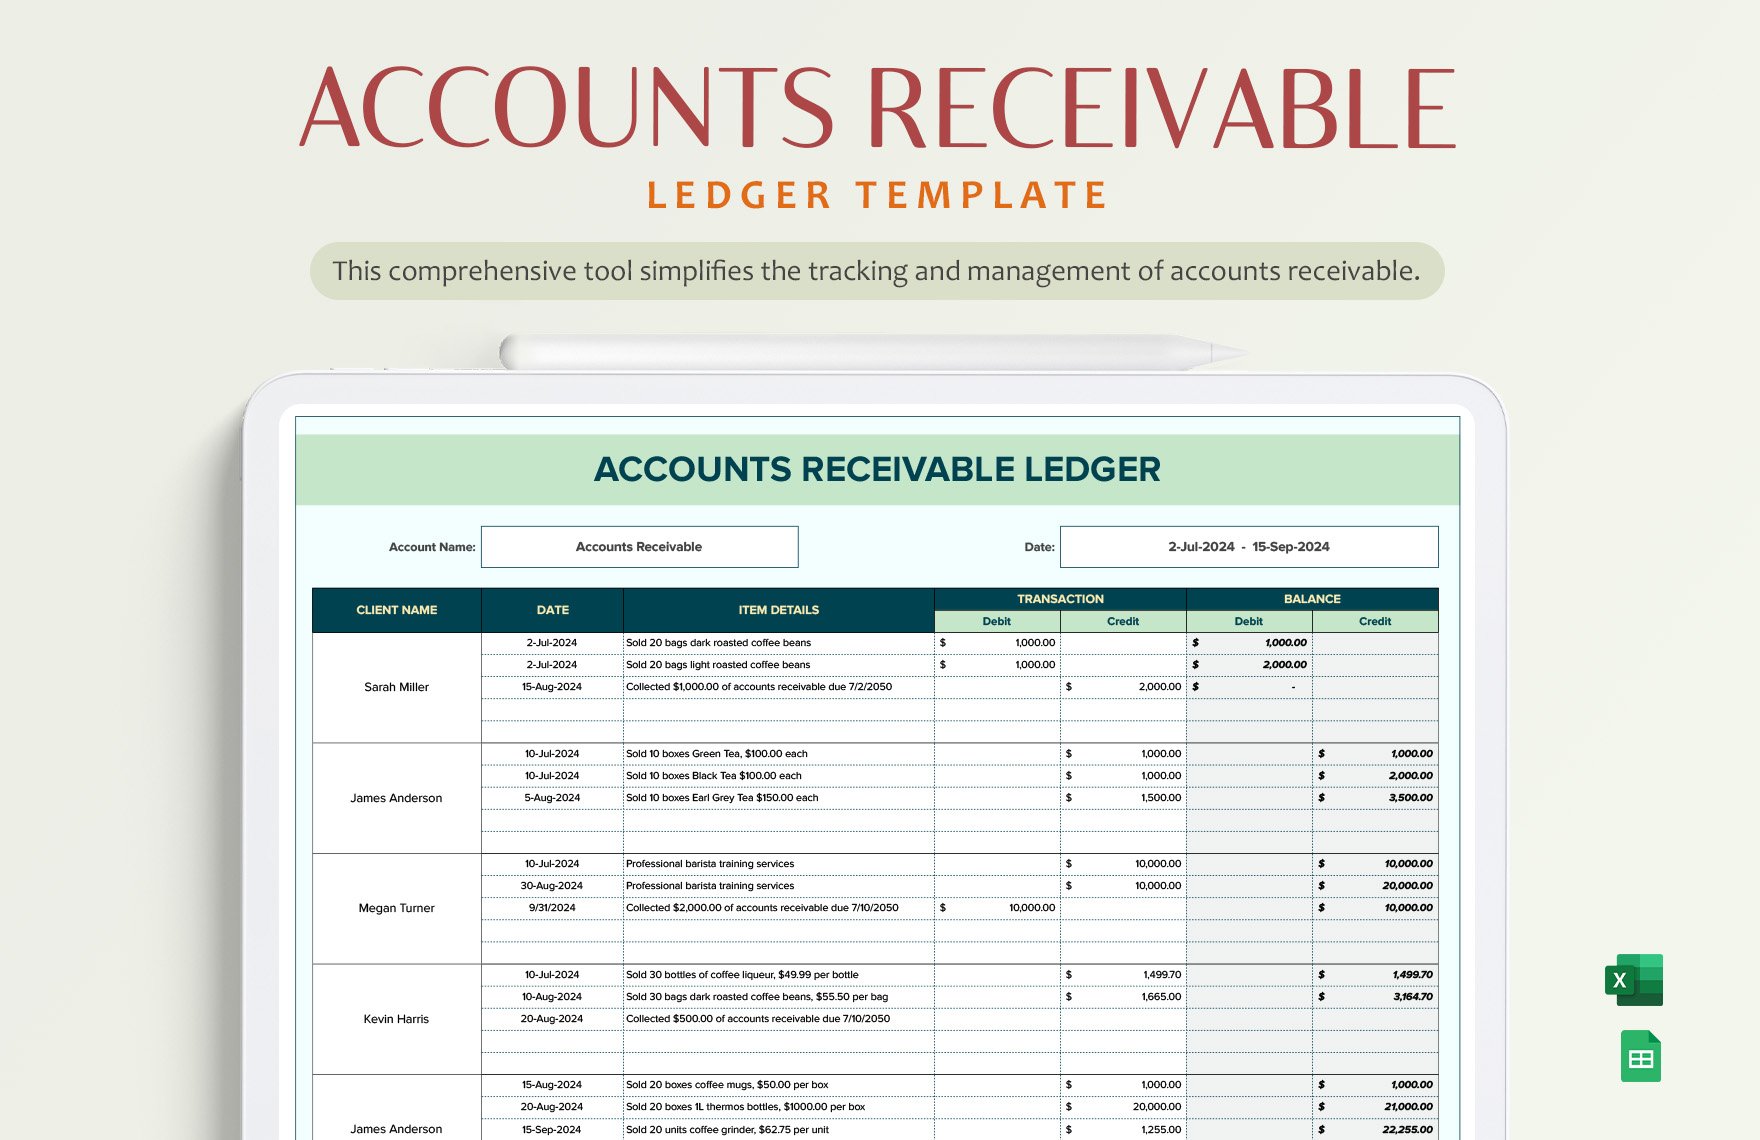
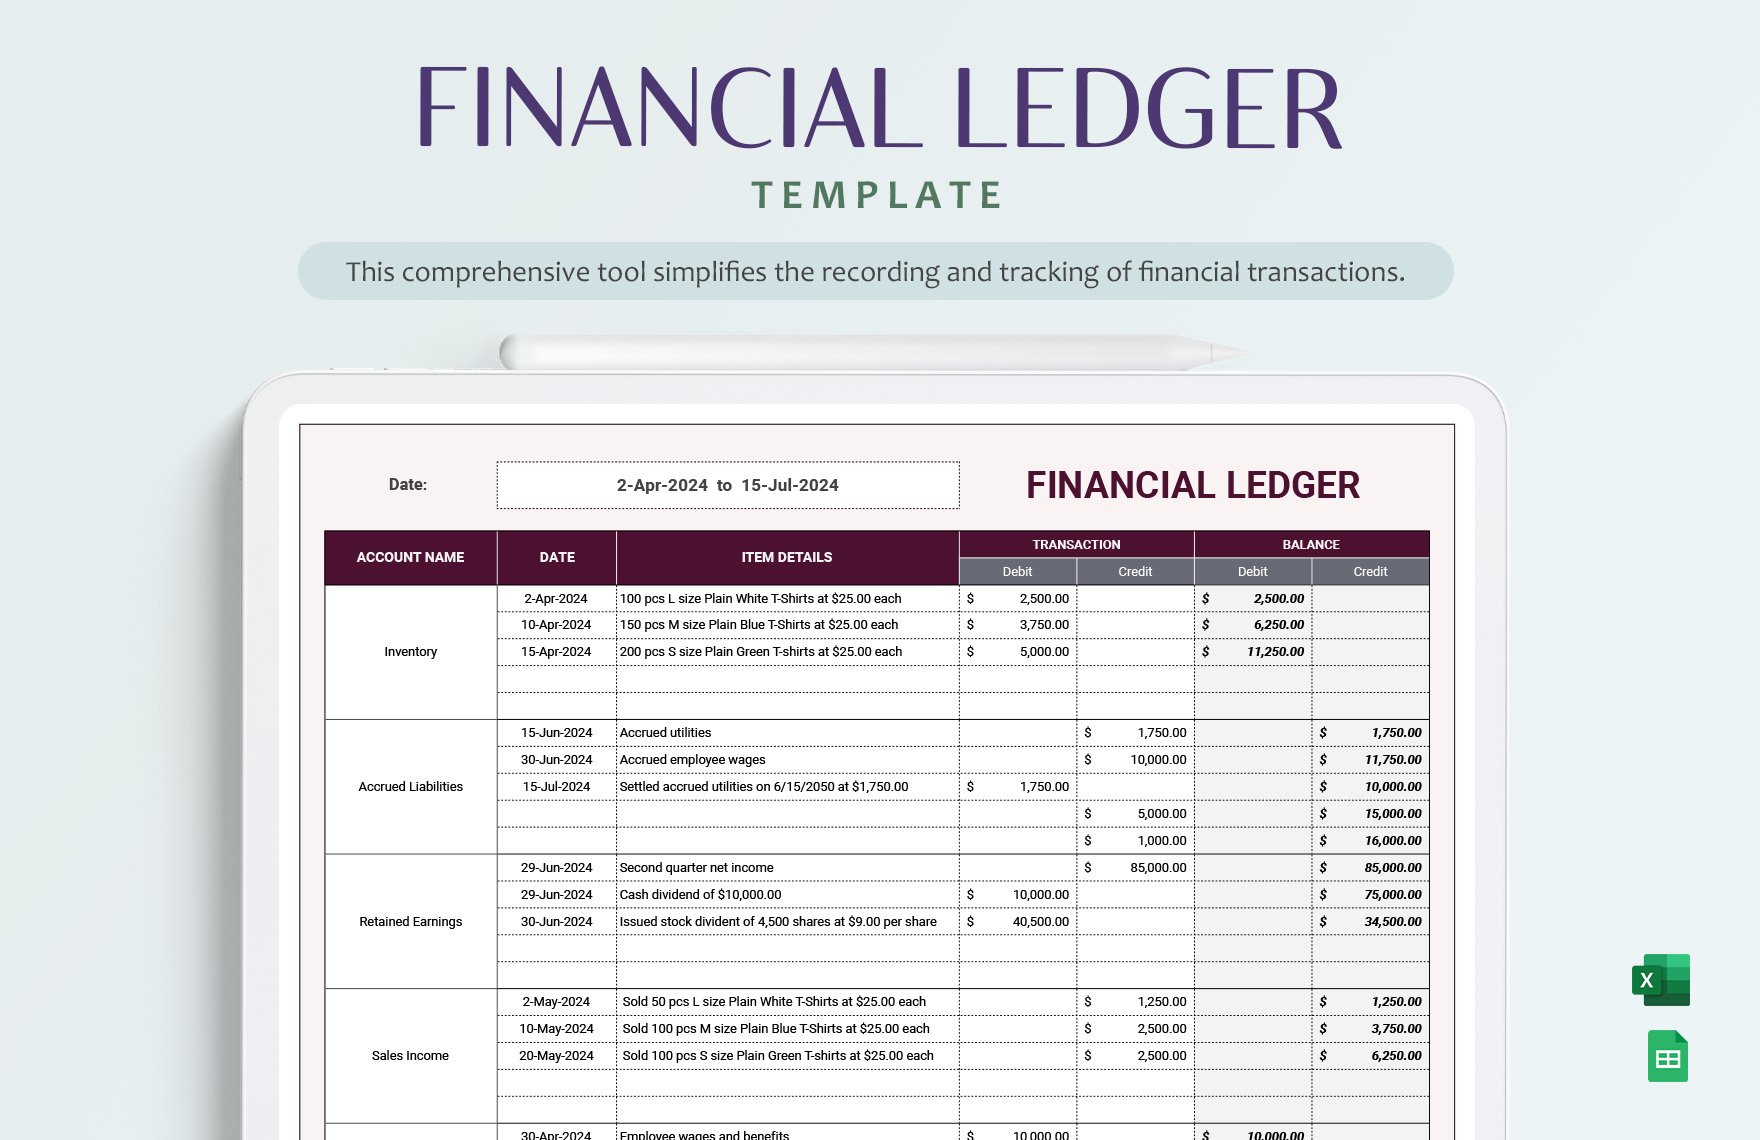
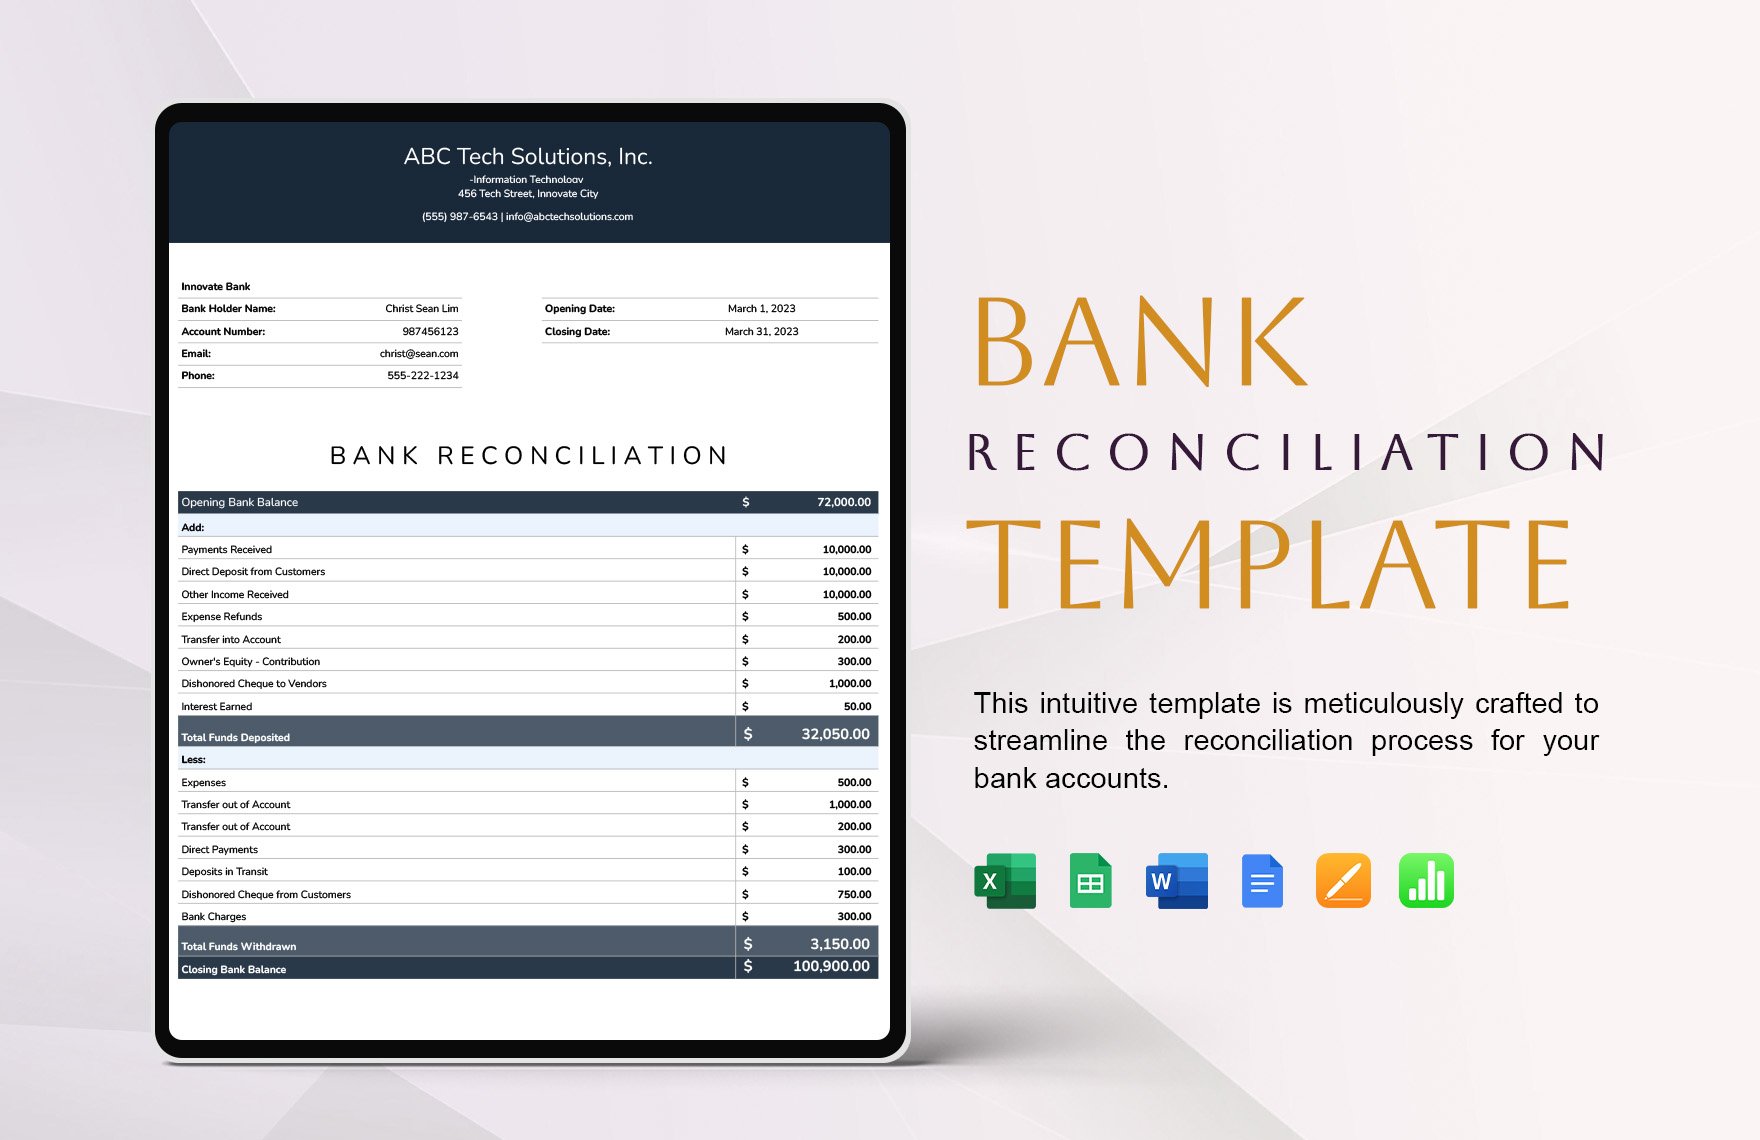
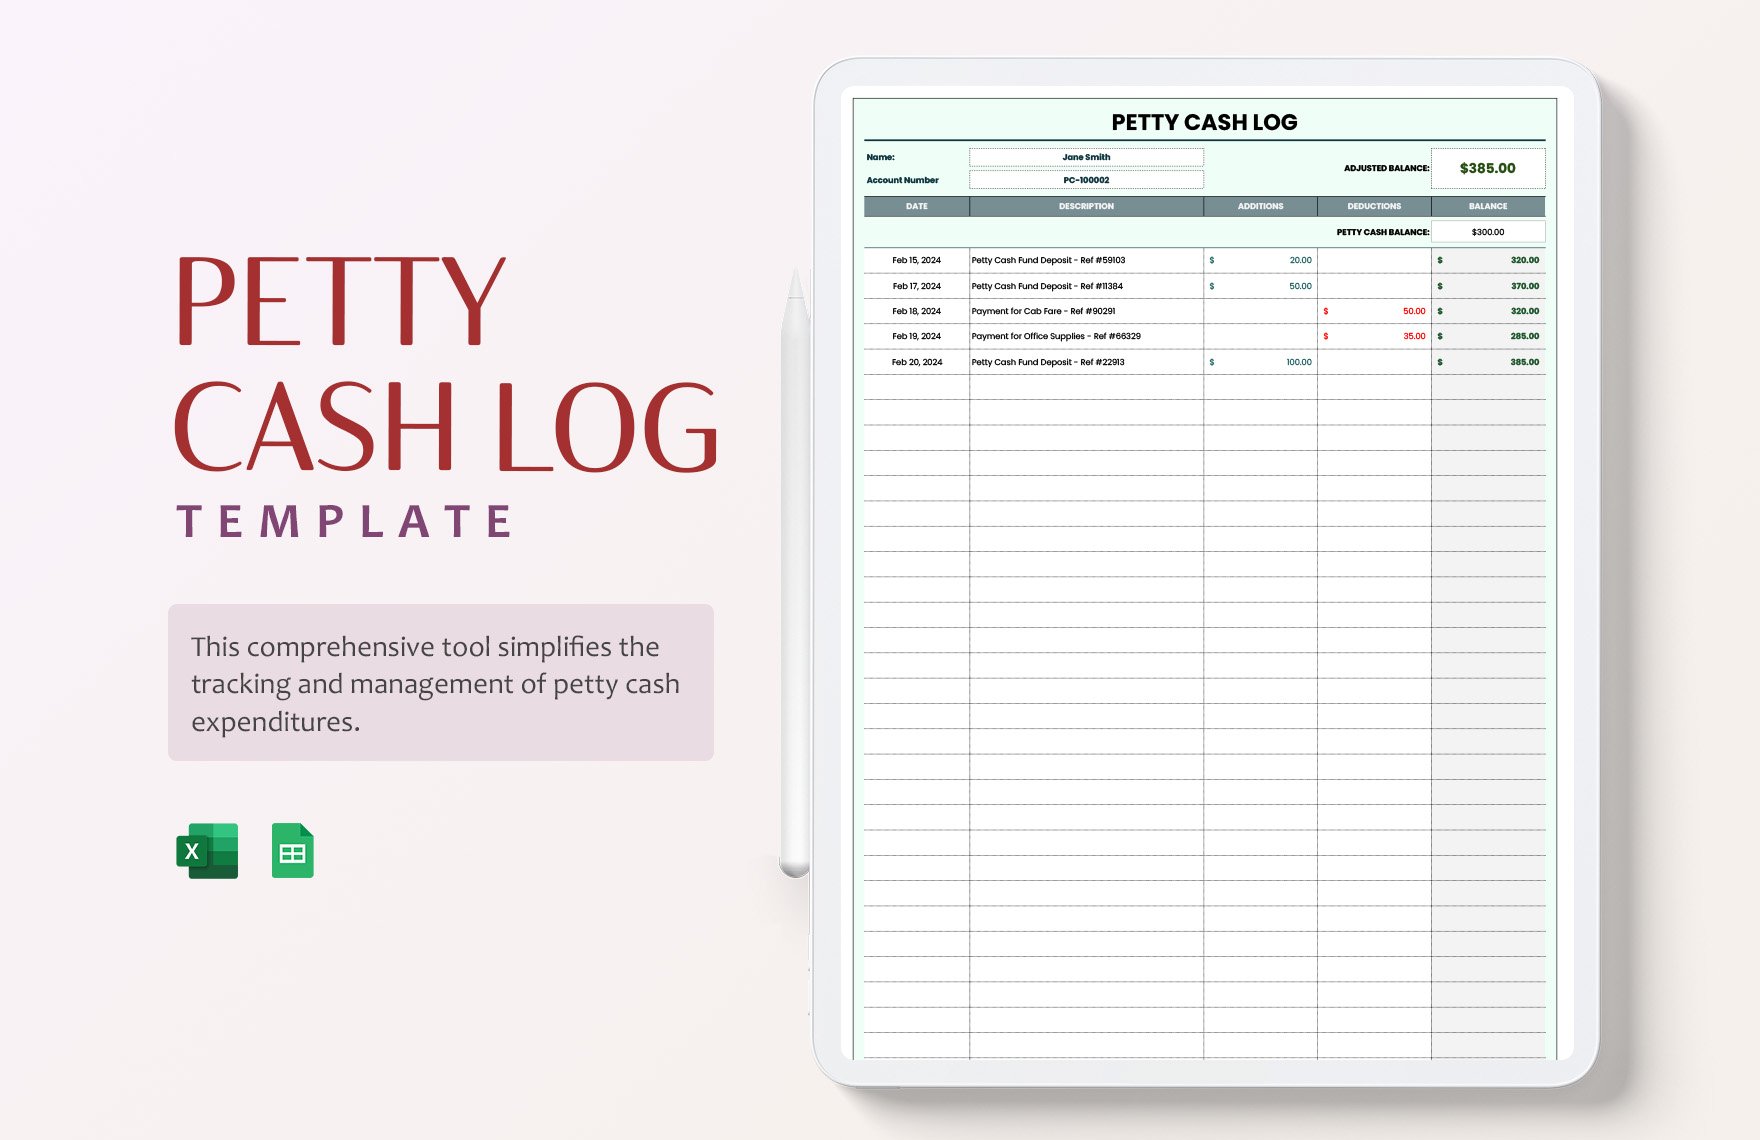
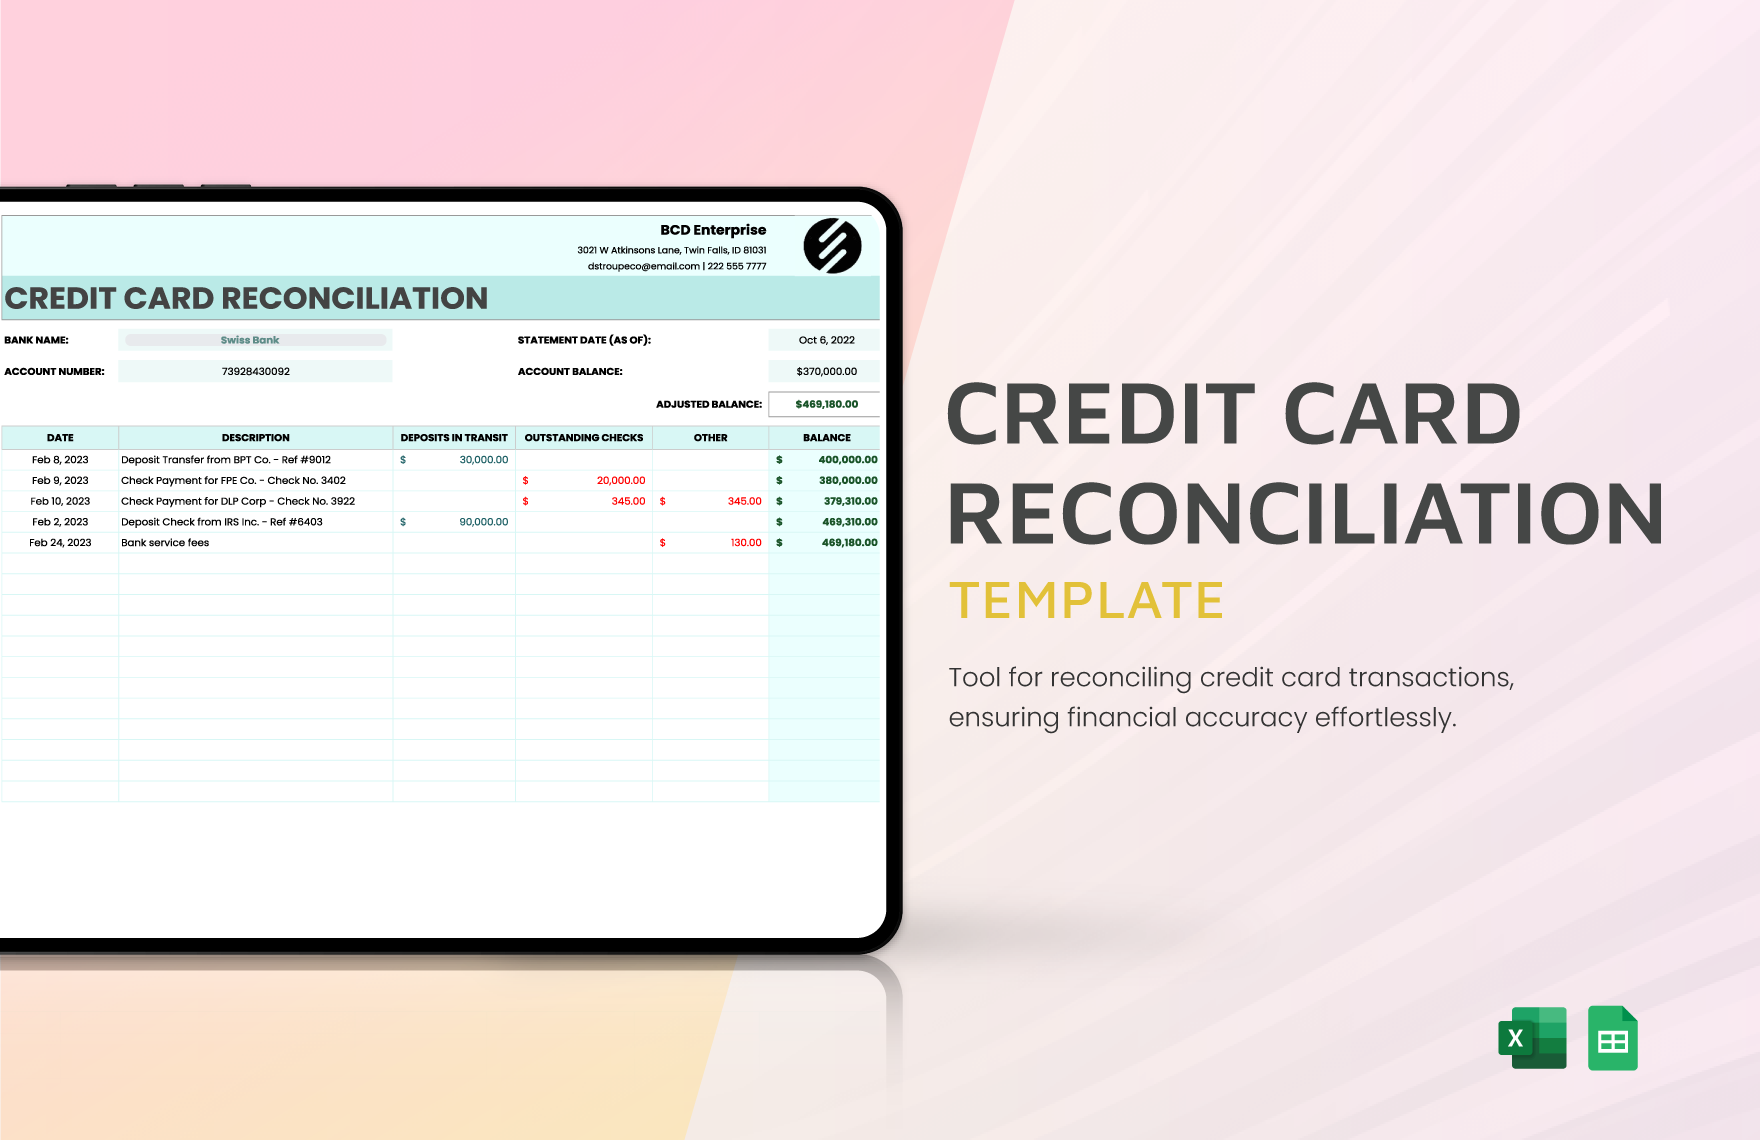
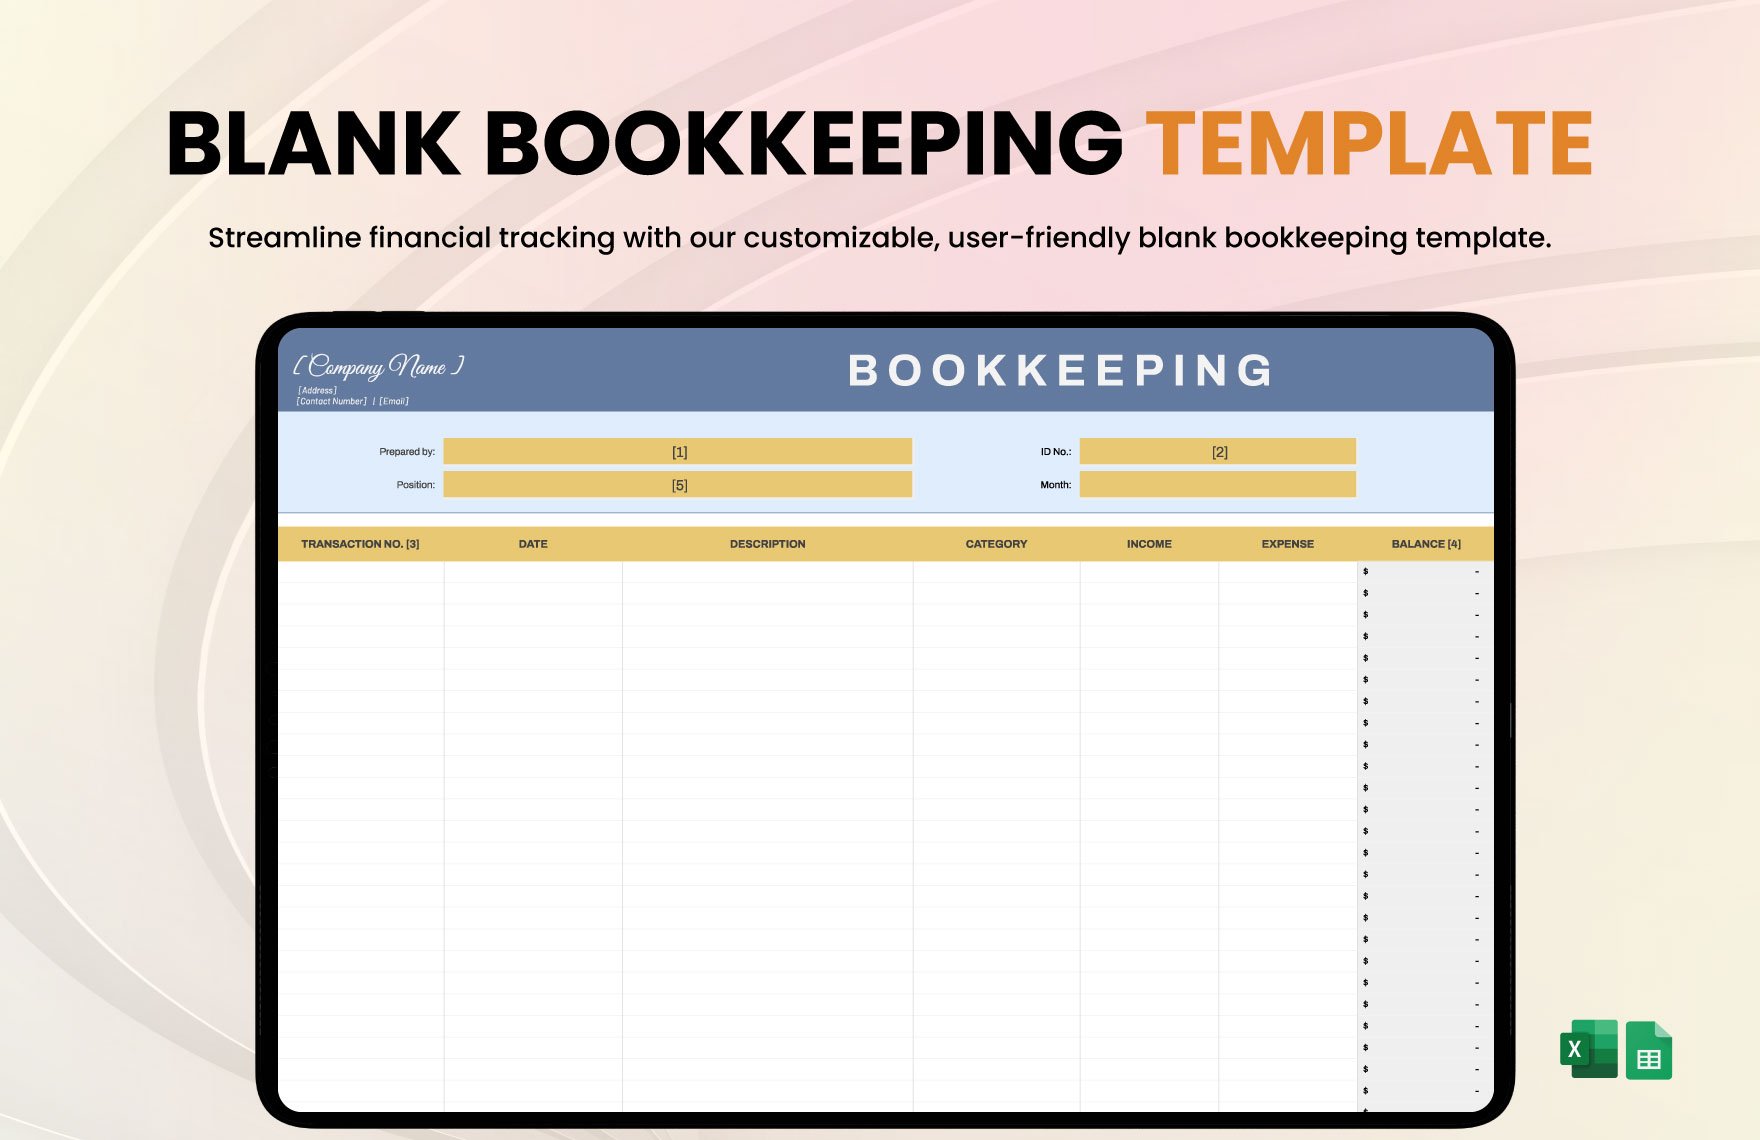
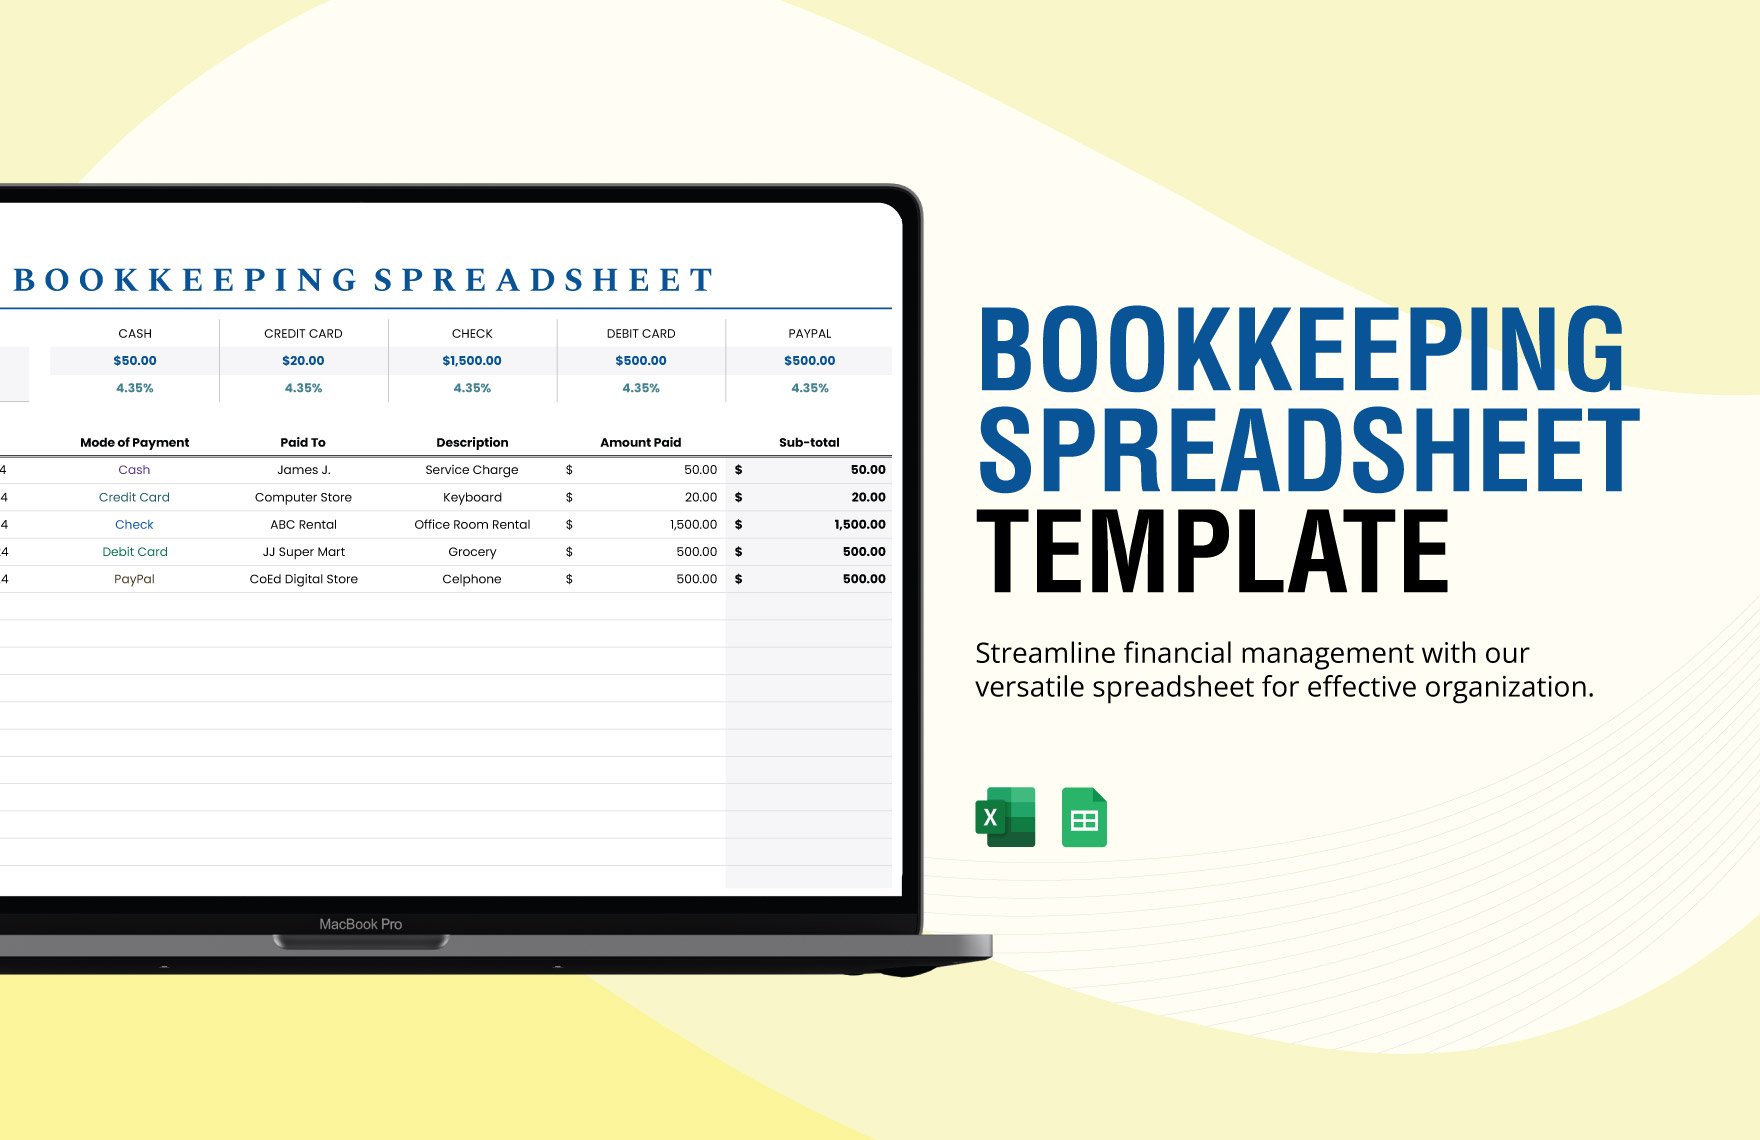
Don’t have Quickbooks yet to use for your small business or accounting firm bookkeeping reports? That is not a problem here. Try making your bookkeeping reports through Microsoft Excel by using our 100% customizable, easily editable, and readily available Bookkeeping Templates. To help you create a document you can use in recording every financial transaction of your company, these files are made handy for you. We have all kinds of bookkeeping templates that are industry-compliant and can be edited to your specifications within minutes after download. For added convenience, users are given the freedom to customize their template however they see fit. Get to produce high-quality documents that would ensure accurate financial records that are vital to a company’s growth and download our versatile bookkeeping templates today!
How to Make a Bookkeeping Report in Microsoft Excel
Bookkeeping involves accurate recording and tallying of financial reports and transactions. Basic transactions include sales, purchases, payroll, receipts, and payments made by an individual or the company. As an accountant, every detail of an individual's account should be made secure and correct. In a bank, a business account is categorized into two: business transactions and personal finances. These two should be separated to help the business owners keep track of their expenses, manage cash flows, and calculate tax liabilities. Usually, business account also comes with special terms and conditions, unlike personal finances. But how do we make a spreadsheet report in Excel, really? Here’s how it works in a few steps.
1. Learn the Basic
In editing your contents, you can directly write them in the cell or by typing in the formula bar. Remember that when Excel is in editing mode as you try to edit the content of the cells, some features may work differently or unavailable
So when you are in Edit mode, look for the word “Edit” in the lower-left corner of the program window. See that? You can disable or enable it by changing the option. Just click File, click Options, and then click Advanced. On one hand, MS Excel 2007 starts at clicking the Microsoft Office Button image, then follow the same steps. When selecting disable or enable Edit mode, just select or clear the options in a cell checkbox.
2. Edit the Data
In editing your data, you only have to double-click the cell that contains the data that you want to edit. Then you can now start editing your data in the formula bar at the top.
3. Insert New Data, Delete Unnecessary Data, or Replace Some Cell Contents
If you wish to insert new data, click on the cell where you want to put them. You can type them again in the formula bar. In deleting contents in the cell, click on the cell where you want to delete them, and then press the DELETE tab or BACKSPACE. Lastly, in replacing some characters, it actually follows the same process. Basic, right?
4. Undoing Edits
Sometimes, there are edits that we wanted to undo or cancel. That’s fine because it’s normal to make errors. The good thing about MS Excel is you can always press ESC to undo or cancel any edits that you made in the contents of the cell.
Aside from that, you can also undo your edits by pressing CTRL+Z or by clicking the Undo button on the Quick Access Toolbar.
5. Adjustments are Sometimes Needed
In editing, you may want to adjust the way cell contents are displayed. At times, a cell will display #### when it won’t display all the characters than its format requires. When this happens, you must increase the width of the column. In doing that, click on the cell for which you may want to change the column width. Then on the Home tab, click Format. Also, if you wish to fit all the text in the cell, just click AutoFit Column Width under the cell size.
Second, in wrapping the text in the cell, you don’t need any plastic and tapes to do that. Just click the cell where you want to wrap the text in. In the Home tab, look for the Alignment group, then click Wrap Text.
Done? Then, you’re all set!
