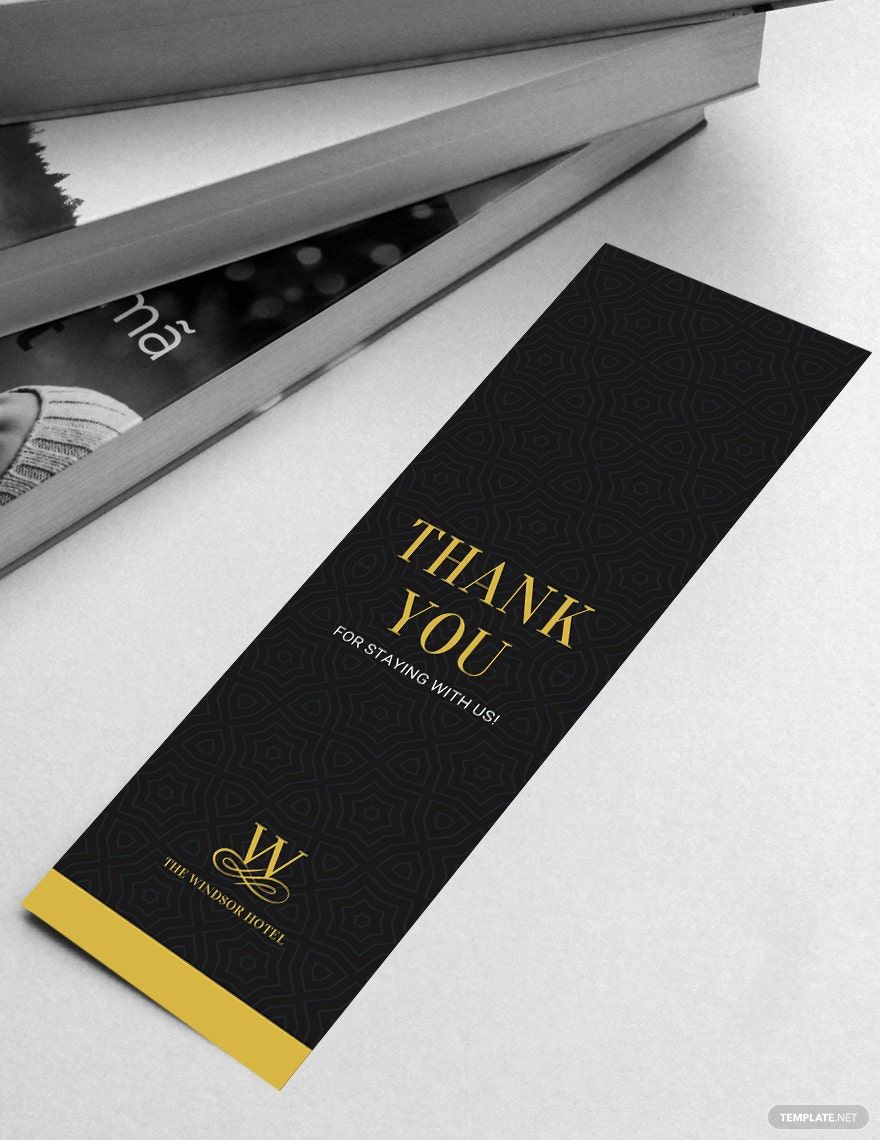
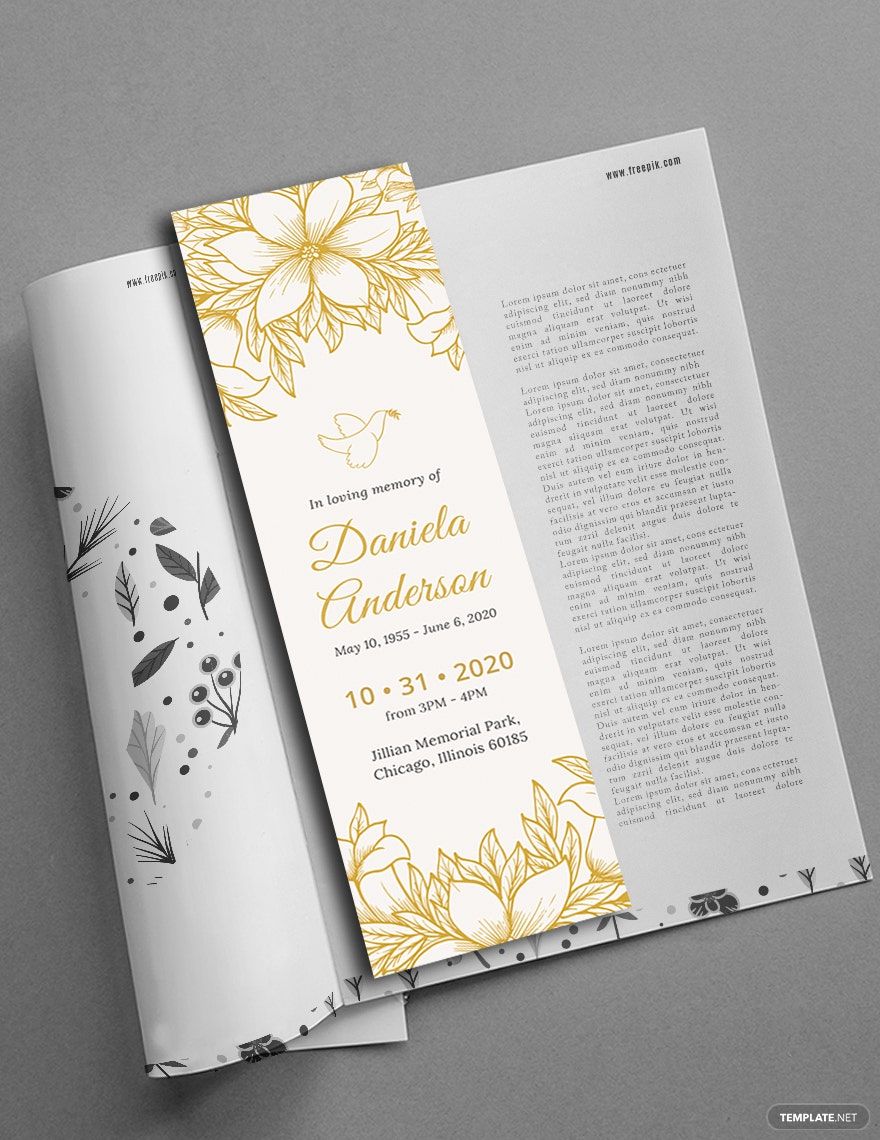
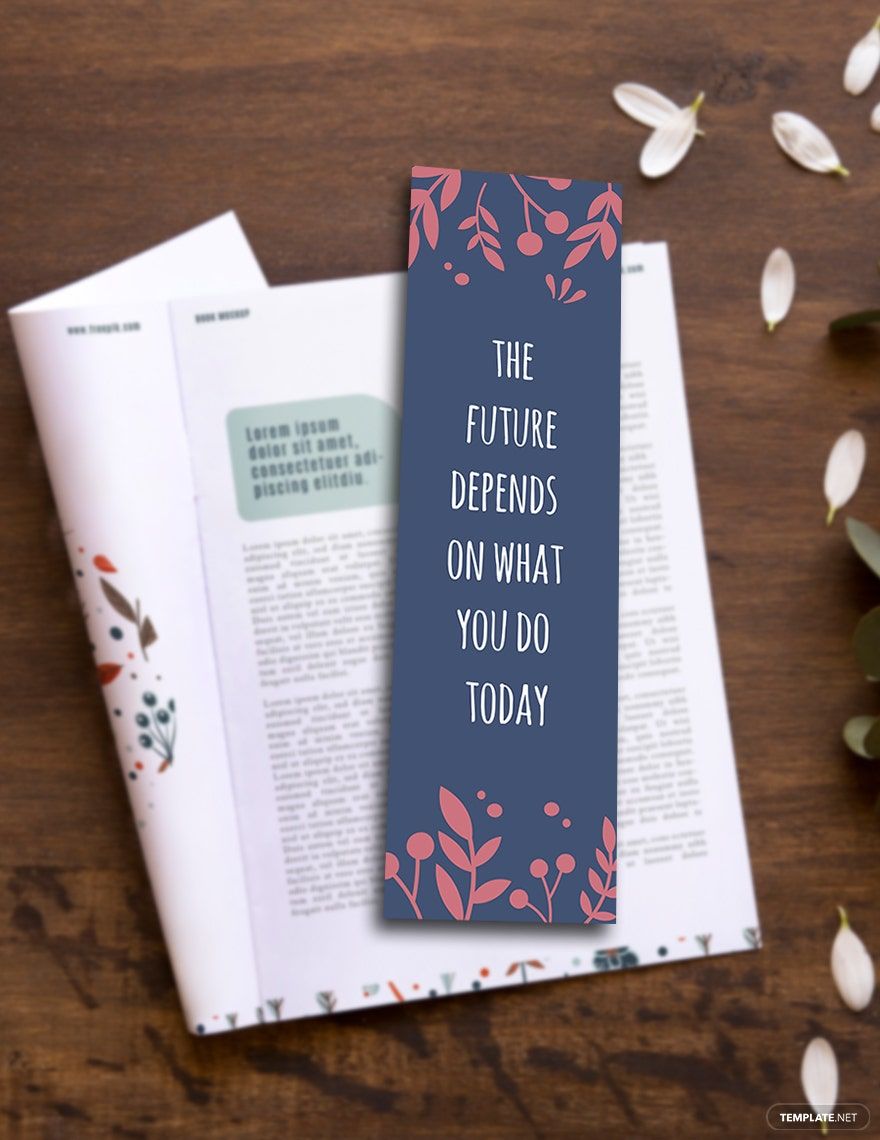
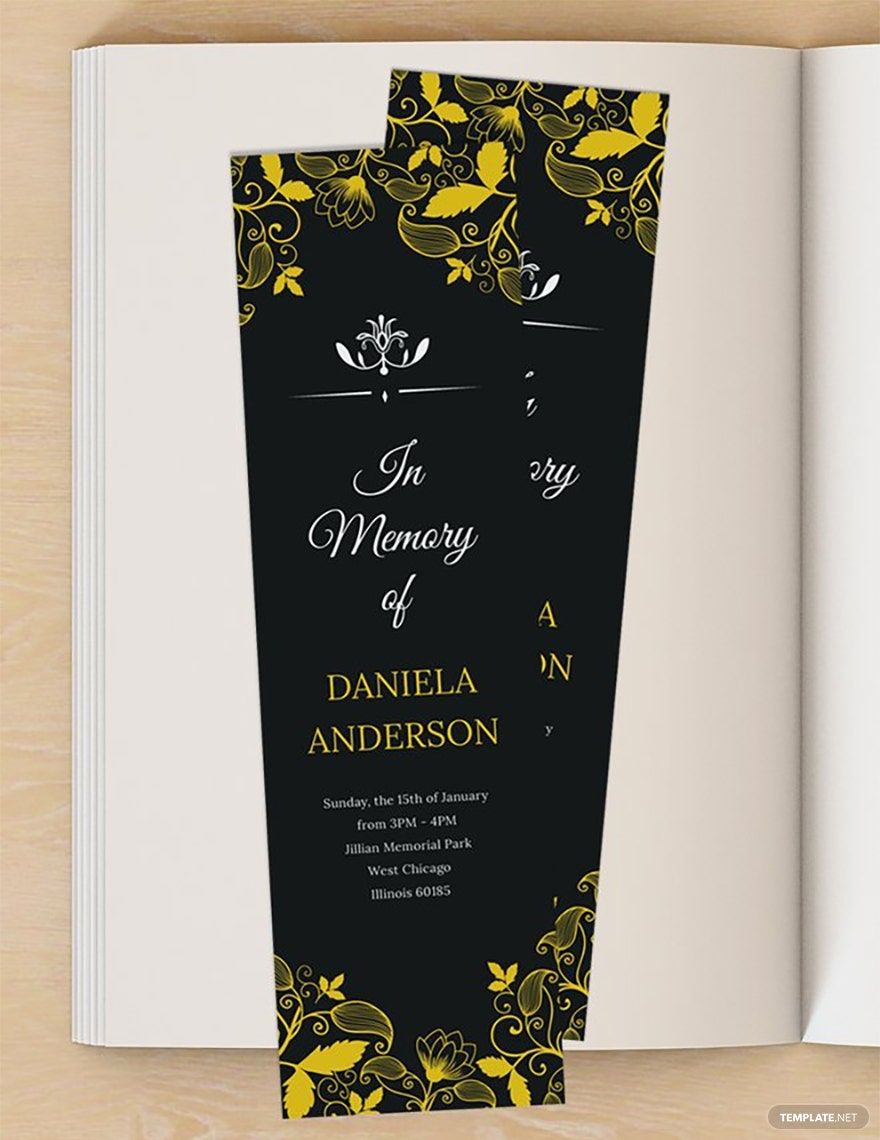
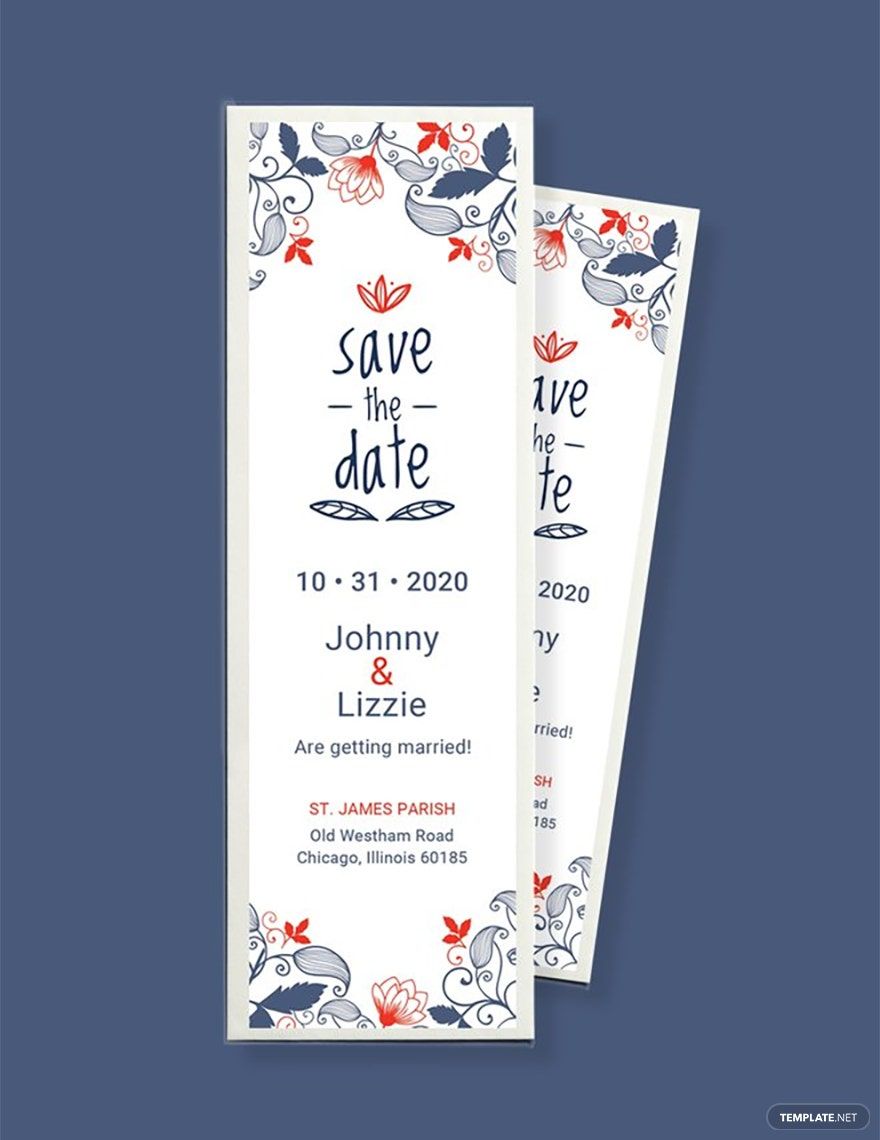
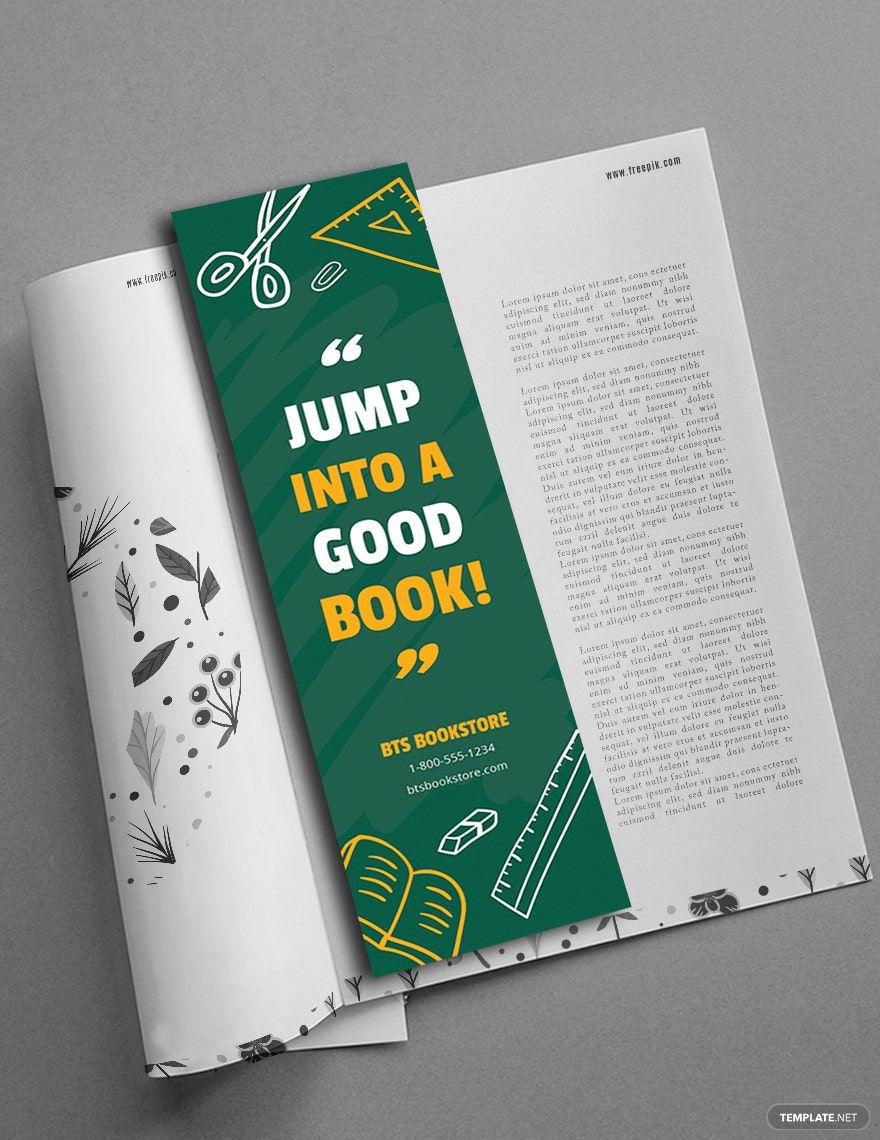
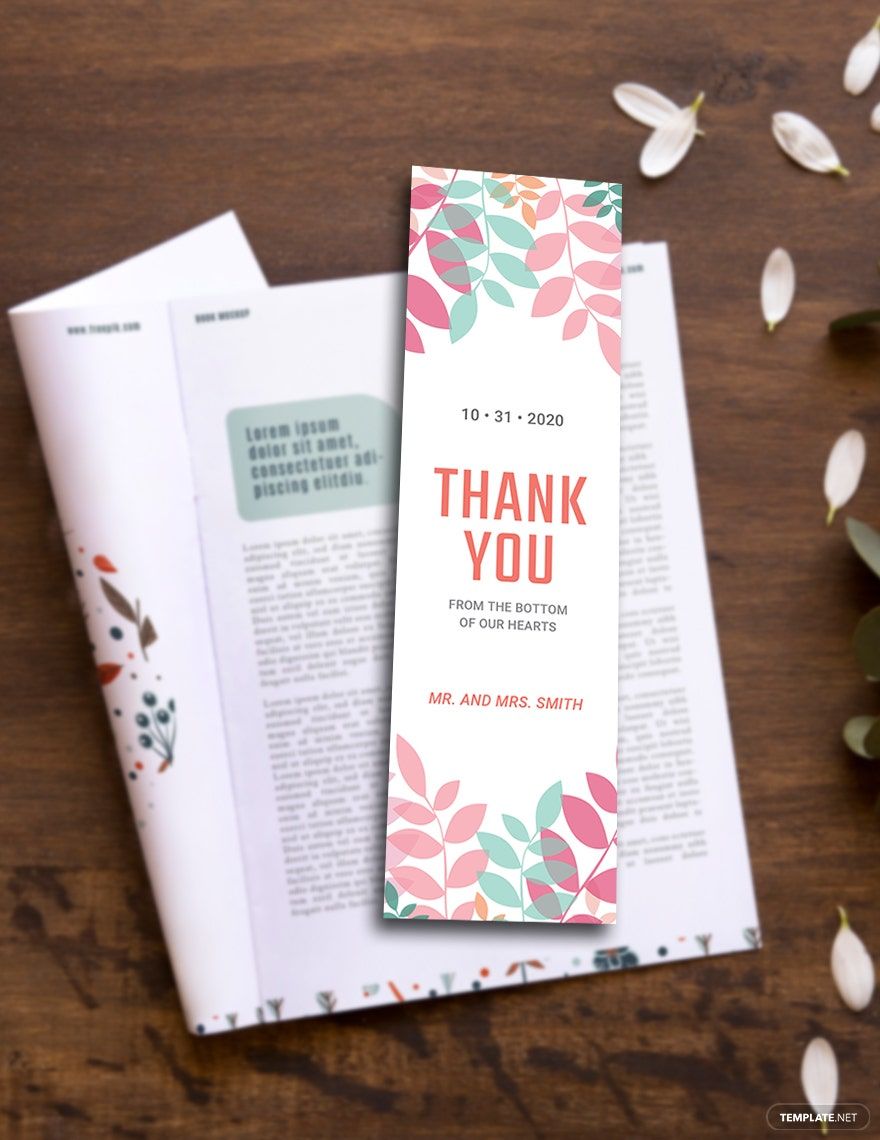
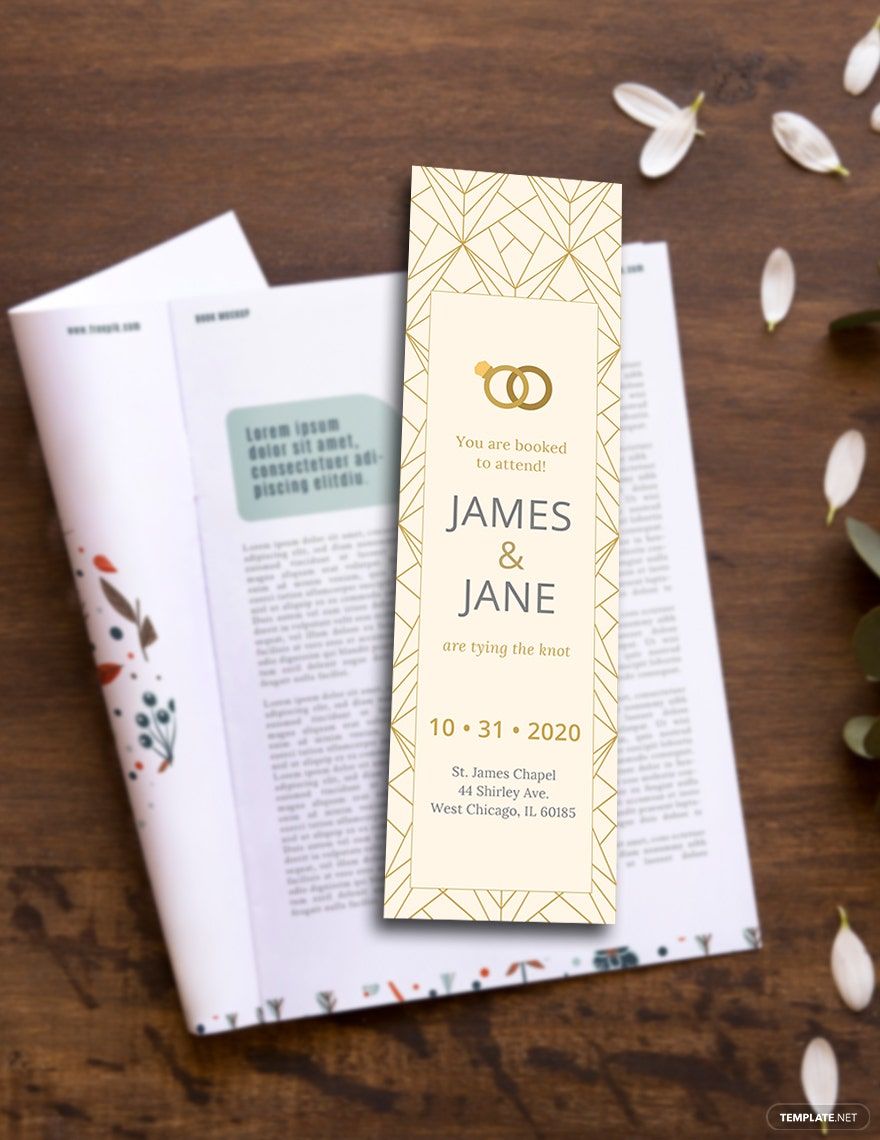
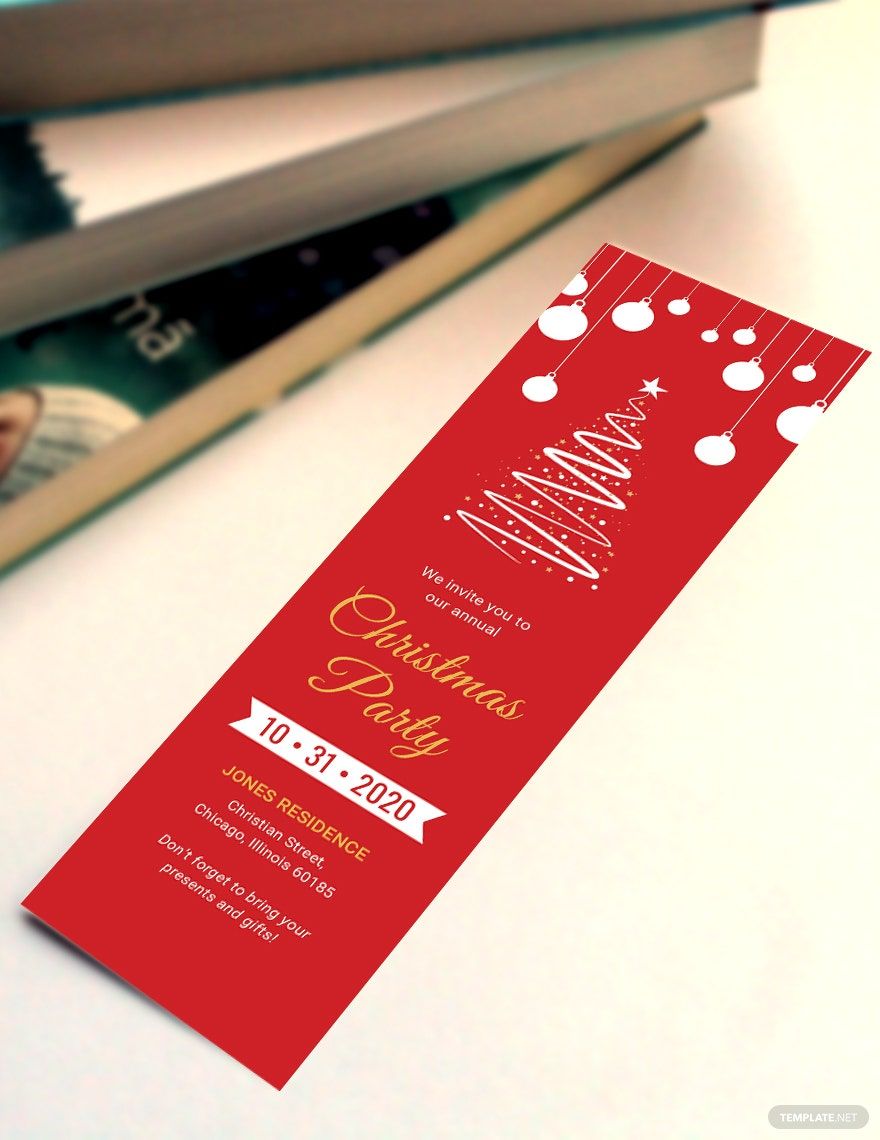
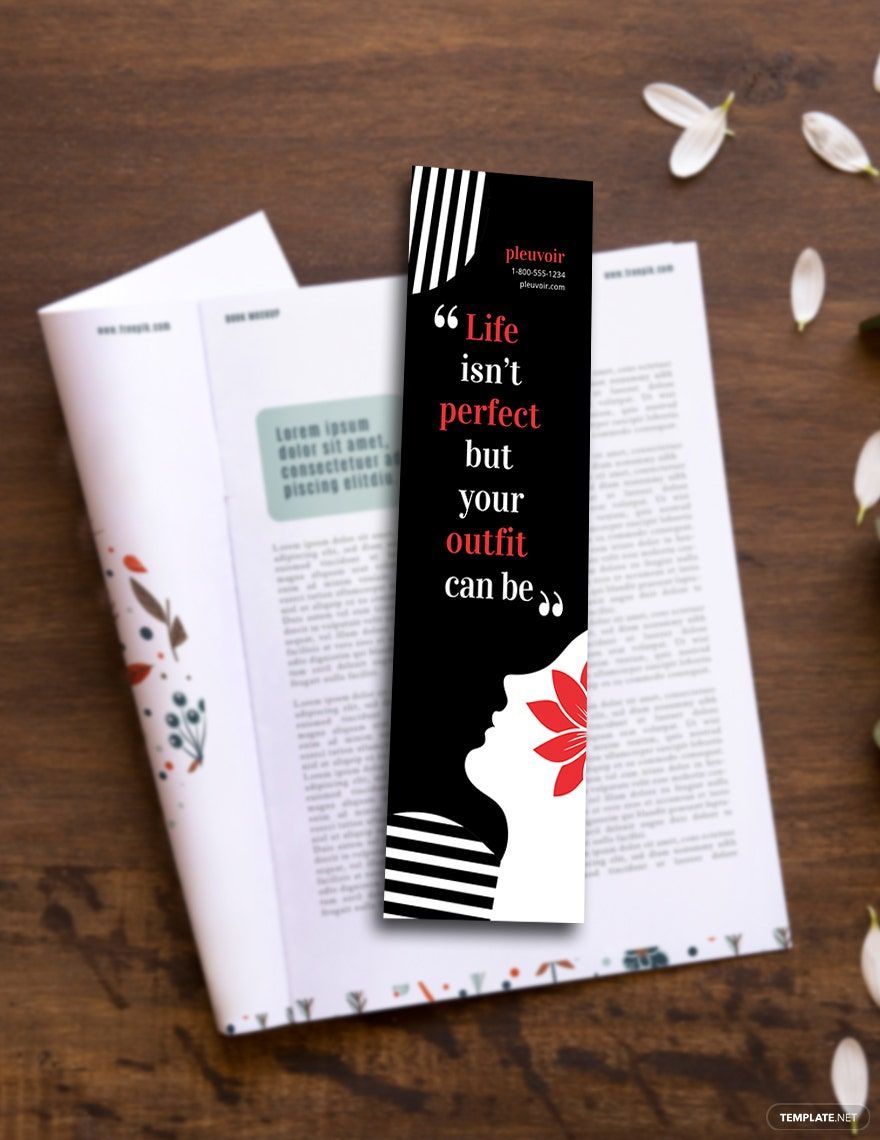
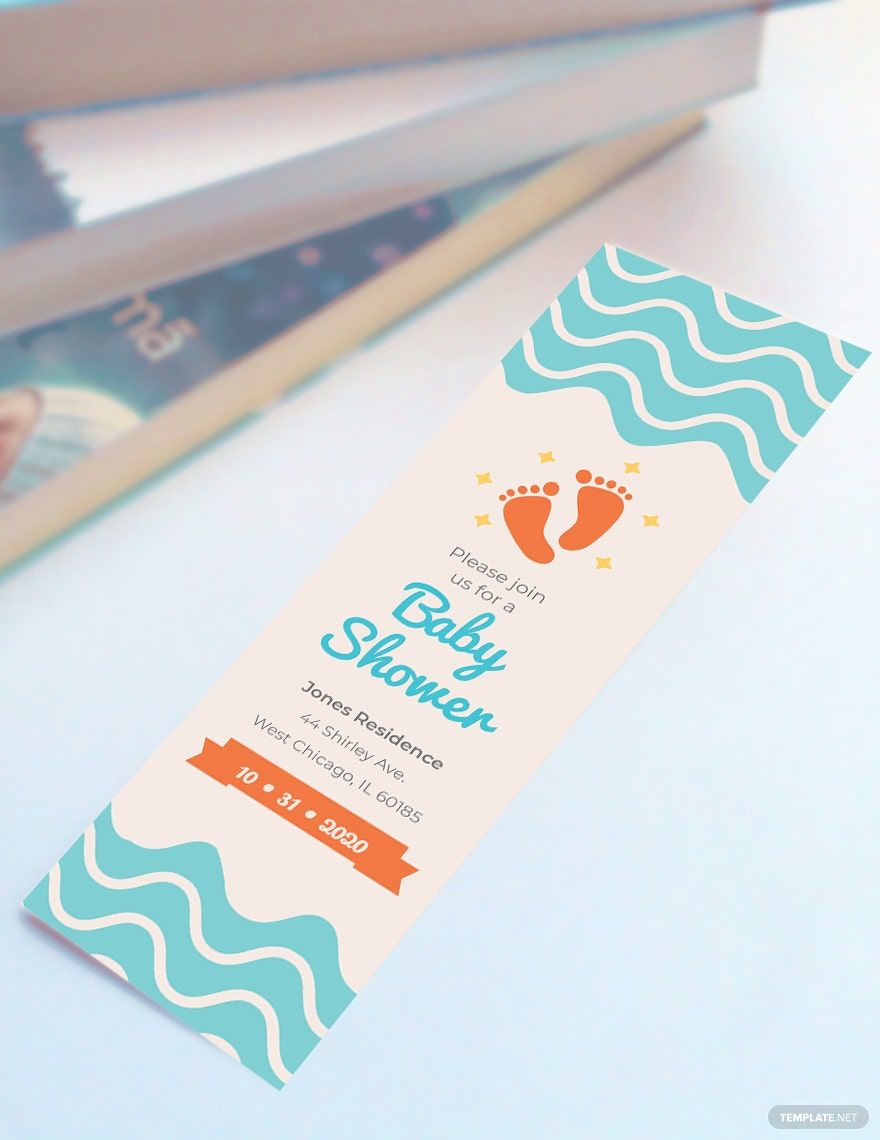
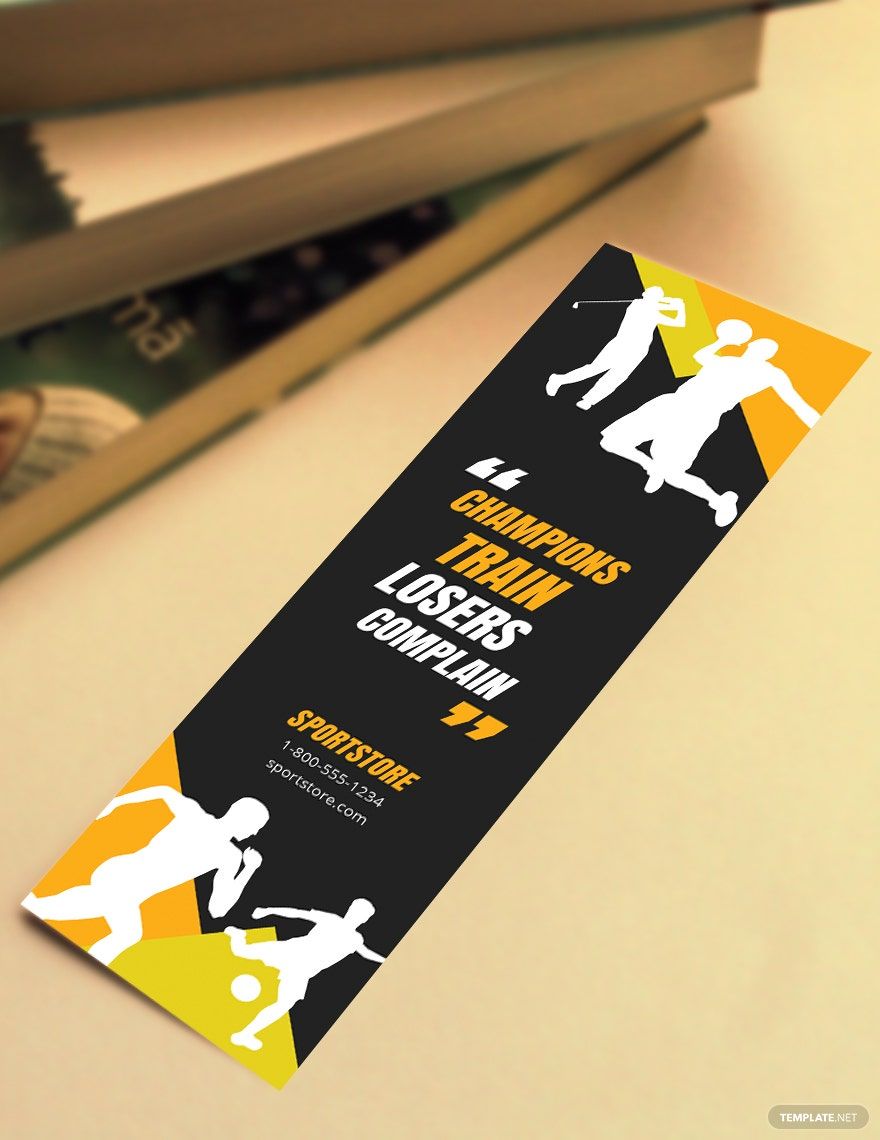
Get to create professional-quality bookmarks that are stunningly designed with a message or a quote. Whether it’s for personal use when reading or as a gift to someone, we have a wide variety of designs you can choose from! Our premium bookmark templates are fully compatible in all versions of Microsoft Publisher. The files make use of professionally designed content including layout, artwork, images, font text, and graphic files. Print-ready, perfect for personal as well as commercial printing. The template can be instantly downloaded and can be saved on your PC or mobile device. It is available in 2.5x7.5 inch sizes. Hurry up! Click the download button now!
How to a Create Bookmark in Microsoft Publisher
Books are an essential component of life, and everyone goes through a point where they want to read books or need to read them. Not everybody in one sitting can complete reading a book, right? So, you might just consider giving away trendy bookmarks if you want to have something cute and memorable. Listed below are the right ingredients on how to create a bookmark using Microsoft Publisher. Study each step well for this will definitely help you create your dream bookmark. Here are the following steps. Enjoy!
1. Use Microsoft Publisher as your Editing Software
Microsoft Publisher is a graphic design software comparable to Microsoft Word but differs in its emphasis on page layout and design, but less on word structure and formatting. It offers easy-to-use and less costly publication alternatives to create designs and logos for your bookmark! So, if you want to create a bookmark for your own personal use or for your business, then use Microsoft Publisher as your editing software. We guarantee you a result that you will love and motivates you to create more bookmarks in the future.
2. Collect Data
Next, write down in your bookmark all the contexts you want to mention. This is very important, particularly if you are creating or designing an invitation bookmark. This involves the theme or name of the event, the name of the host, where, and when. In some instances, bookmarks may contain bible quotes, photo, or other content kinds.
3. Download an Editable Bookmark Template
It is very convenient if you download a bookmark template online if you don't want to design from a blank canvas or DIY. To spare you time looking online for templates, just select your favorite template here in Template.Net then click the download button! Just replace and edit with the content you want to include since we especially made our templates printable and editable for your own convenience. Just, make sure you select a design relevant to the occasion and have a printable format.
4. Add some Graphic Elements
Add some design elements to beautify your printable bookmark template. Use white space to highlight some texts and pictures efficiently. For a more attractive look, use bright colors or a consistent palette of pastel colors in your bookmark using Microsoft Publisher.
5. Finalize Everything then Print
Make a final check and assess if everything is prepared for printing. Have it printed professionally since it does not cost so much to reproduce a bookmark. Consider adding more texture to your bookmark by using a unique paper finish. Also, colored papers are fine as long as they match your bookmark elements theme.
6. Add some Designs
This portion is optional especially if you want to achieve a double-sided plain bookmark but if you like to make your bookmark more appealing to you or to the kids, then you can attach some ribbons, laces, monster stickers, trinkets, or beads.