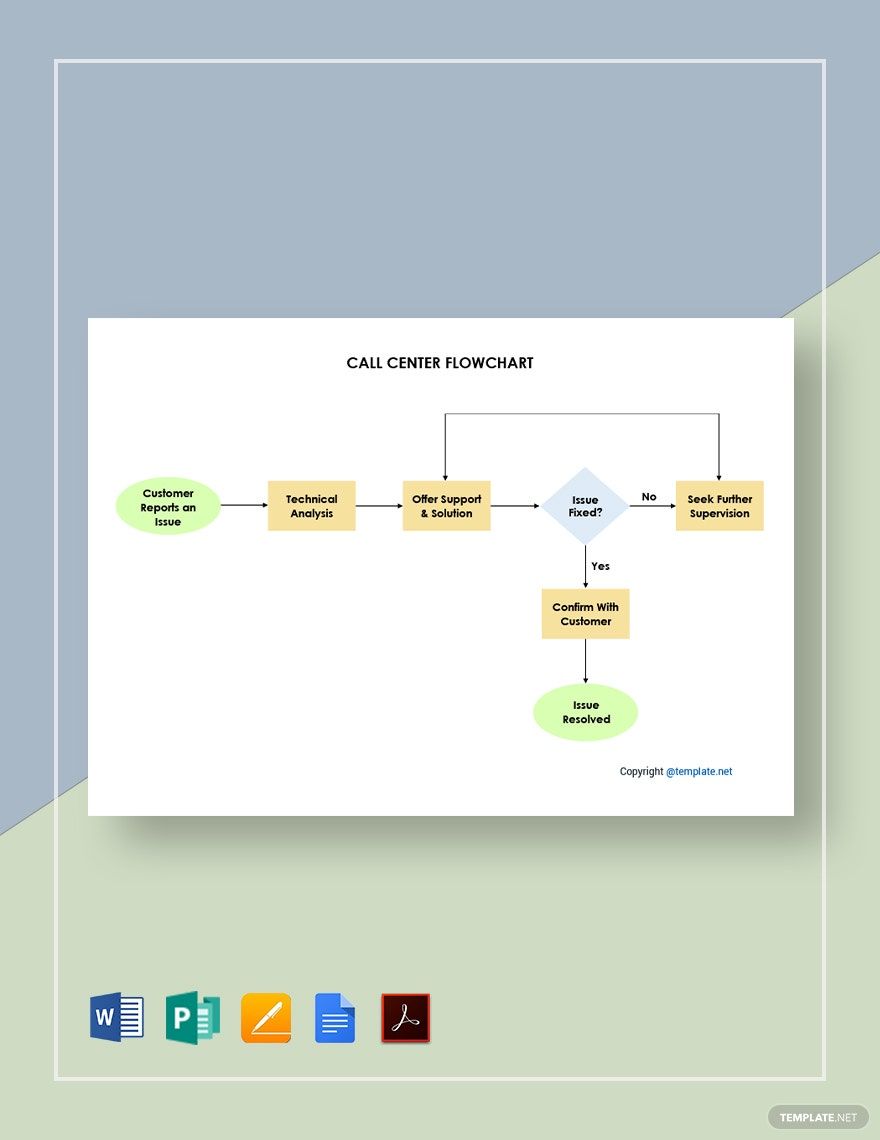
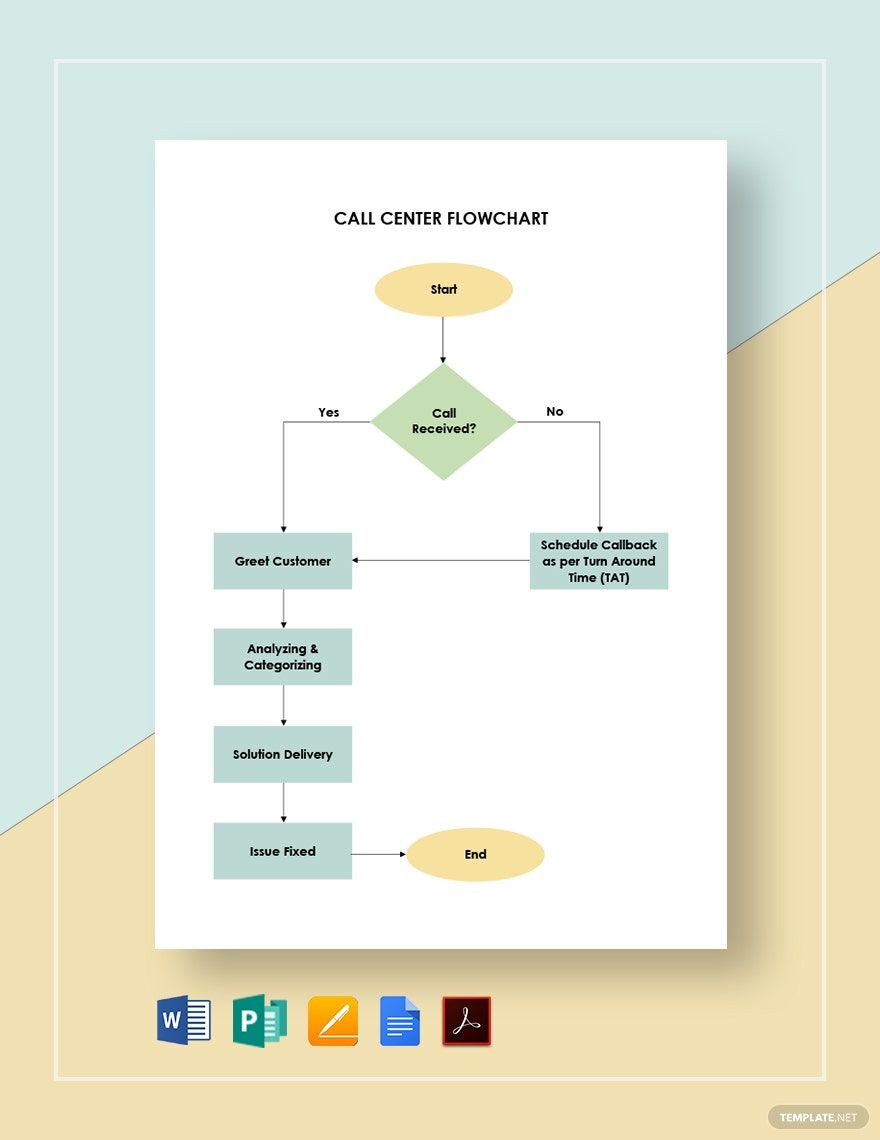
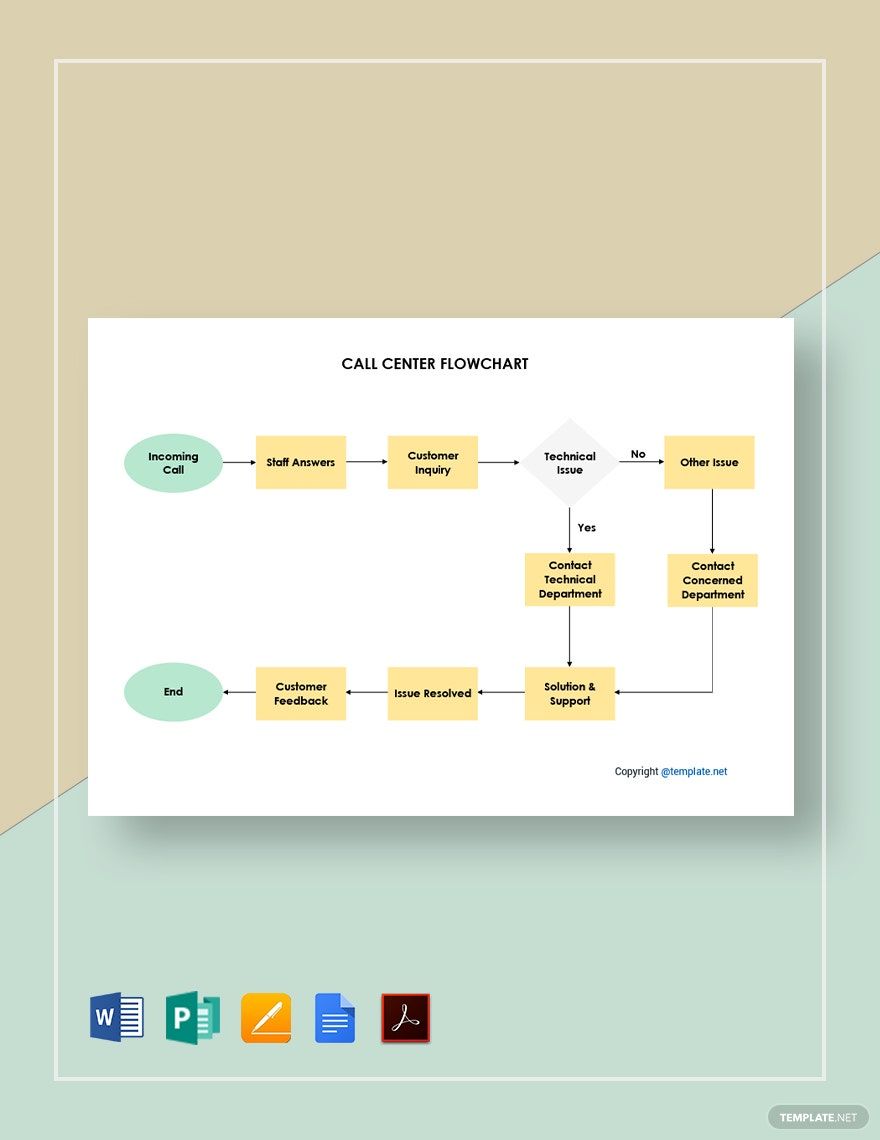
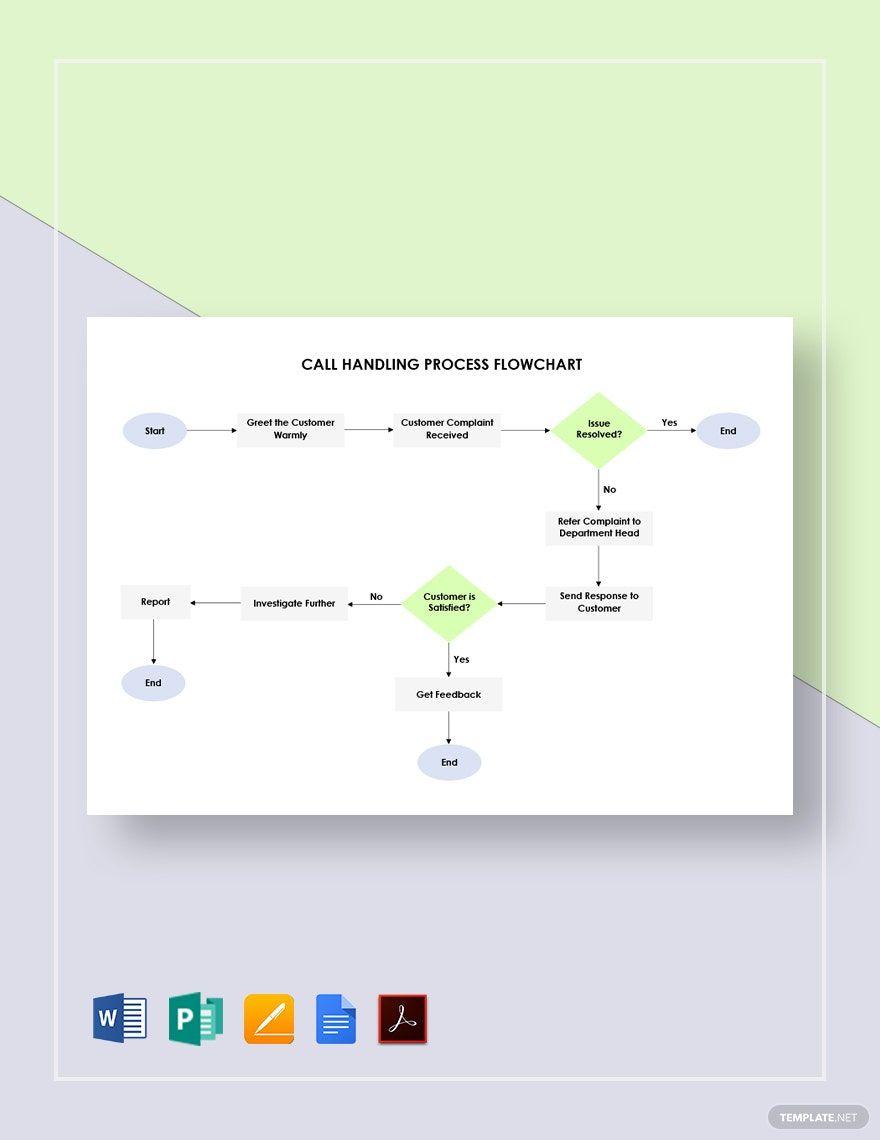
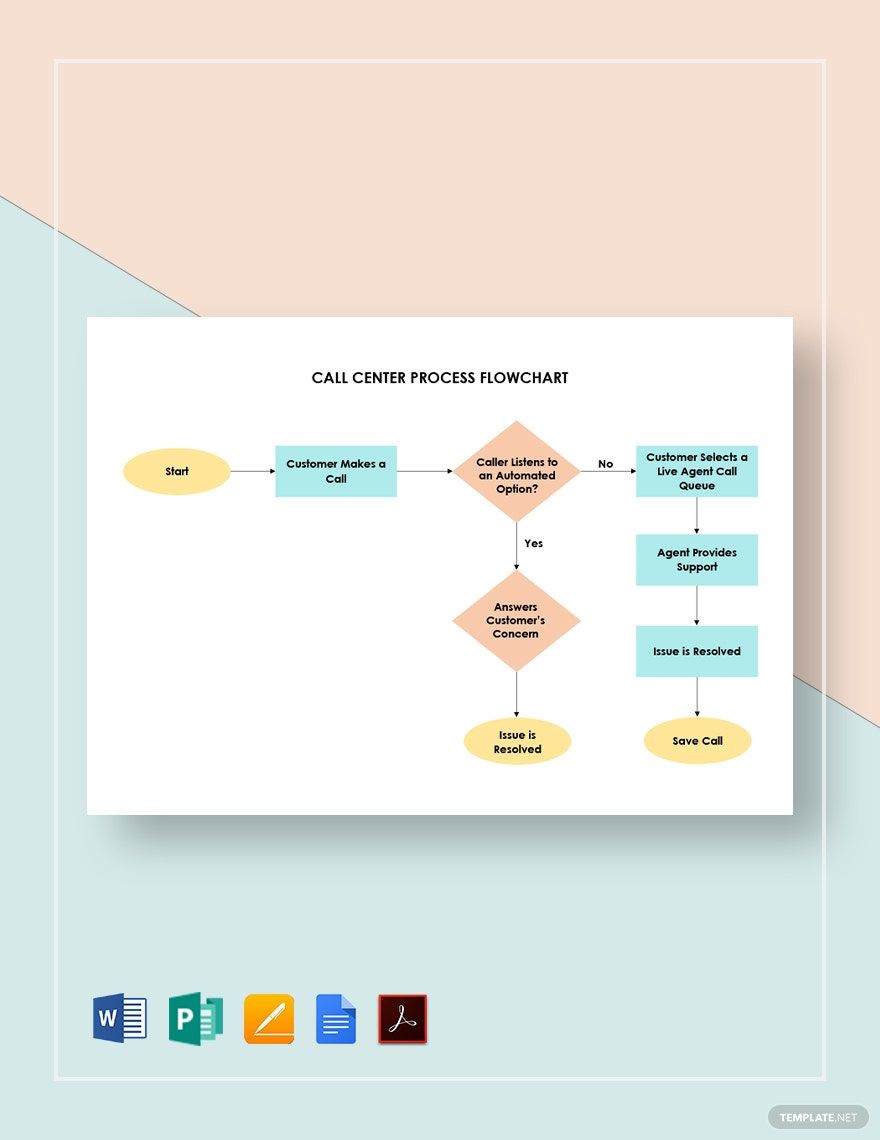
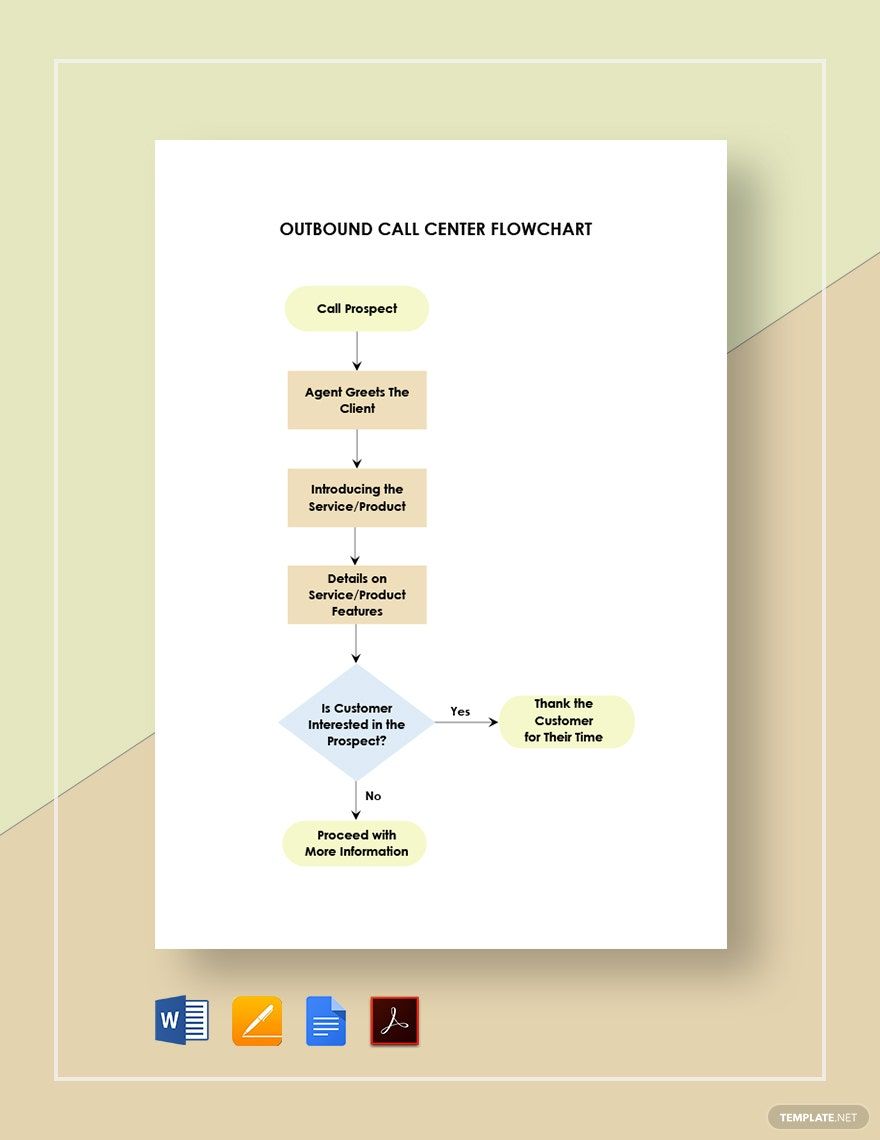
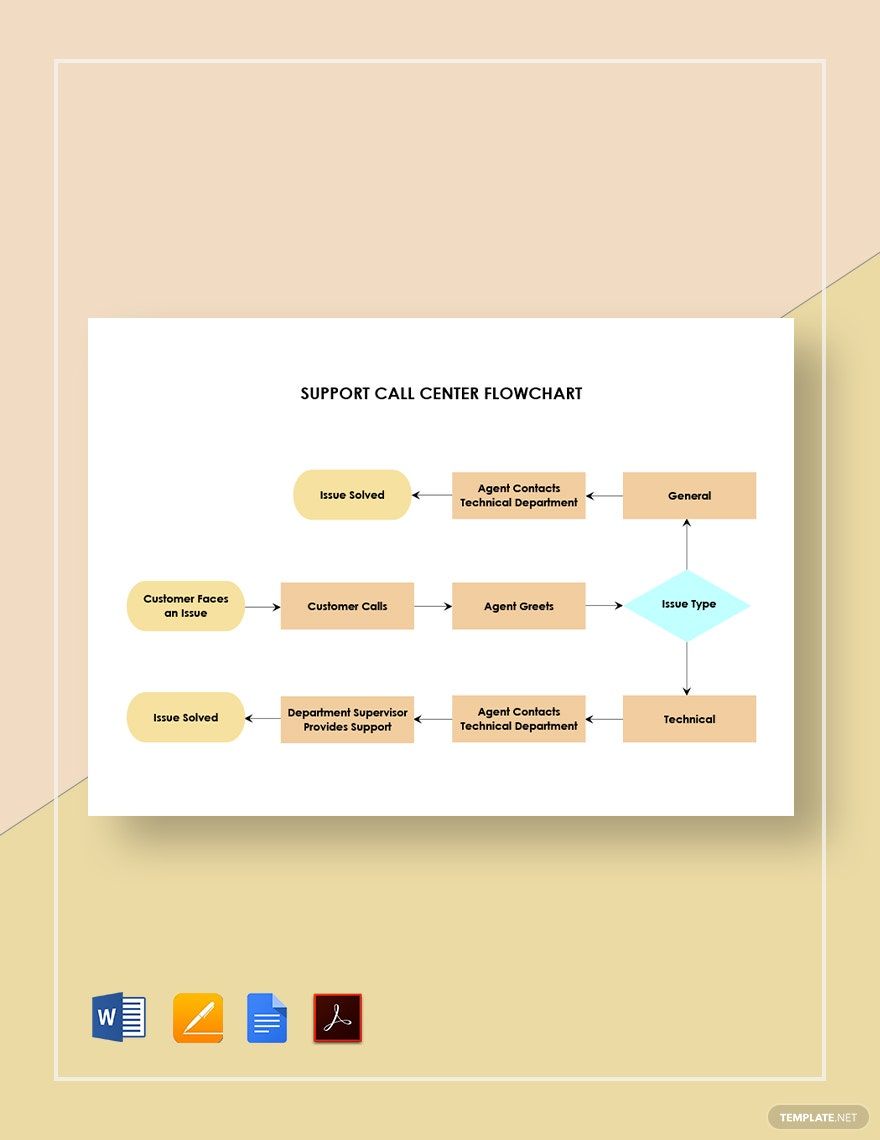
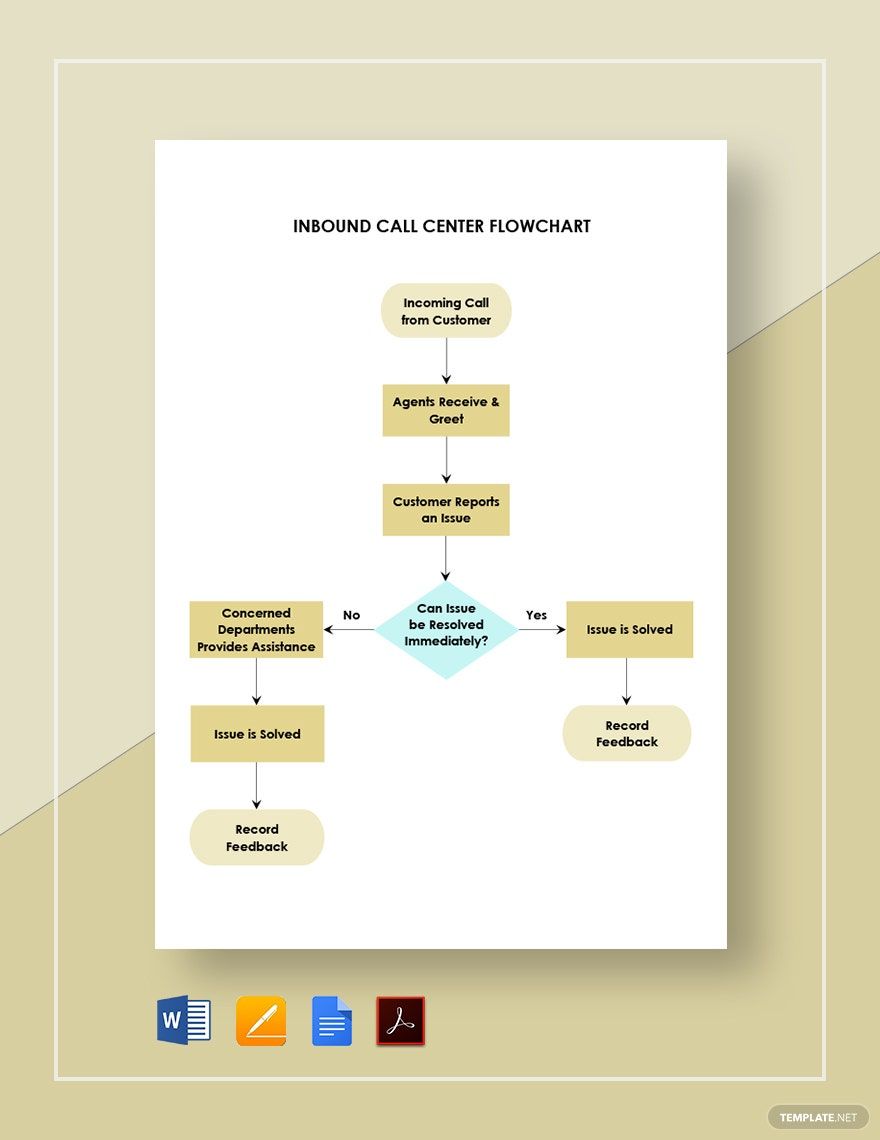
We know that the world is transitioning so fast, and in everything that people do, we use technology. It plays an exceptional role in the modern era, as shown by its high demand to the public. This is very evident in Business Process Outsourcing (BPO) companies. We know that running a BPO company is not easy. So if you are looking for a lending hand to help you manage it, check out our Ready-Made Call Center Flow Chart templates that are available in Microsoft Word file format. Don’t stress yourself with much pressure because our templates got your back!
How to Make a Call Center Flowchart in Word
A call center flowchart is used for managing customer relations. It is an inbound call and response guide for call center agents, especially for trainees. It assists the agent in making successful calls and the demand for your company services to increase. Make this tool using the Microsoft Word software and conveniently produce a call center flowchart in one piece. Follow the steps below and start utilizing one now.
1. Outline the Process Flow
Every call center organization aims for customer satisfaction. They cater to different customers around the globe. One thing is for sure. All agents are trained to meet the needs of not just the clients, but also of the company. Their training teaches them how to respond to different demands a customer may bring up during the call. As mentioned, running a call center life is not easy, but it is bearable with proper coaching and experience. Making an outline of the process flow of the job will be a great tool to surpass inexperience.
2. Draw the Diagram
Microsoft Word offers you flowchart templates that are accessible in the template library of the software. Grab one from there or from our call center flowchart templates above. The templates are edit-ready in Word so you can freely customize the chart with your workflow details. To generate it manually, go to Word’s insert section. Find shapes and click shapes under flowchart. Just be guided that every shape has its function. Diamonds are for questions. Rectangles are for processes. Add lines in between the shapes to show the flow of the operations. You can get these in the line options still under the shape options. Make sure that the structure of the diagram will match the process flow.
3. Supply the Chart with Details
Input the details you have incorporated in an outline earlier. Begin to add texts to the shapes accordingly, starting from the start of the process until the end. As you type the particulars of every step, think about having more options for solving an issue or for complying and satisfying the customers’ needs. If nothing more is to be added, don’t forget boosting your flowchart with a design. It can be simple, and plain colors for the shape fills, or you can have them as an outline if you prefer to retain the white background of the shapes and if you’re securing the legibility of the texts. Just remember to complement your designs with the contents of the chart.
4. Present the Flowchart
It is vital to give trainees an orientation about the workflow of their accounts. Even tenure agents need a refresher of the basic standard operating procedure. Demonstrate this to them with your presentation-ready flowchart in powerpoint and other presentation mediums. You can print it as well to hand out copies of this guide to all the agents. Get more of your chart needs with our downloadable, editable, and printable templates in various file formats. Manage or organize, plan, and perform tasks efficiently. Get your smart tools with us.
