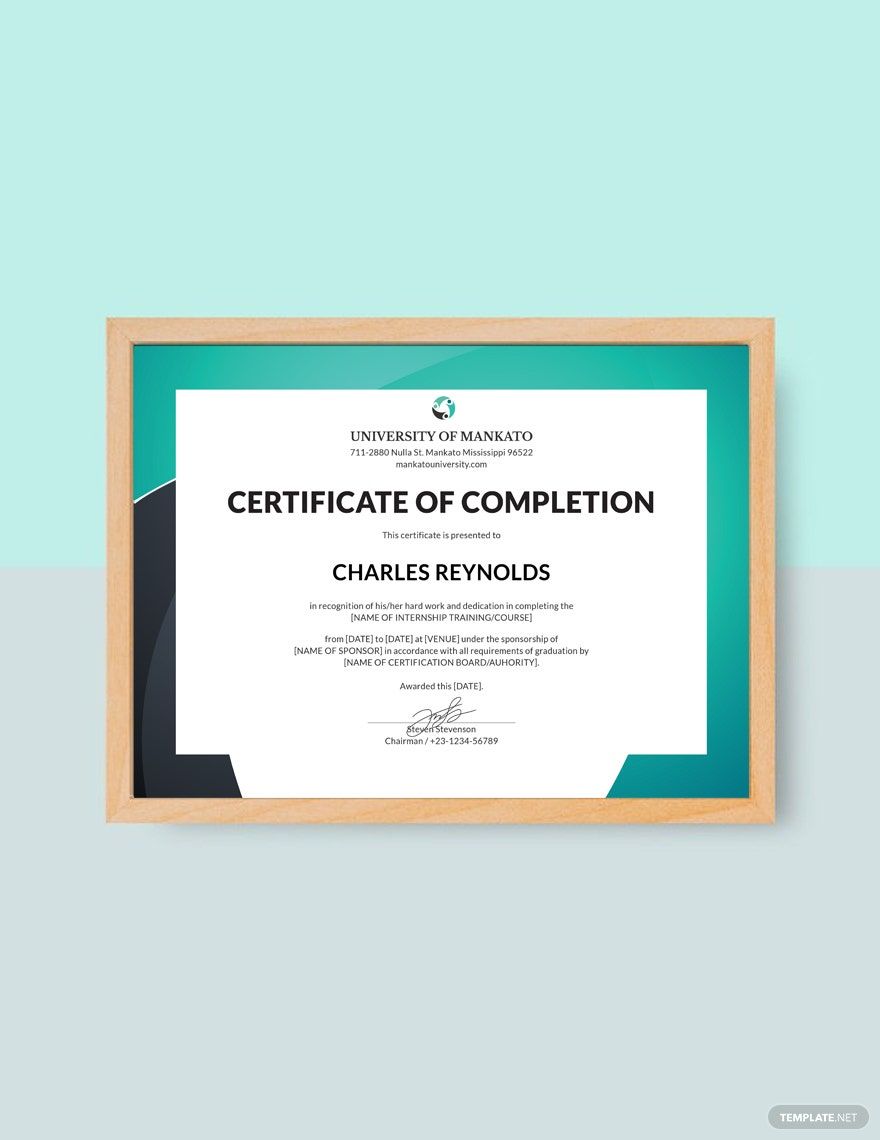
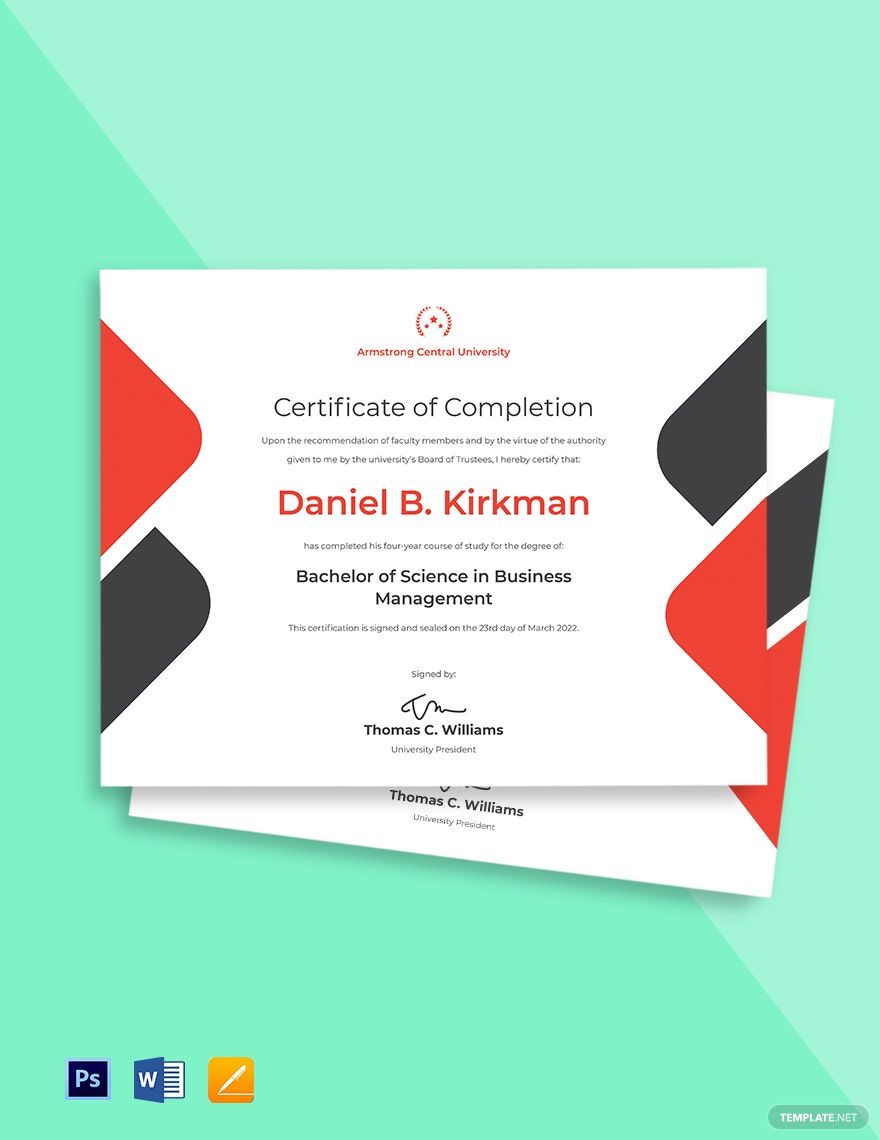
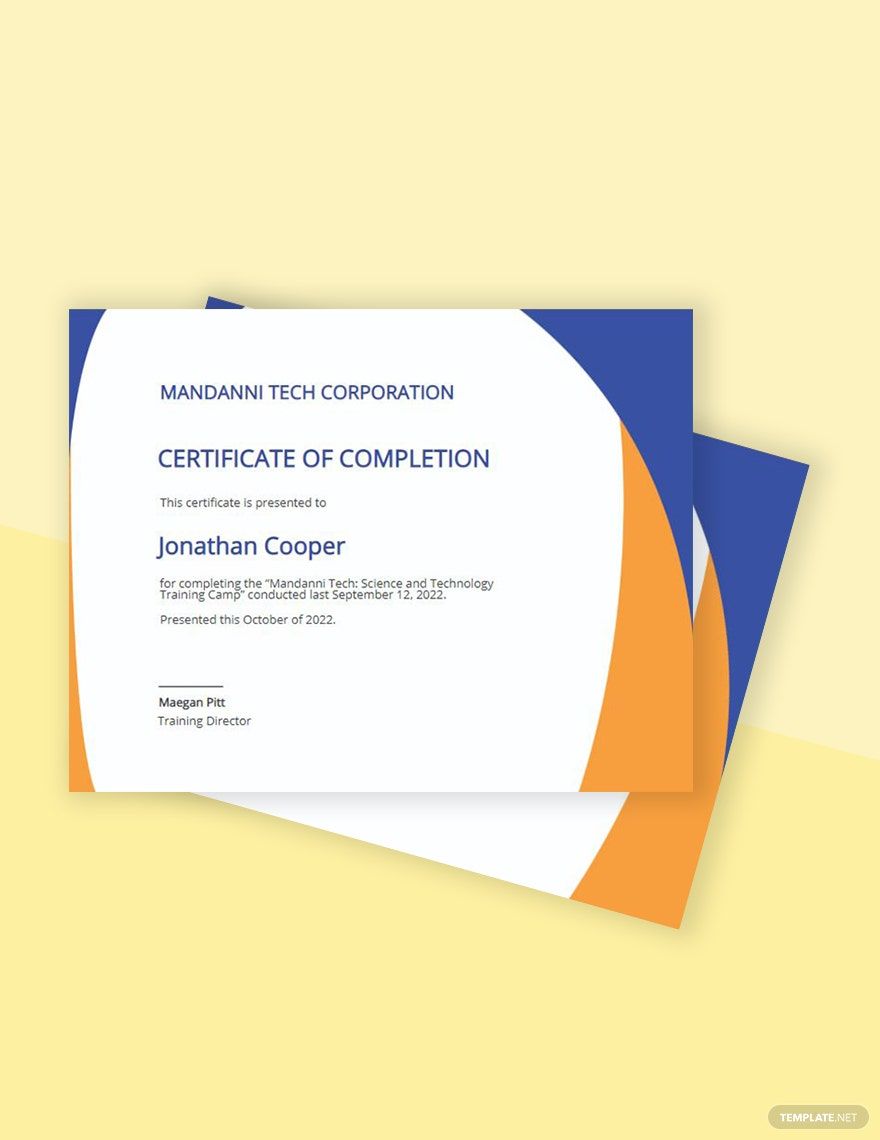
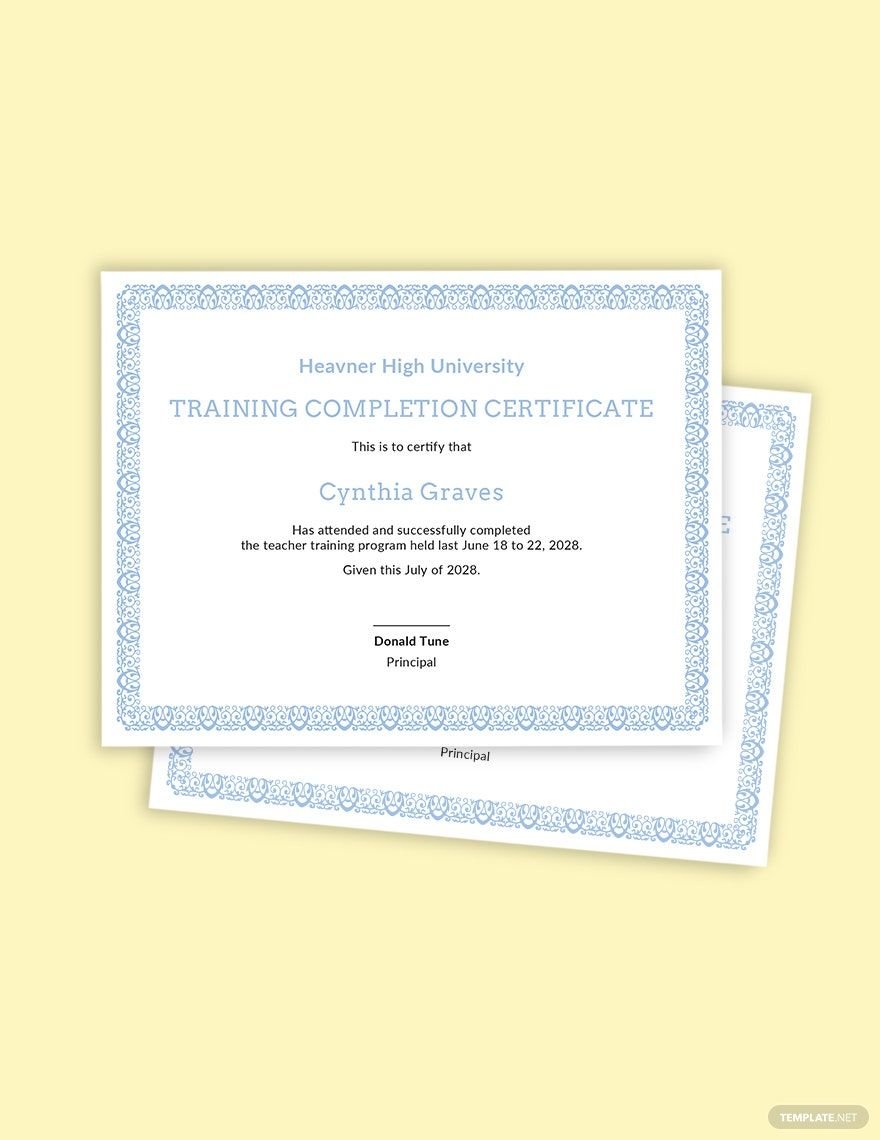
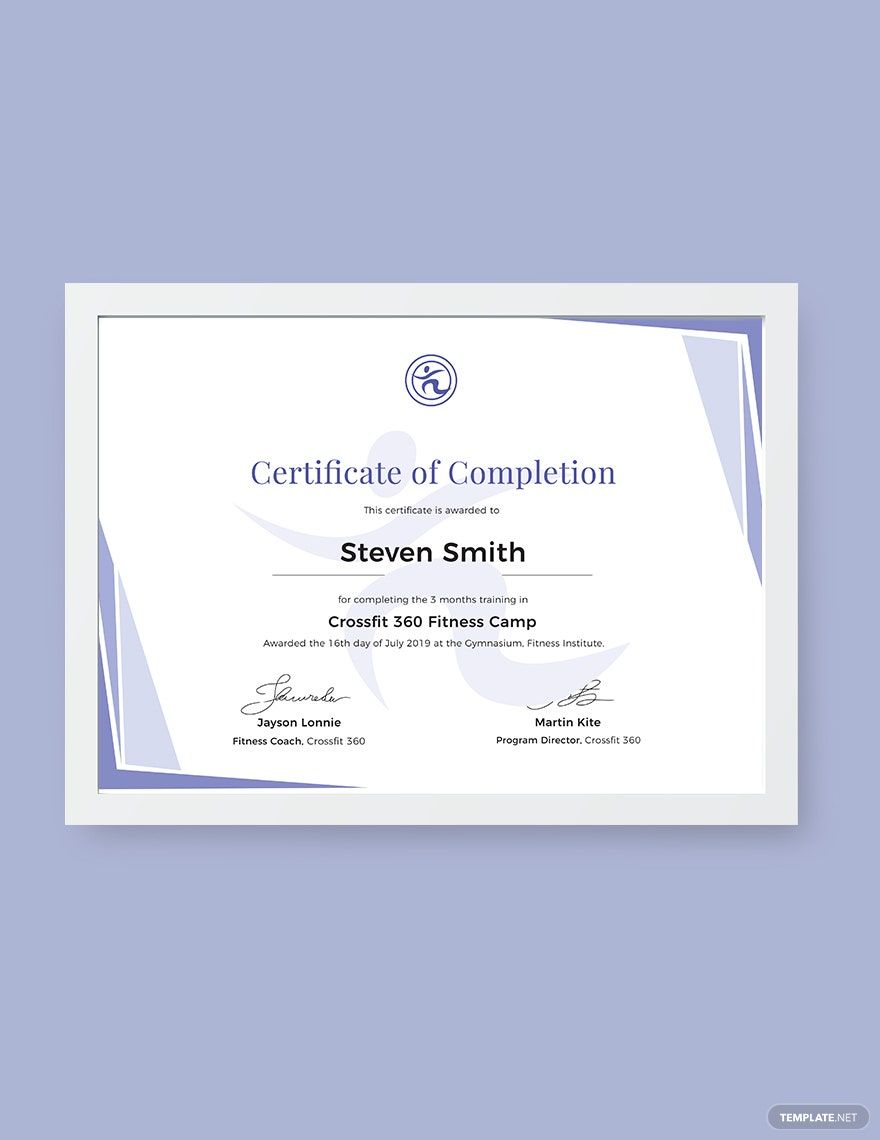
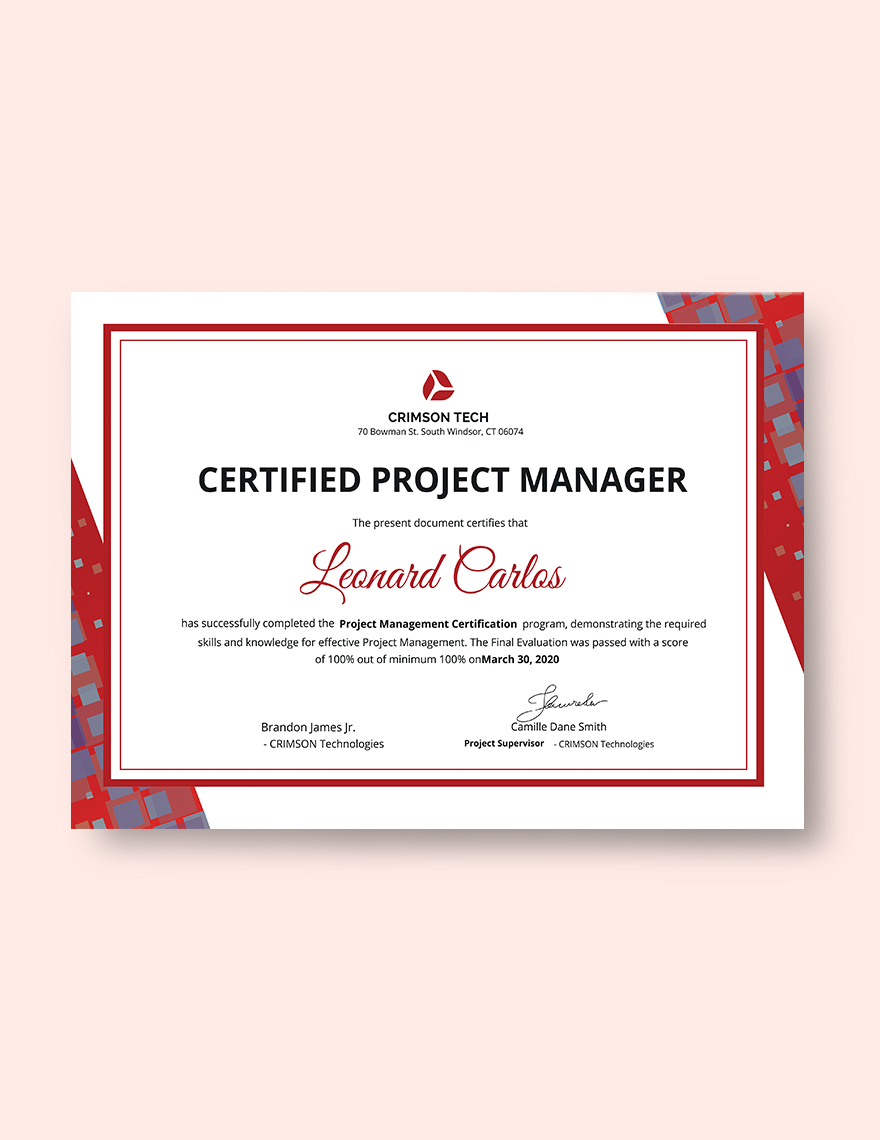
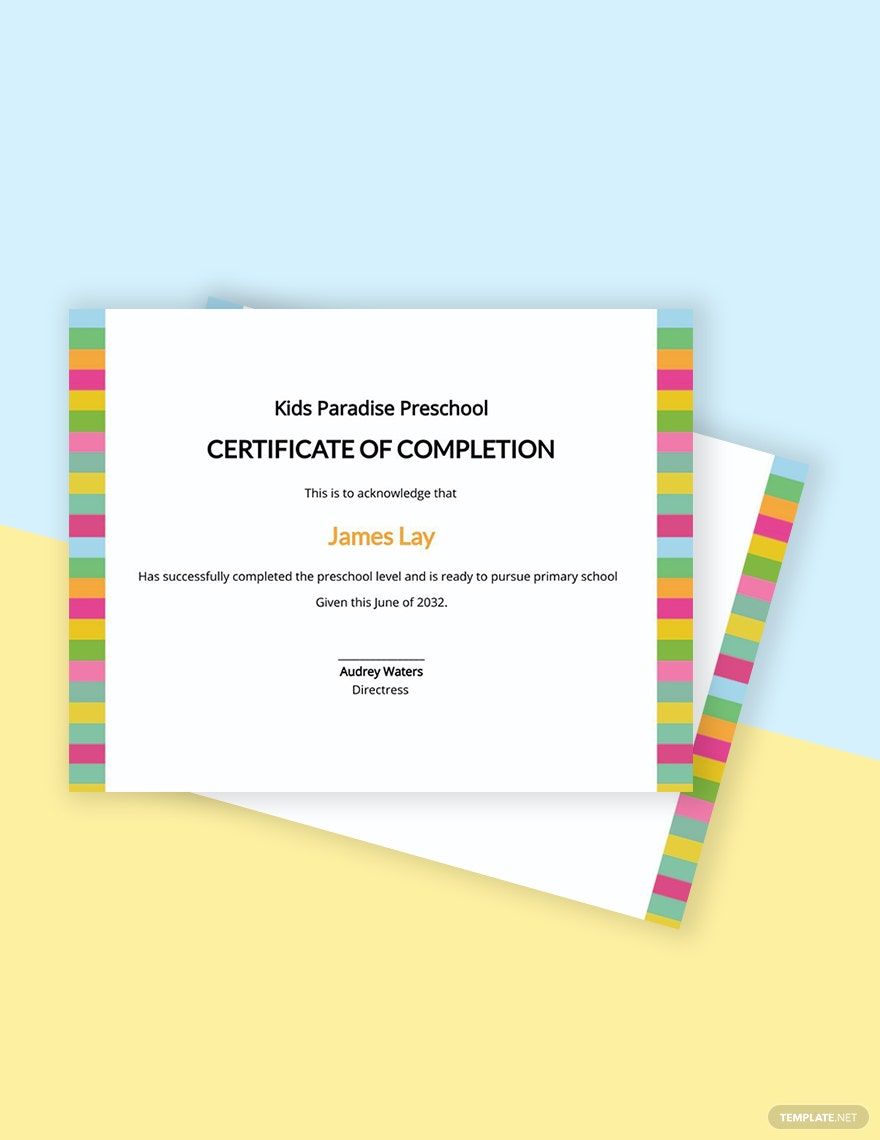
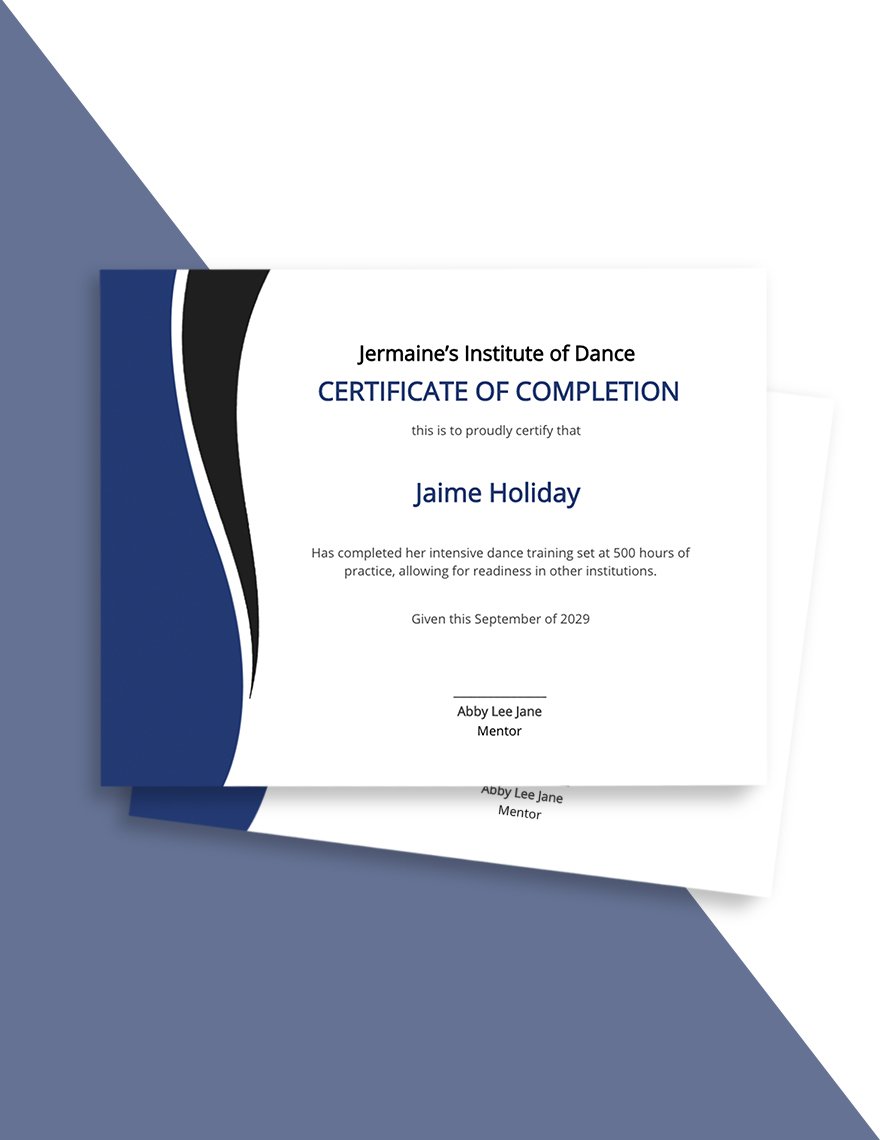
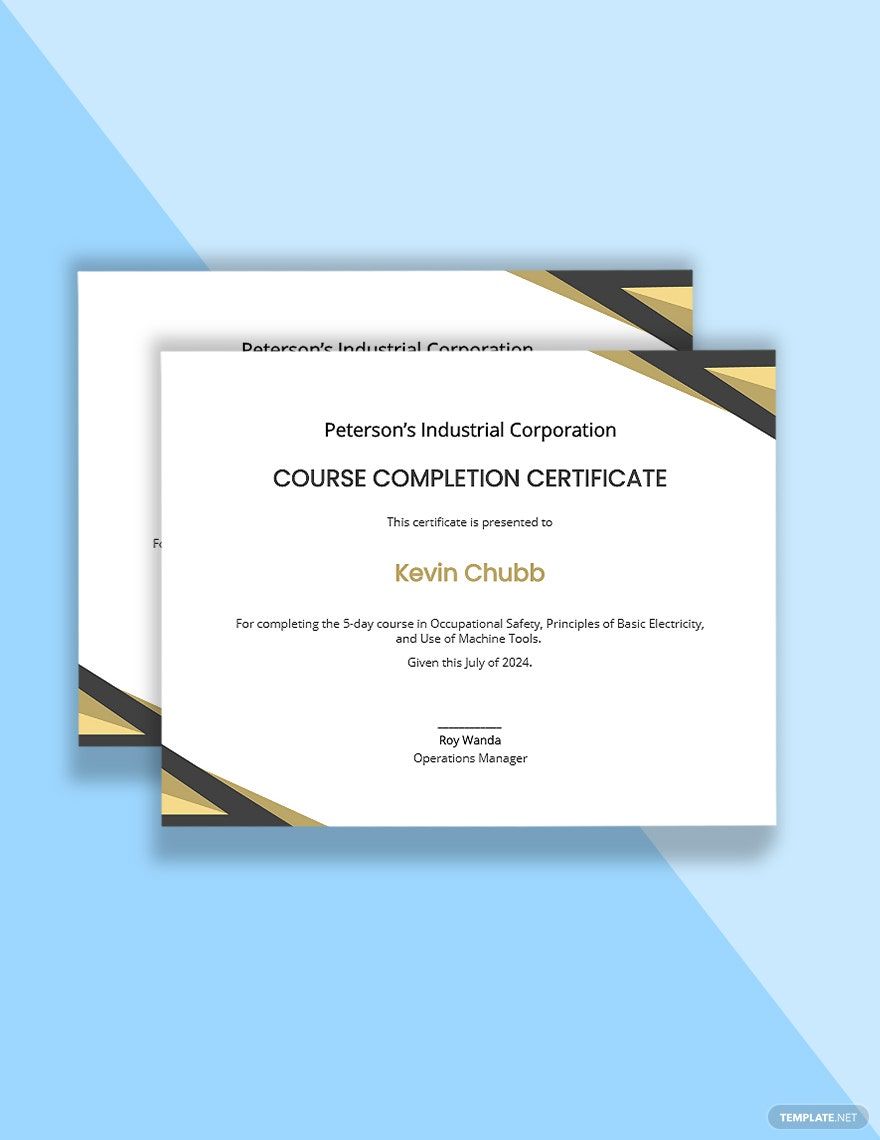
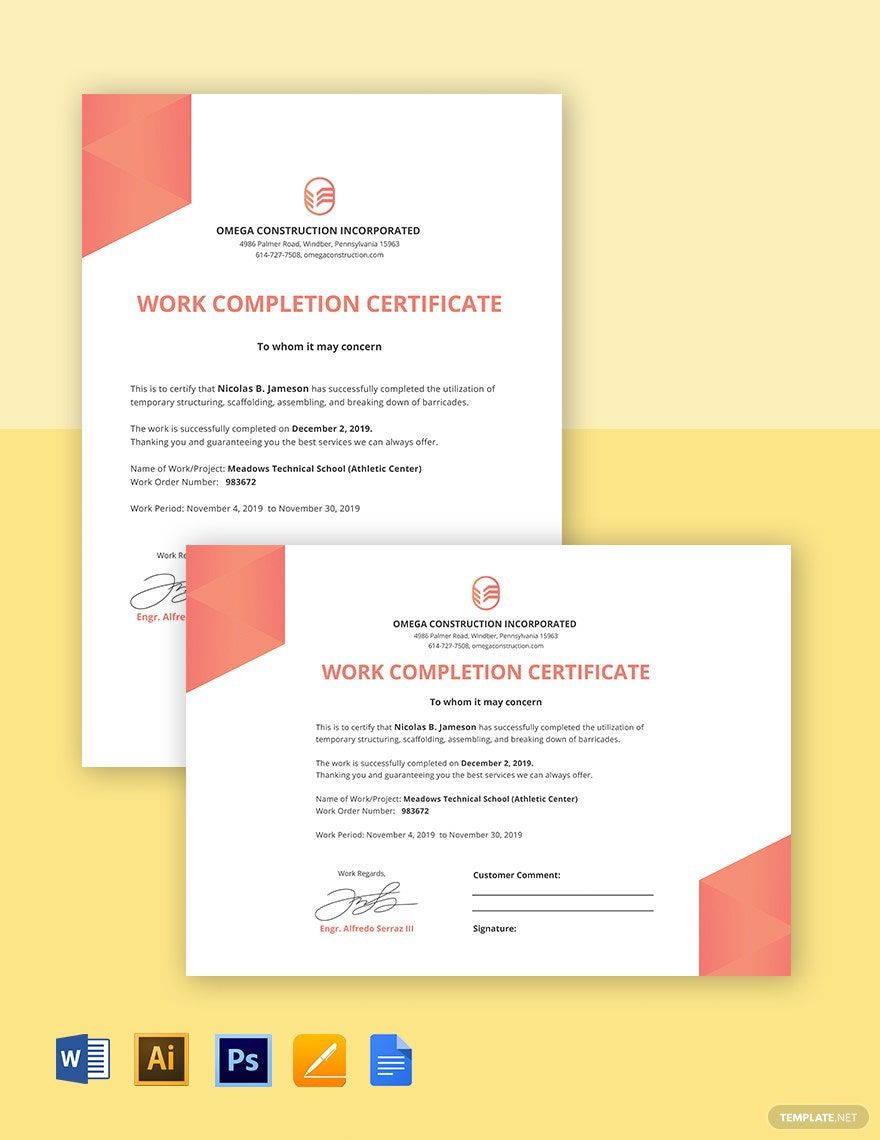
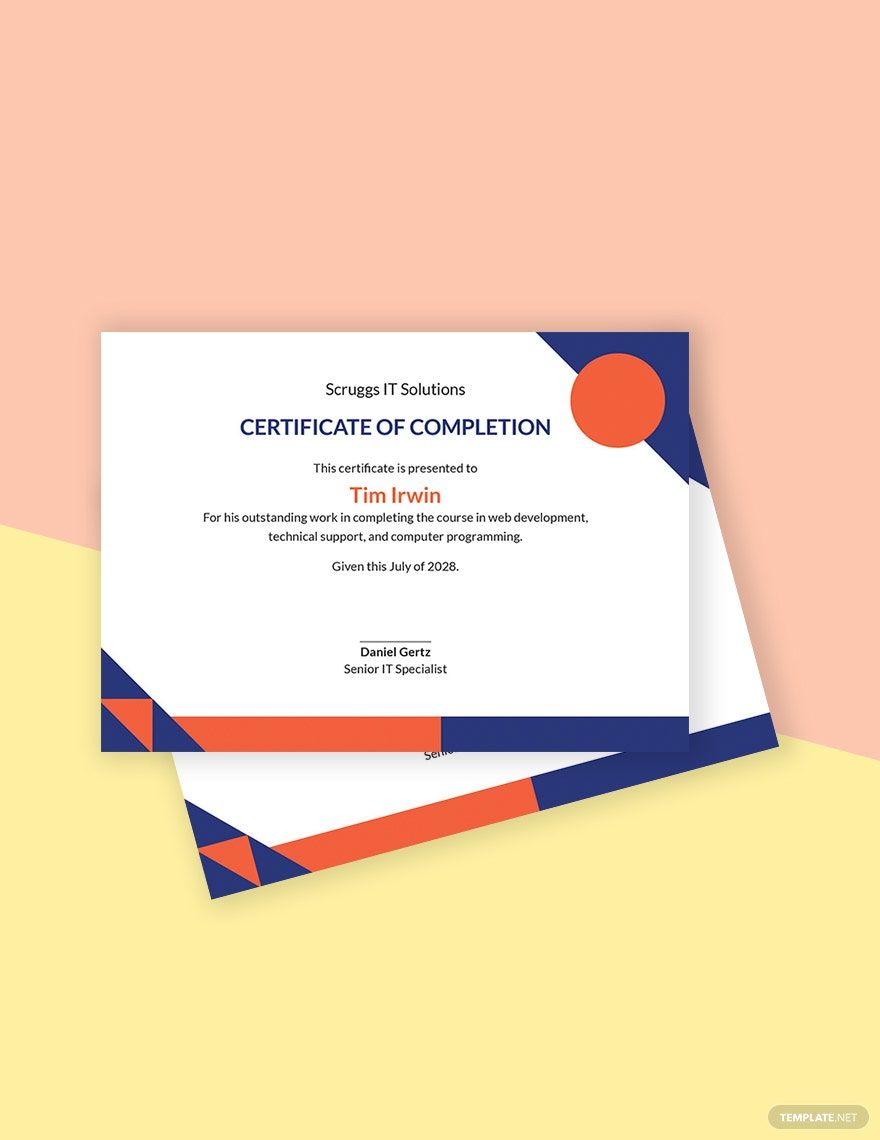
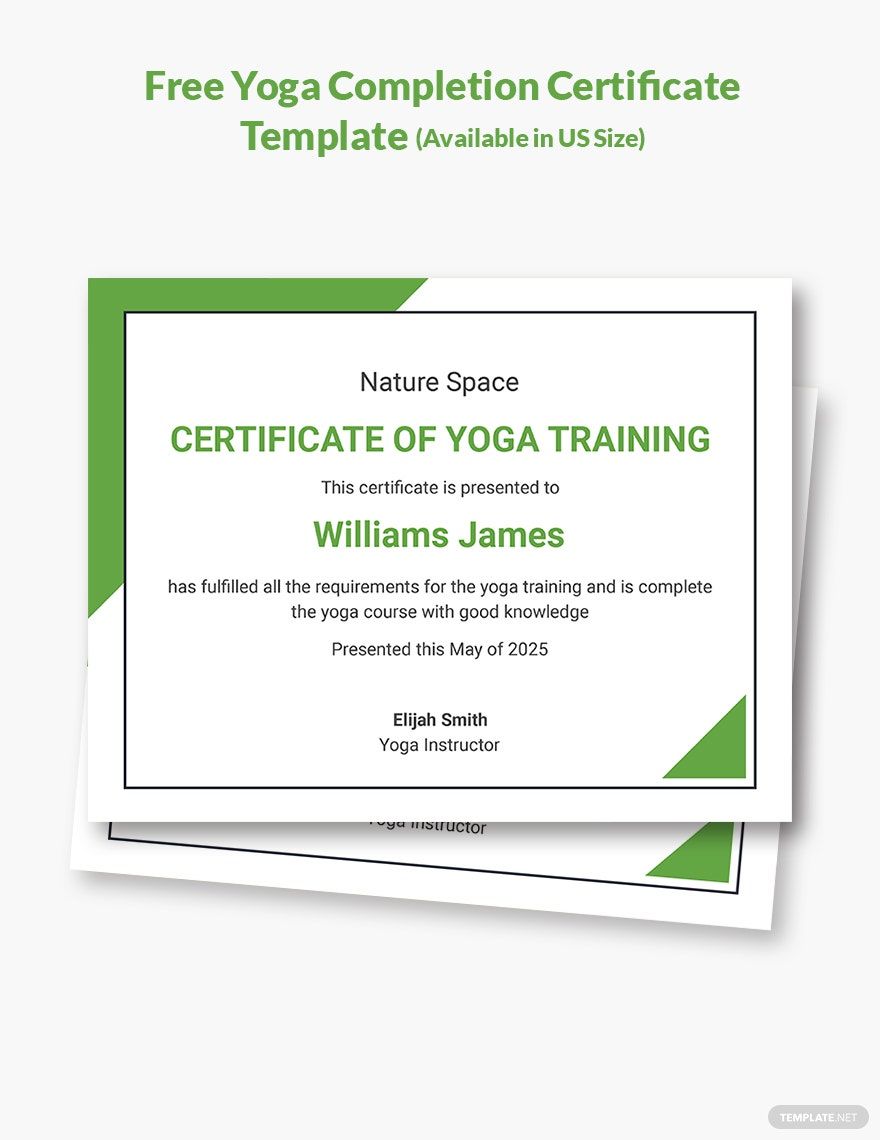
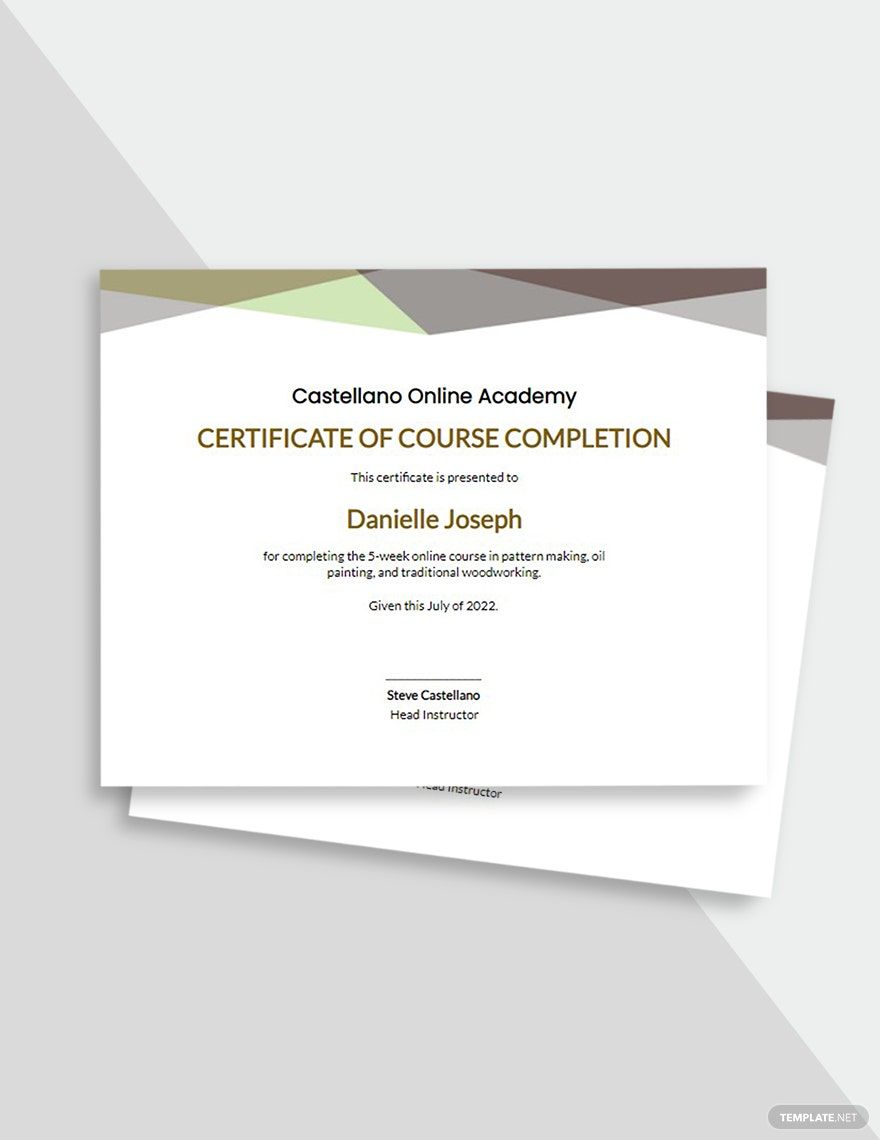
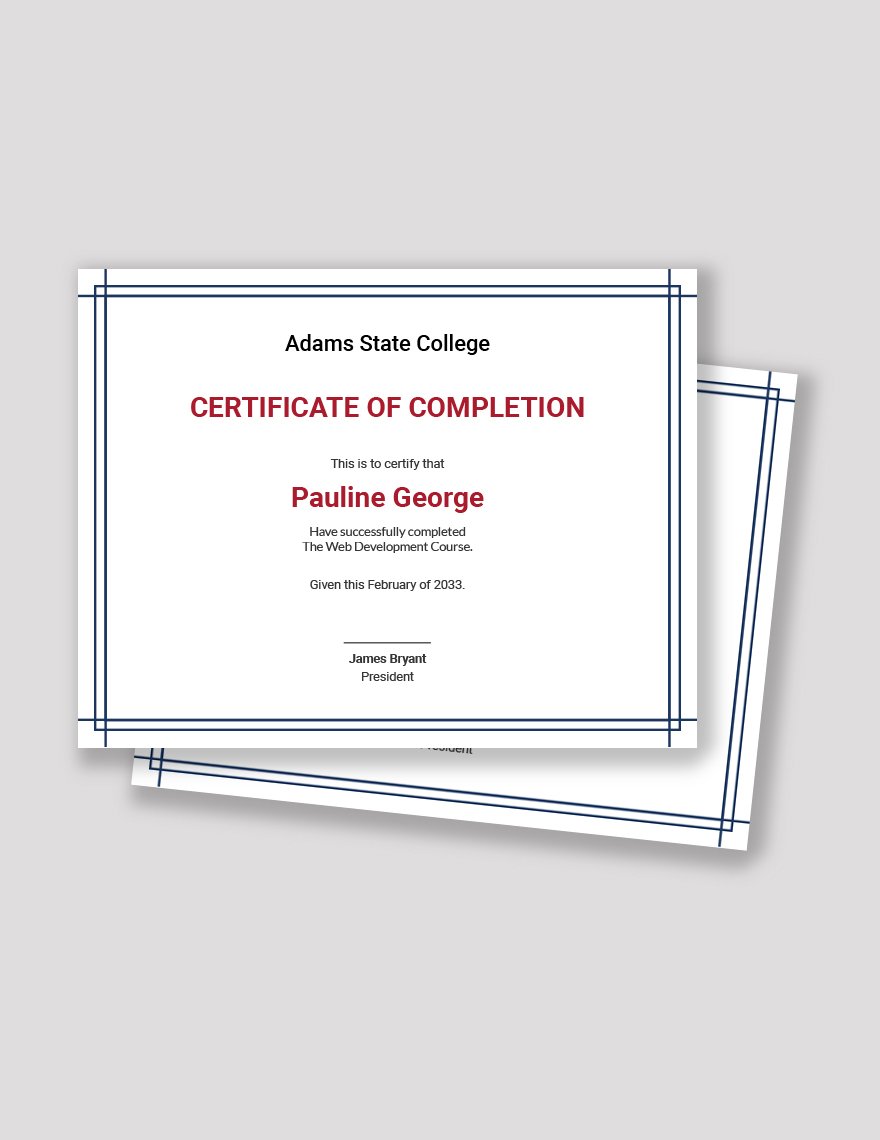
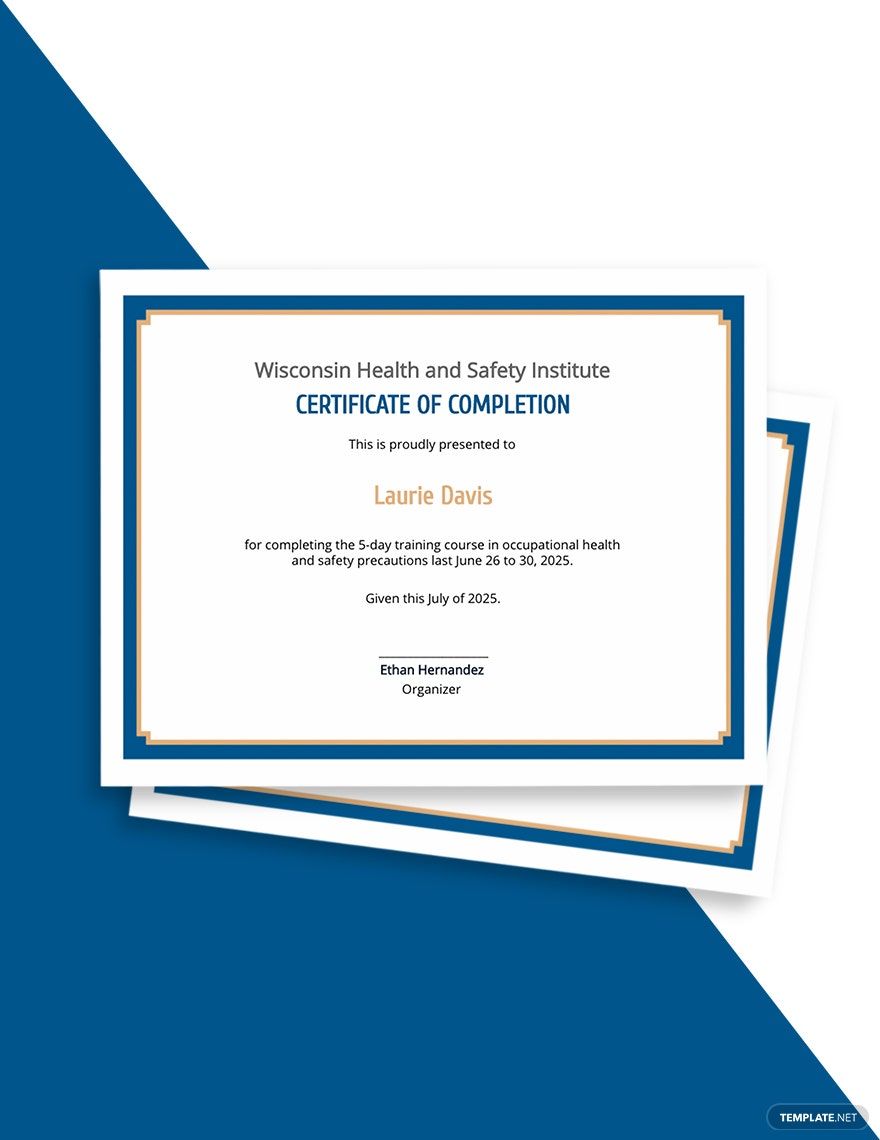
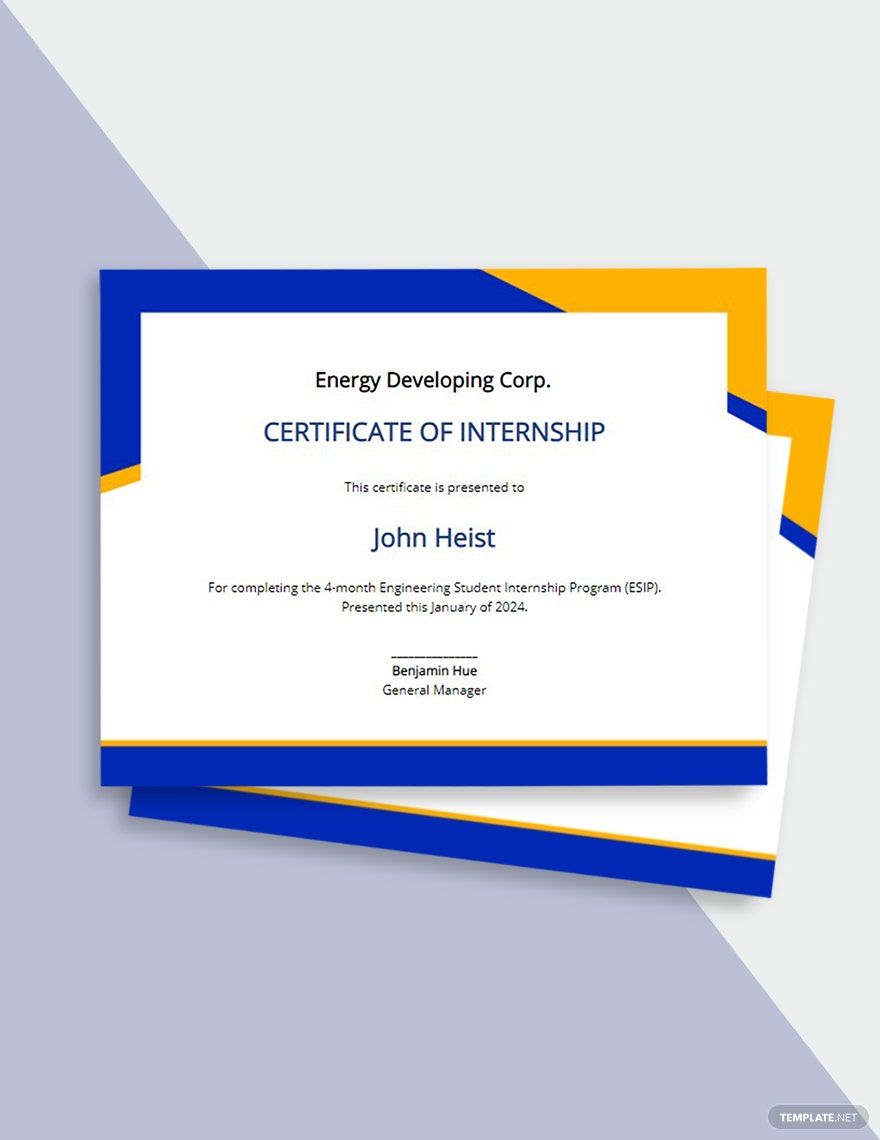
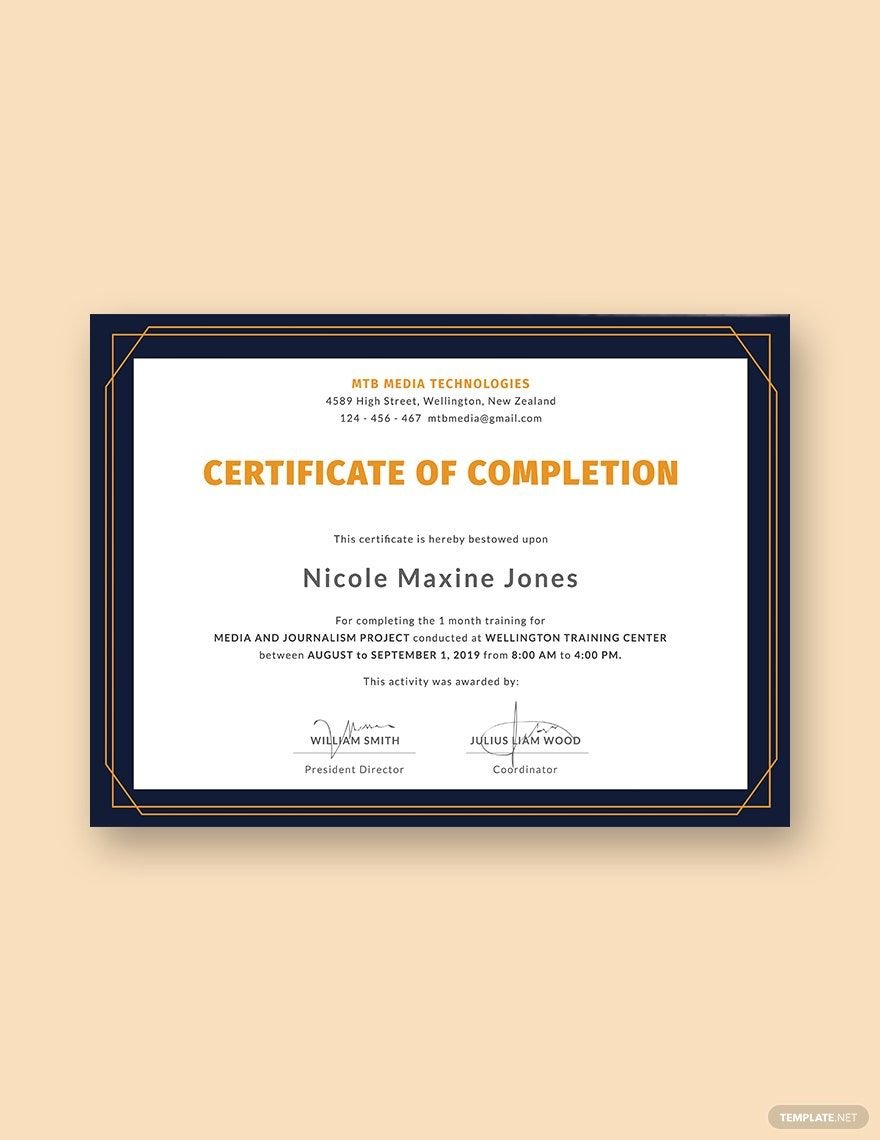
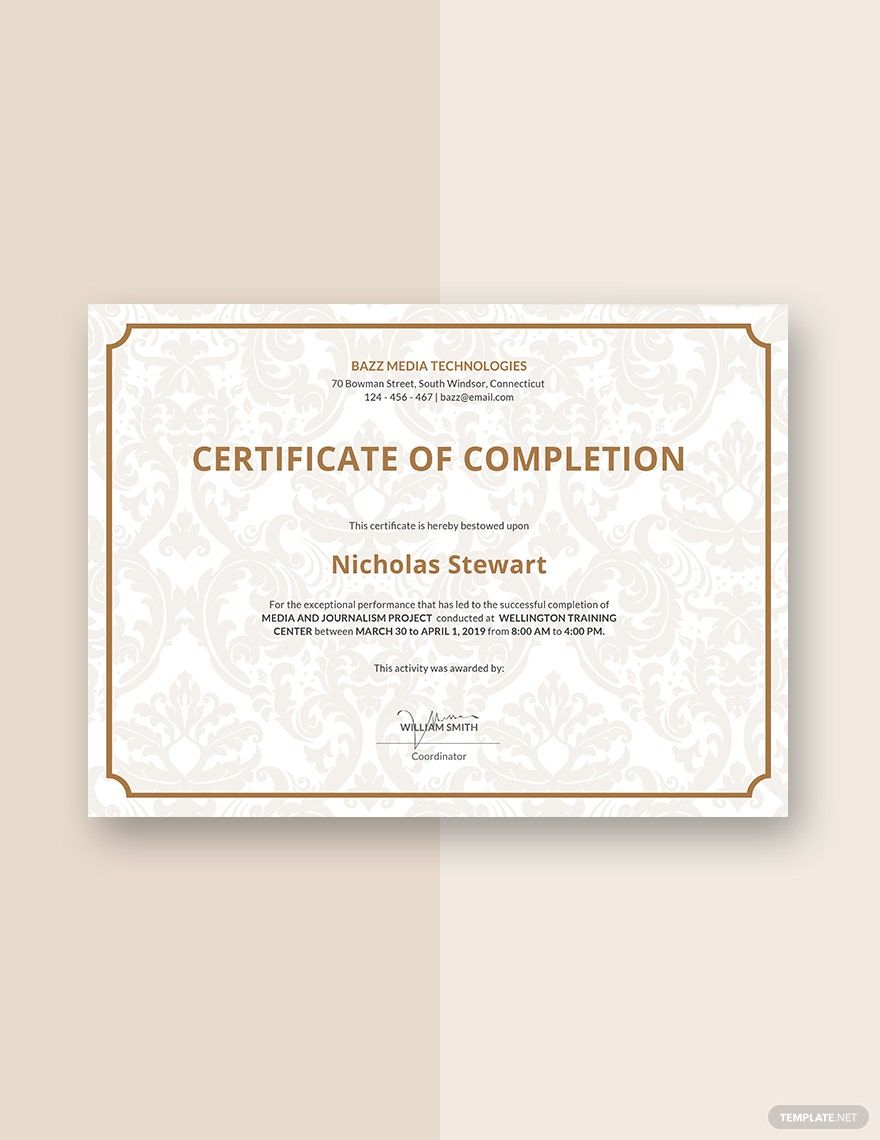
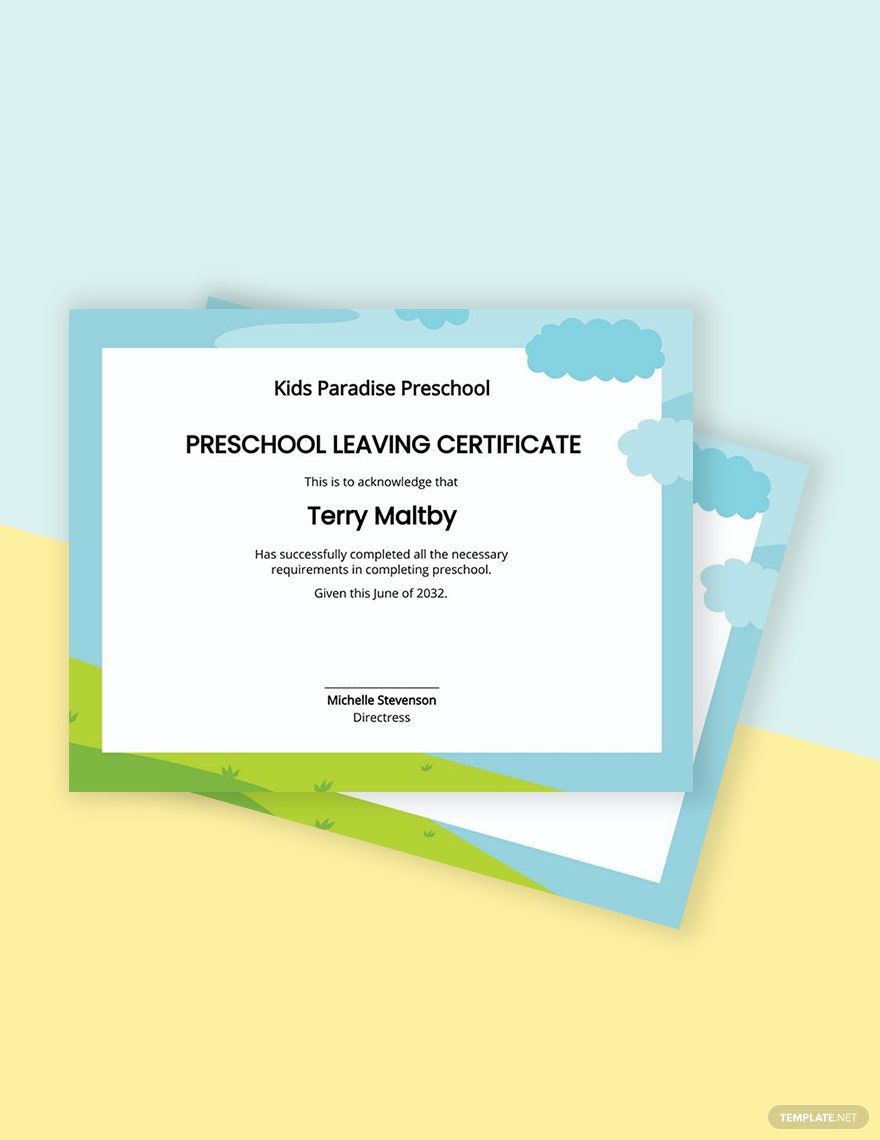
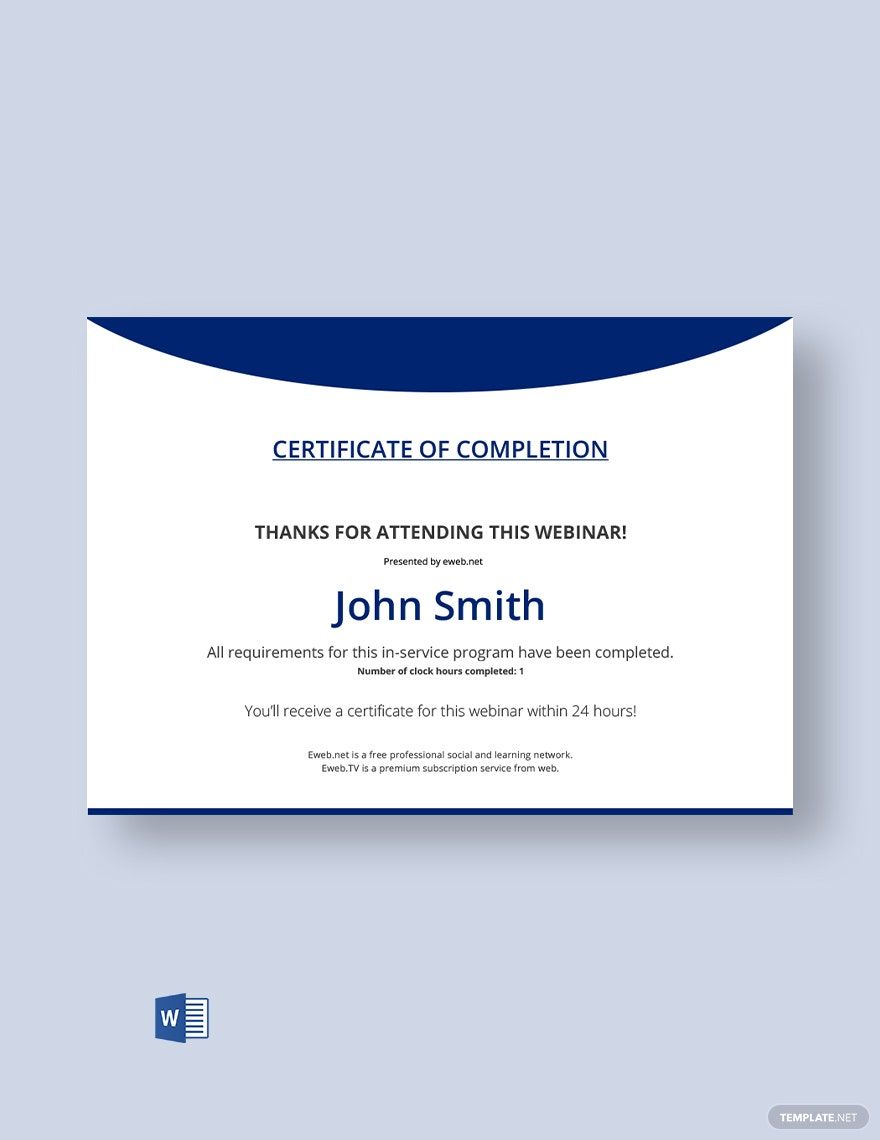
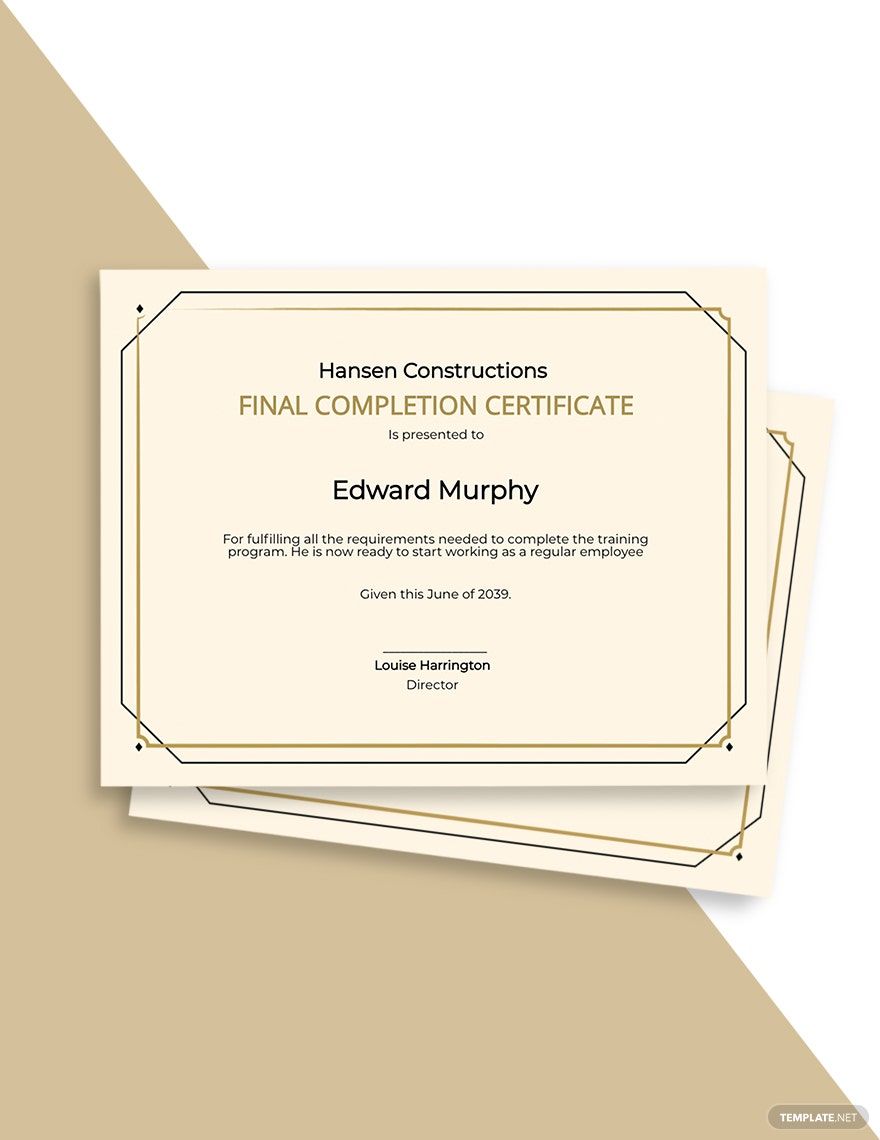
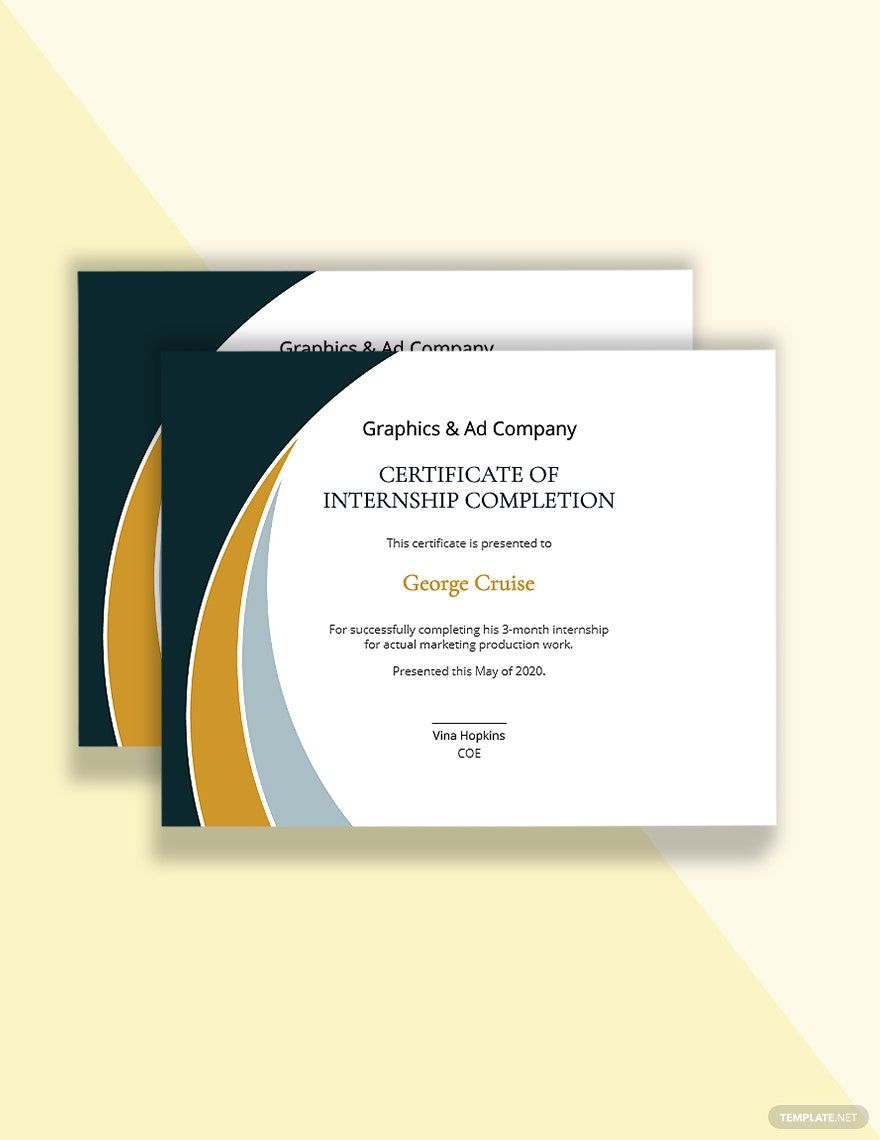
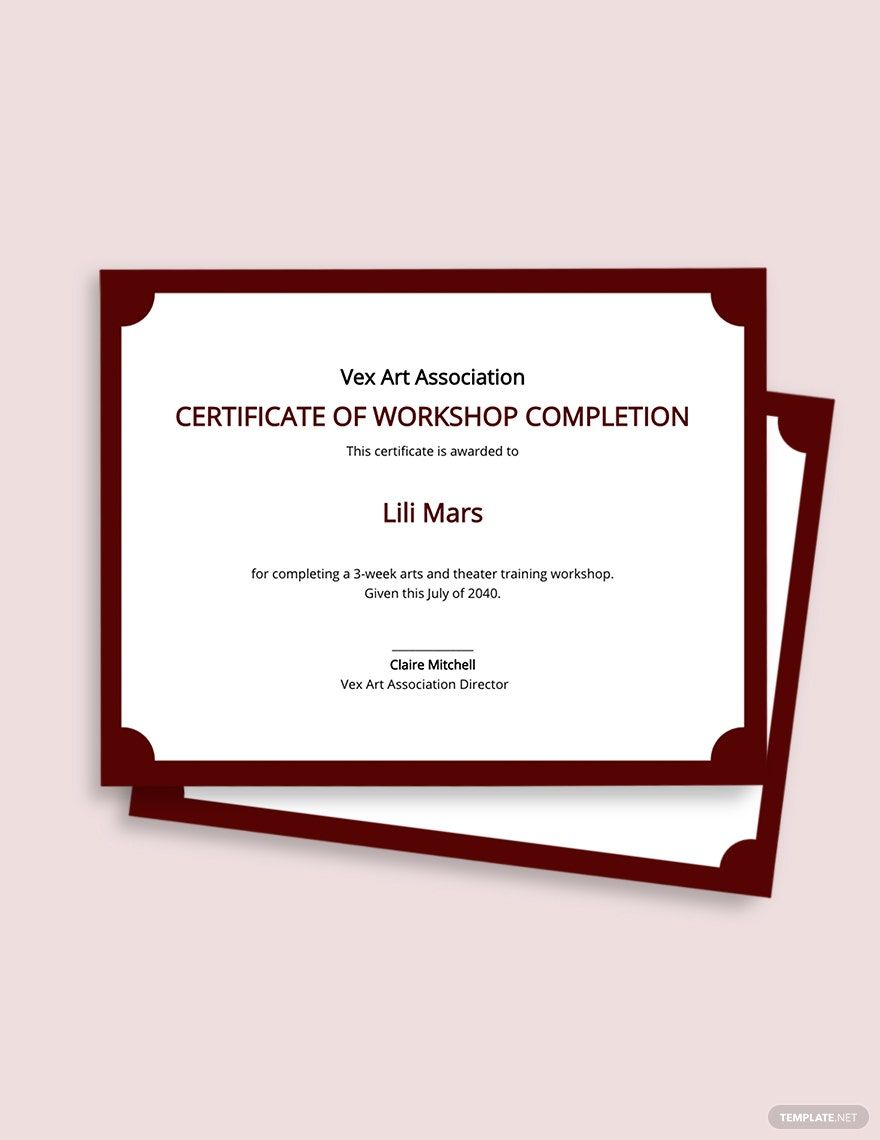
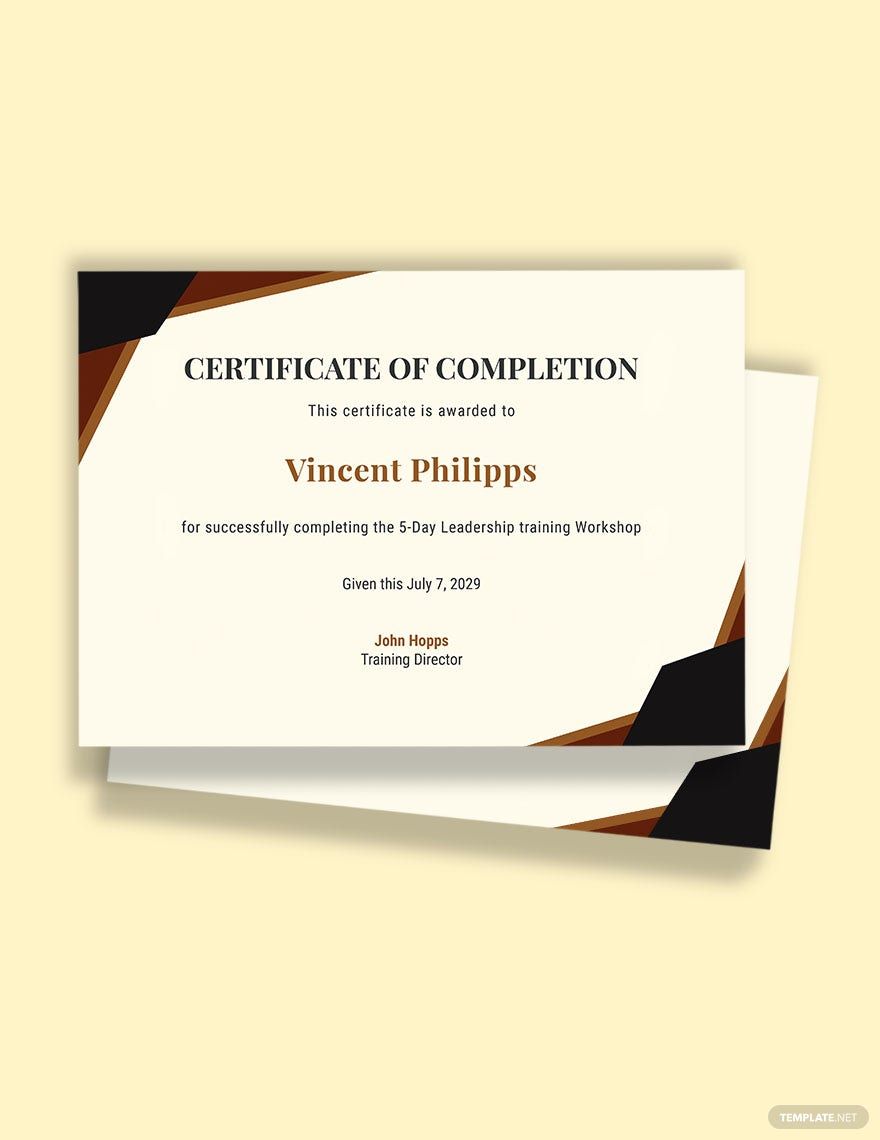
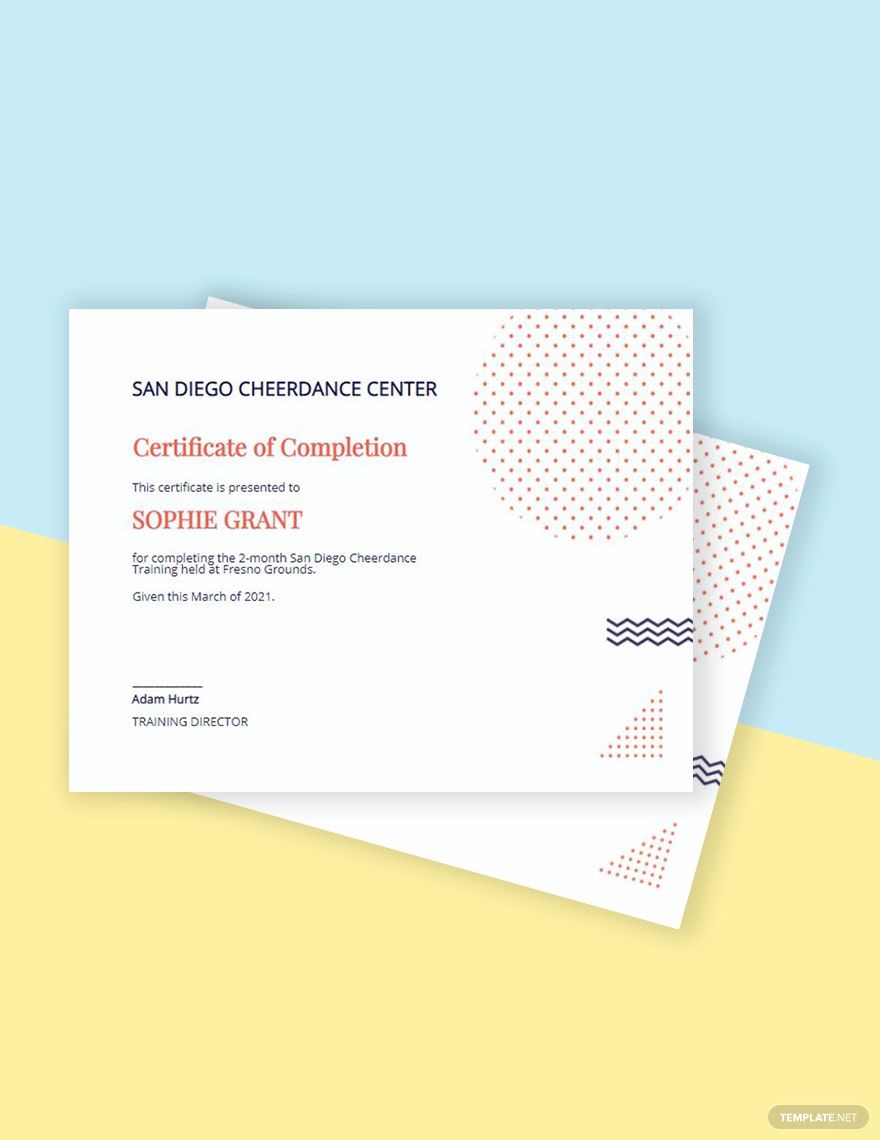
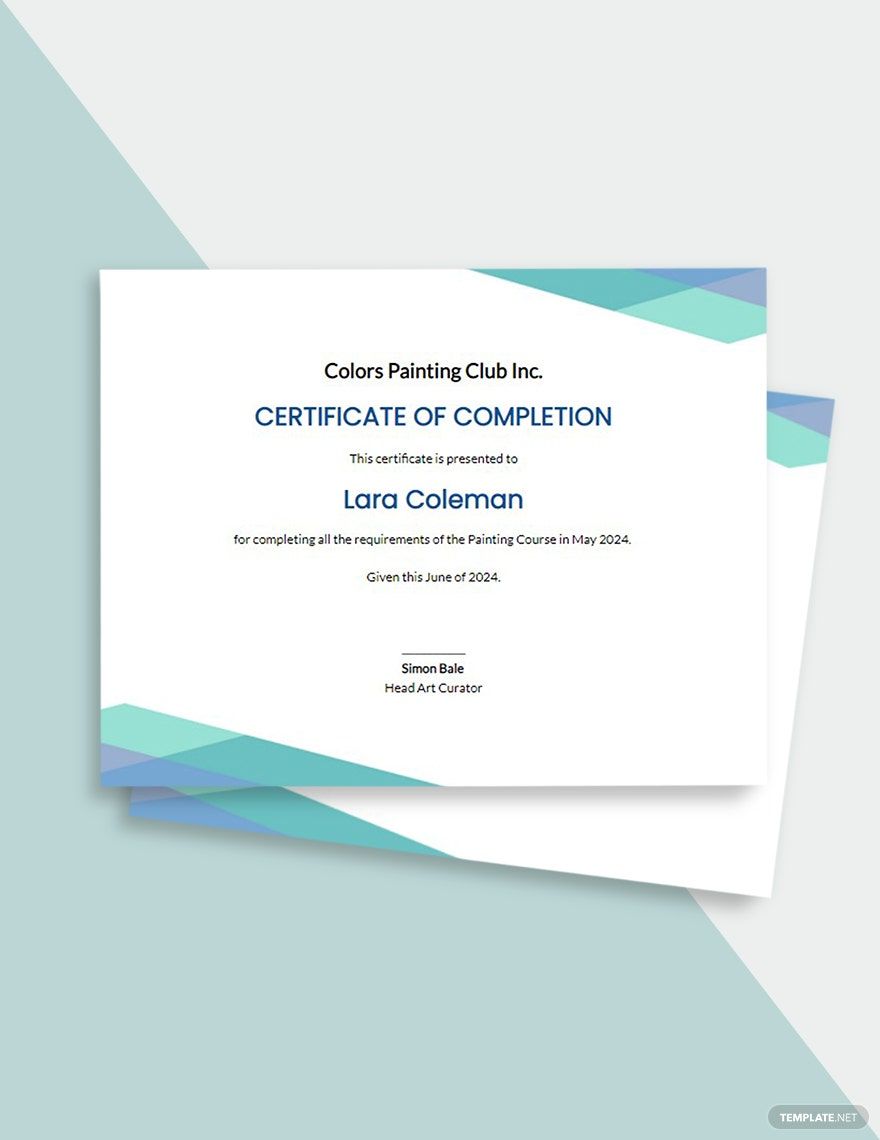
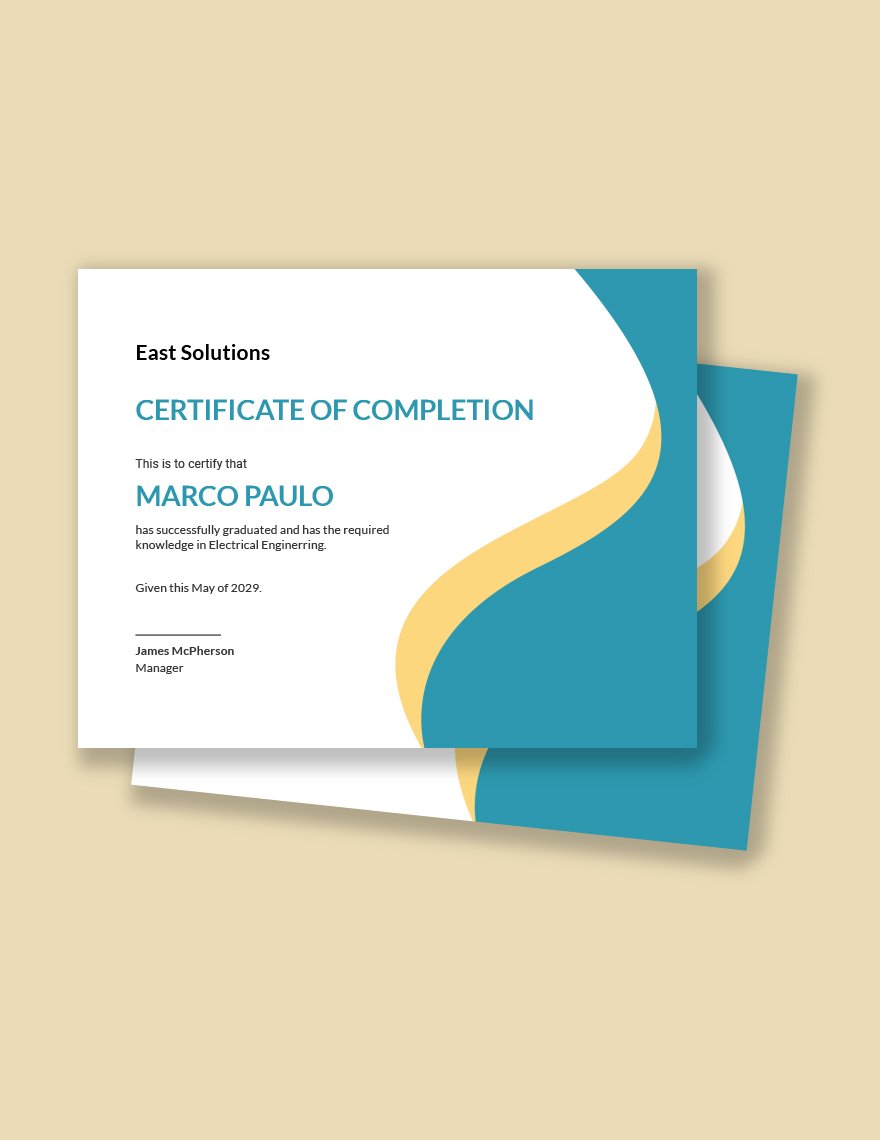
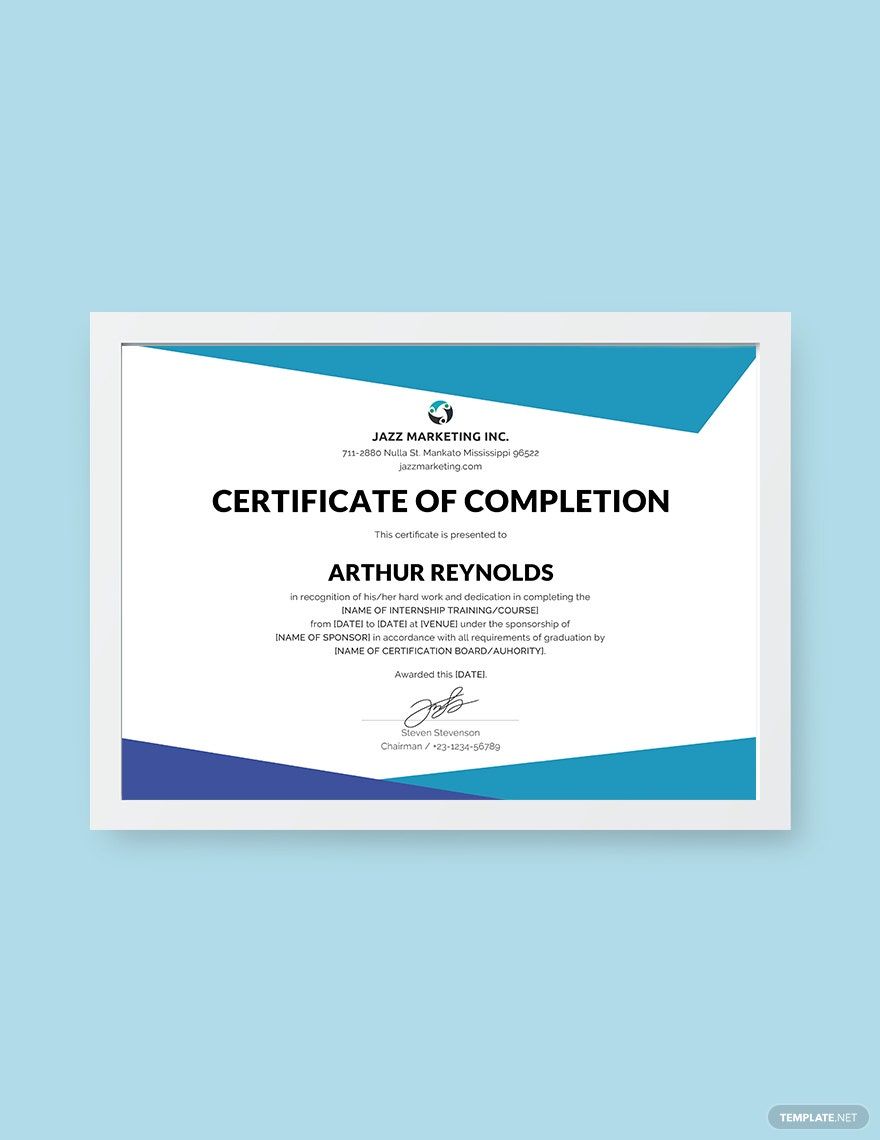
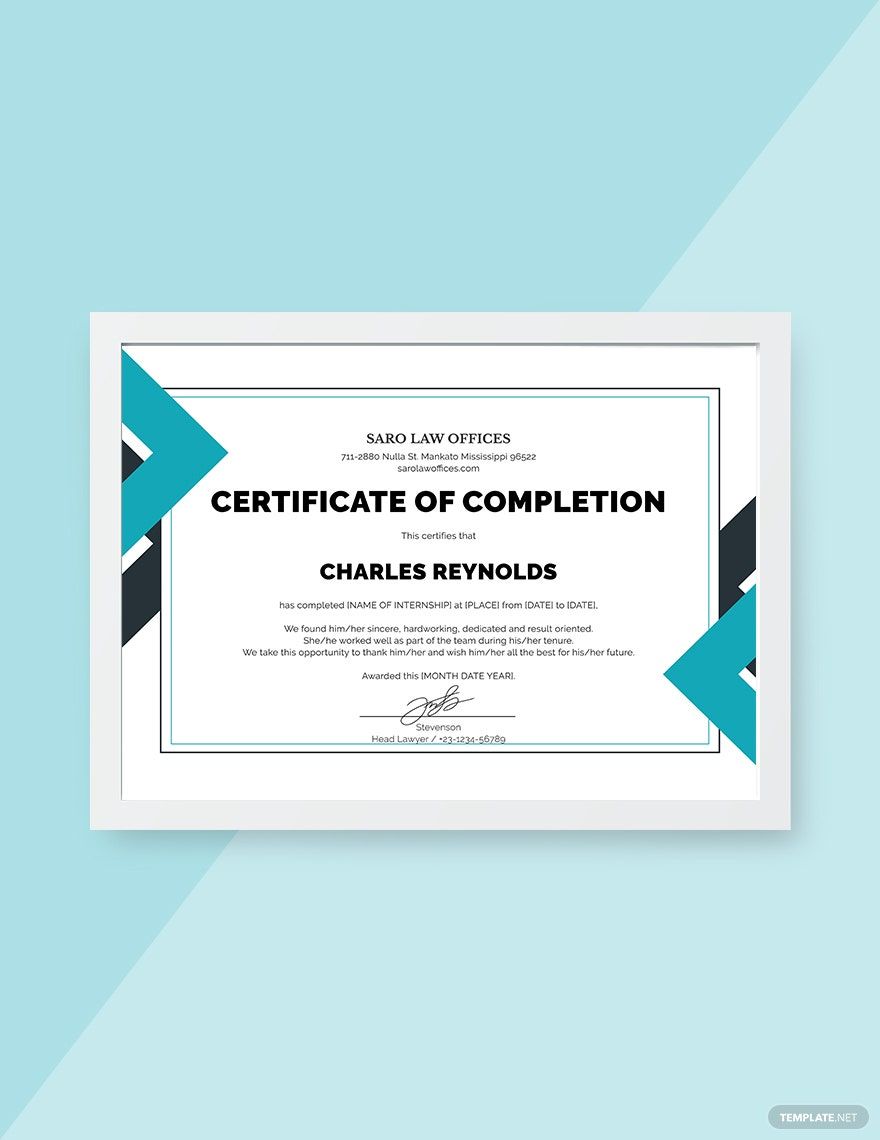
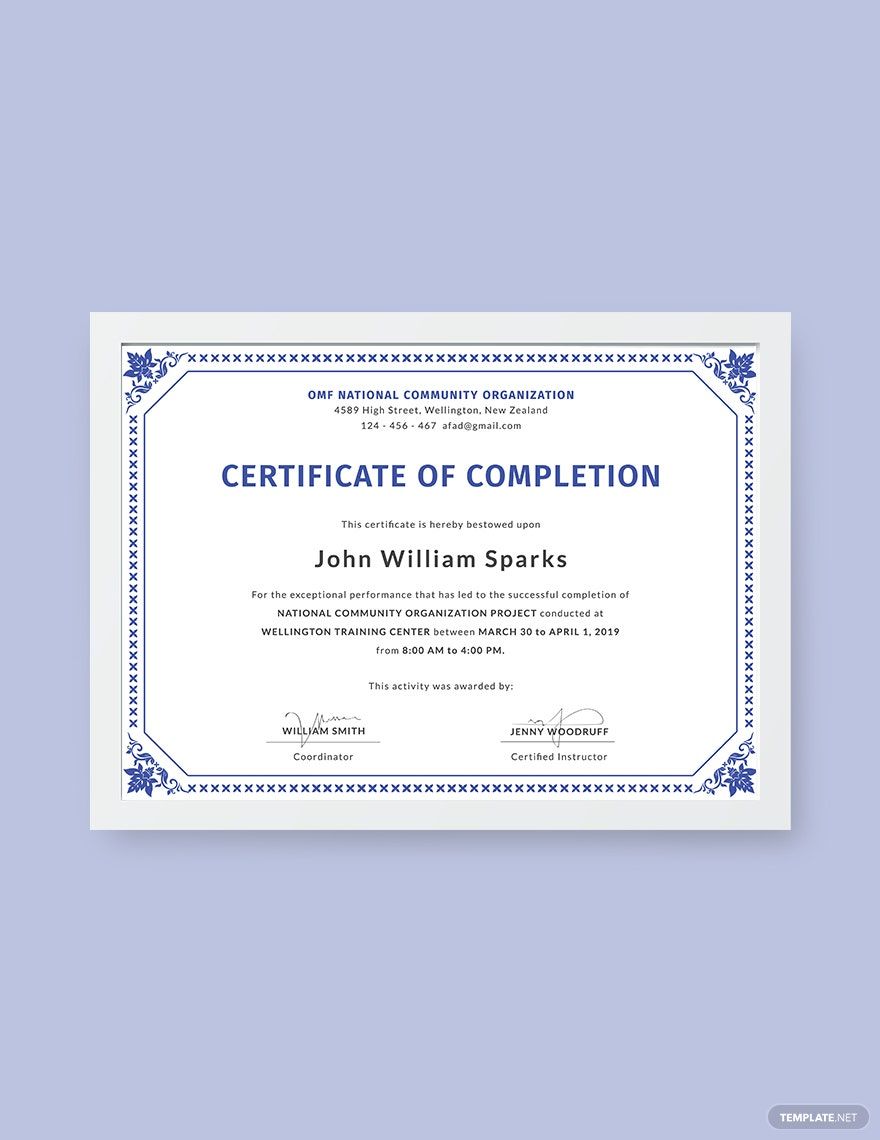
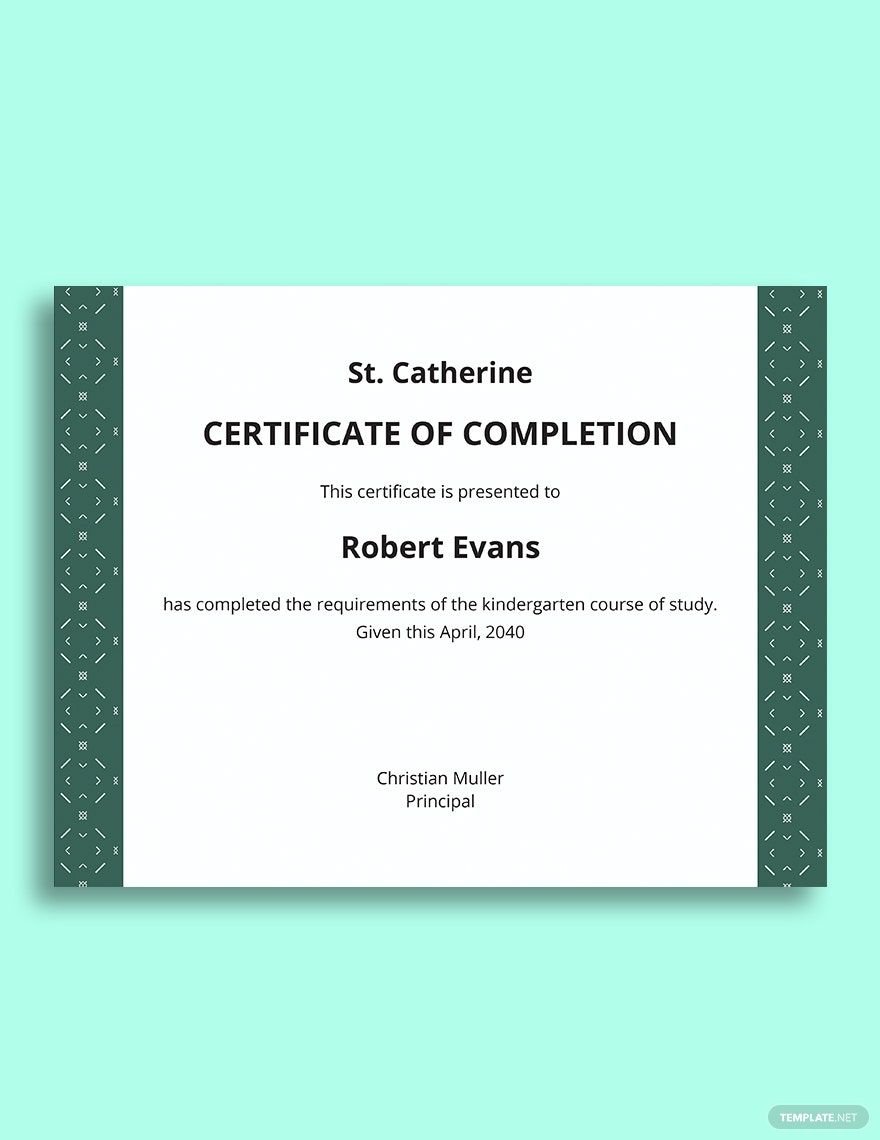
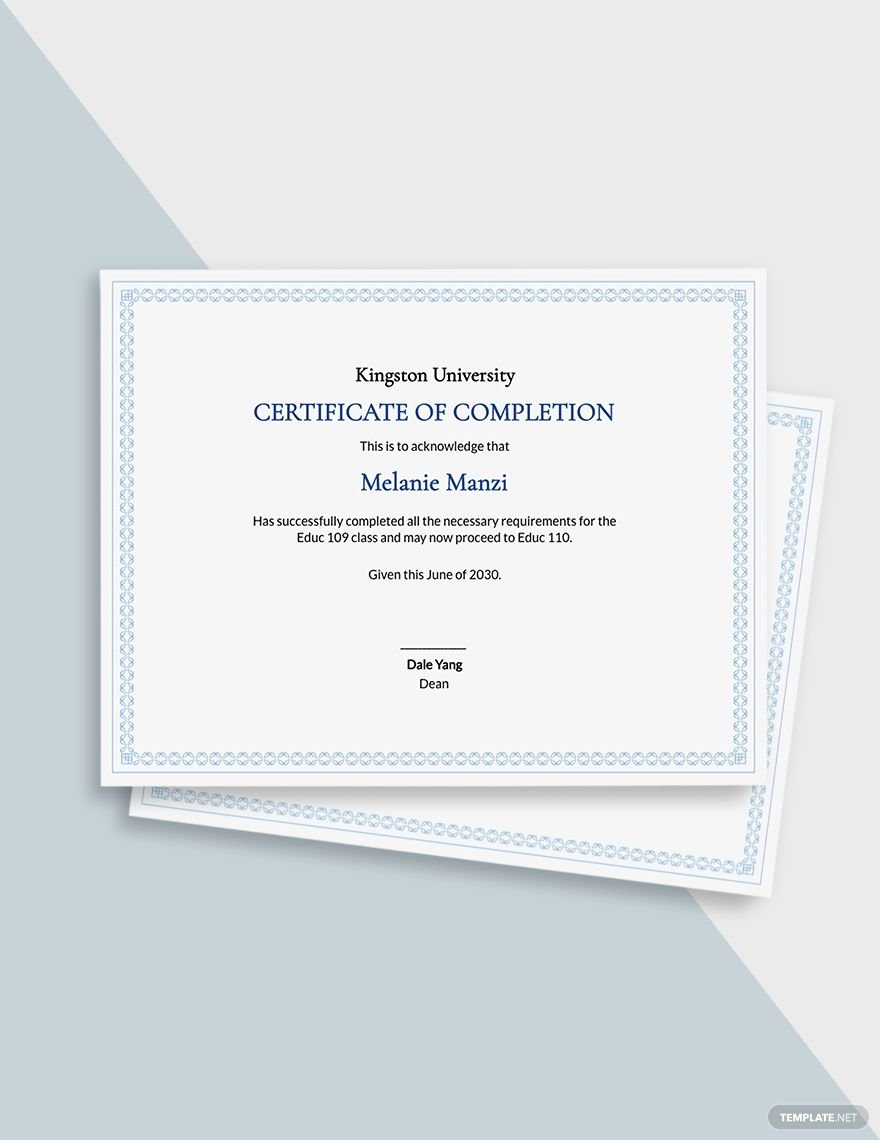
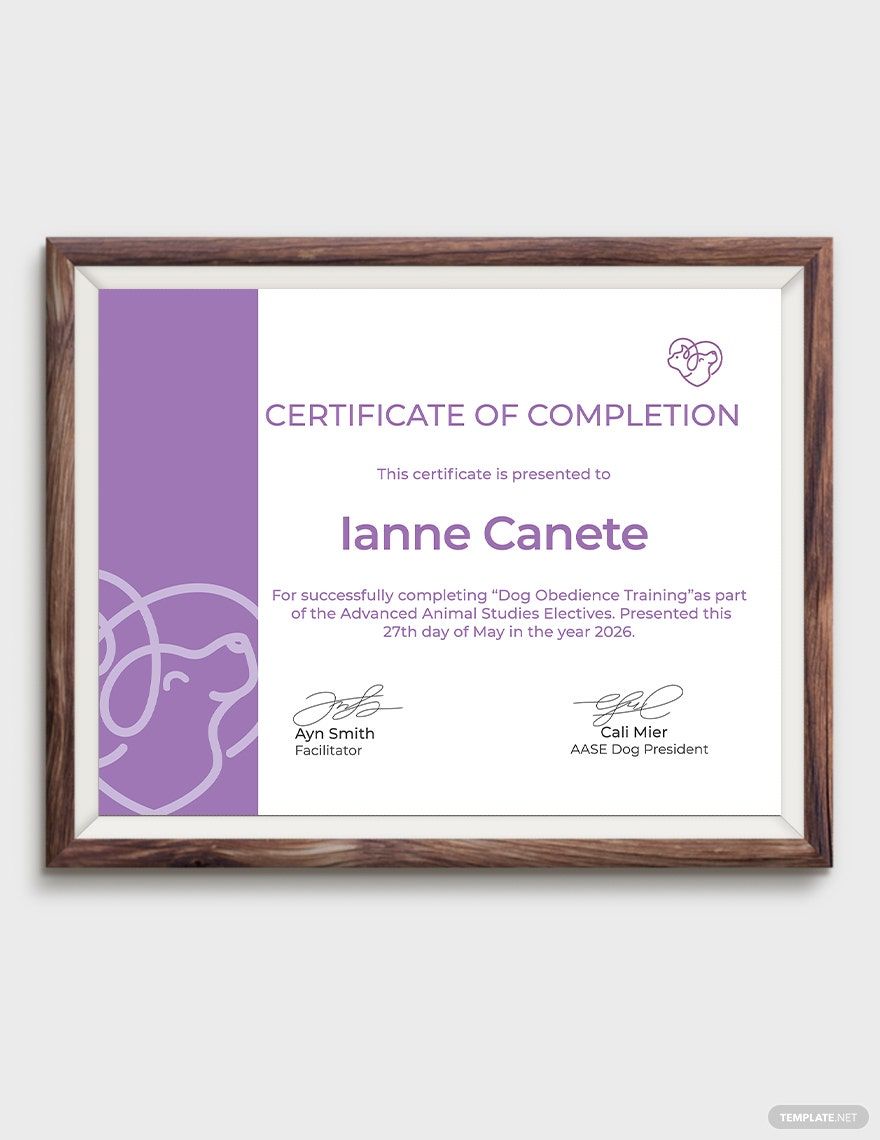
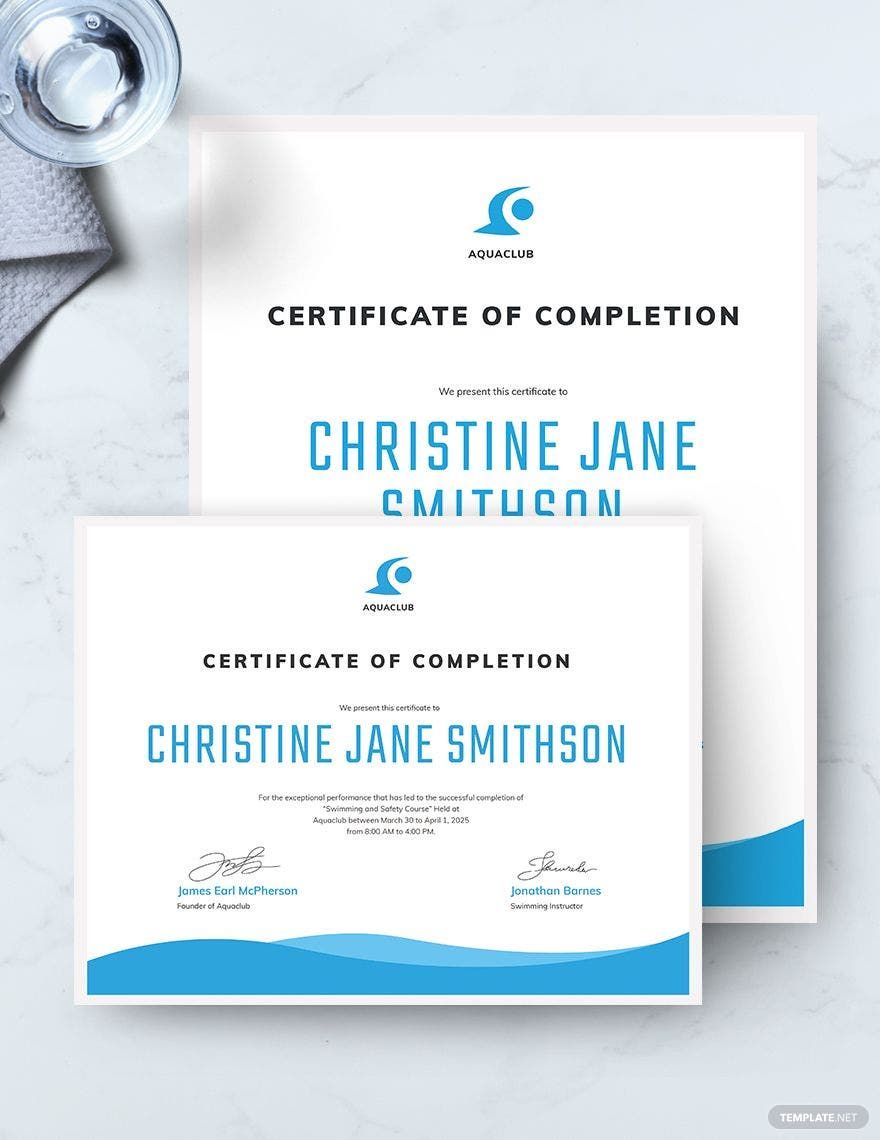
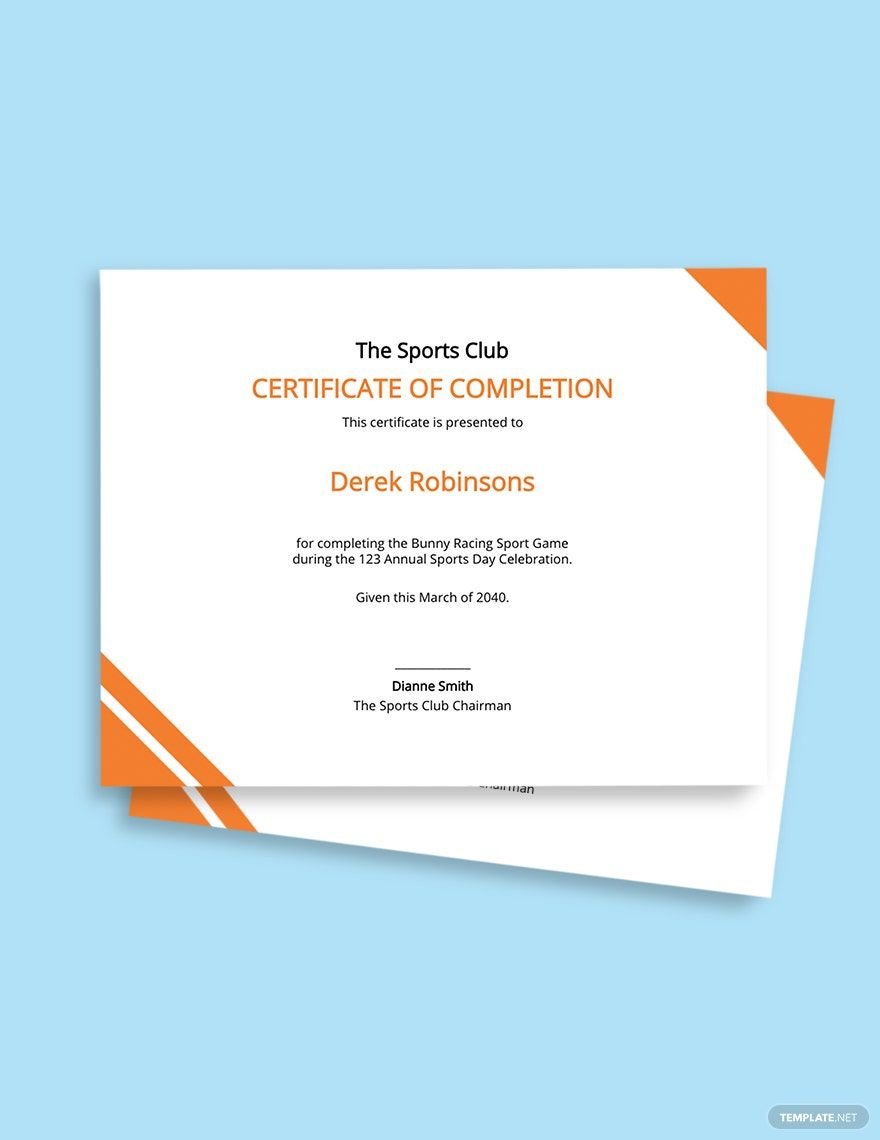
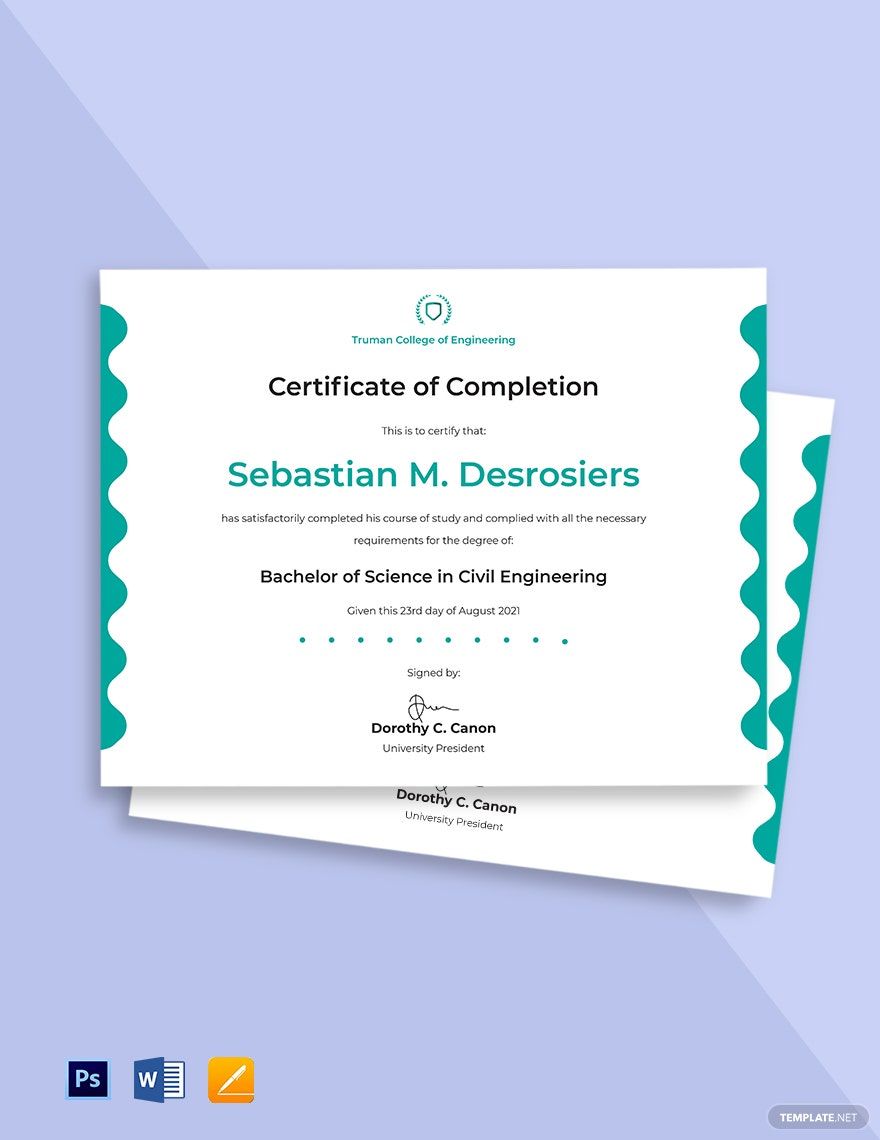
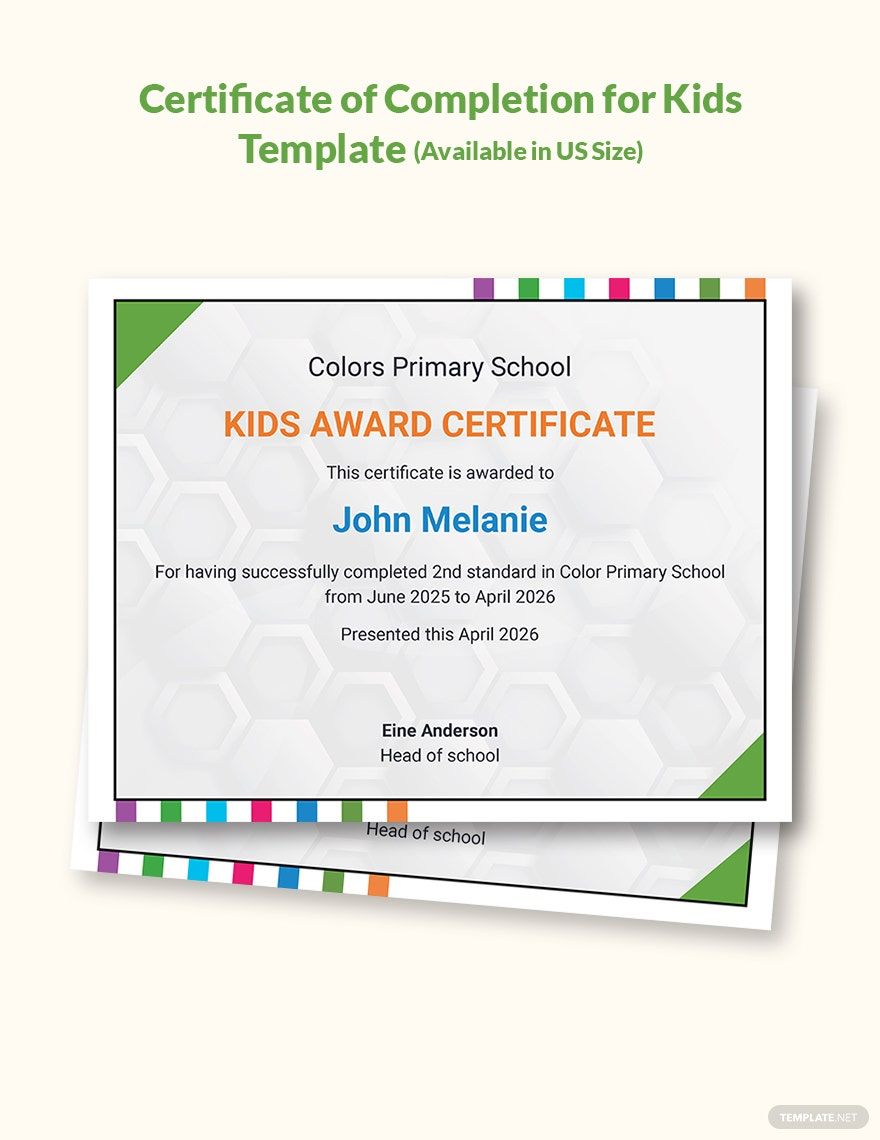
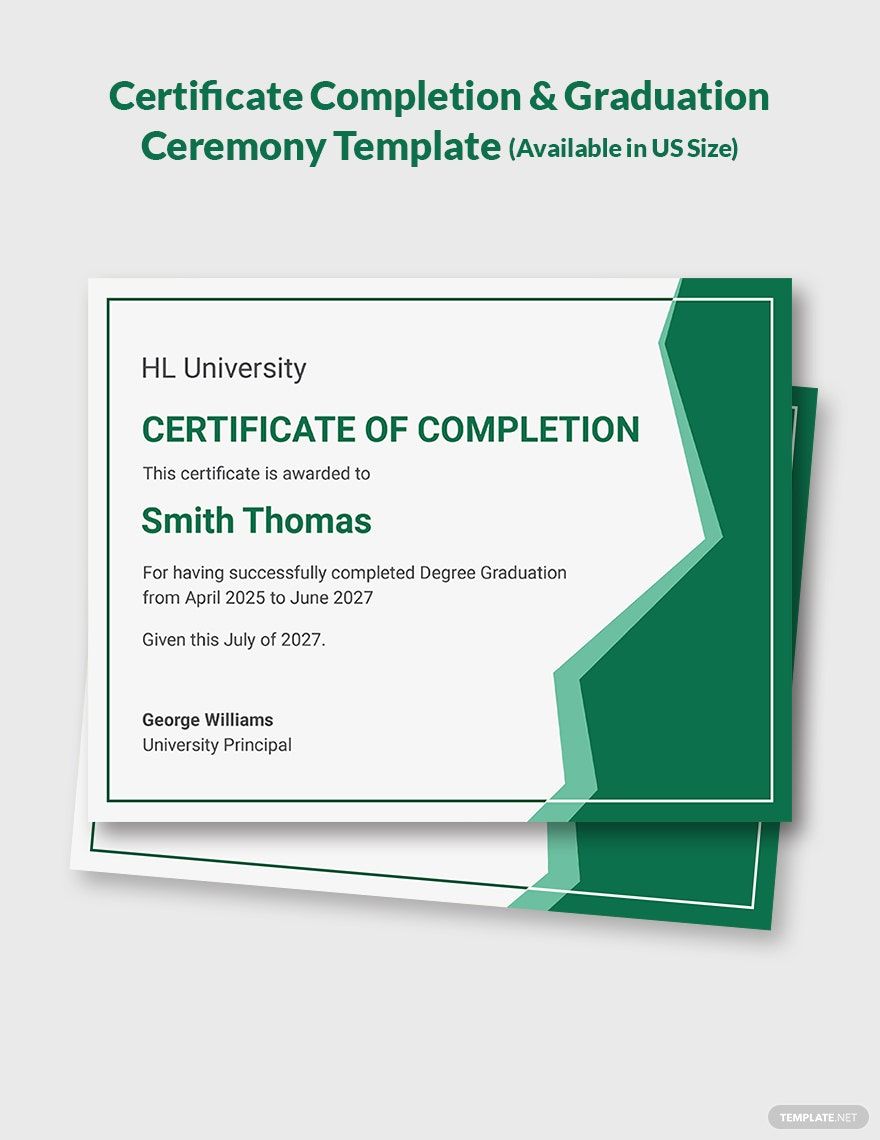
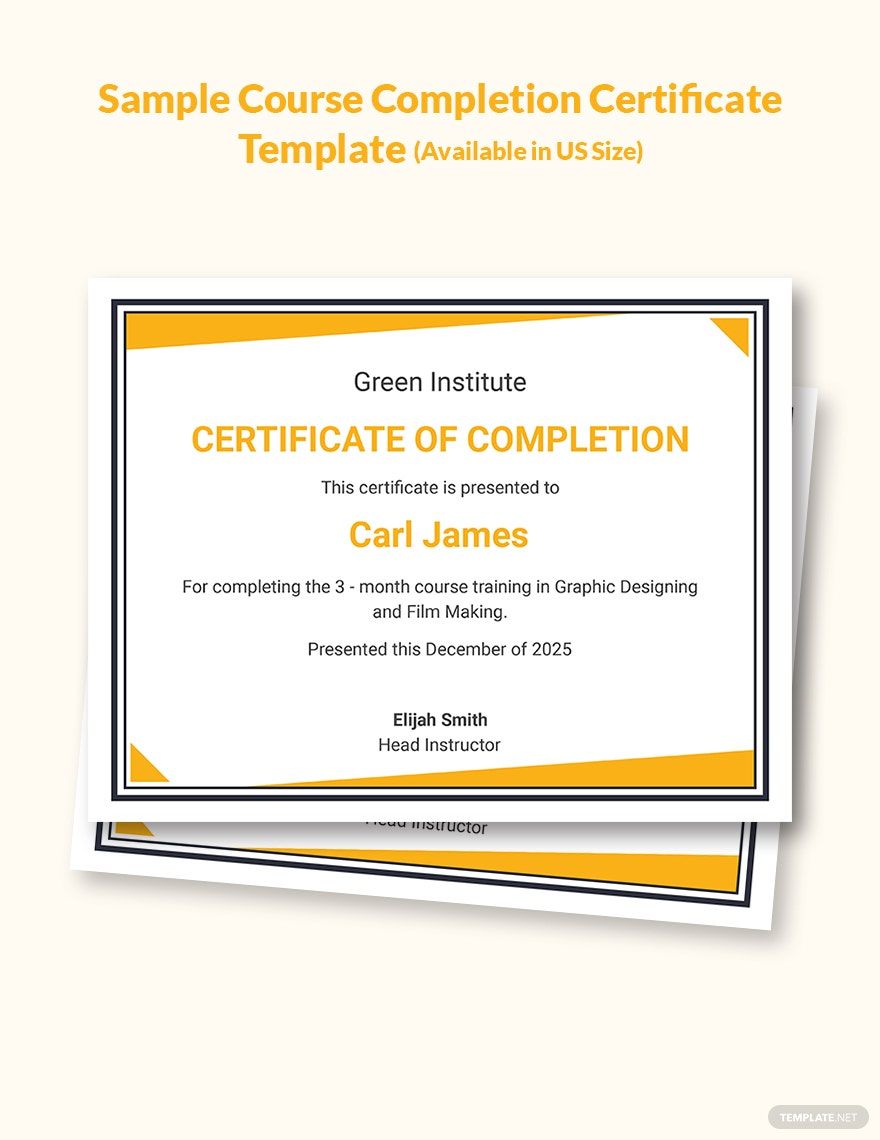
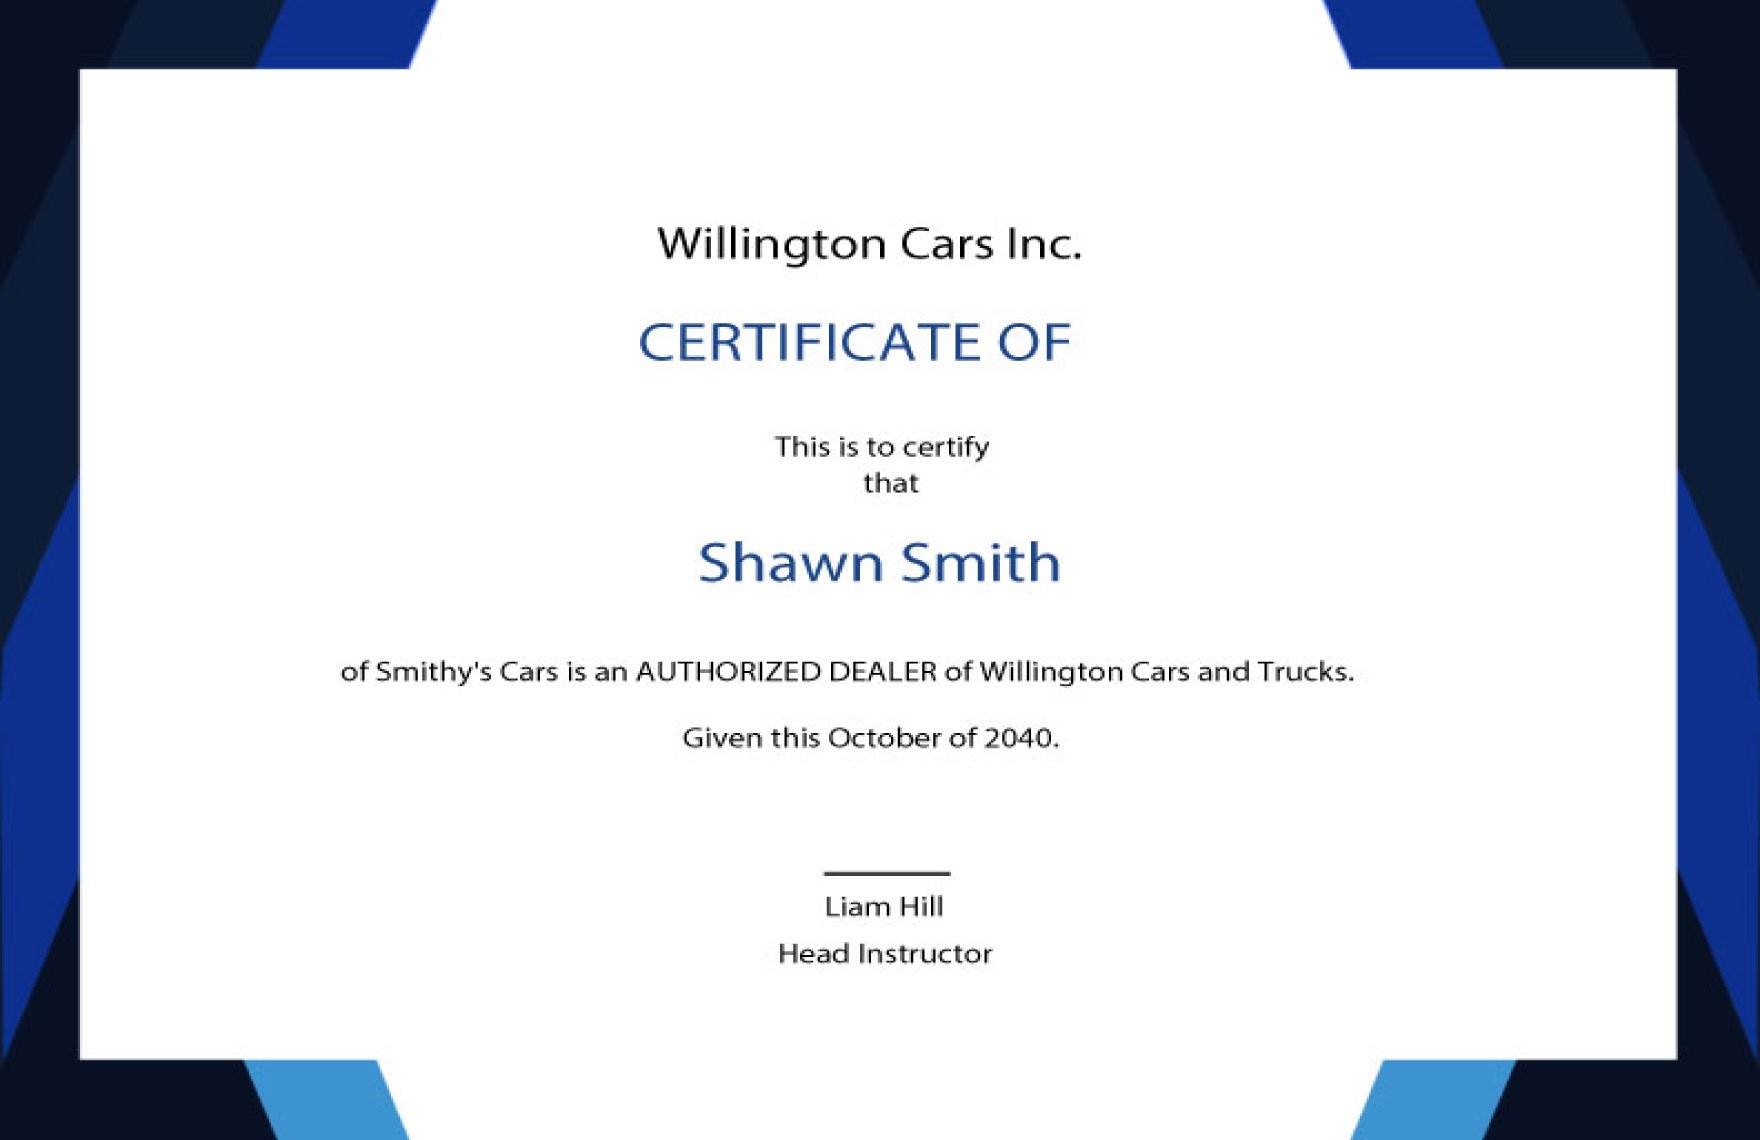
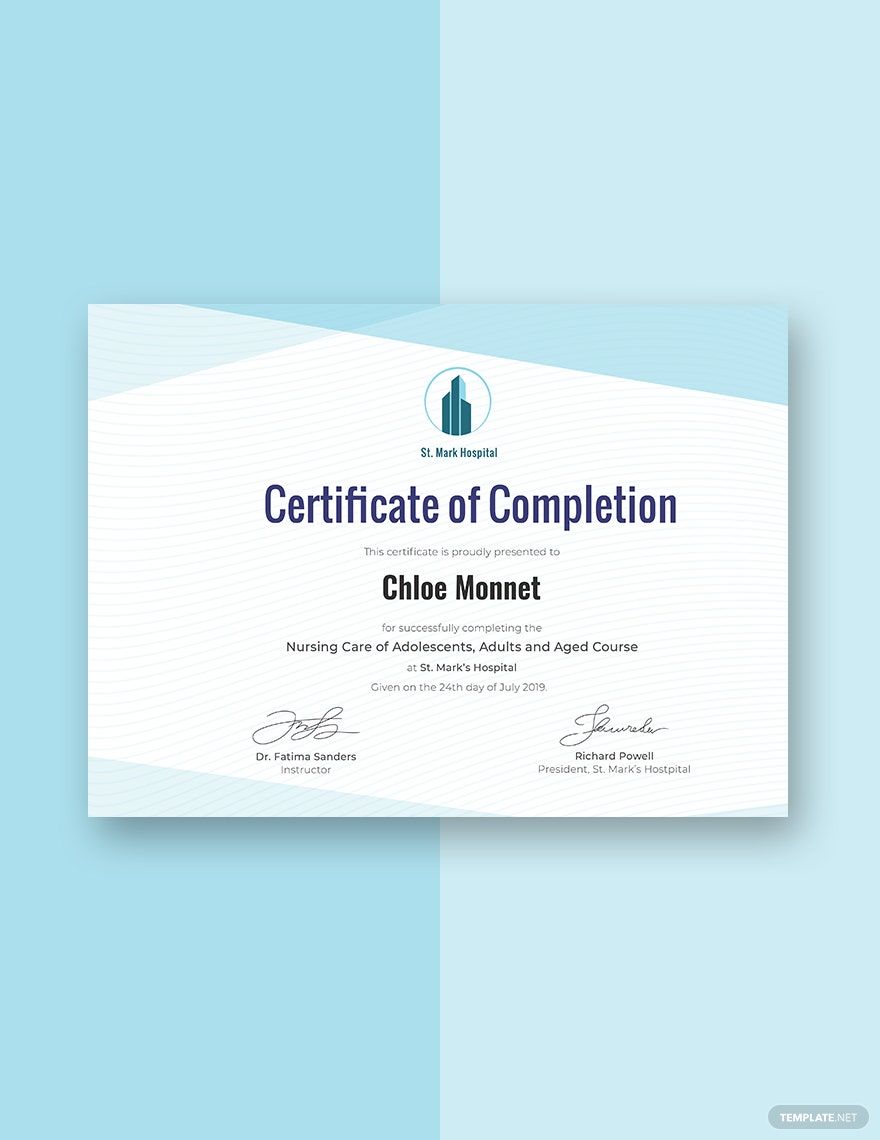
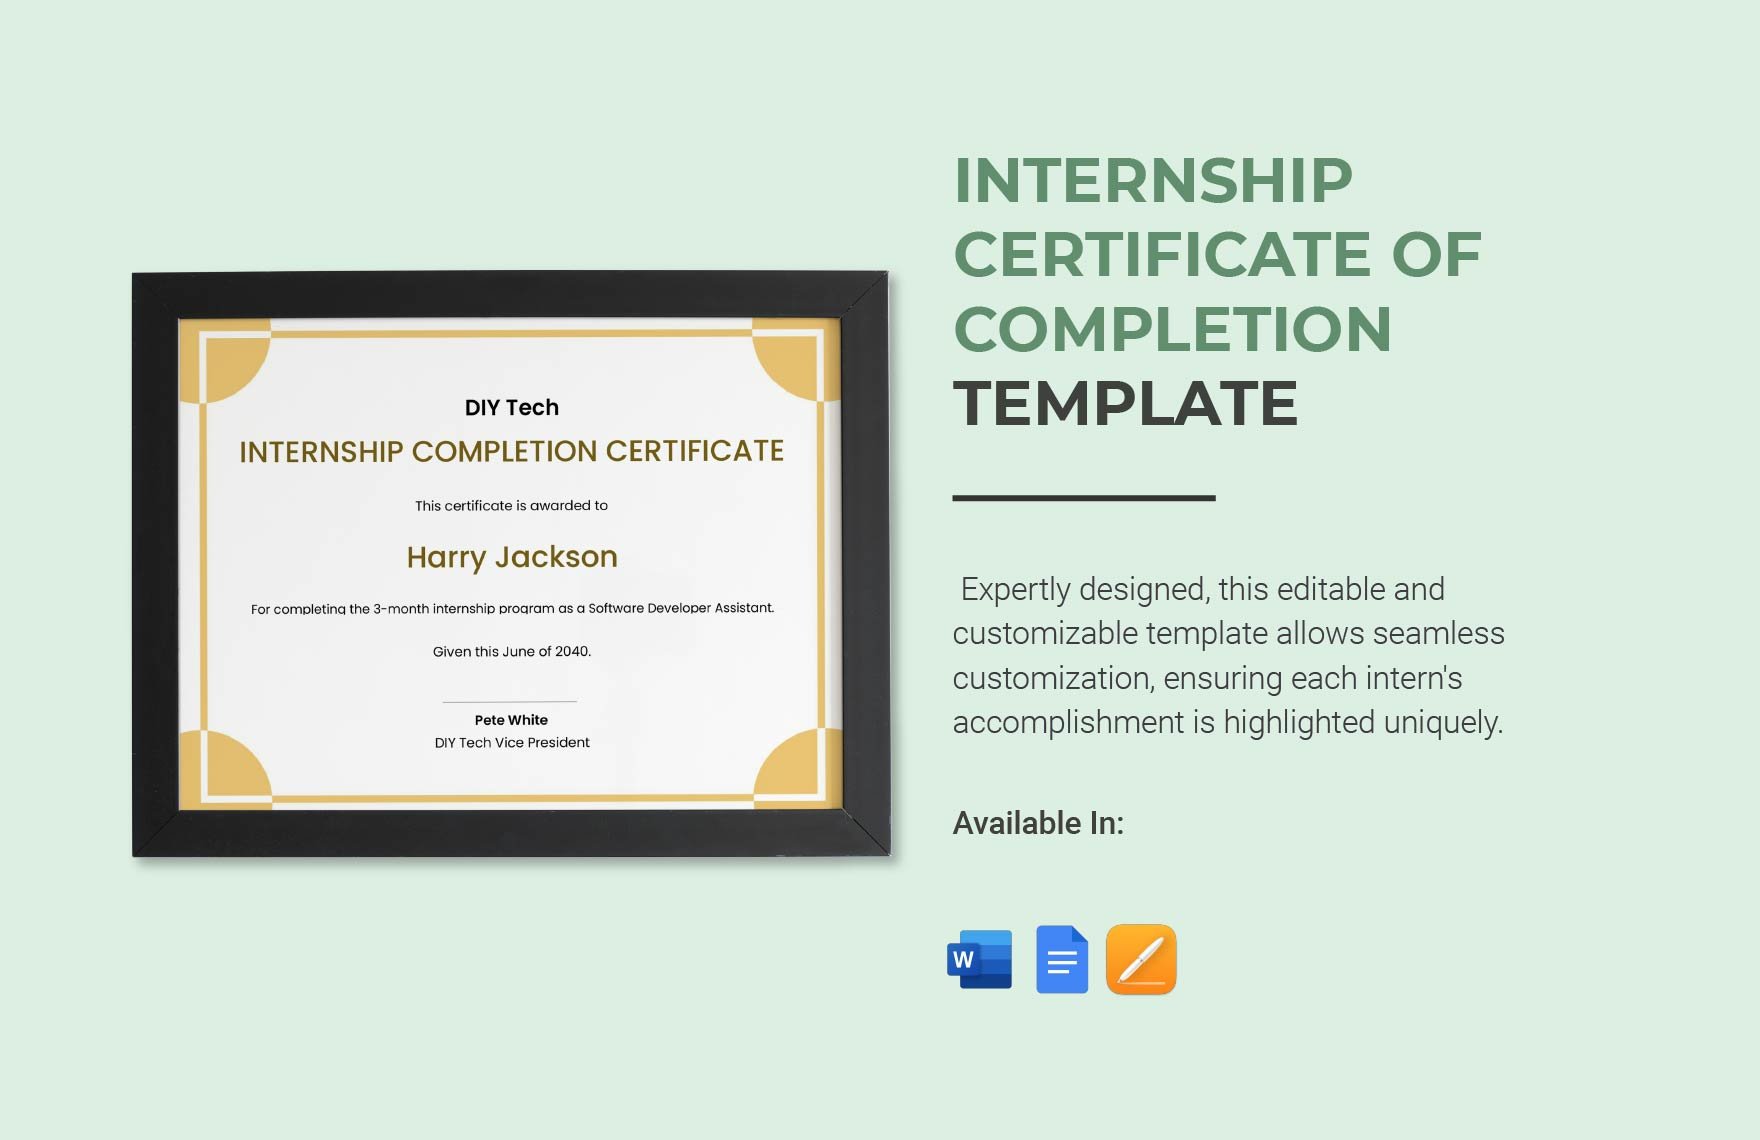
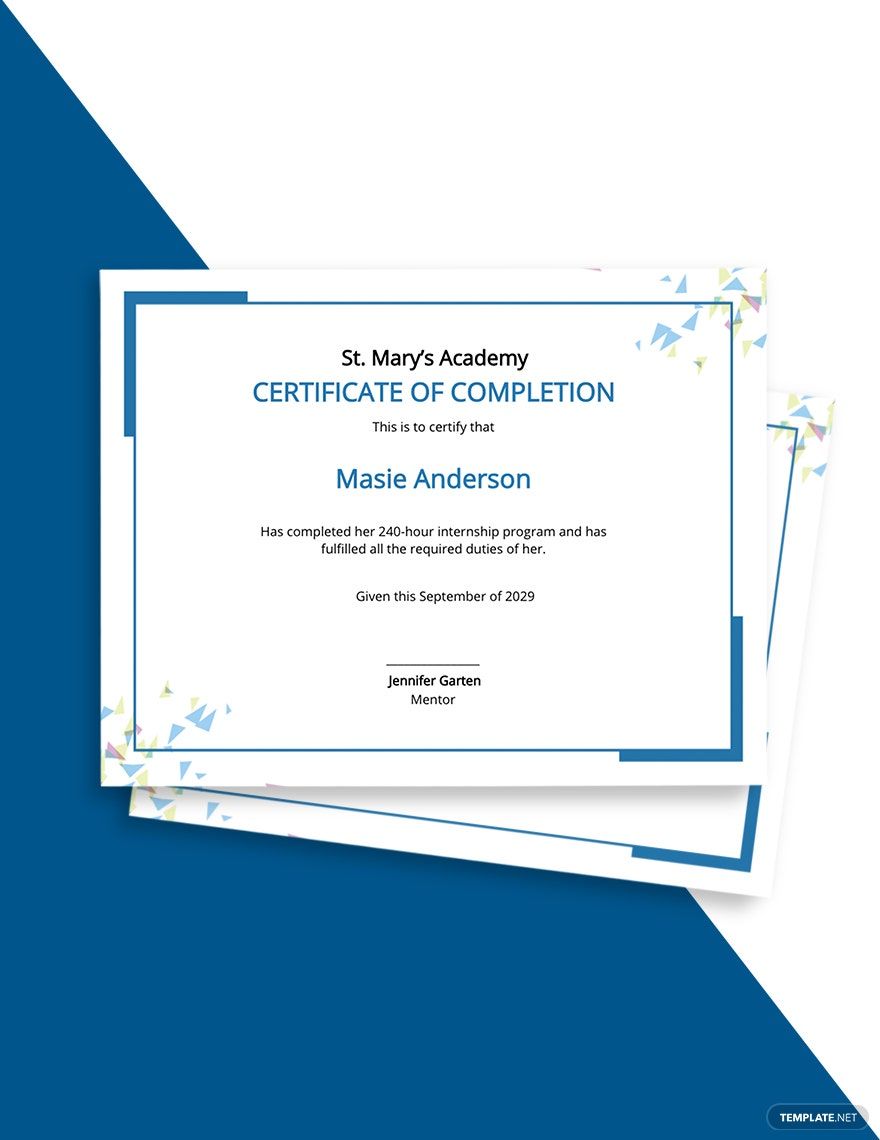
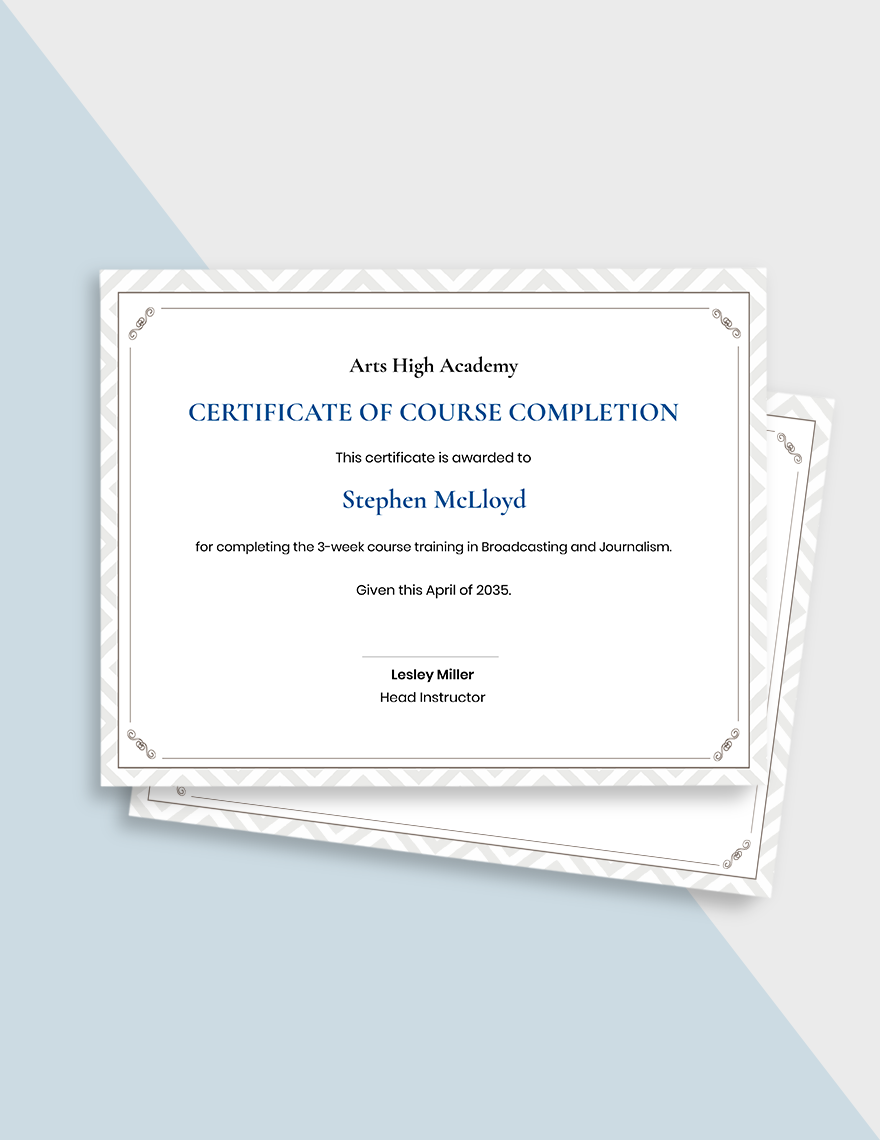
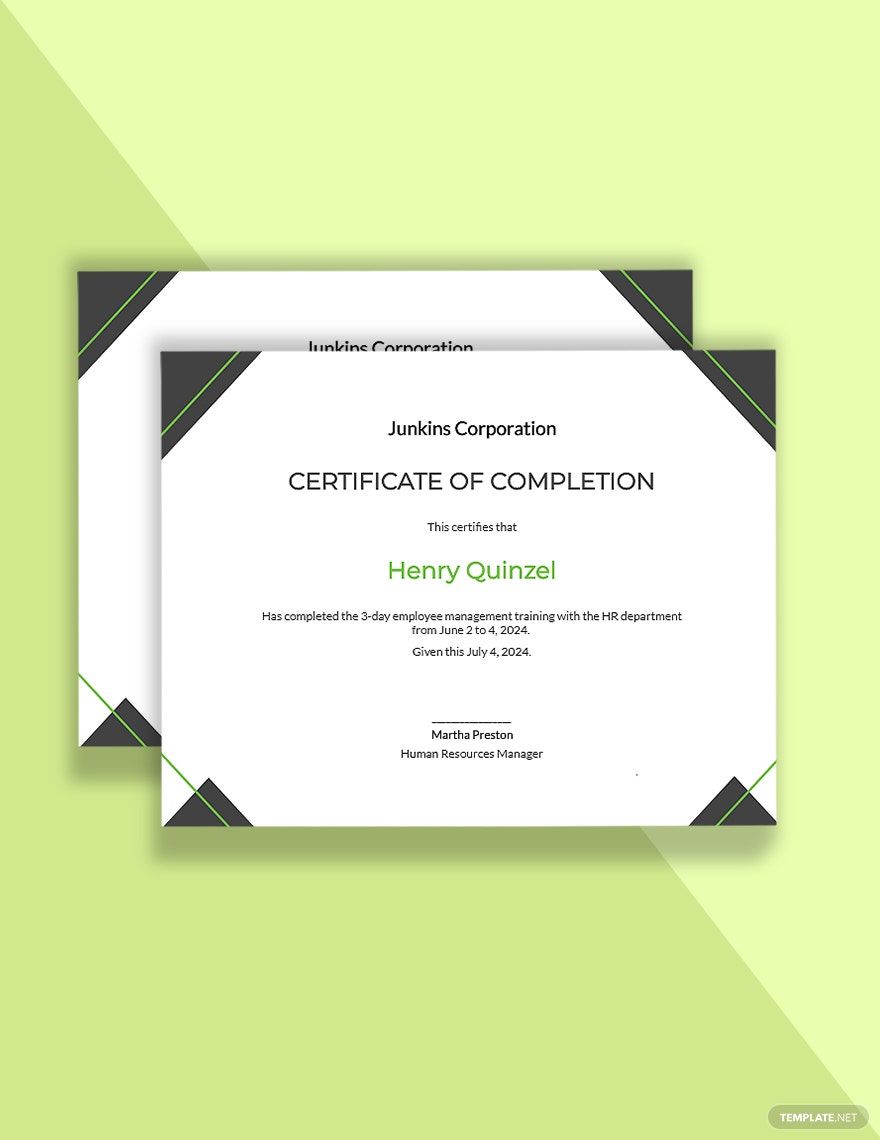
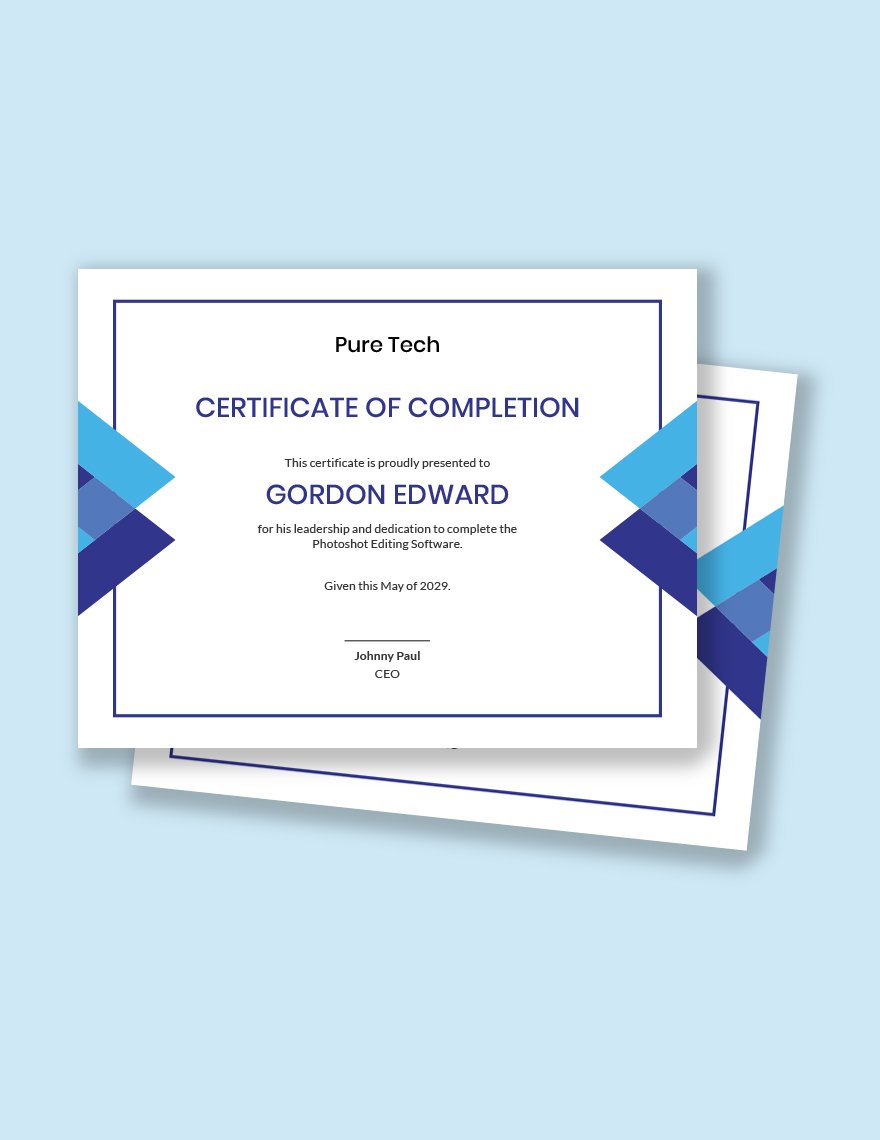
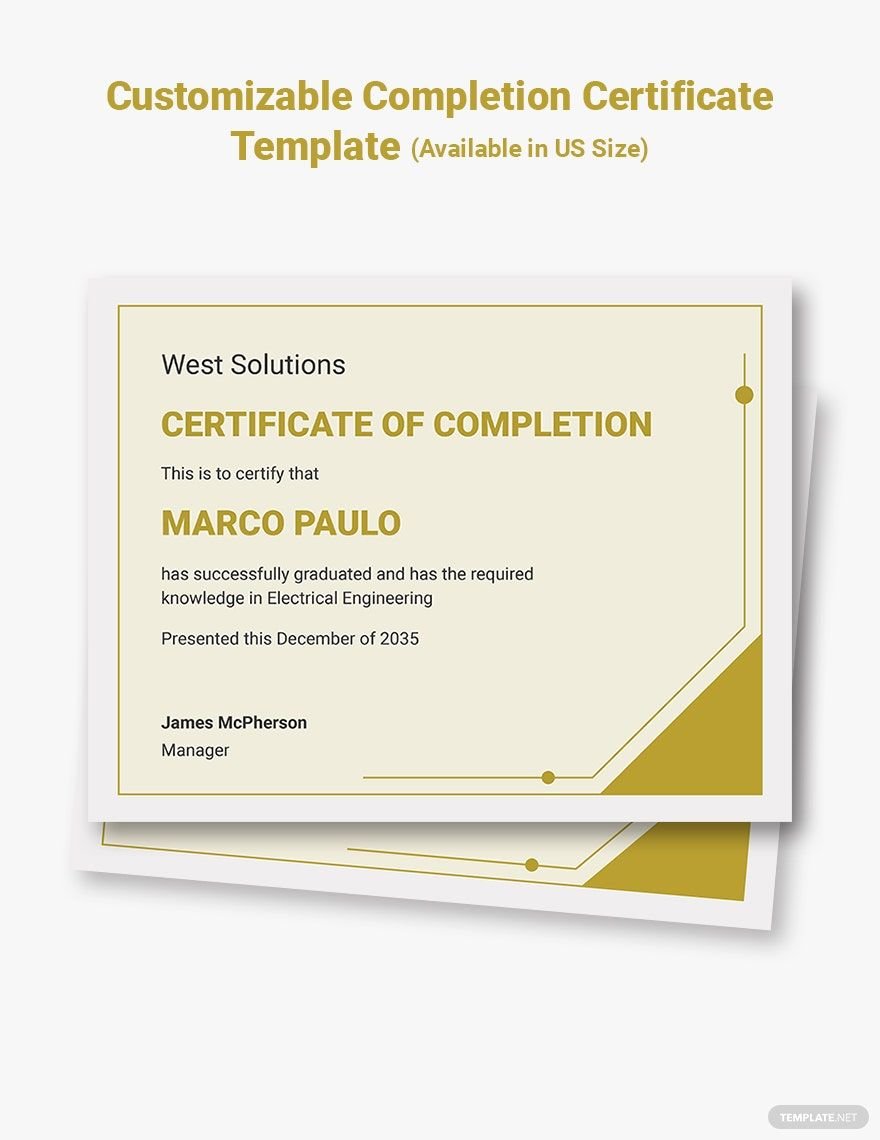
Present an official certificate to an individual who has completed a course, internship, or training using our premium Completion Certificate Templates. Downloading one of our templates helps you create a high-quality certificate that would definitely be appreciated by the recipient. Just open your chosen file in any version of Microsoft Word and you can start customizing your certificate to your own specifications. All our templates are easily editable and use beautifully-designed images, fonts, and graphic elements you can customize to suit your needs. Available in (US) 8.5x11 inches with bleed. They are also print-ready and can be shared digitally, so don’t wait for tomorrow and download today!
How To Create A Completion Certificate In Microsoft Word
A certificate is a proof of achievement, an award given when you have won, completed, or participated in an event, project, or work. Even in preschool, kindergarten, high school, summer camp, or an internship, certificates are given as documents of completion to a training or course. A certificate given in any of those activities is called a completion certificate or award certificate. If you're tasked to hand-out completion certificates to participants of an event, your students in school, or an employee in your company, then you've come to the right place because we have a lot to offer! We're also providing you the necessary steps to guide you in the process of making a completion certificate.
1. Plan Ahead
Before making a Sample certificate, it's always better to have a plan of action so that everything will pan out smoothly when starting the task. Before starting, you may make a draft of the layout of your certificate. This technique is helpful so that you will create the perfect design and content that will totally fit your company, school, or organization .
2. Use Microsoft Word
Even though there are tons of editing software that you can use, it's better to use Microsoft Word for both editing and customizing. Using this software will give you a smooth editing process. It has easy to familiarize buttons even for beginners so you won't have any trouble when you start making a certificate. Microsoft Word is also available in most devices so you can edit anytime and anywhere.
3. Know Your Recipient
Knowing a lot of details about the recipient helps to make the certificate's content easier and faster to do. Design the certificate in such a way that it will make your recipient feel important and honored for receiving the certificate.
4. Choose The Right Fonts
Selecting the appropriate font is essential, especially the font for the recipient's name, since it's the center of attraction of the completion certificate. Try all available fonts and choose the best one that will make the recipient's name more visible.
5. Choose An Appropriate Template
It will be more easy and convenient if you search and download templates online for convenient customizing. Choose from any of our templates that have easy to customize colors, texts, and images. Besides that, our templates come with smart objects to replace pictures and scalable vectors that will make your editing hassle-free.
6. Proofread And Print
Before you print, proofread everything first to save you from starting all over again. Make sure that the recipient's name is the correct spelling. Also, determine the right number of certificates you will be printing. To make your certificate durable and in high-quality, use parchment paper as material.
7. Put On A Frame Or Envelope
It's more proper and beautiful to present when you hand out a certificate that's enclosed in a frame. Putting it in a frame will protect the completion certificate from being ruined. If you do not want a frame, you may put it inside an elegant envelope.


