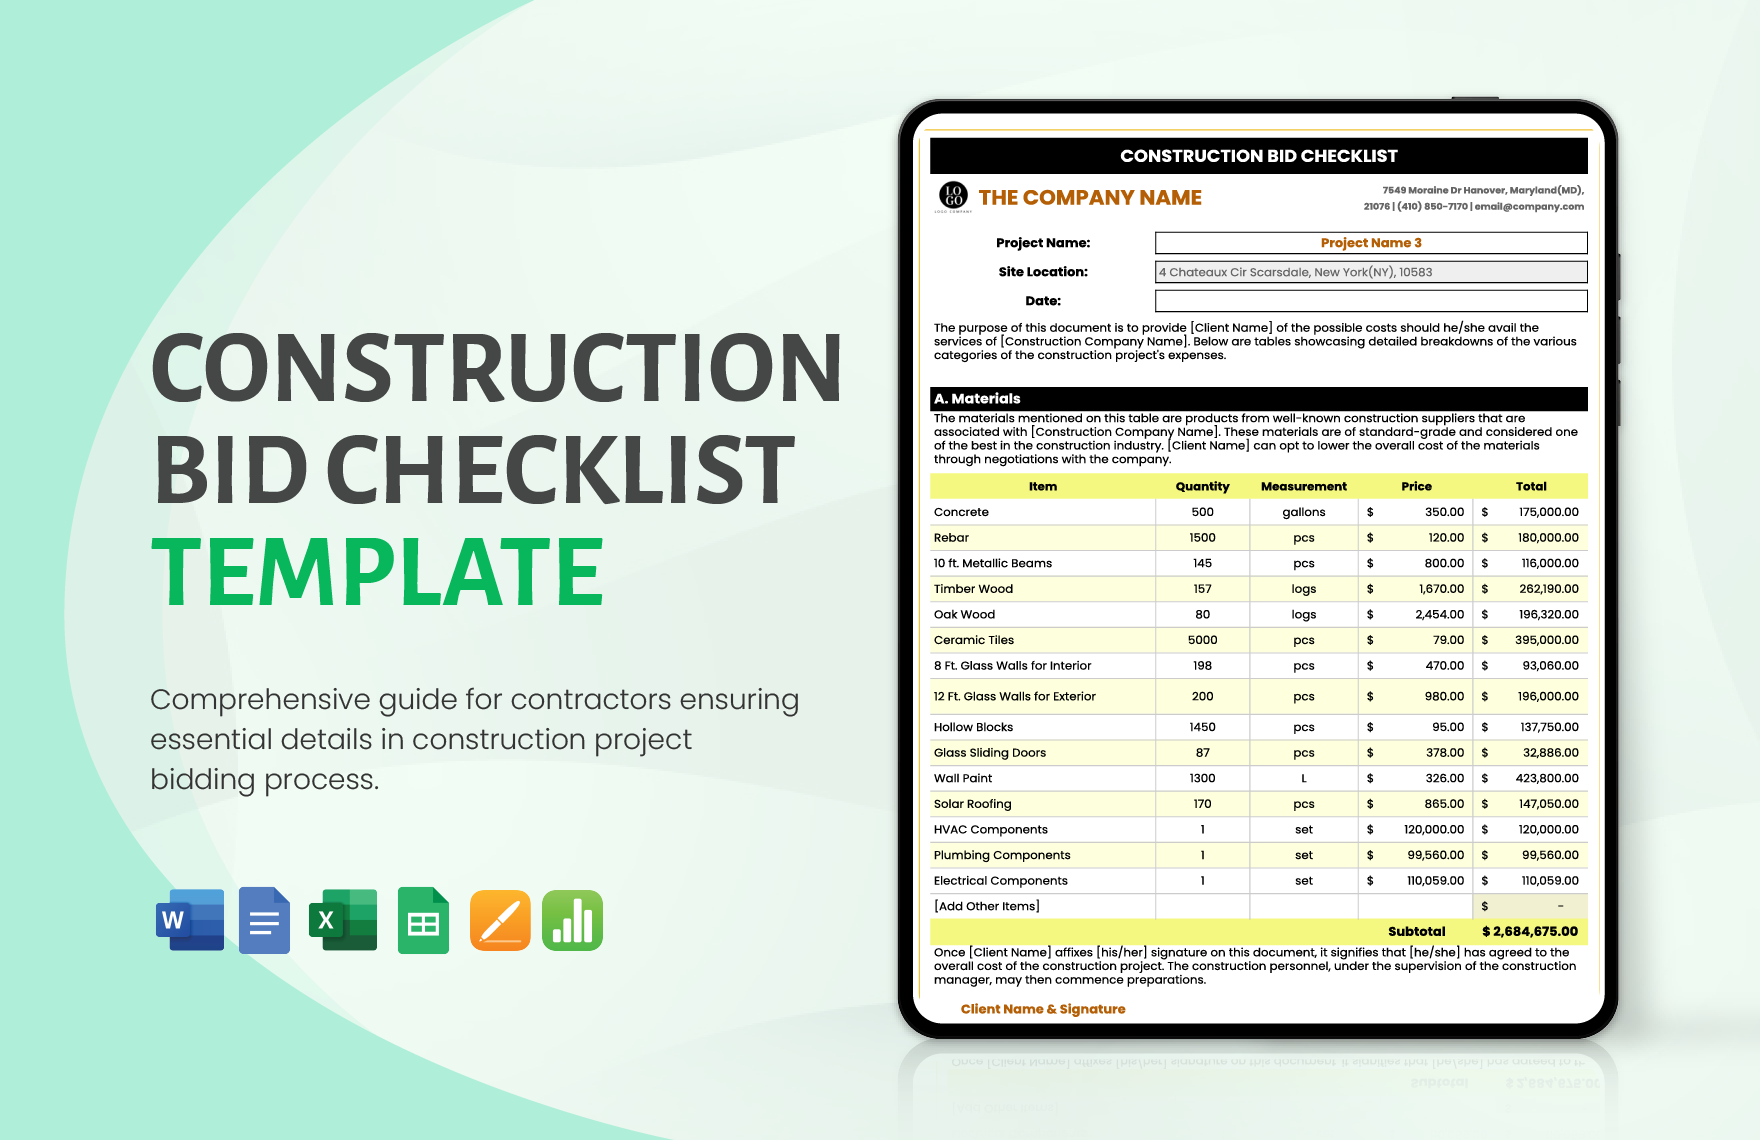
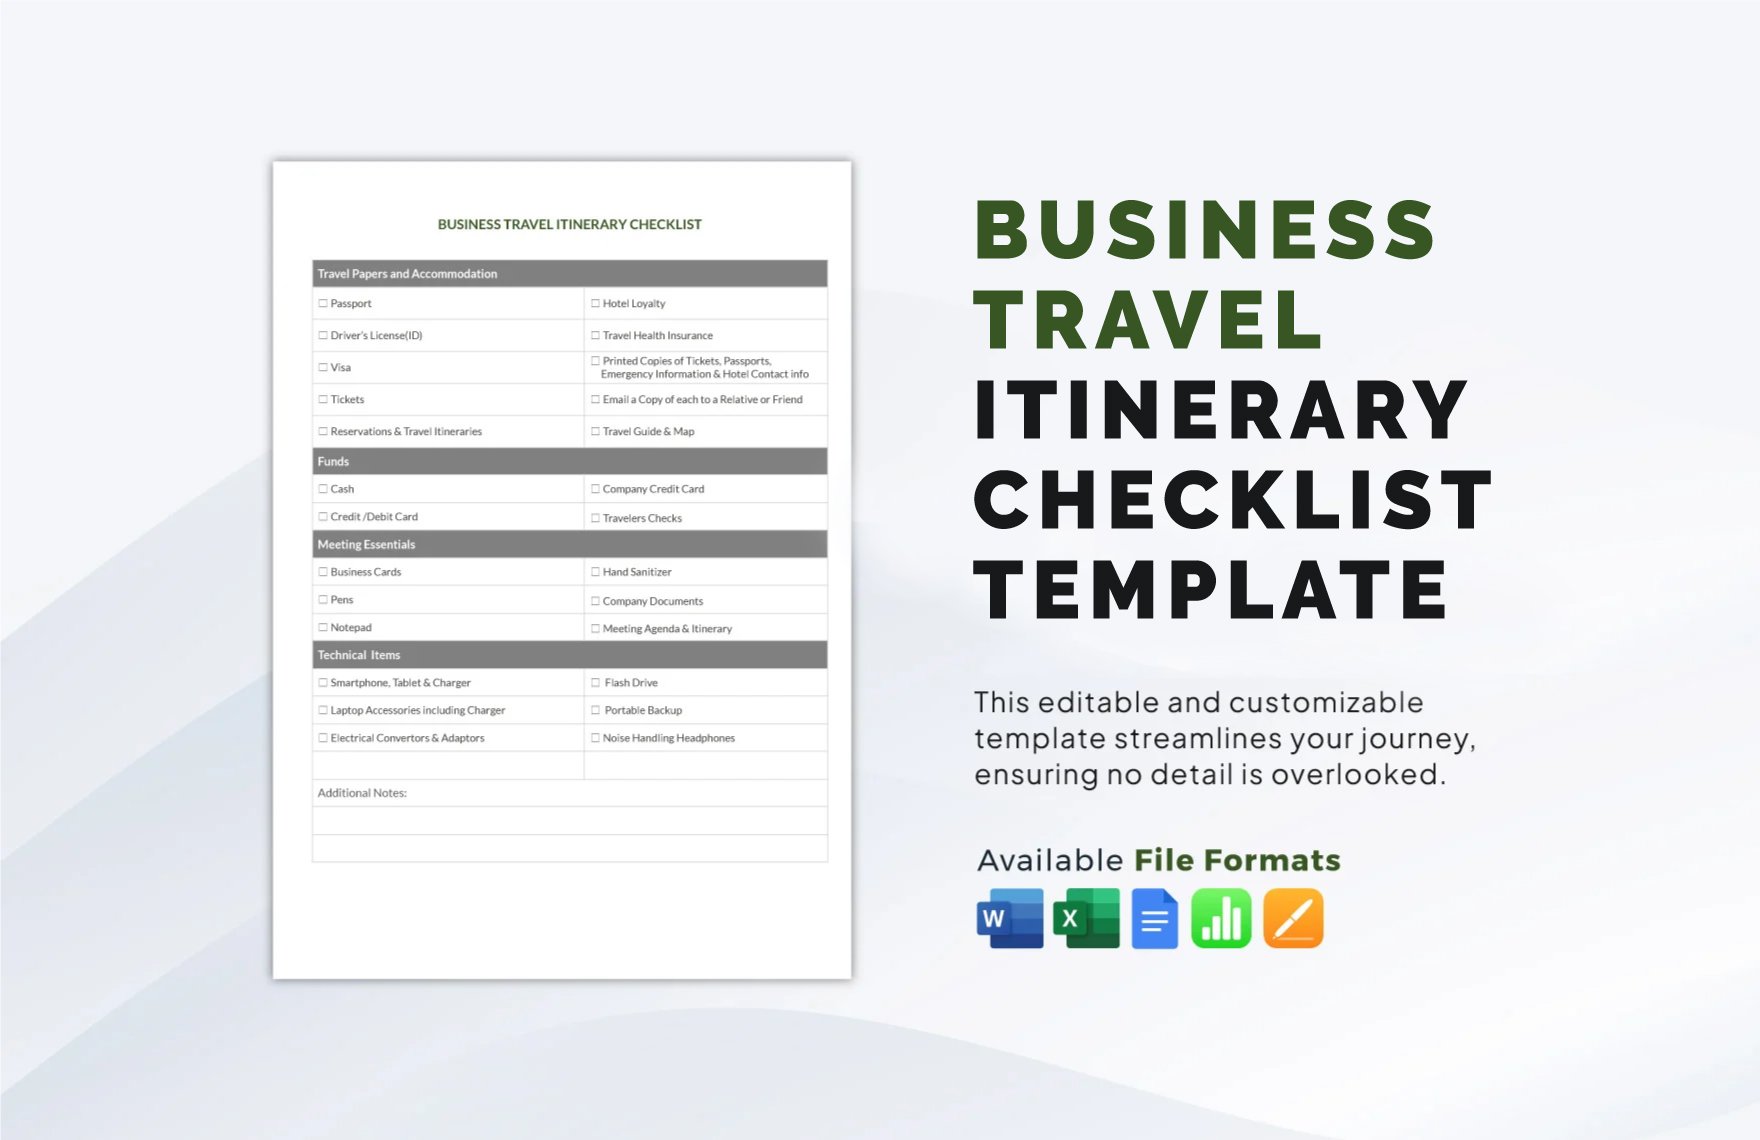
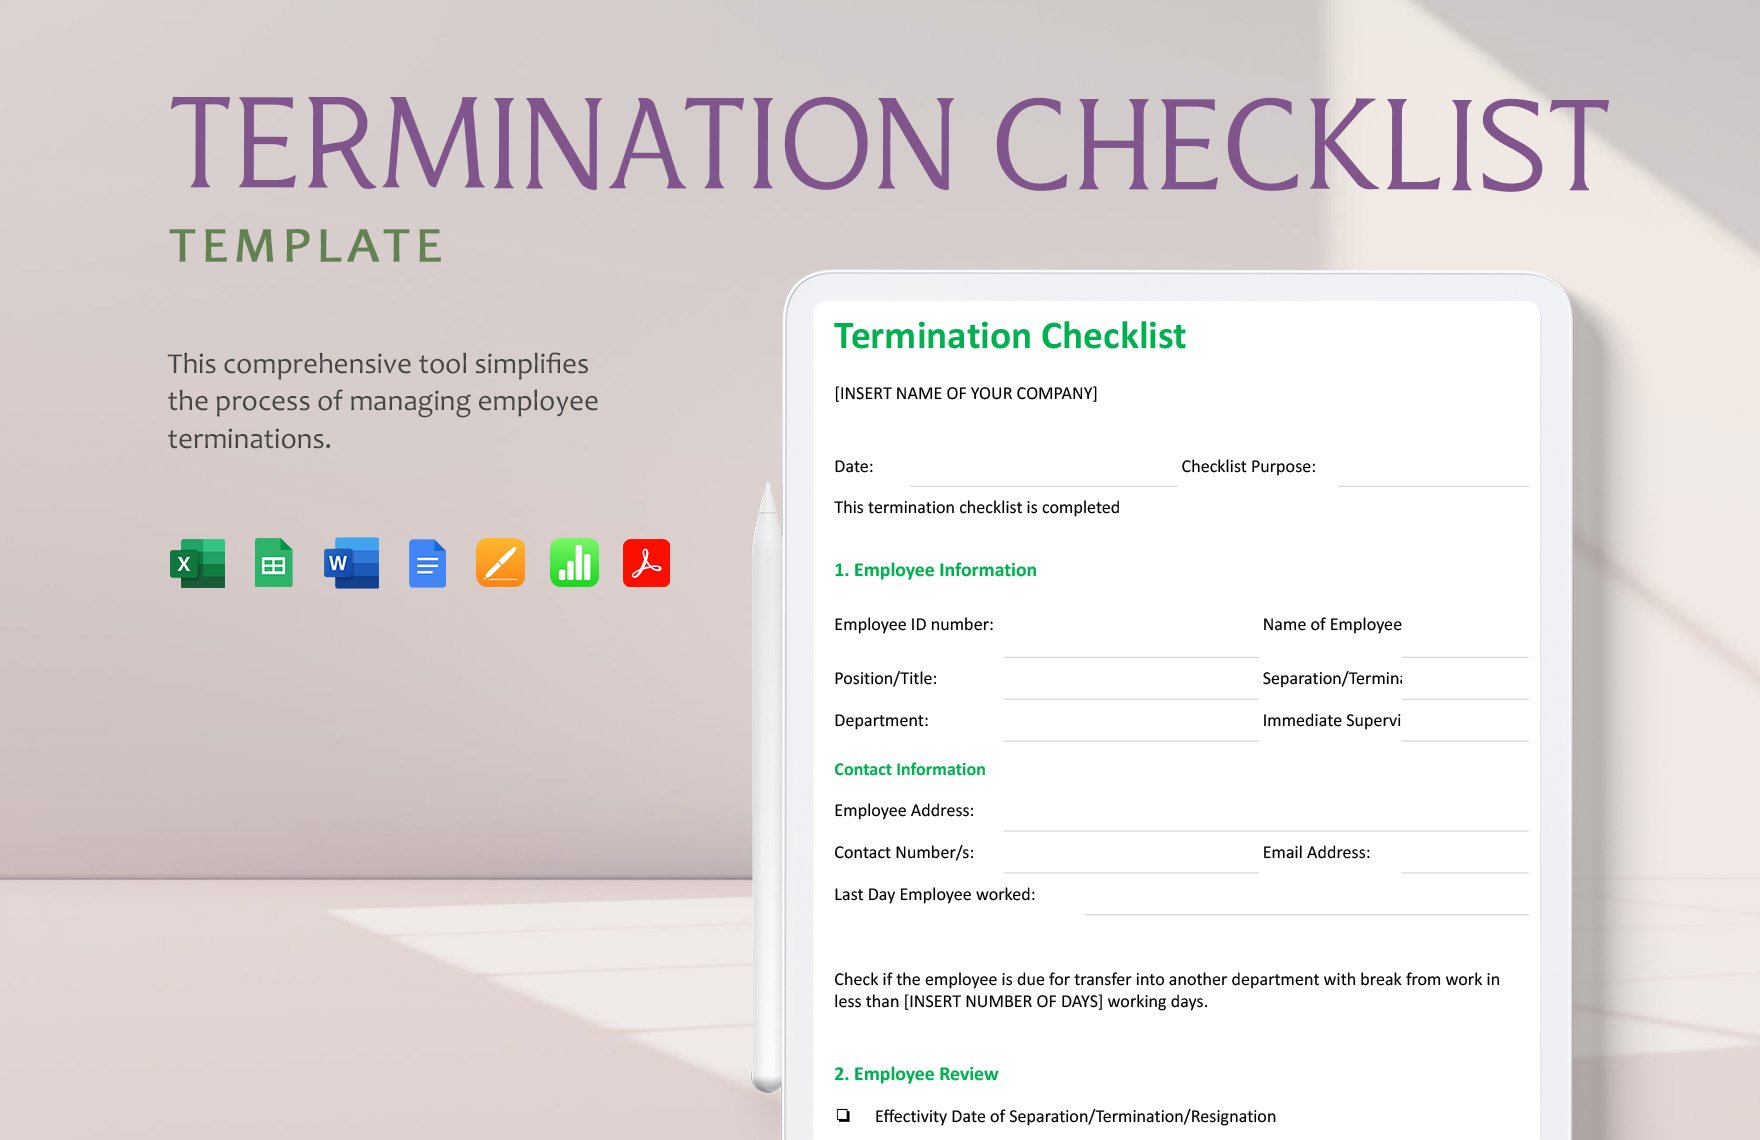
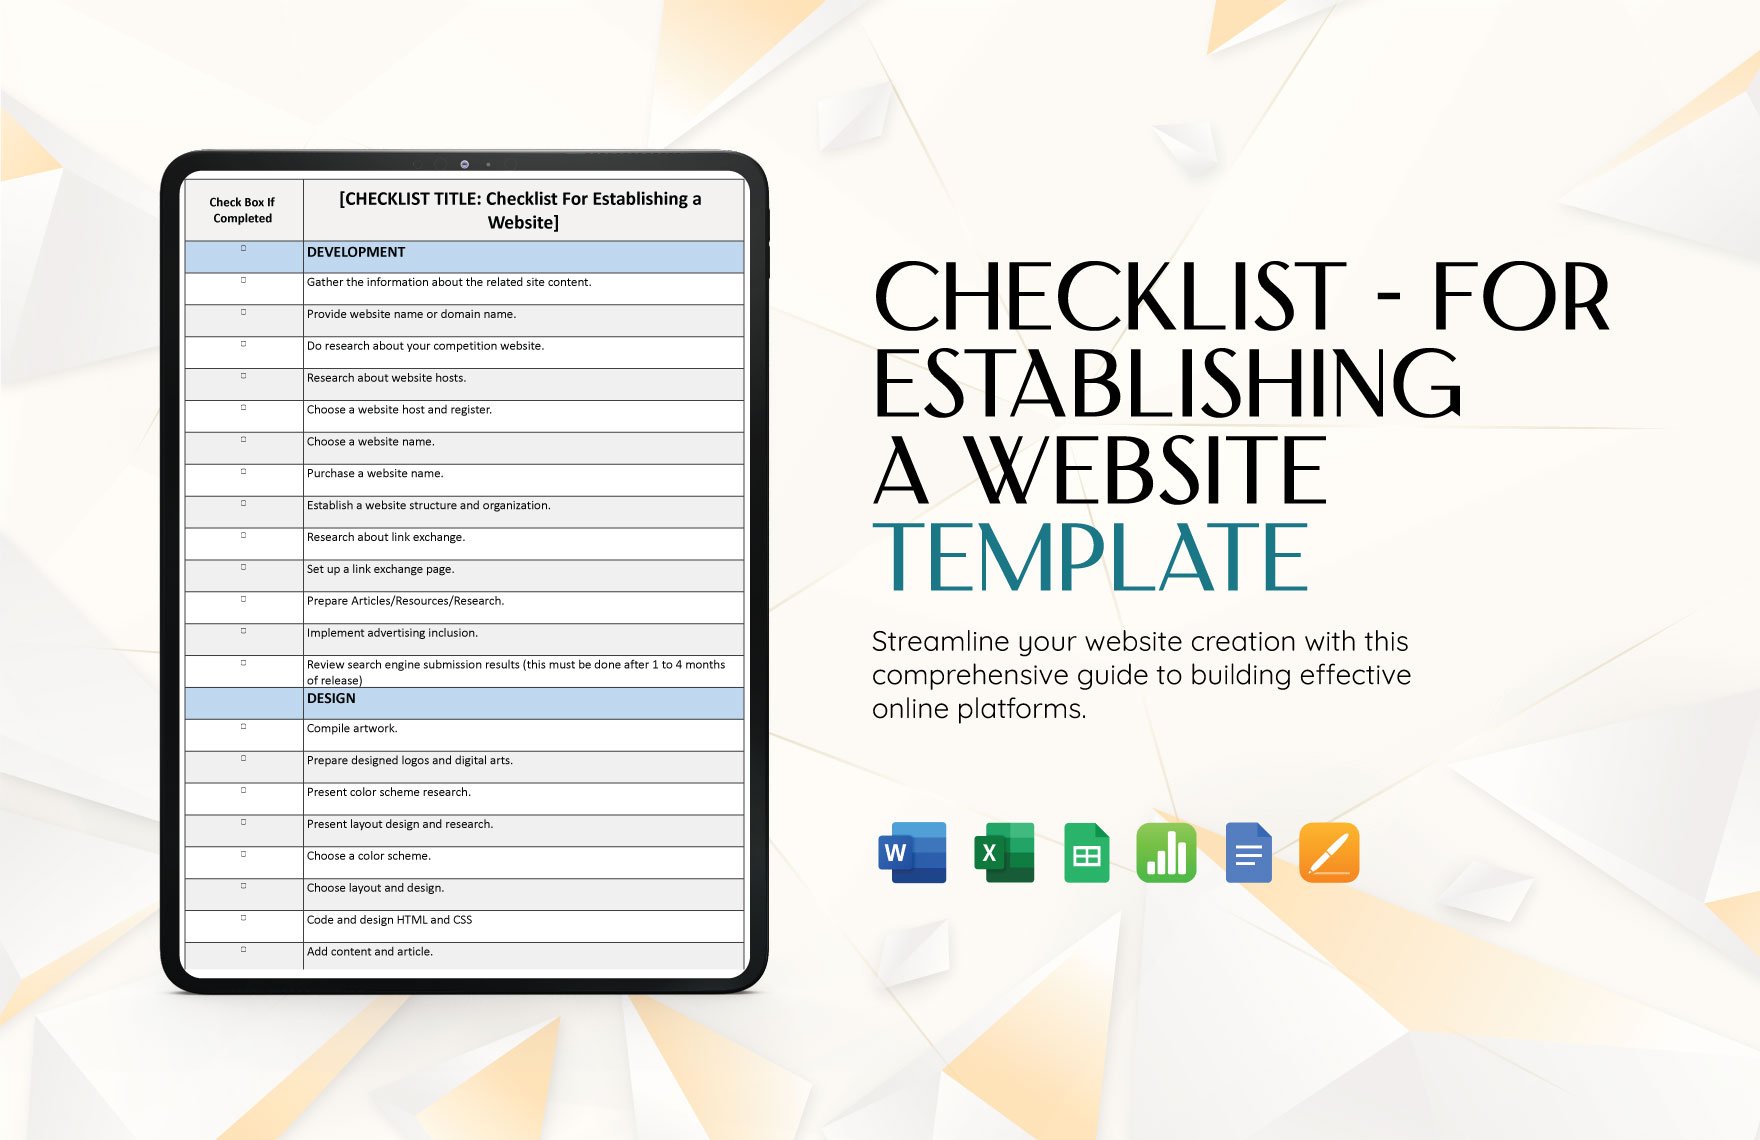
The human mind is fallible no matter how well it is in retaining information, there will always be a risk of losing bits and pieces of information at times. Here at Template.net, we've got a whole library of high-quality and downloadable templates in Apple Numbers that you can use for creating superior checklists. Aside from being high-quality, these templates are also 100% customizable and fully printable, and getting your hands on them can be done anywhere and anytime. These templates are easily editable in all versions of Apple Numbers, which means you no longer need to update whatever version you have. Let's get started, download a ready-made checklist template now.
How to Create a Checklist in Apple Numbers
Creating a checklist is more than just adding checkboxes and writing the details to be checked, it involves a process and a lot of planning. Below is a step-by-step process to help you create a useful checklist in Numbers, and you can use this during an audit, inventory check, or when conducting an interview.
1. Identify the specific purpose of your checklist
In order for you to make an effective checklist, it is important that you start by identifying what it's used for. Knowing the purpose means knowing what to do, and knowing what to do means knowing the things that you'll need to check. If you are unsure of your checklist's purpose, you can refer to the internet, to the management's policies, or to your colleagues for assistance.
2. Make an outline of the things that you'd want to check
As mentioned earlier, it all starts with identifying the purpose of your checklist in order to determine the things that you will need to check. Once you've figured that out, you can start making a list or an outline of those things that require checking. When making this outline, you can write as many things as necessary, just make sure to arrange them into groups and to organize them logically.
3. Seek approval for your draft checklist
As an employee, it only makes sense that you present your draft checklist to your superiors or anybody in a higher department for approval. It will be likely that revisions will be made to your draft wherein things will either be removed or added to the sample checklist. Make the revisions only if necessary, but try to negotiate first and explain why you included or excluded certain things in the checklist.
4. Setup Apple Numbers
Now it's finally time to open your spreadsheet application to really start working on your checklist. Open Apple Numbers, create a new project, and then choose whether or not to use a pre-made template. Once the project is created, choose the specific cells that you want to format and then click the Cell tab in the Format sidebar. From there, click the Data Format pop-up menu and then select Checkbox.
5. Create your checklist and add the details
After successfully setting up a project in Apple Numbers, you can select or deselect a checkbox and then input the corresponding data. You may be allowed to select multiple checkboxes if you want, you may even add sliders or steppers which are features that will allow you to vary the cell values. During this step, you can use the outline plan you've made as your reference.
6. Share or print your finished checklist
It is important to make sure that your checklist is correct and none of the important details get left out, and this will be possible if you go through it before sharing or printing it. After reviewing the content, you can then save it in the native NUMBERS file format or convert it to XLS or PDF. By exporting it to the PDF file format, you can easily share it to other users and print it in high-quality.


