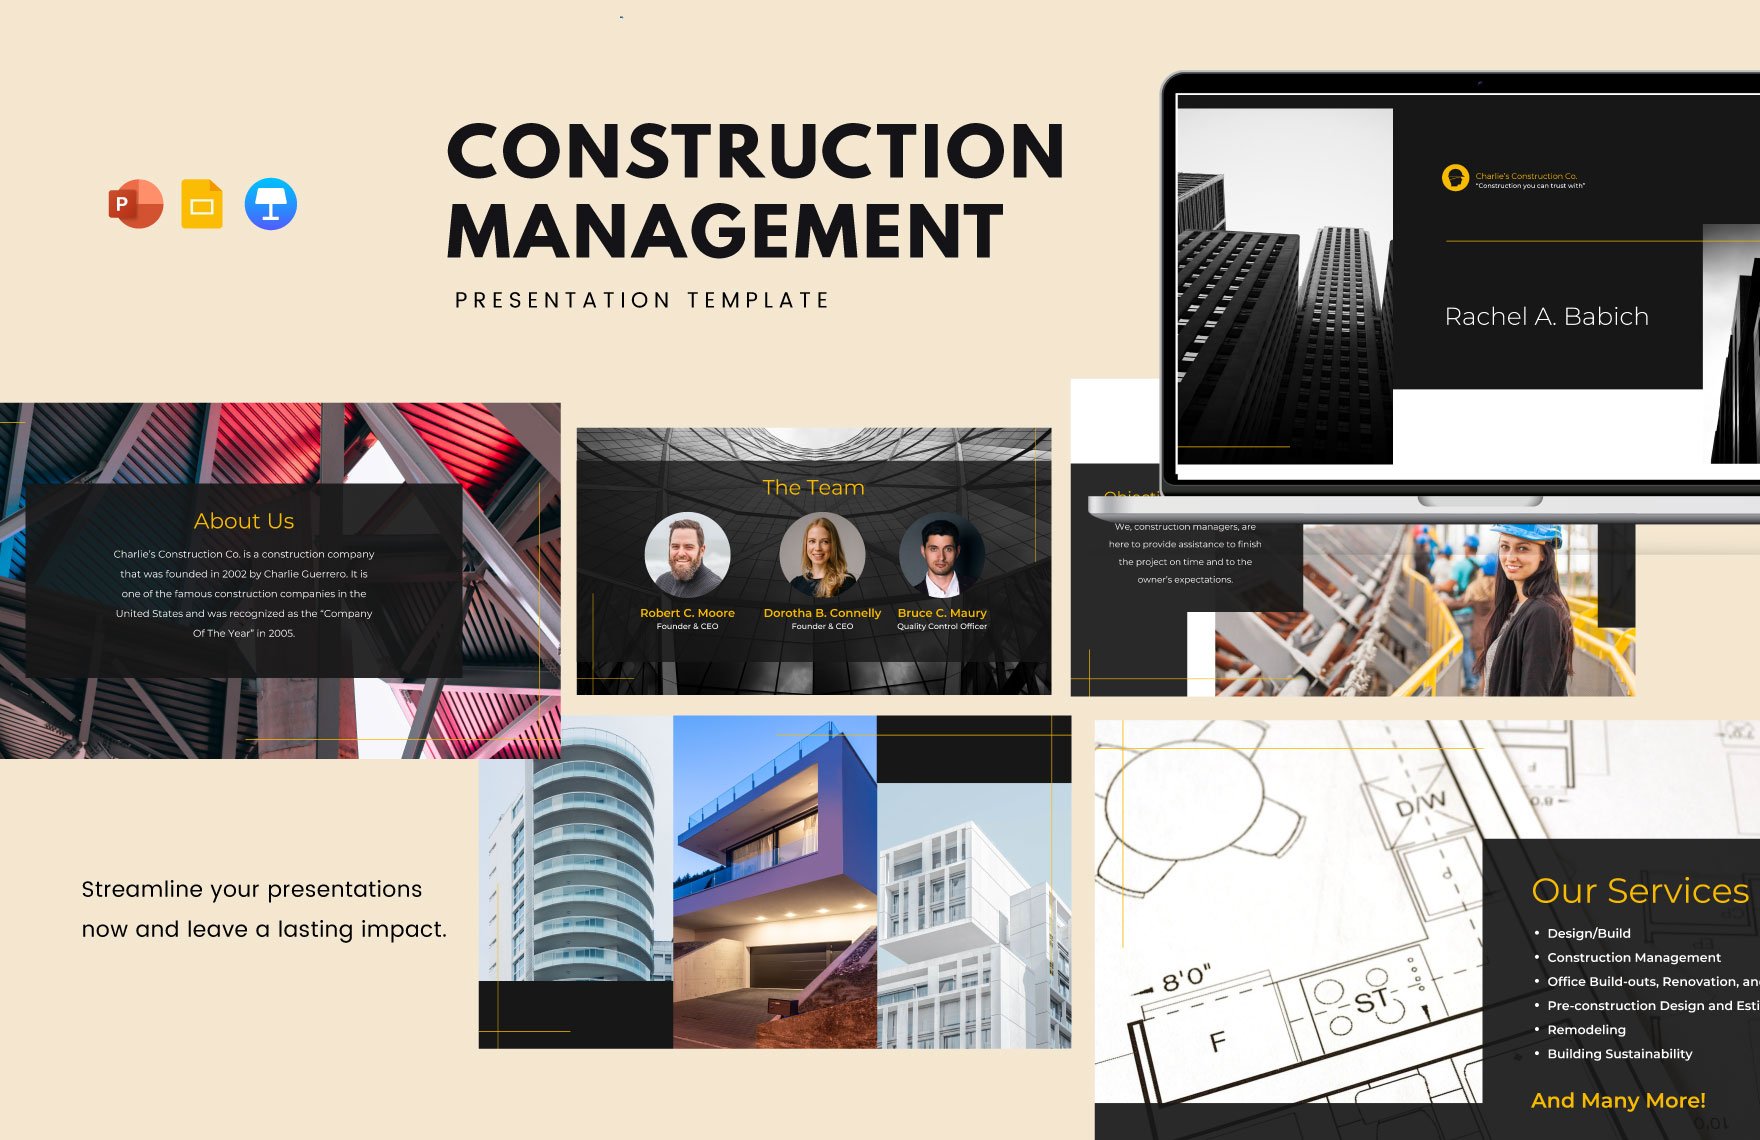
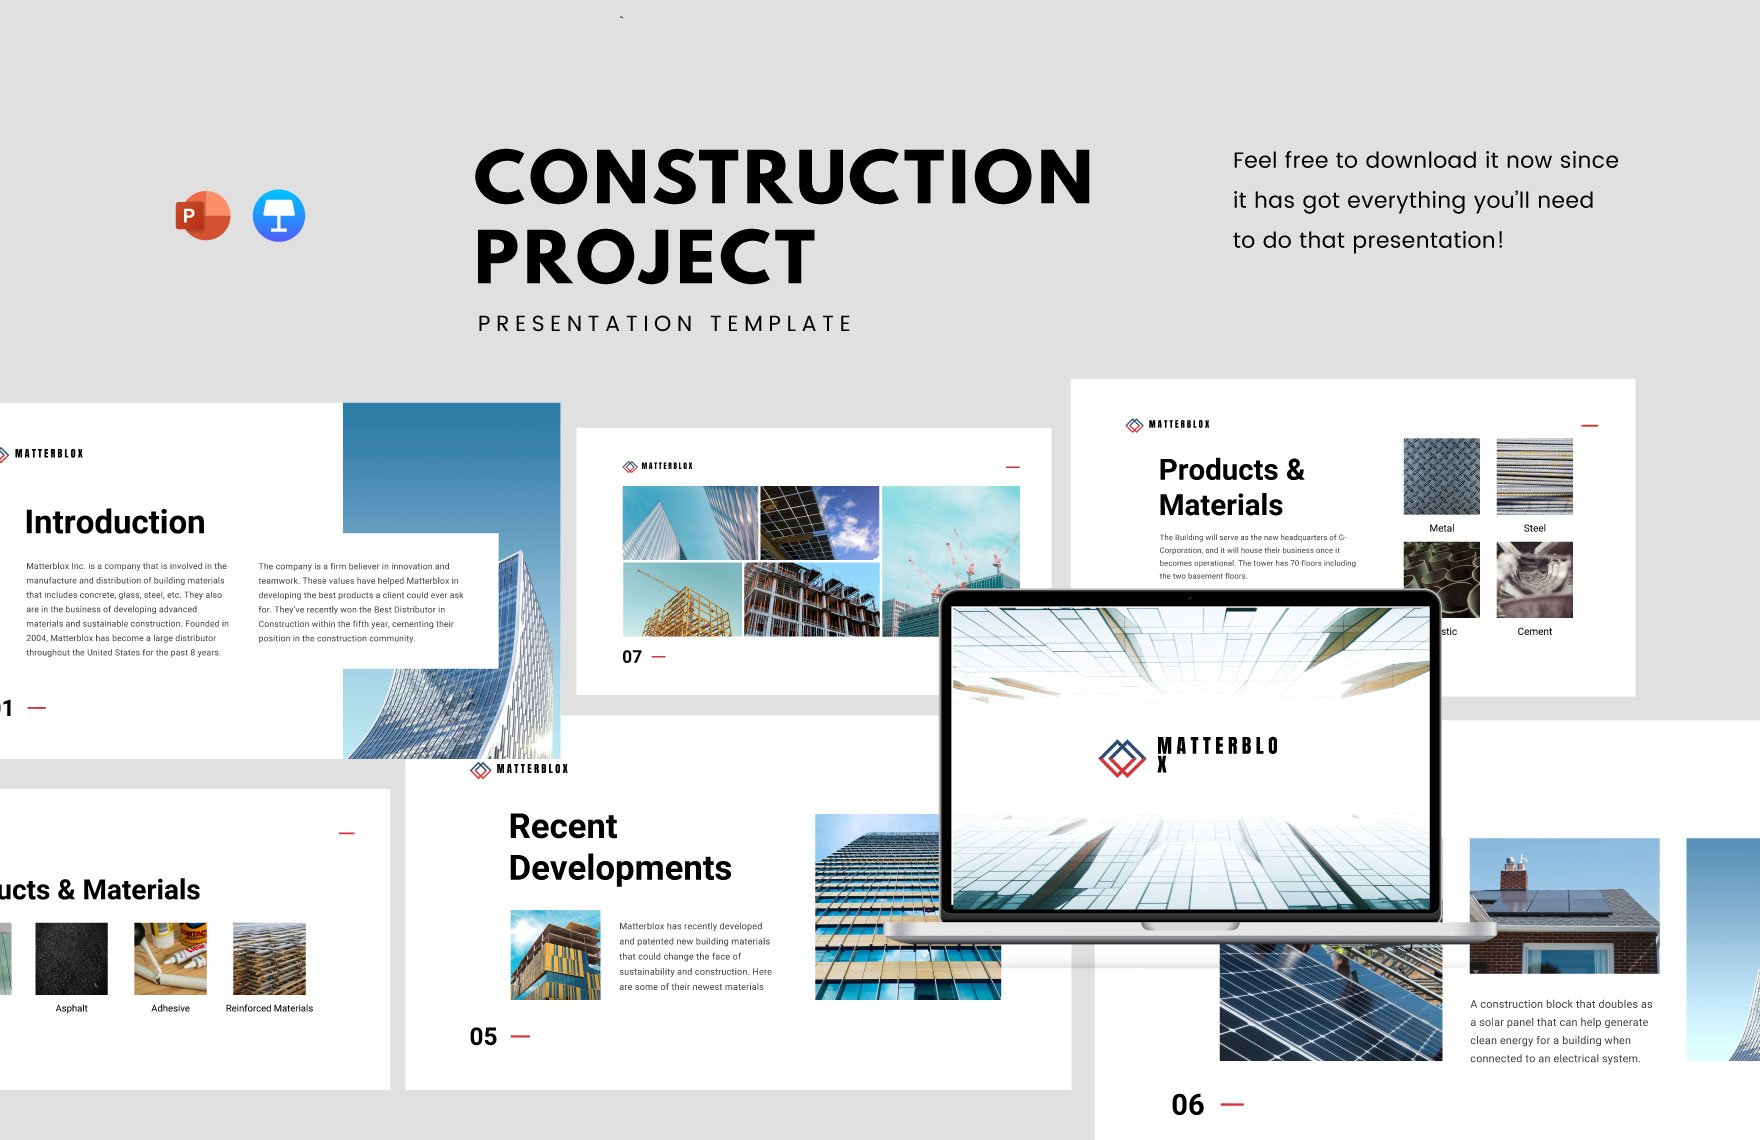
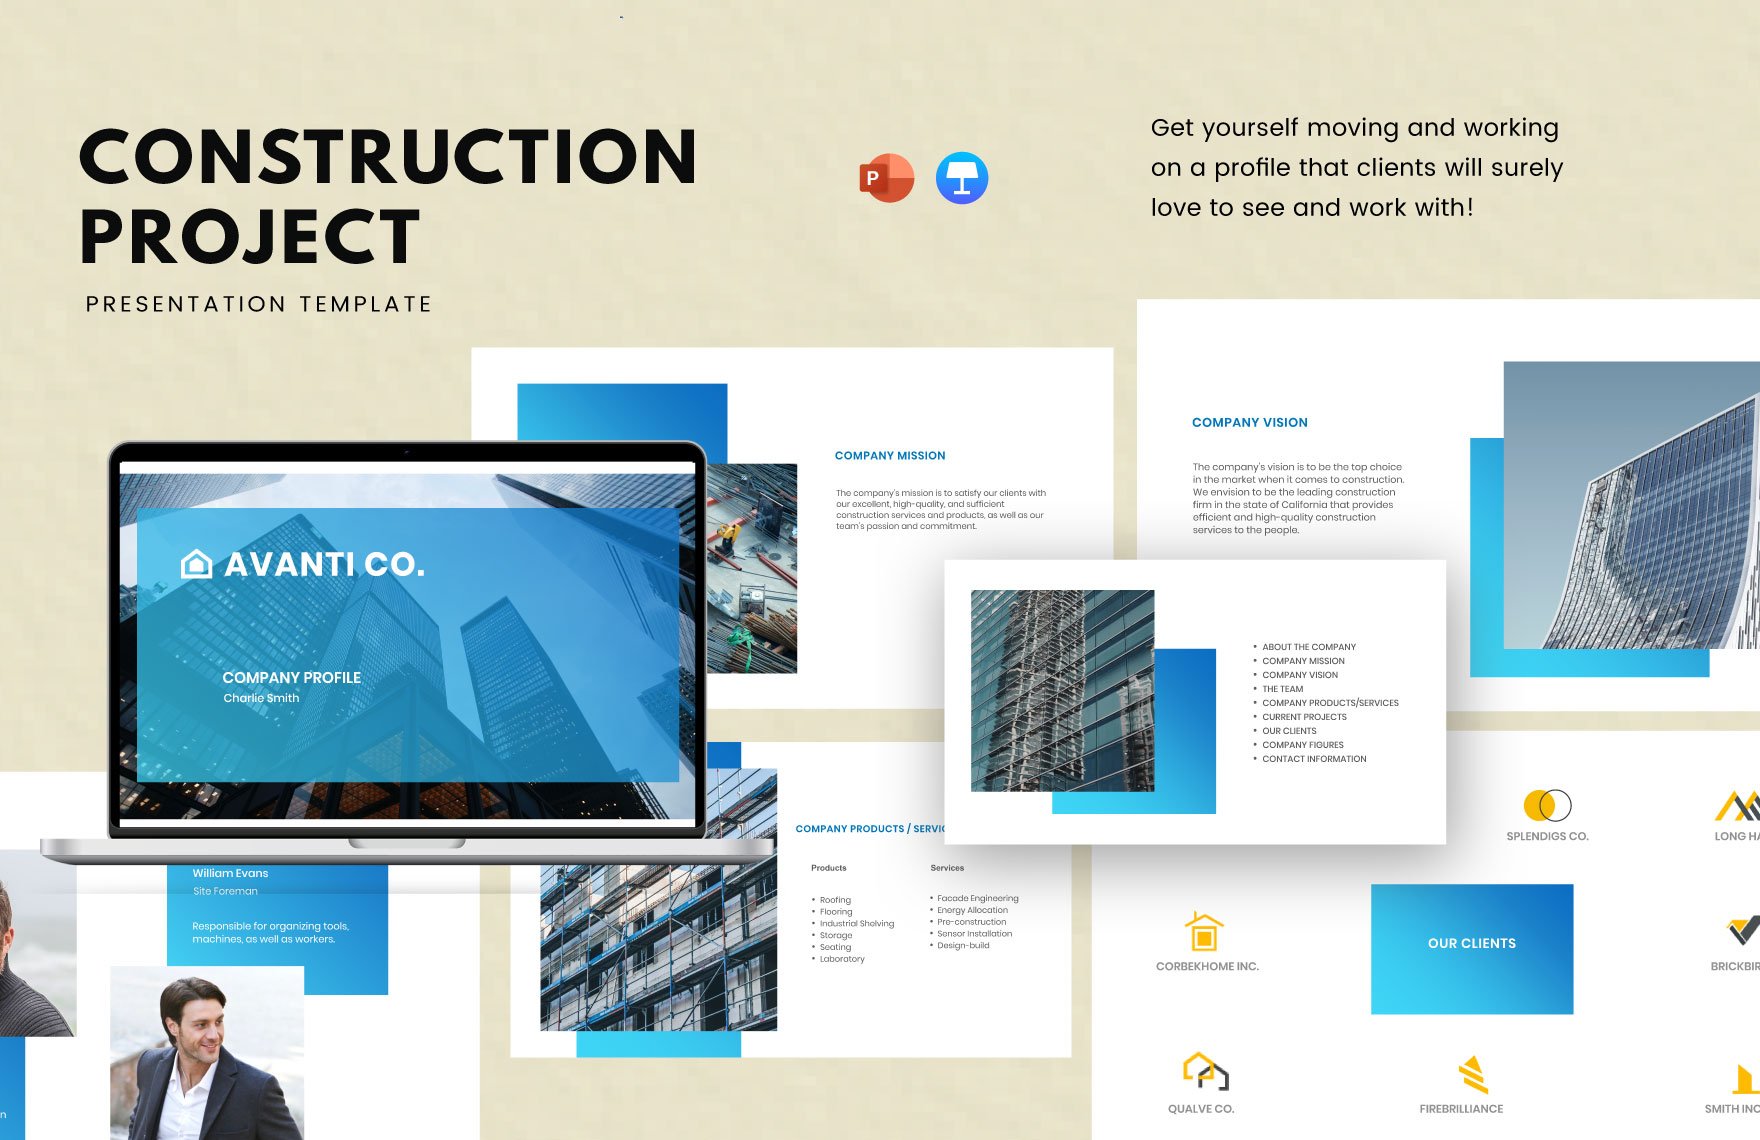
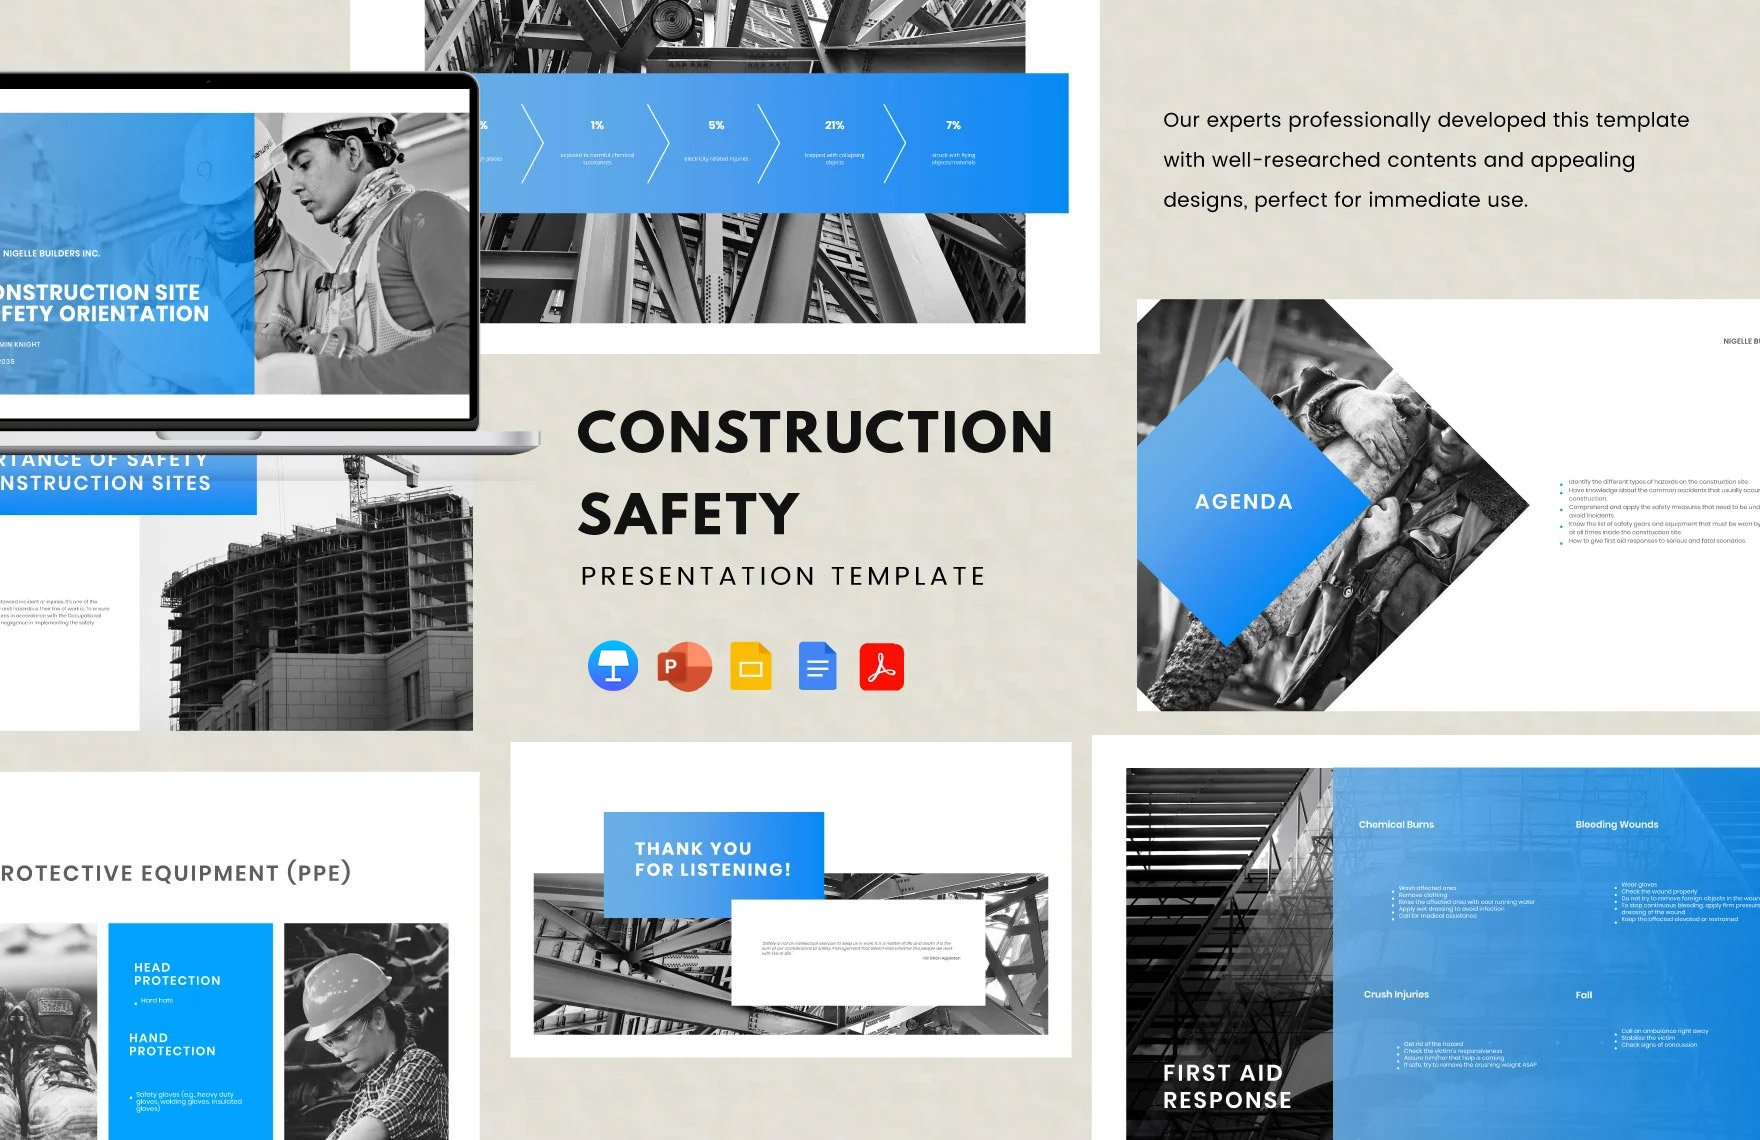
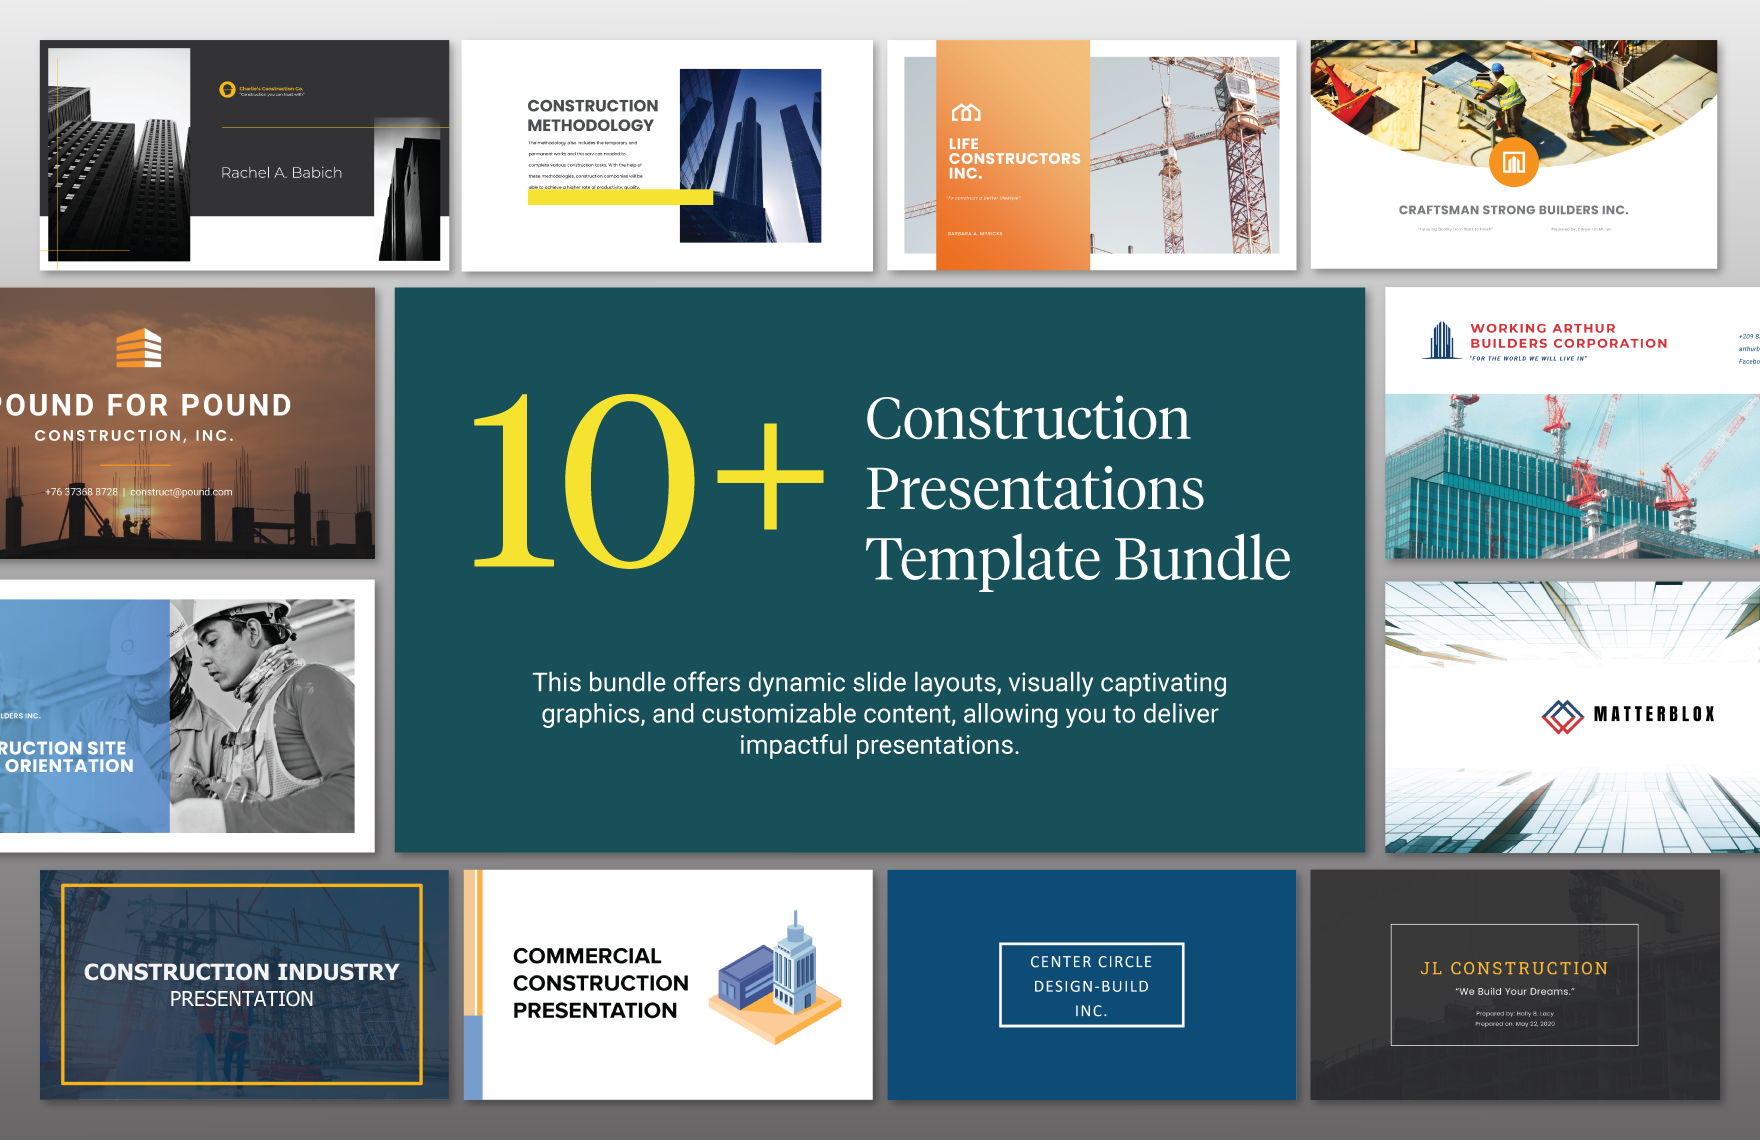
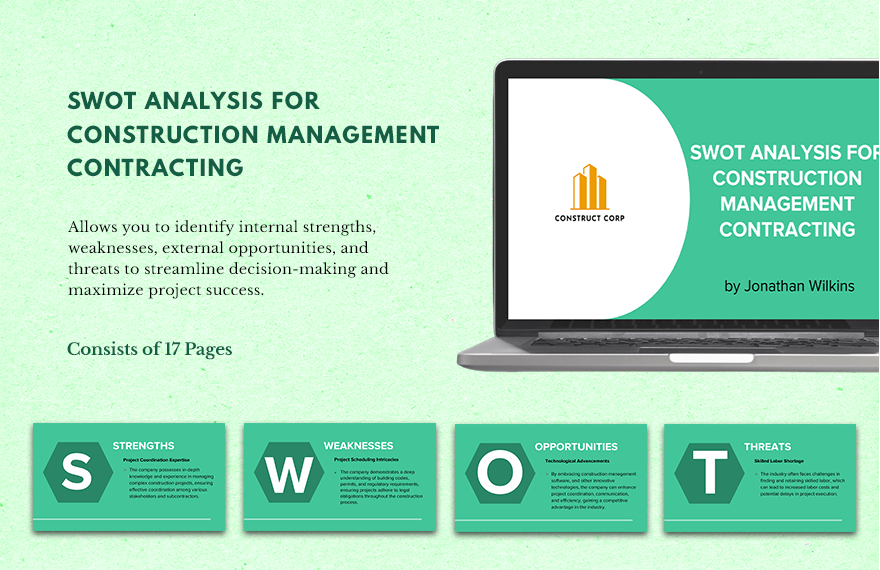
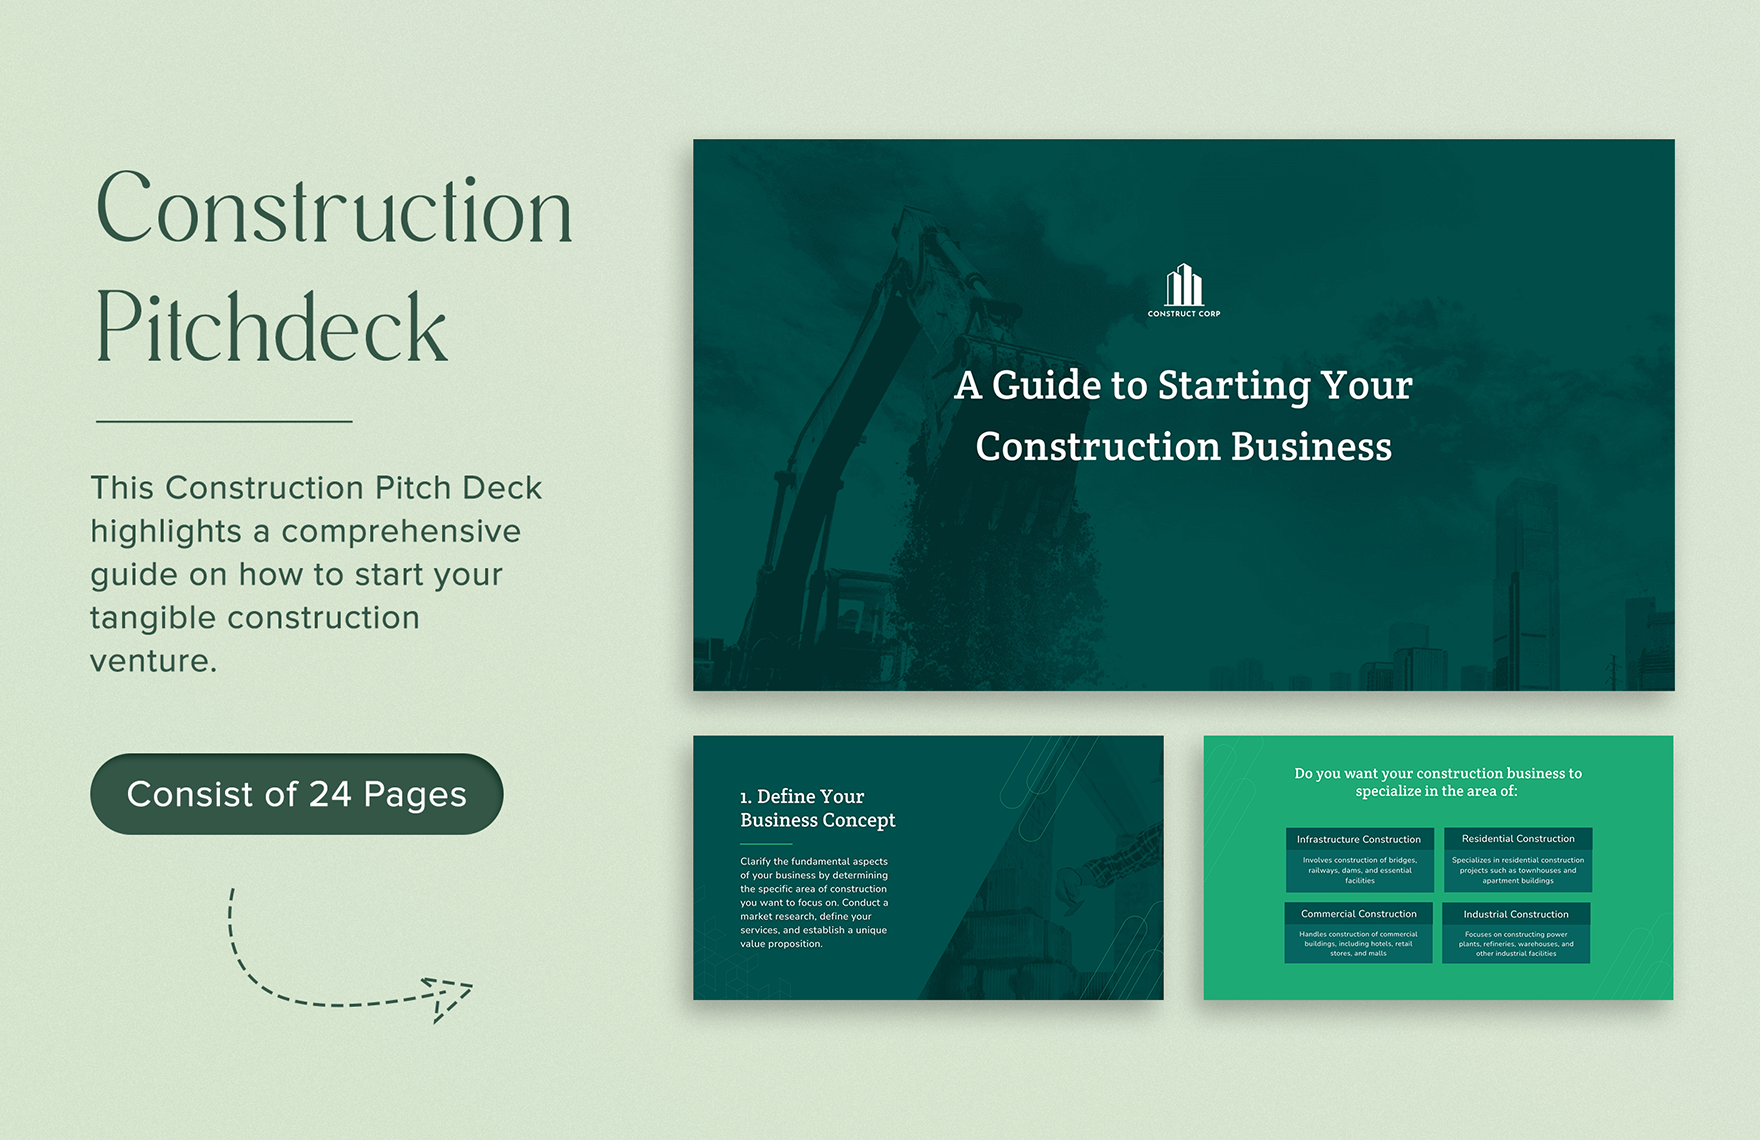
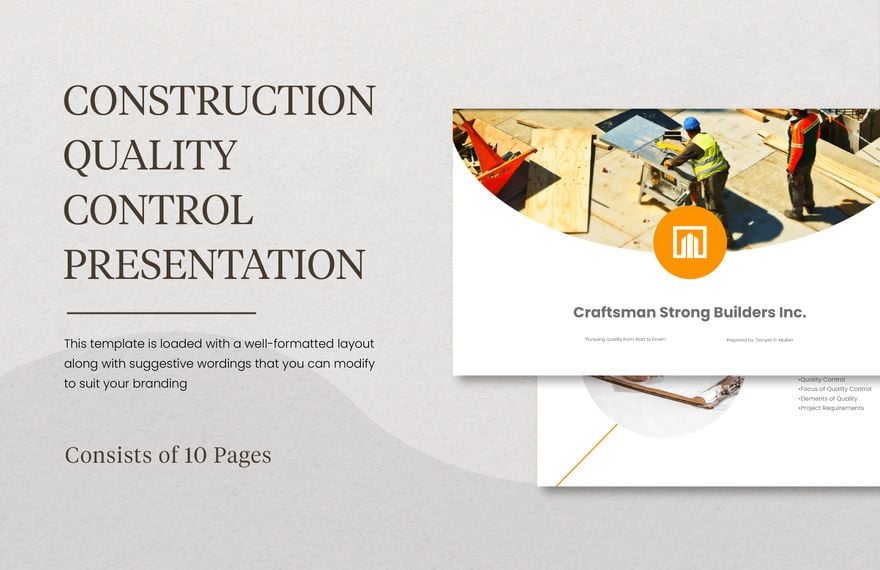
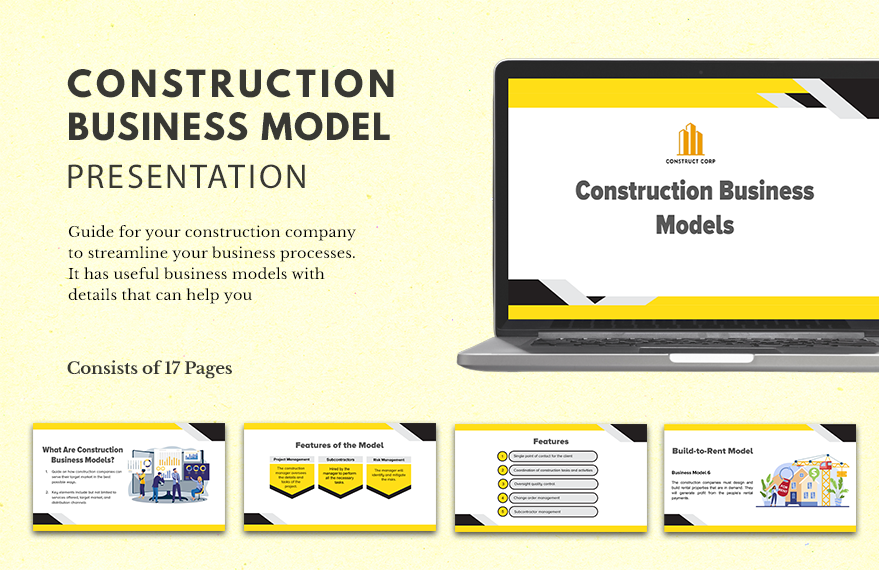
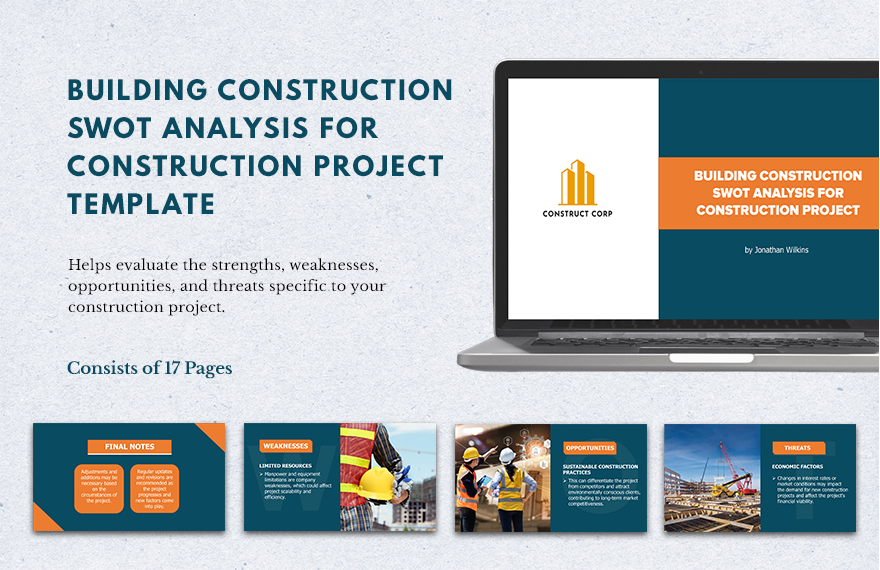
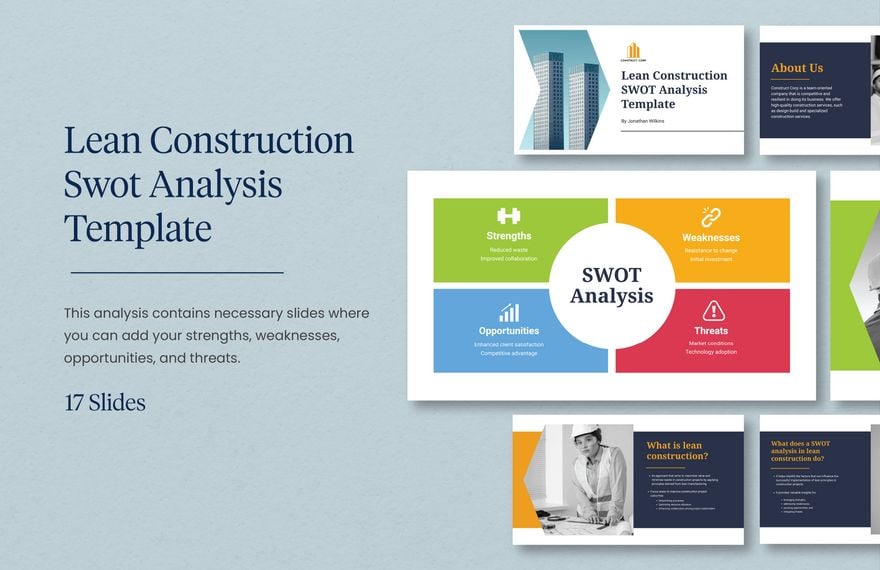
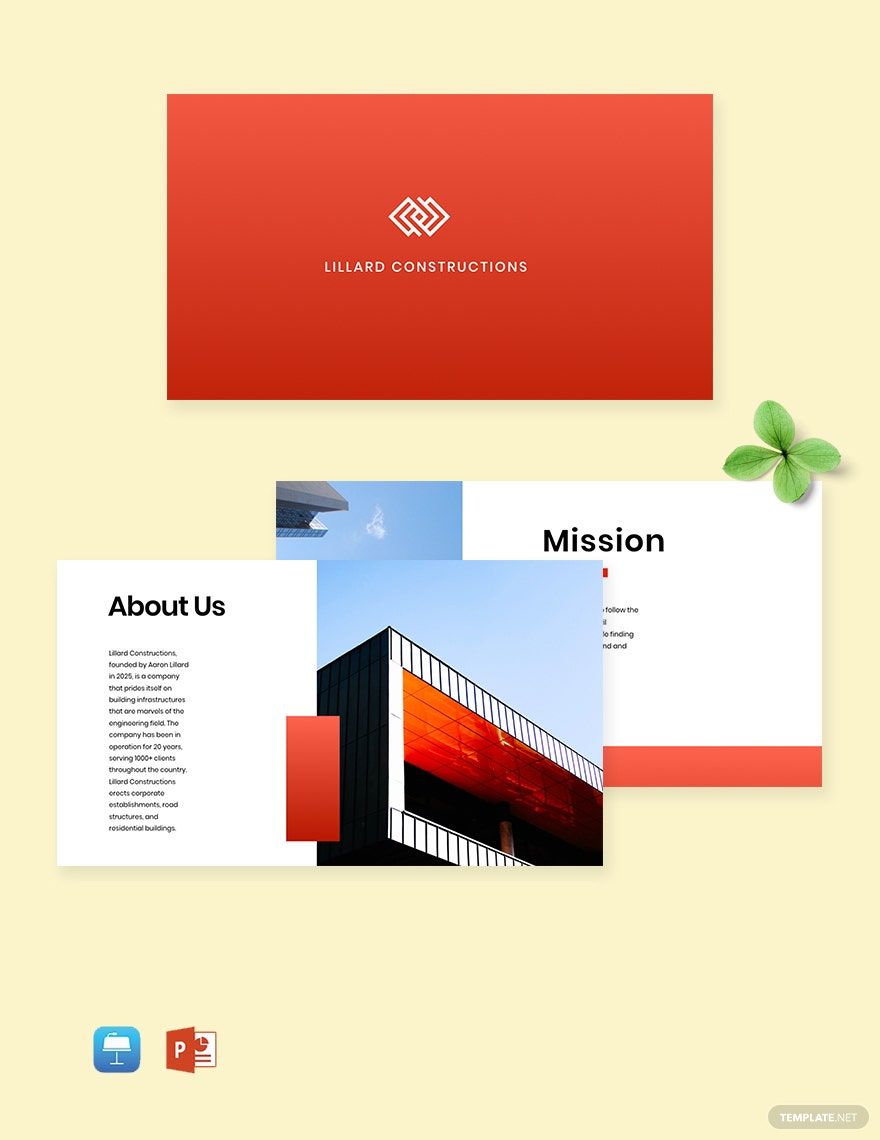
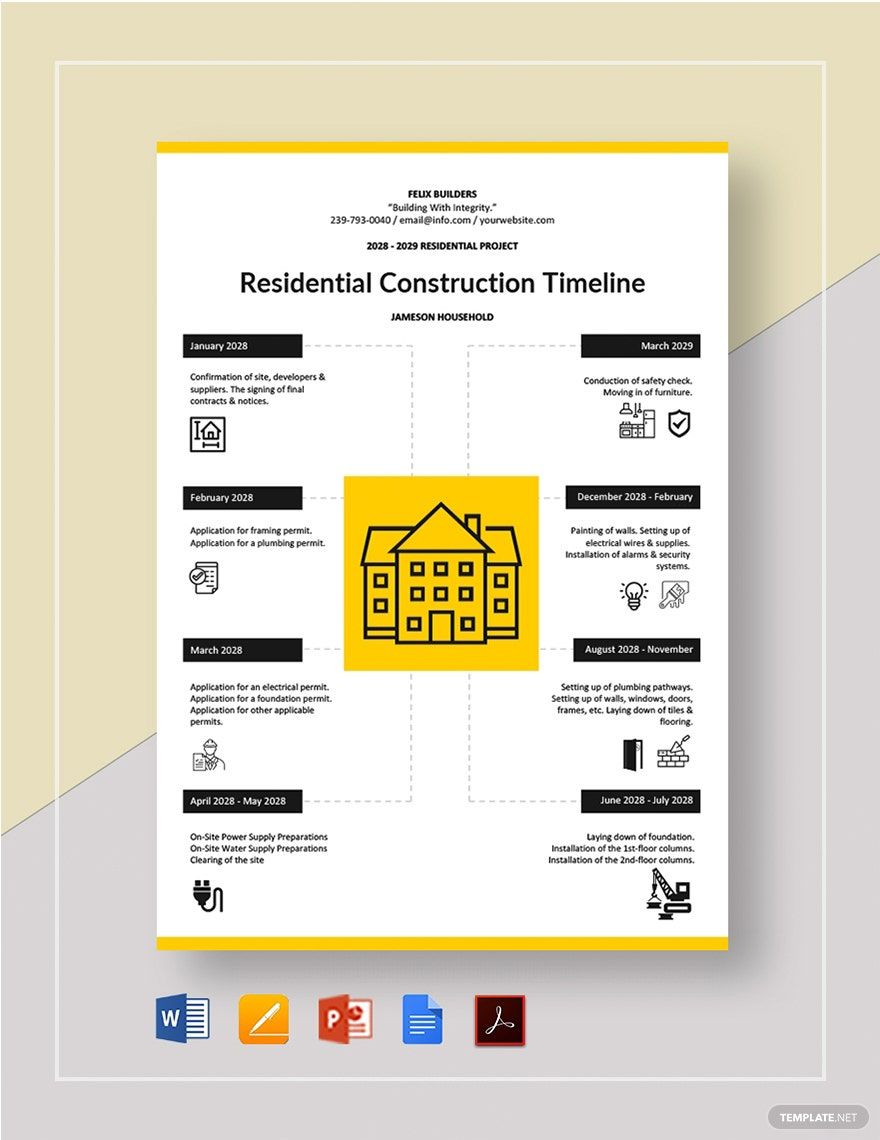
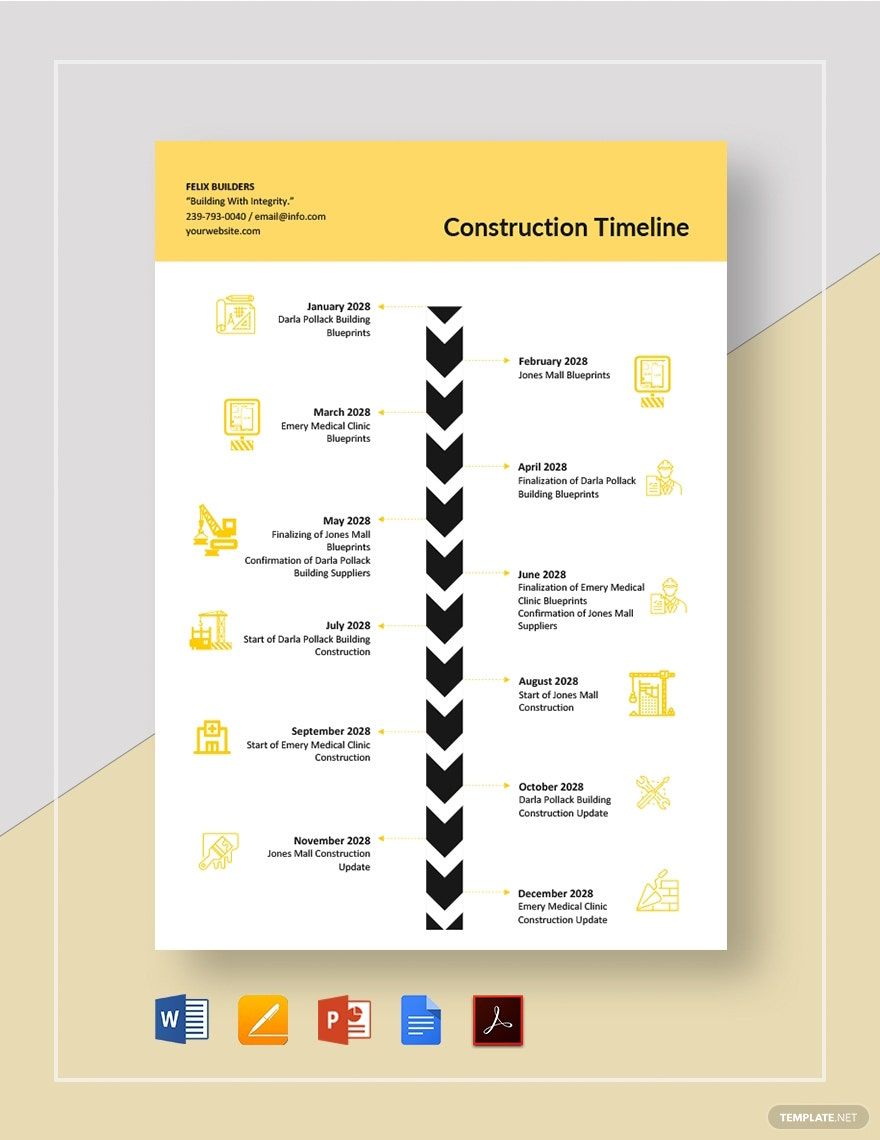
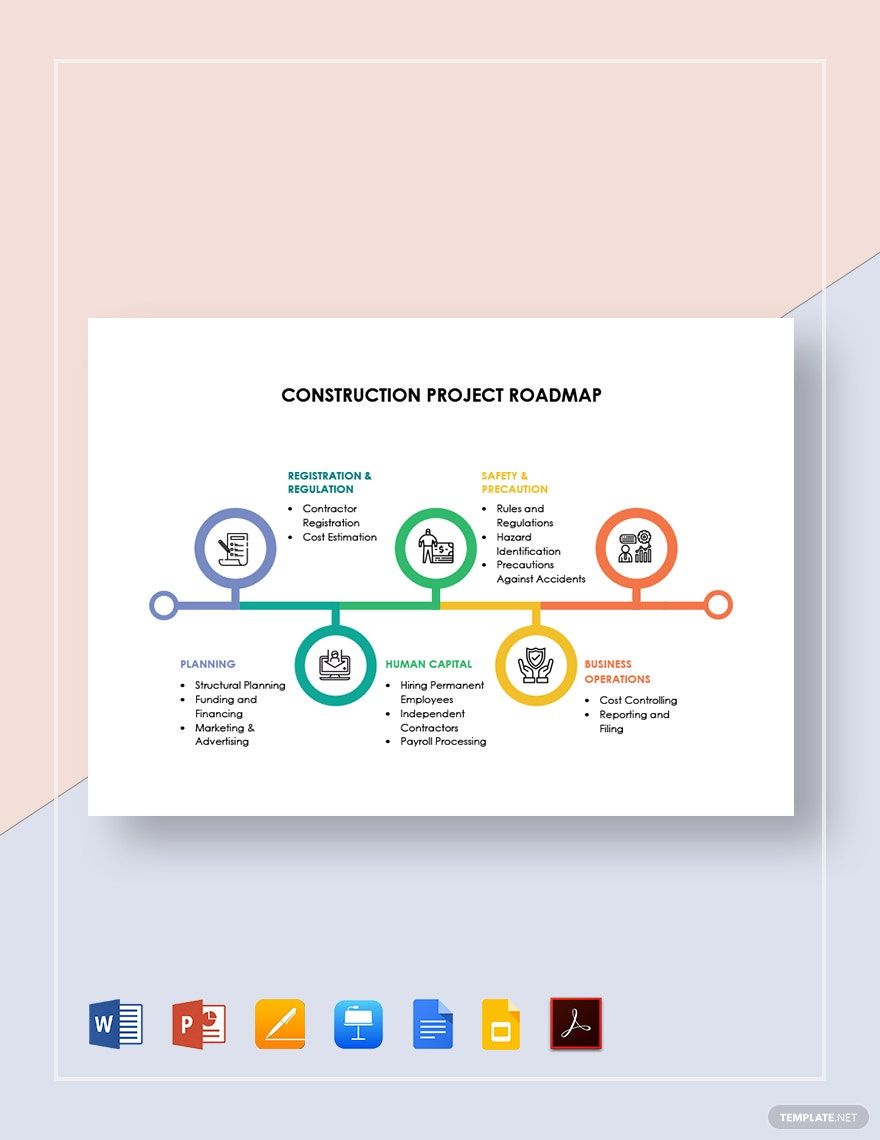
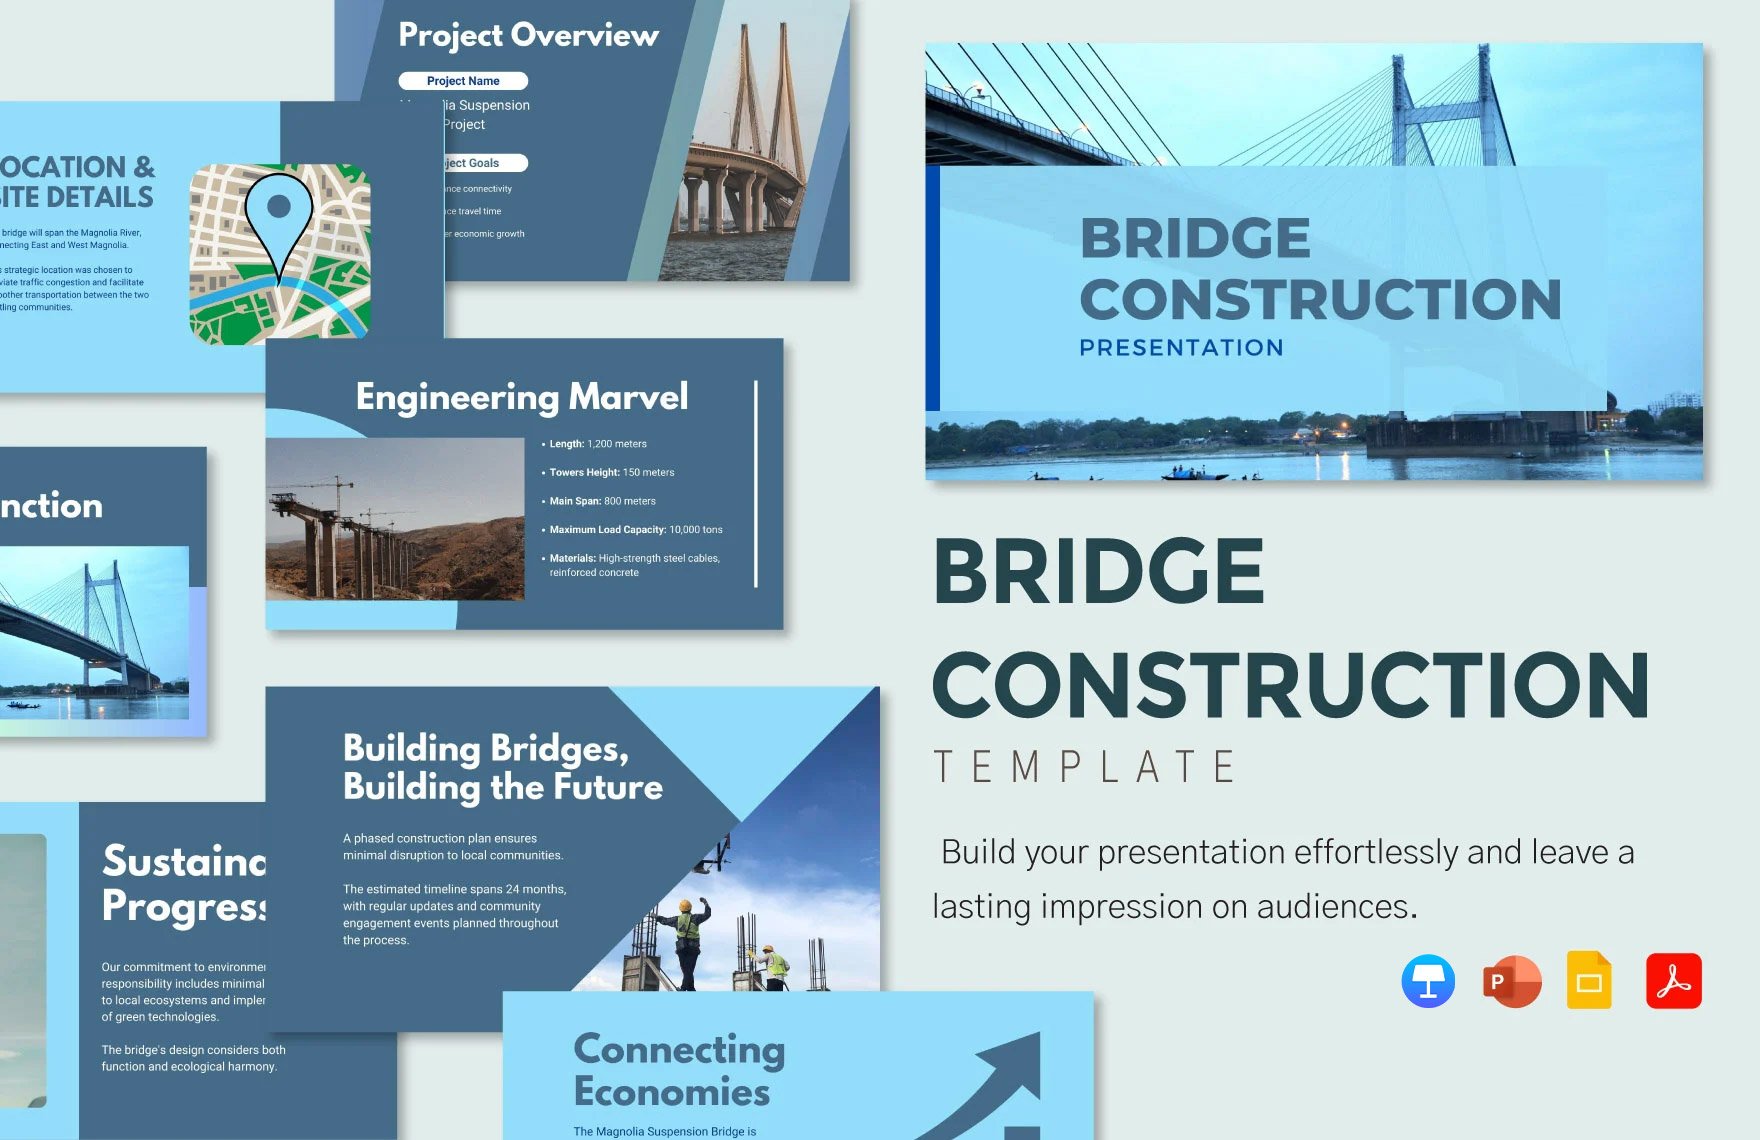
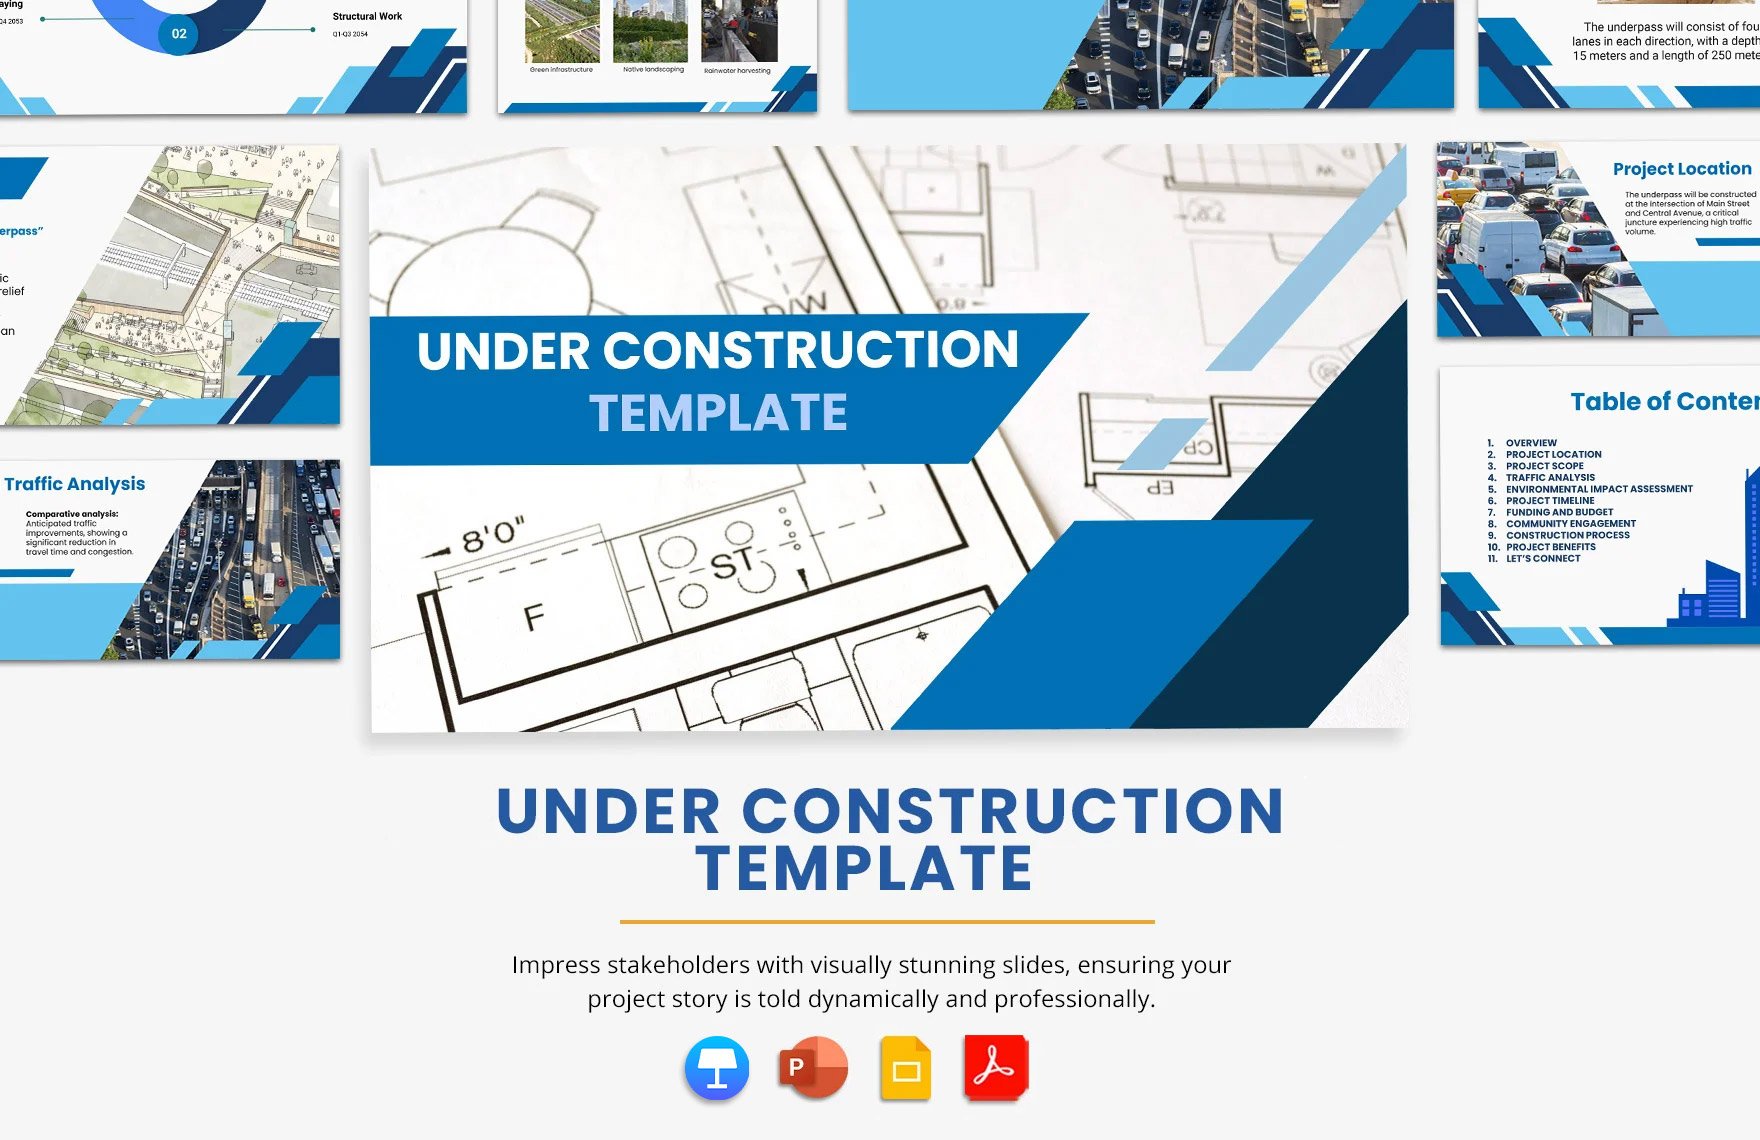
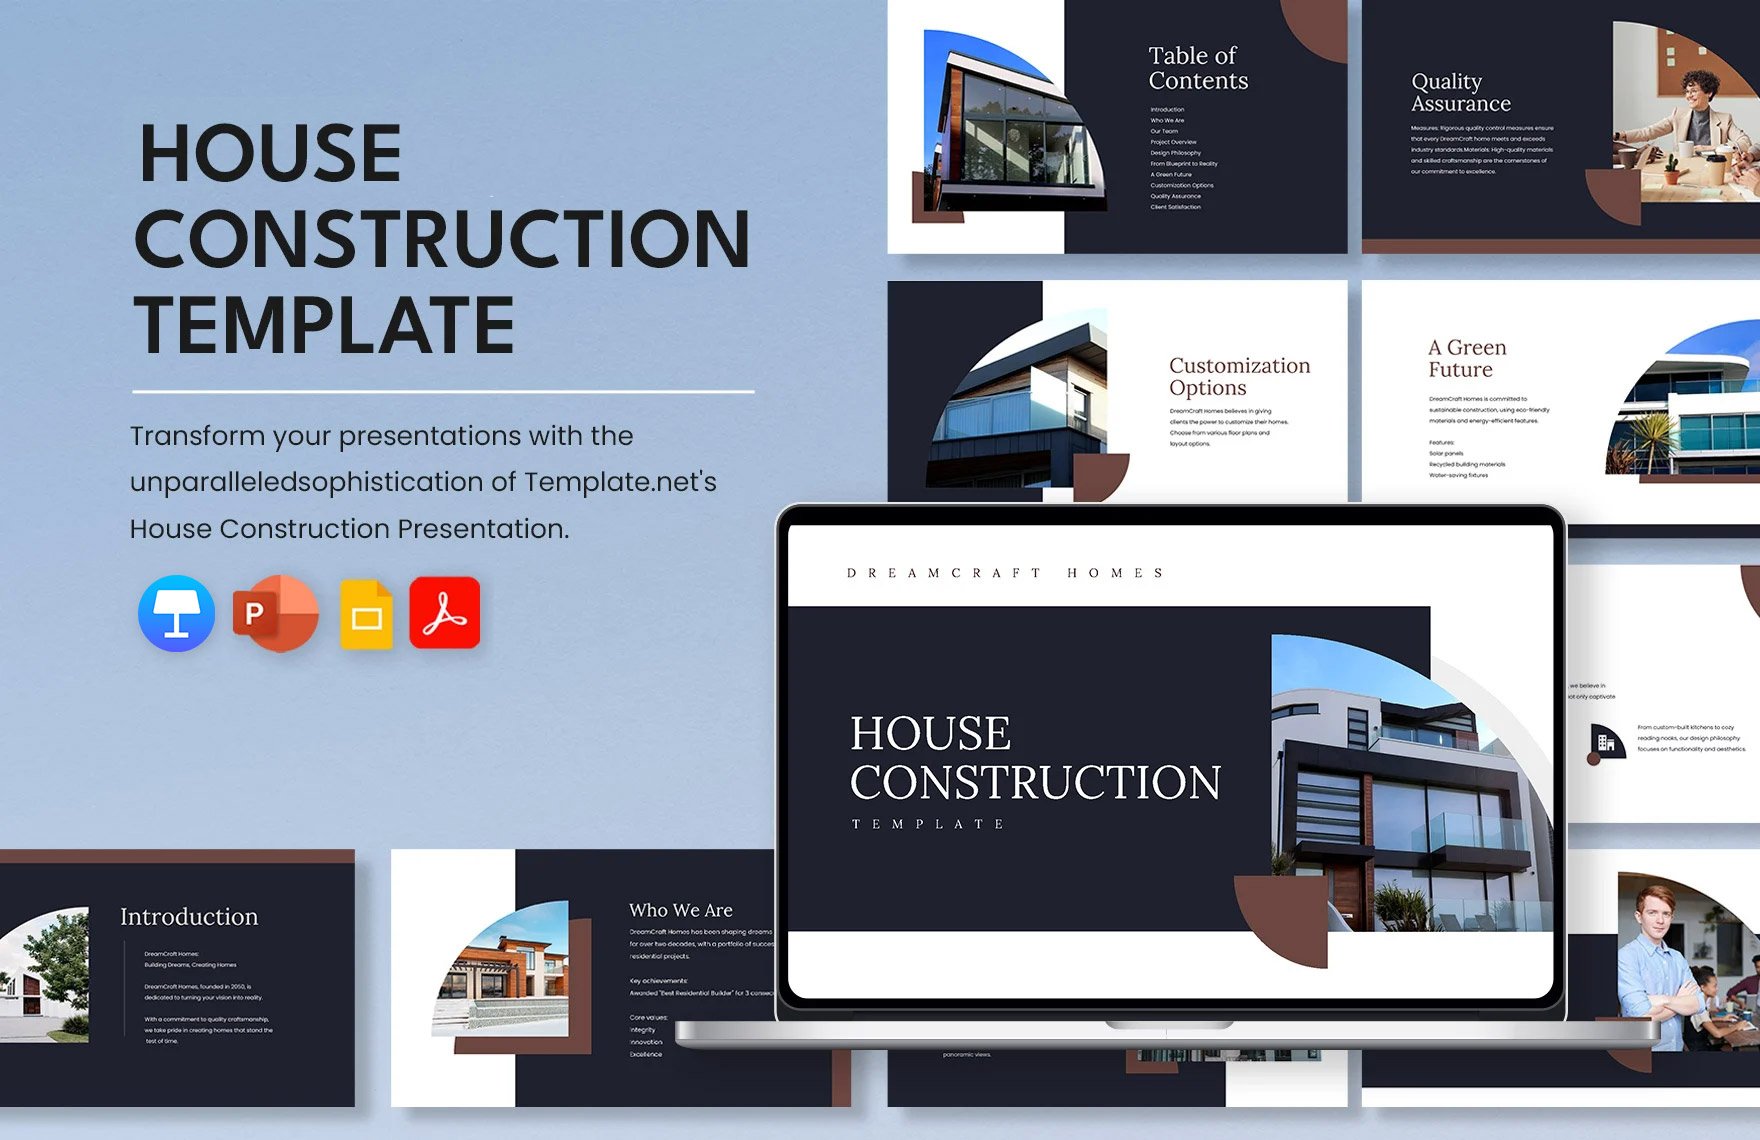
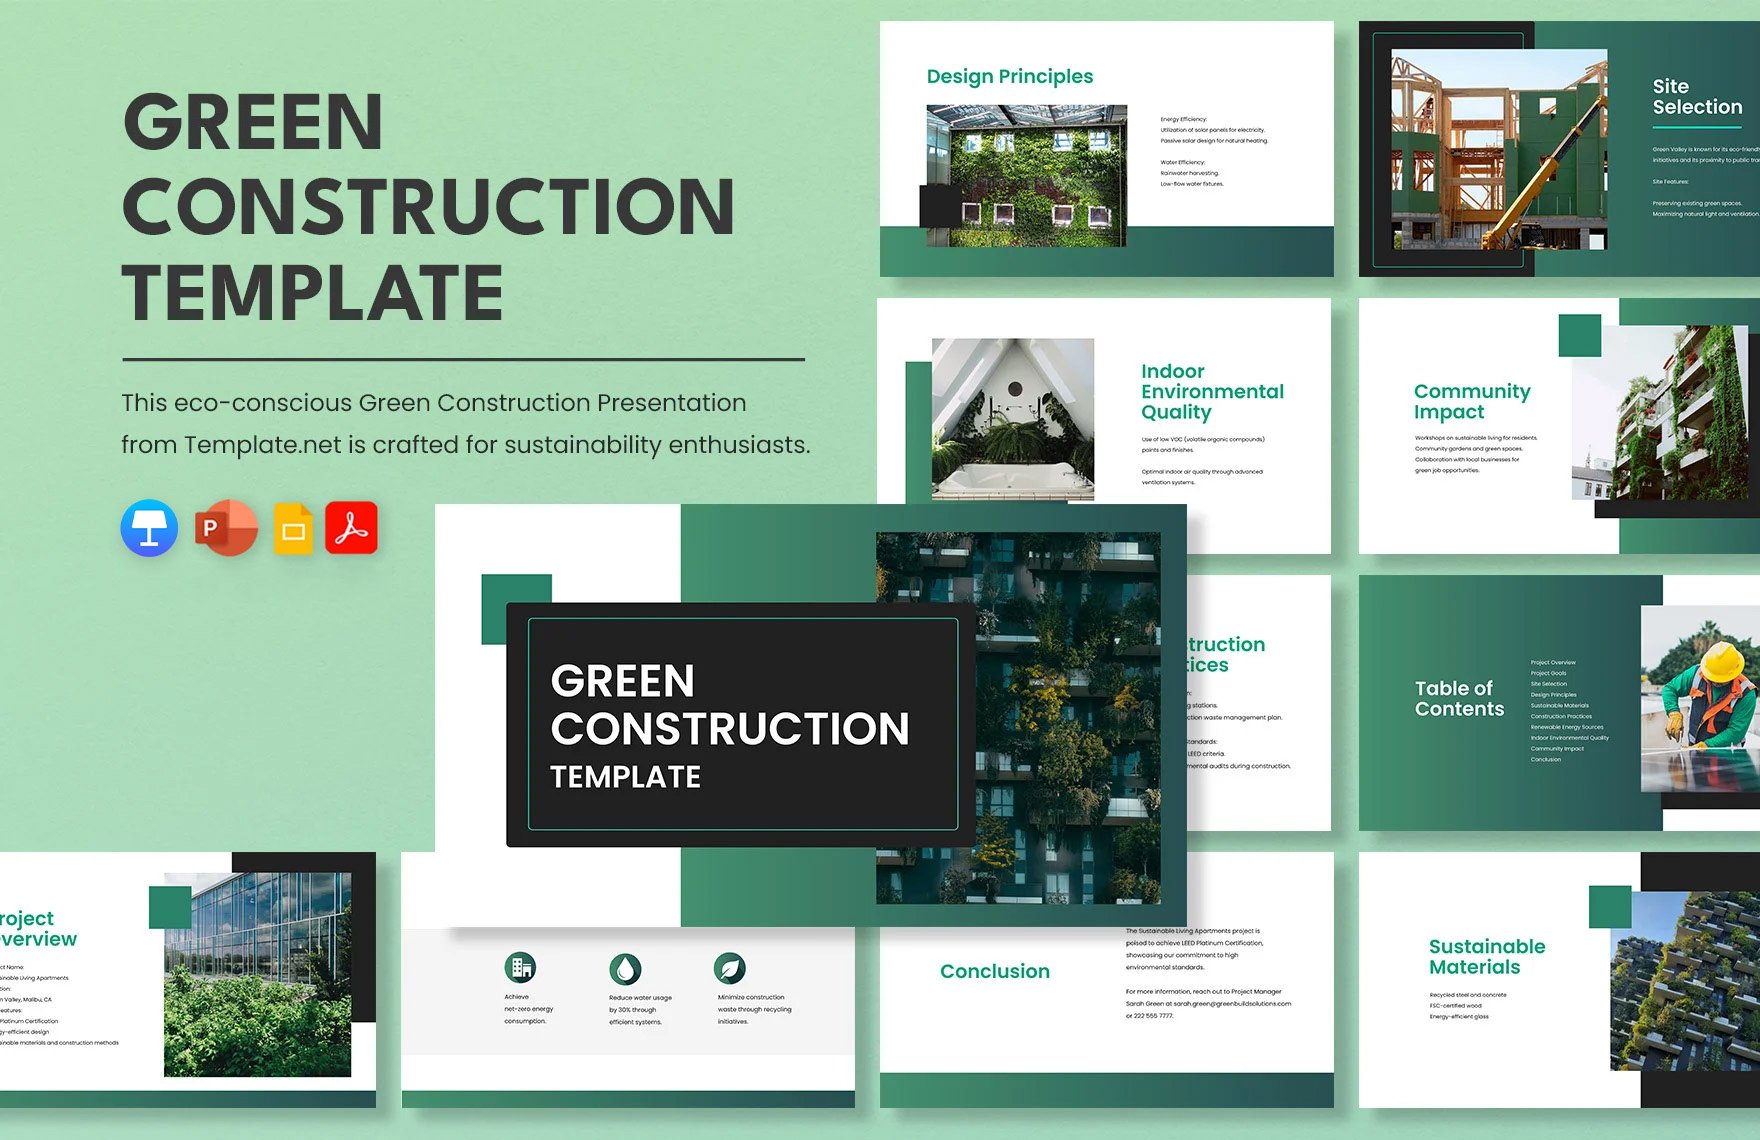
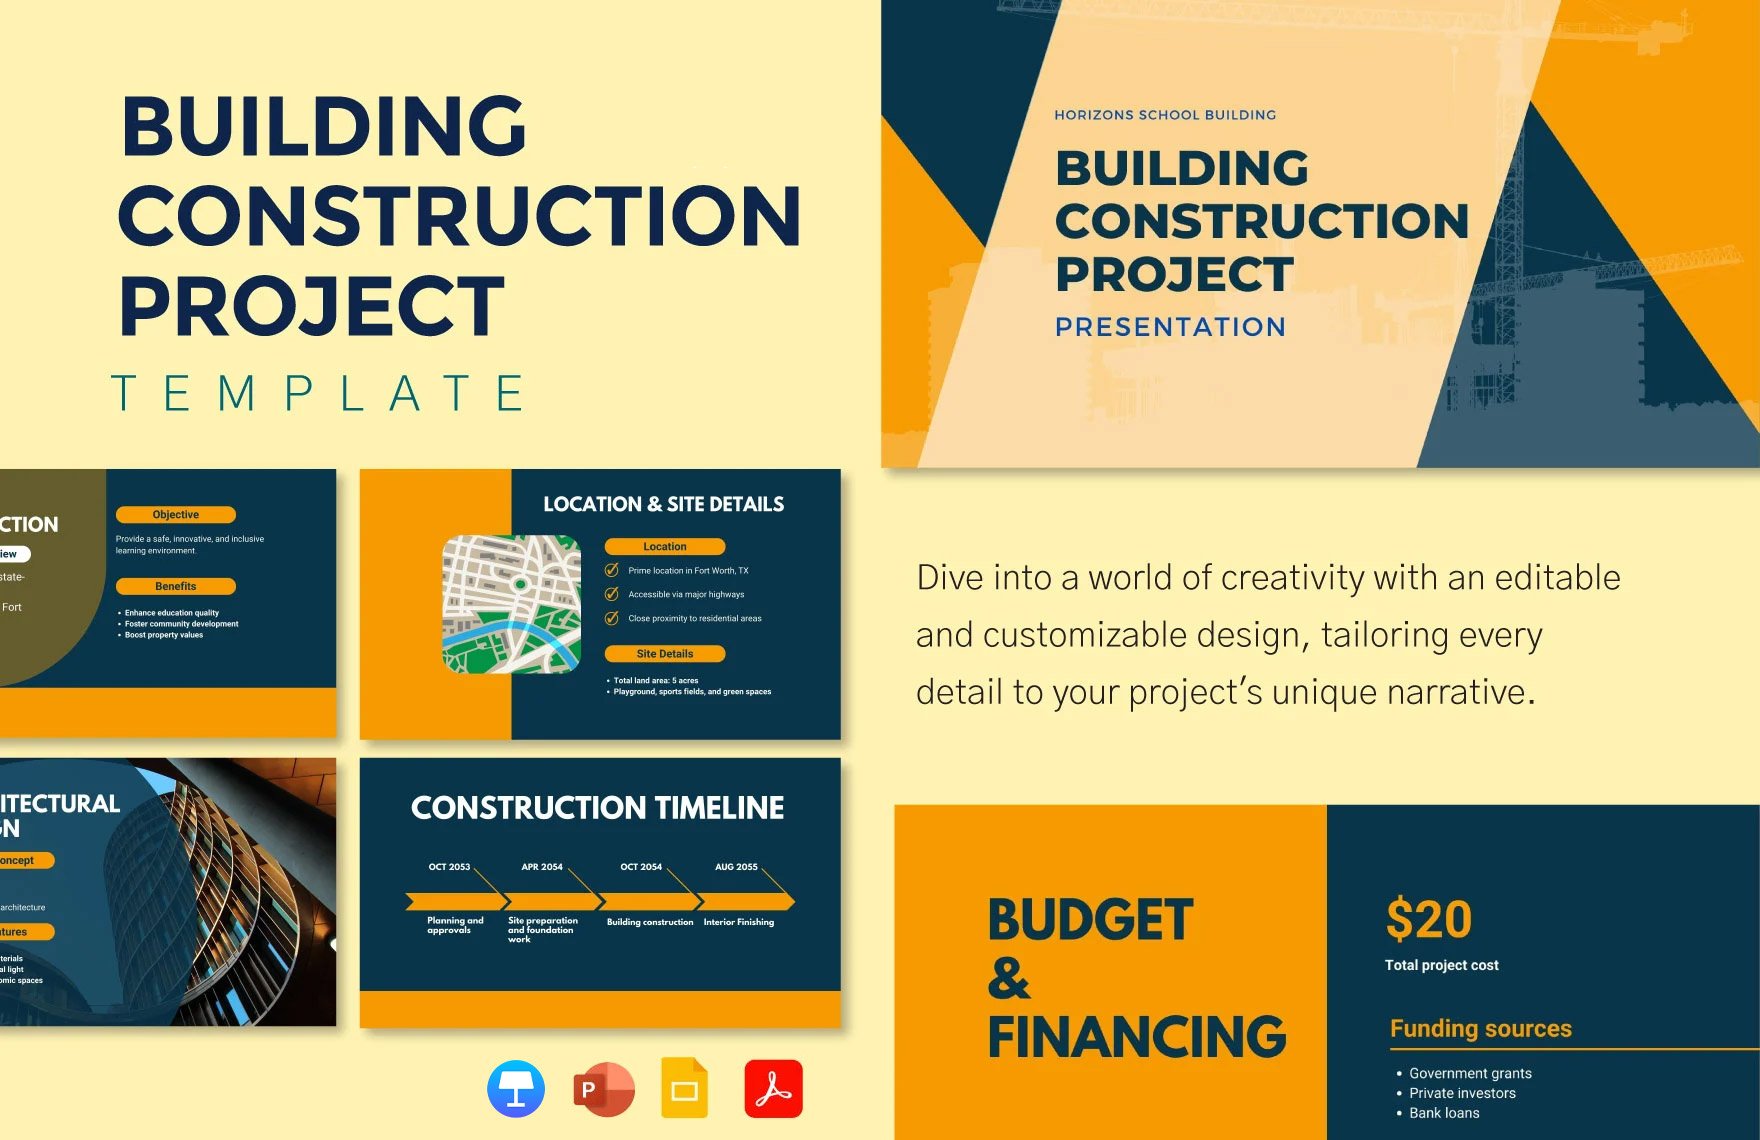
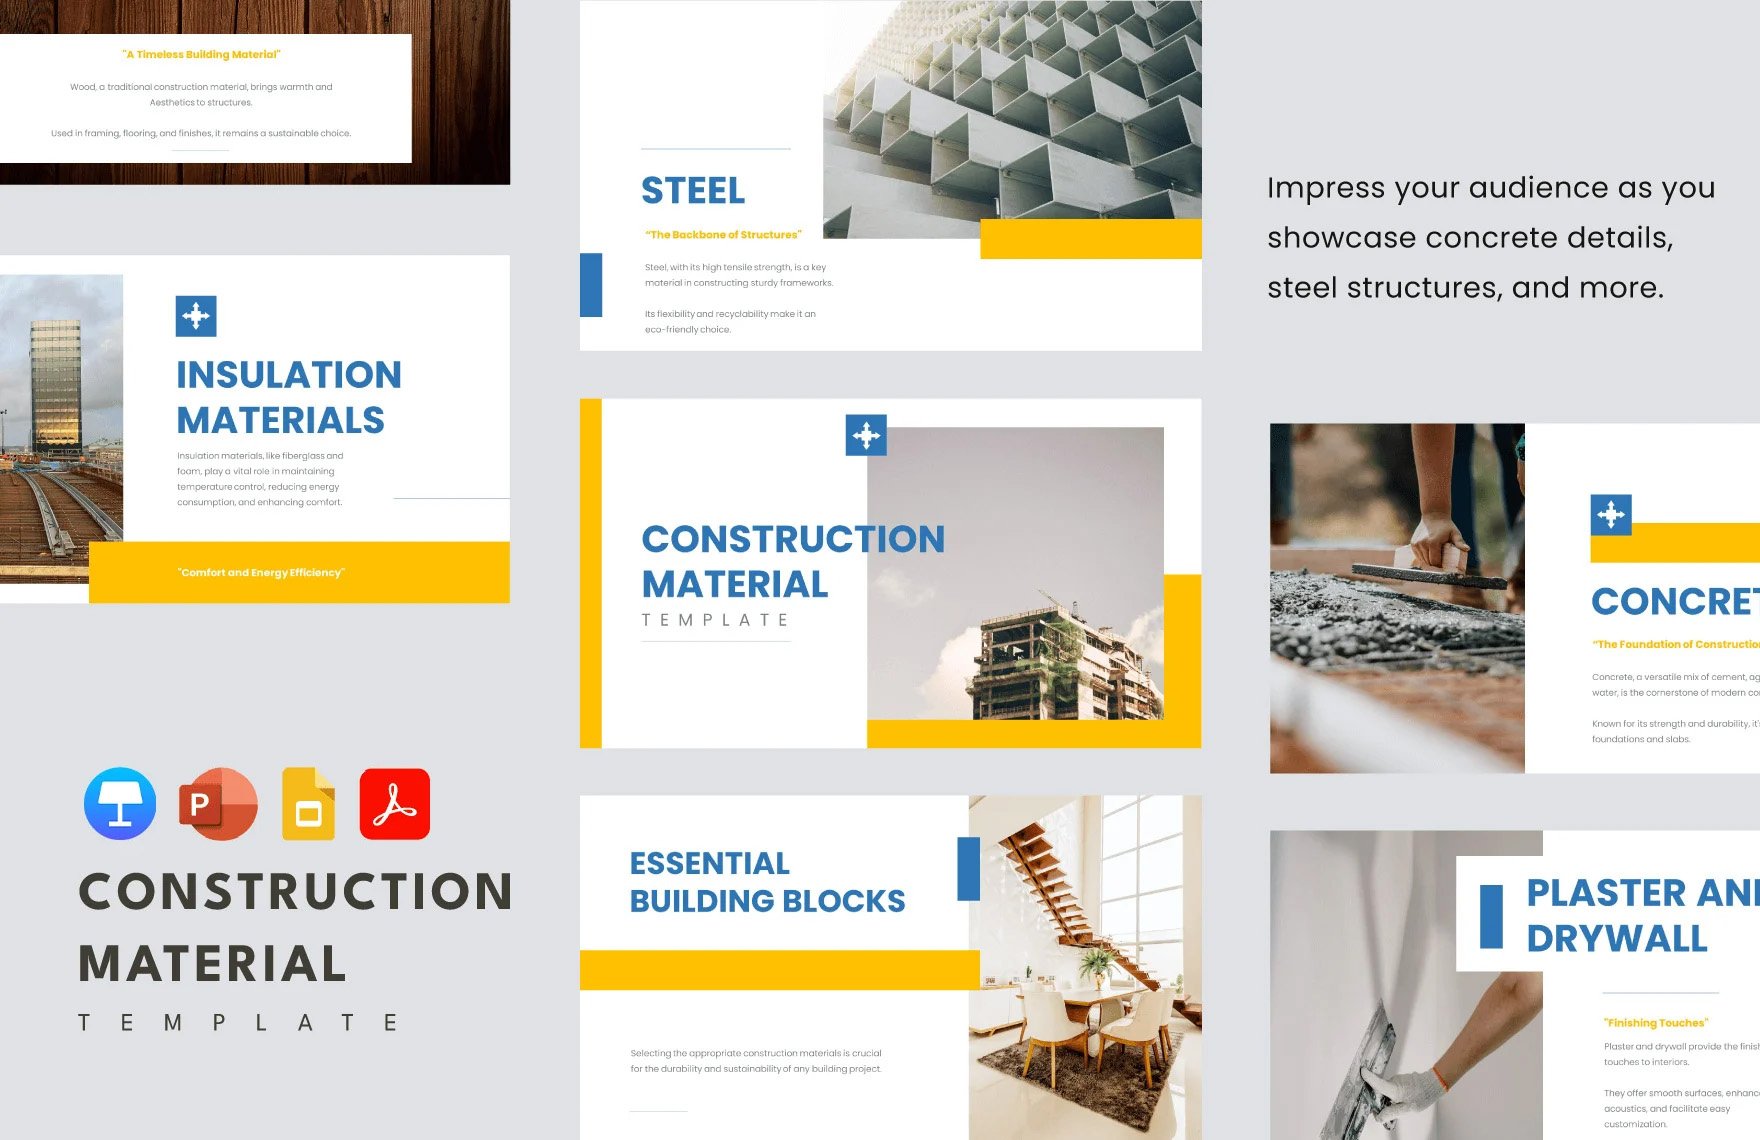
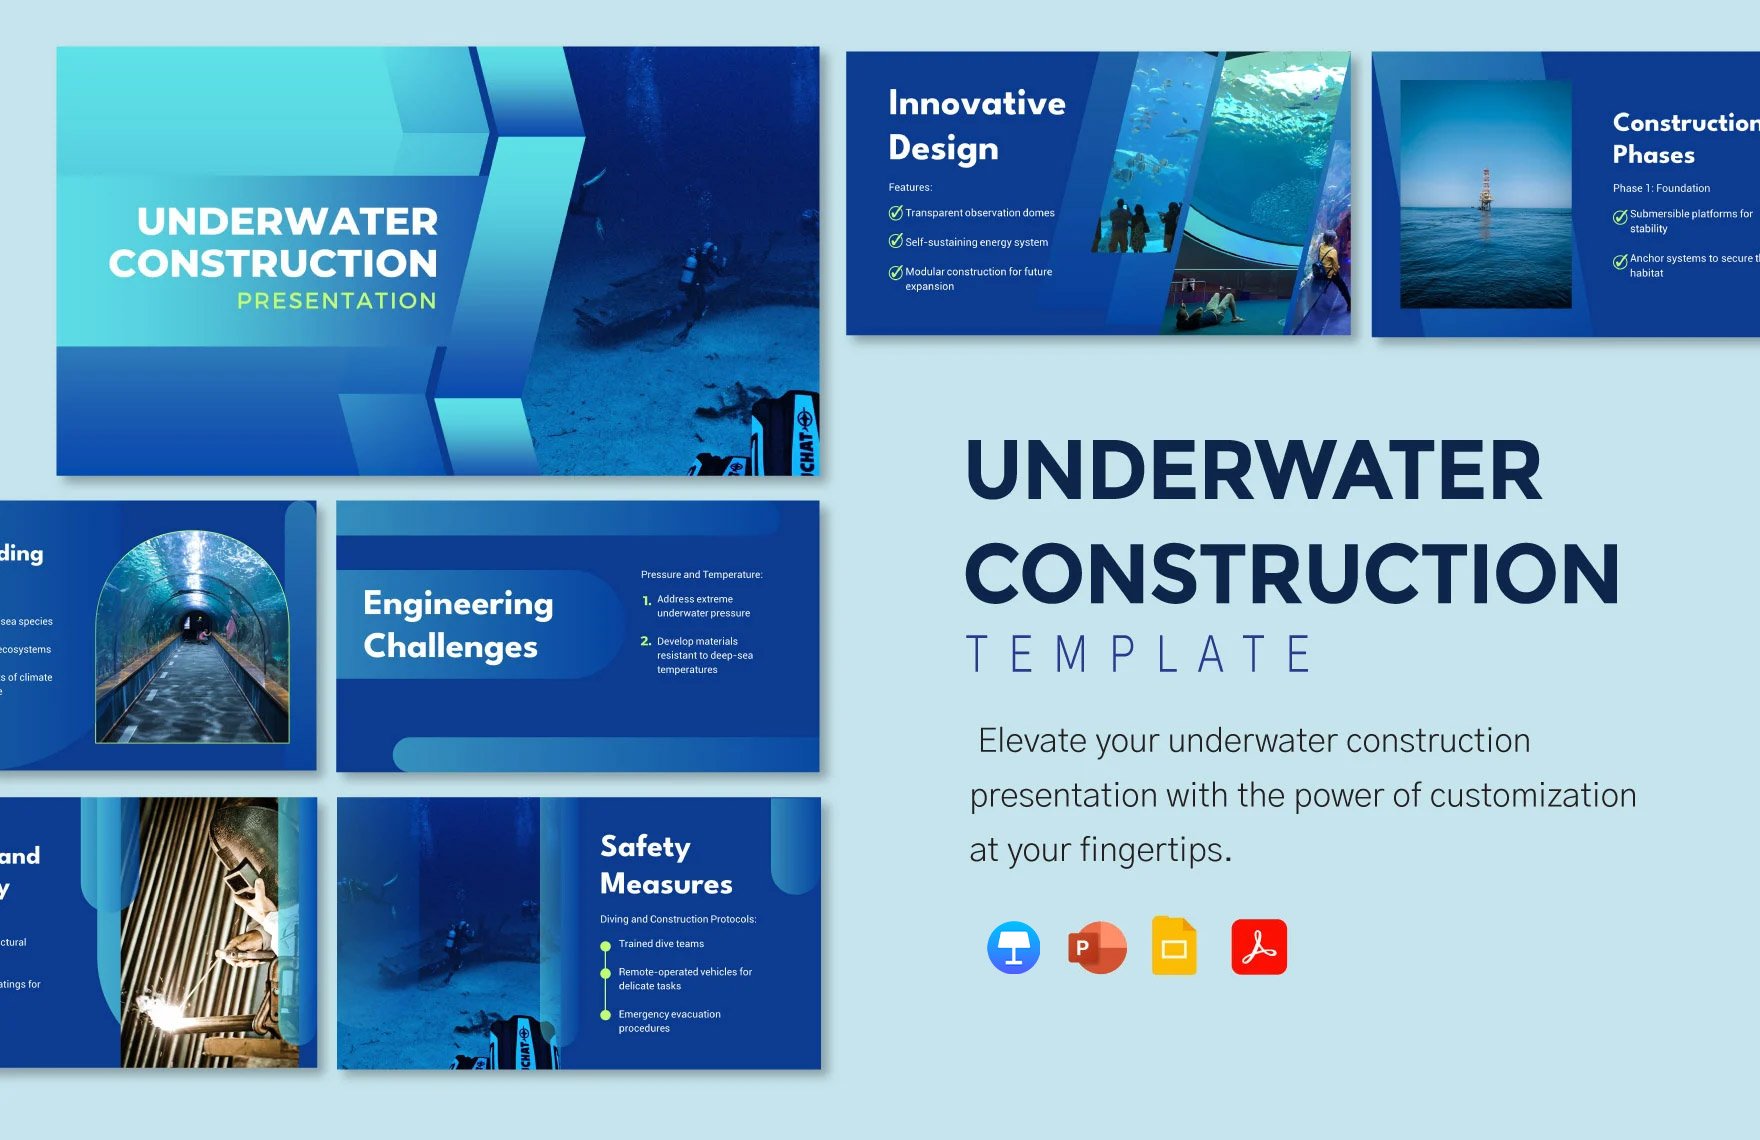
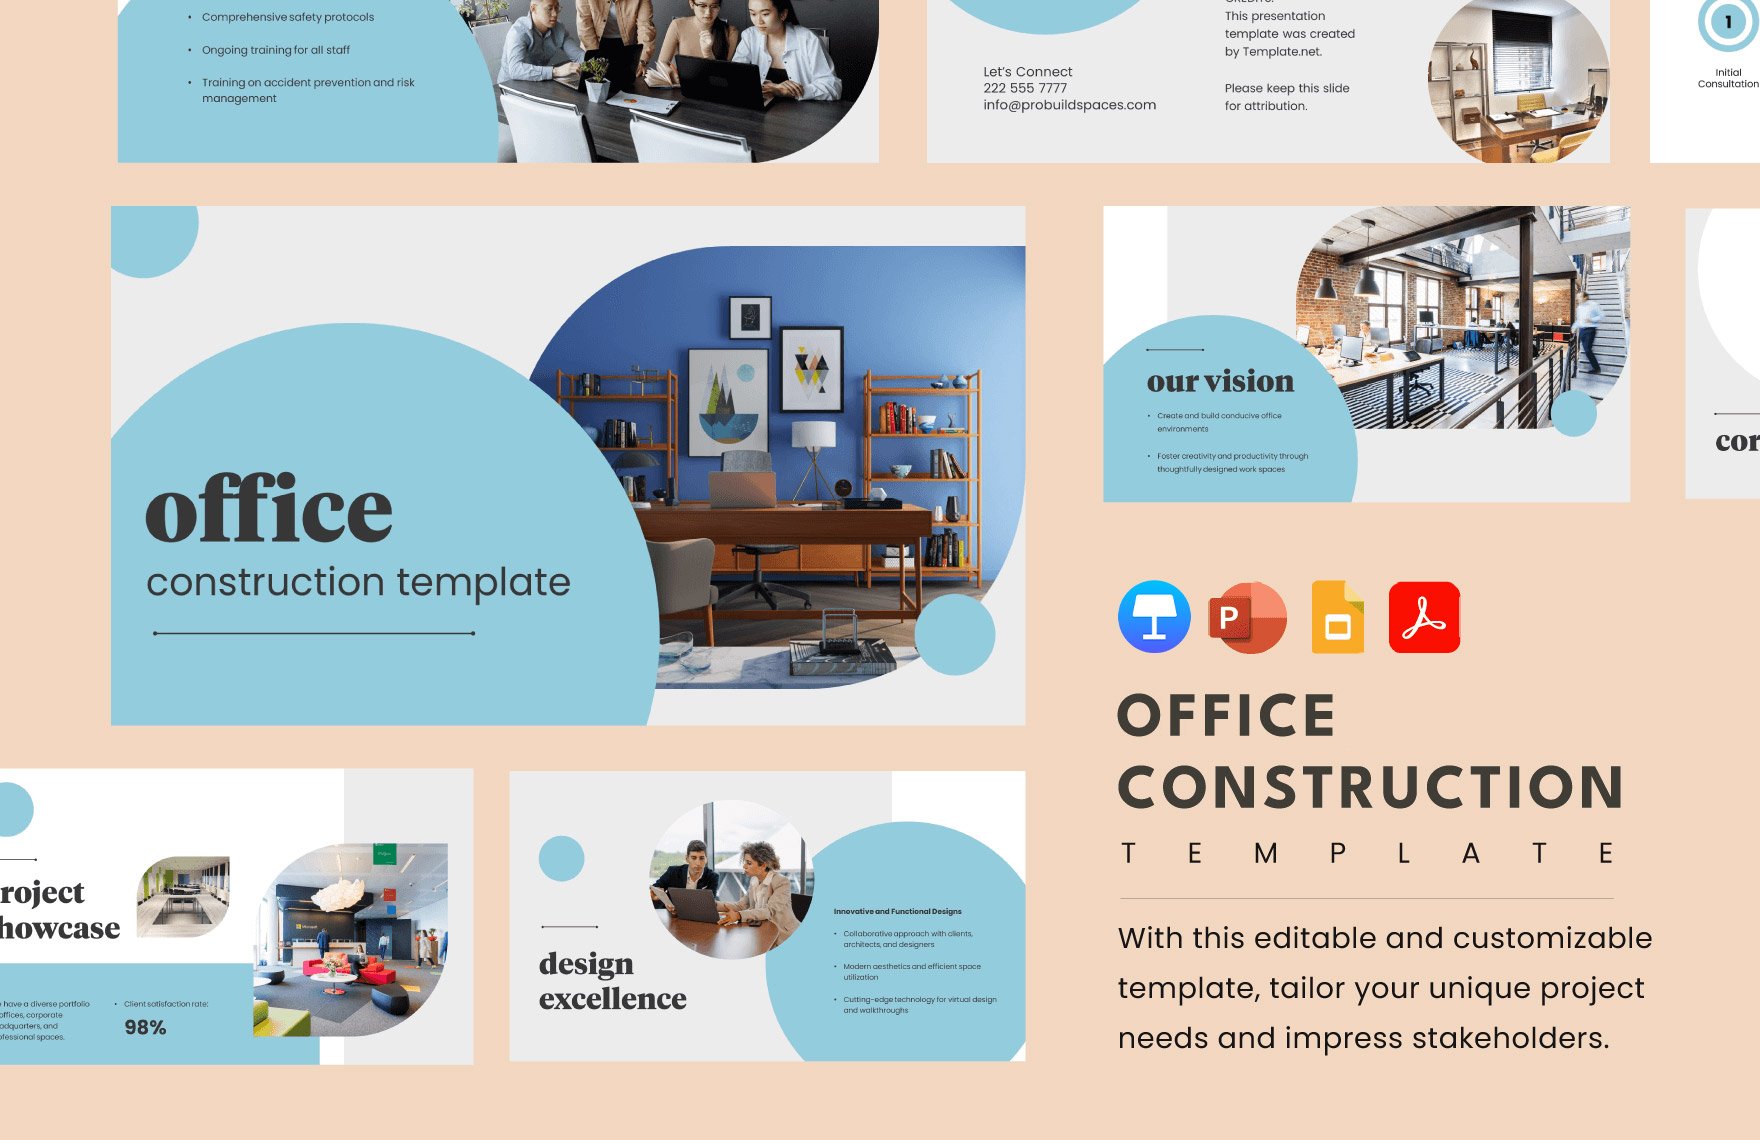
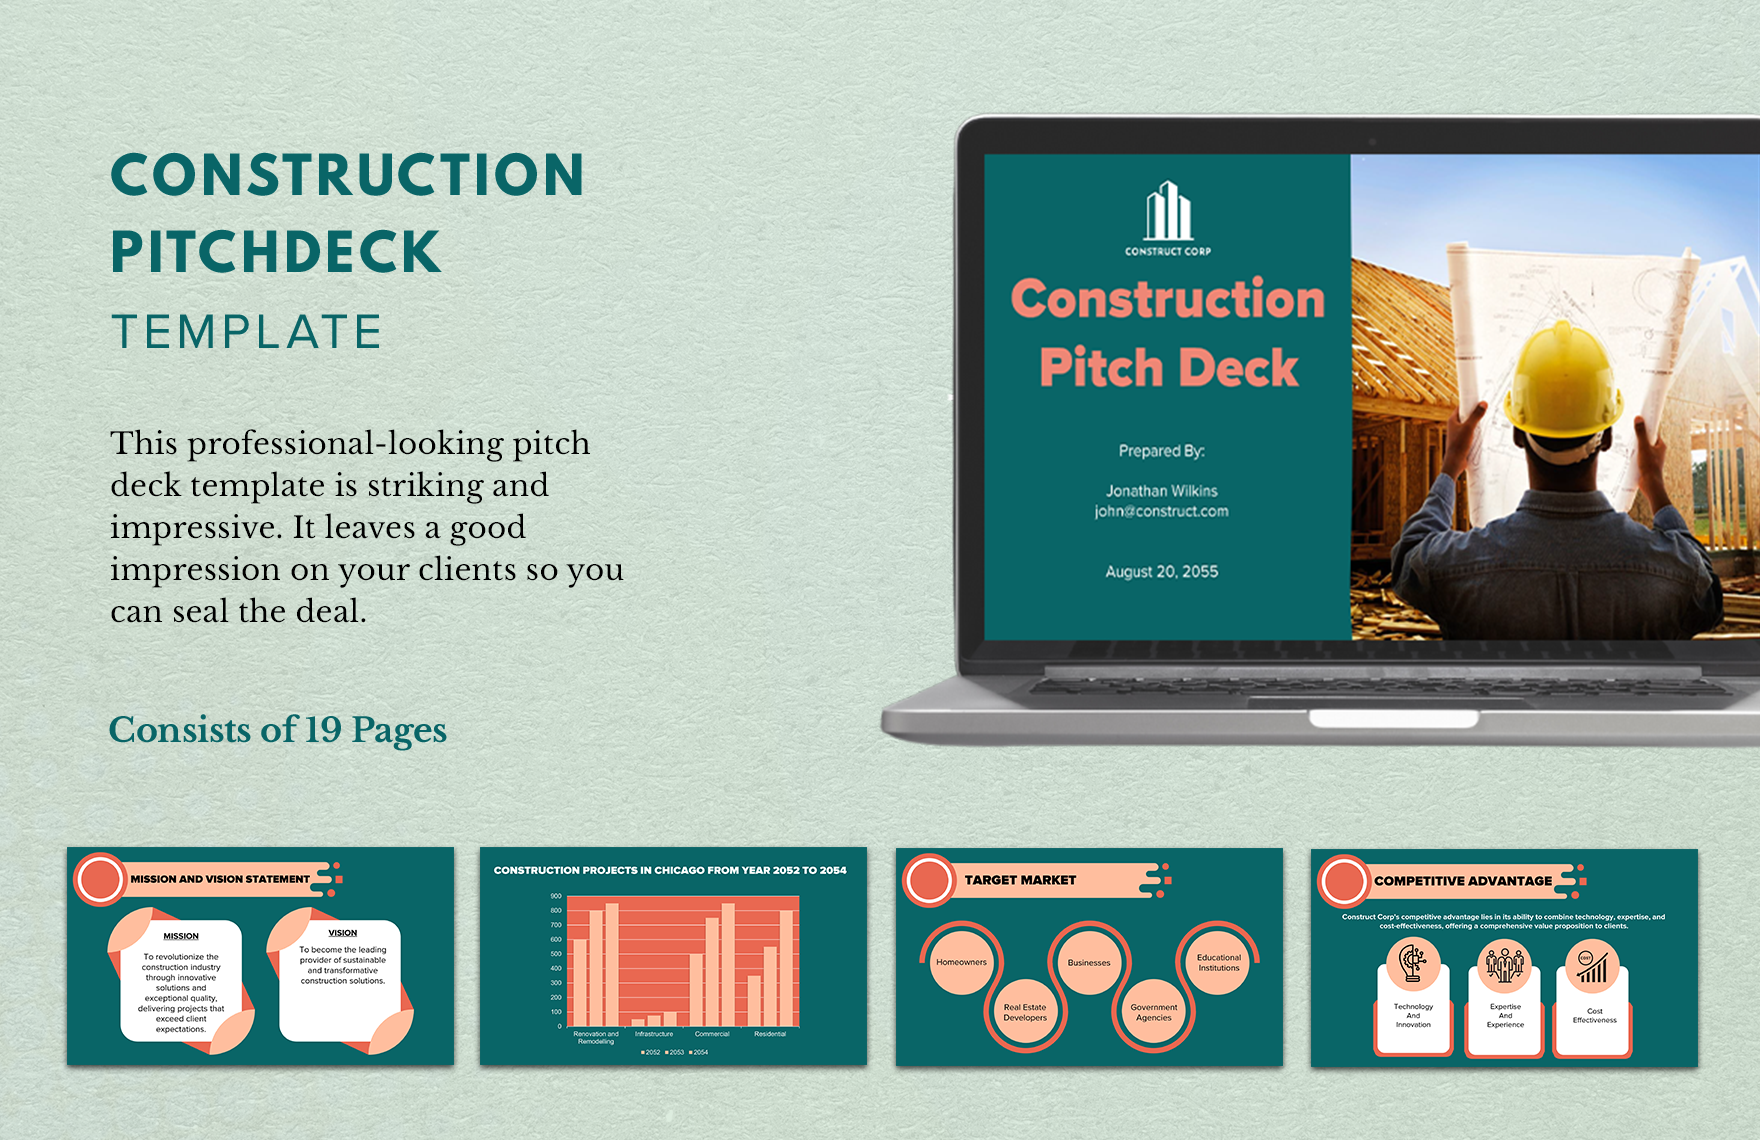
MS-Powerpoint is a powerful tool created by Microsoft to help make presentations and slides. It allows projecting images and backdrops in the form of slideshows to help the presenter make his point. And quite obviously, as a construction business owner, you know how important it is to advertise and present your projects. Therefore, at Template.net. we have prepared a huge range of Construction Templates created and accessible through Powerpoint. You can simply download these documents and make use of the multiple excellent features of MS-Powerpoint to create your presentation and other promotional documents with an ace. Hurry, what are you waiting for? Get them today and make the best impression on your customers and sanctioning authorities.

How to Make Construction Presentations and Documents in Powerpoint?
According to Wikipedia" Microsoft PowerPoint is a software application that is particularly used to present data and information by using text, diagrams with animation, images, and transitional effects, etc in the form of slides. It helps people to better understand the idea or topic in front of the audience practically and easily." In a Construction Project, one would often need to present their business' aim and goals for the investors to sanction and invest in your dreams. The steps to make such presentations in Powerpoint are:
Step 1: Select and Open the Microsoft PowerPoint application.
Step 2: Select File at the top left corner of the screen and select New. A box named “New
Presentation” will display on the right side of the screen.
Step 3: Click on “From Design Template" in the “New Presentation” dialog box. You
may then select one from the multiple design templates you like. These templates will be presented according to the requirements inserted. If these are promotional construction papers try to use templates with building or construction site pictures.
Step 4: Slide Design
Click and select the design template that matches your needs accurately. In the NEW Presentation Dialogue box, you can go to Color Scheme to select a new color for your presentation. Brighter and professional templates will help you promote your project and service better.
Step 5: Slide Layout
Alter the Slide Layout. Click on the format button under slide layout. Changing the slide layout you can modulate the sequence in which information shall be displayed during the presentation.
Step 6: Adding Text
In the presentation box, click to add title and sub-title. In the box underneath, click to insert information. Keep the information in the Construction Slides short and crisp. This will keep the customers or concerned authorities interested.
Step 7: Adding Pictures
To add pictures you can select the add pictures option by clicking on the dialogue box that says “Click to add content.”
A smaller box with six icons will appear inside that box. Select the icon that appears like a photograph of a mountain. A new window allowing you to insert pictures from a different file or a CD, etc. will open up. Select the picture and then click on it to insert the picture in the presentation. Make sure the picture is of good quality and not pixellated. A picture from your previous or recent construction project will have the best impression.
Step 8: Resizing Pictures
MS-Powerpoint also gives you the option of moderating the size of the pictures. On selecting the resizing option, the
picture will have black lines around it with small bubbles or boxes in the corners. Place the cursor over the bubbles or boxes and select. Drag the bubbles to resize your picture(s) to the appropriate size you require. Do not make the pictures too big as they will drive the attention away from the information in the slides.
Step 5: Add different slides one after the other to make a credible and informative presentation. make sure the number of slides is in keeping with the time you have in hand. Also, give only the information regarding your Construction Project that are important.