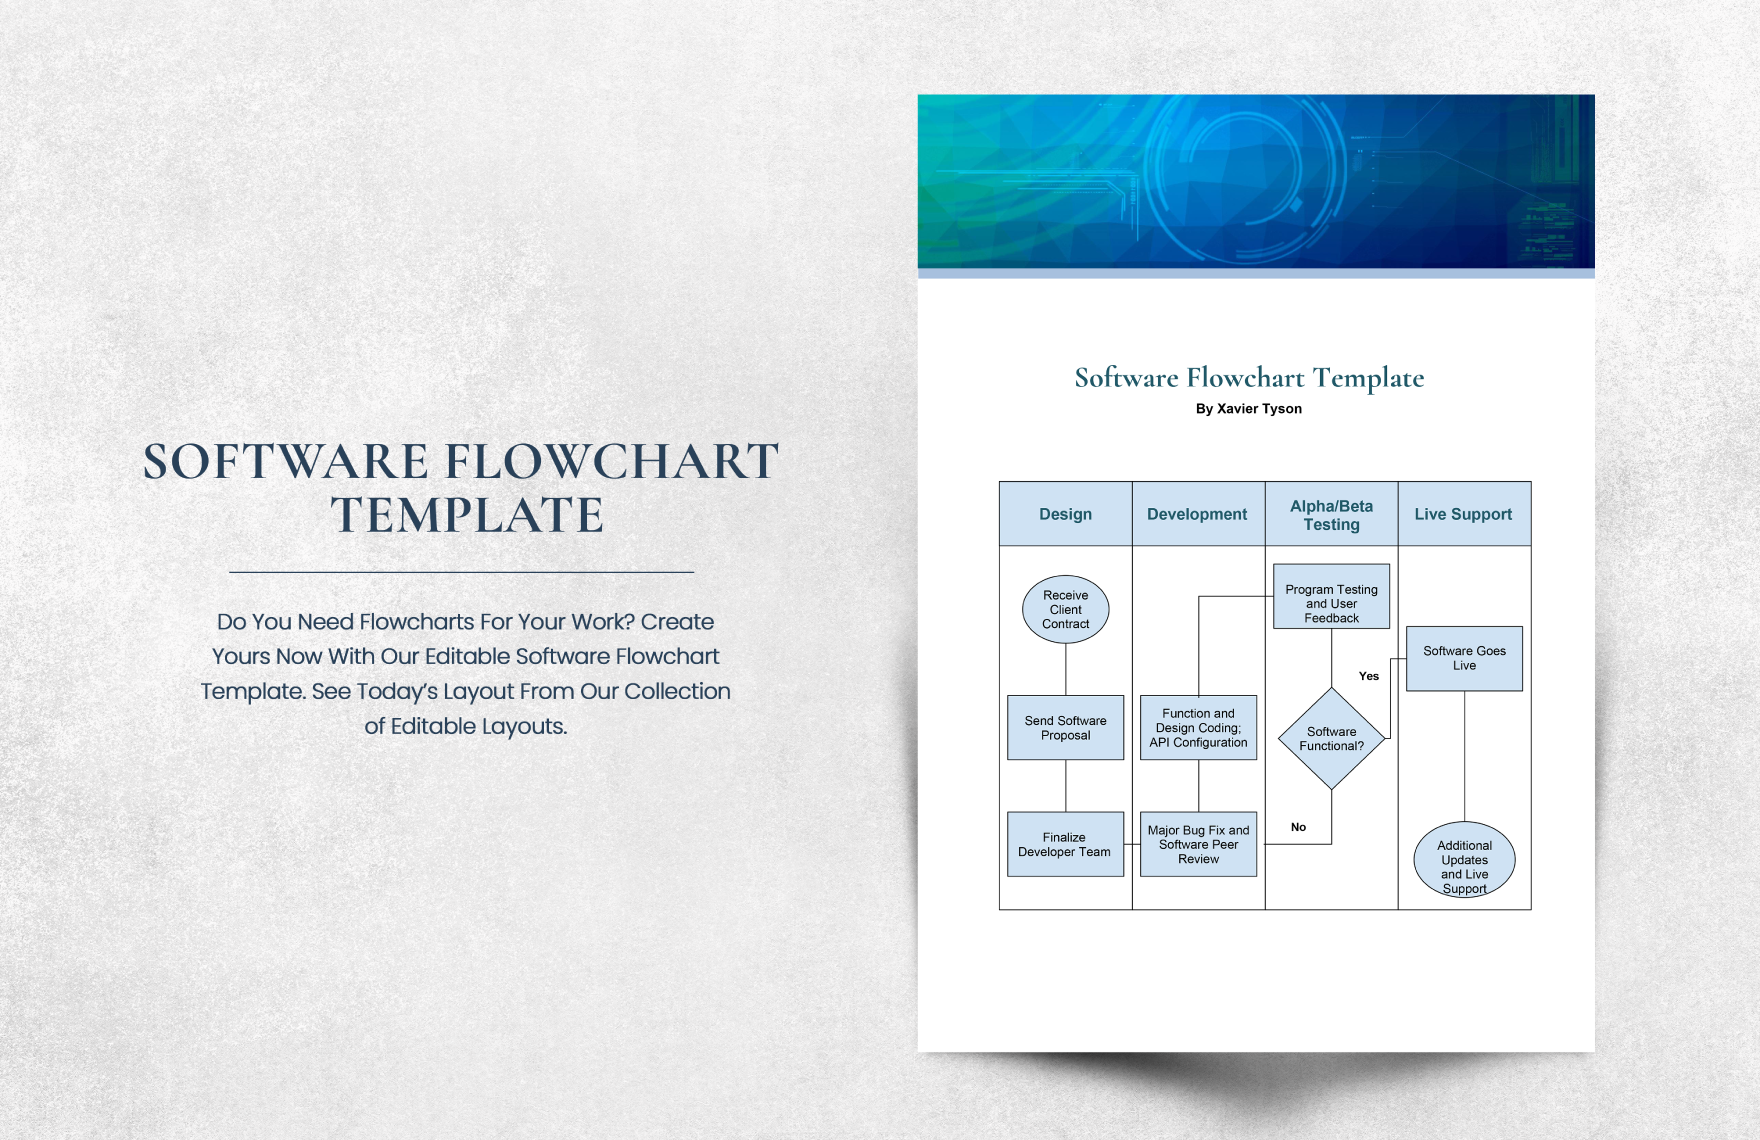
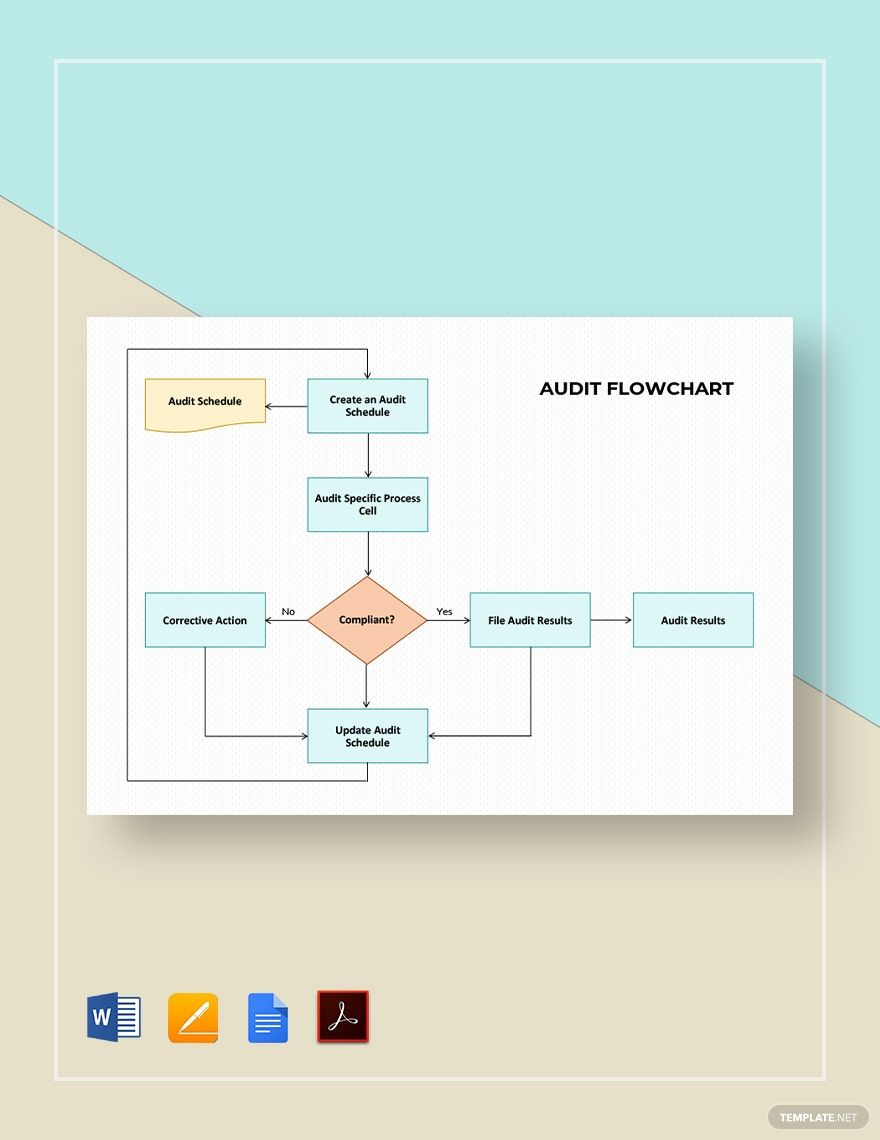
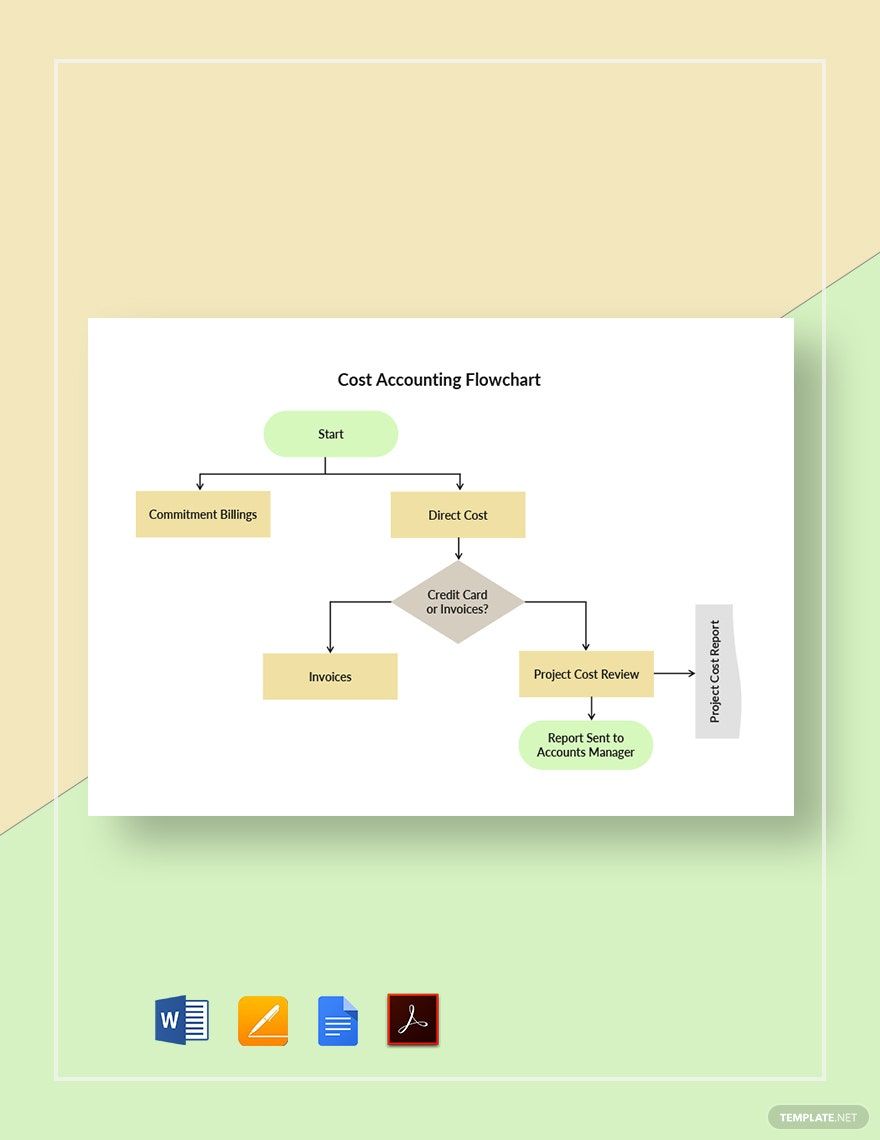
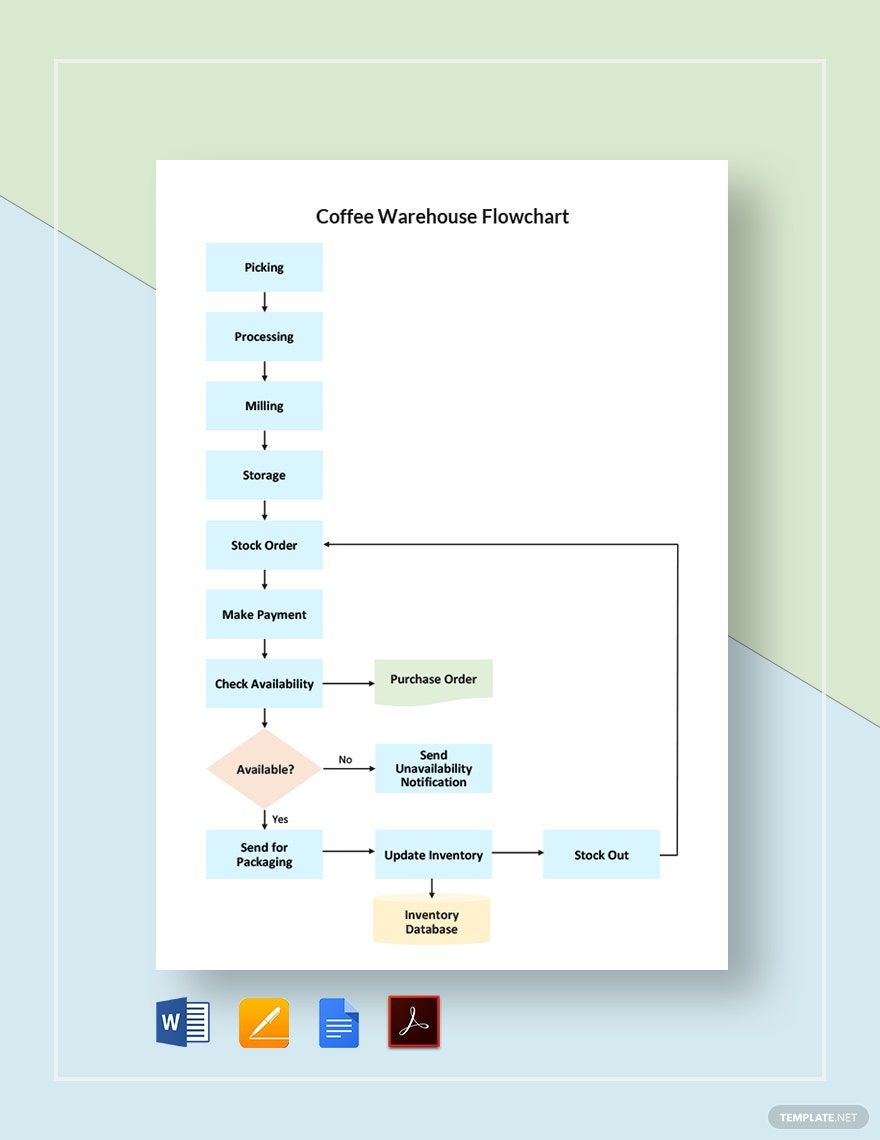
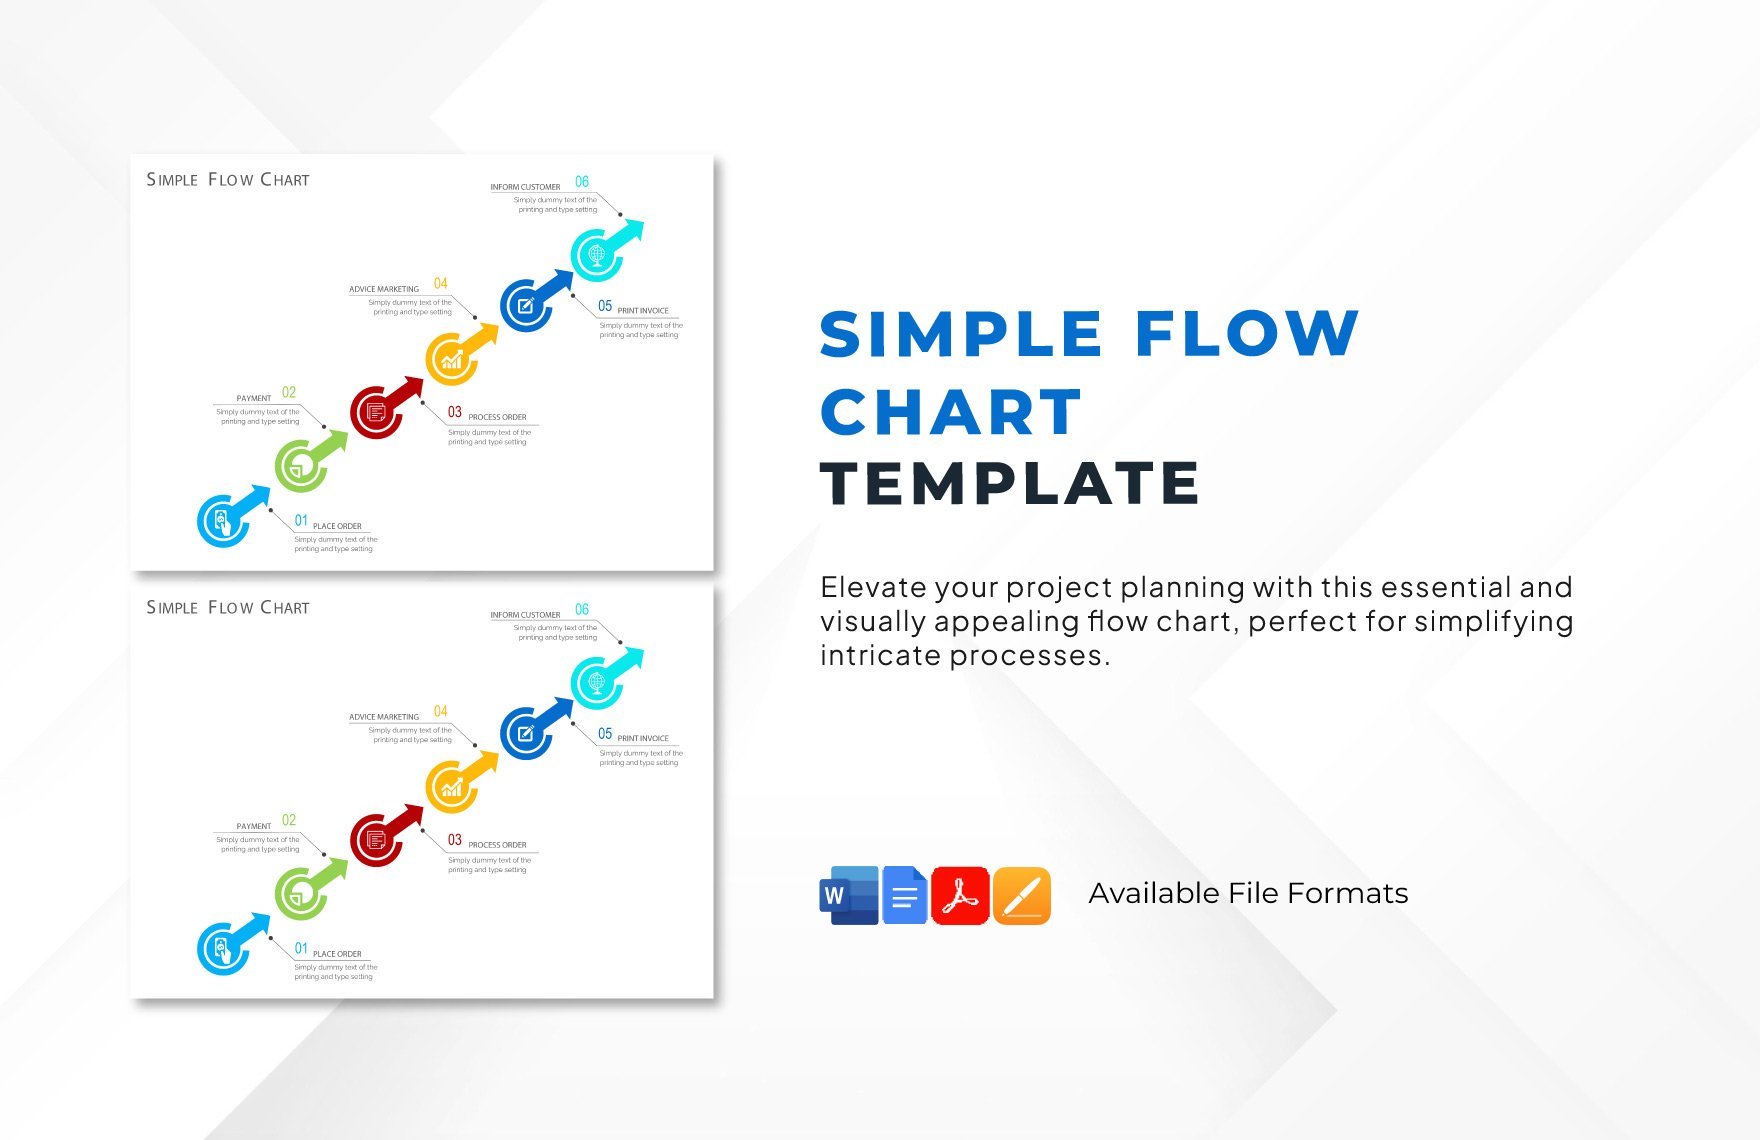
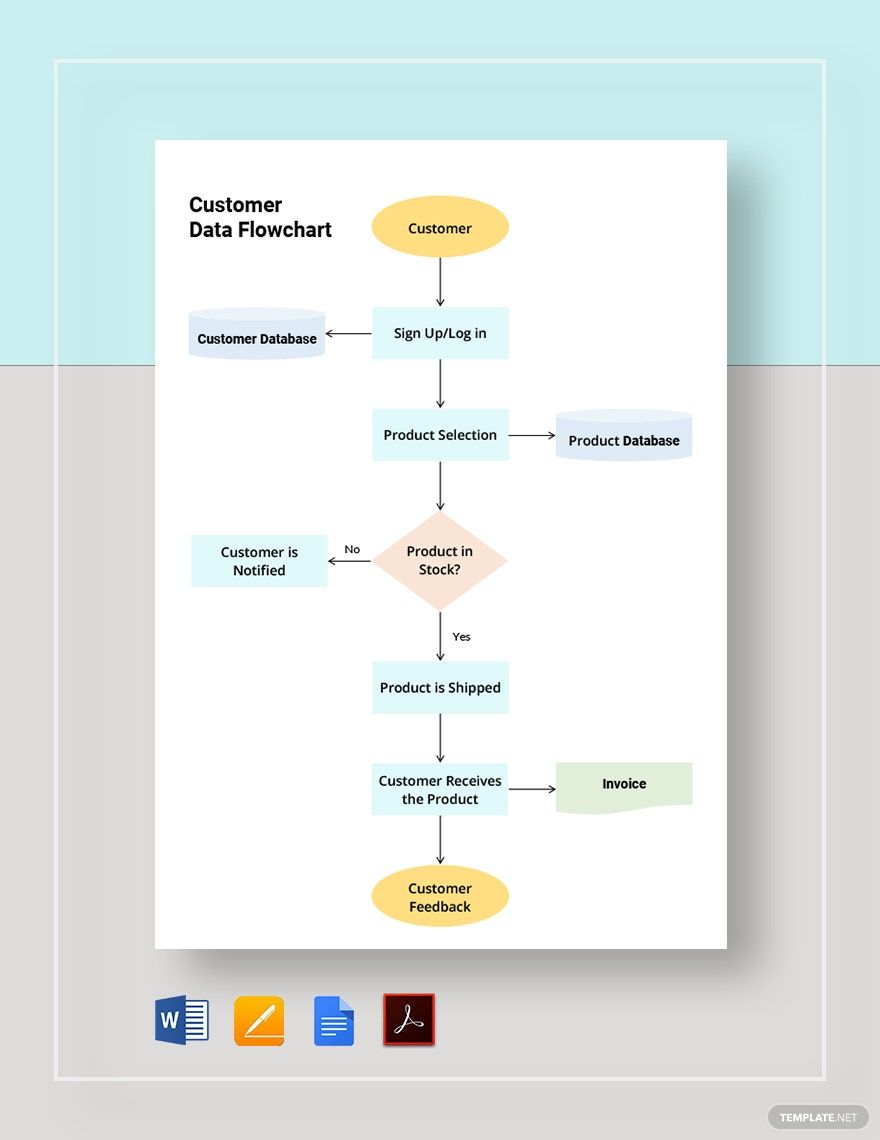
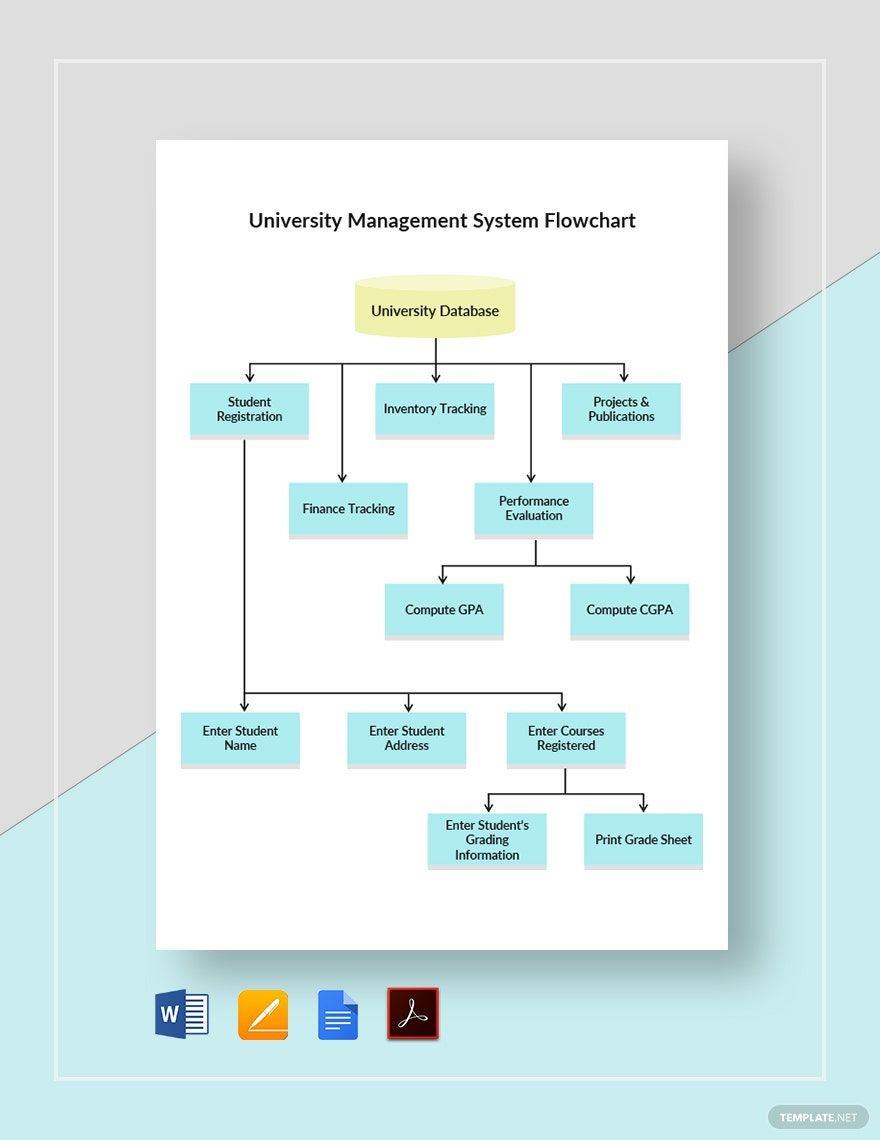
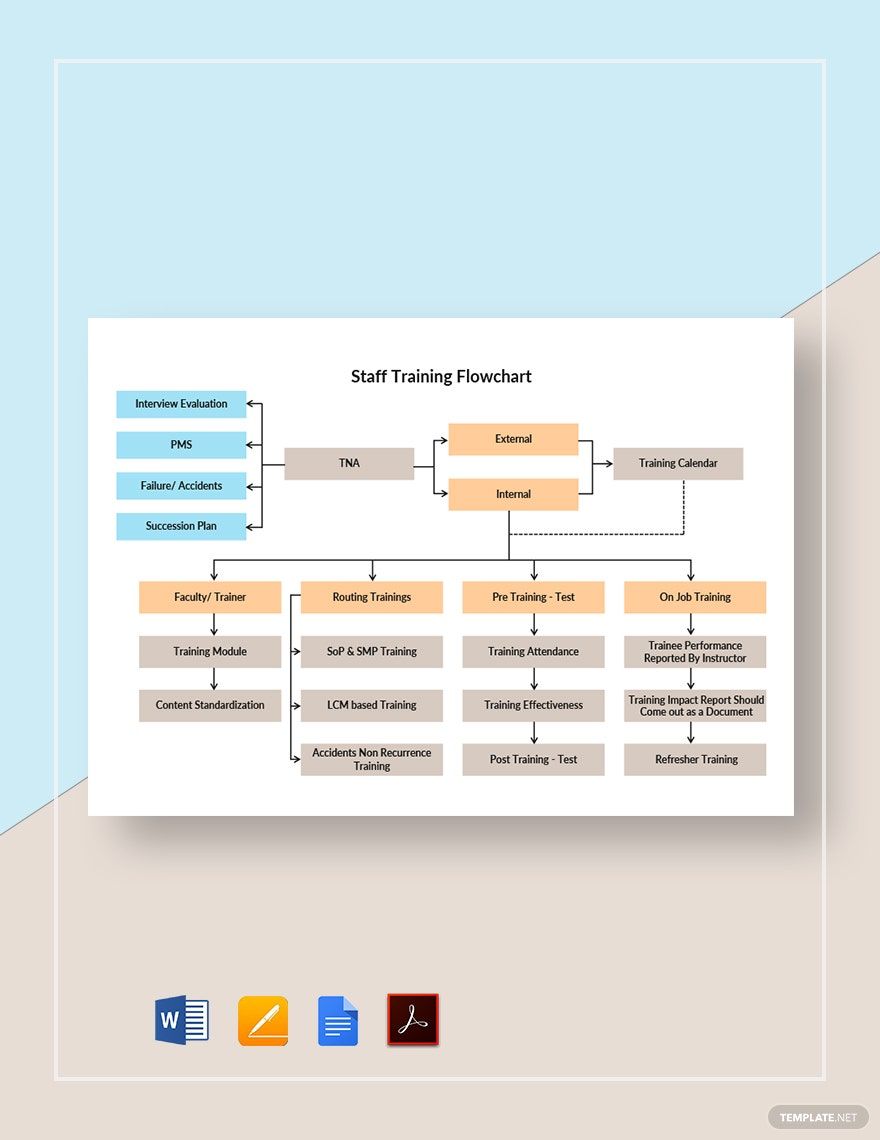
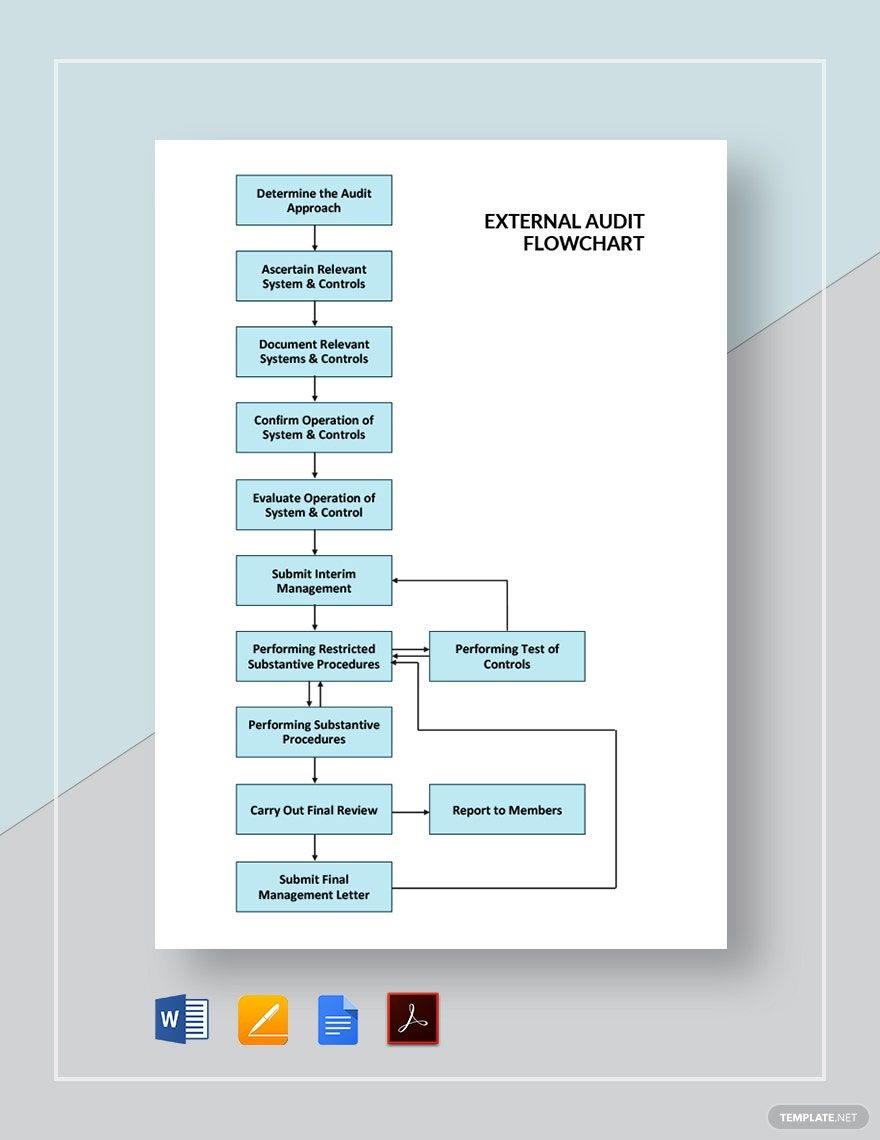
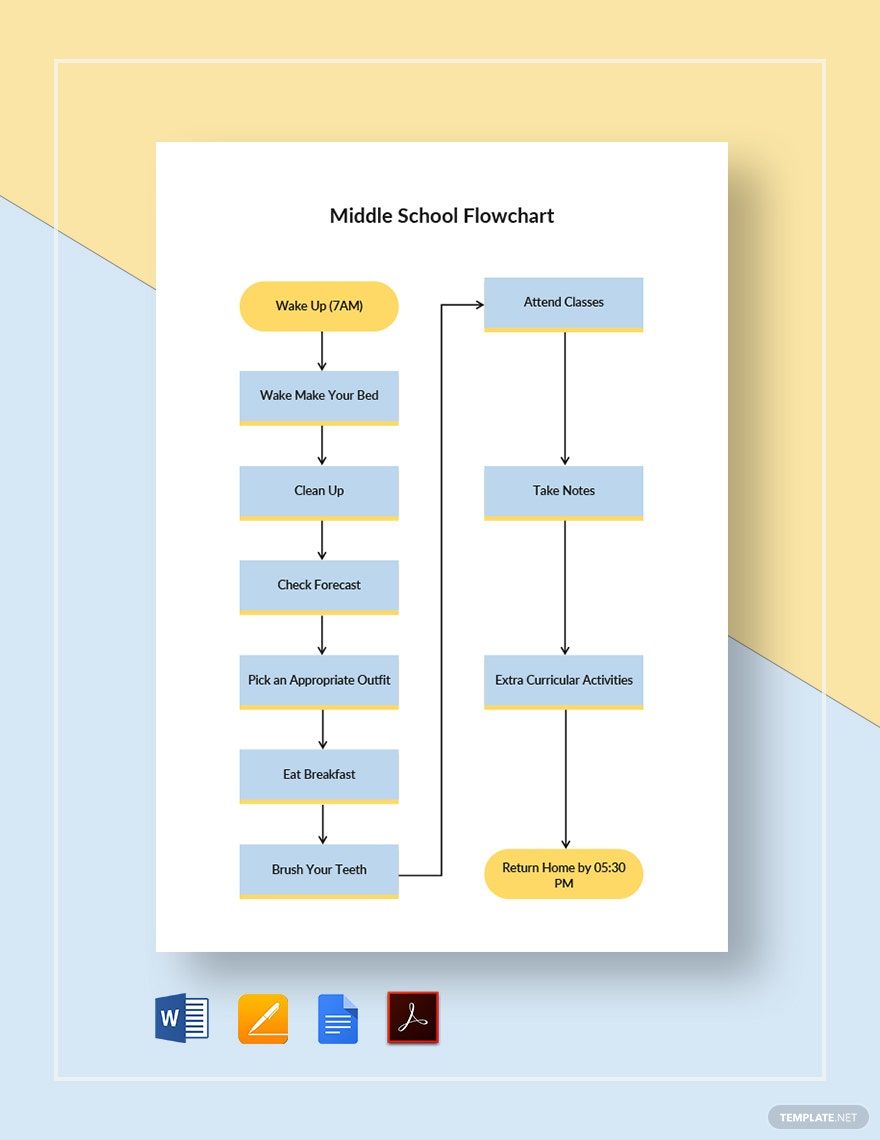
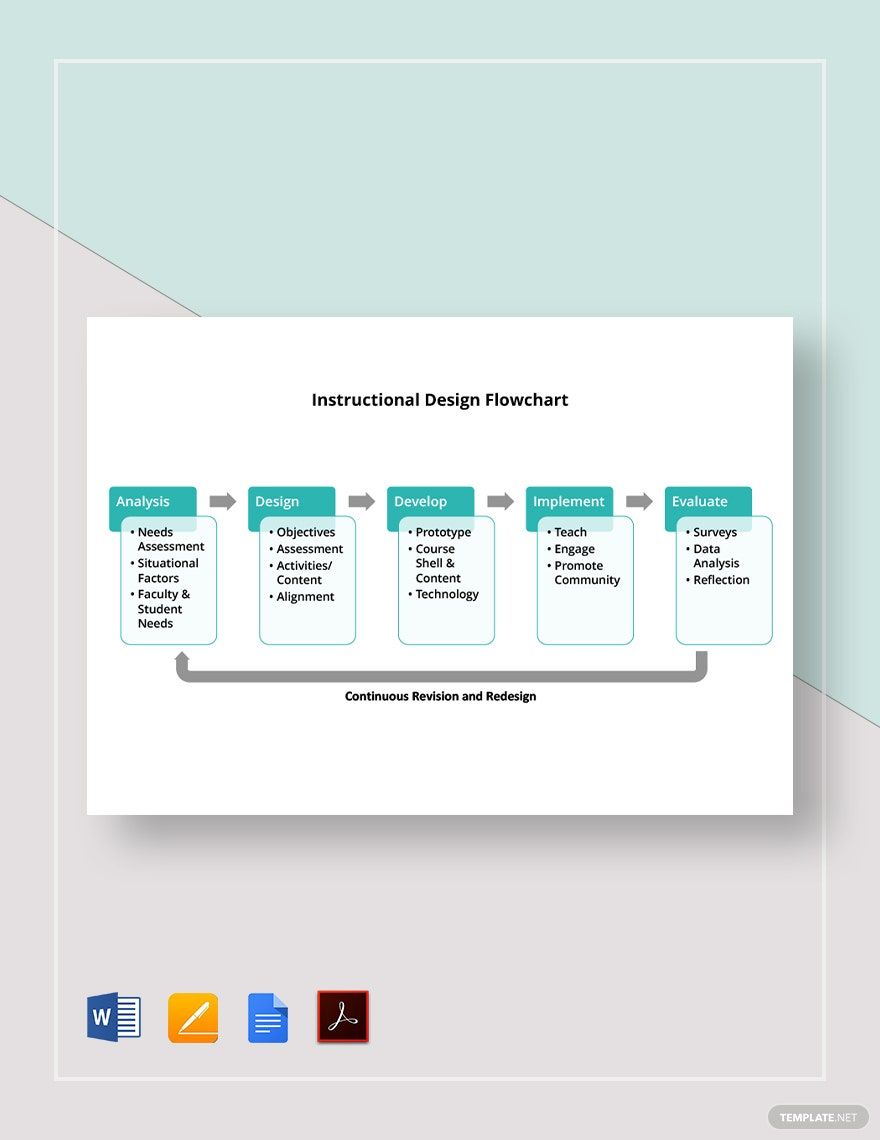
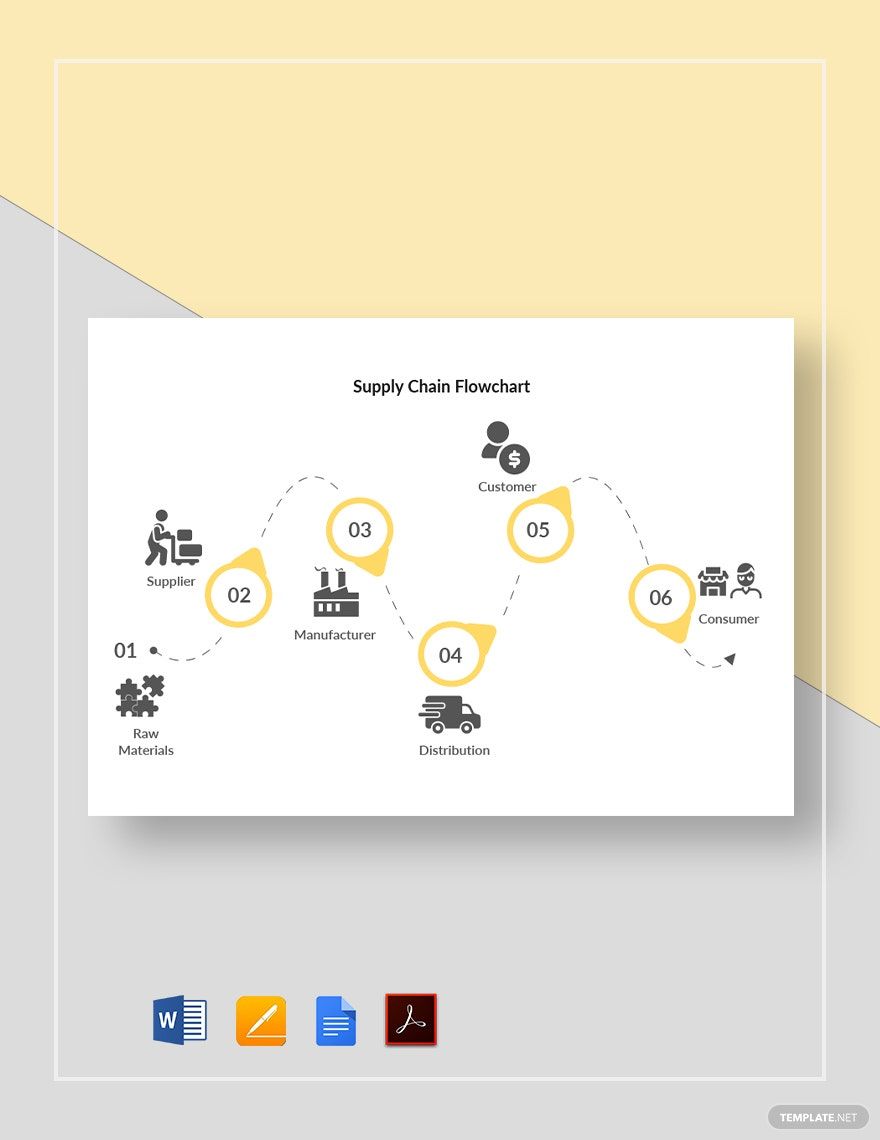
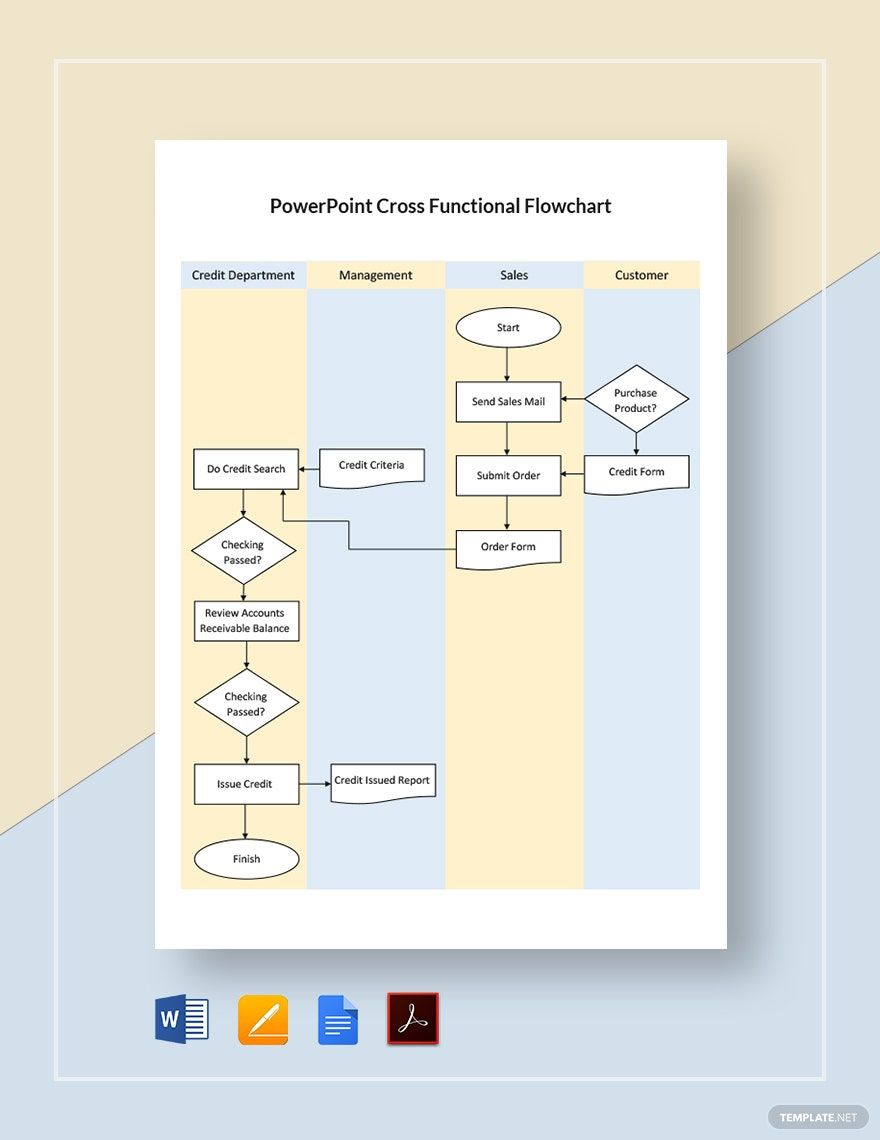
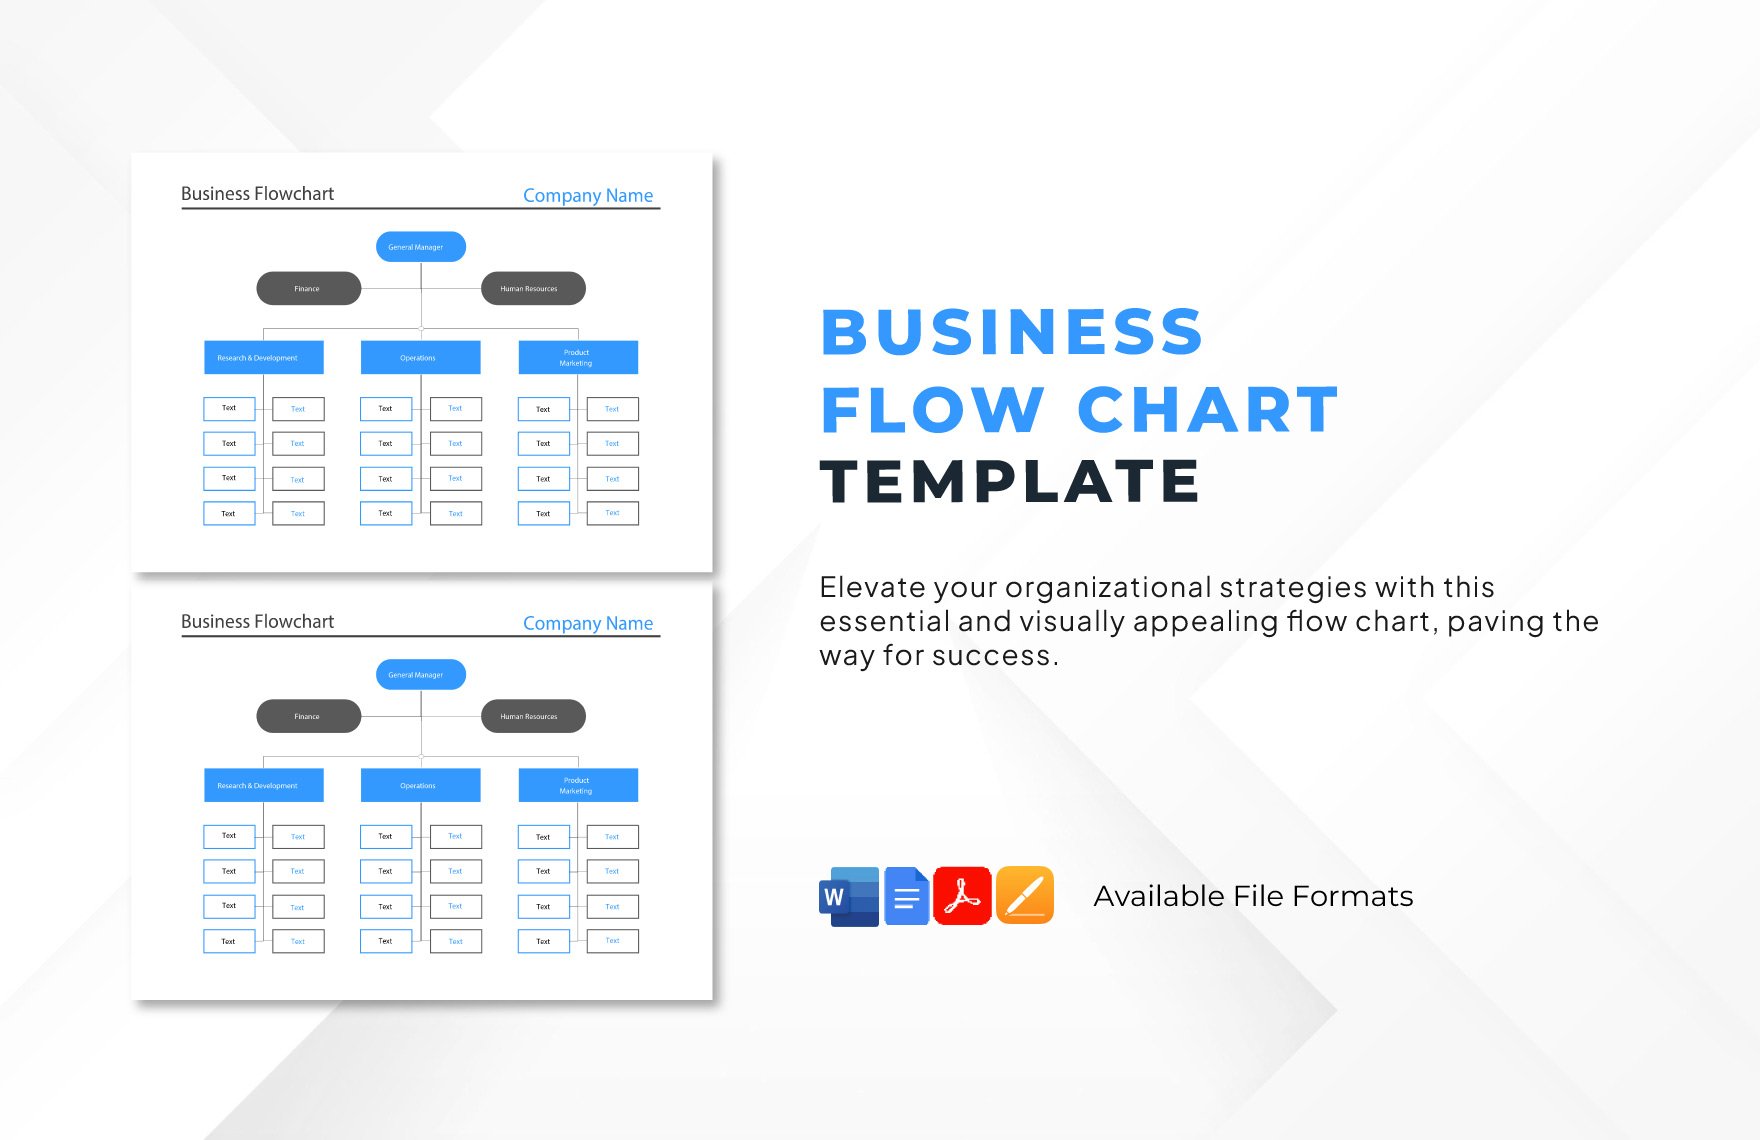
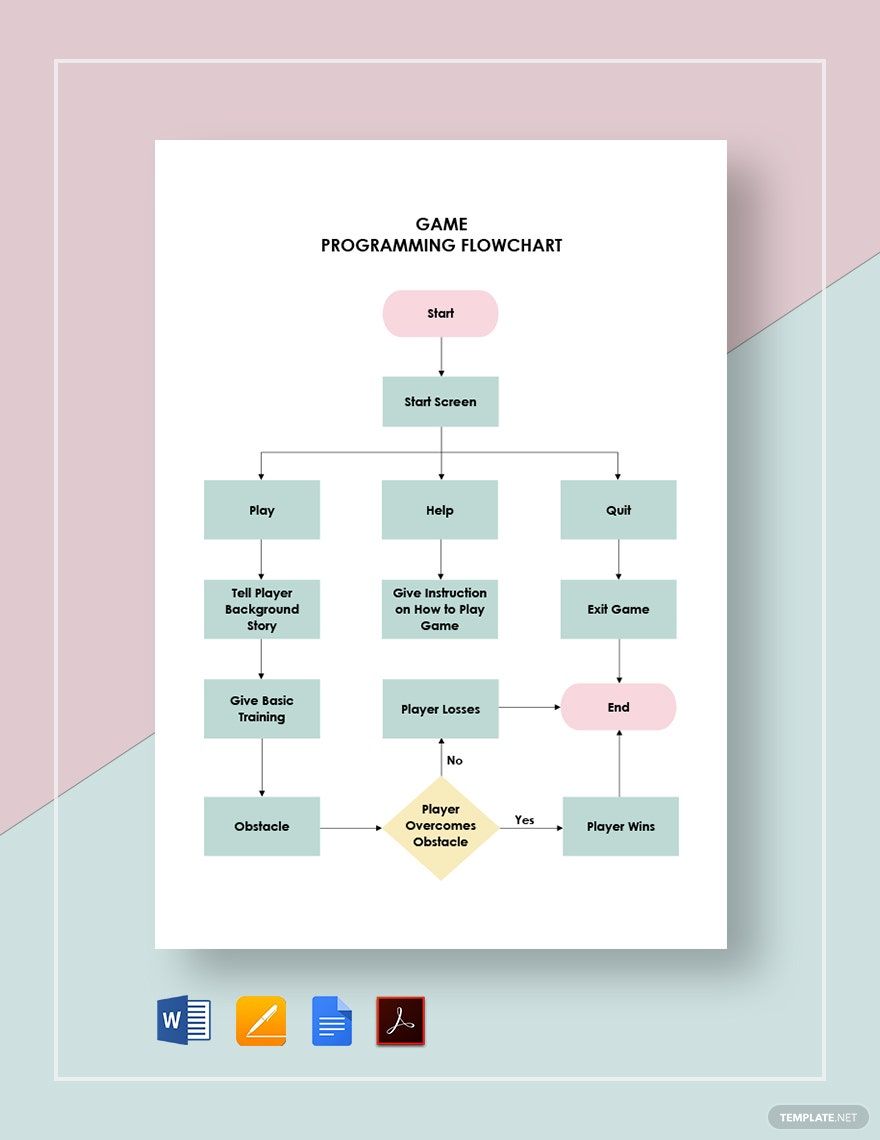
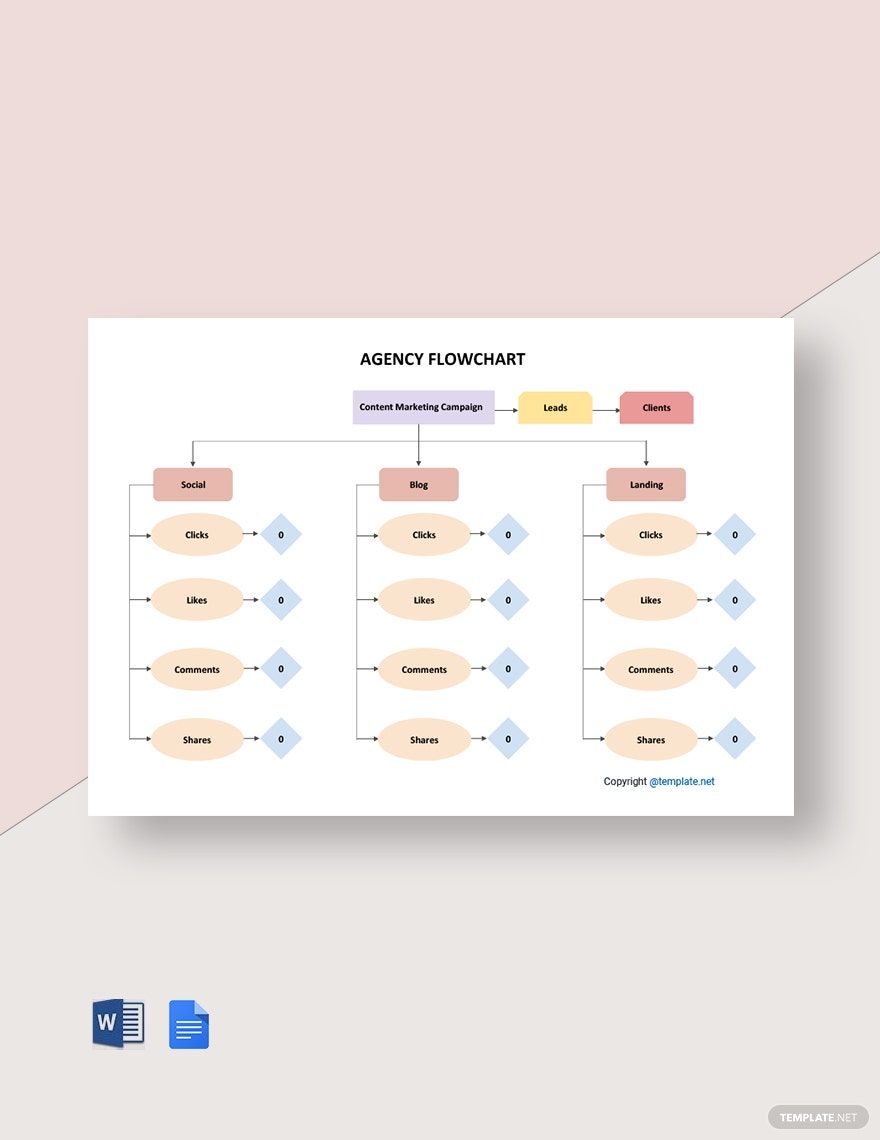
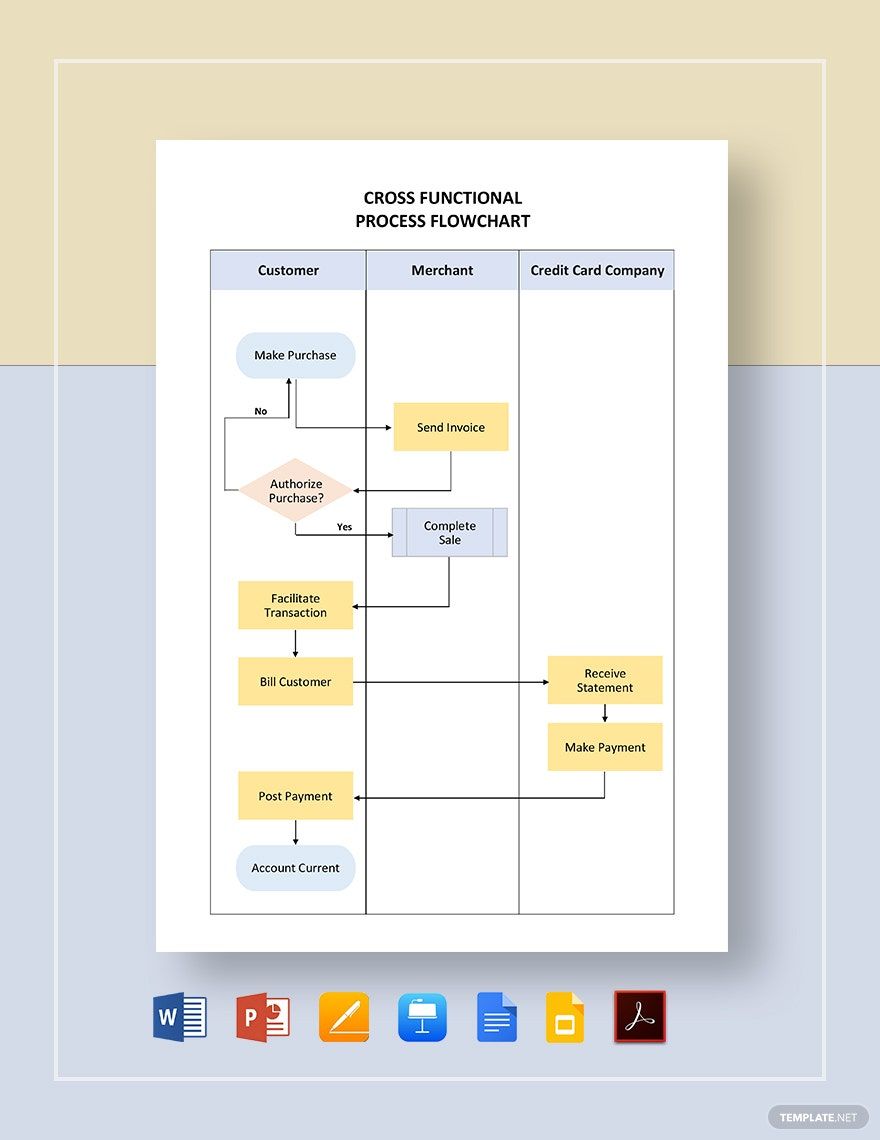
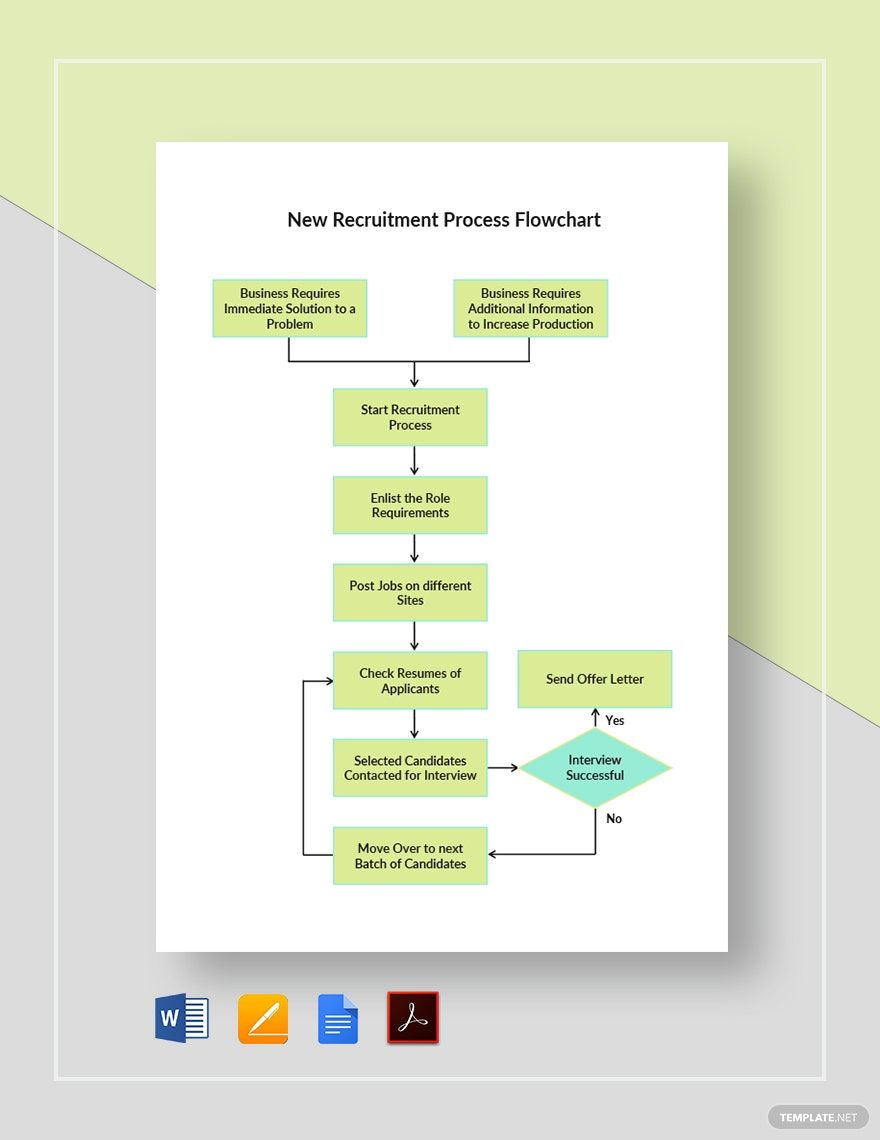
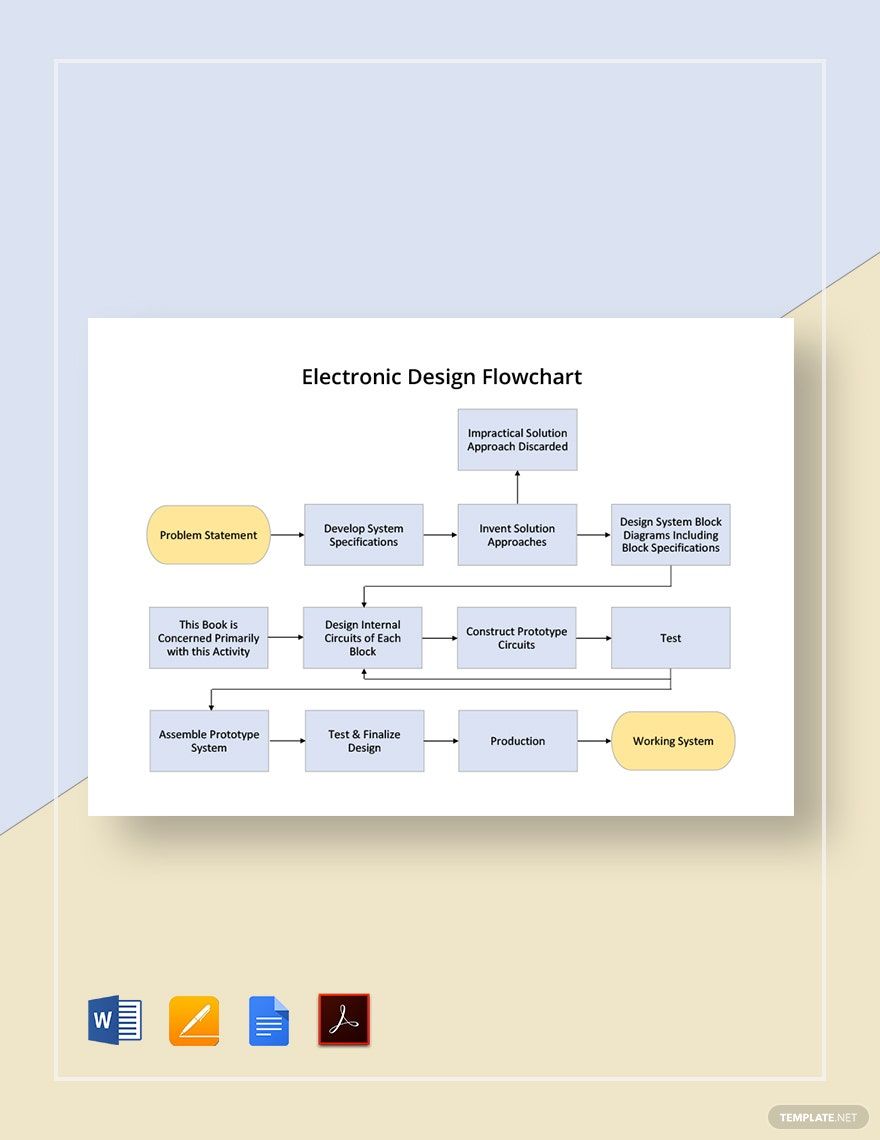
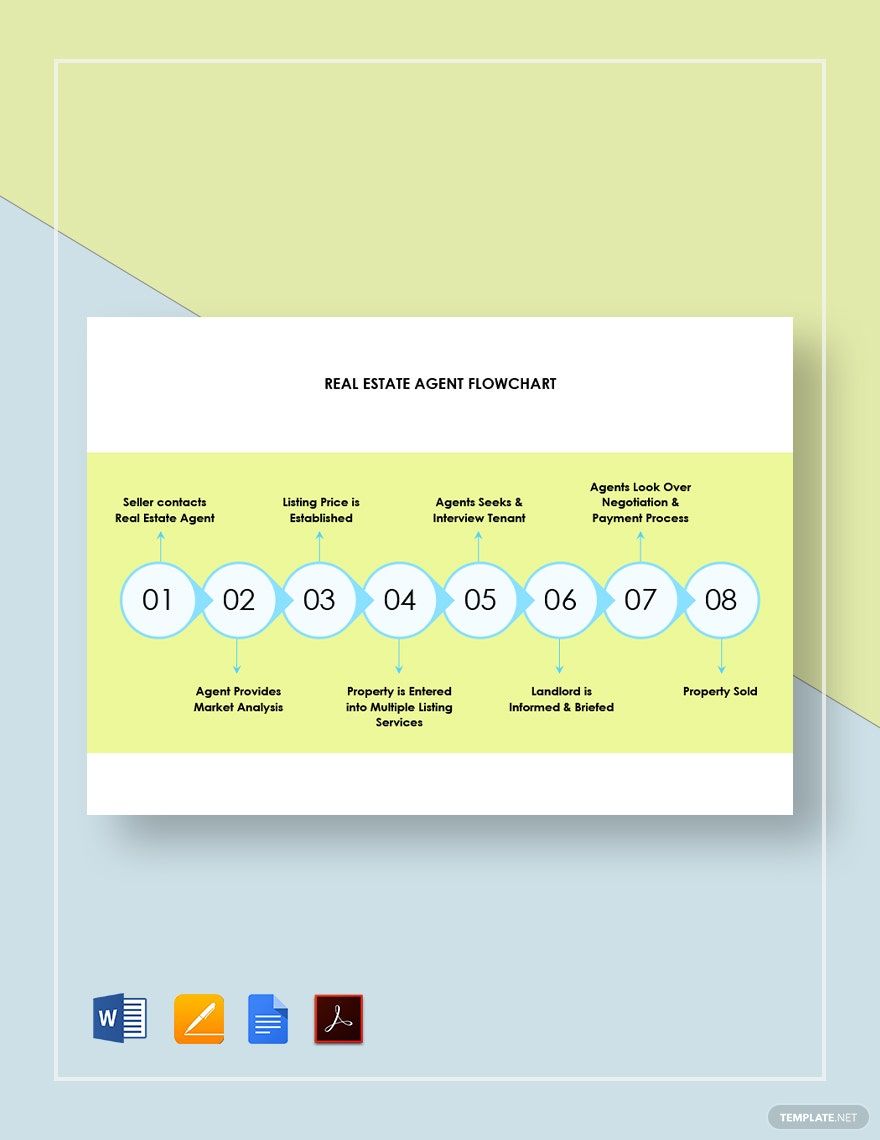
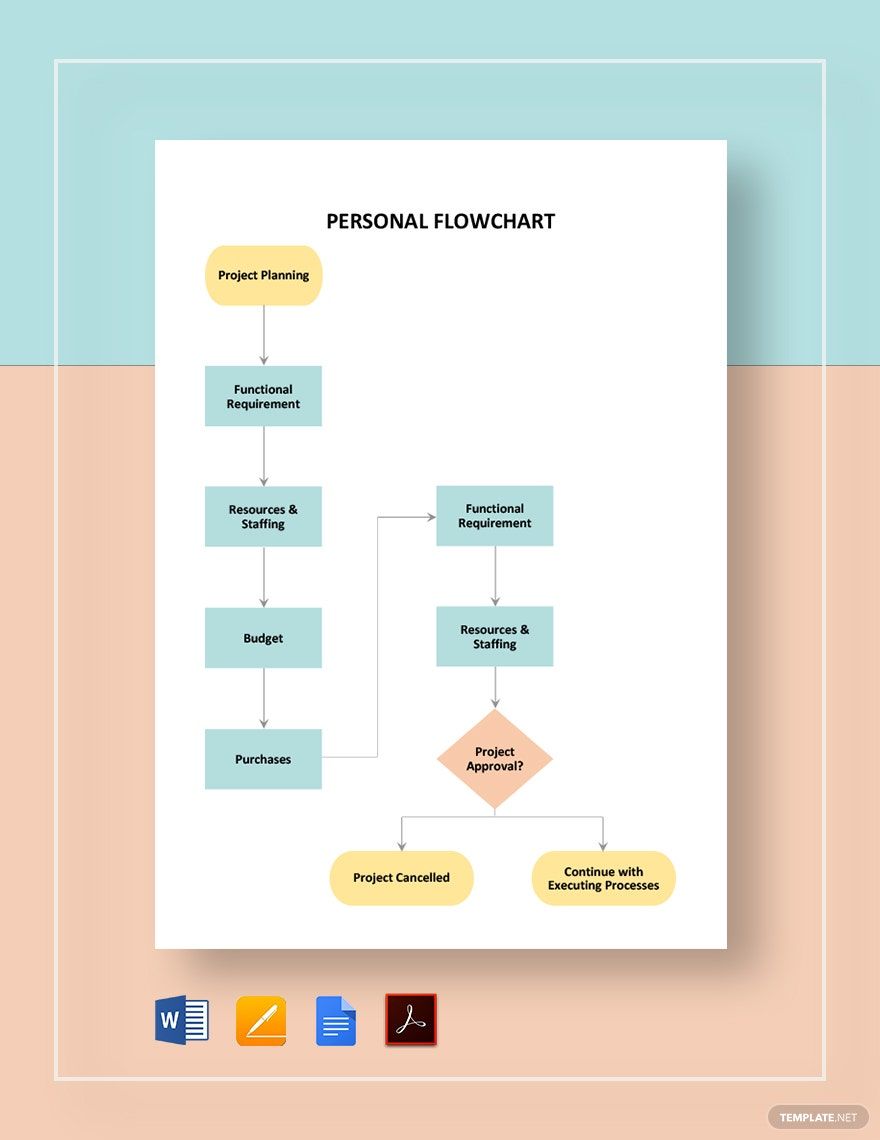
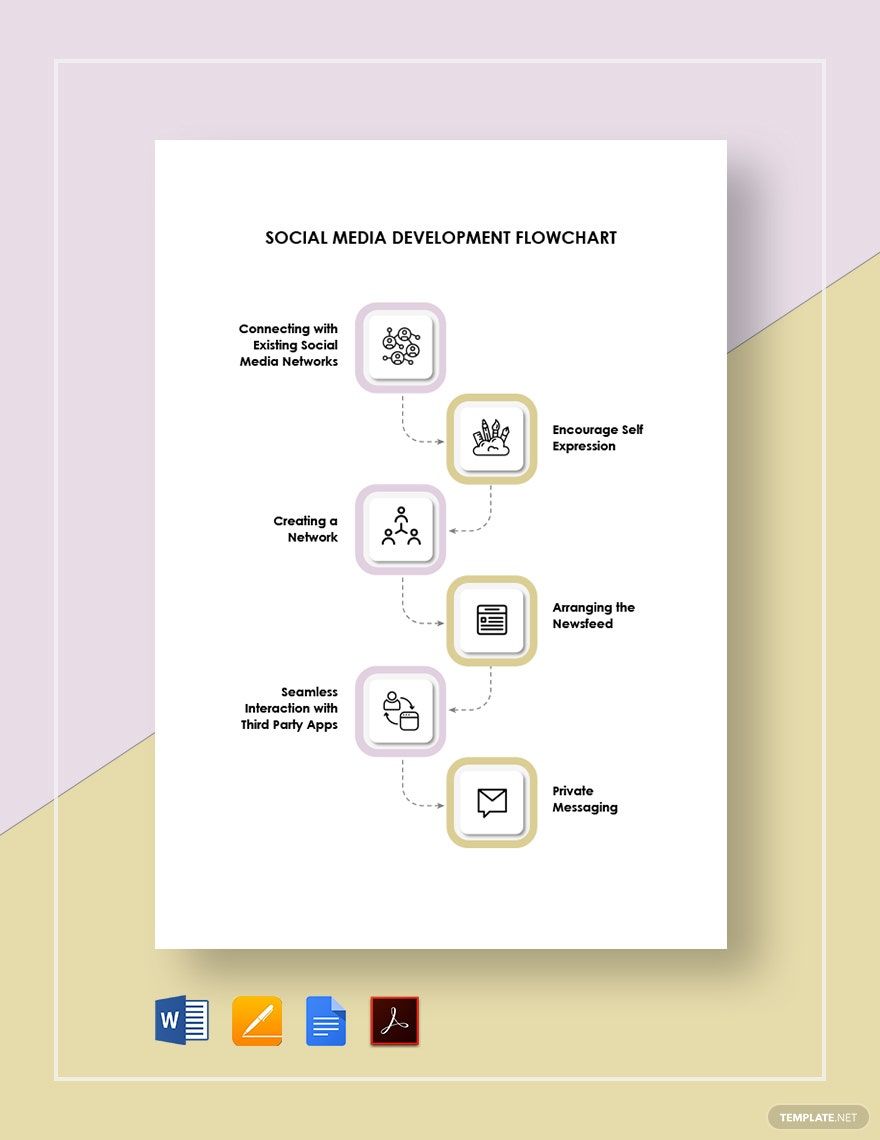
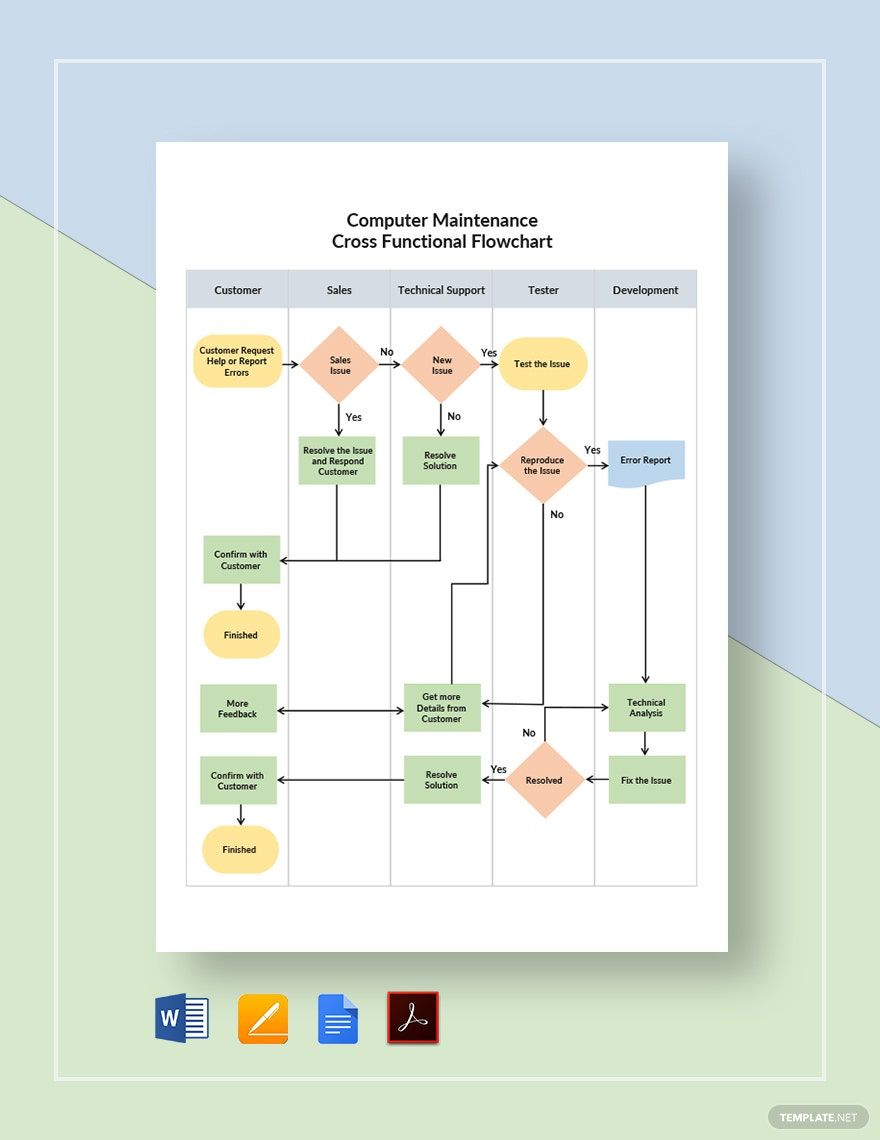
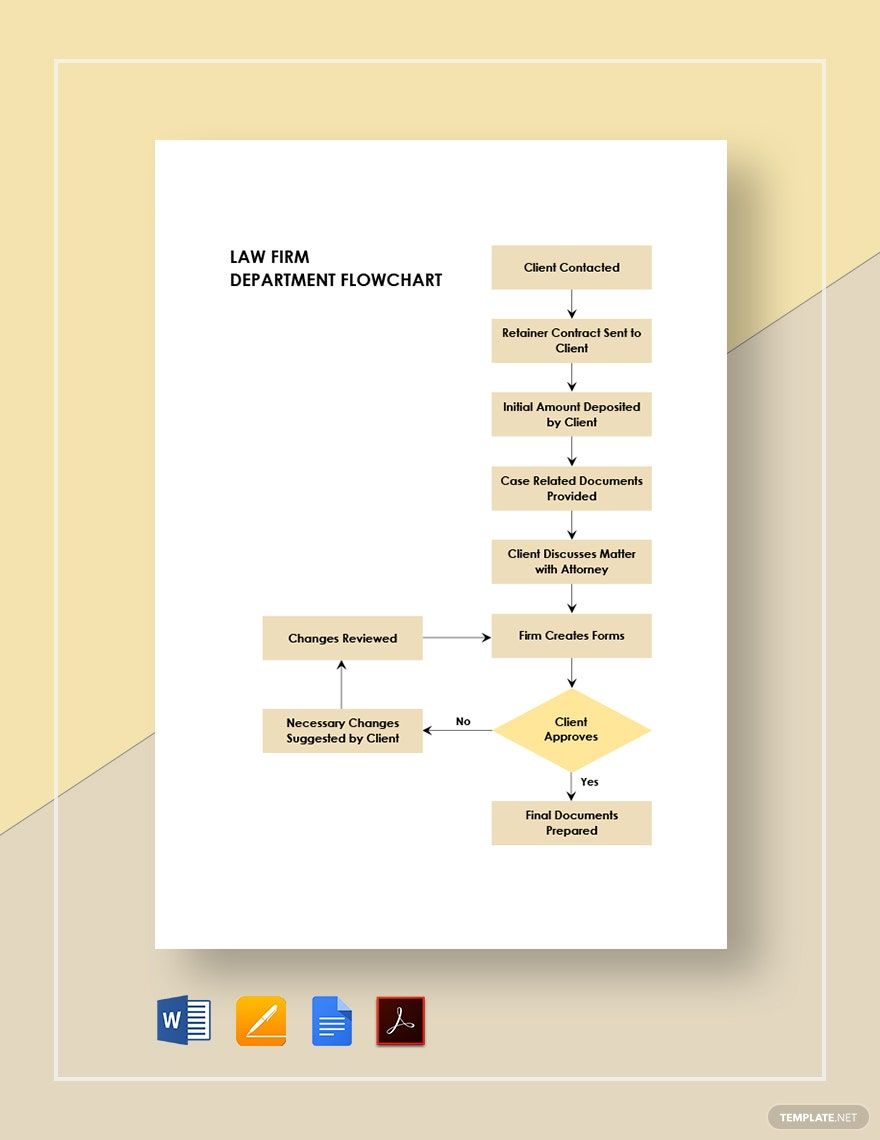
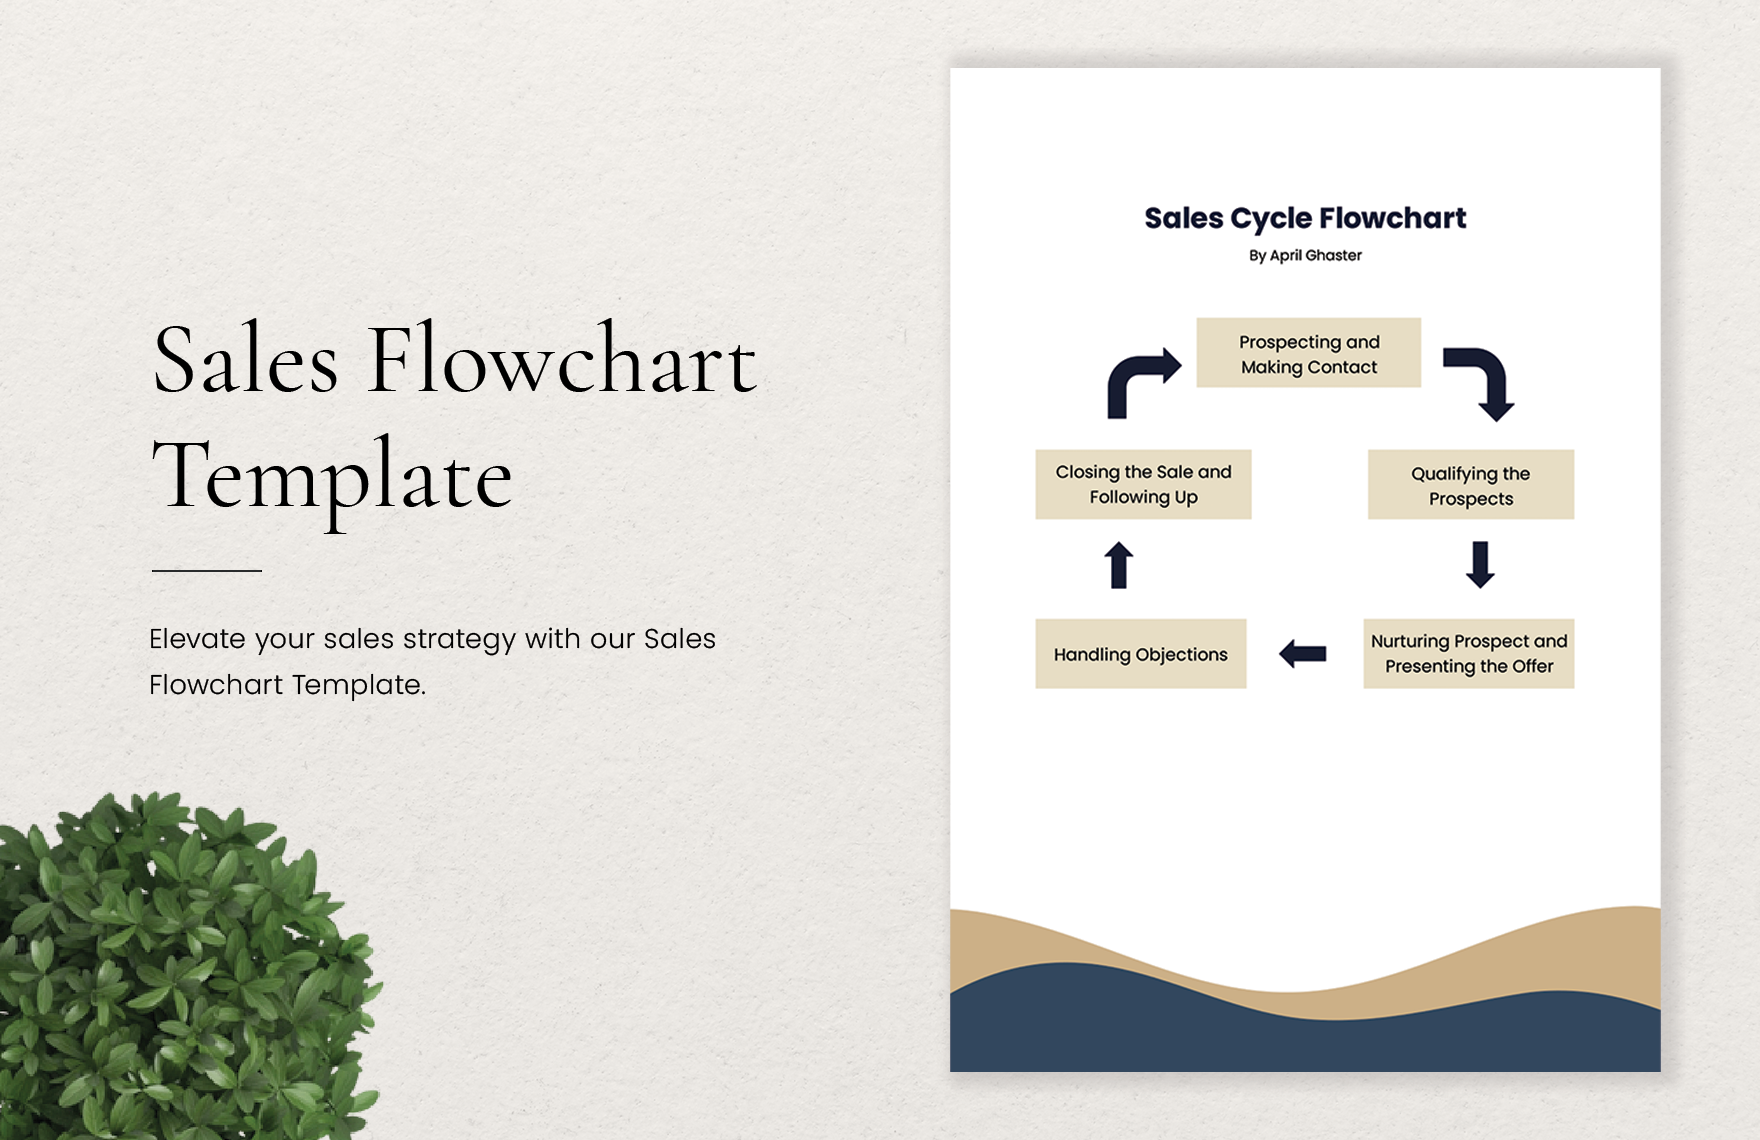
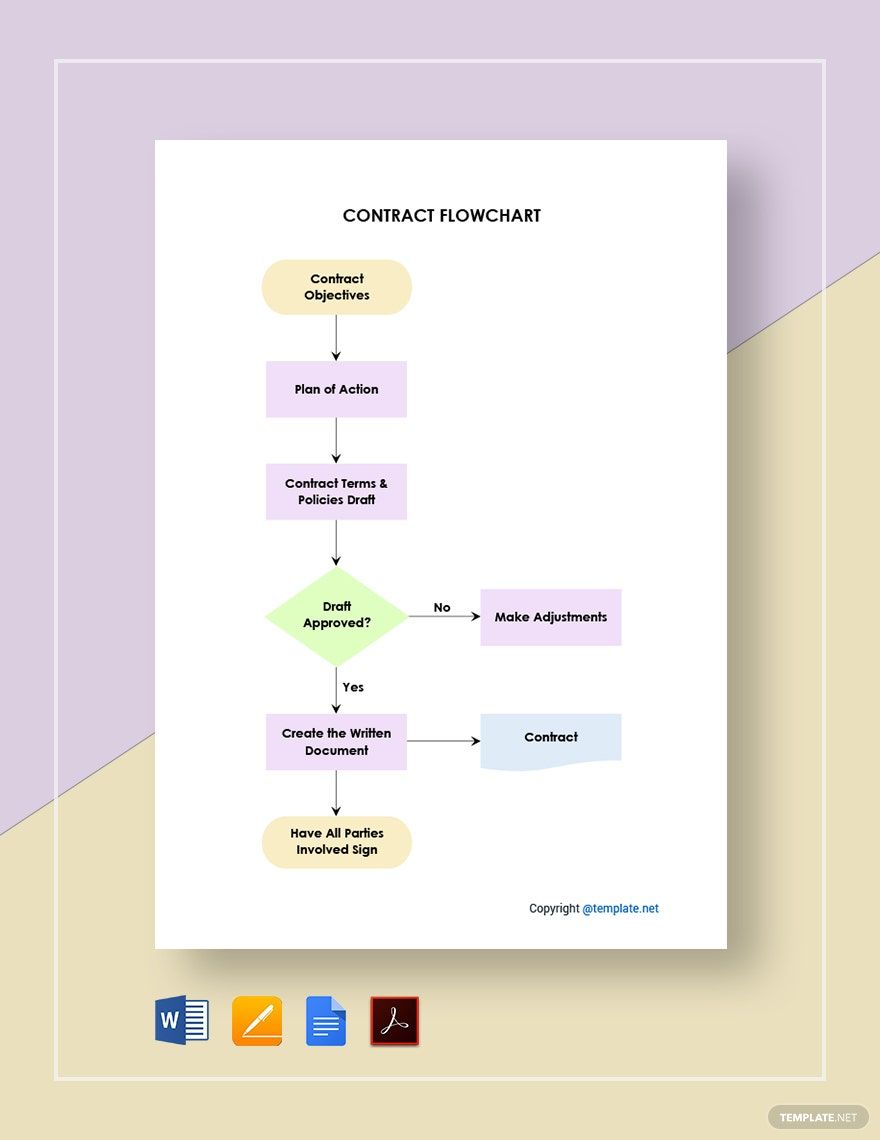
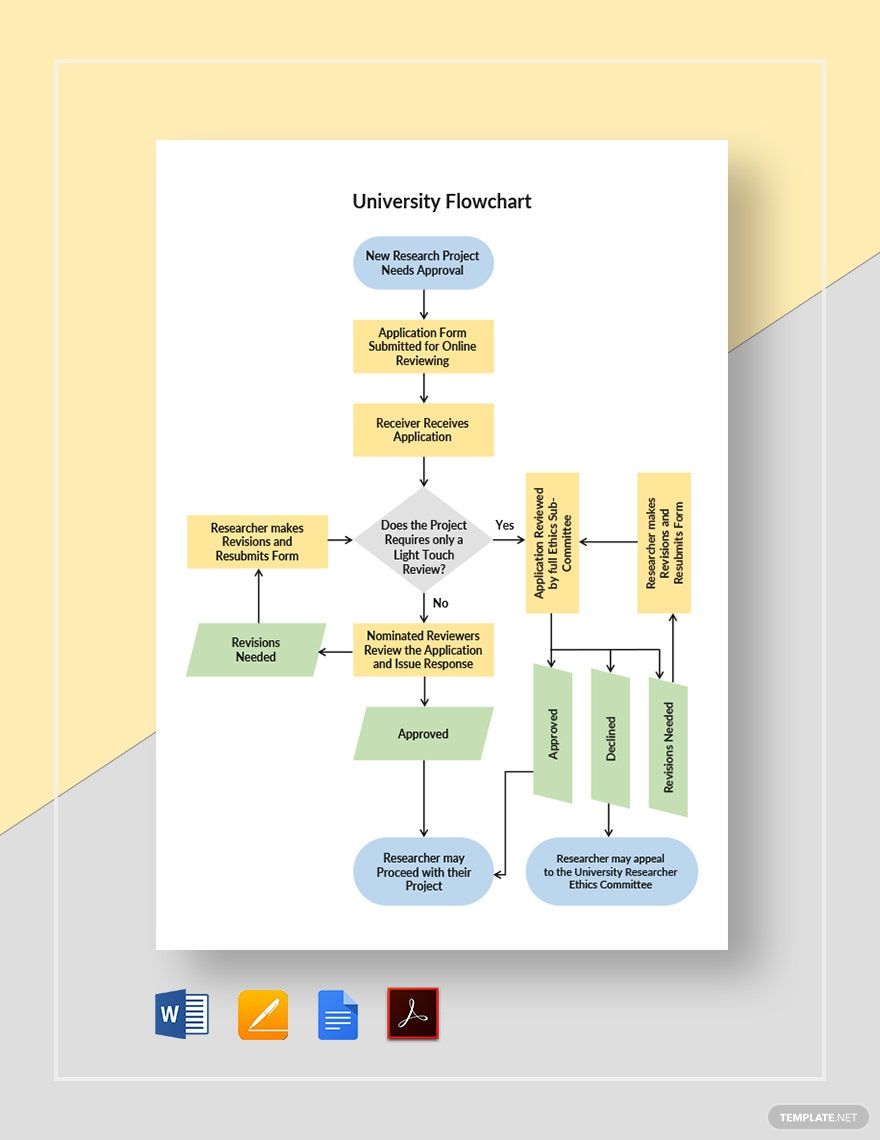
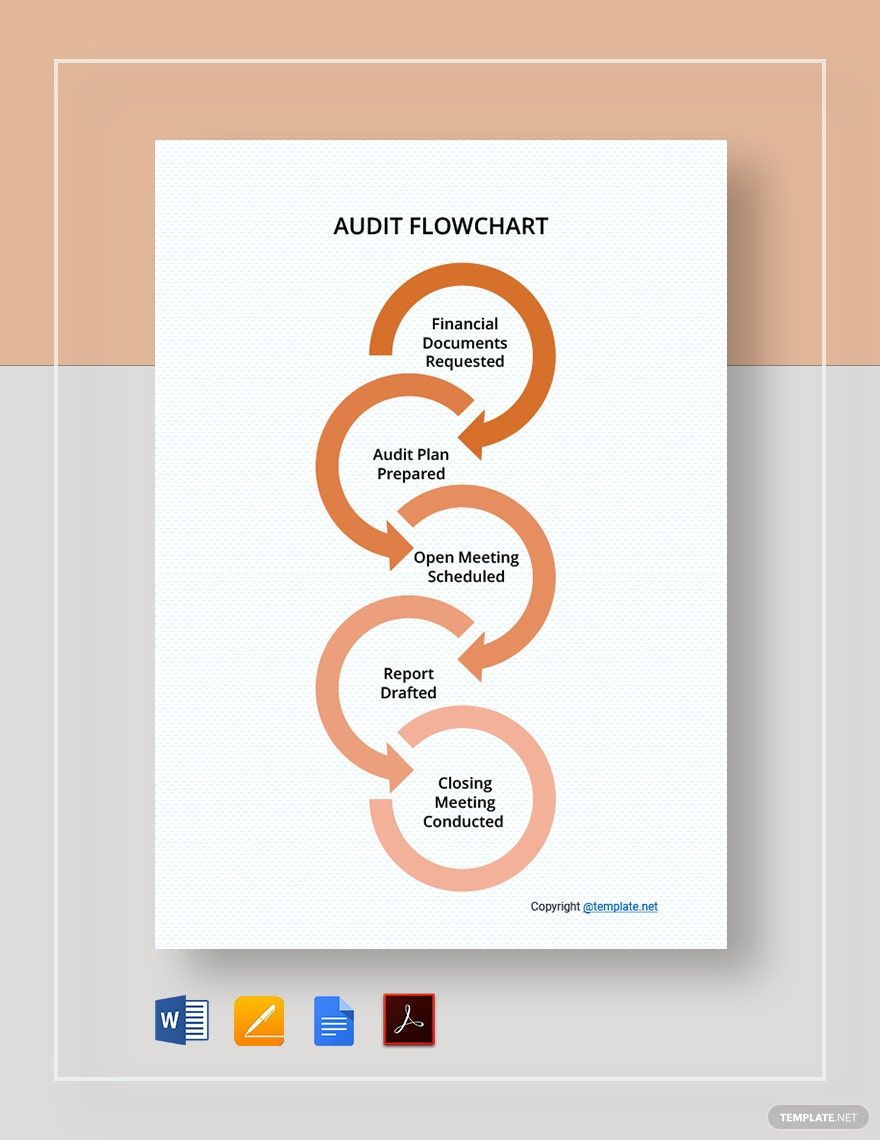
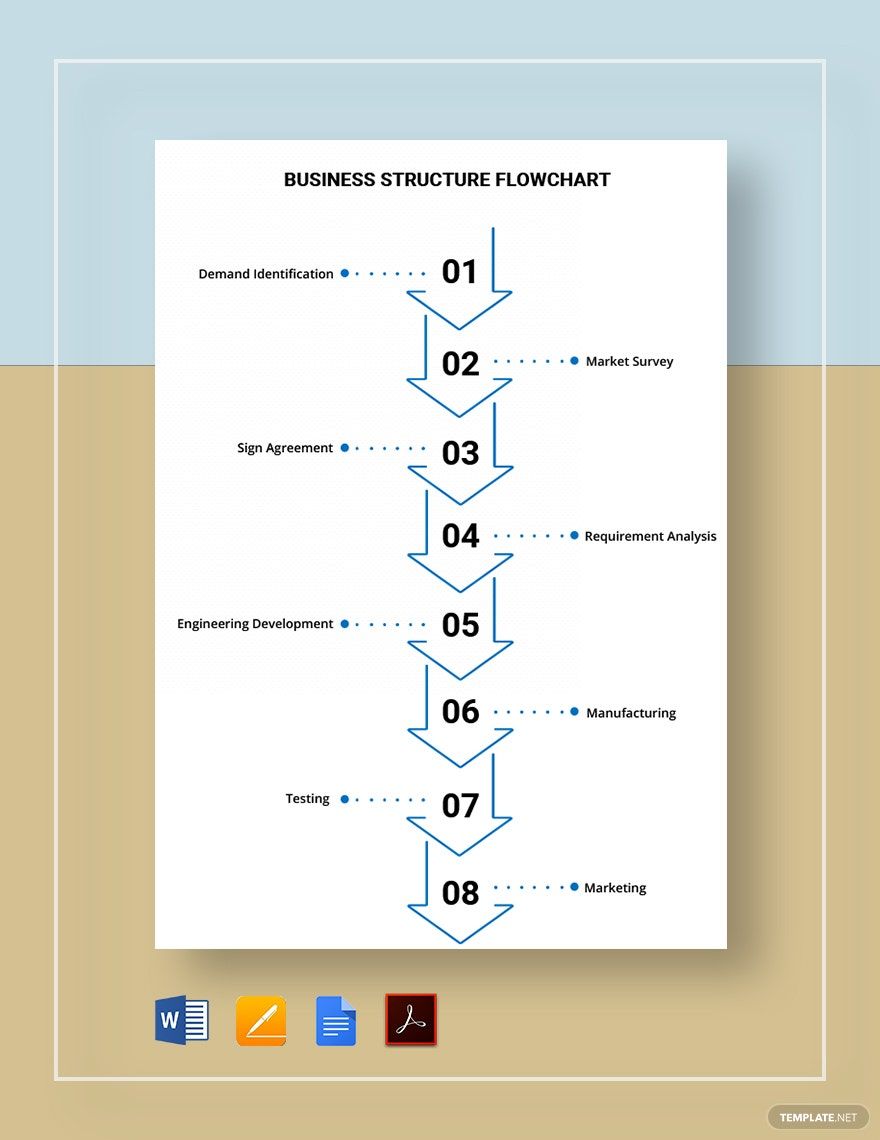
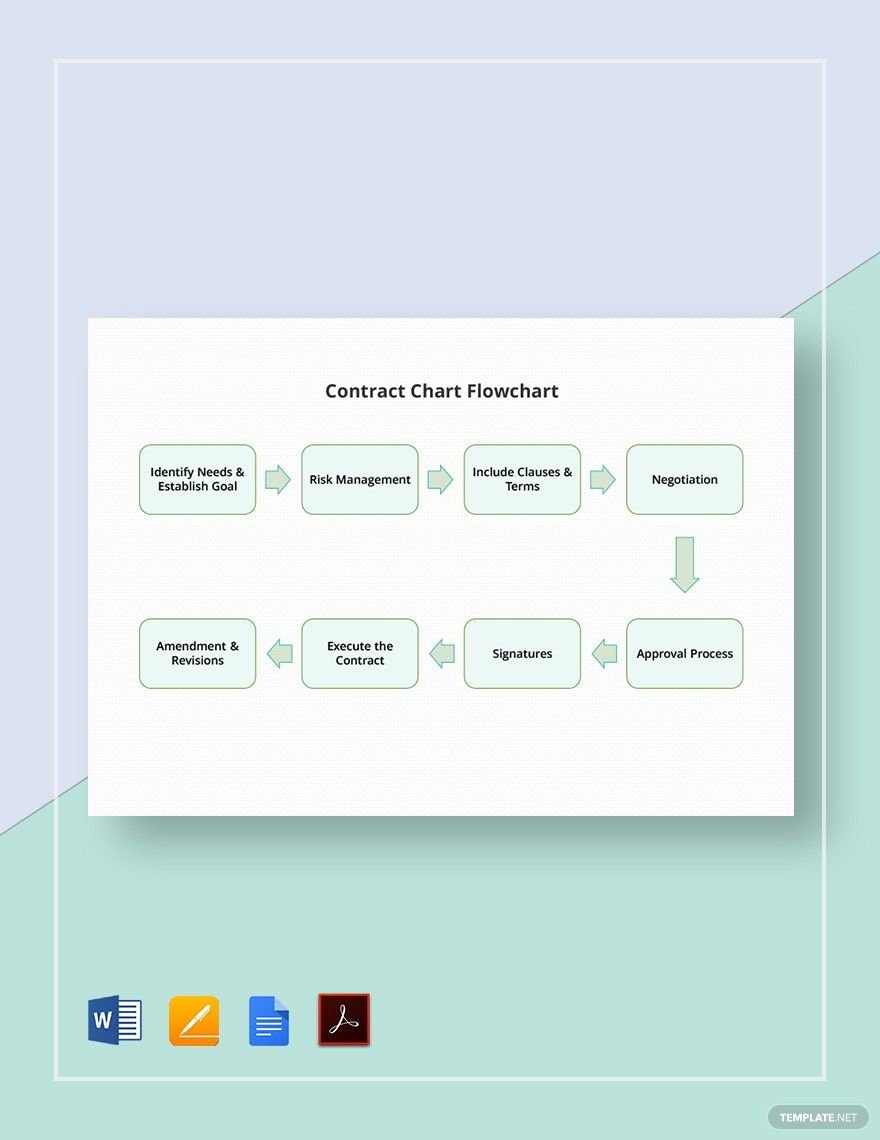
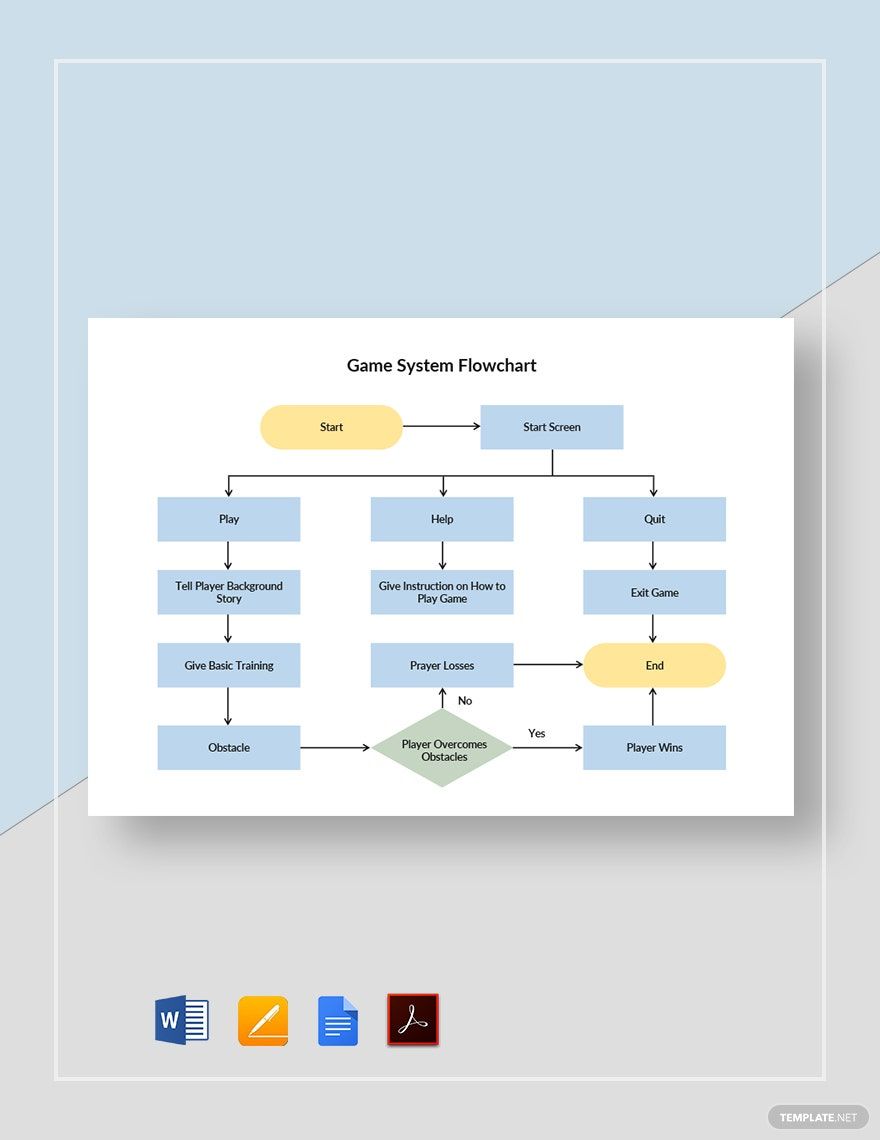
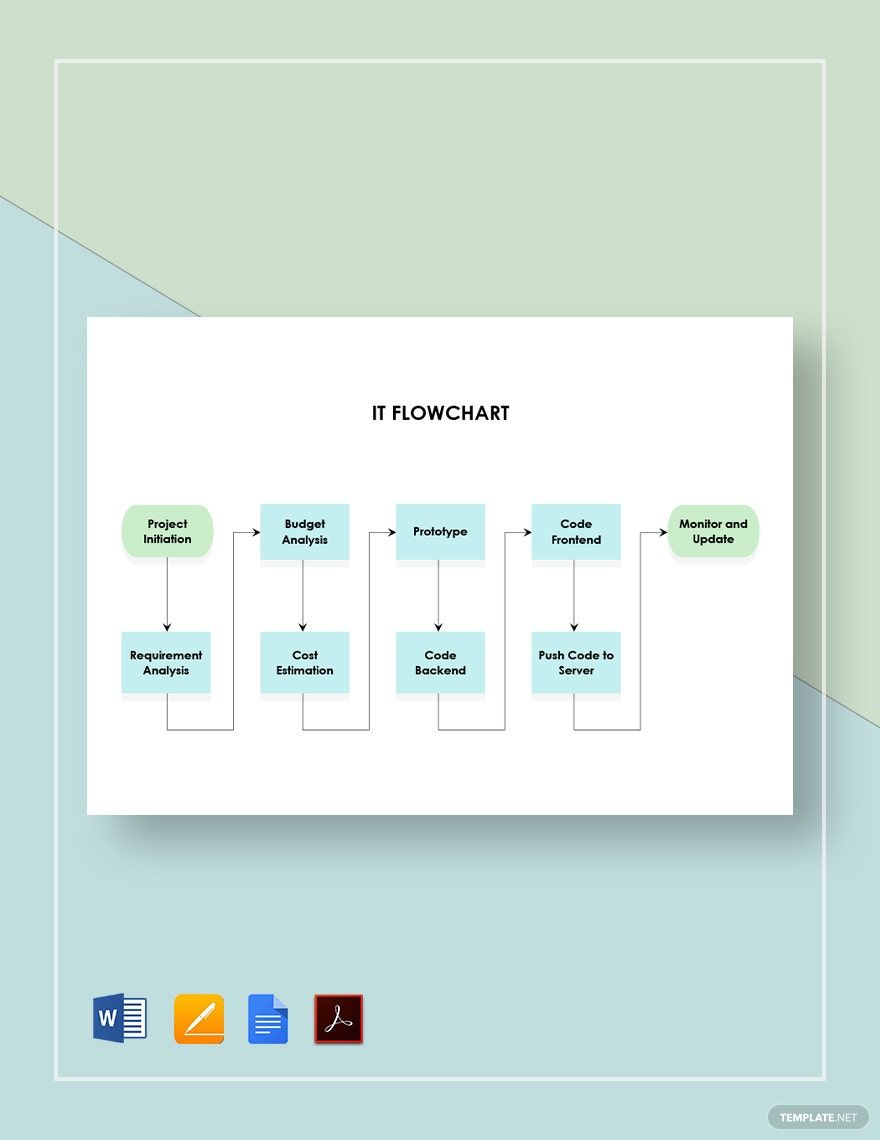
A flowchart is an excellent tool if you need a formalized graphic representation to display a specific logical sequence. This kind of chart helps individuals or a work team to understand a workflow or a process flow better. With that, we offer you a wide selection of our ready-made flowchart templates you can download in all versions of Microsoft Word. These templates are 100% customizable, easily editable, and professionally written, guaranteed to help you create a flowchart for business or personal use. All you have to do is to modify some details to best suit your needs. Get your template for free!
How to Create a Flowchart in Microsoft Word?
Different charts serve different purposes to different people. Individuals, professionals, and business entities use charts to represent statistical data, display changes over a specific period of time, or highlight a downward or upward trend. Moreover, there is a type of chart that depicts a process one should undergo for the completion of a specific project. It shows a guide in a well-organized manner, making it fully understandable on the part of the assigned team. Instead of writing a guide in a paragraph or sentence form, creating a flowchart will help you effectively communicate the process that a team or an individual needs to undergo. It is a useful tool in project management because it provides a more logical presentation of a workflow. If you haven’t had created a flowchart yet, here are five steps you can follow to help you accomplish the task.
1. Open Microsoft Word
Microsoft Word is a word processing program developed by Microsoft Office. Aside from it enables users to write documents like letters and forms, it also allows you to insert tables, pictures, shapes, and charts in a blank sheet. You don’t need a tutorial to design a chart using this program as it is simple and easy to navigate. After opening the application, display the gridlines to help you align the shapes later on. It will also help you insert equally-sized shapes.
2. Know the Basic Symbols
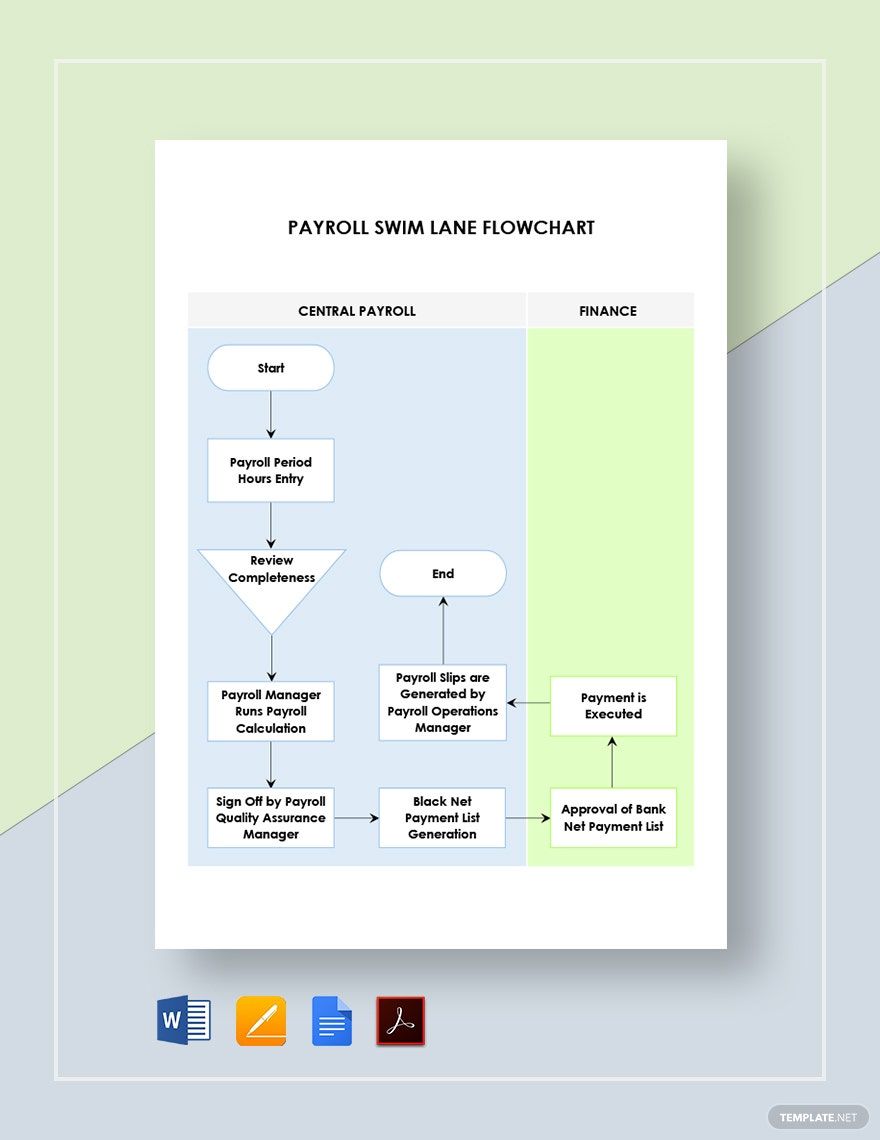
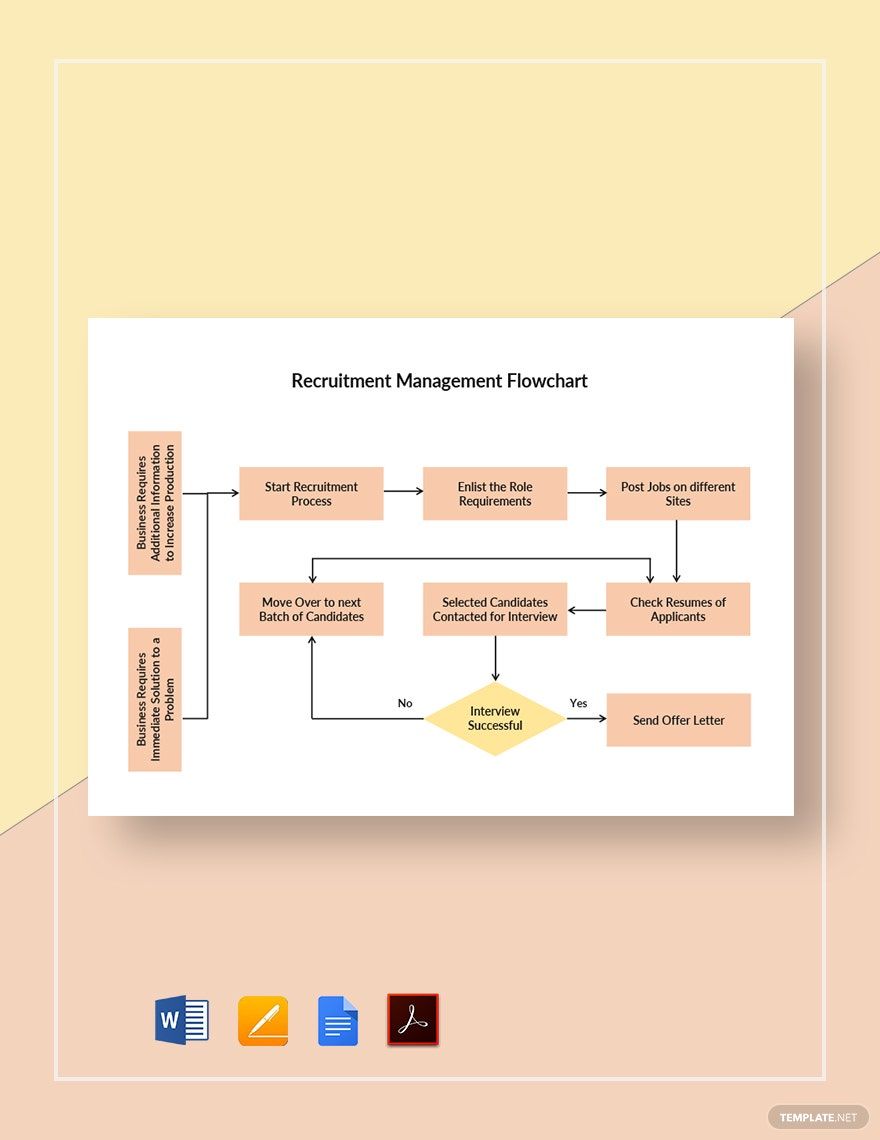
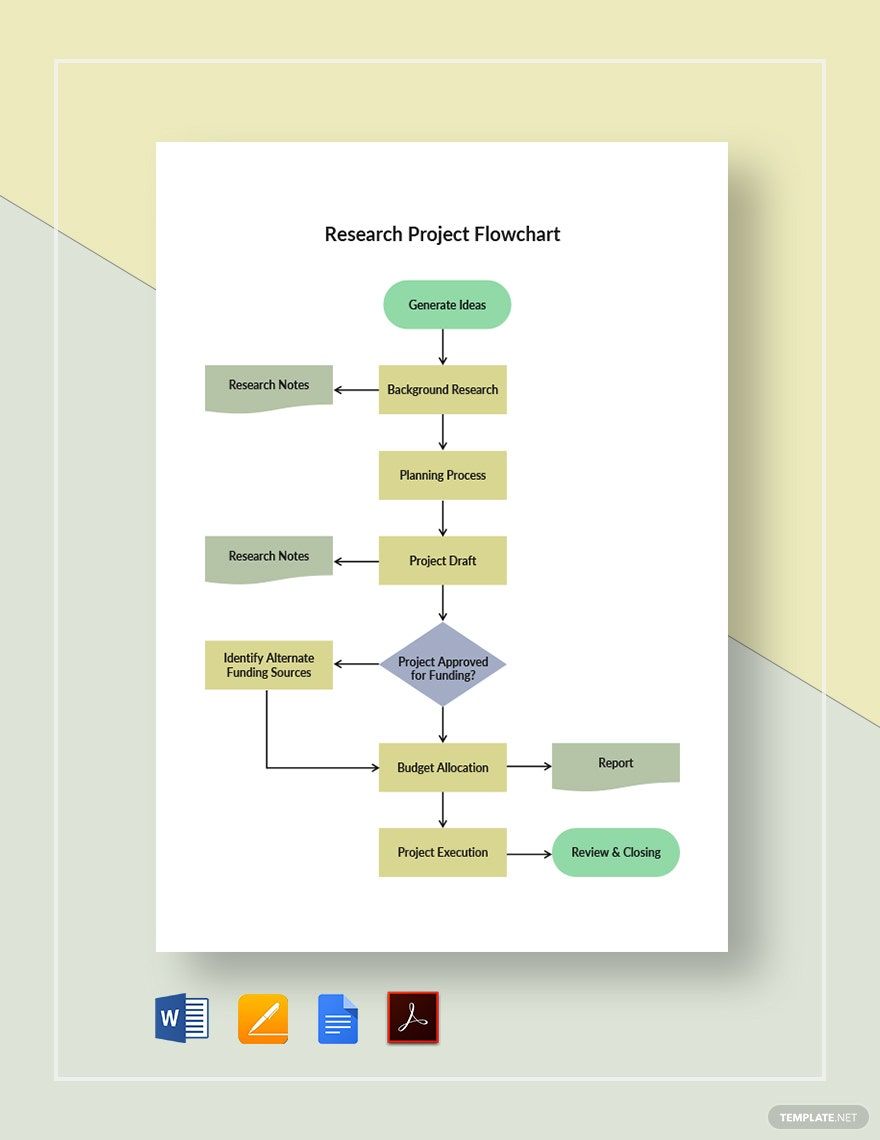
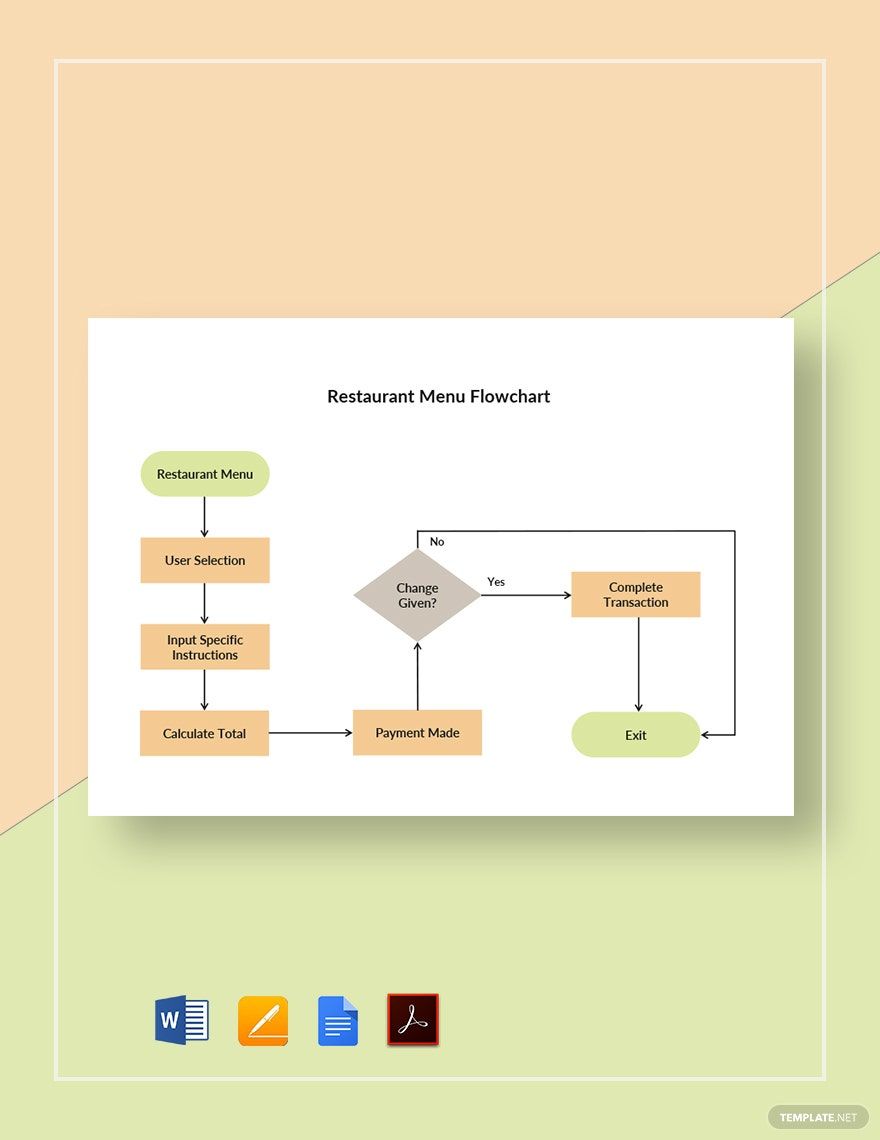
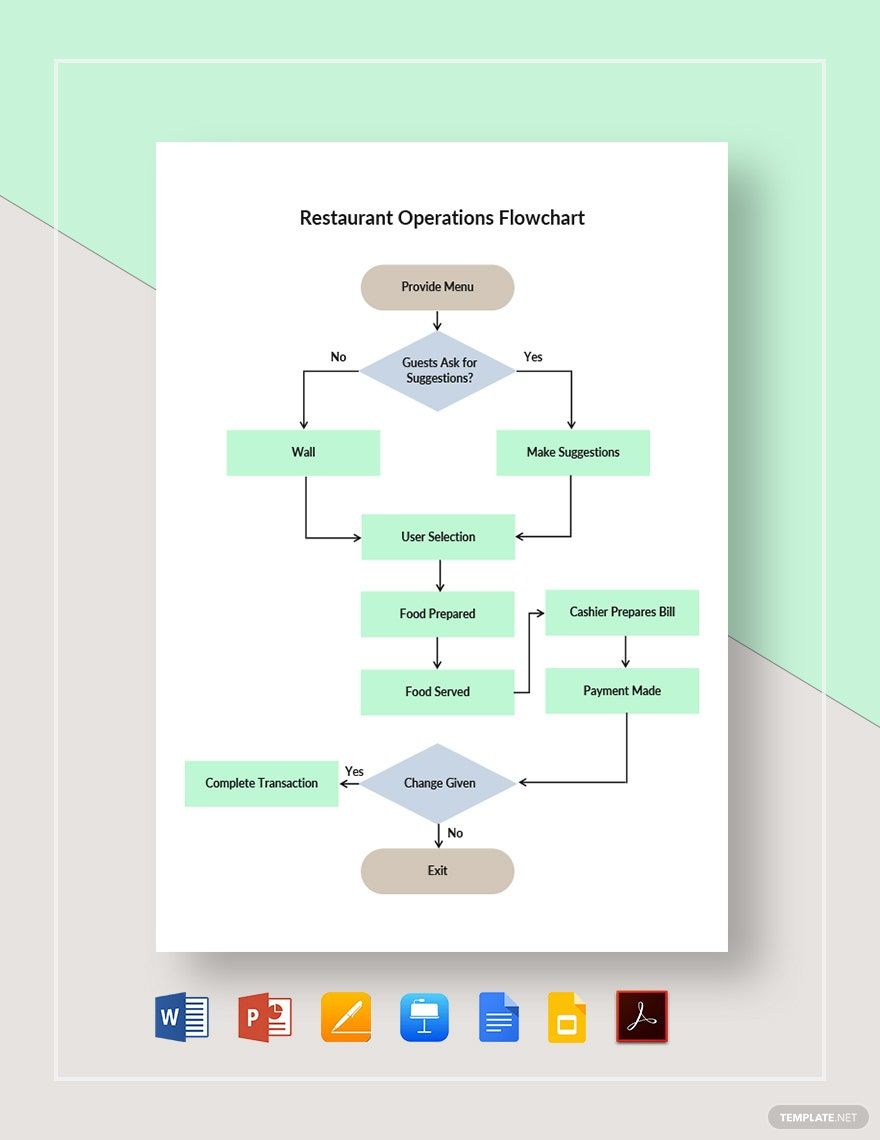
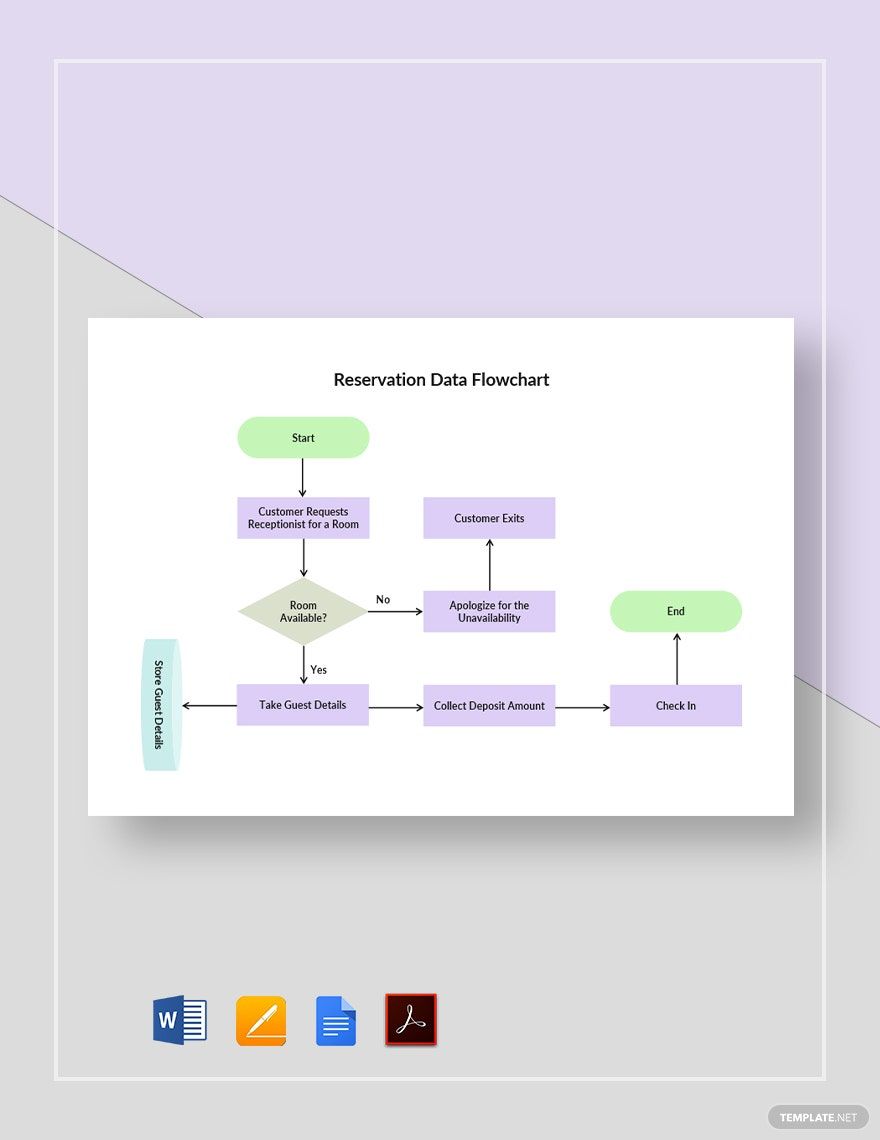
You don’t just use random shapes when creating your flowchart. It is essential that you know about the basic chart symbols to easily determine the types of actions or steps in a process. One of the basic flowchart symbols is the terminator. This capsule-like represents the starting point and the endpoint of a process. Moreover, a rectangle shows a process, action, or task to accomplish. The shape used to indicate a decision (such as yes/no) is a diamond.
3. Insert Shapes and Arrows
Now that you have an idea about the right shapes to use in your design, start inserting shapes and arrows in your document. To do so, click Insert > Shapes. Then, select a shape you are going to use in your flowchart. After inserting all the necessary elements, arrange it to form a logical diagram.
4. Fill with Text
For your flowchart or diagram to make sense, fill it with the necessary details. It could be a task, an activity, or a yes or no question. If you are creating a flowchart as a tool for project management, be sure to arrange the steps and activities in chronological order. Make sure to use an arrow to point out the next step after accomplishing a particular task. Flowcharts can also represent an organizational structure within a business or a company.
5. Review
An effective flowchart is an error-free flowchart, so make sure to review the step-by-step process or the details you wrote in your flowchart. After which, save your file in a word document and PDF format. A word document file format enables you to edit details when necessary. On the other hand, a PDF file will preserve the format and layout of your file. Also, make sure to keep everything on one page only.


