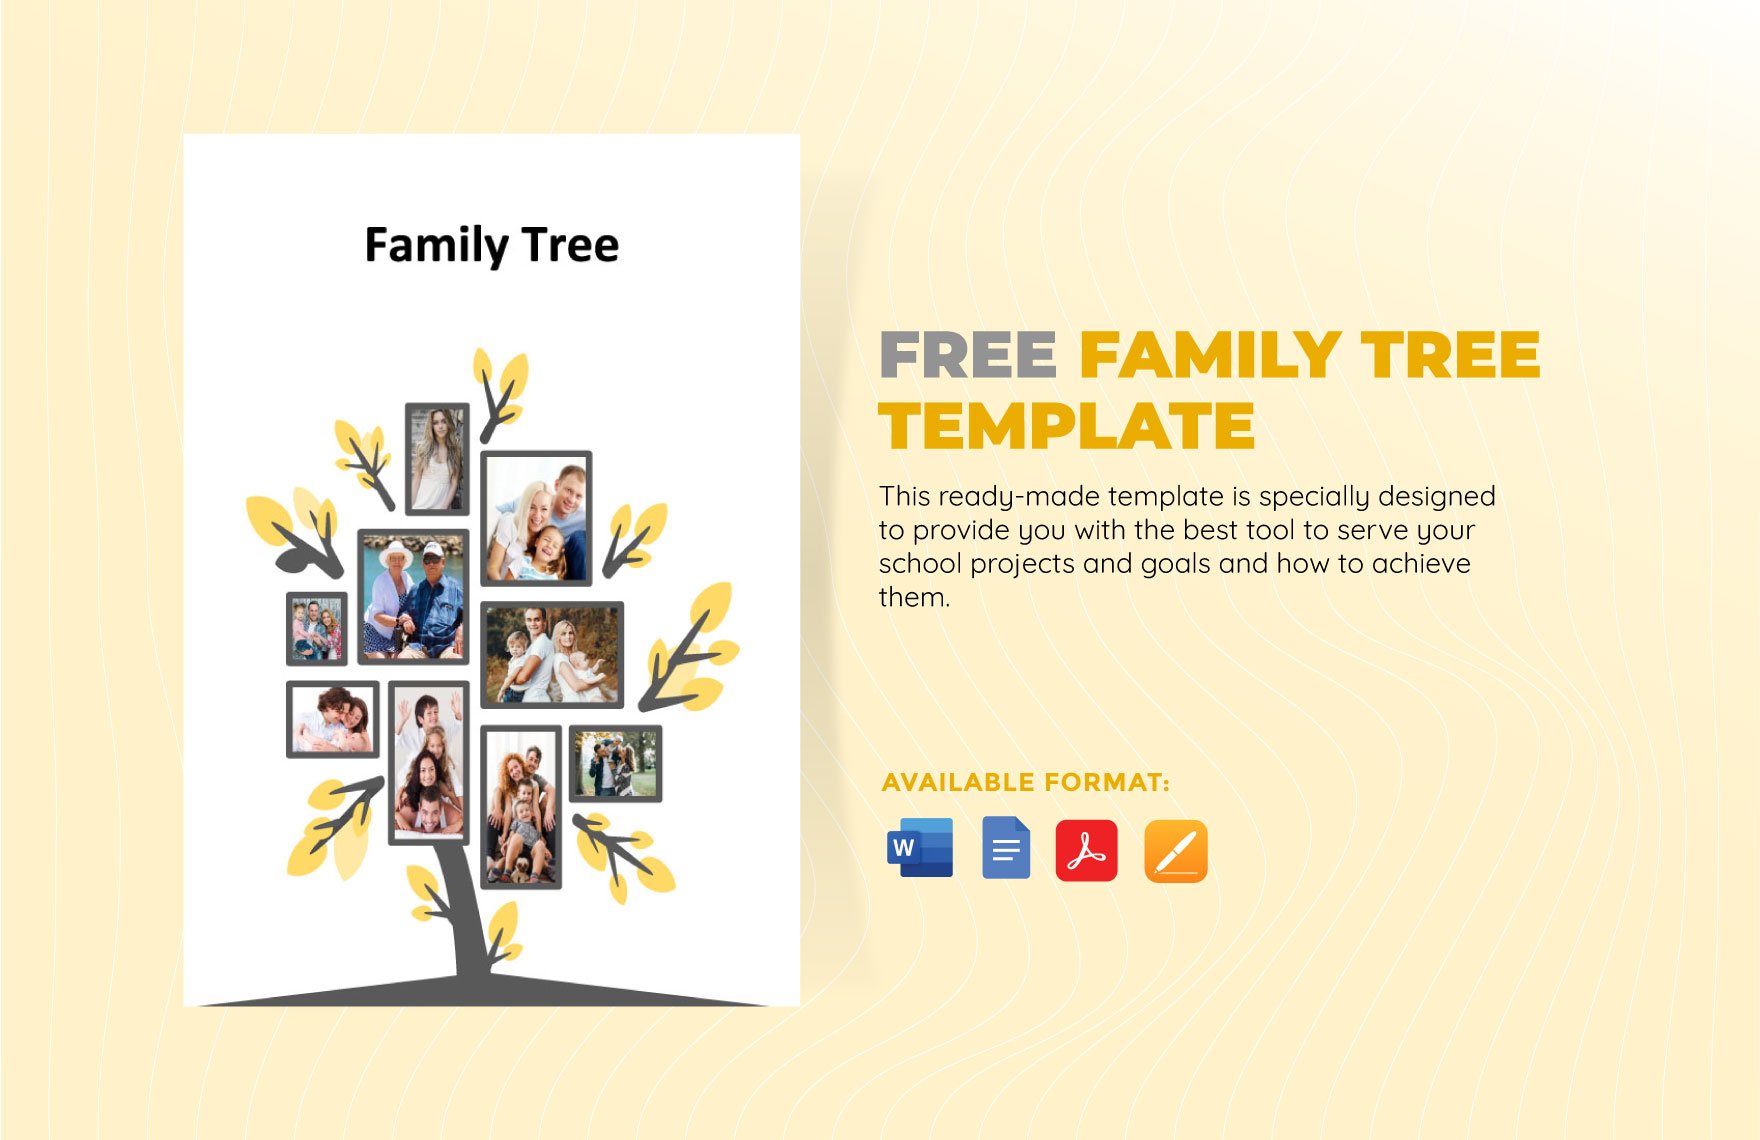
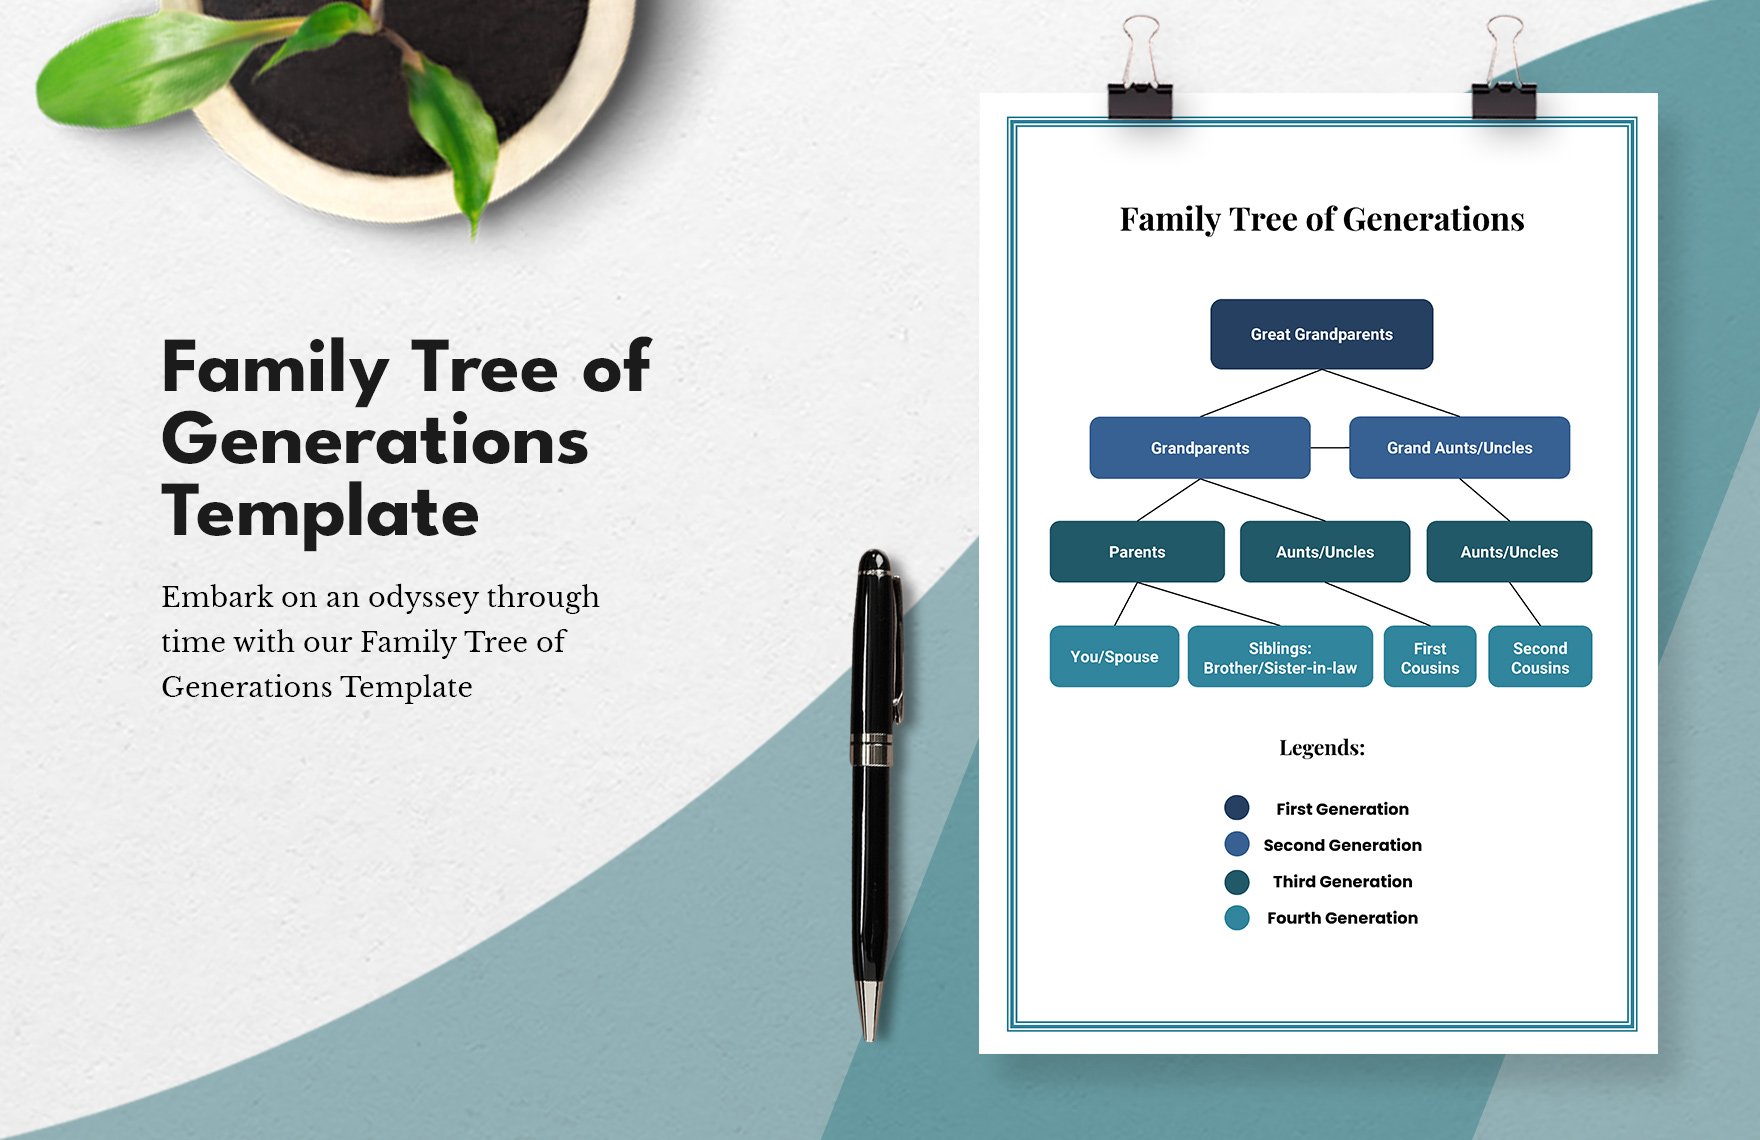
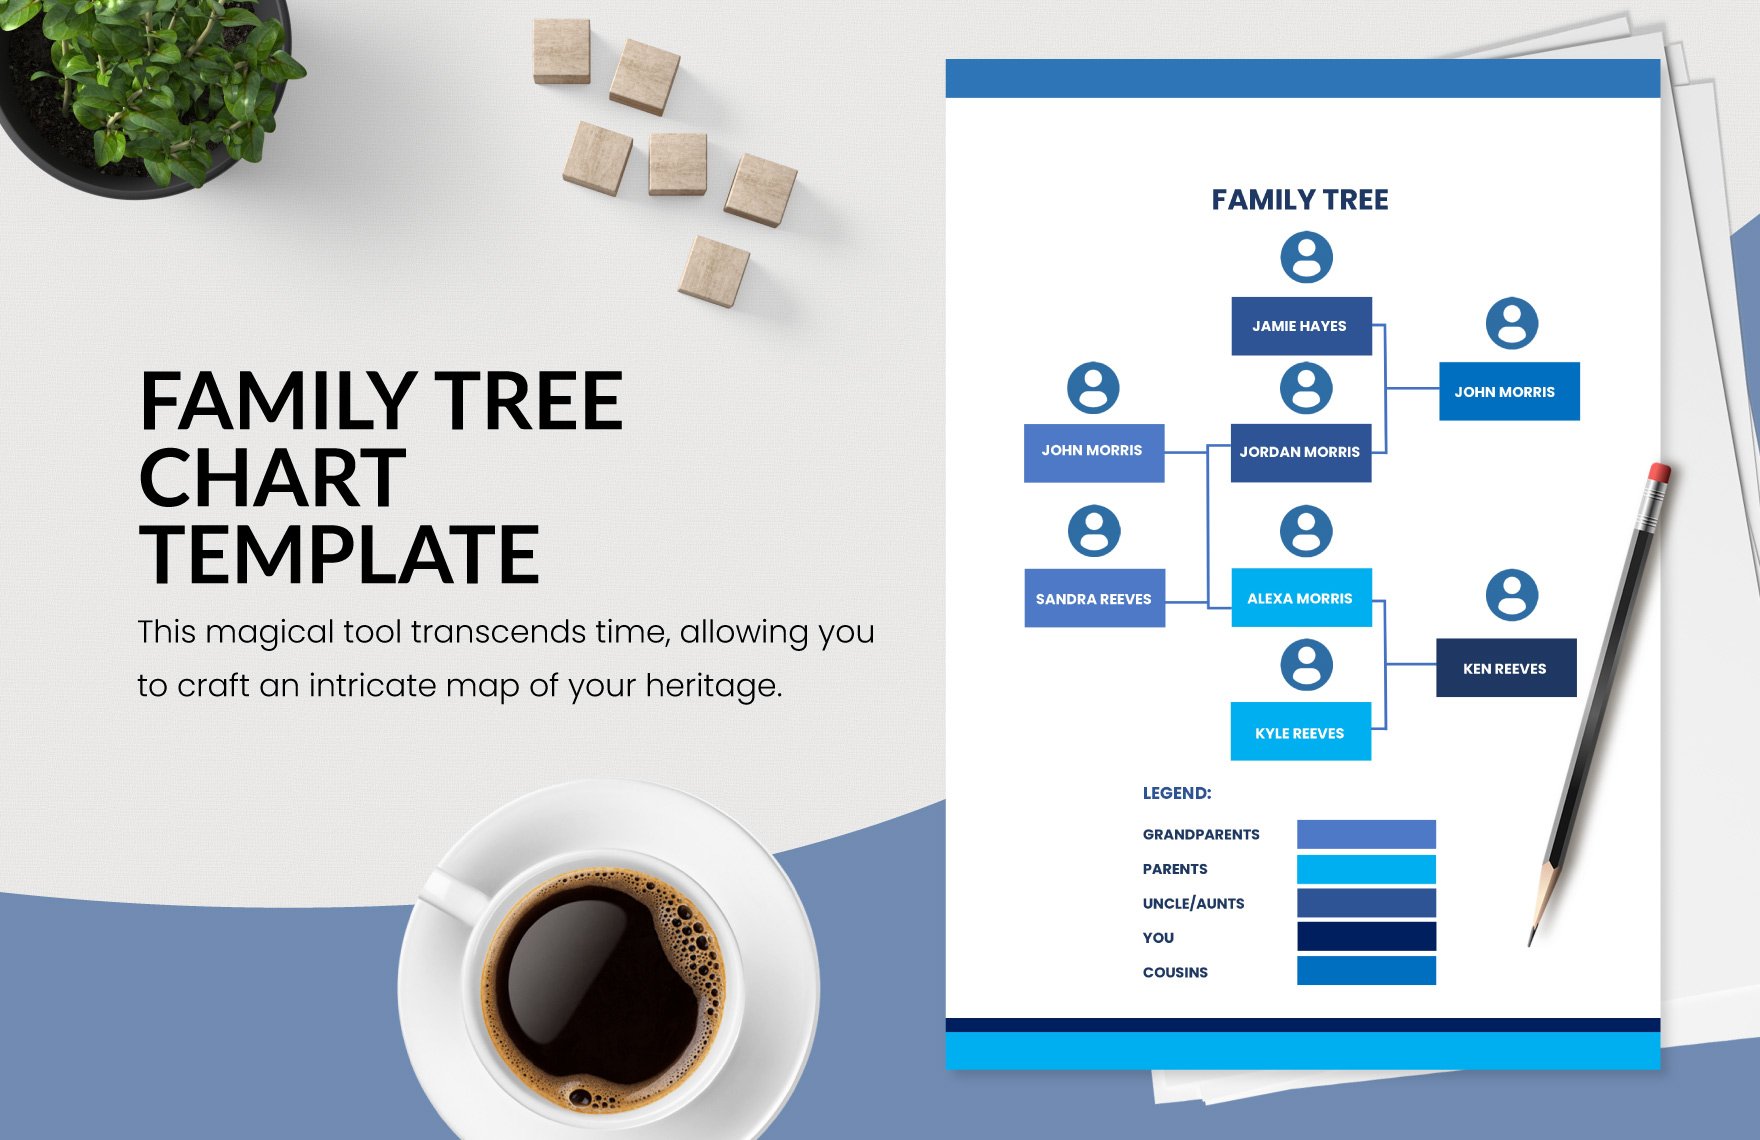
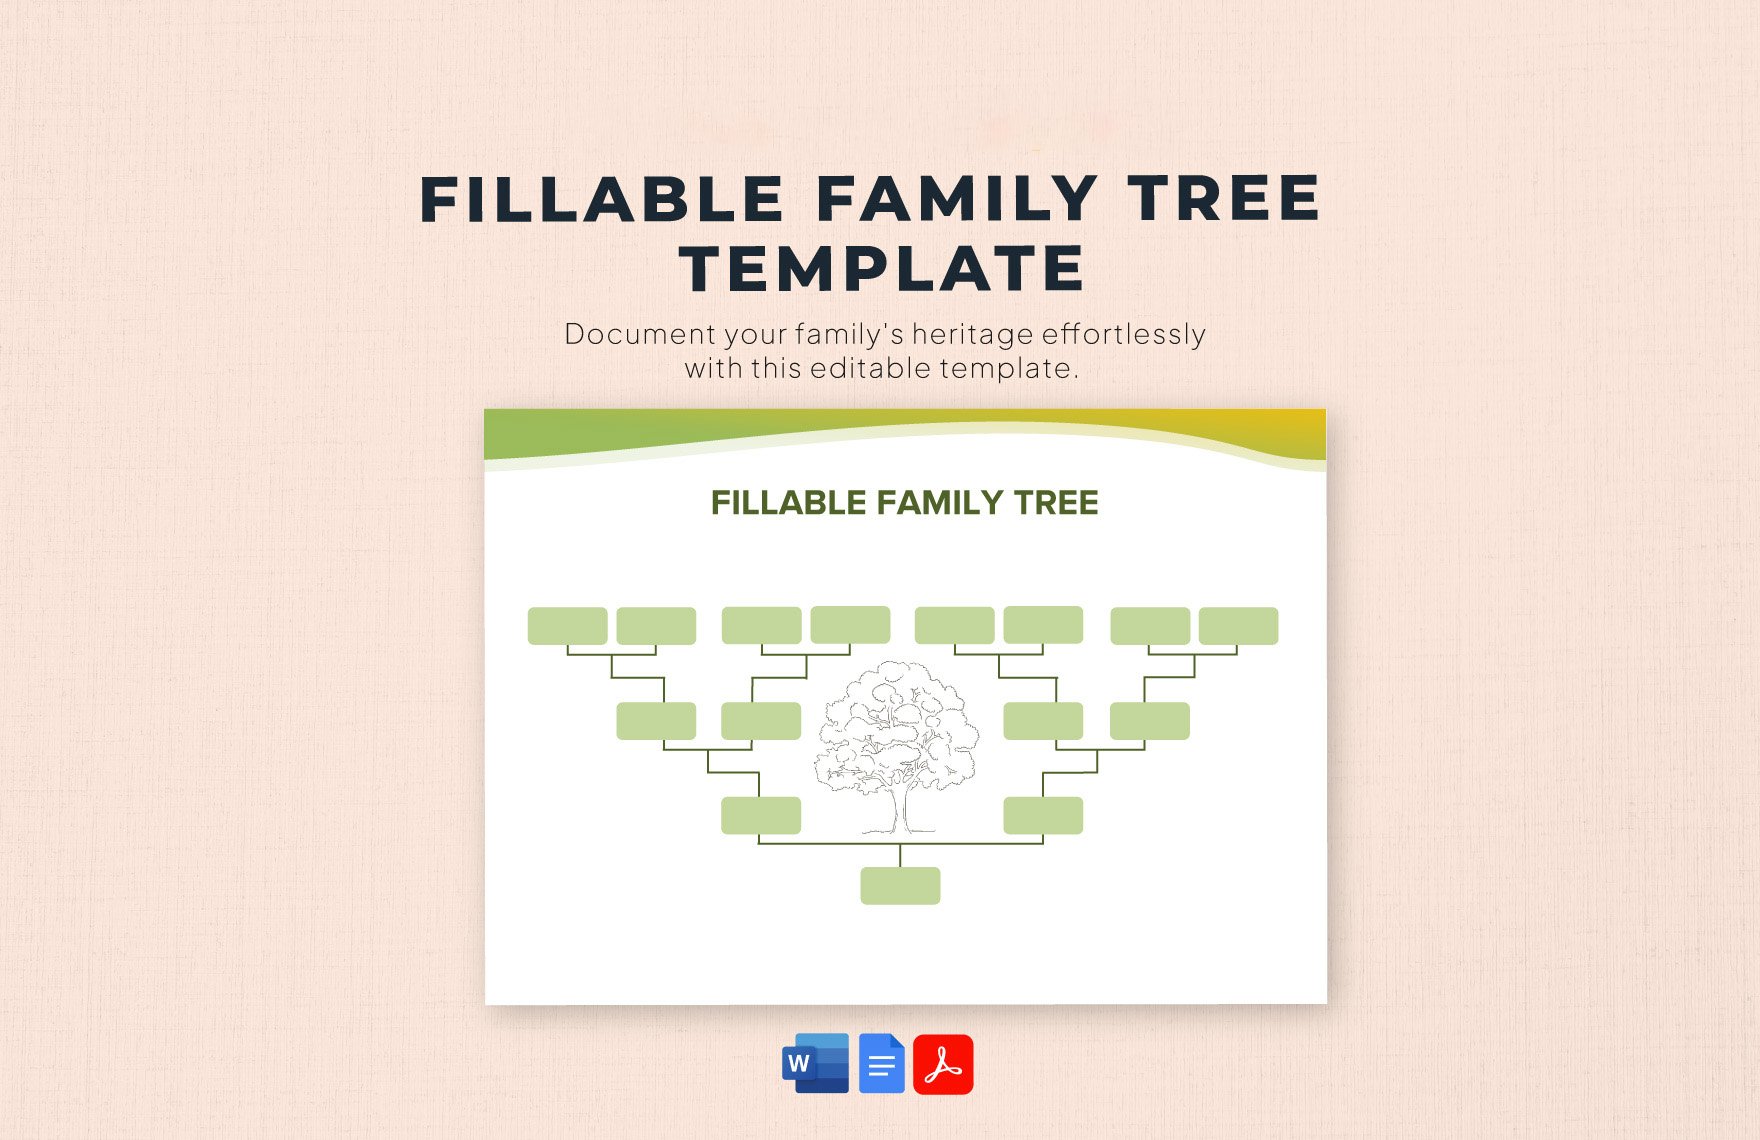
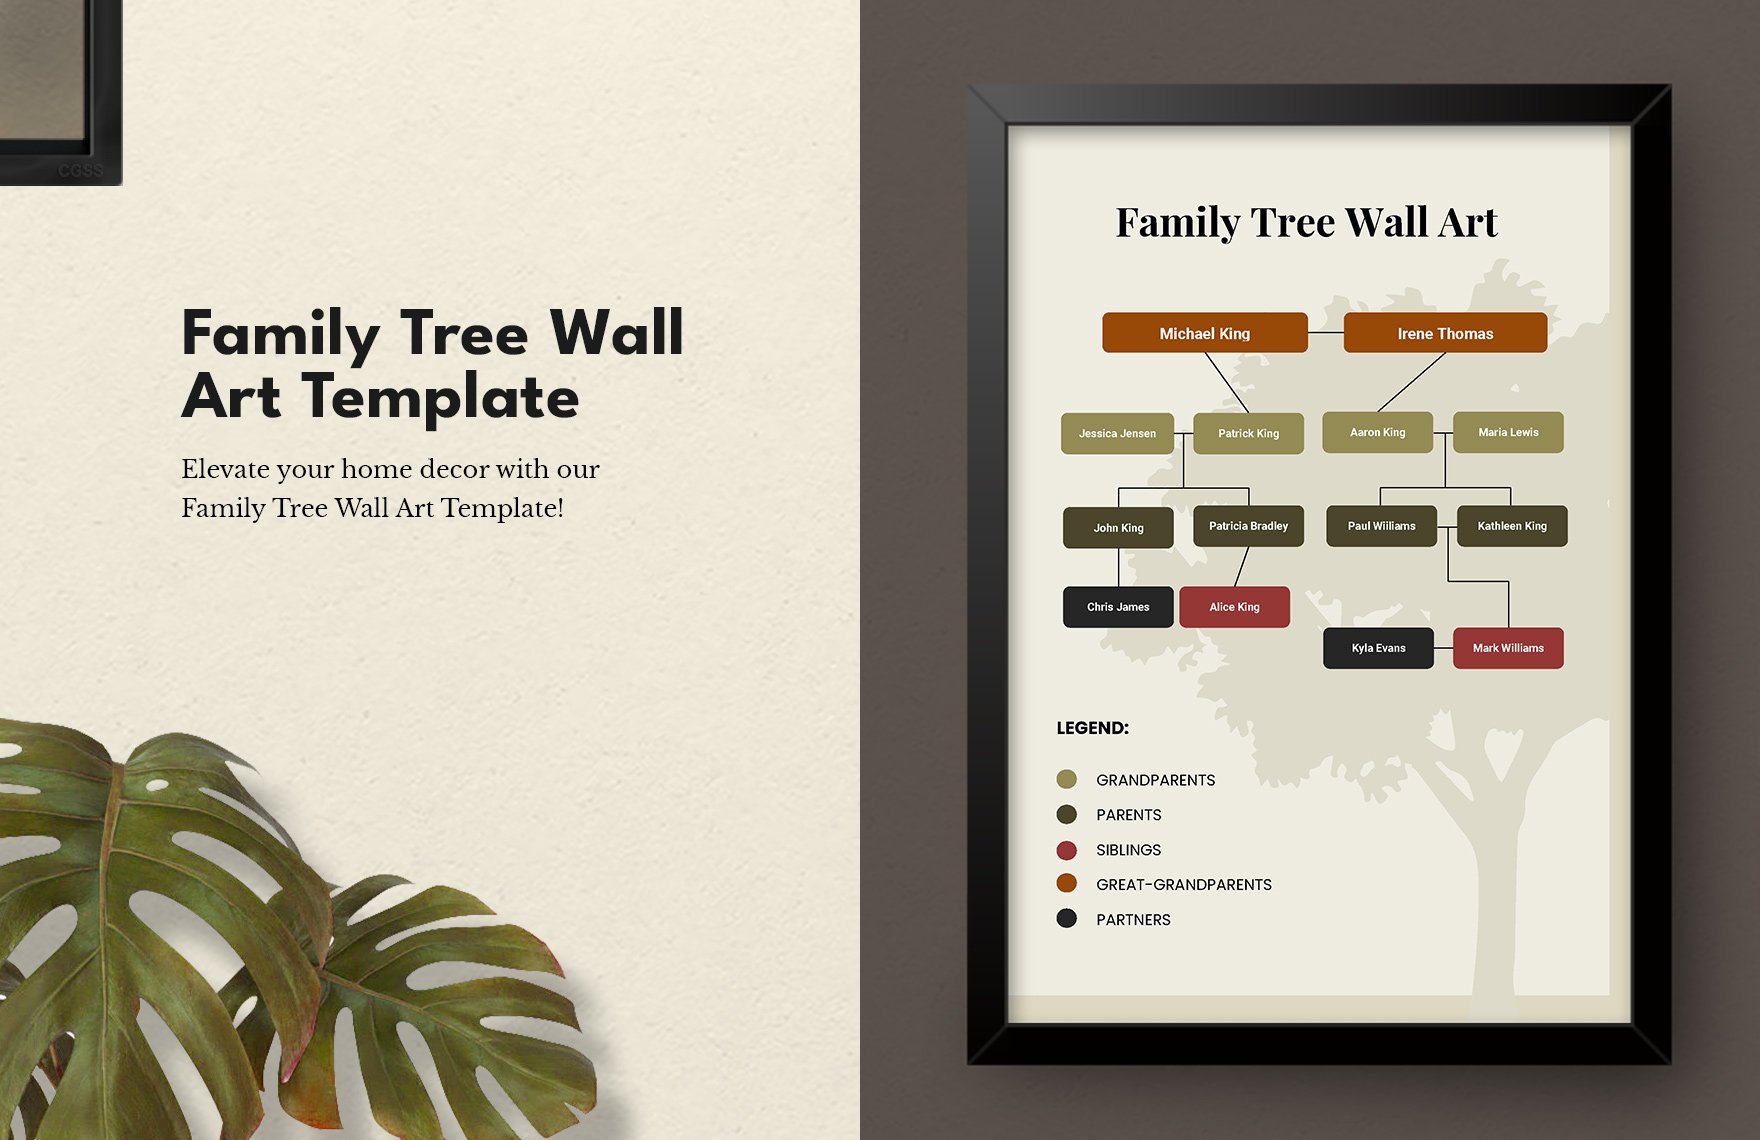
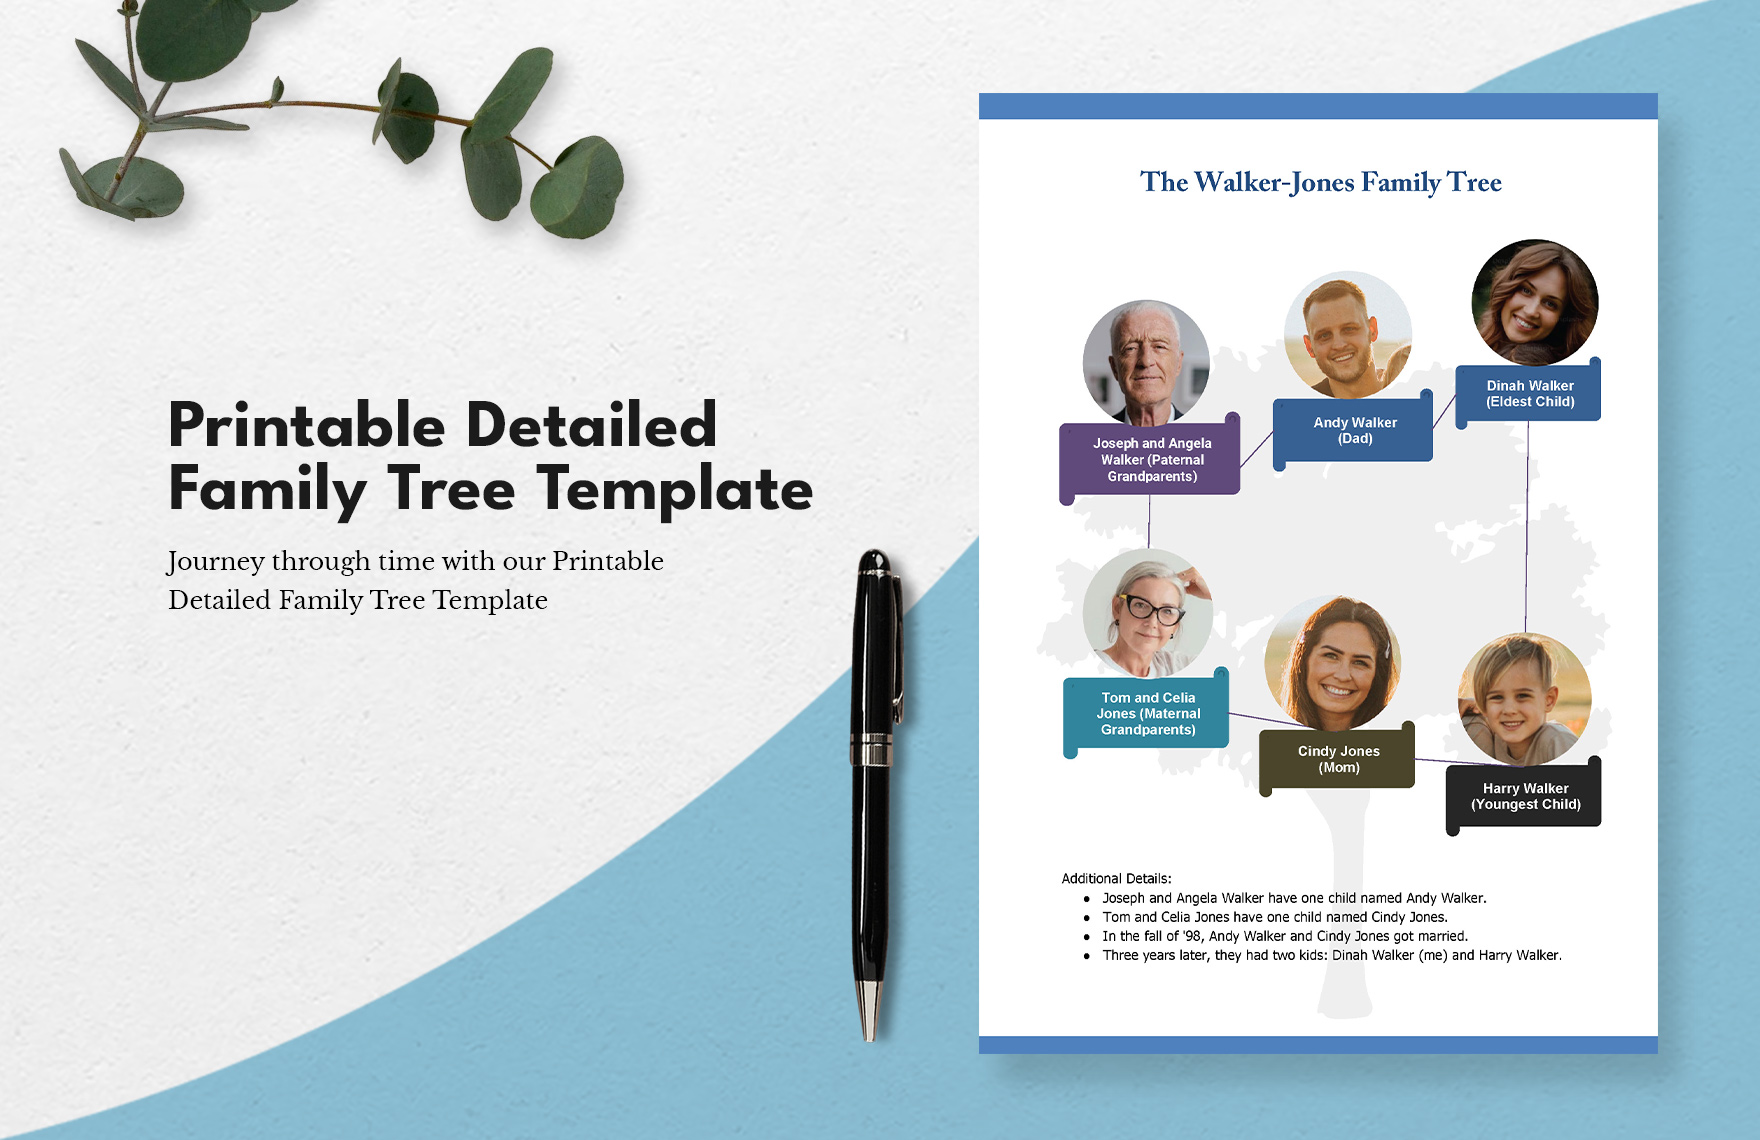
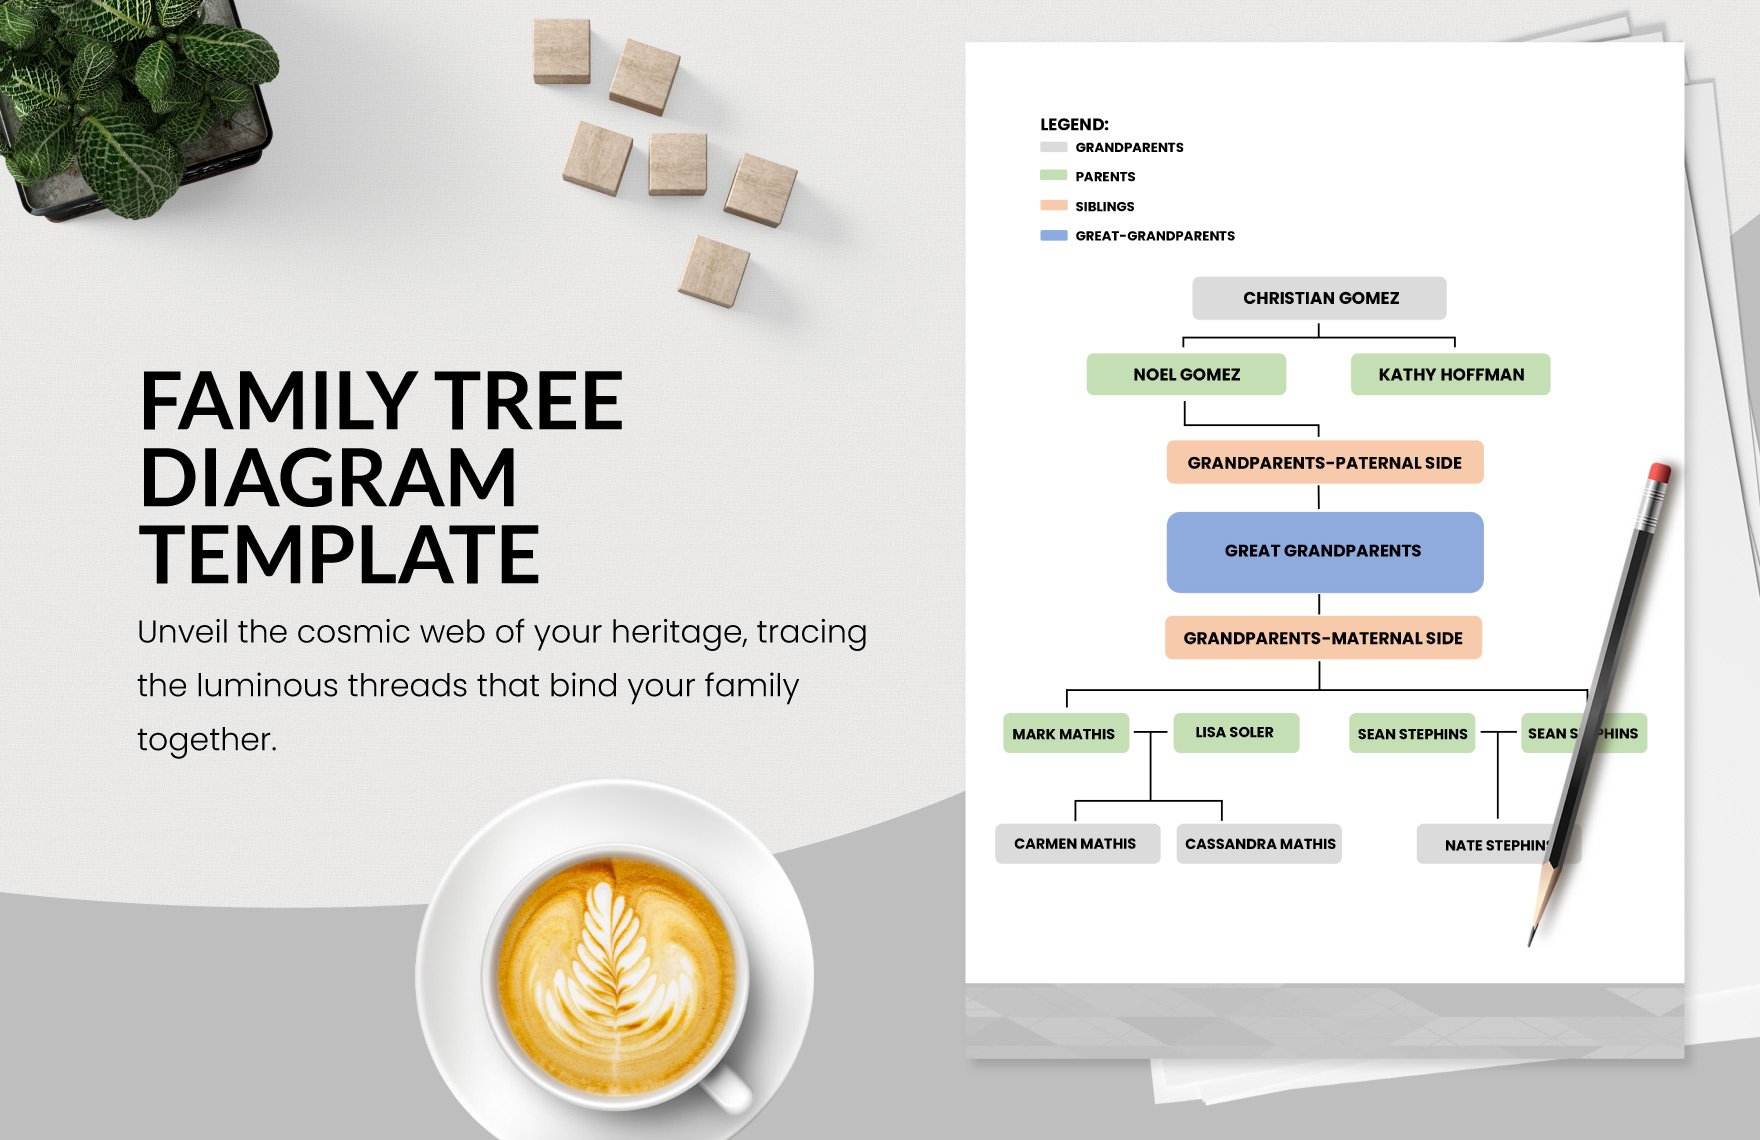
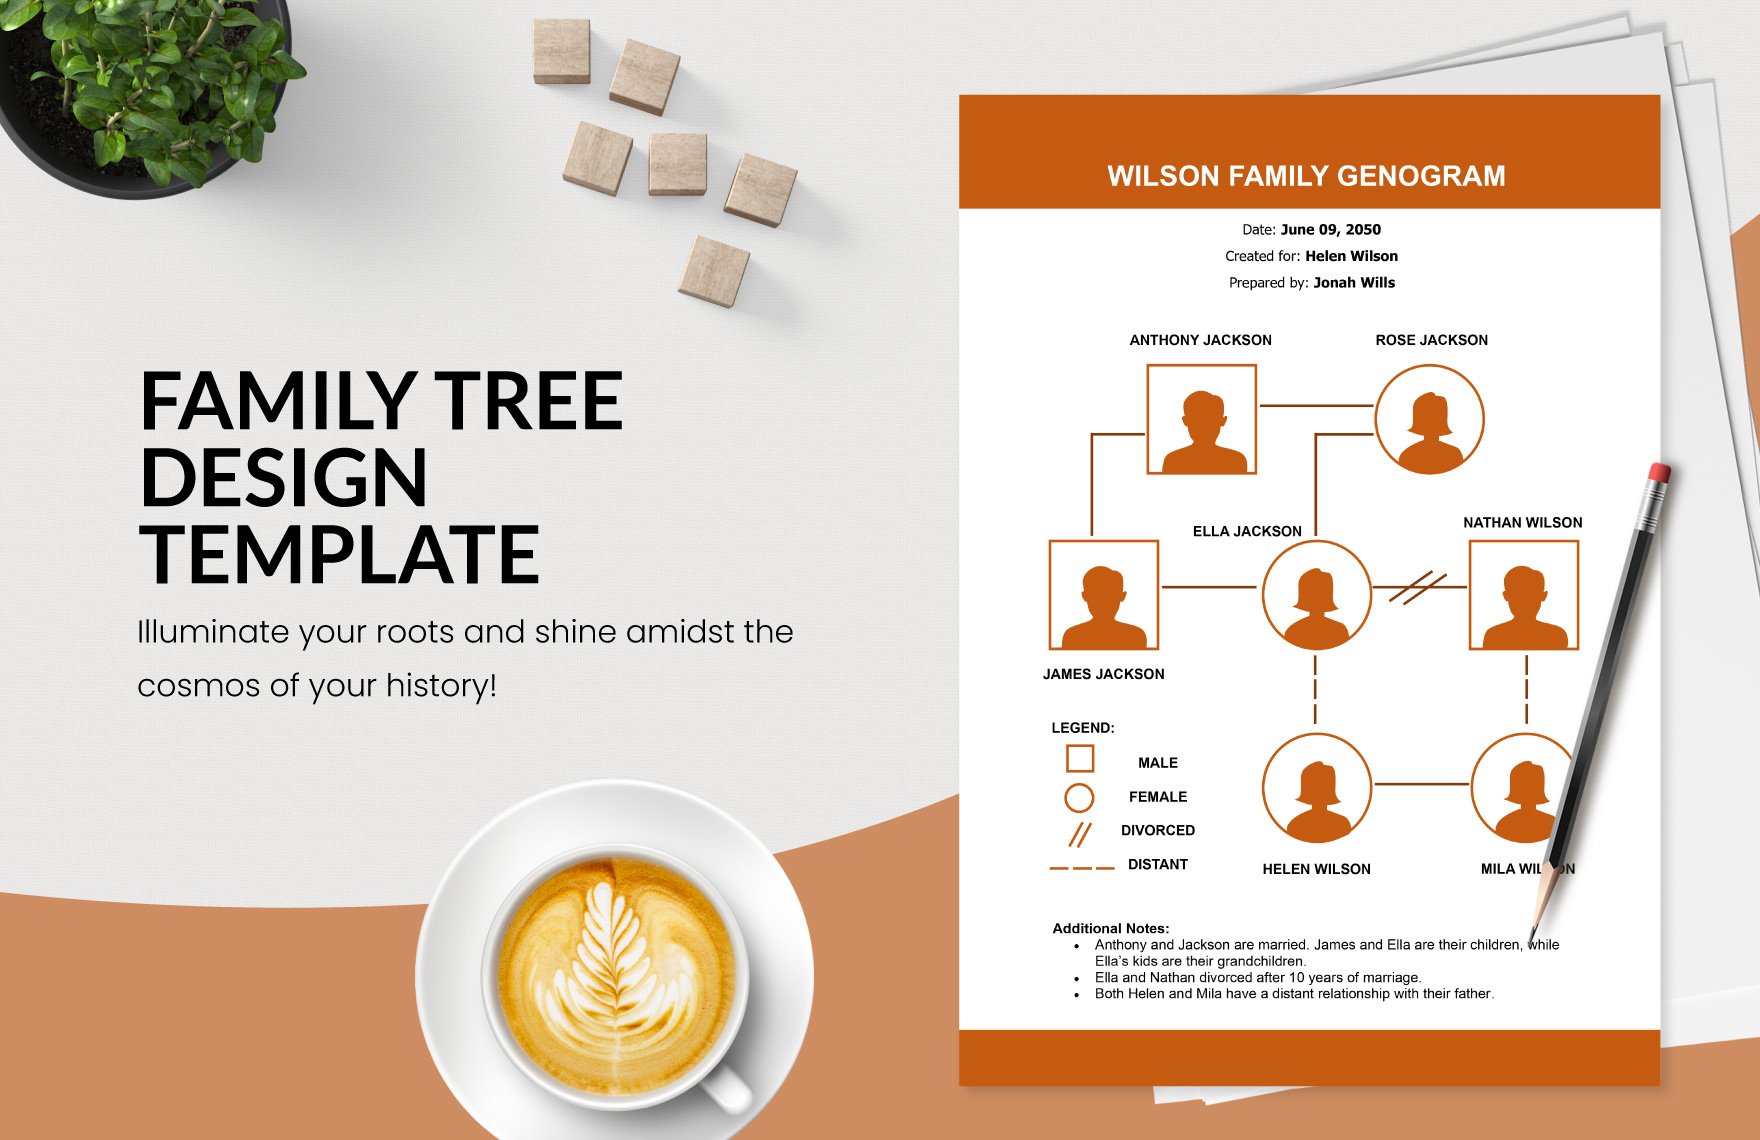
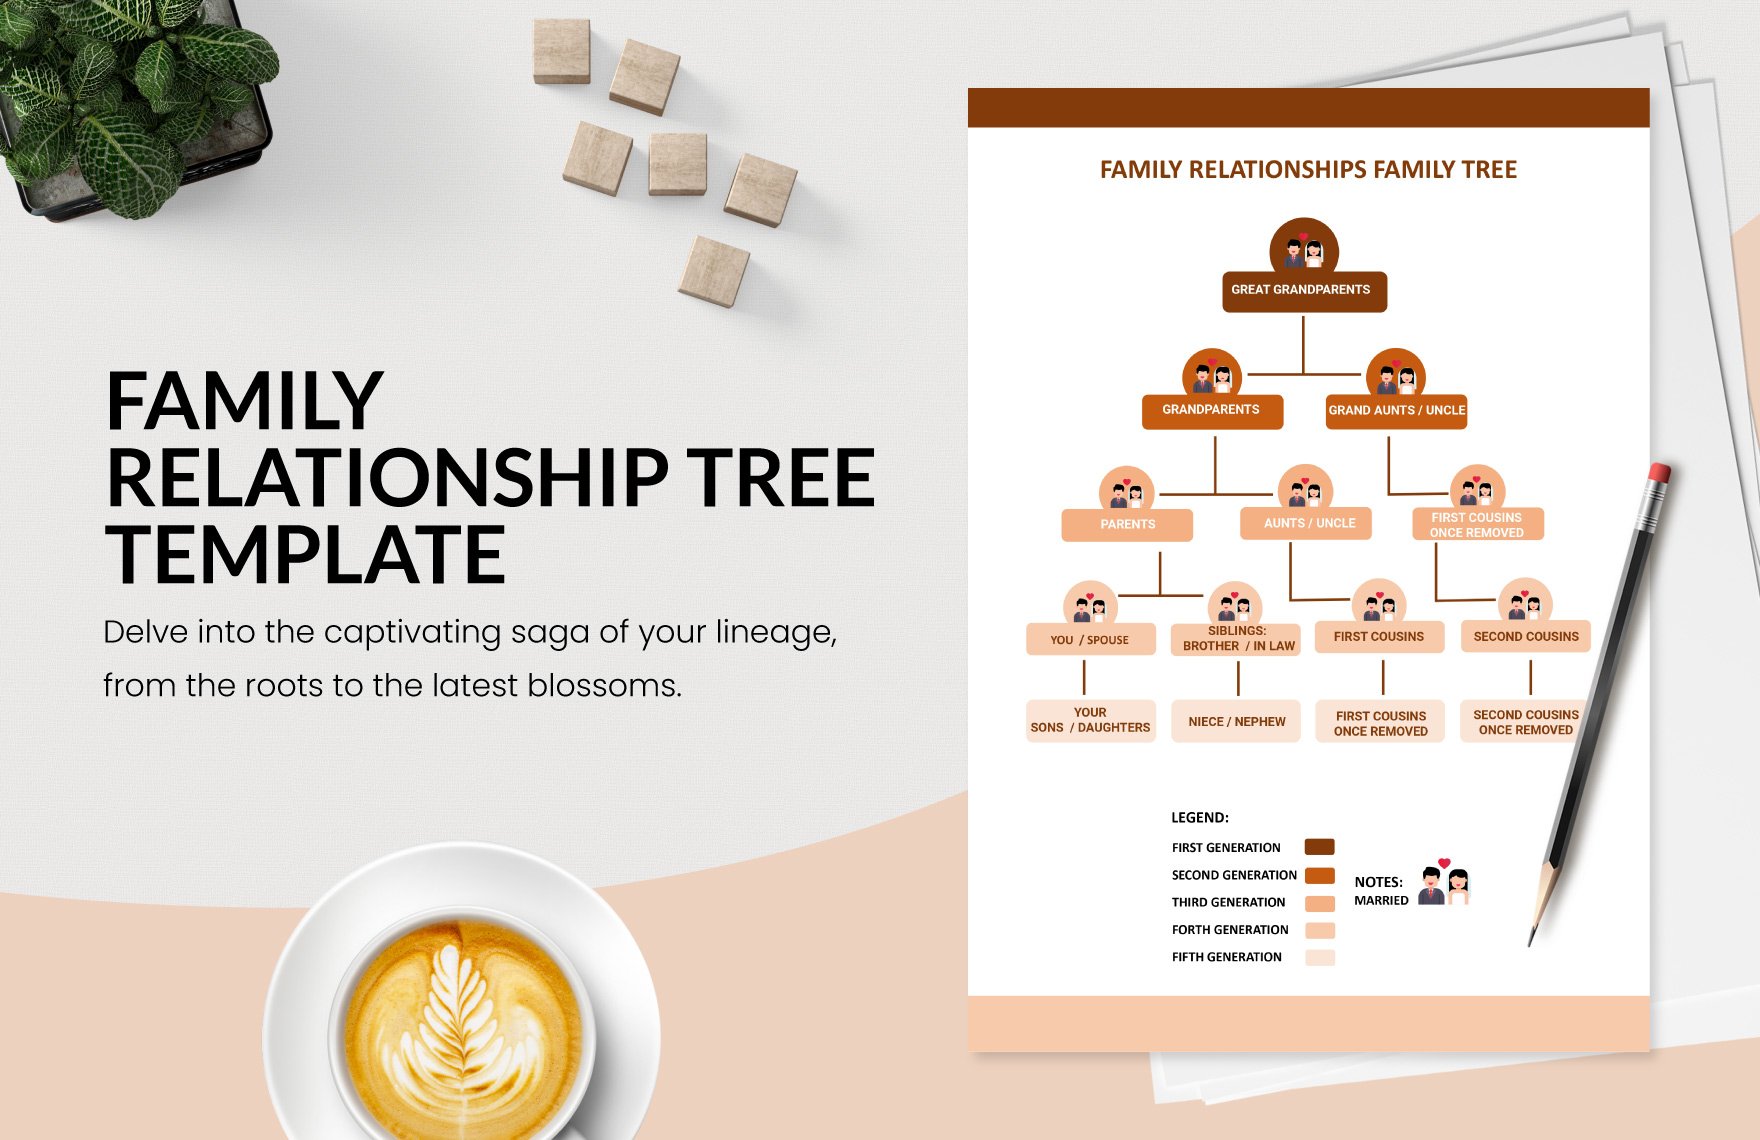
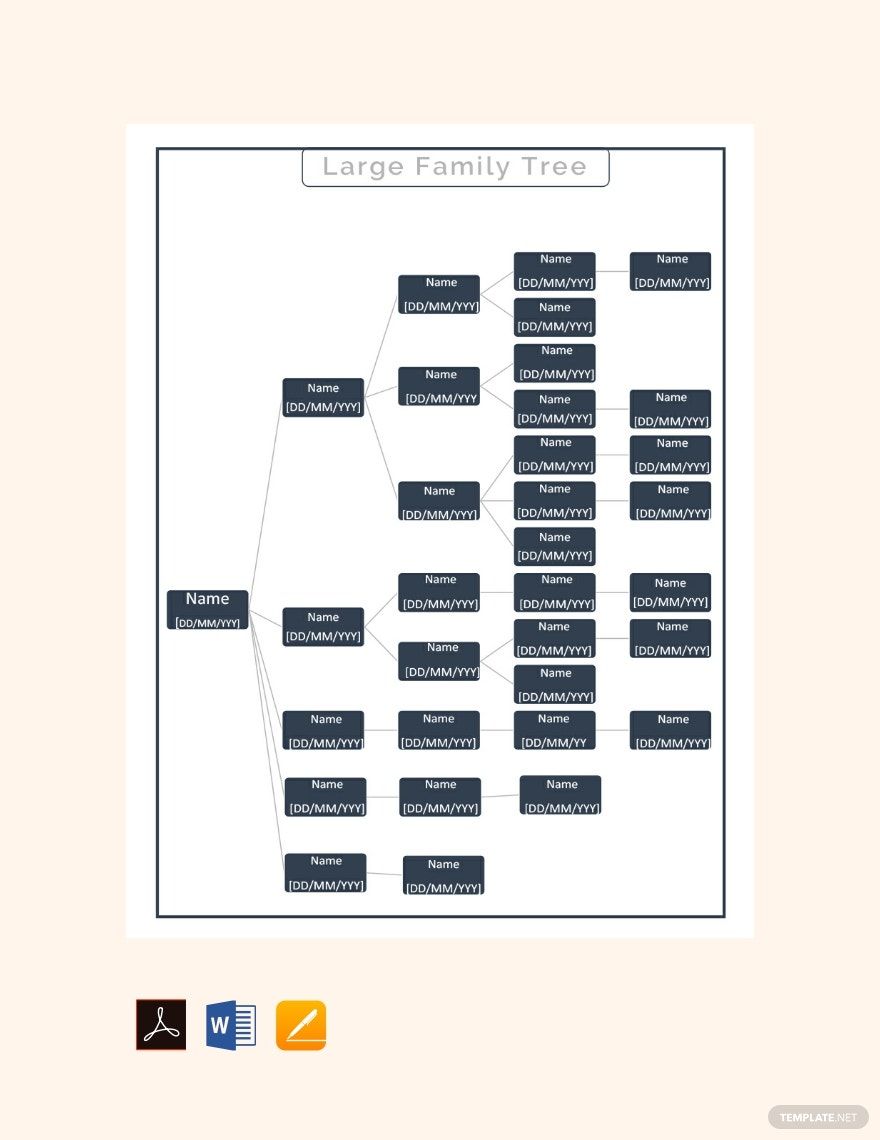
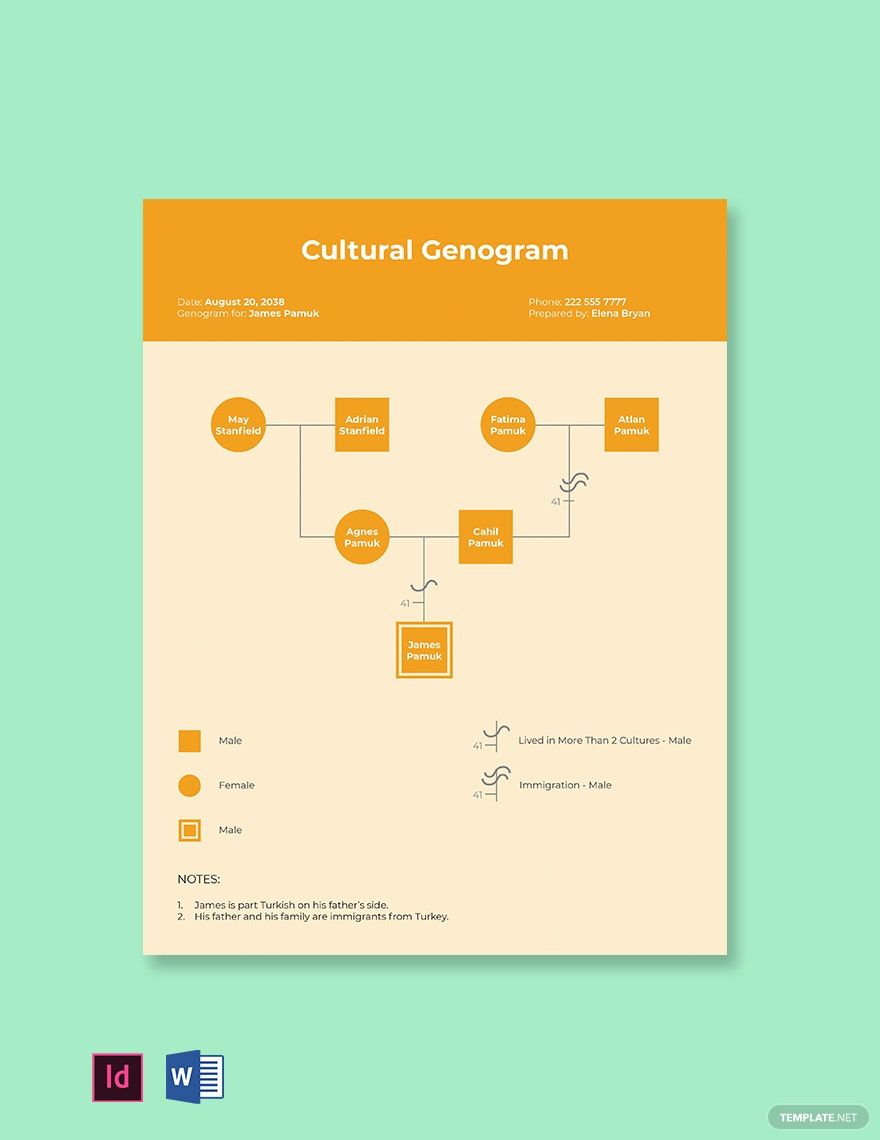
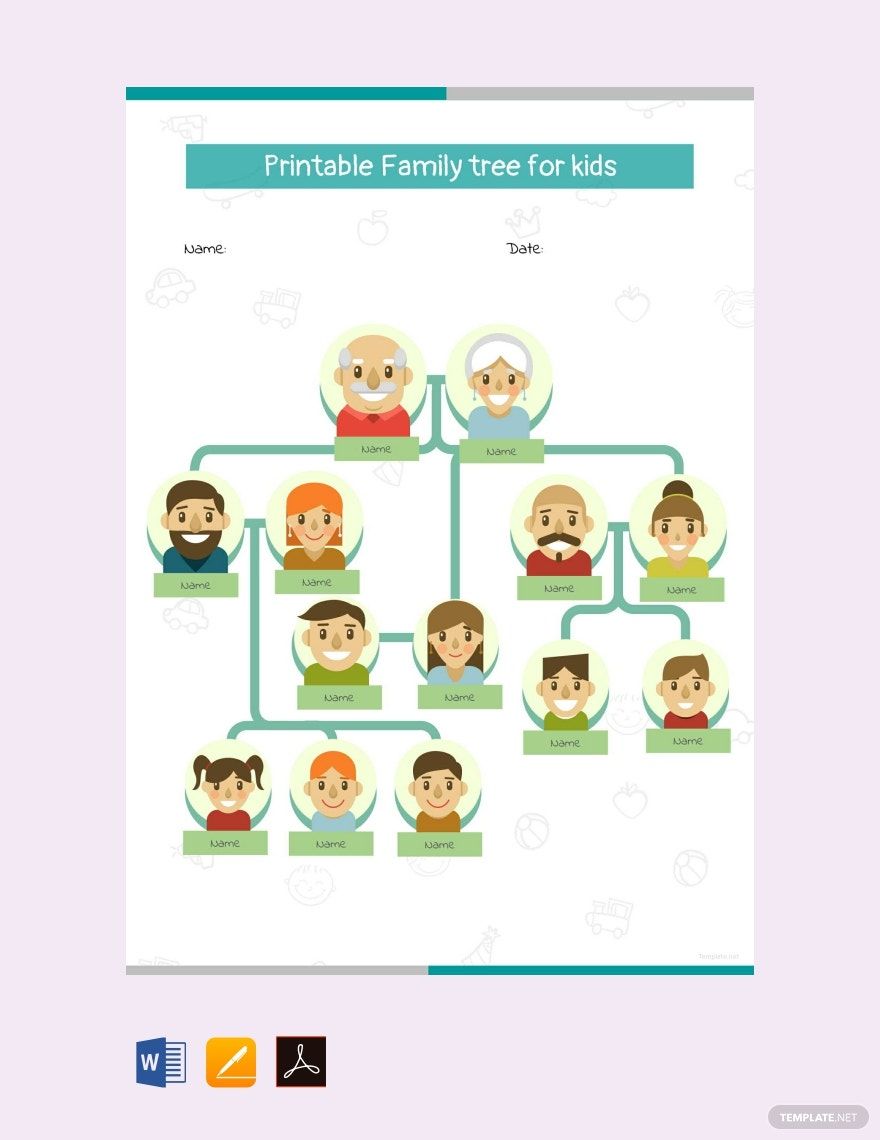
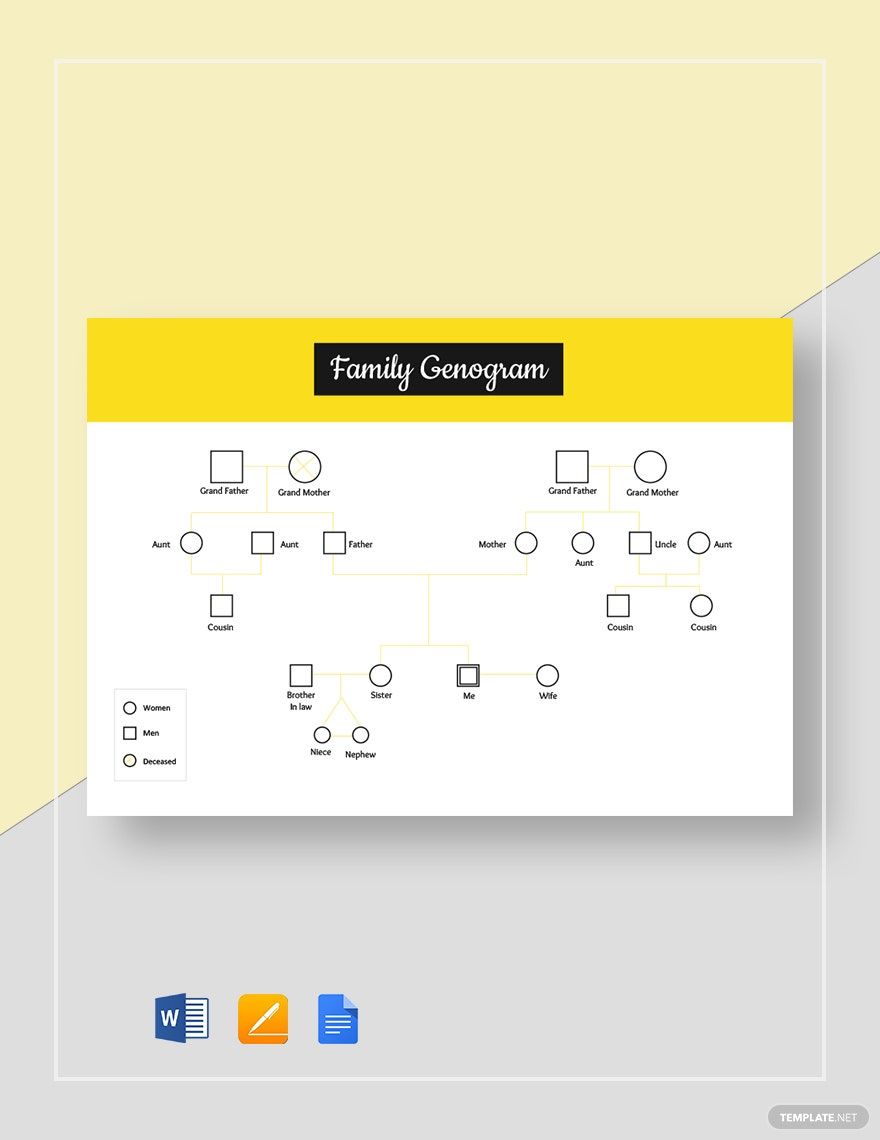
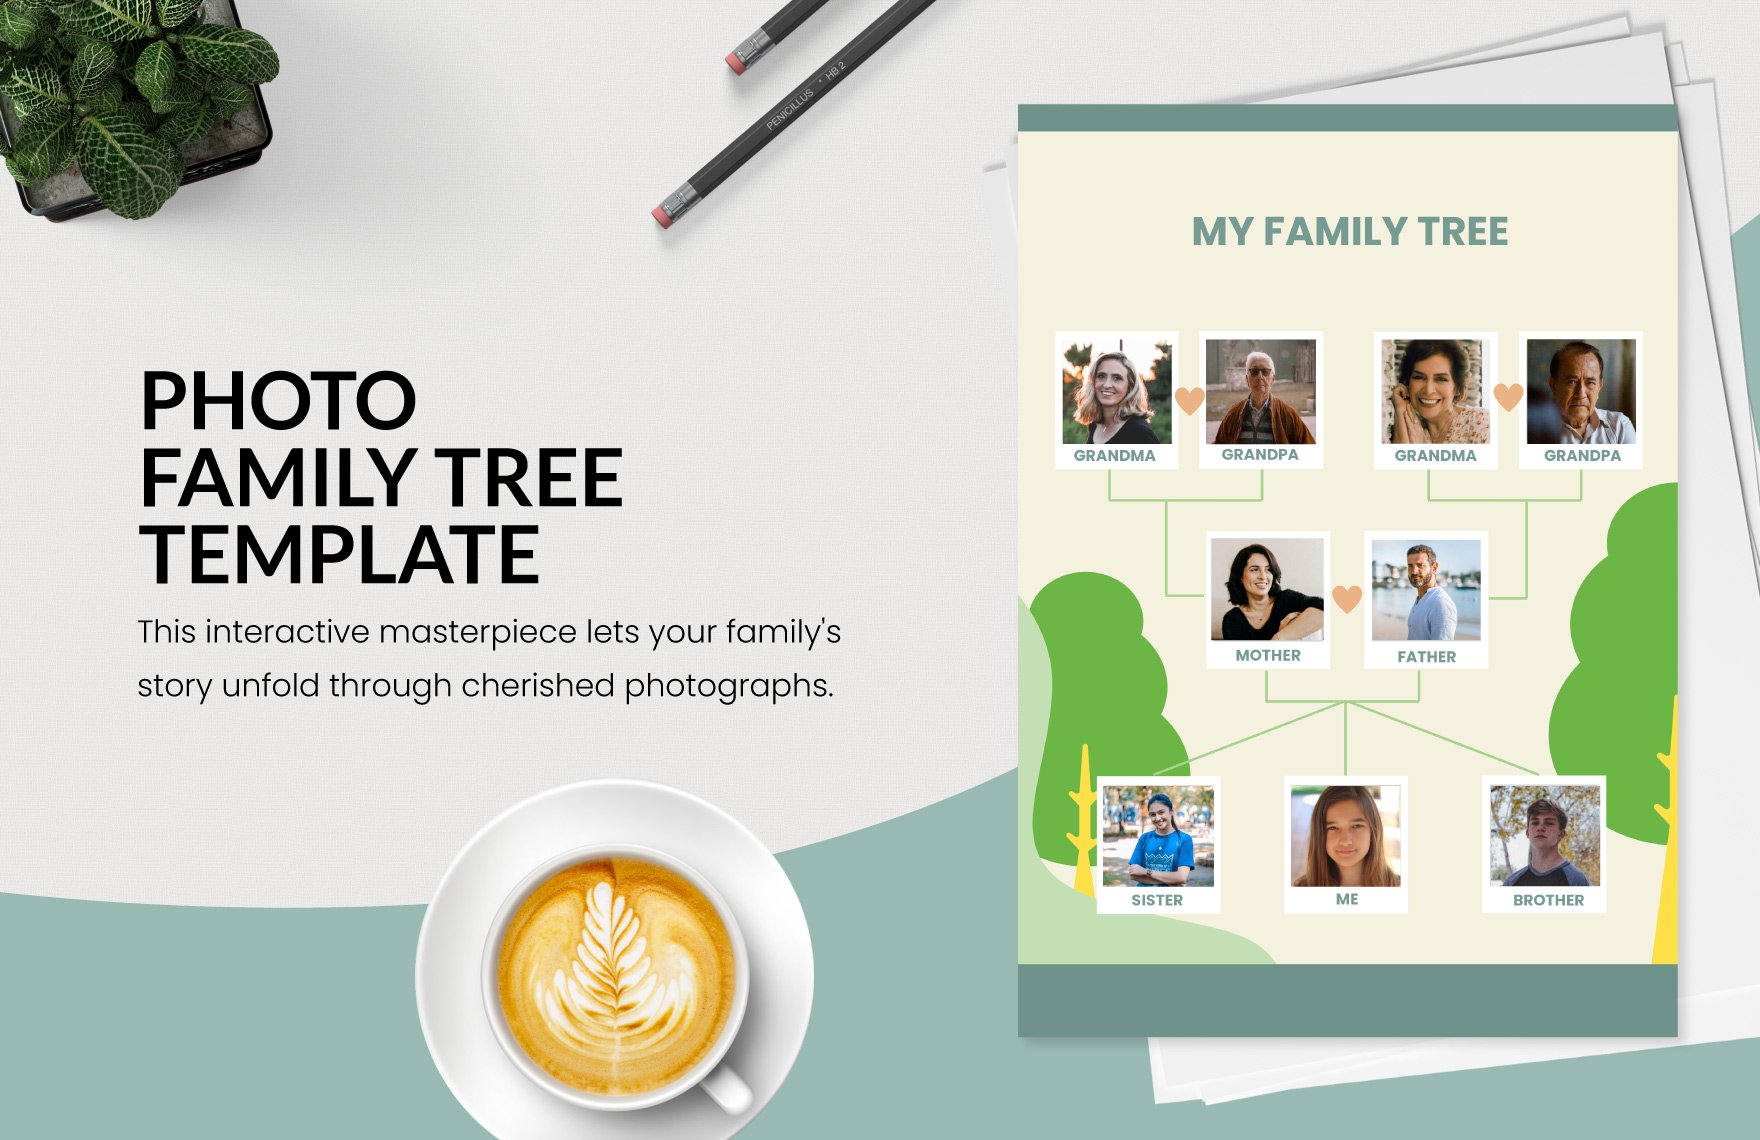
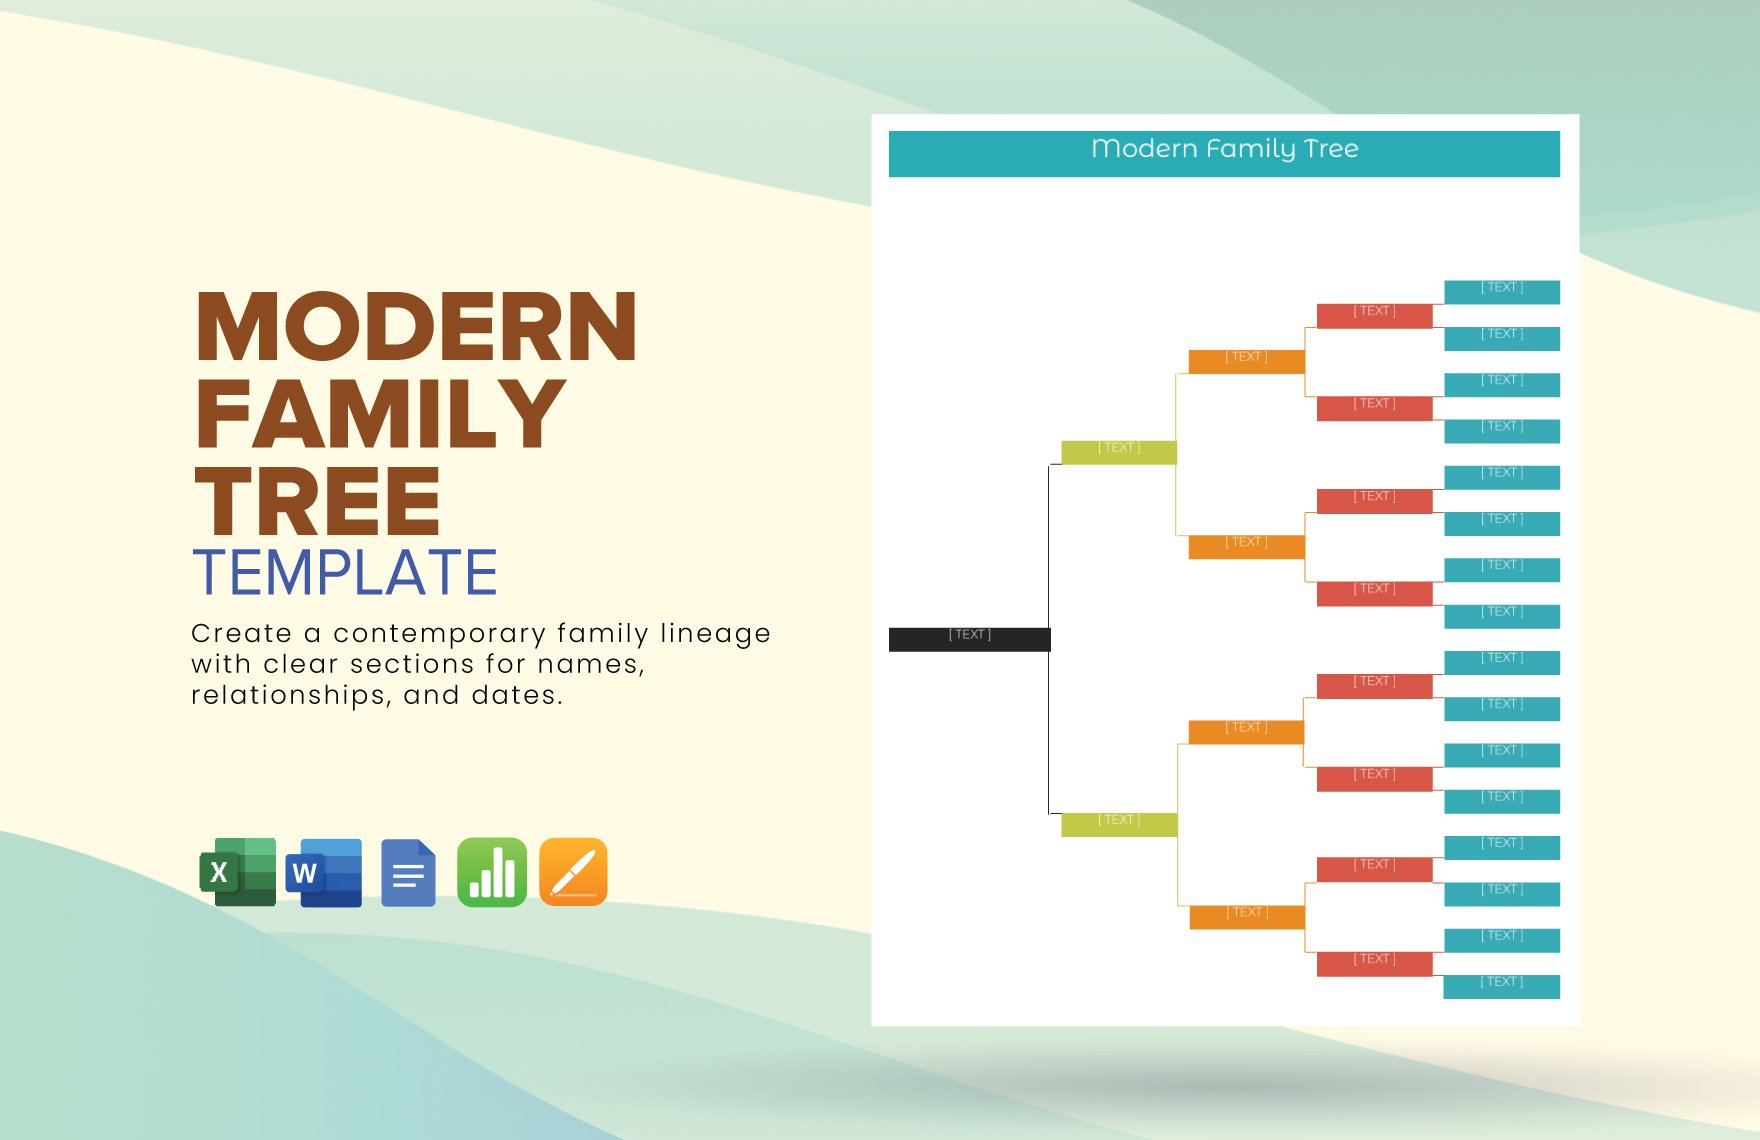
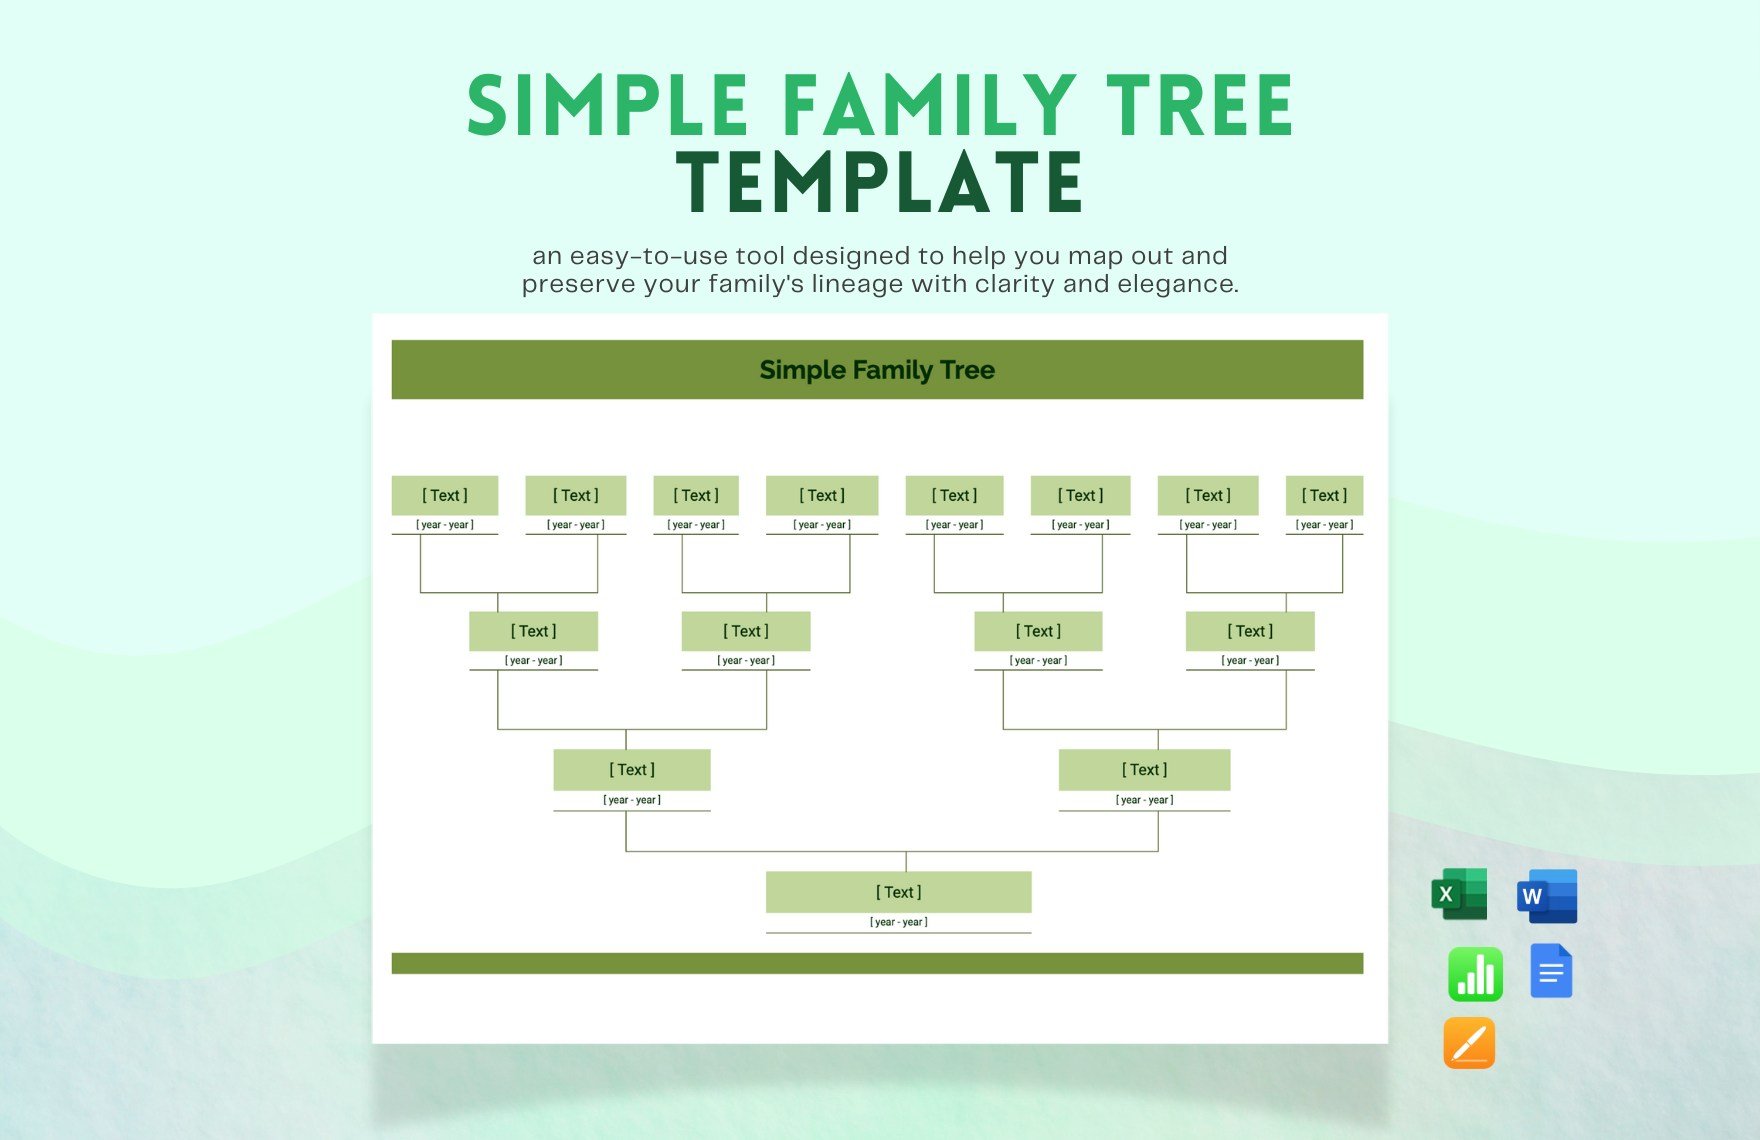
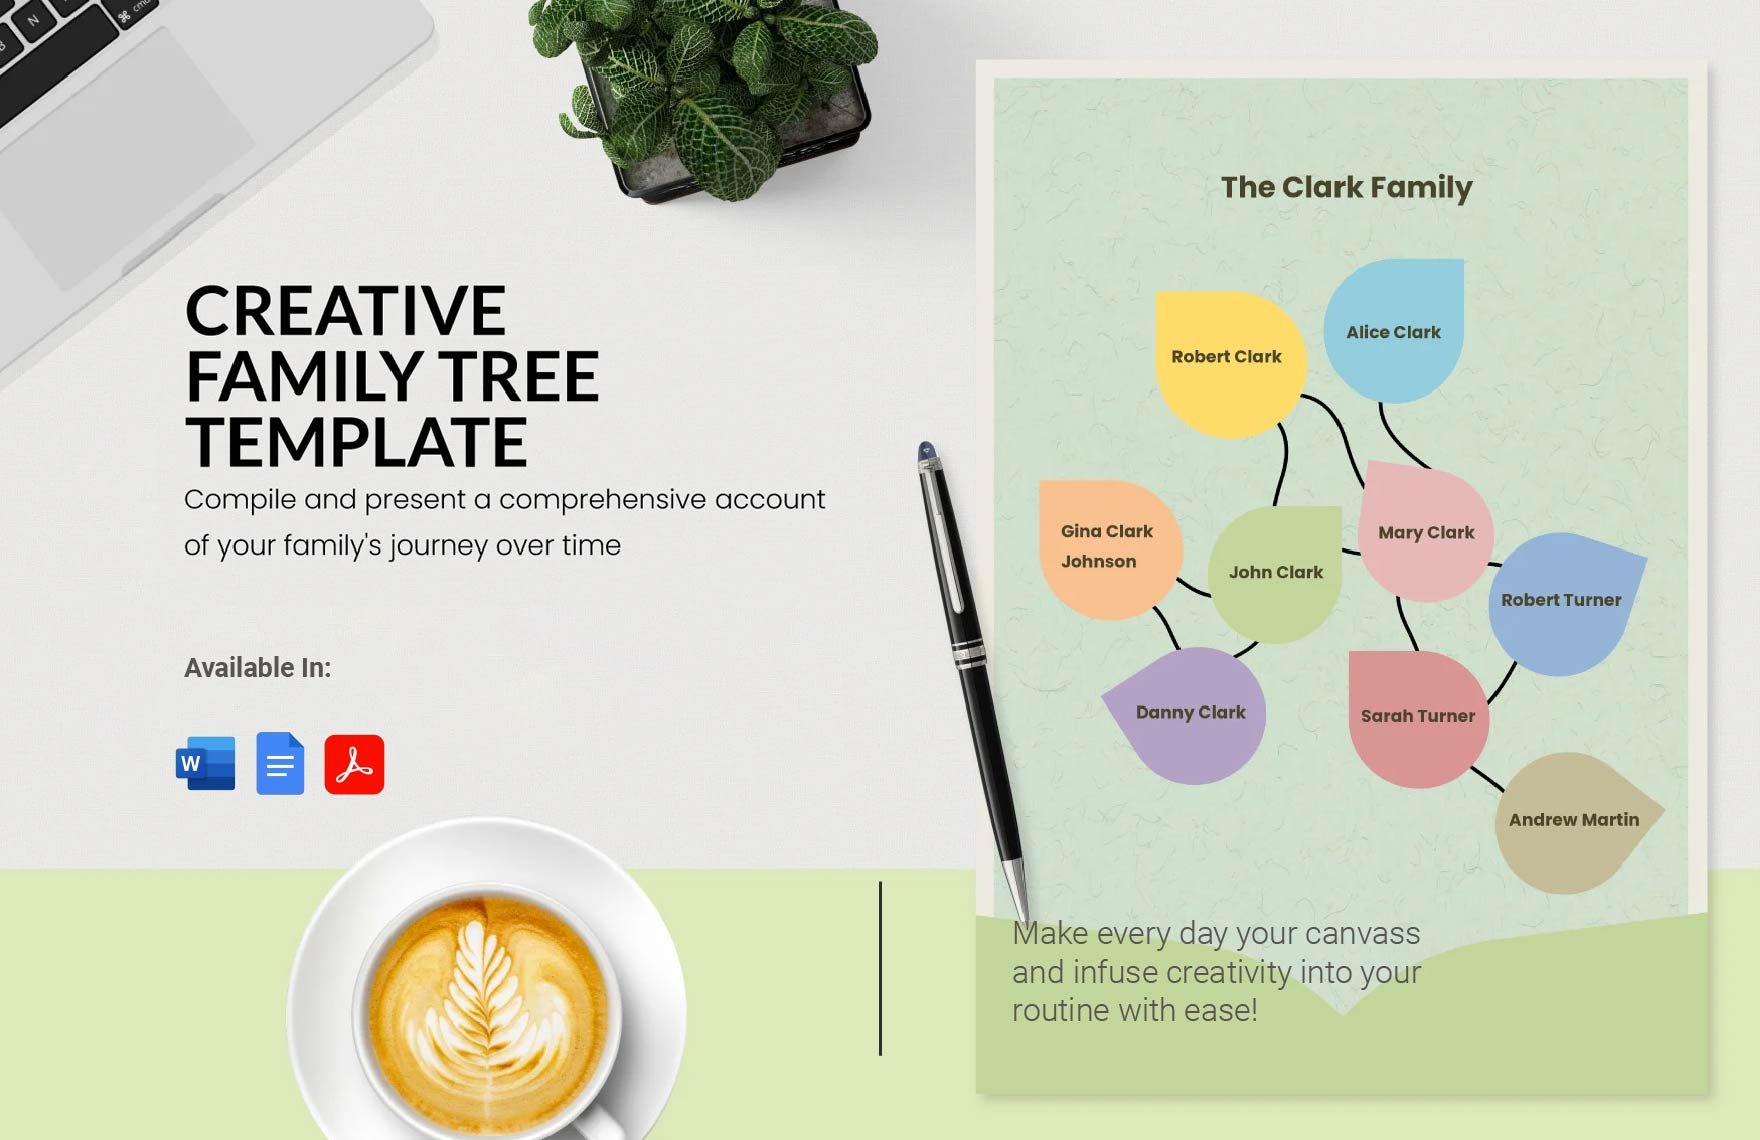
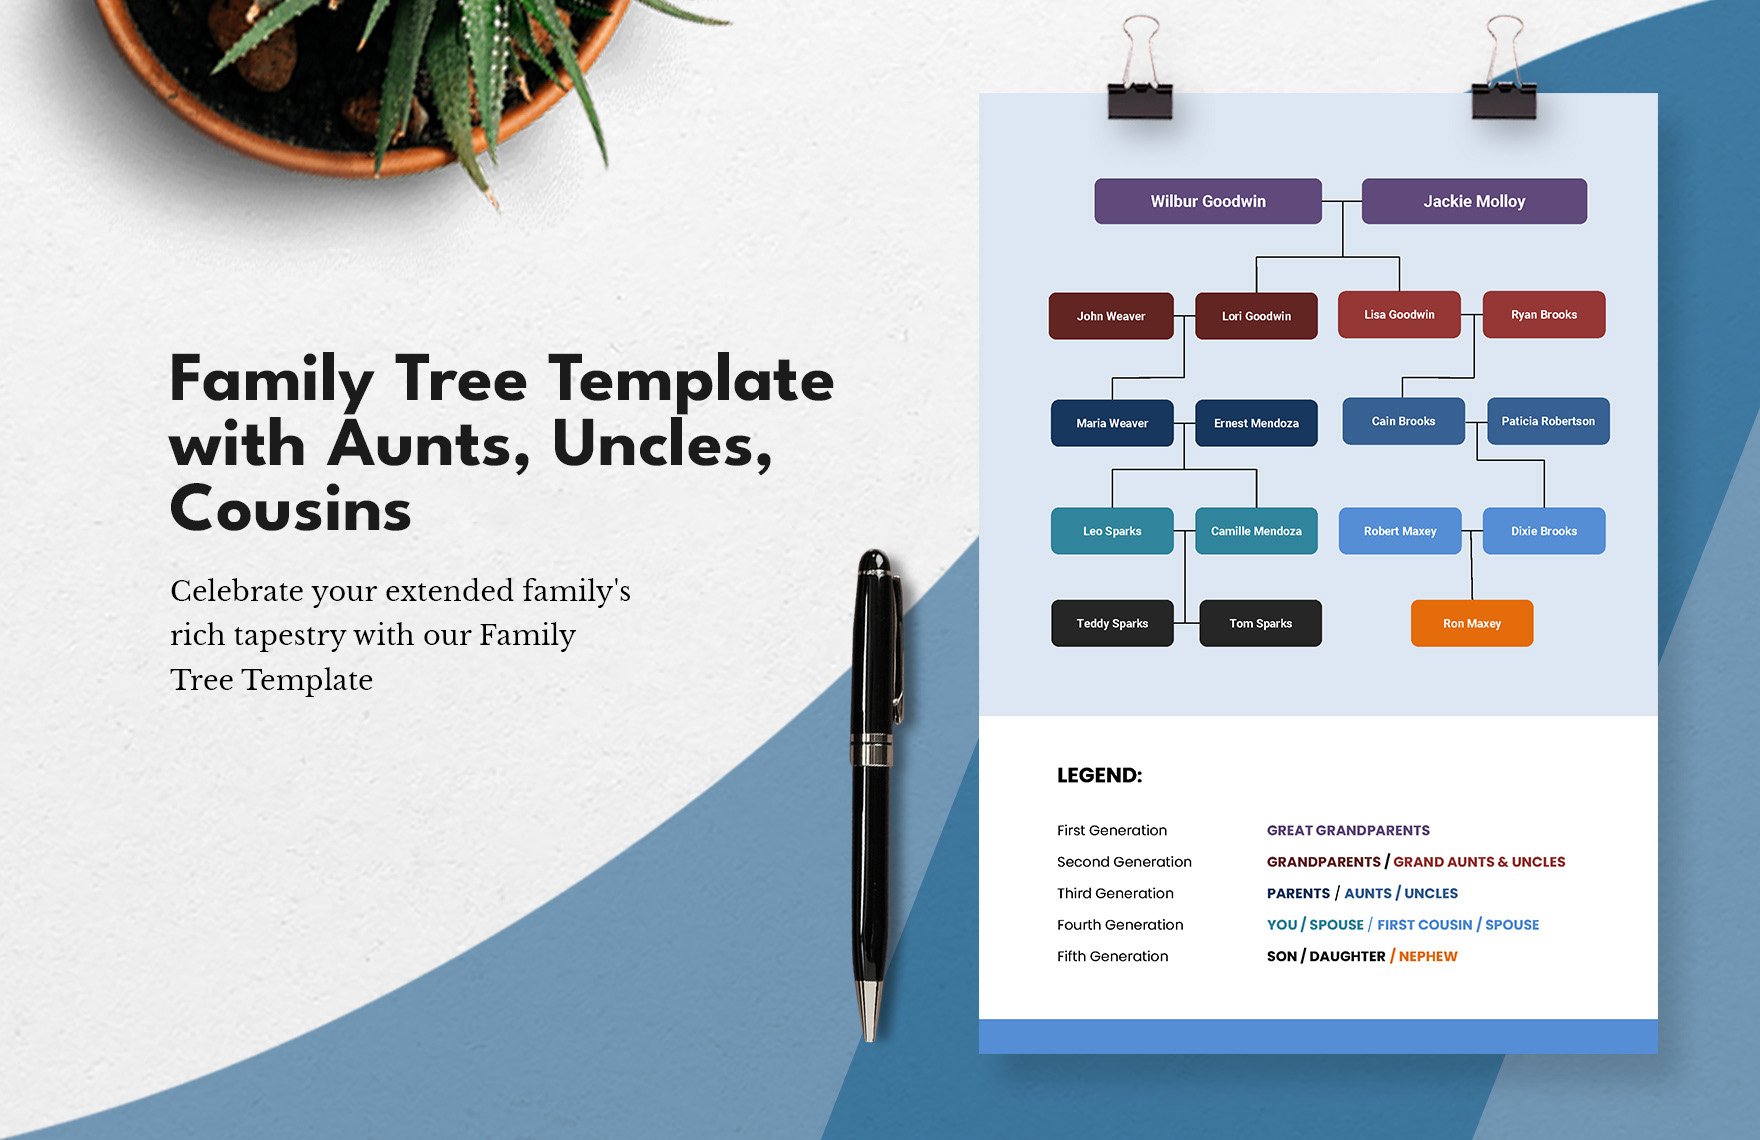
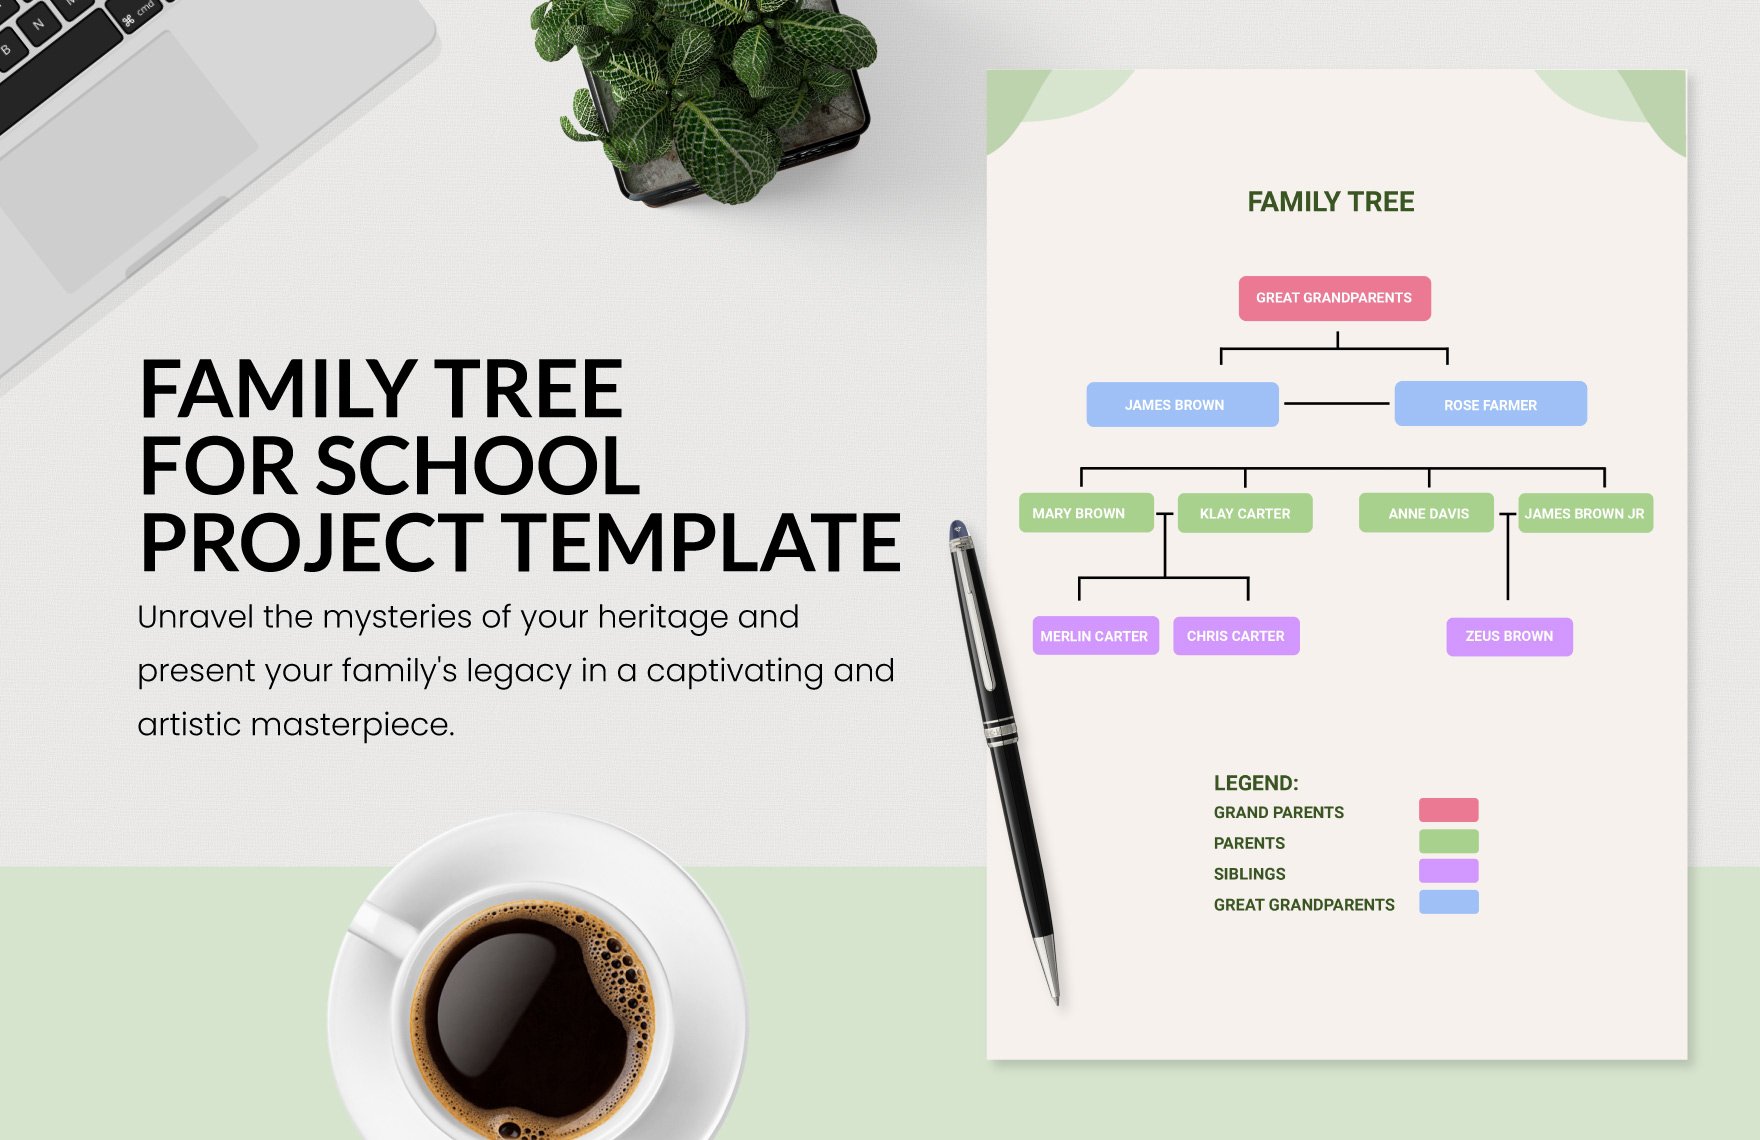
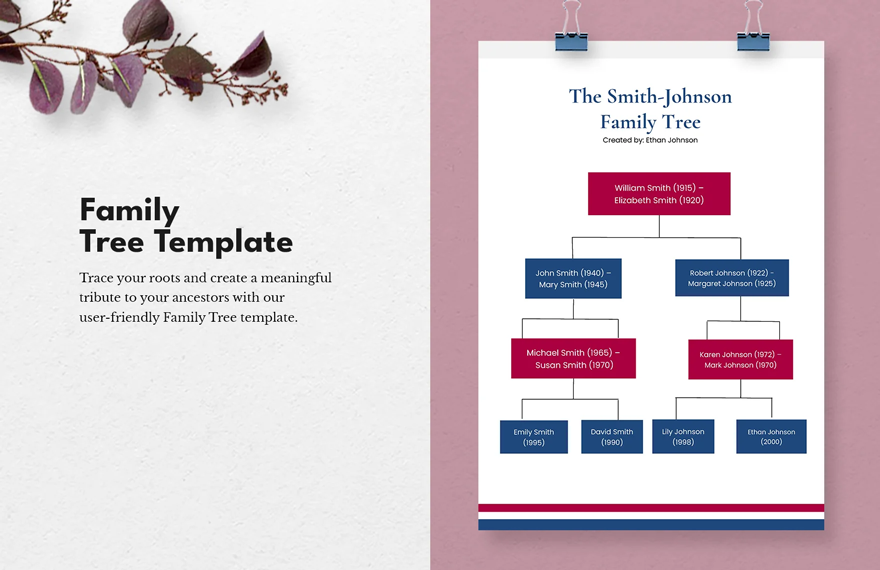
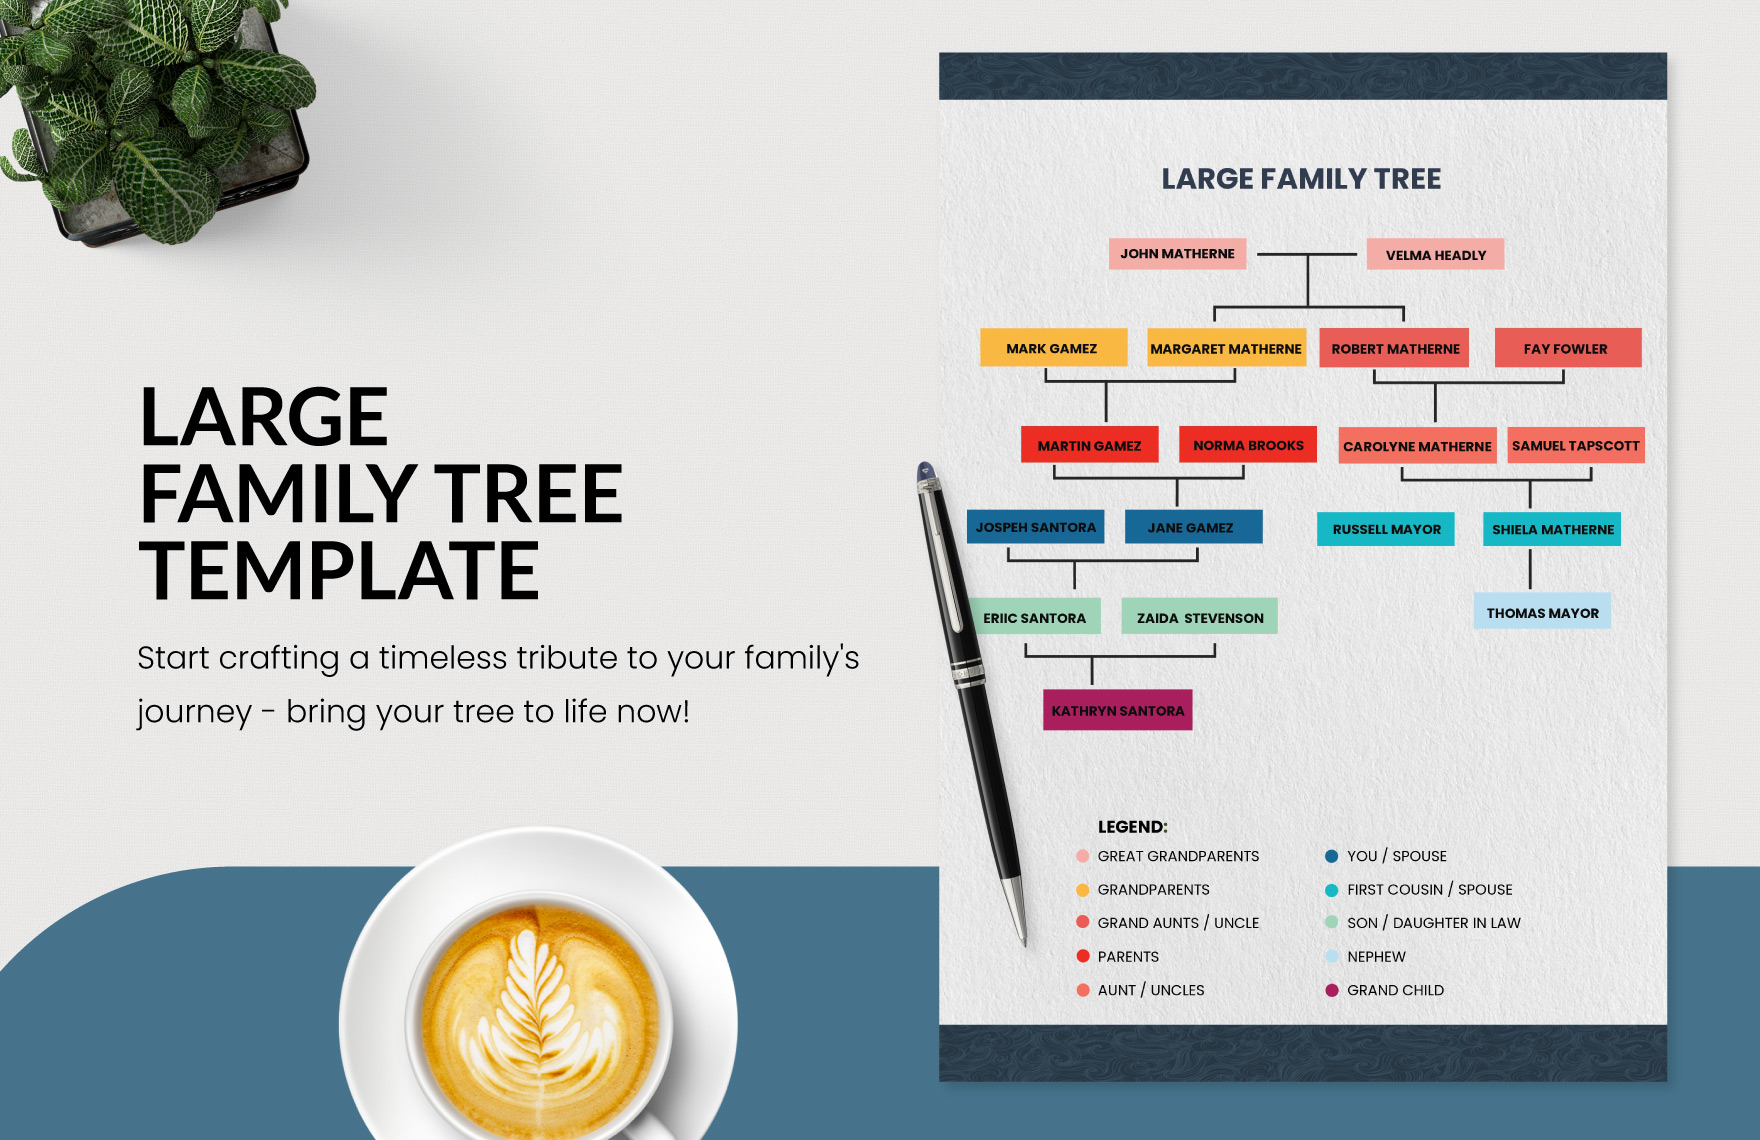
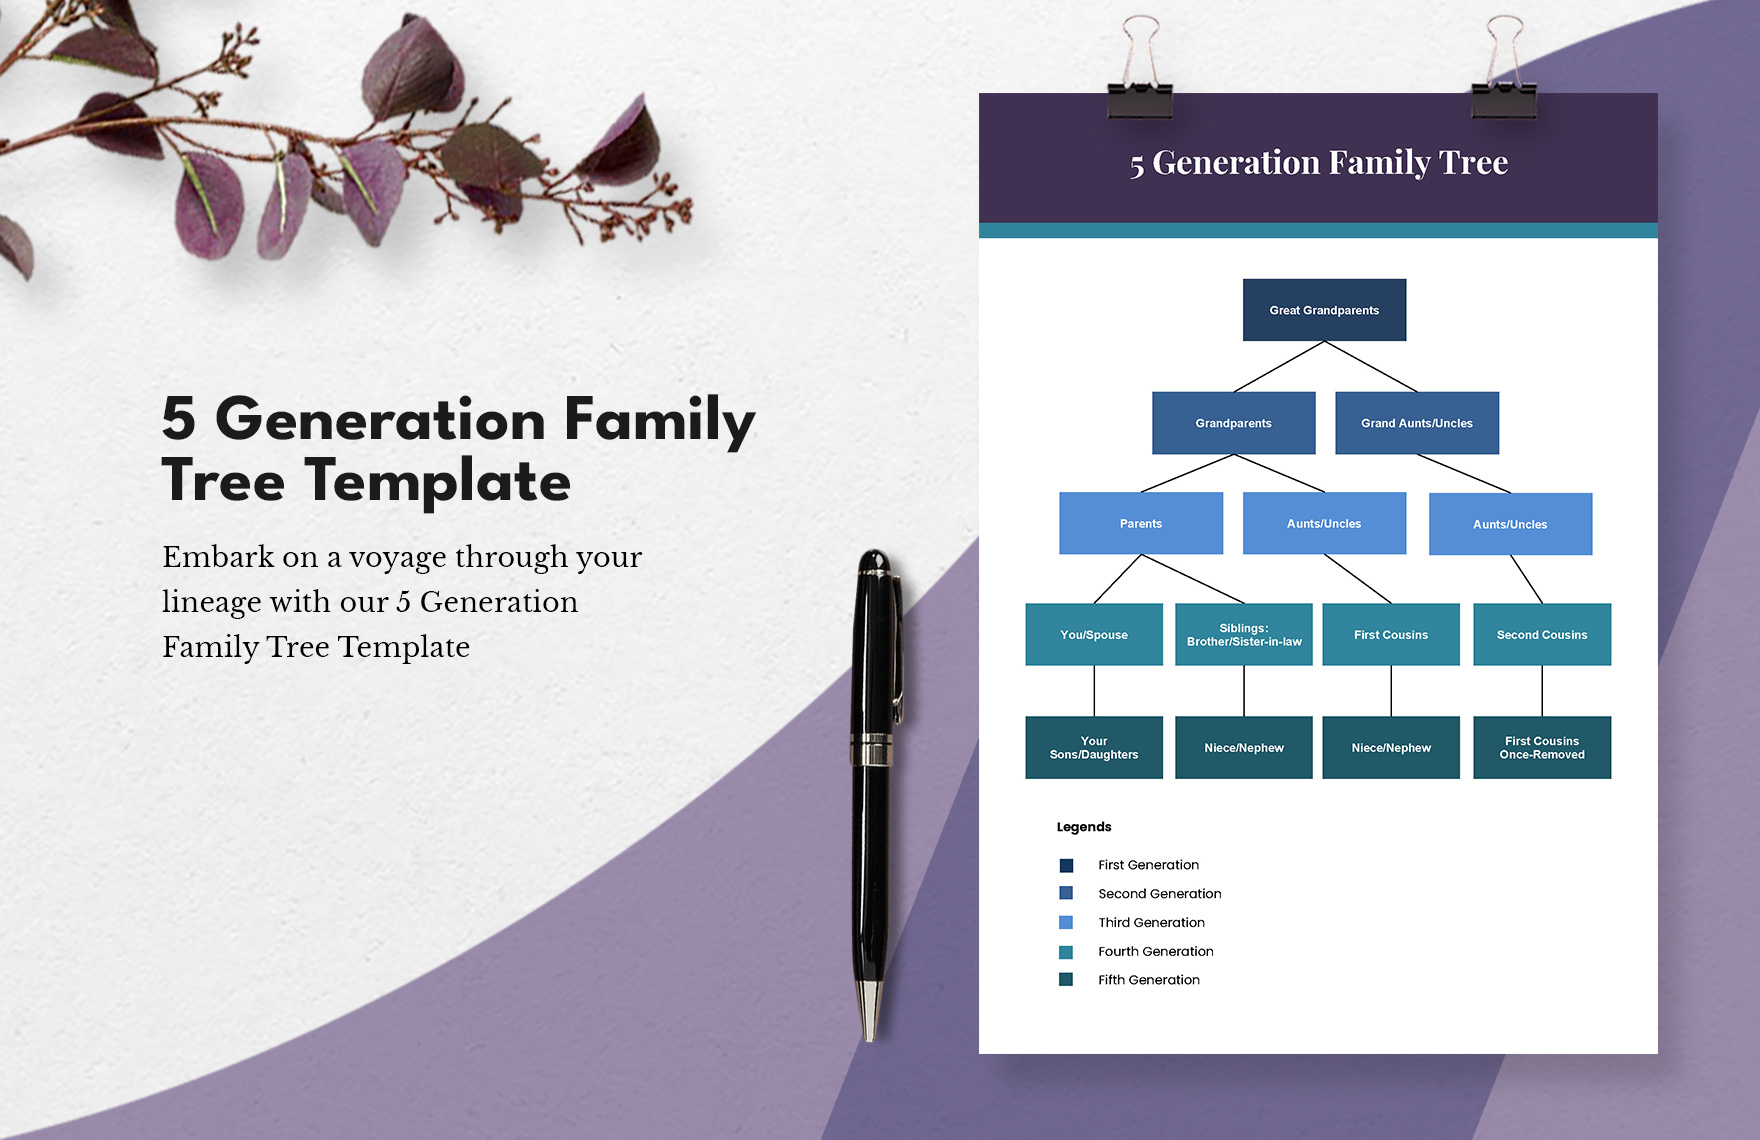
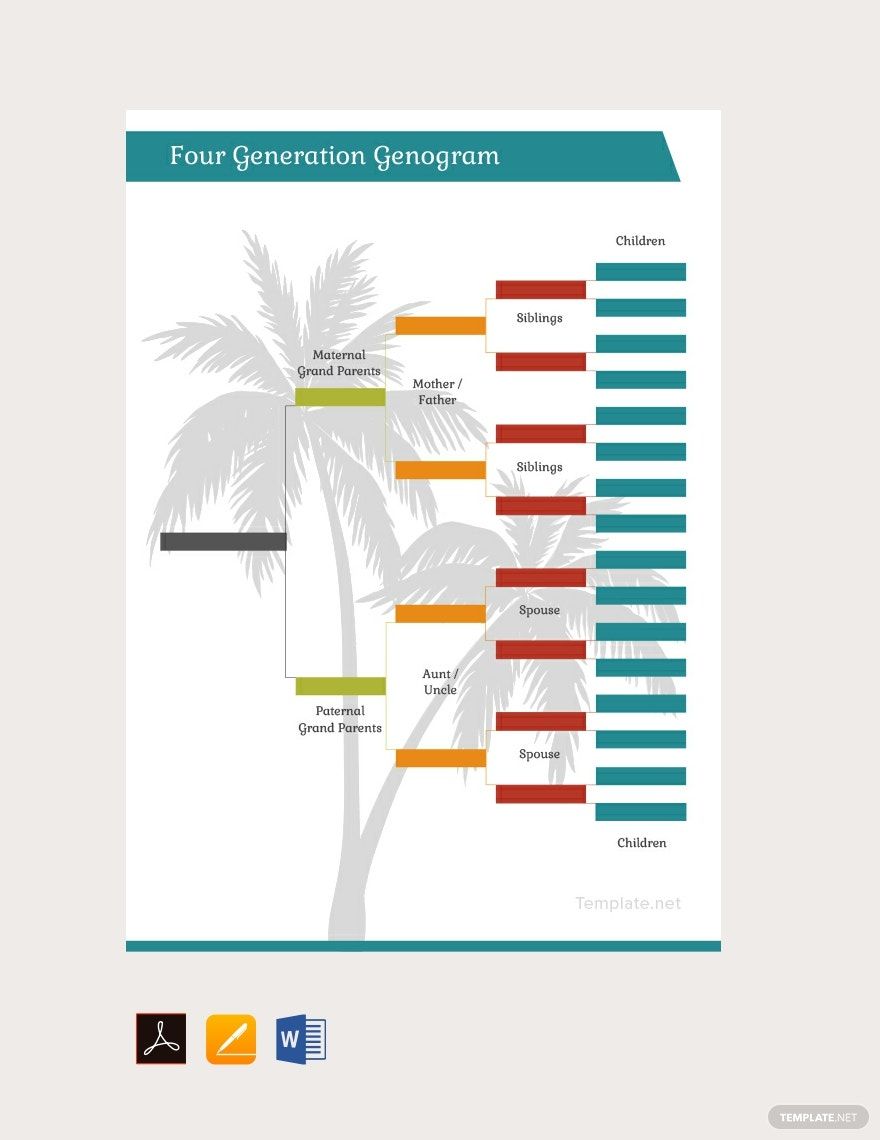
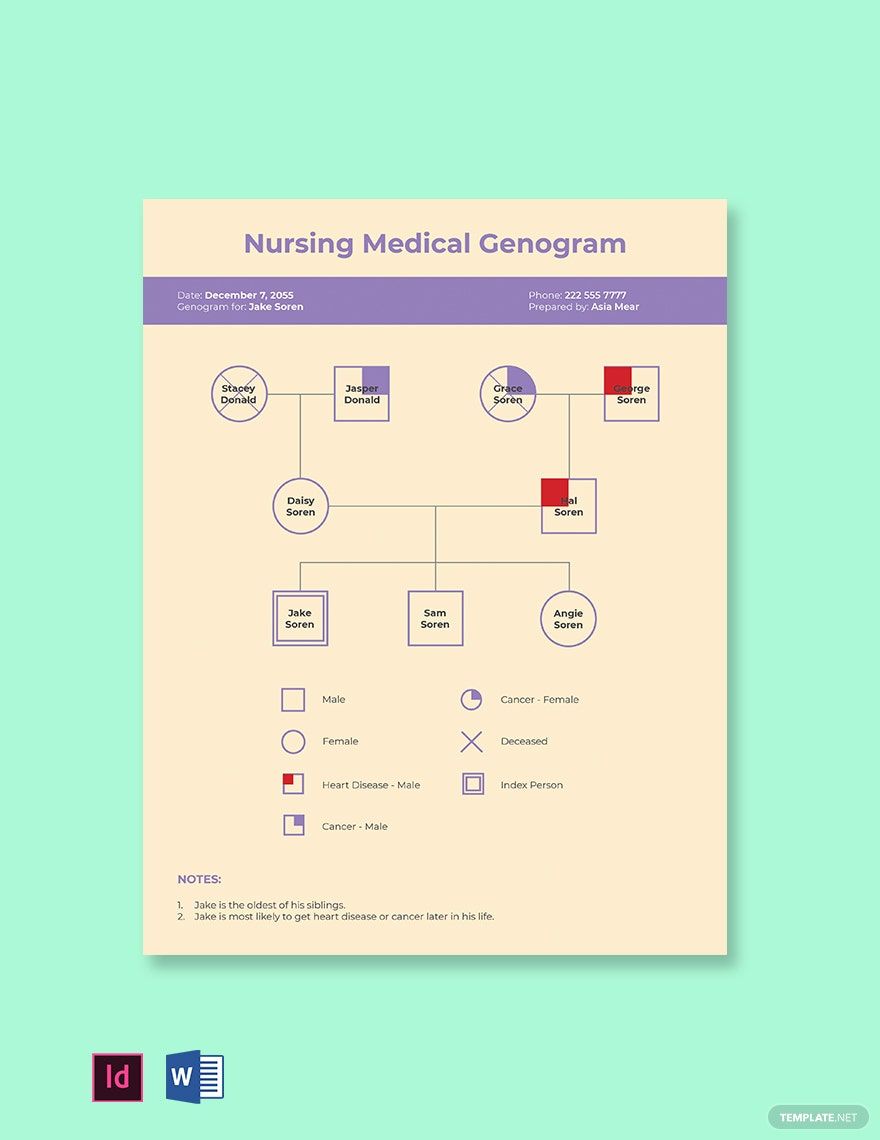
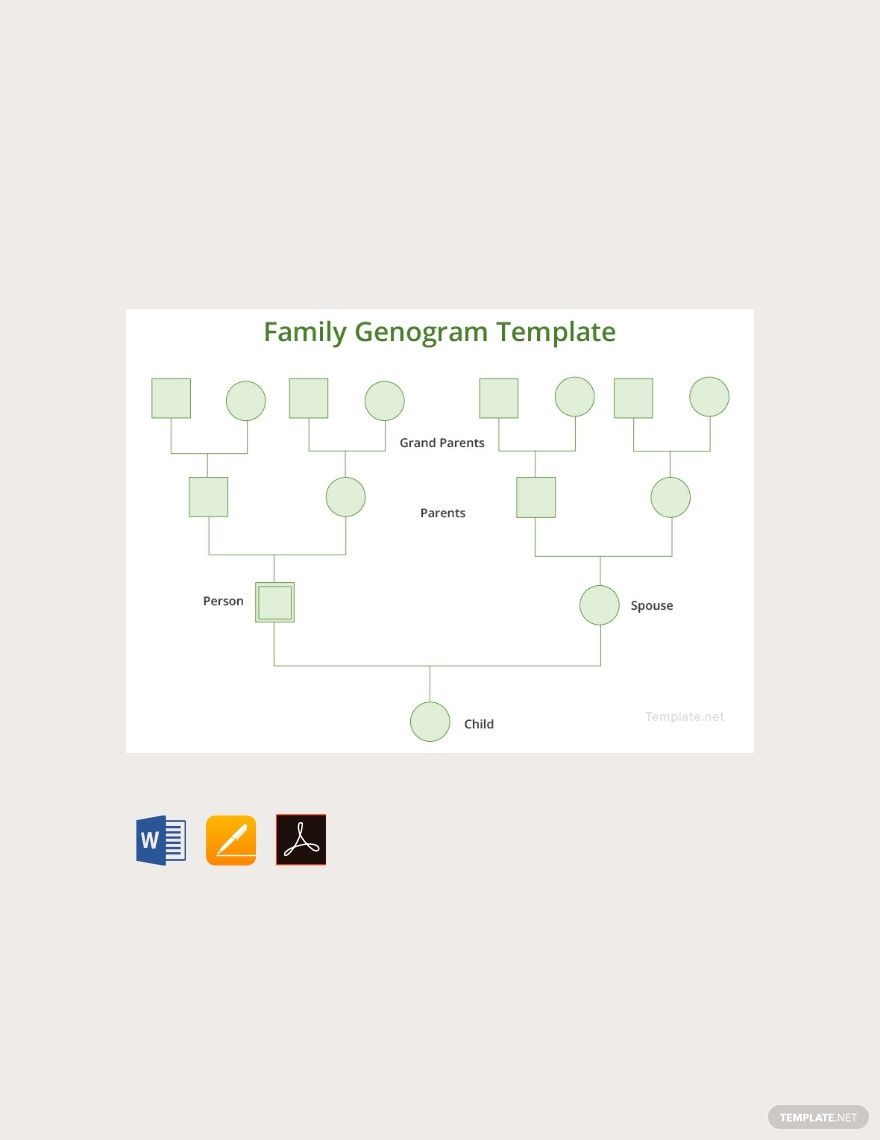
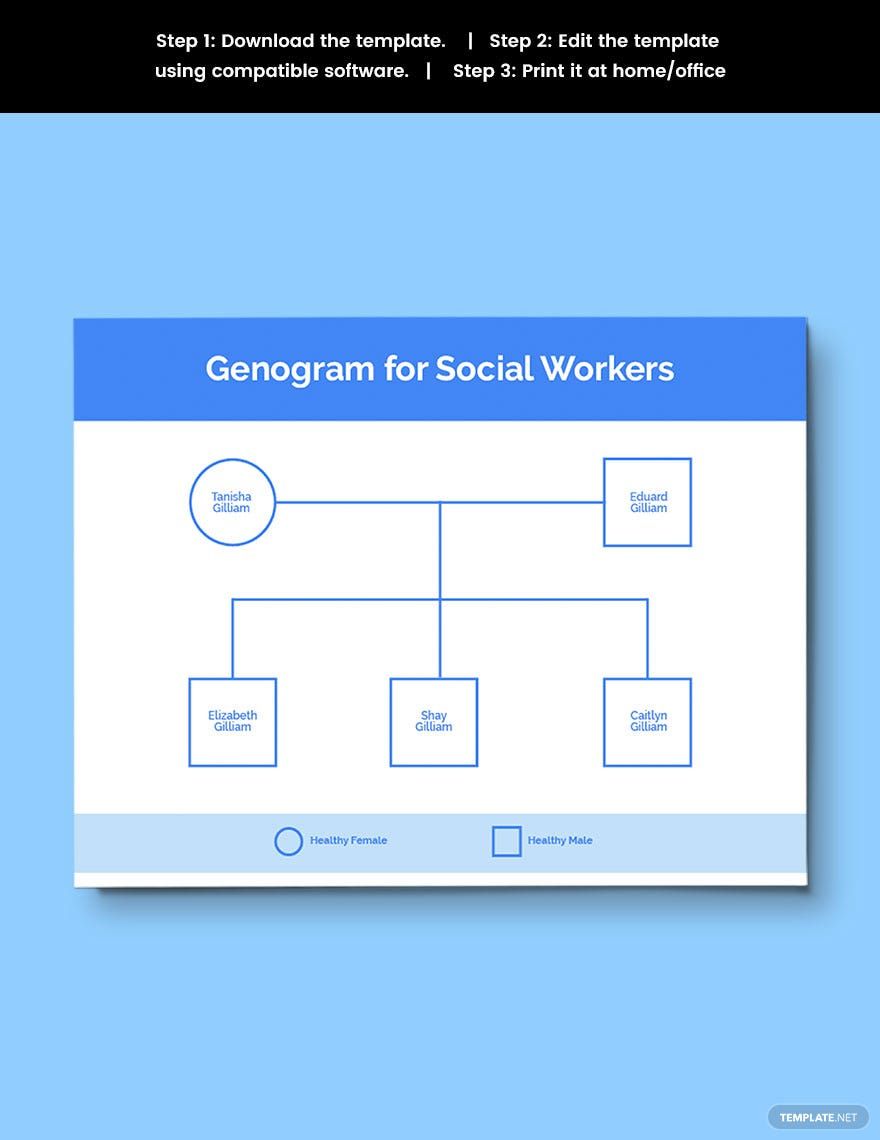
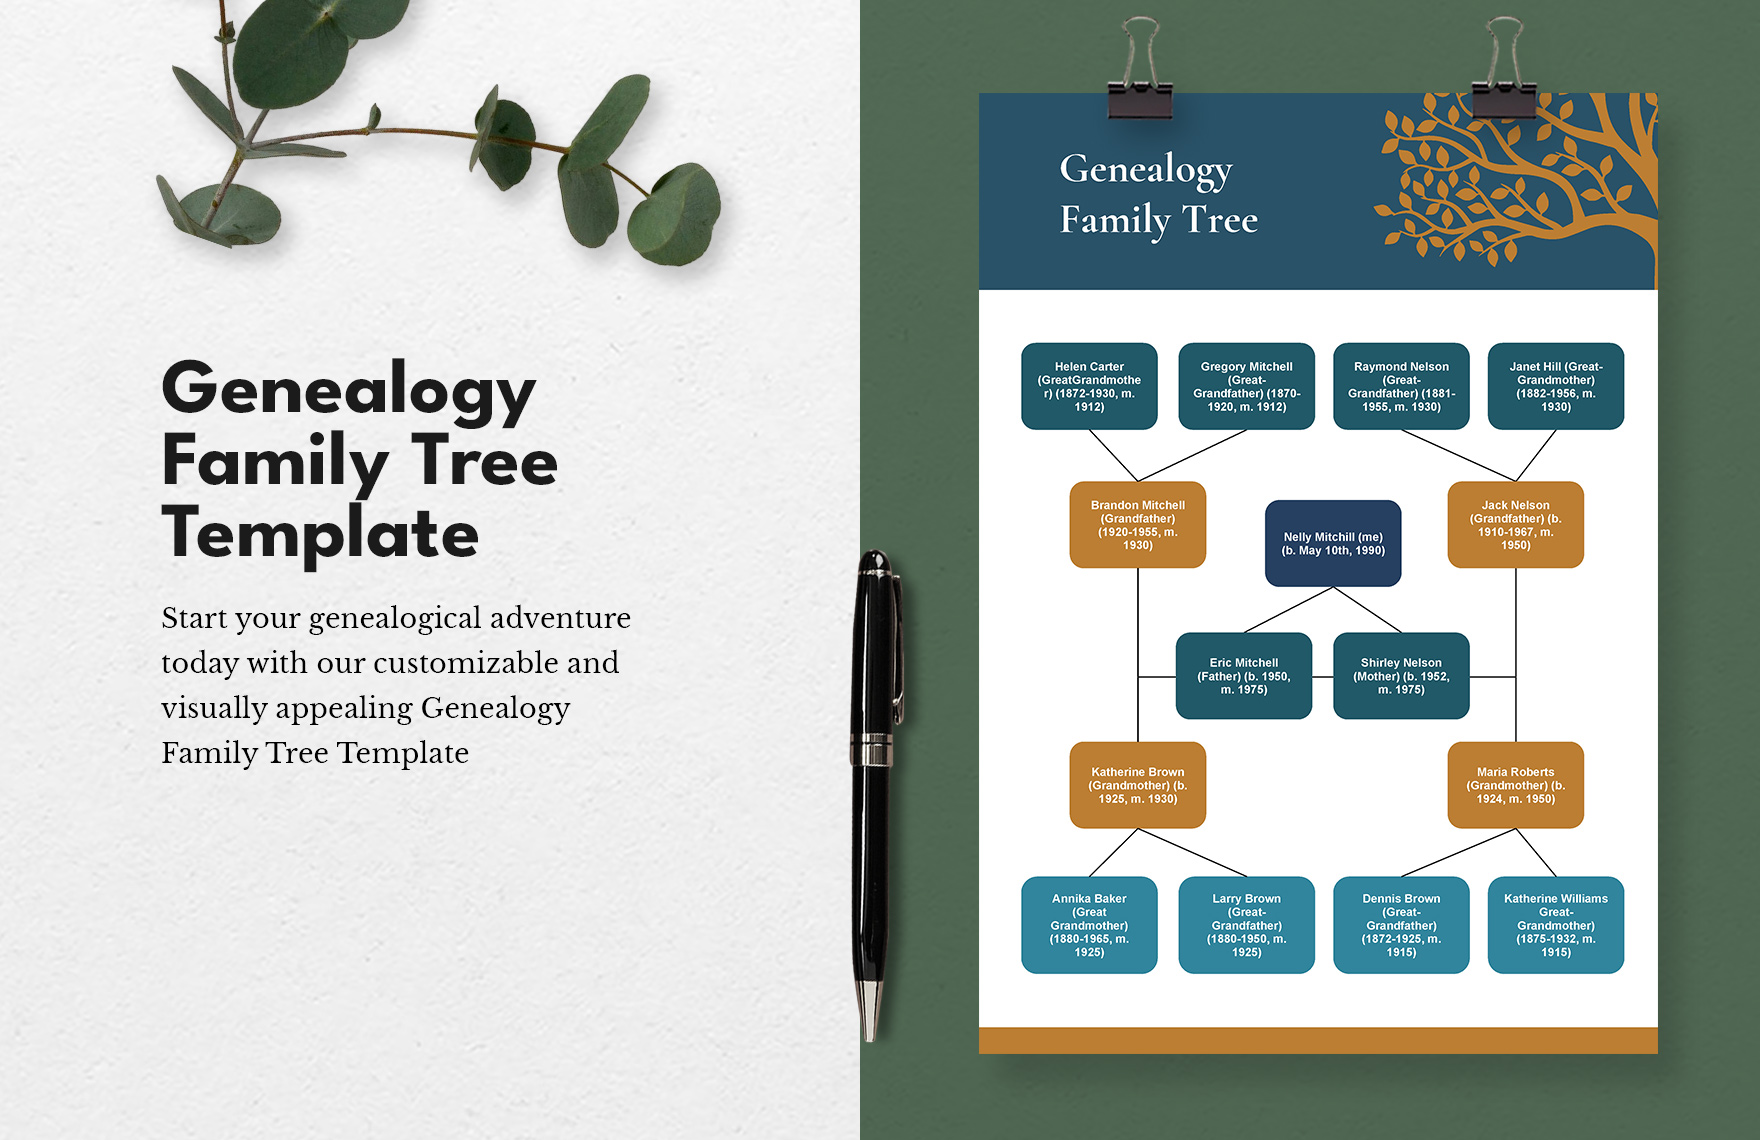
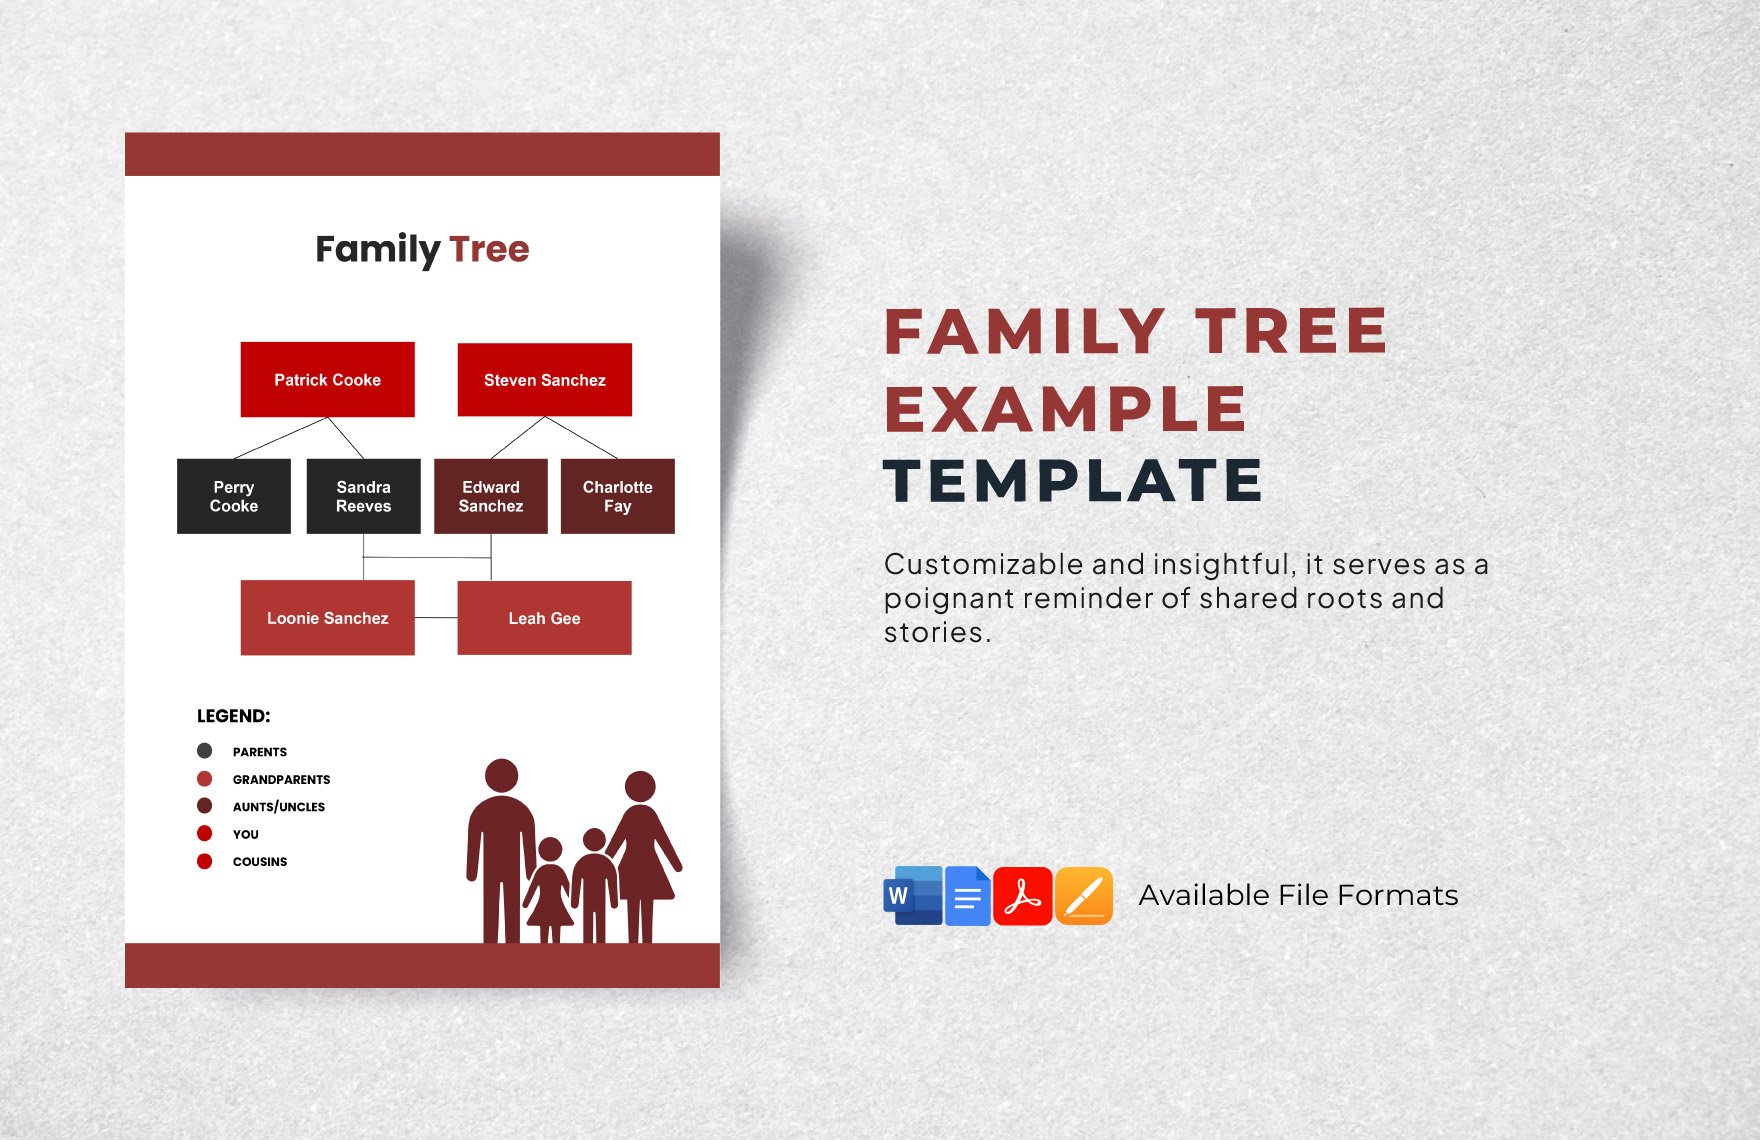
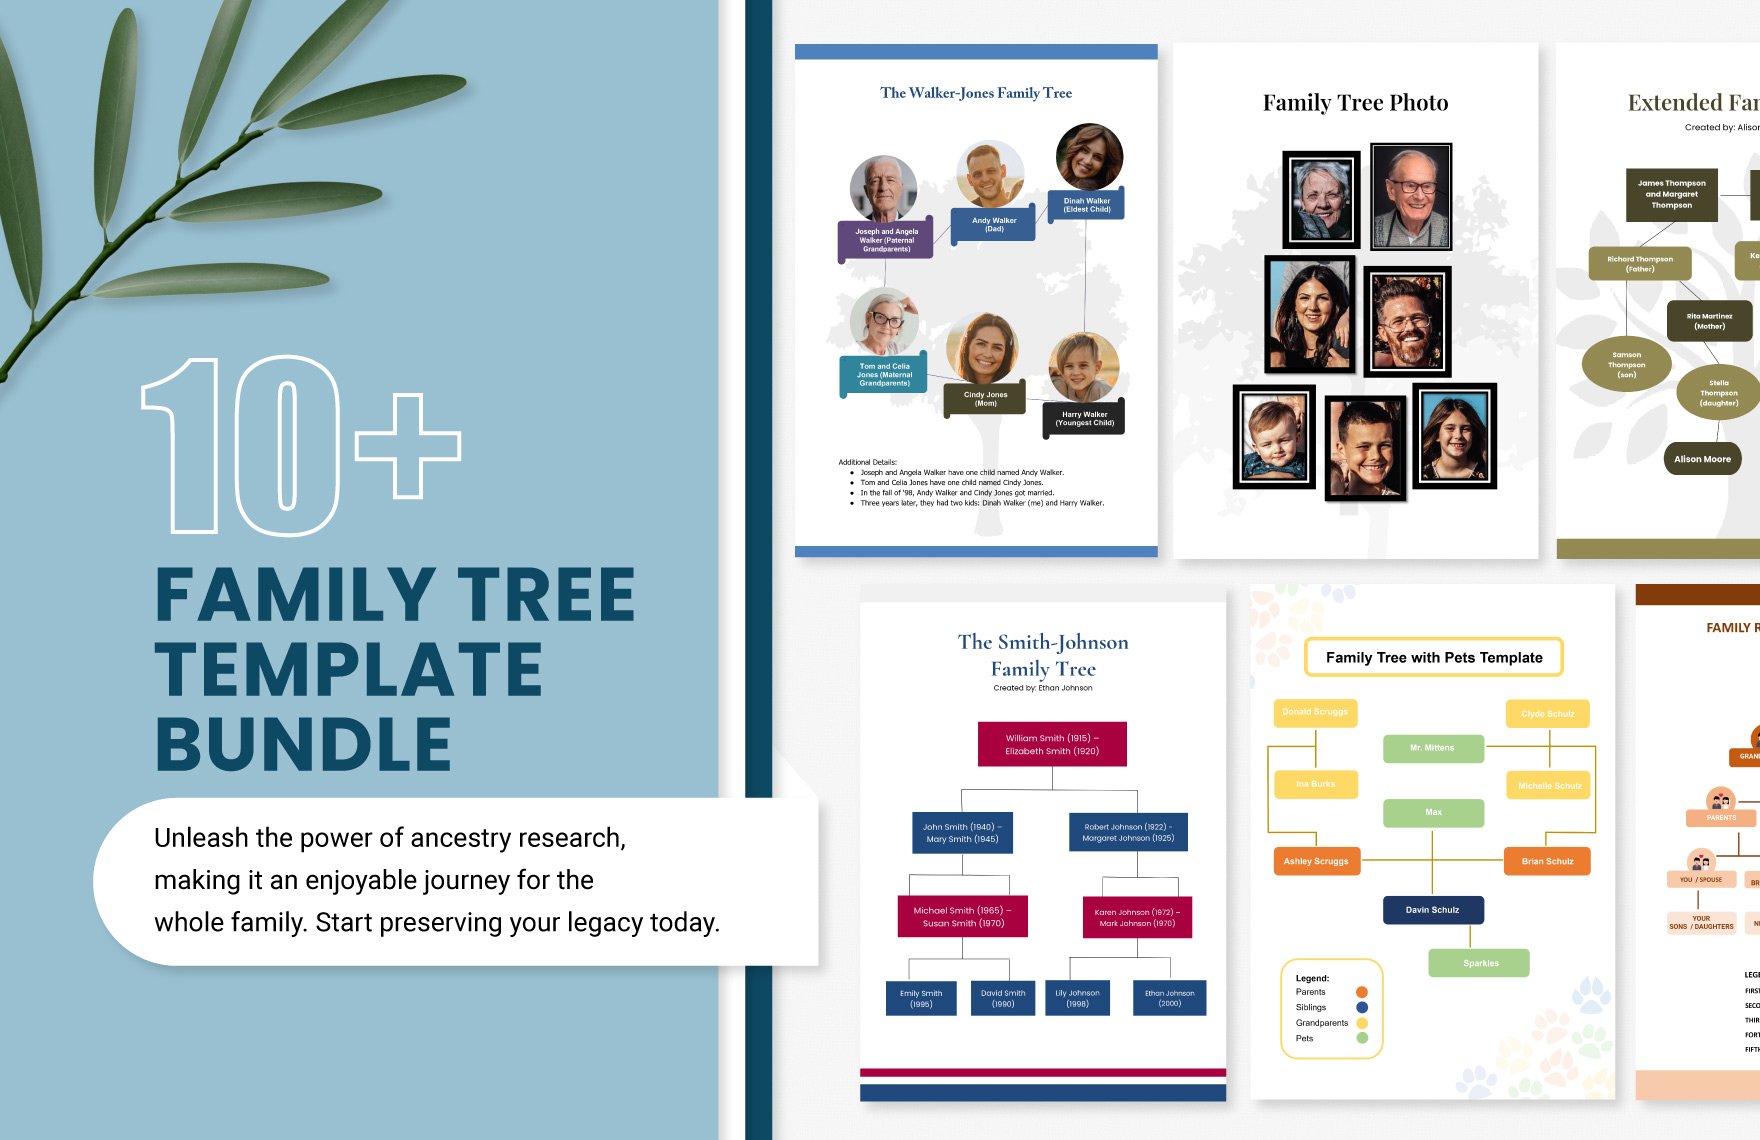
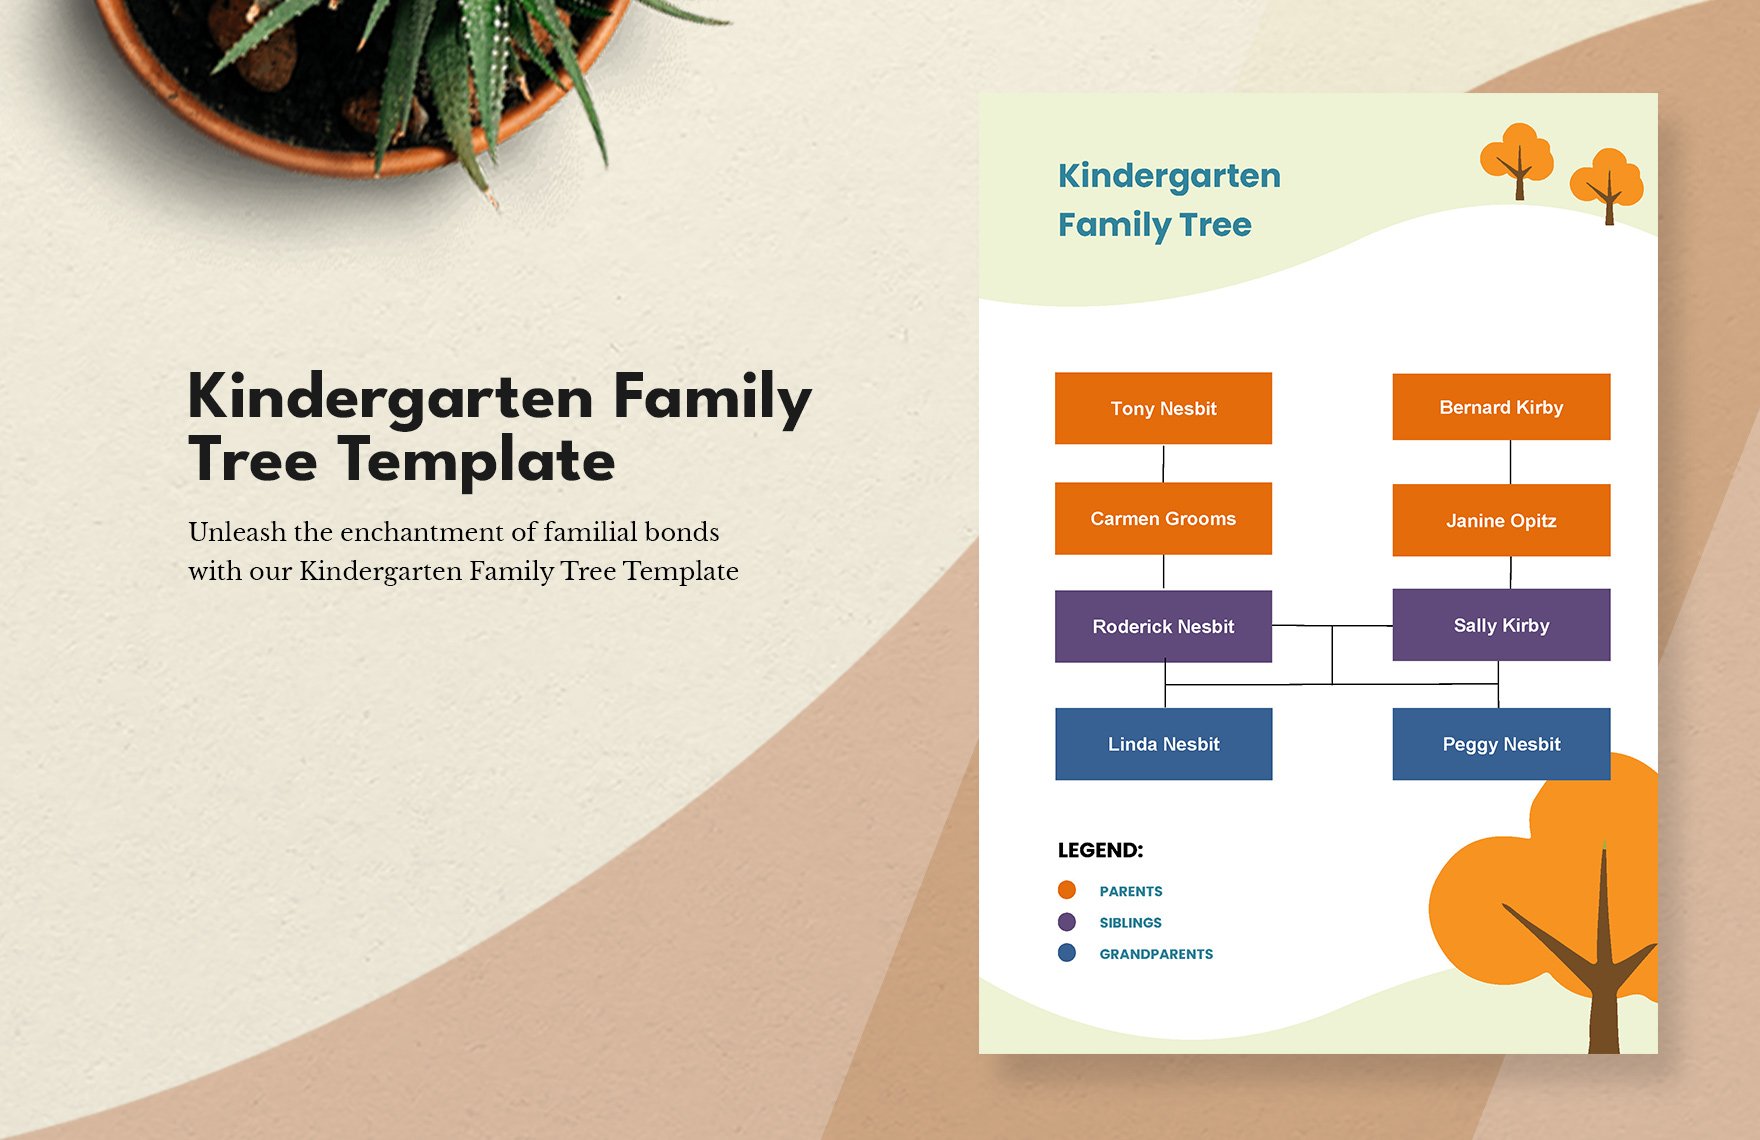
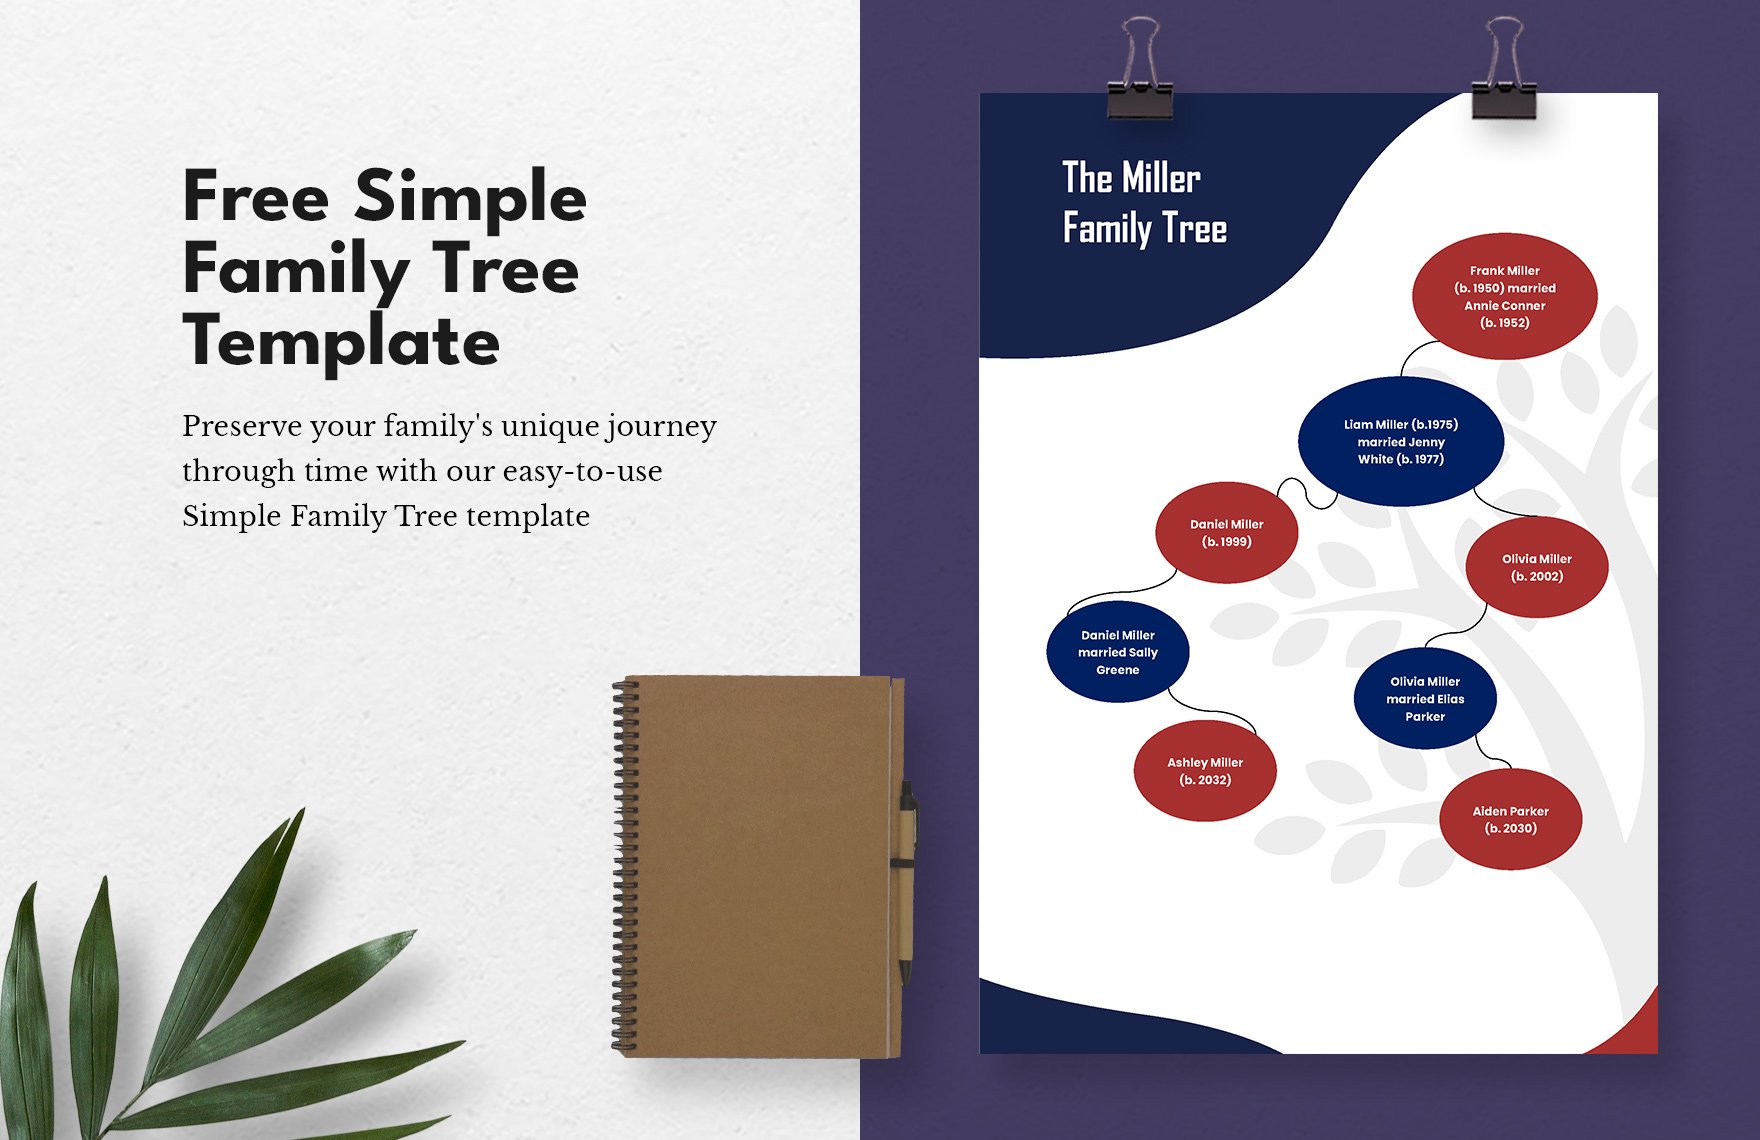
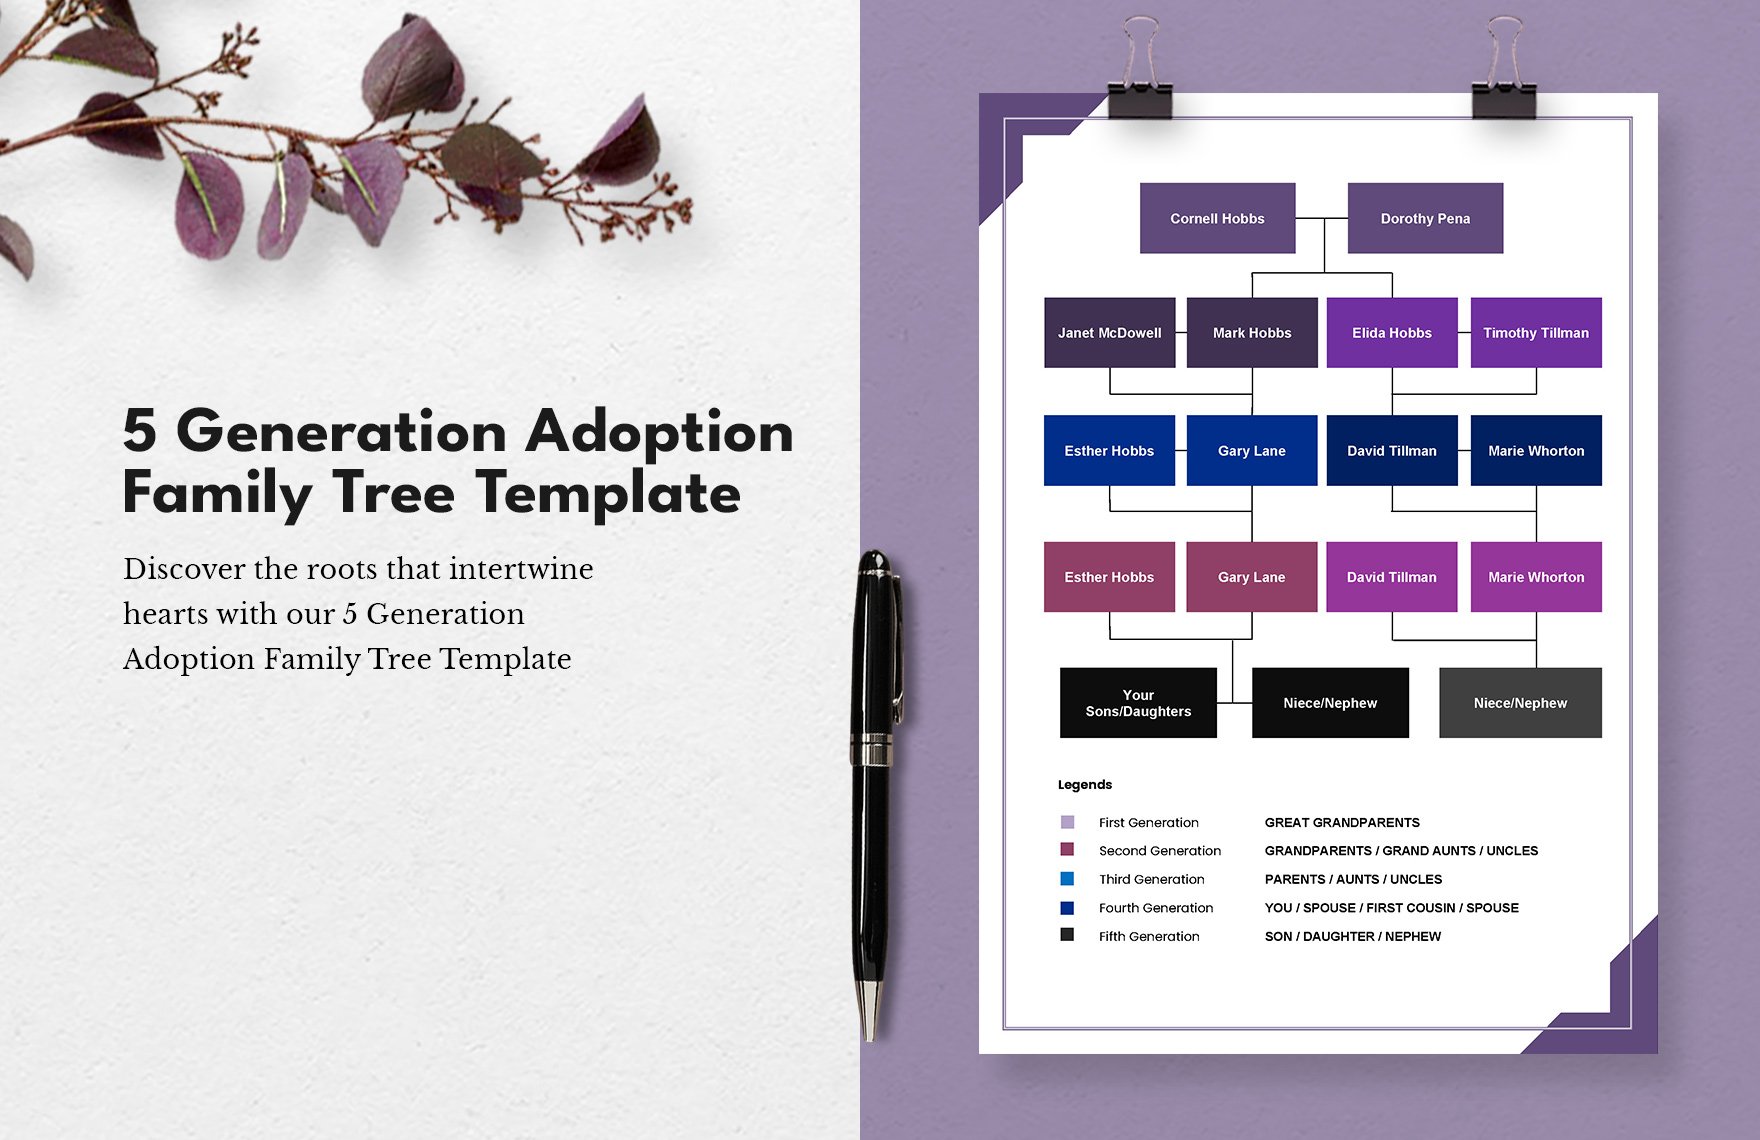
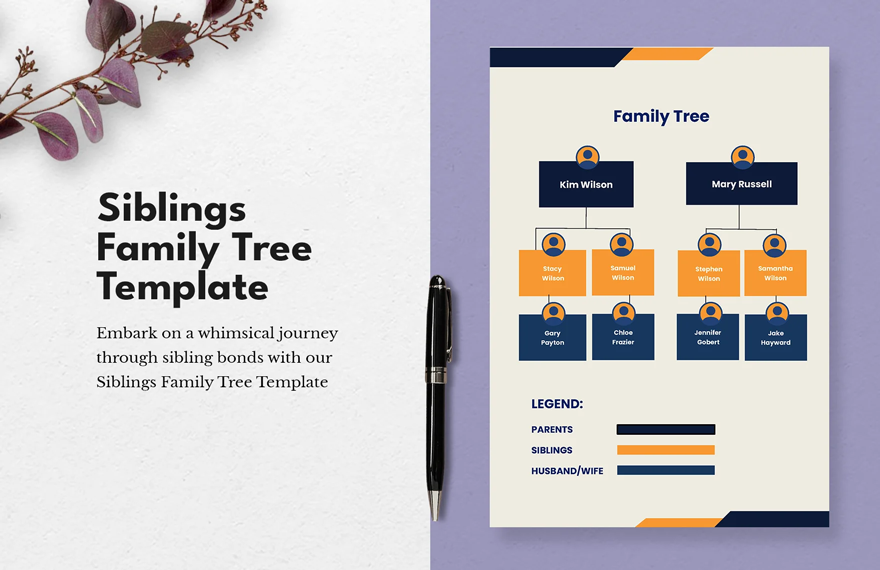
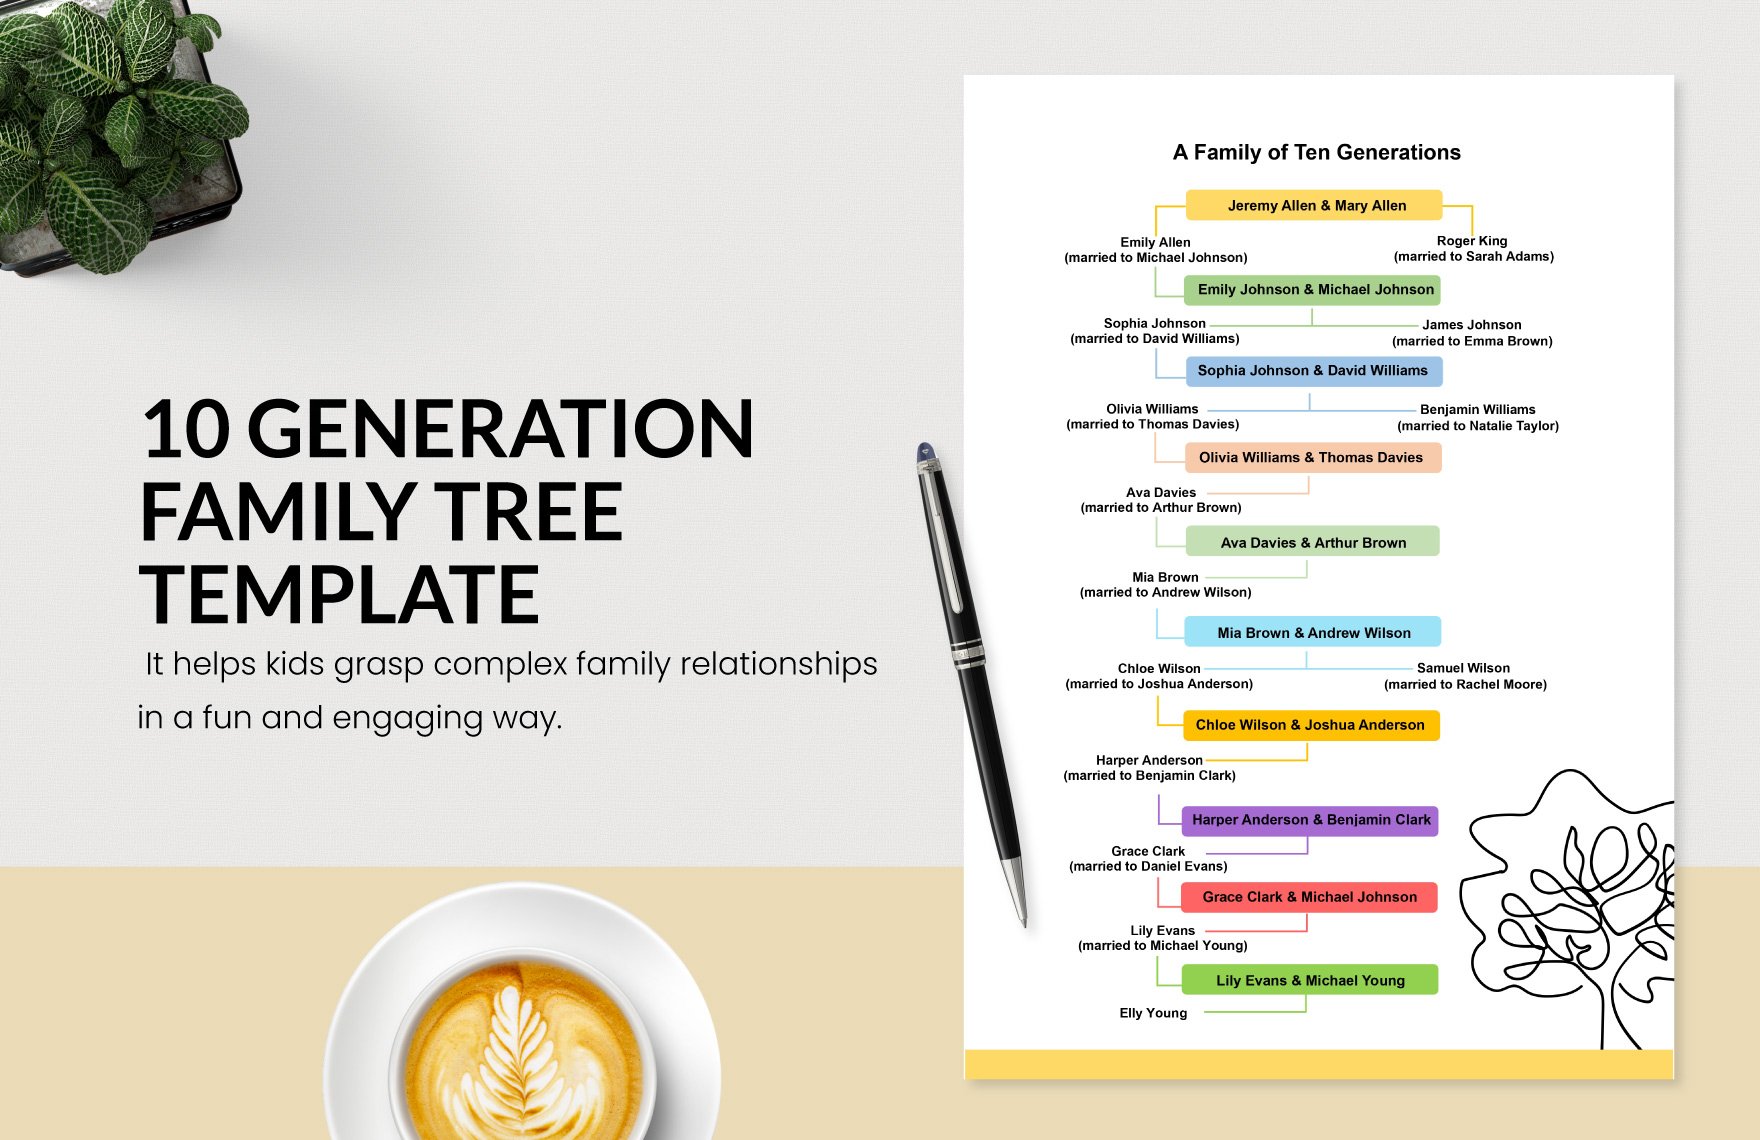
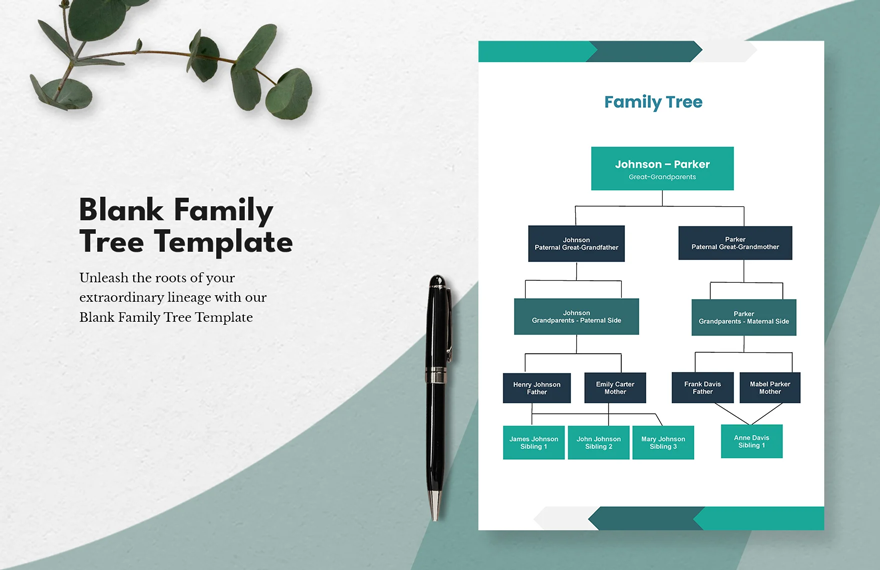
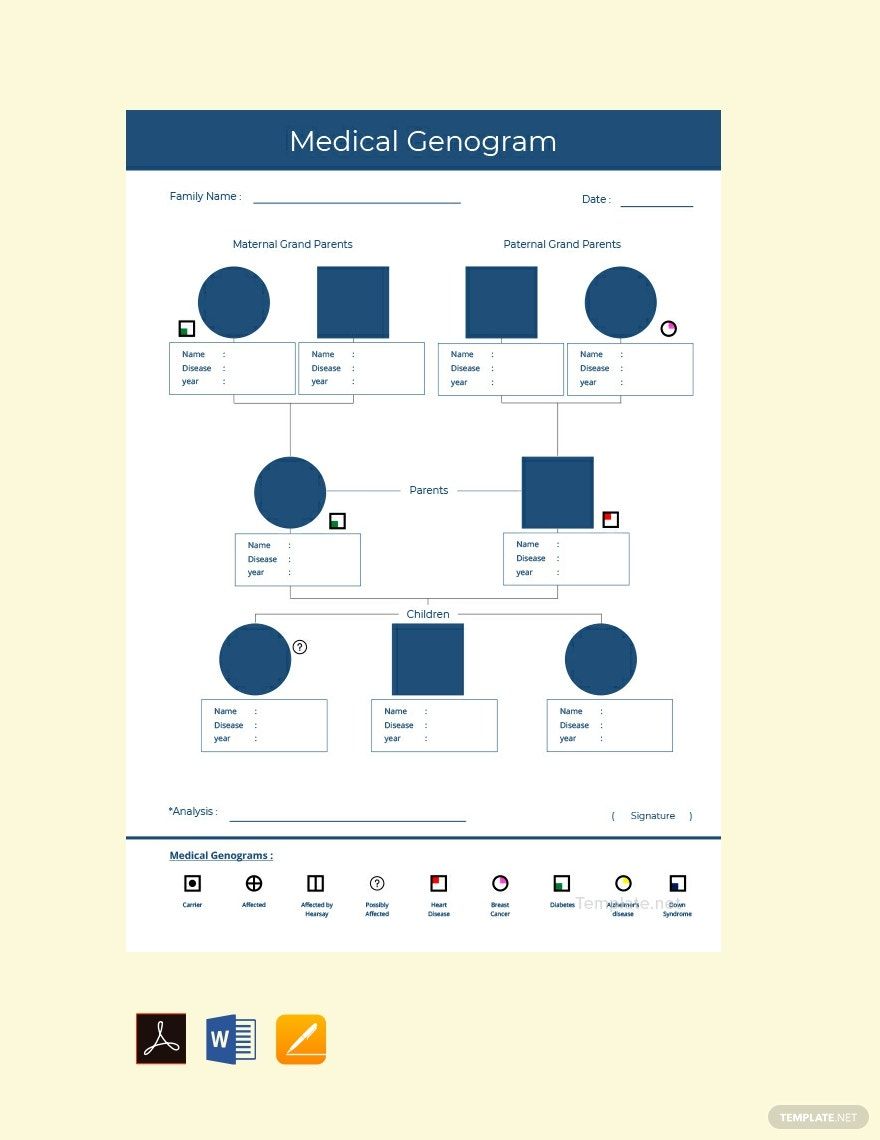
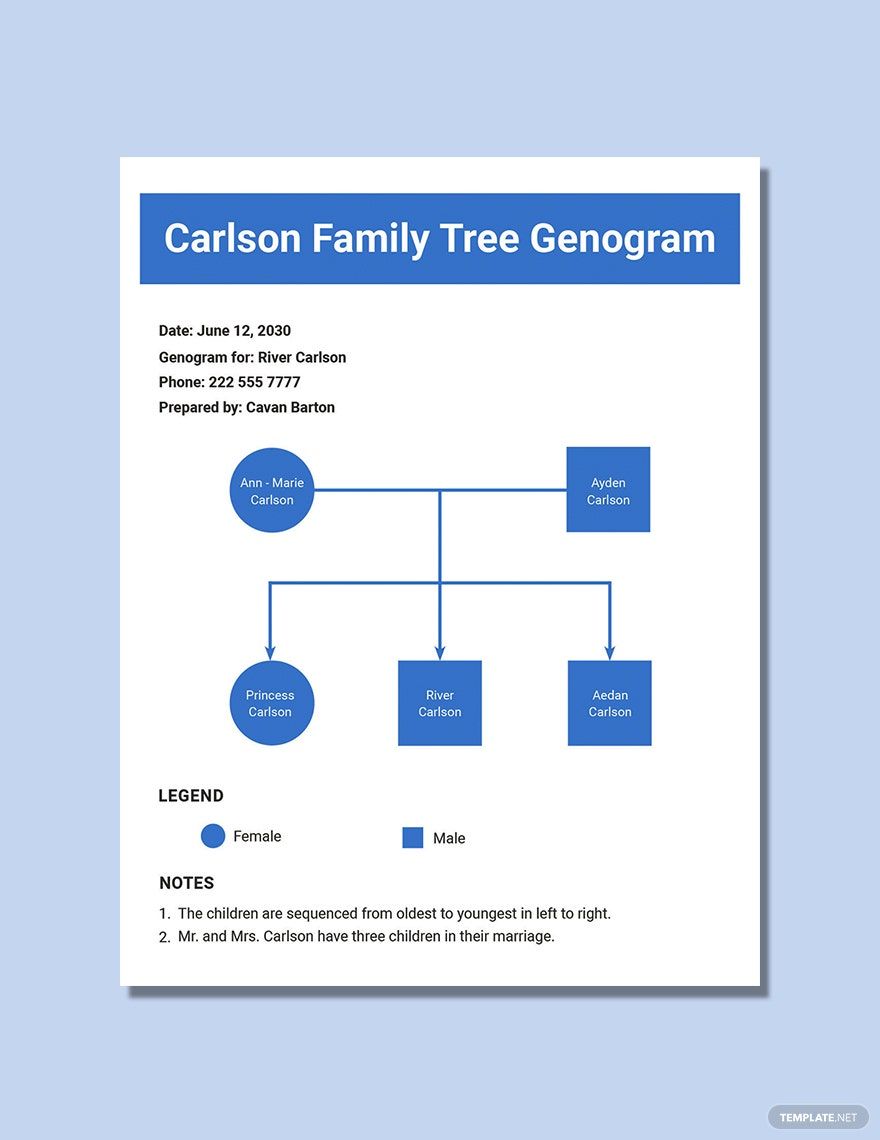
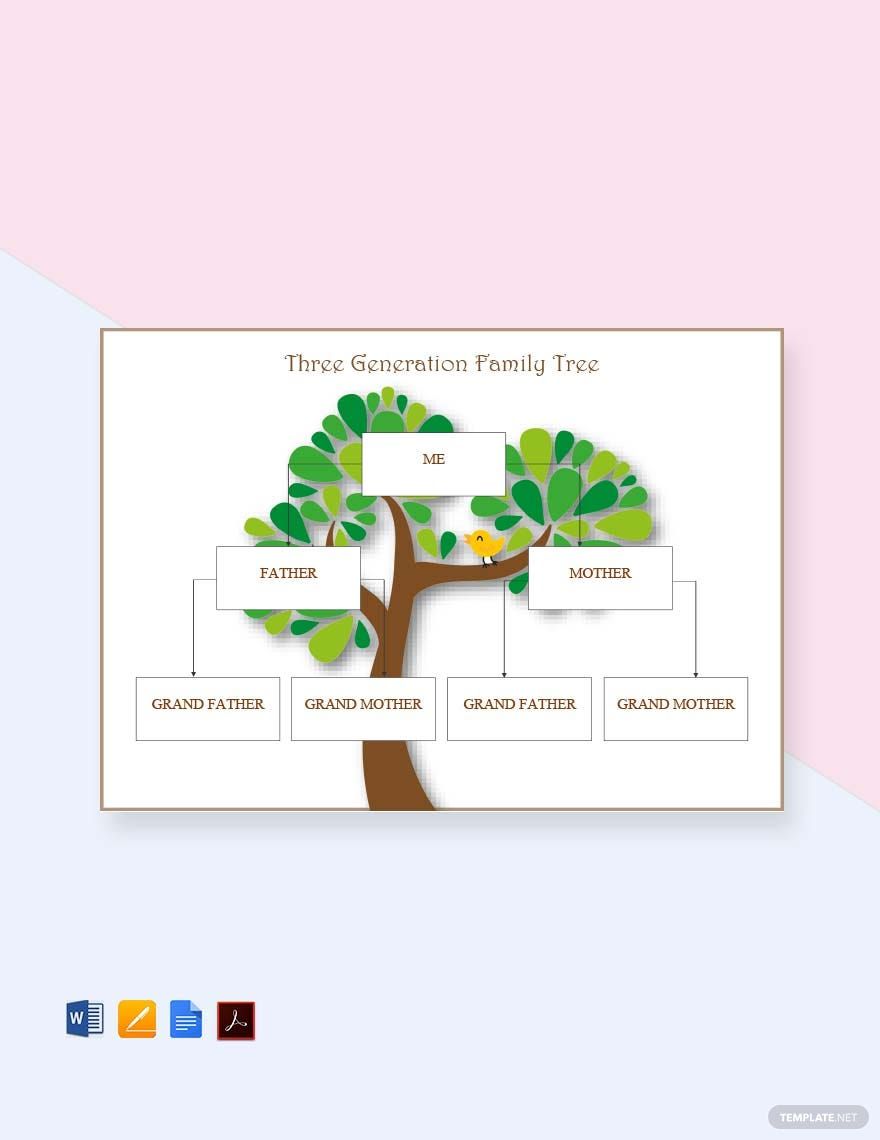
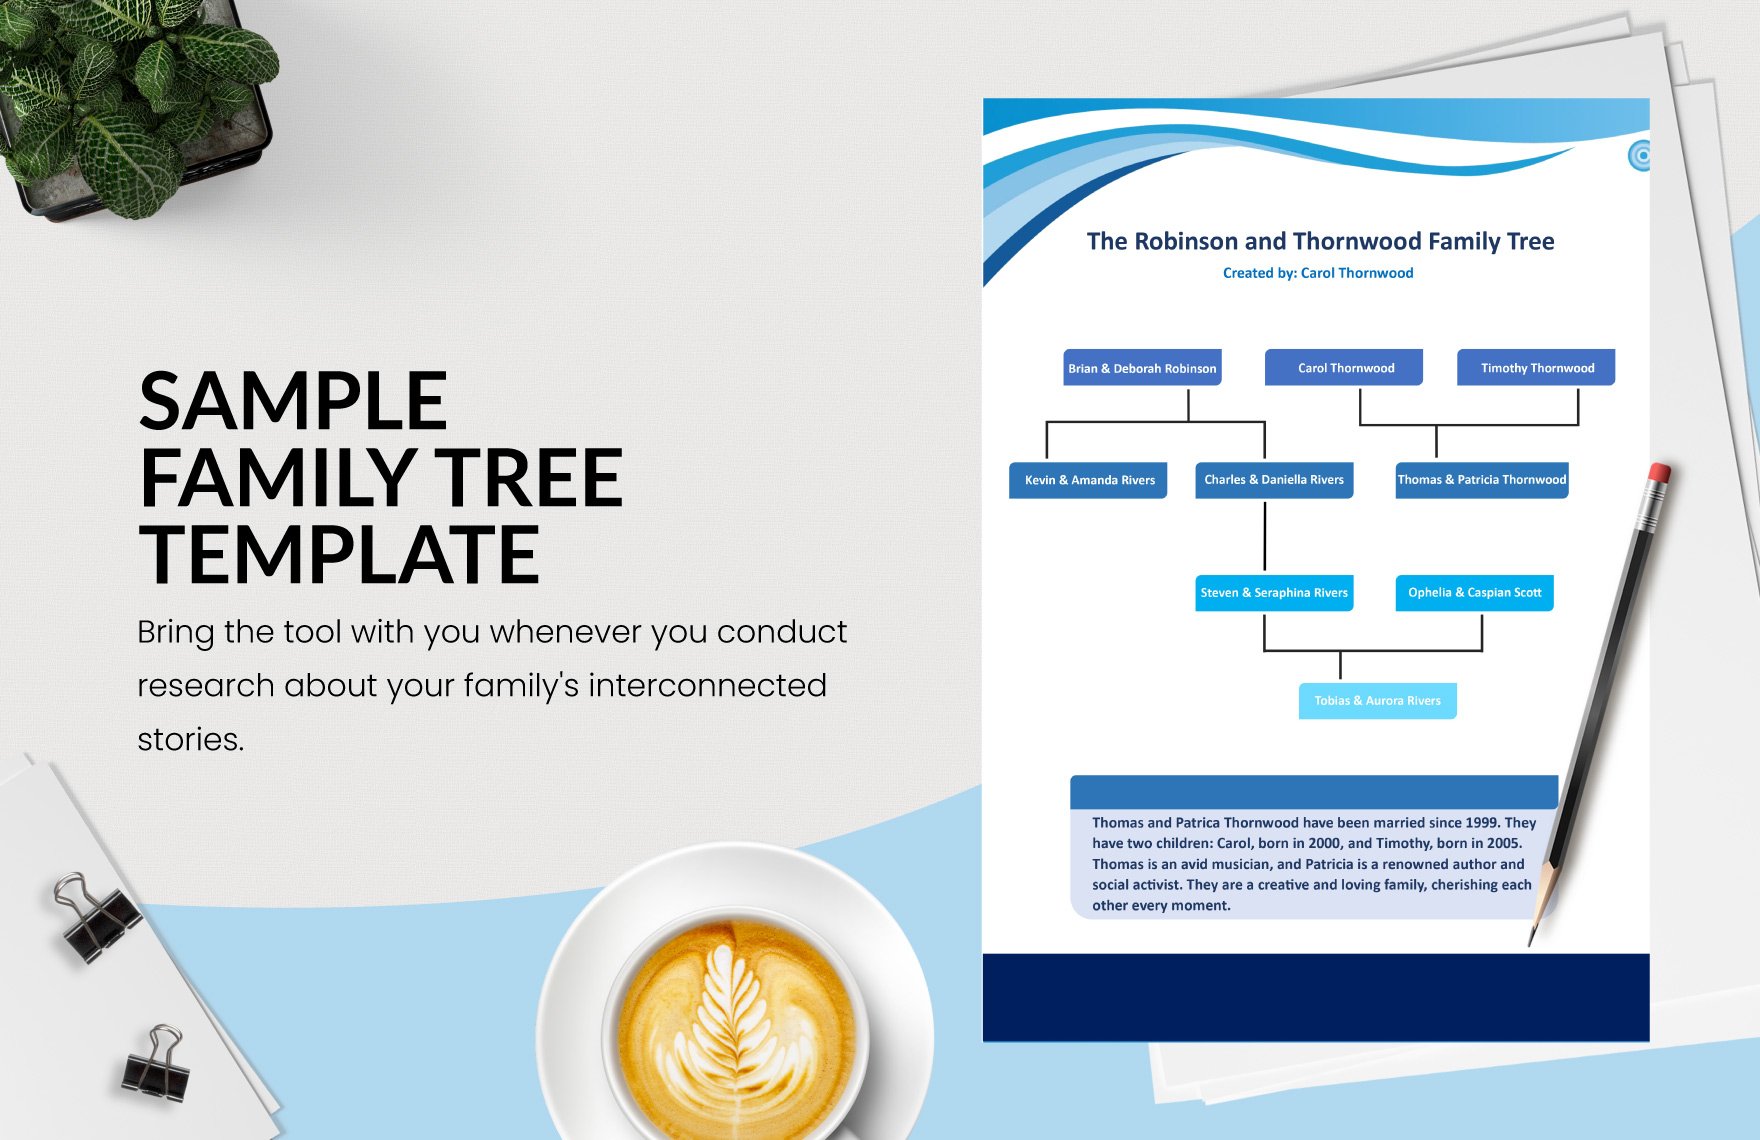
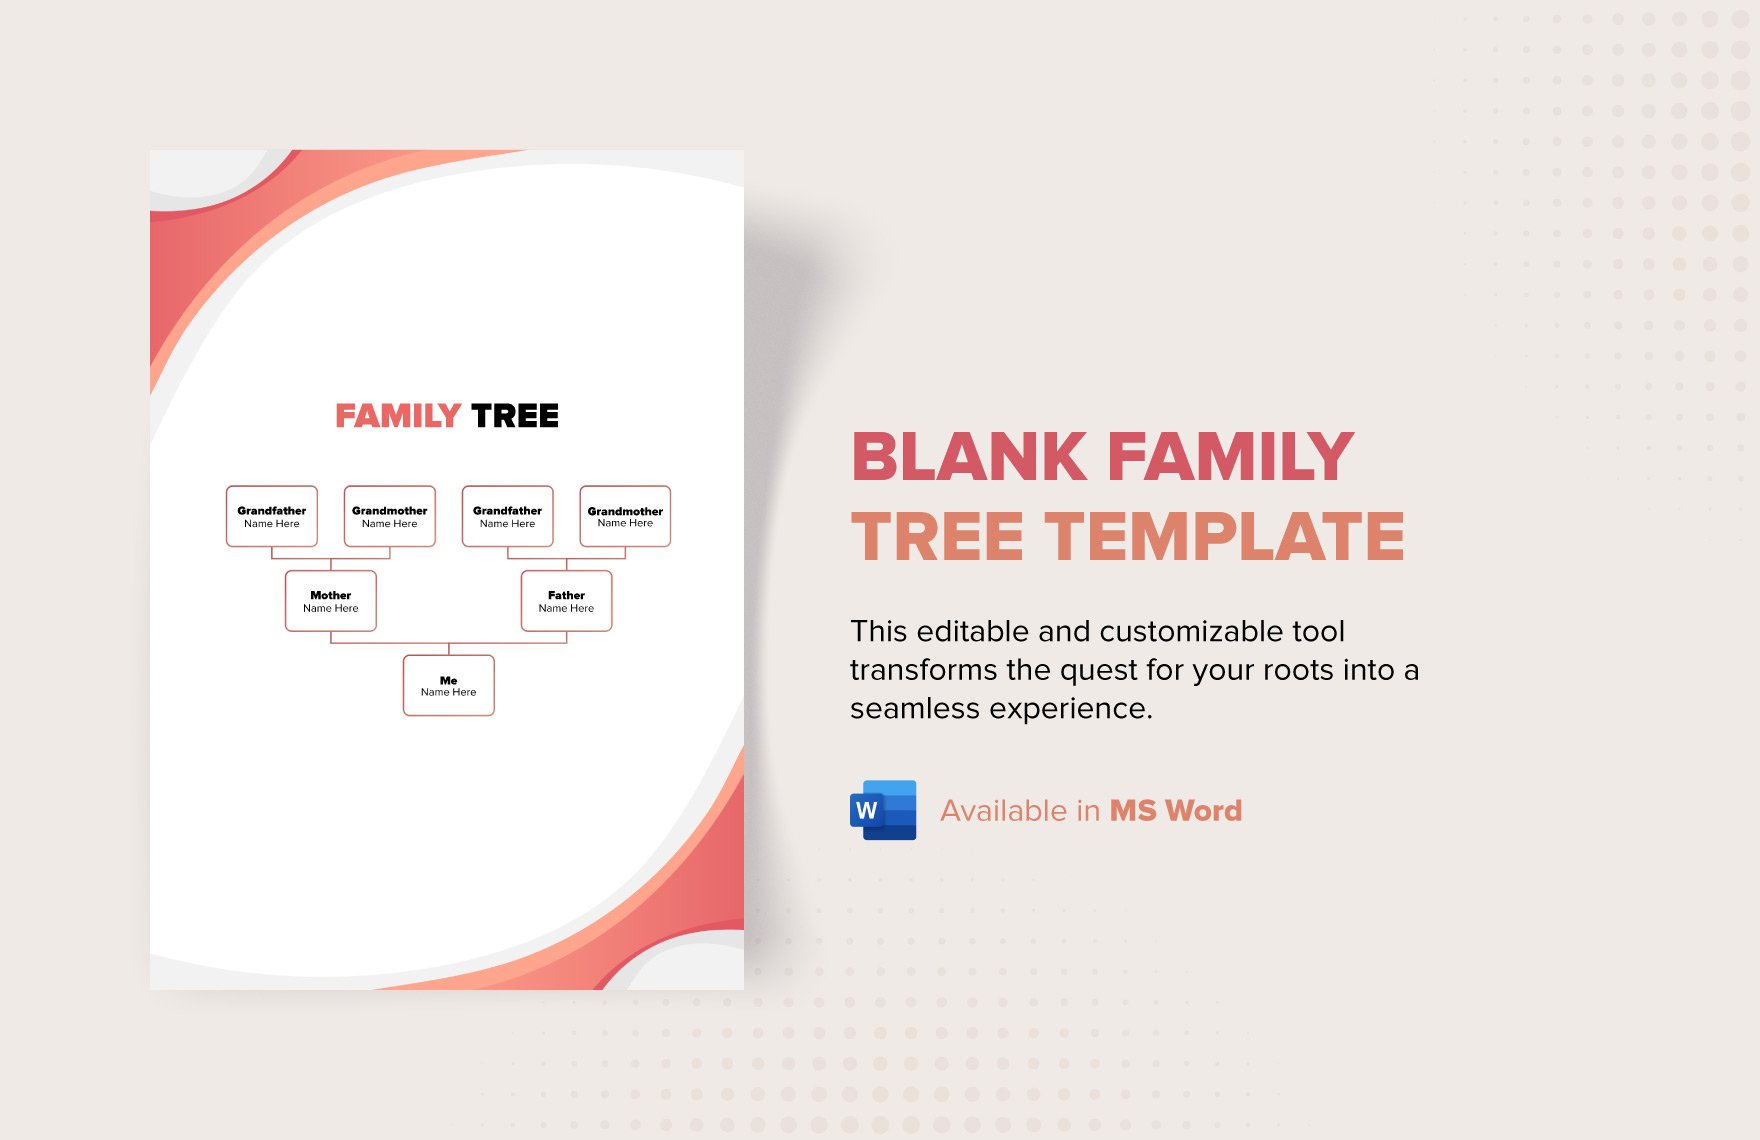
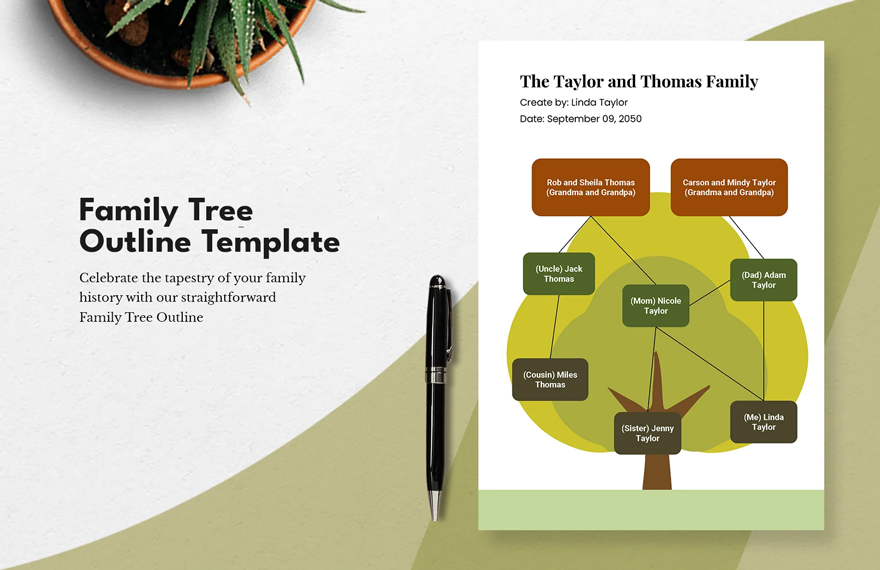
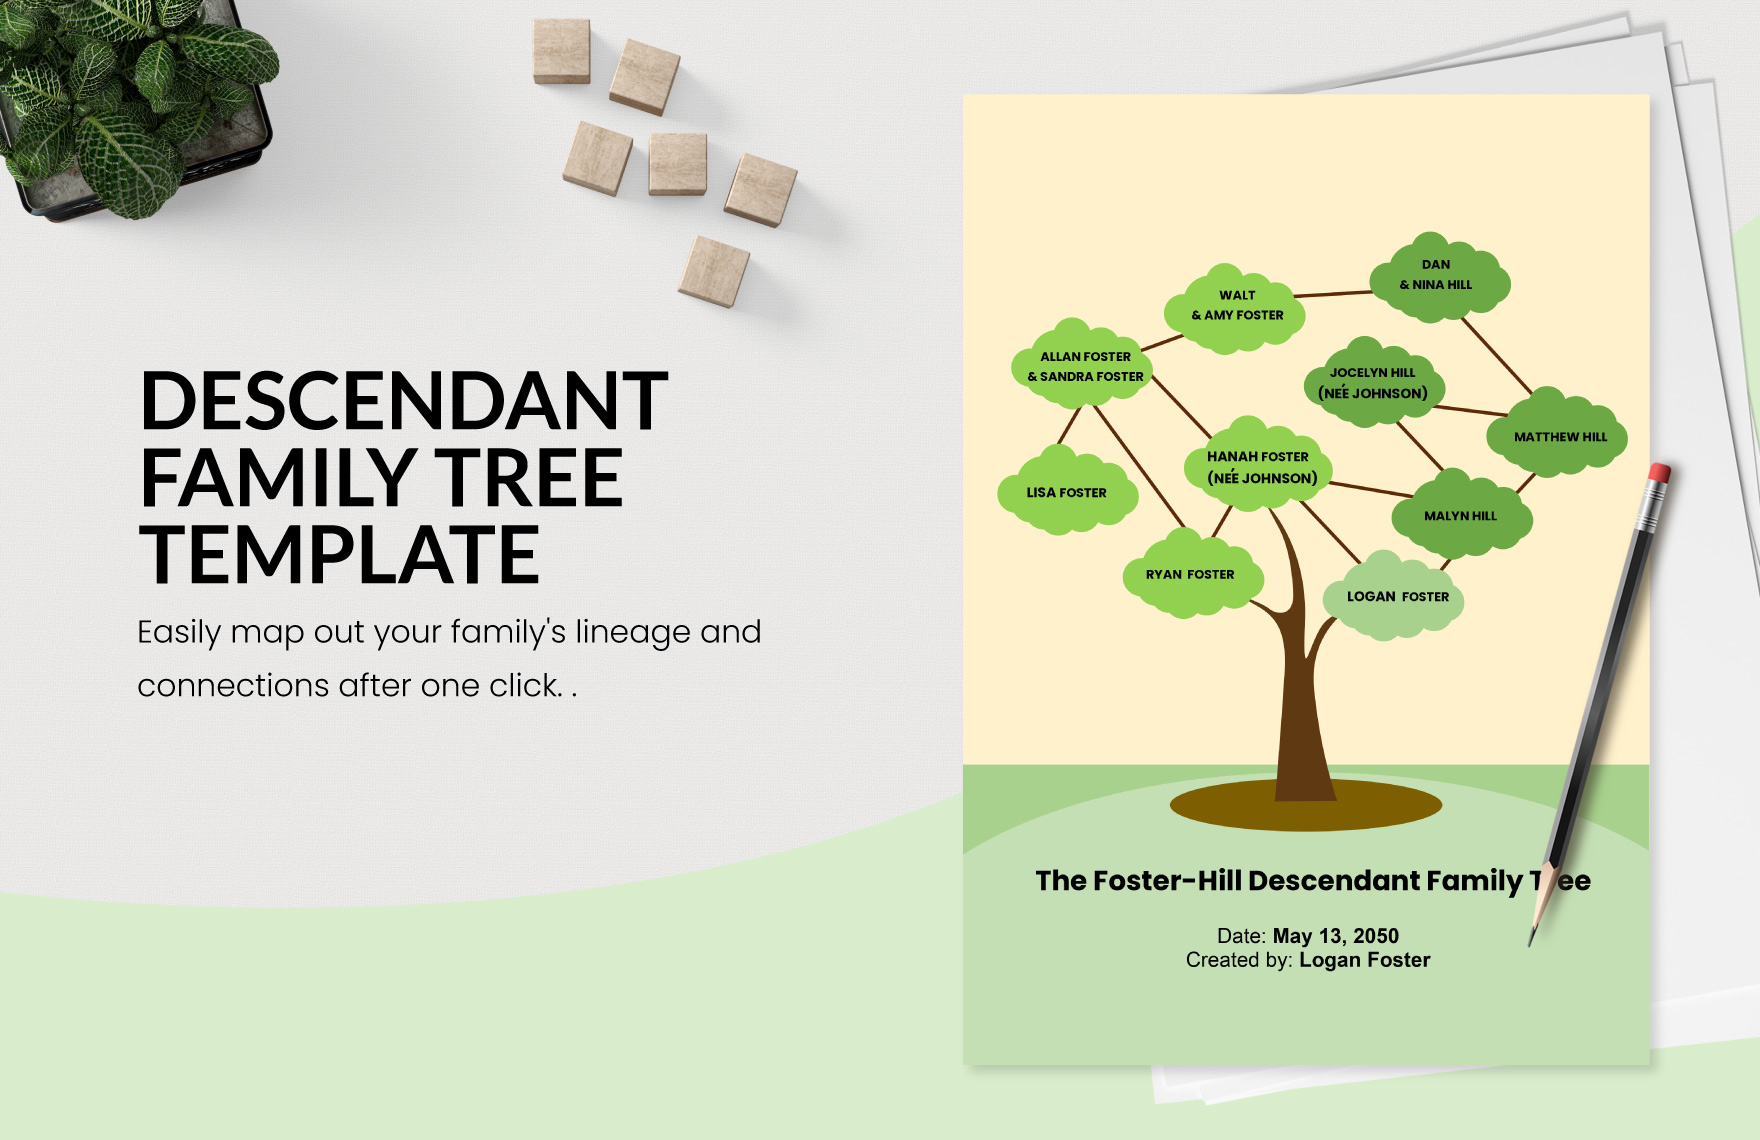
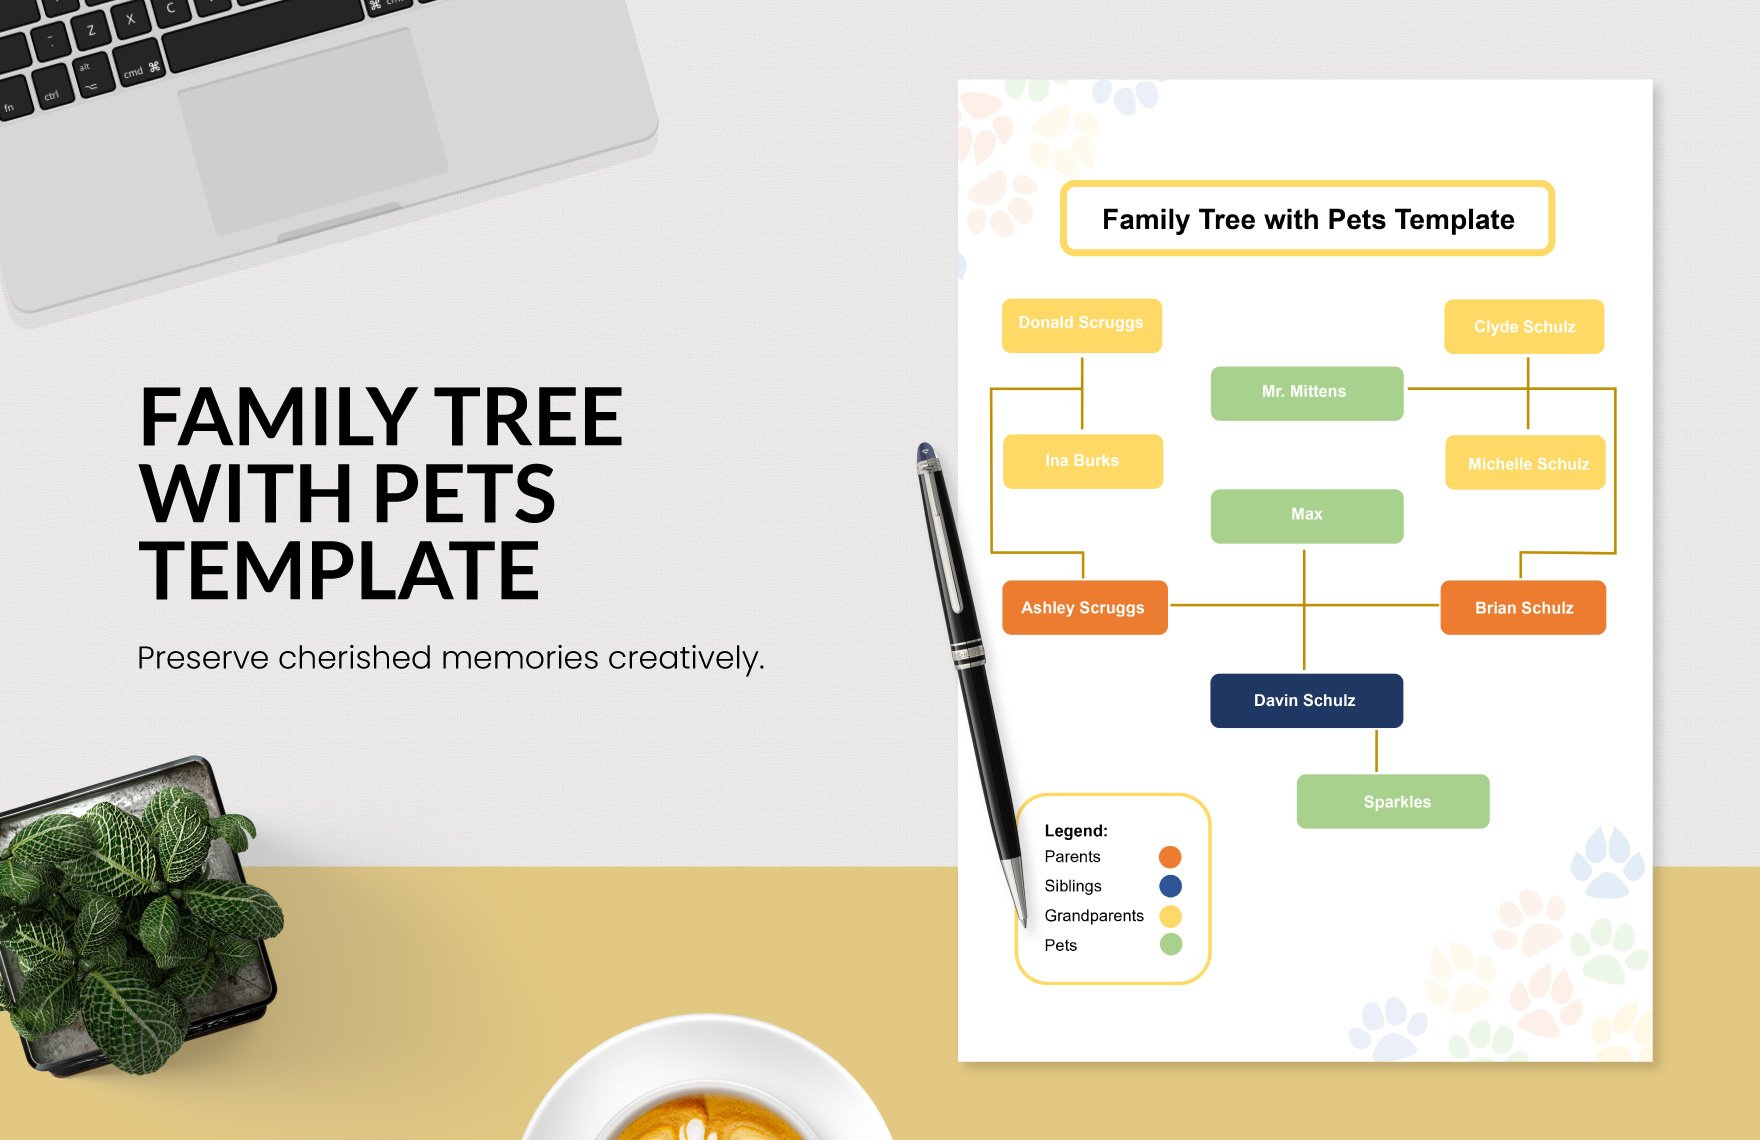
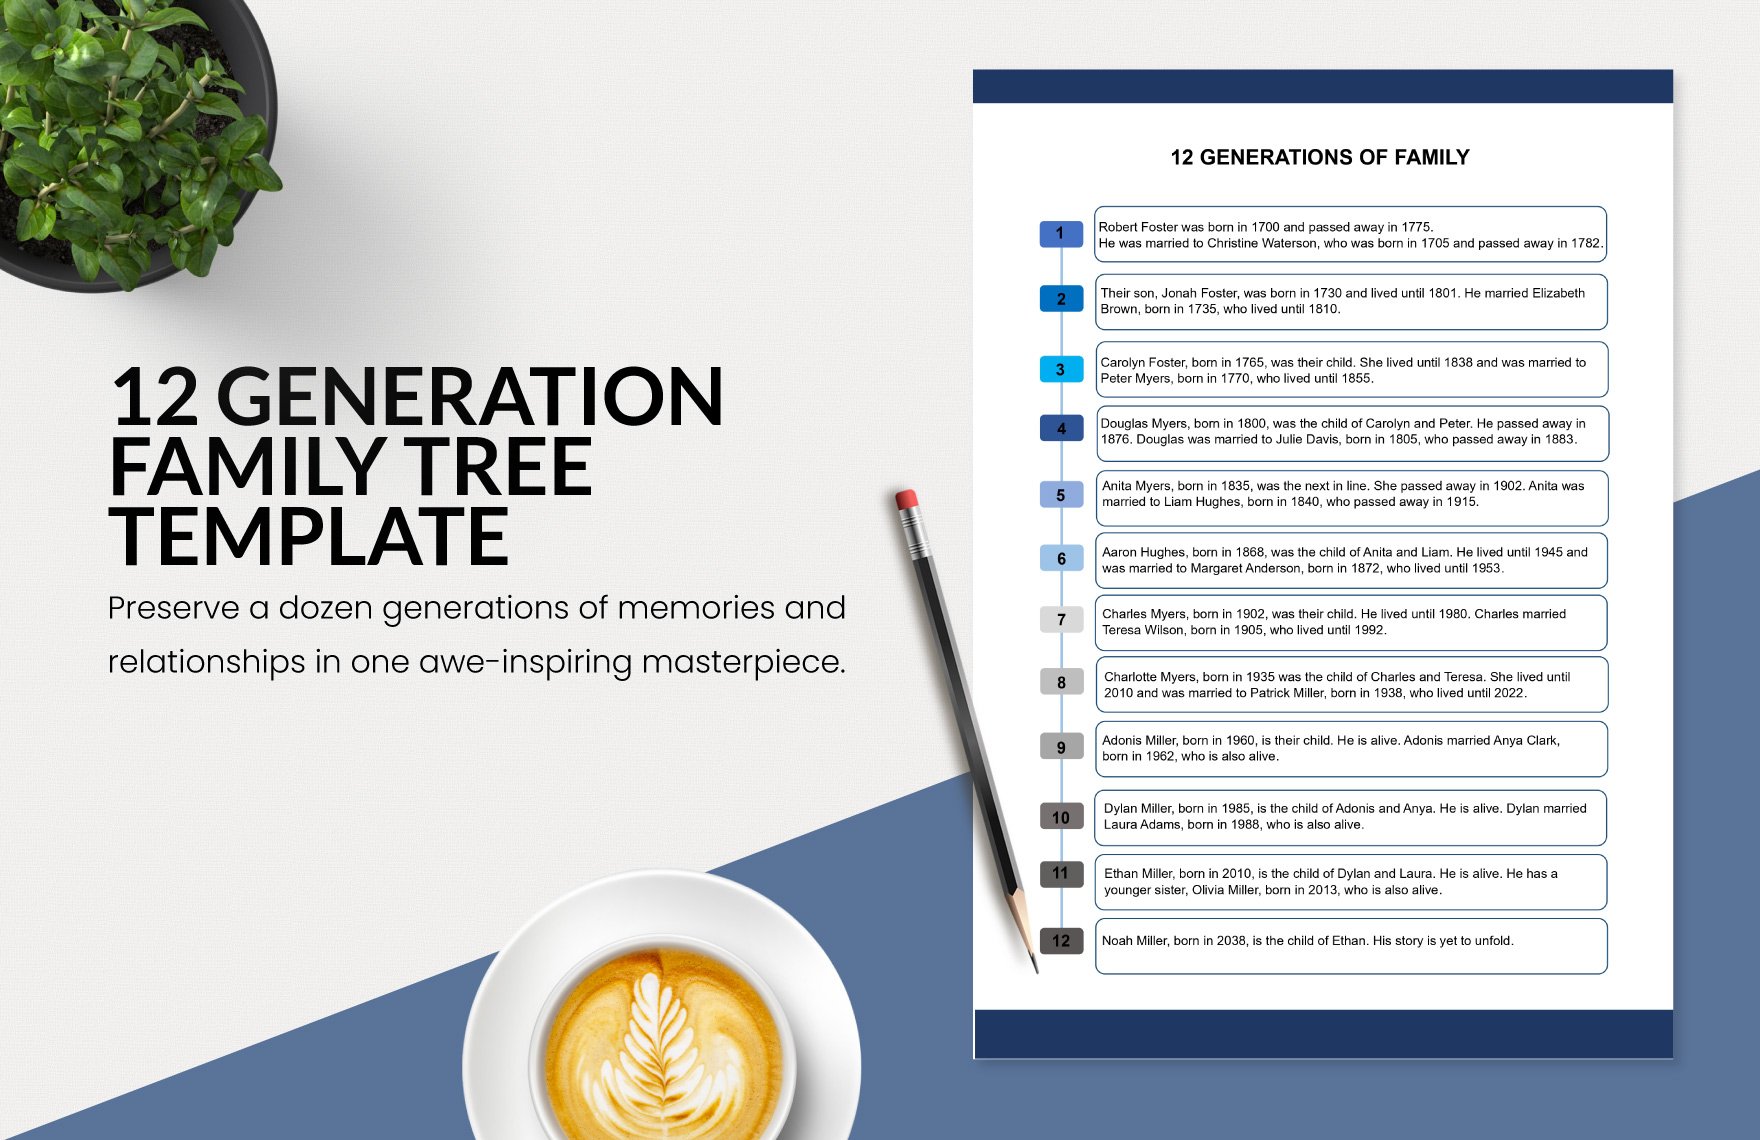
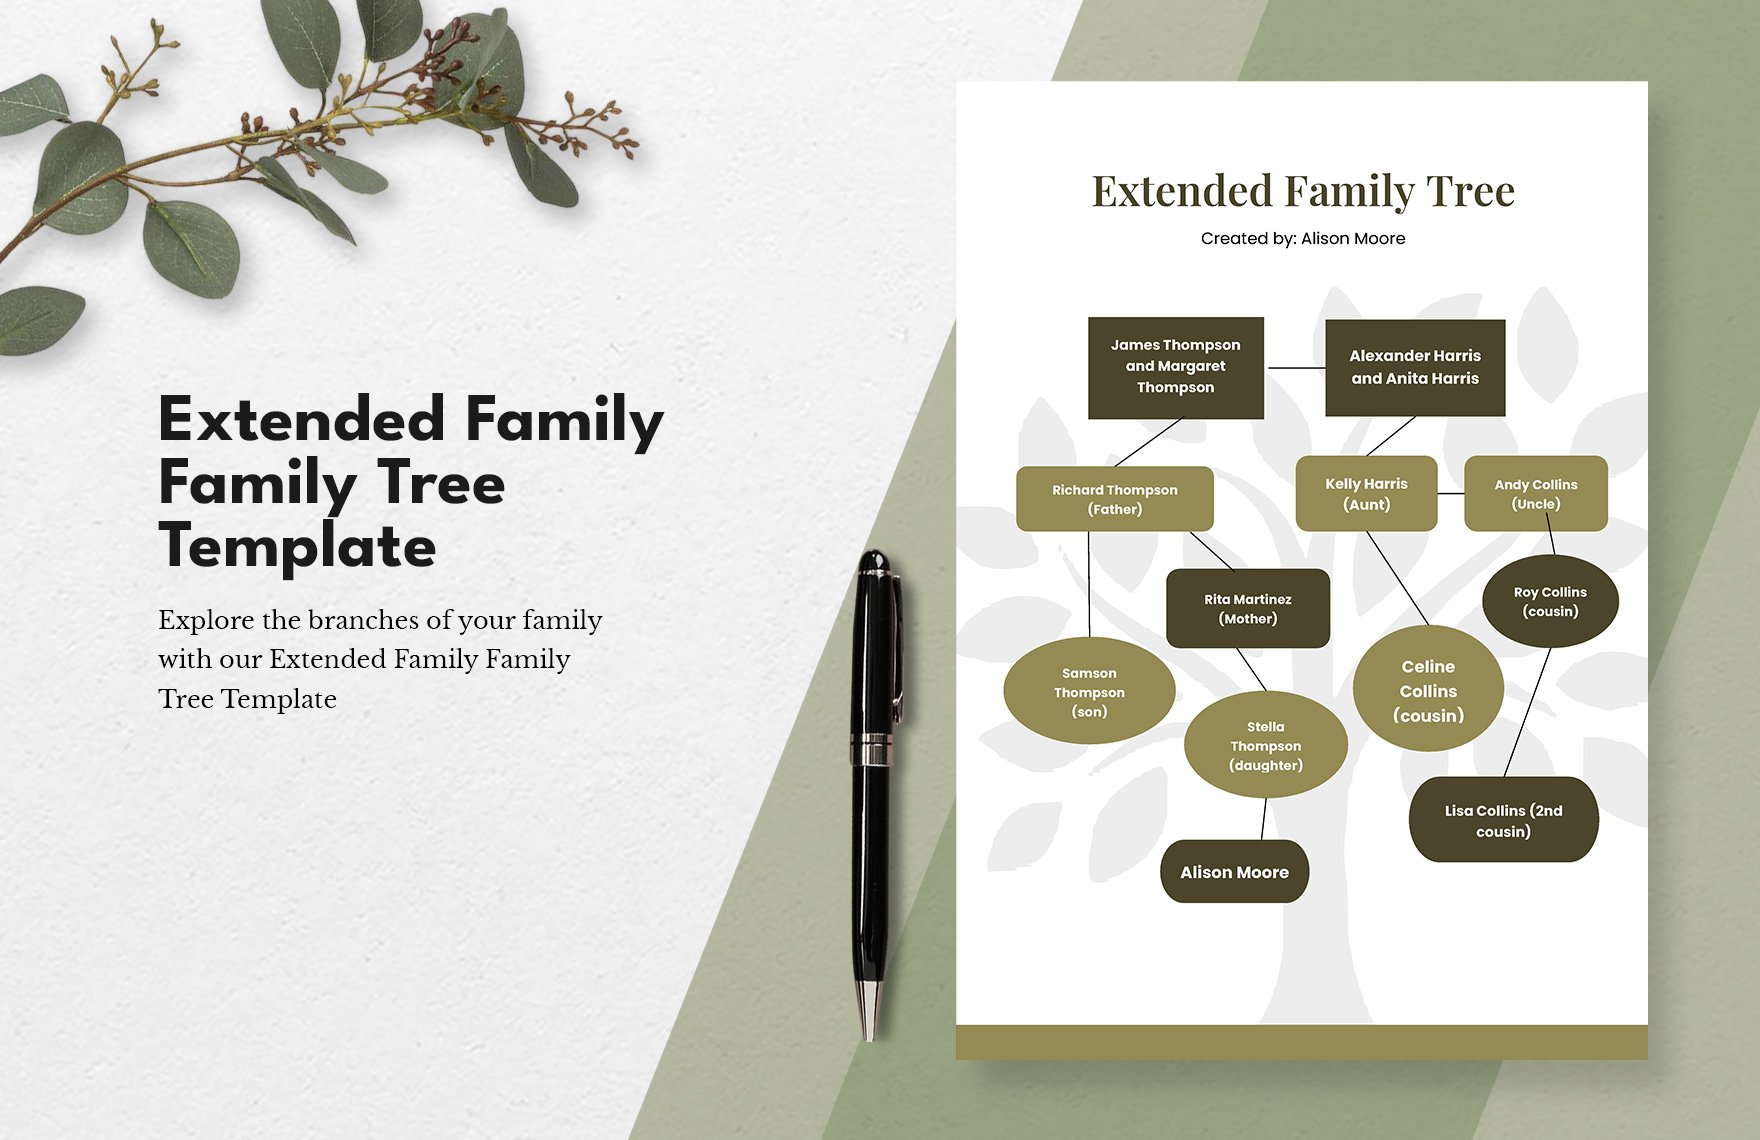
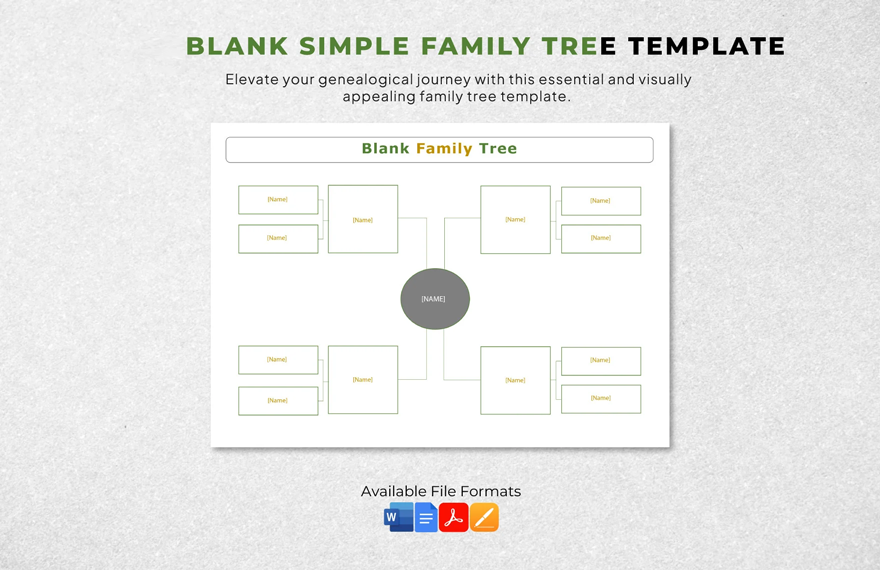
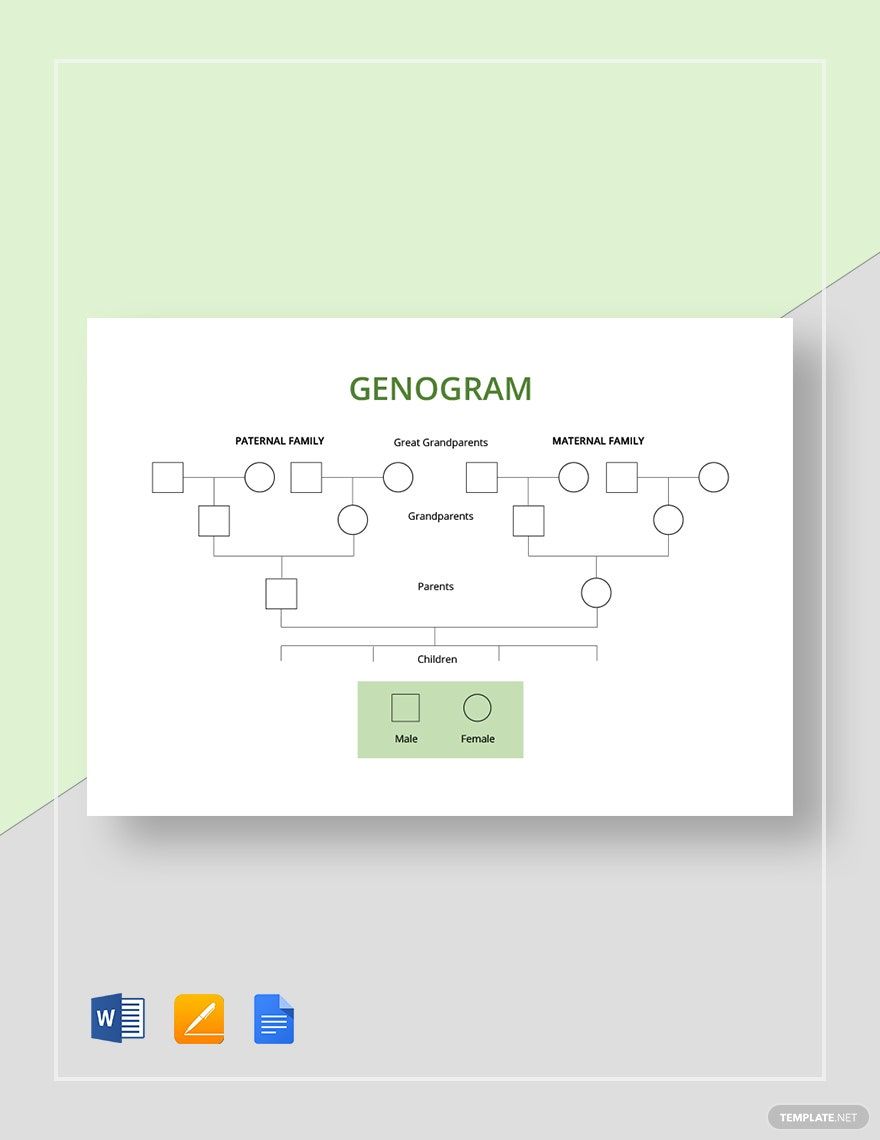
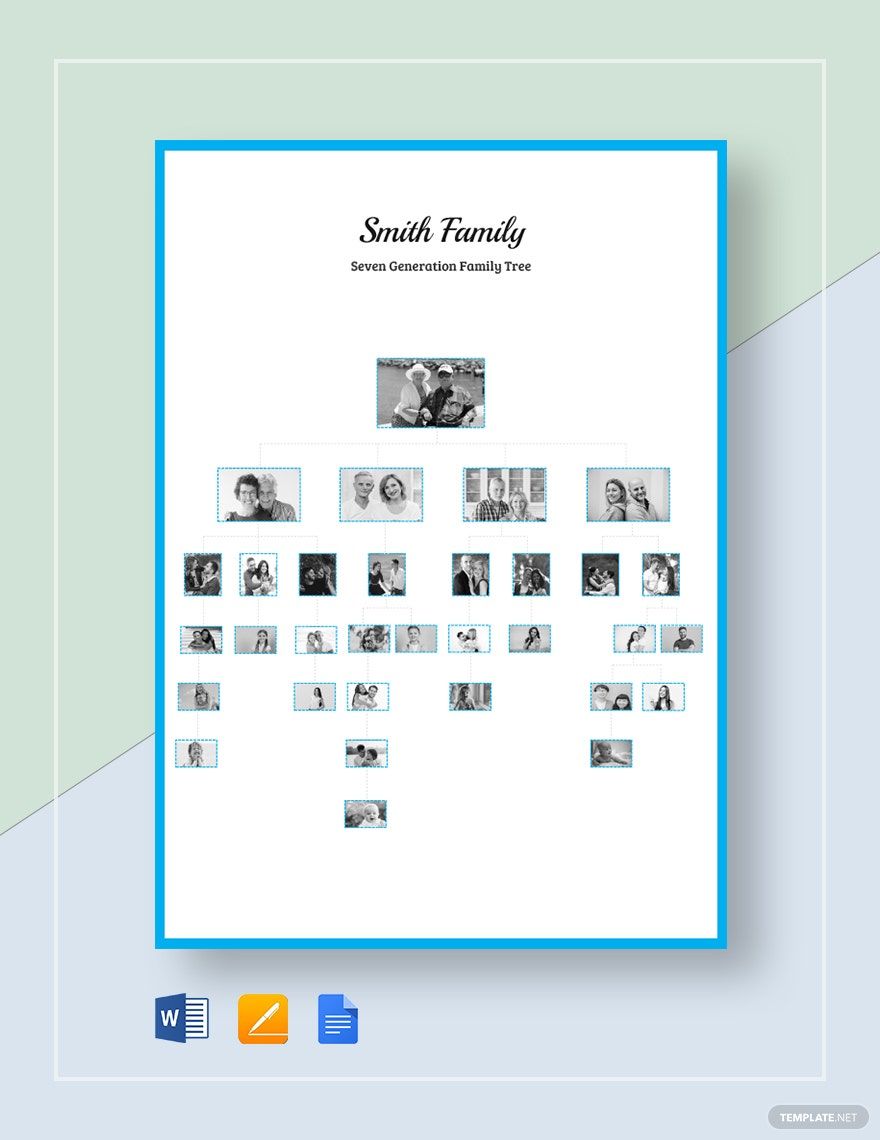
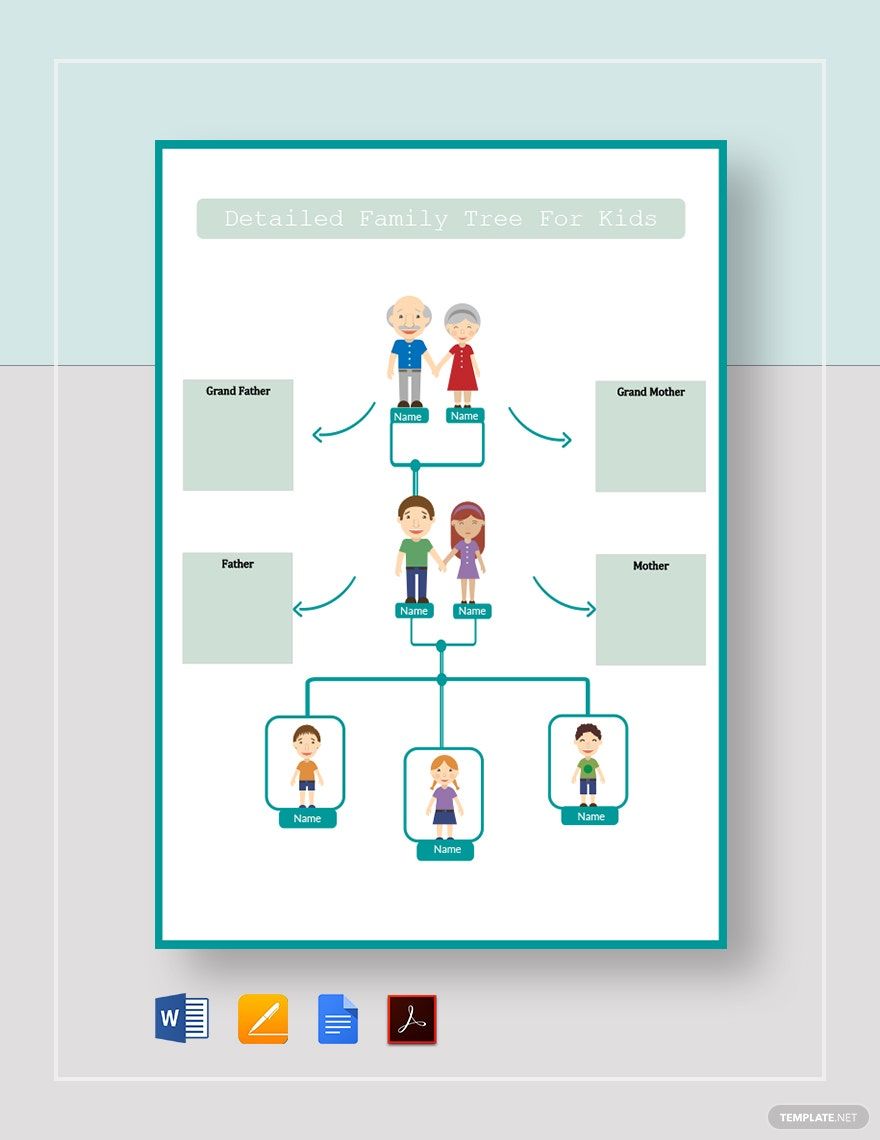
Get to know your roots by way of family trees, you'll get details about how you were able to get certain traits, behaviors, and even mannerisms. If you're planning to make one, you're in luck because we've got a collection of ready-made templates to help you create a beautifully-designed family tree in Microsoft Word. These templates are 100% customizable, fully printable, and easily downloadable anytime, anywhere, and on any device. Speaking of easy, our templates are also easily editable in all versions of Microsoft Word. So what are you waiting for? Start downloading a template now.
How to Create a Family Tree in Microsoft Word
Know more about your lineage by creating your own family tree, and we'll teach you how to make one using Microsoft Word. After pulling this off, you might even want to share this with your kids and then have it passed on to their children.
1. Gather the necessary information about your family members
The first thing that you will need to do when creating a family tree is to turn to your relatives to ask information about your family hierarchy. If you want, you may even go to your elders since they usually know the most information about the family. It would help a lot to have your relatives and elders write downsch everything they know to make sure that none of the most important details get left out.
2. Determine how many generations to include in your family tree
Regardless of how much information you were able to gather from your relatives or important documents, it would help to determine how far back or forward to go. Determine how many generations to include since there will always be limitations in terms of the size of the paper that you will be using. Most family trees would go back four generations to include their great grandparents while some would also go forward two generations to include grandchildren.
3. Compile and organize all the gathered information
After gathering information and determining the number of generations, be sure to compile and organize all those details to make it easier for you to use it as your reference. It's not entirely necessary to use all the details that you've gathered, only those that are most relevant or those that are typically sought from family trees. If it works for you, creating an outline of the details would be very helpful.
4. Make a simple drawing of your family tree
It's fine to start right away to using Microsoft Word for creating your family tree, but this leaves barely enough room for making changes to the design and content. What you should do is to create a basic drawing first on a sheet of paper. This way, you can easily make changes to the diagram if there are any errors to the information. After making this drawing, it might be best to have it reviewed and verified by your relatives or elders.
5. Create a final version using Microsoft Word
Now, you can finally start working on your family tree using Microsoft Word. Open the application, start a new document, and then choose whether or not to use a pre-made template. Afterward, you can start adding a chart or any object to your project to represent each family member and then connect them all by lines. If this is intended as a school project, you may add enhancements to the design to make it look creative.
6. Finalize, share, and print your family tree
Go over the entire family tree you've designed in Microsoft Word and compare it with the one in your drawing, see to it that all the important details have been included. Afterward, save it in either JPEG, EPS, or PDF file format to make it easily shareable and printable. Depending on what your family tree is for, you can then choose whether to share it through the internet or to get it printed.


