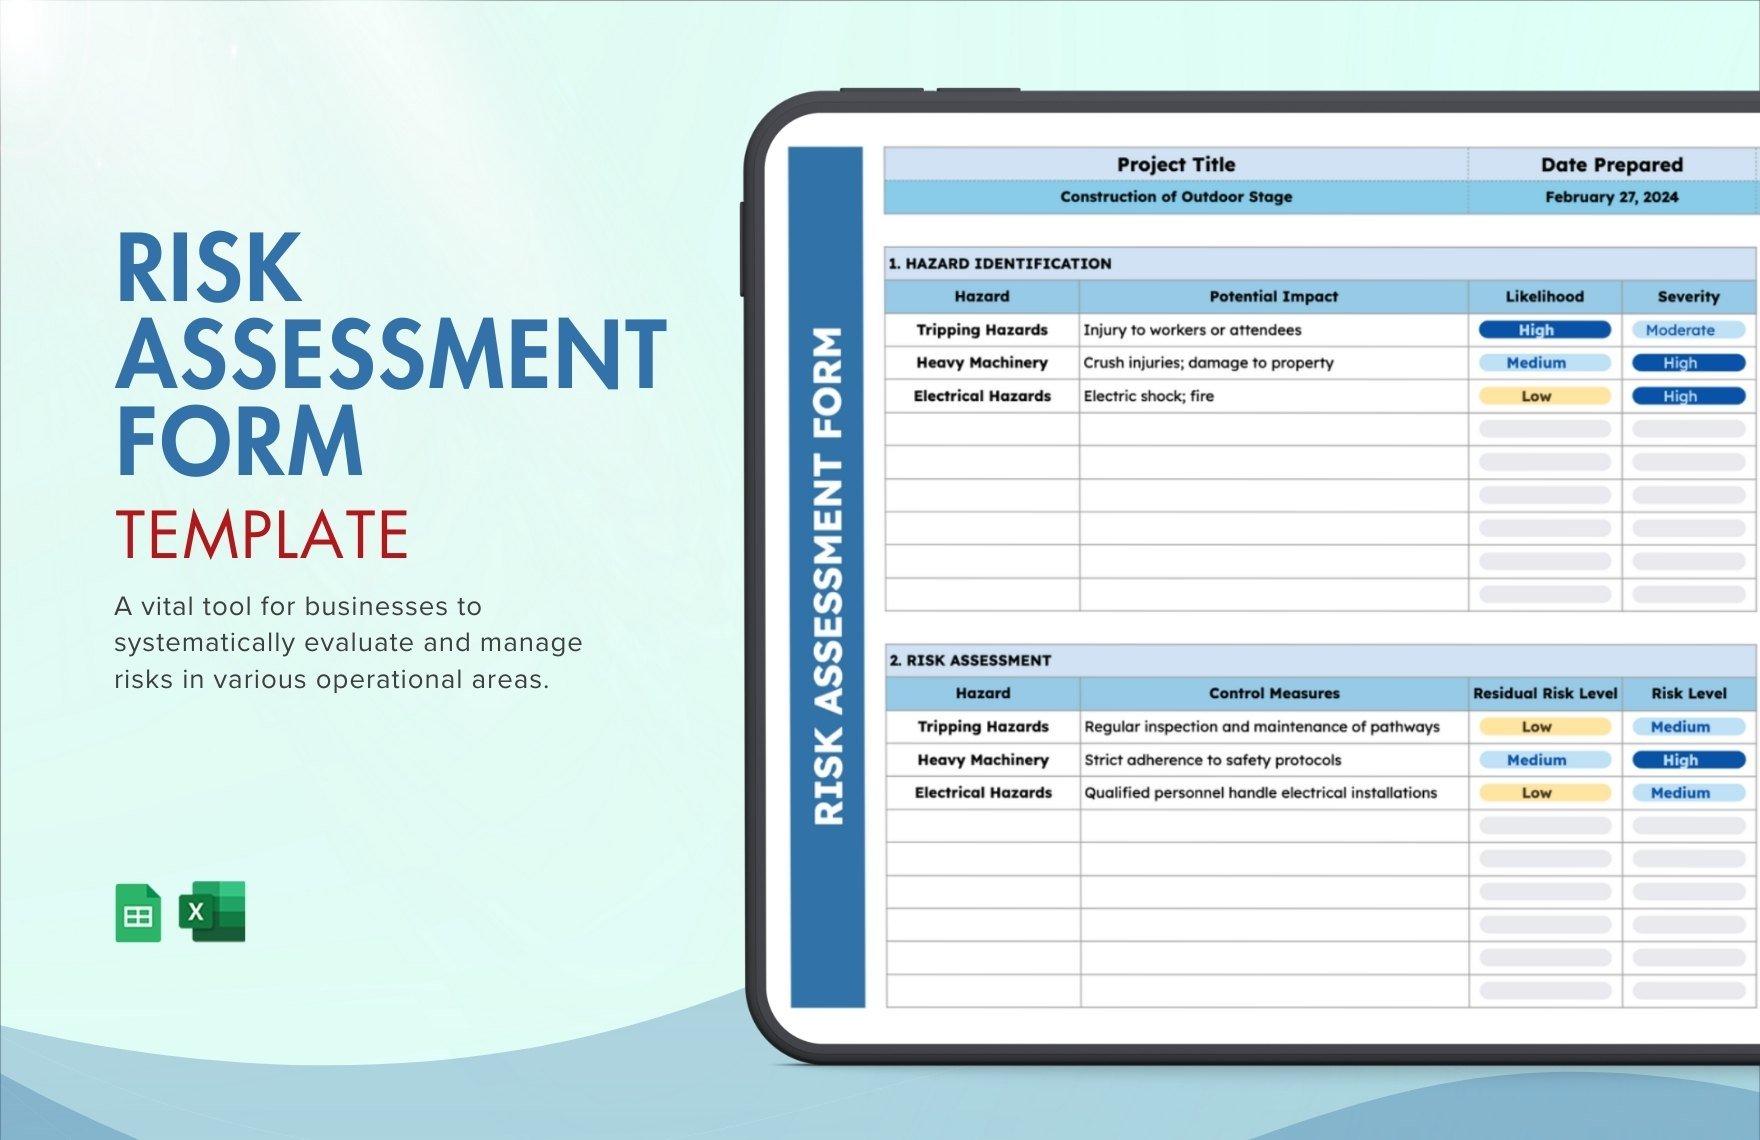
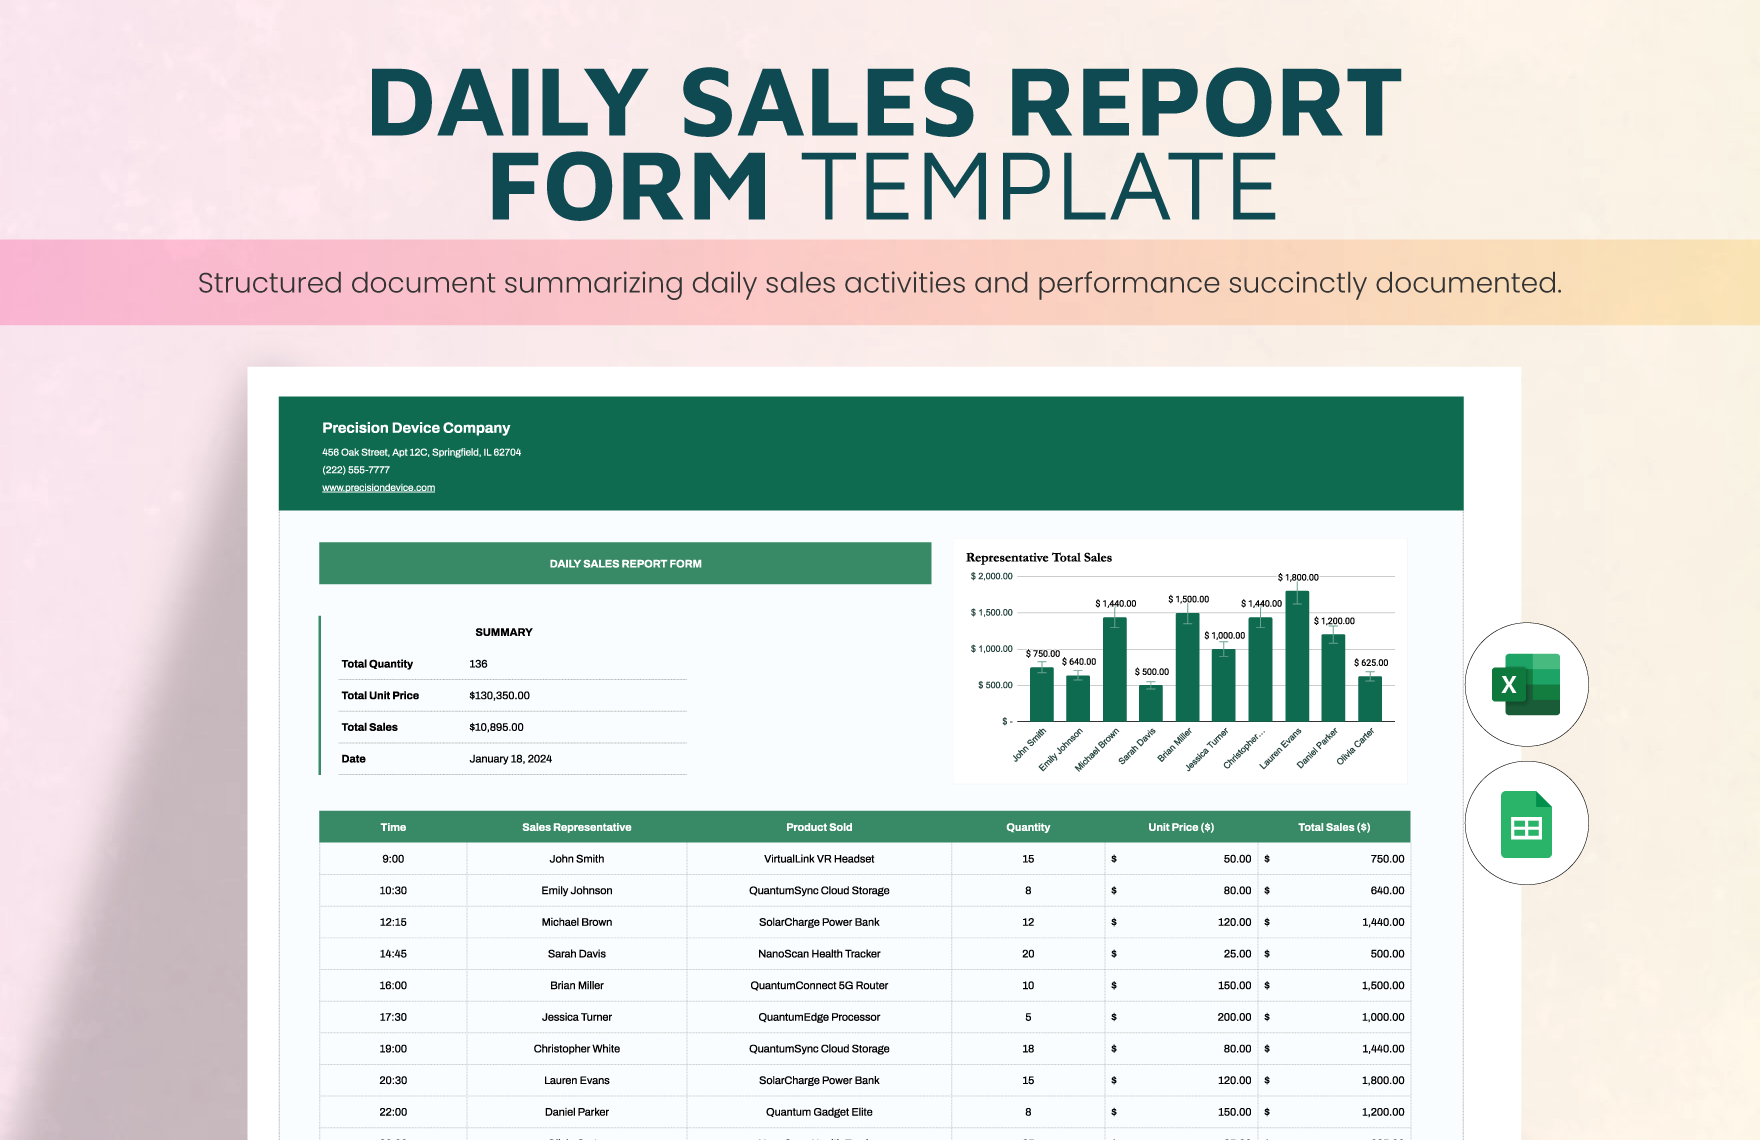
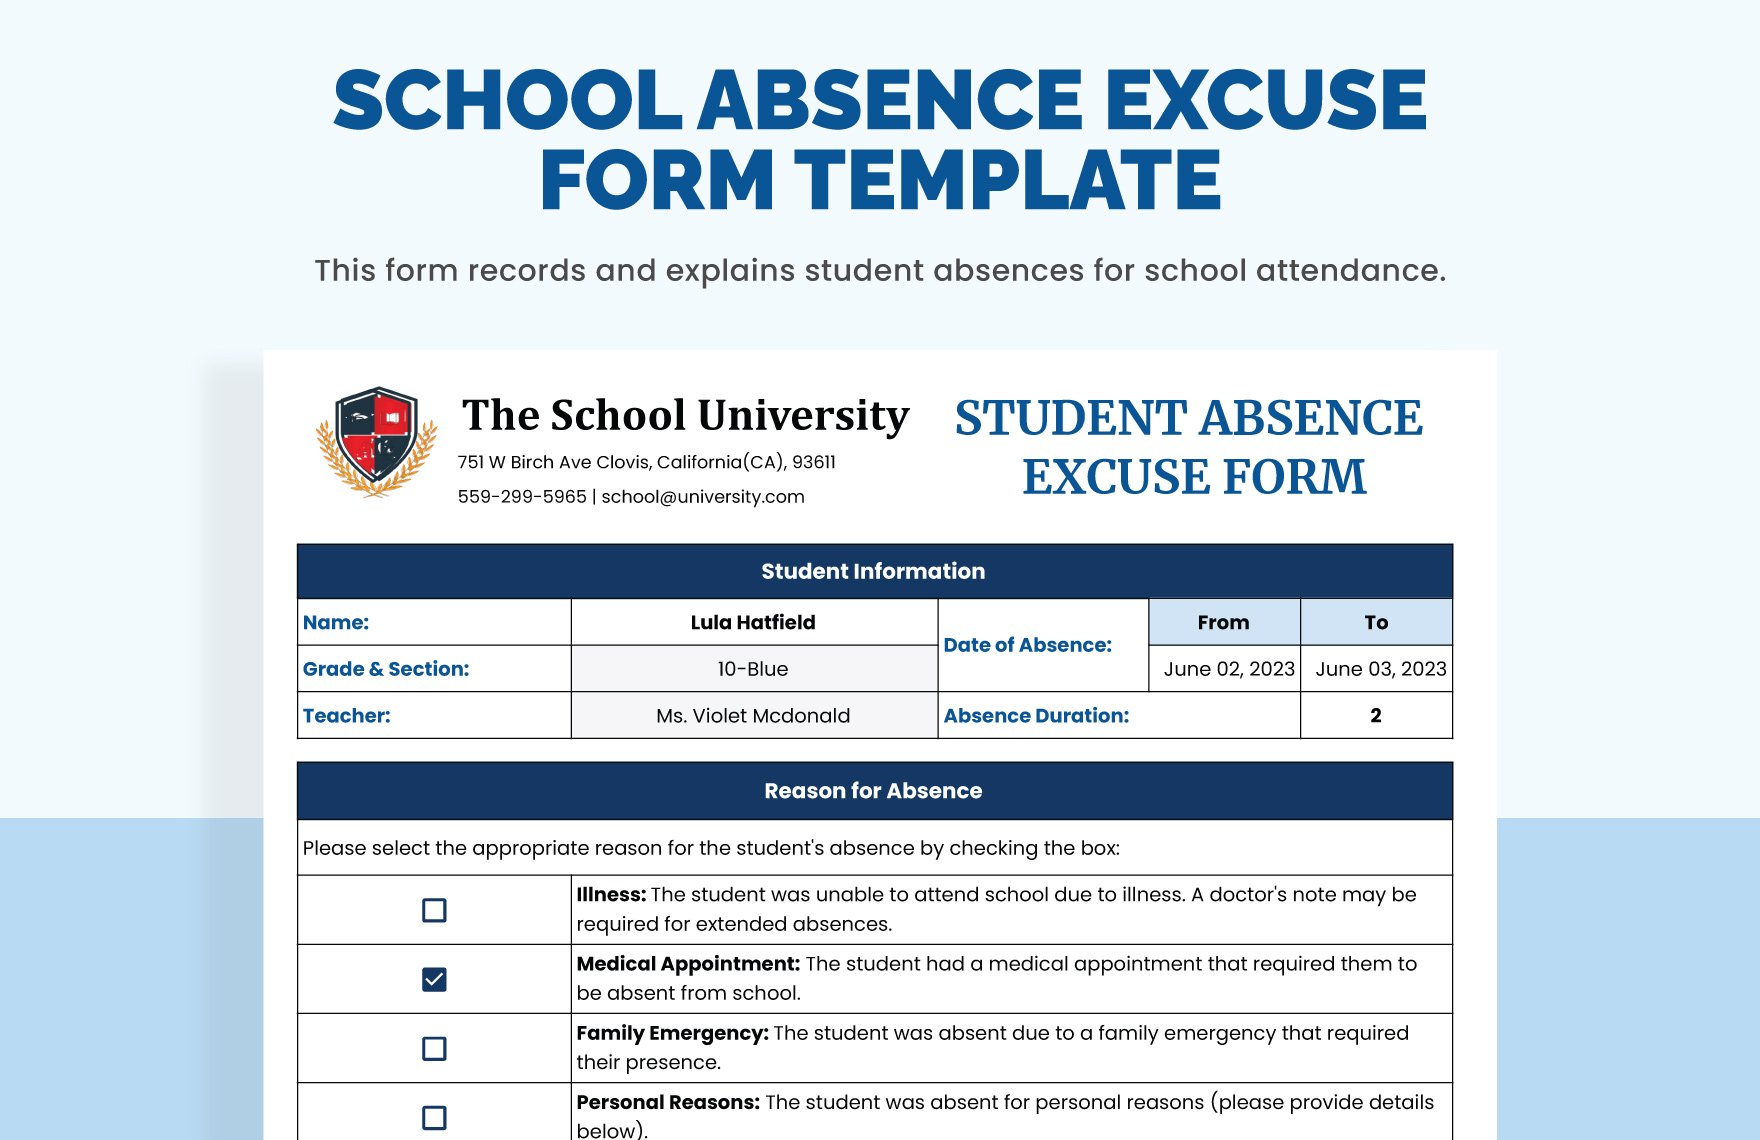
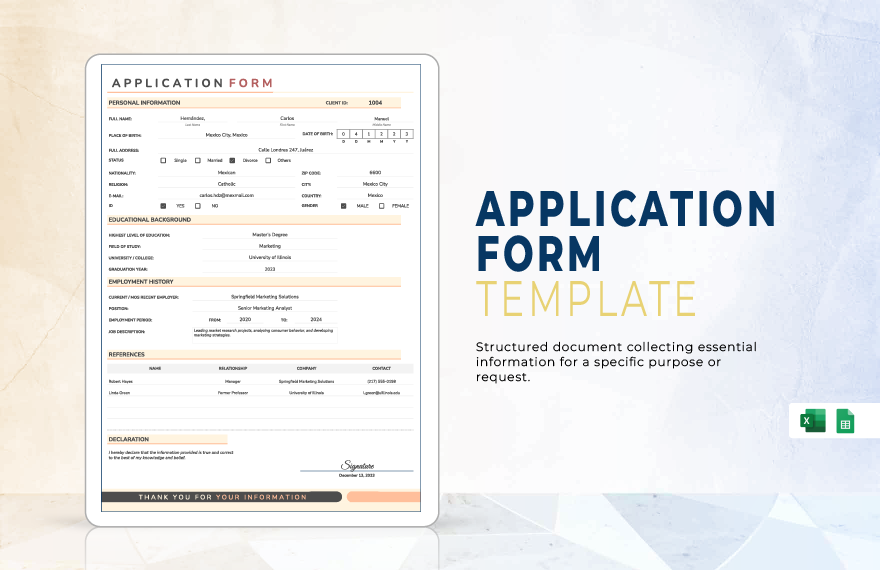
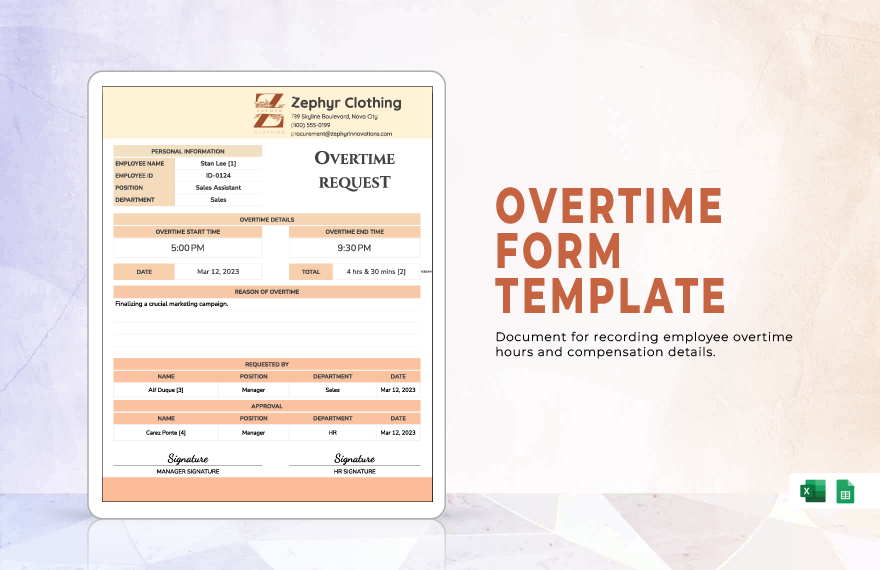
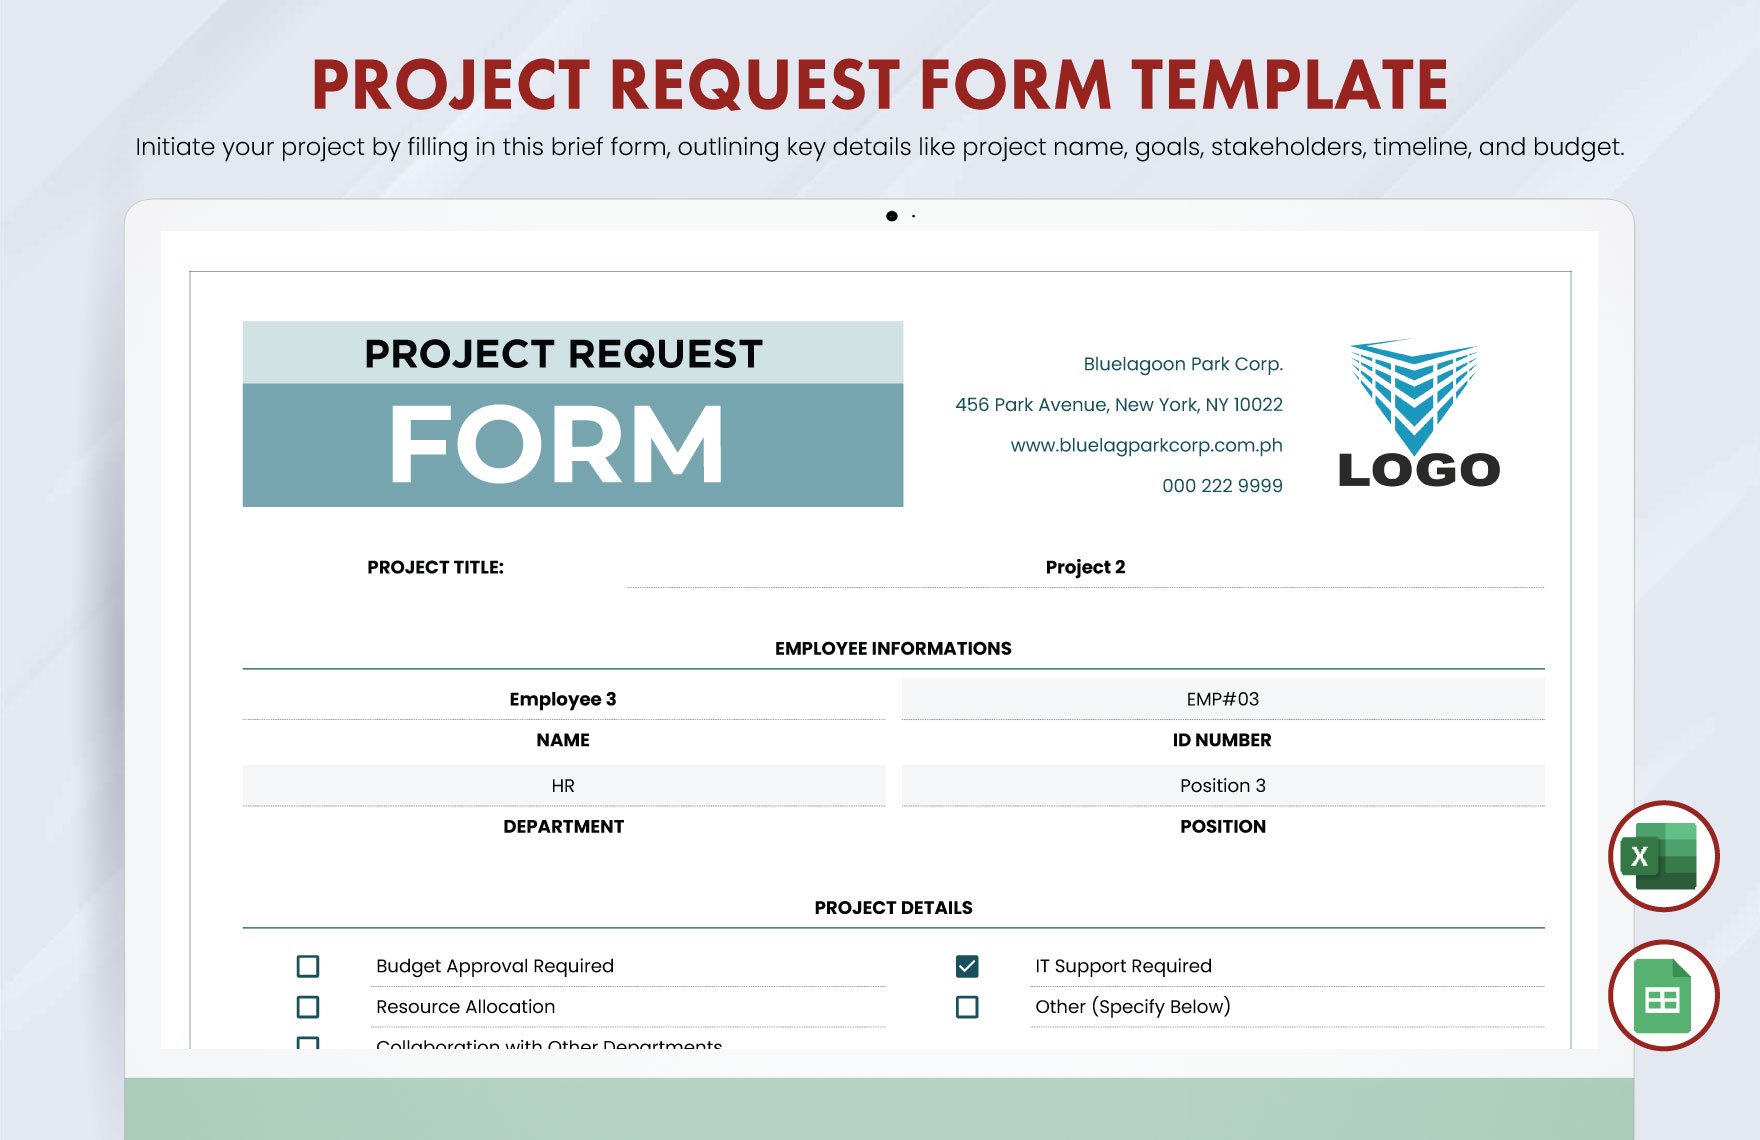
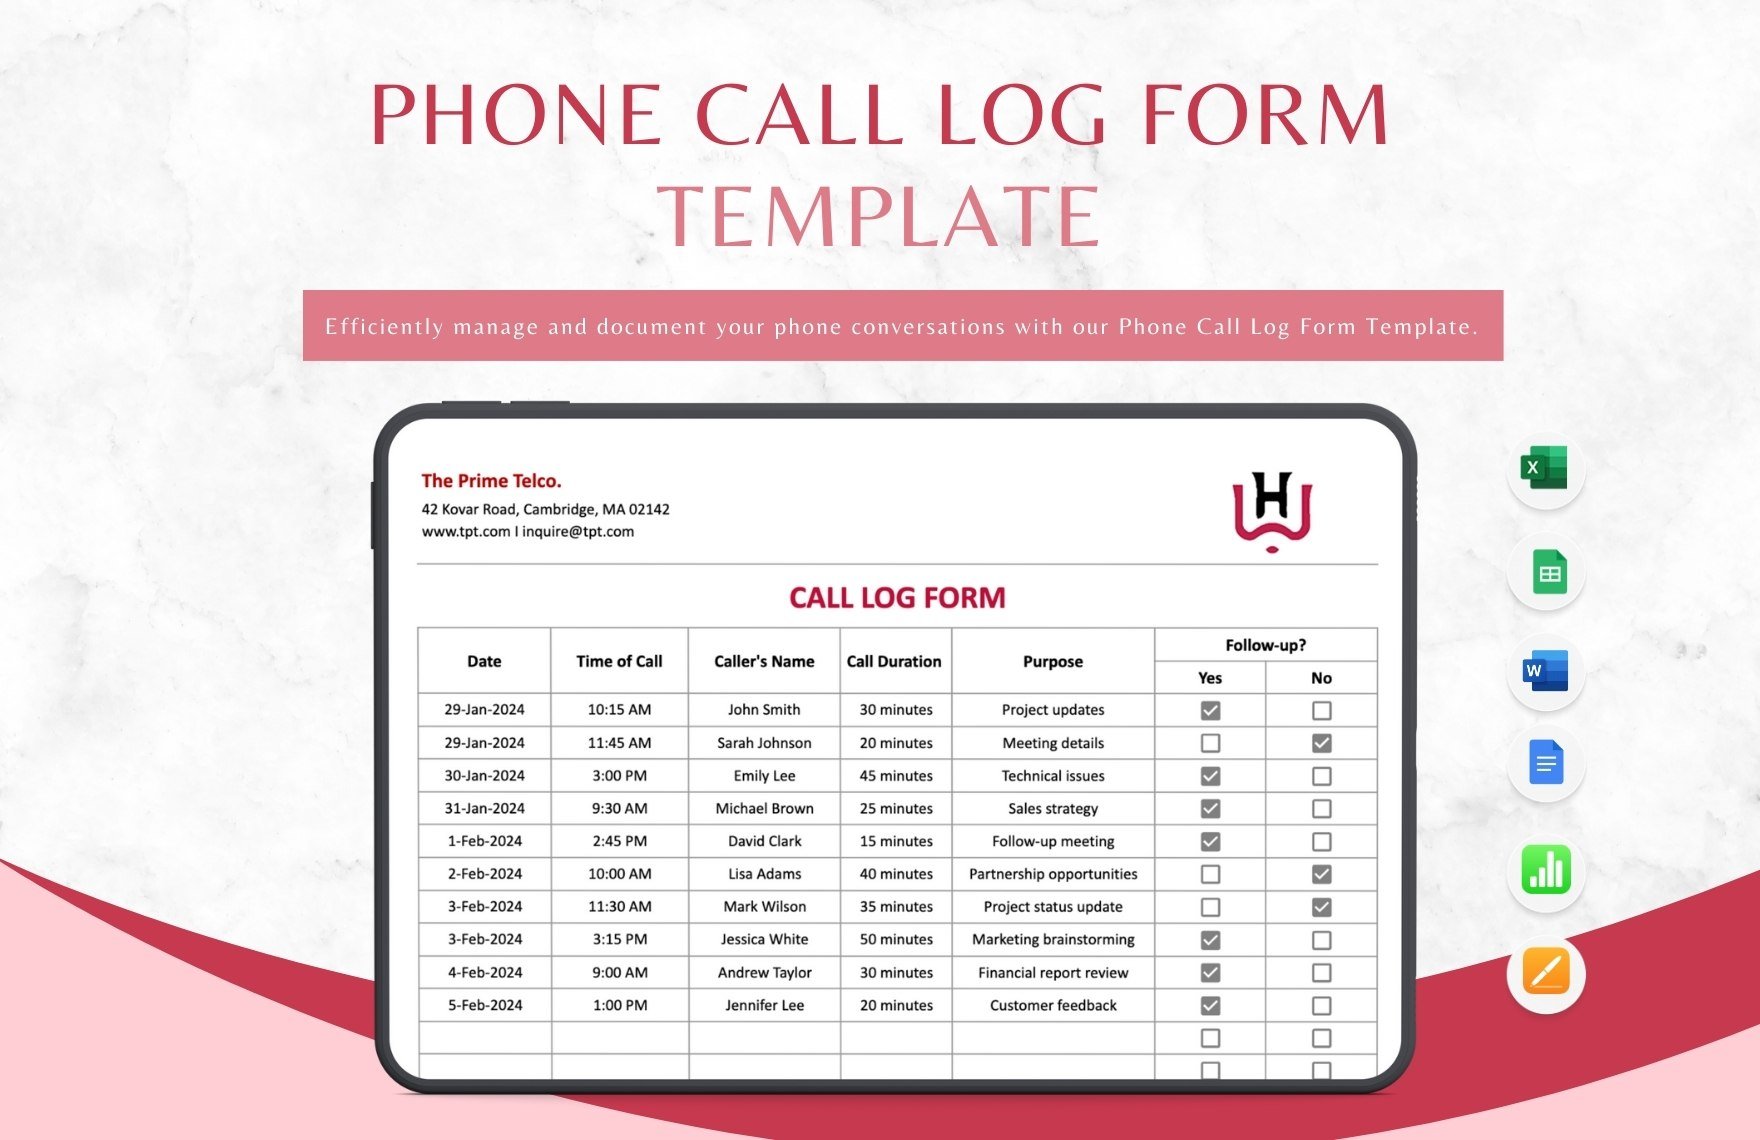
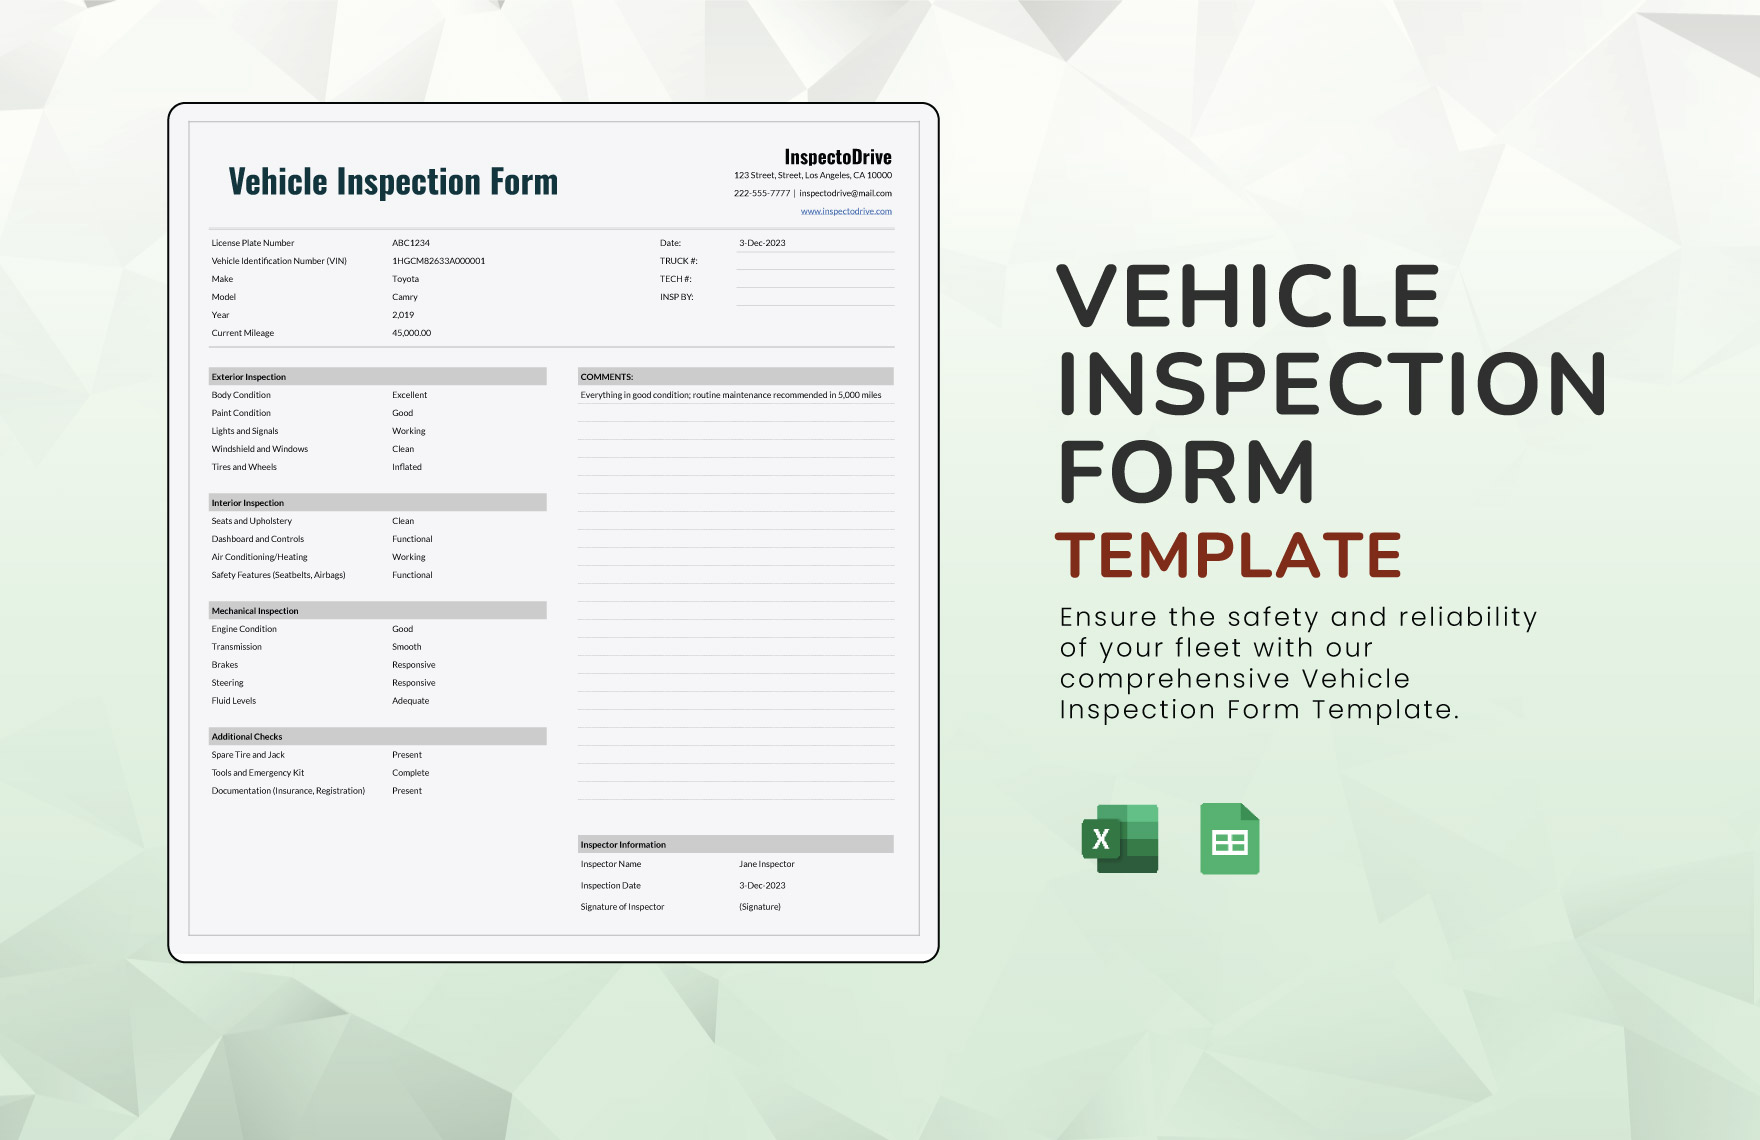
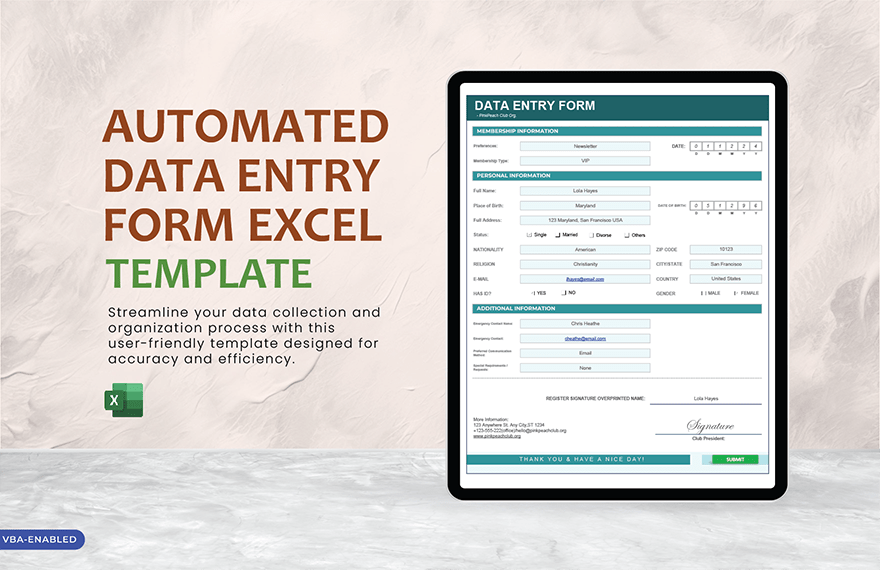
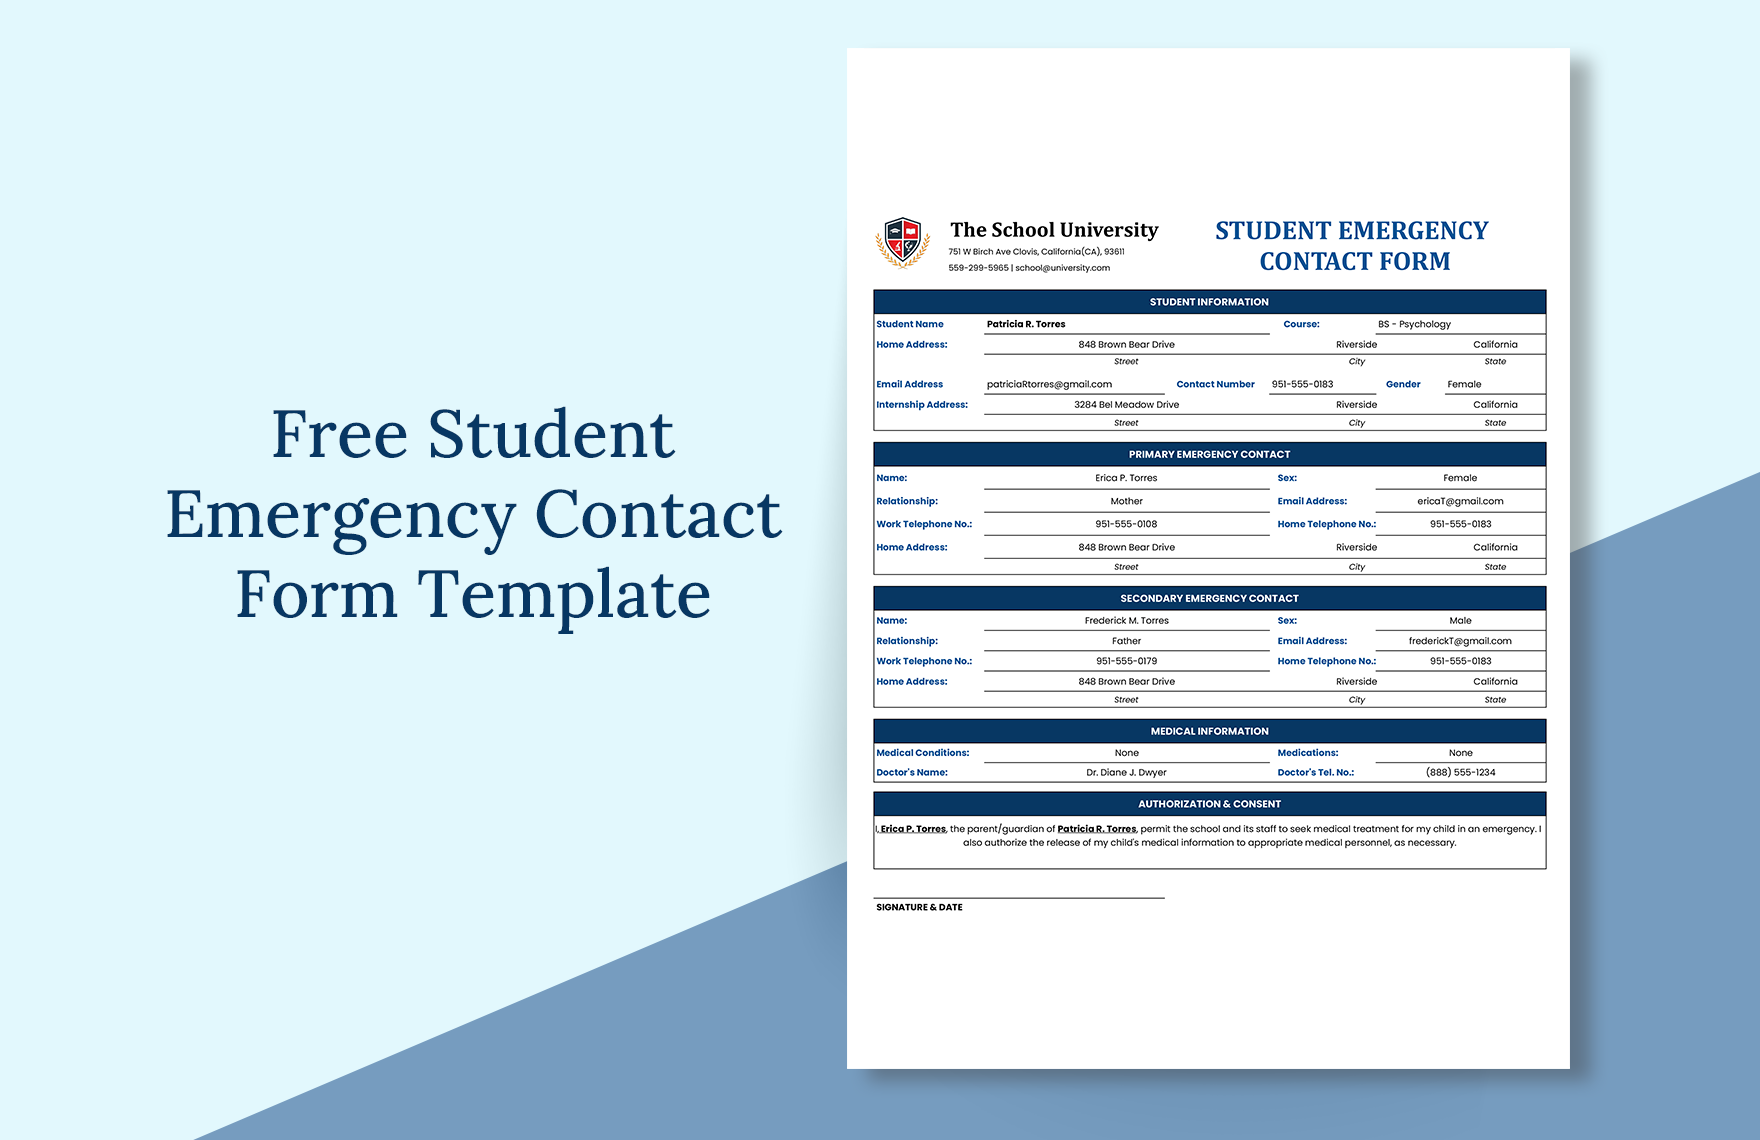
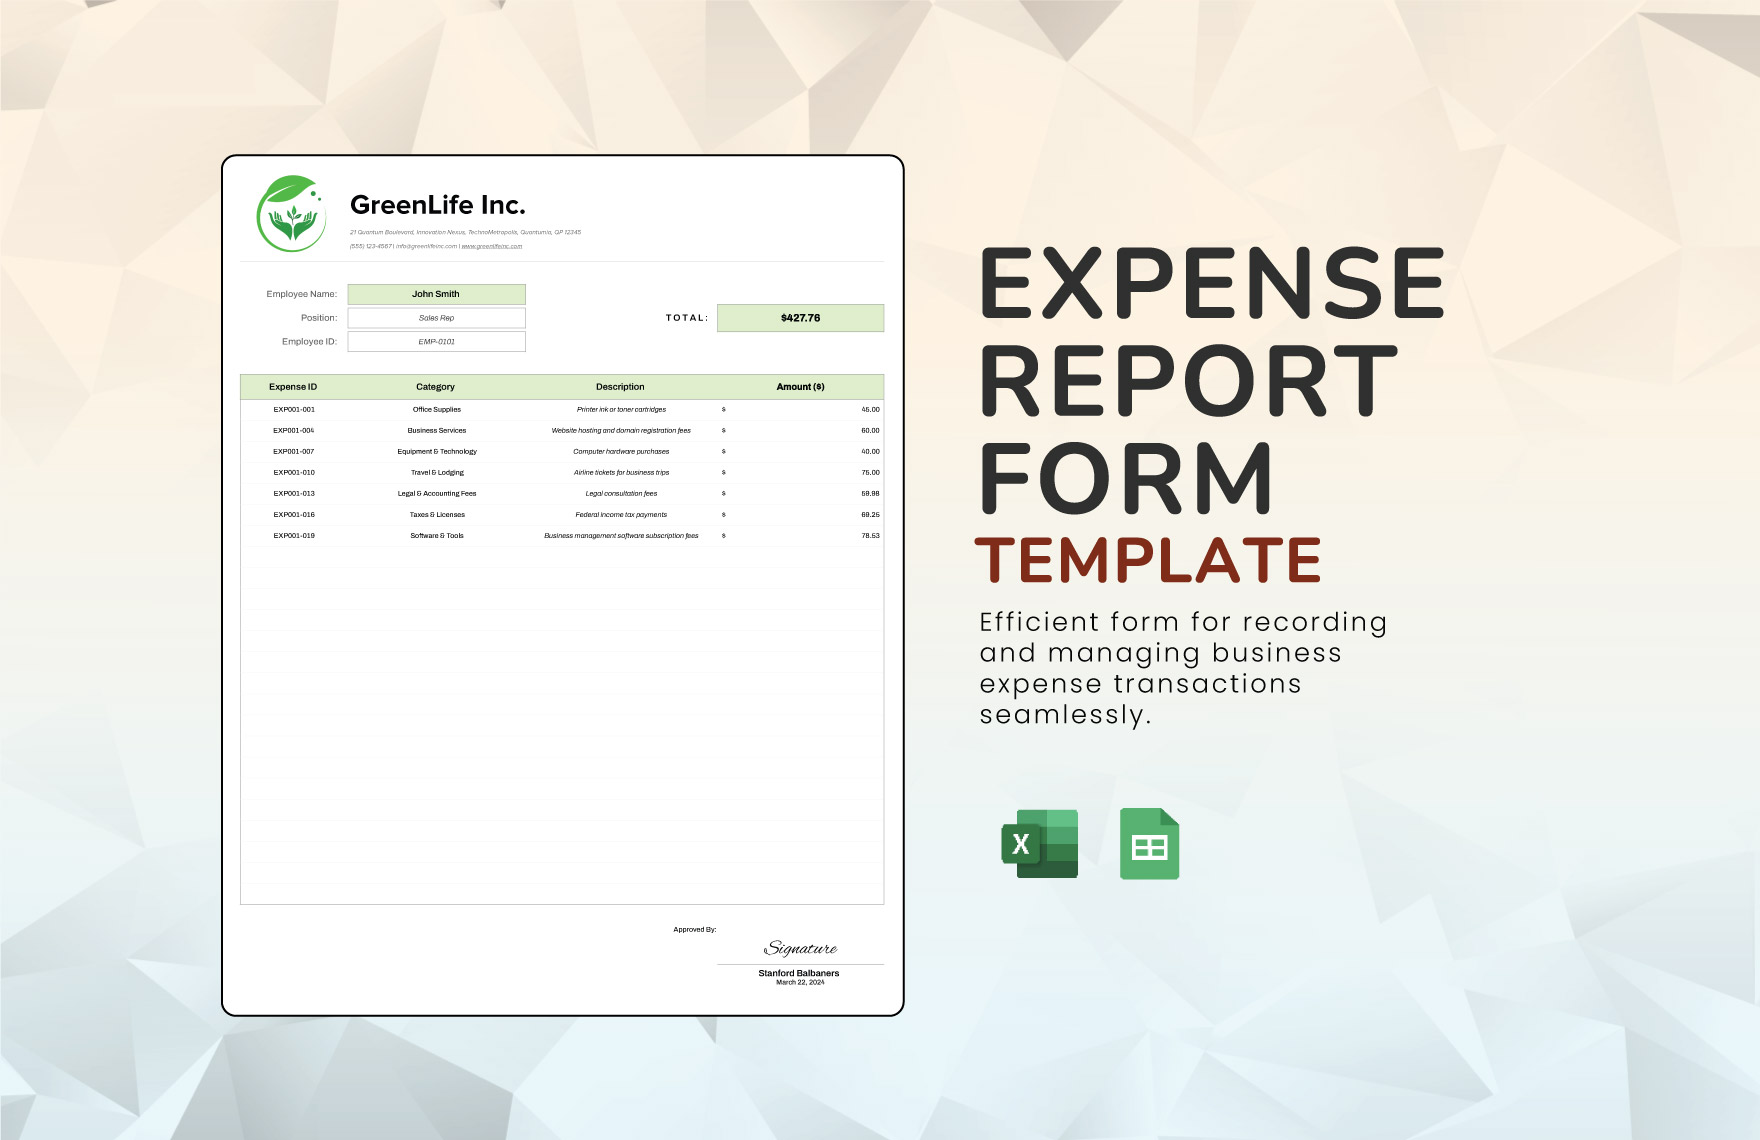
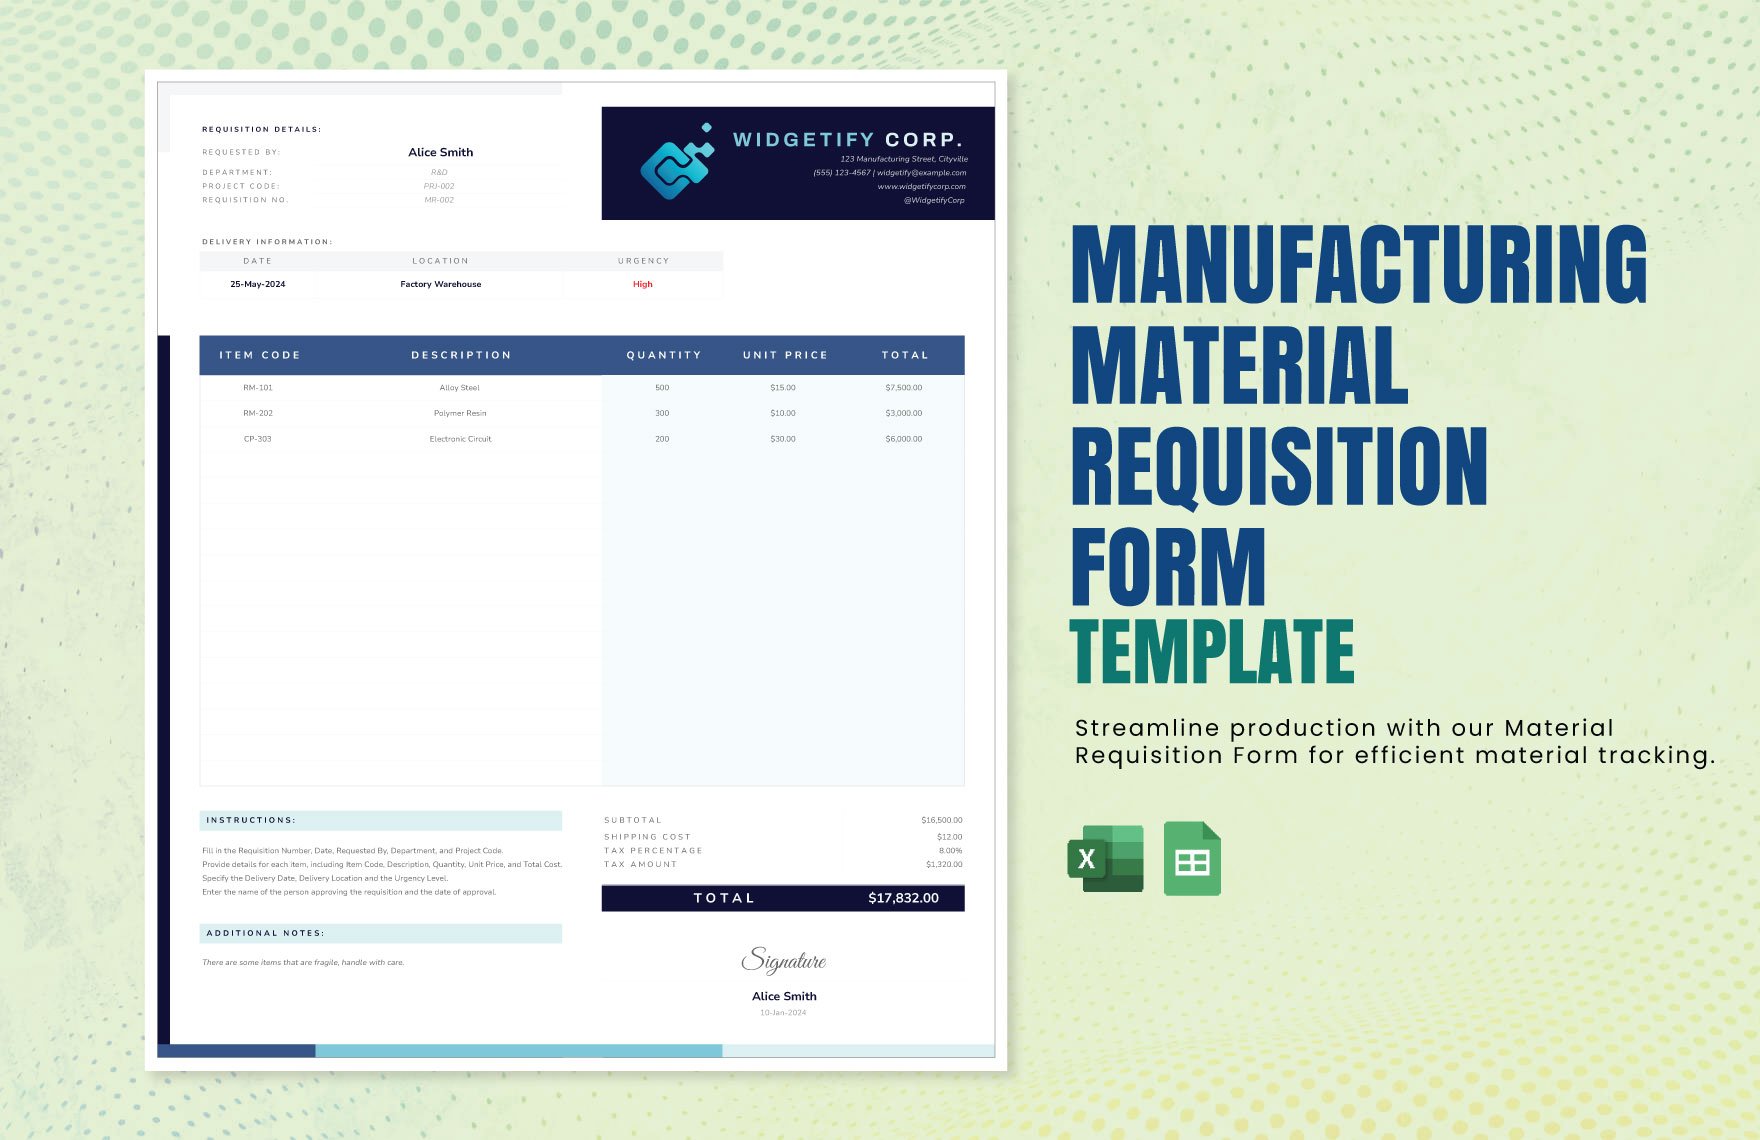
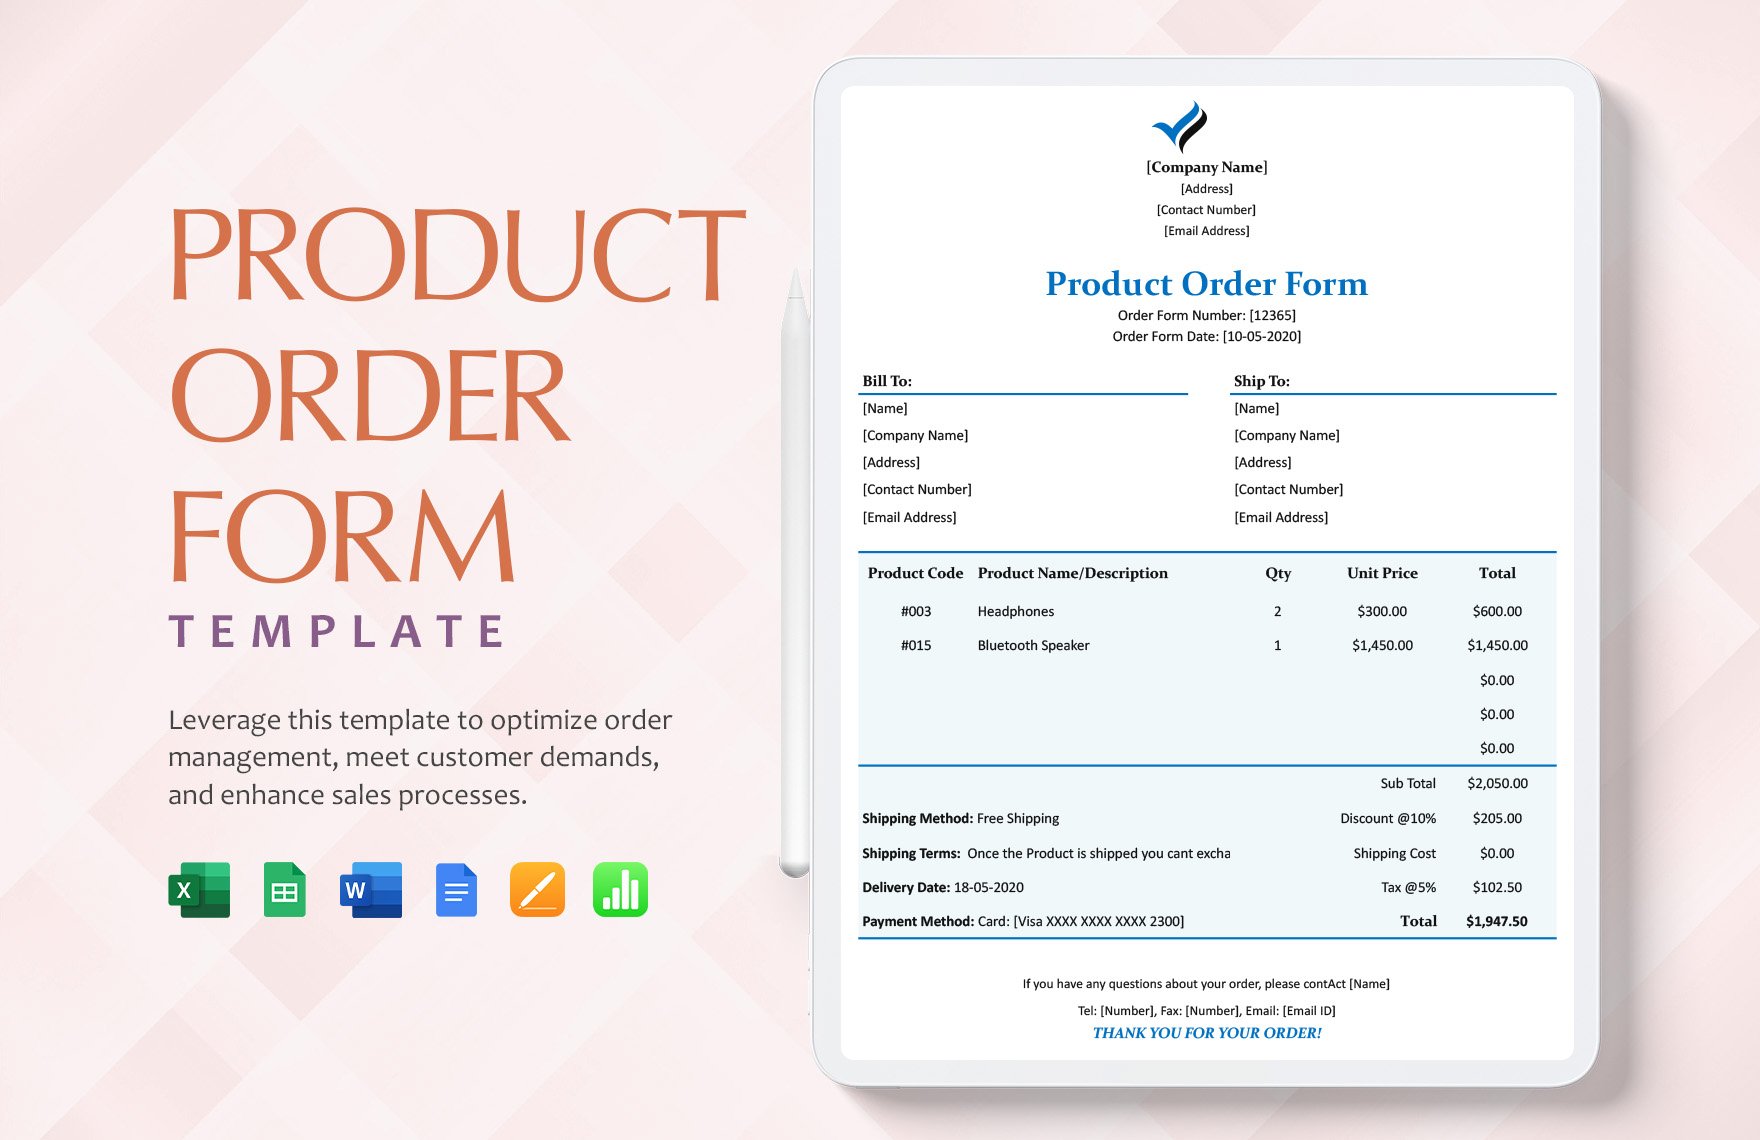
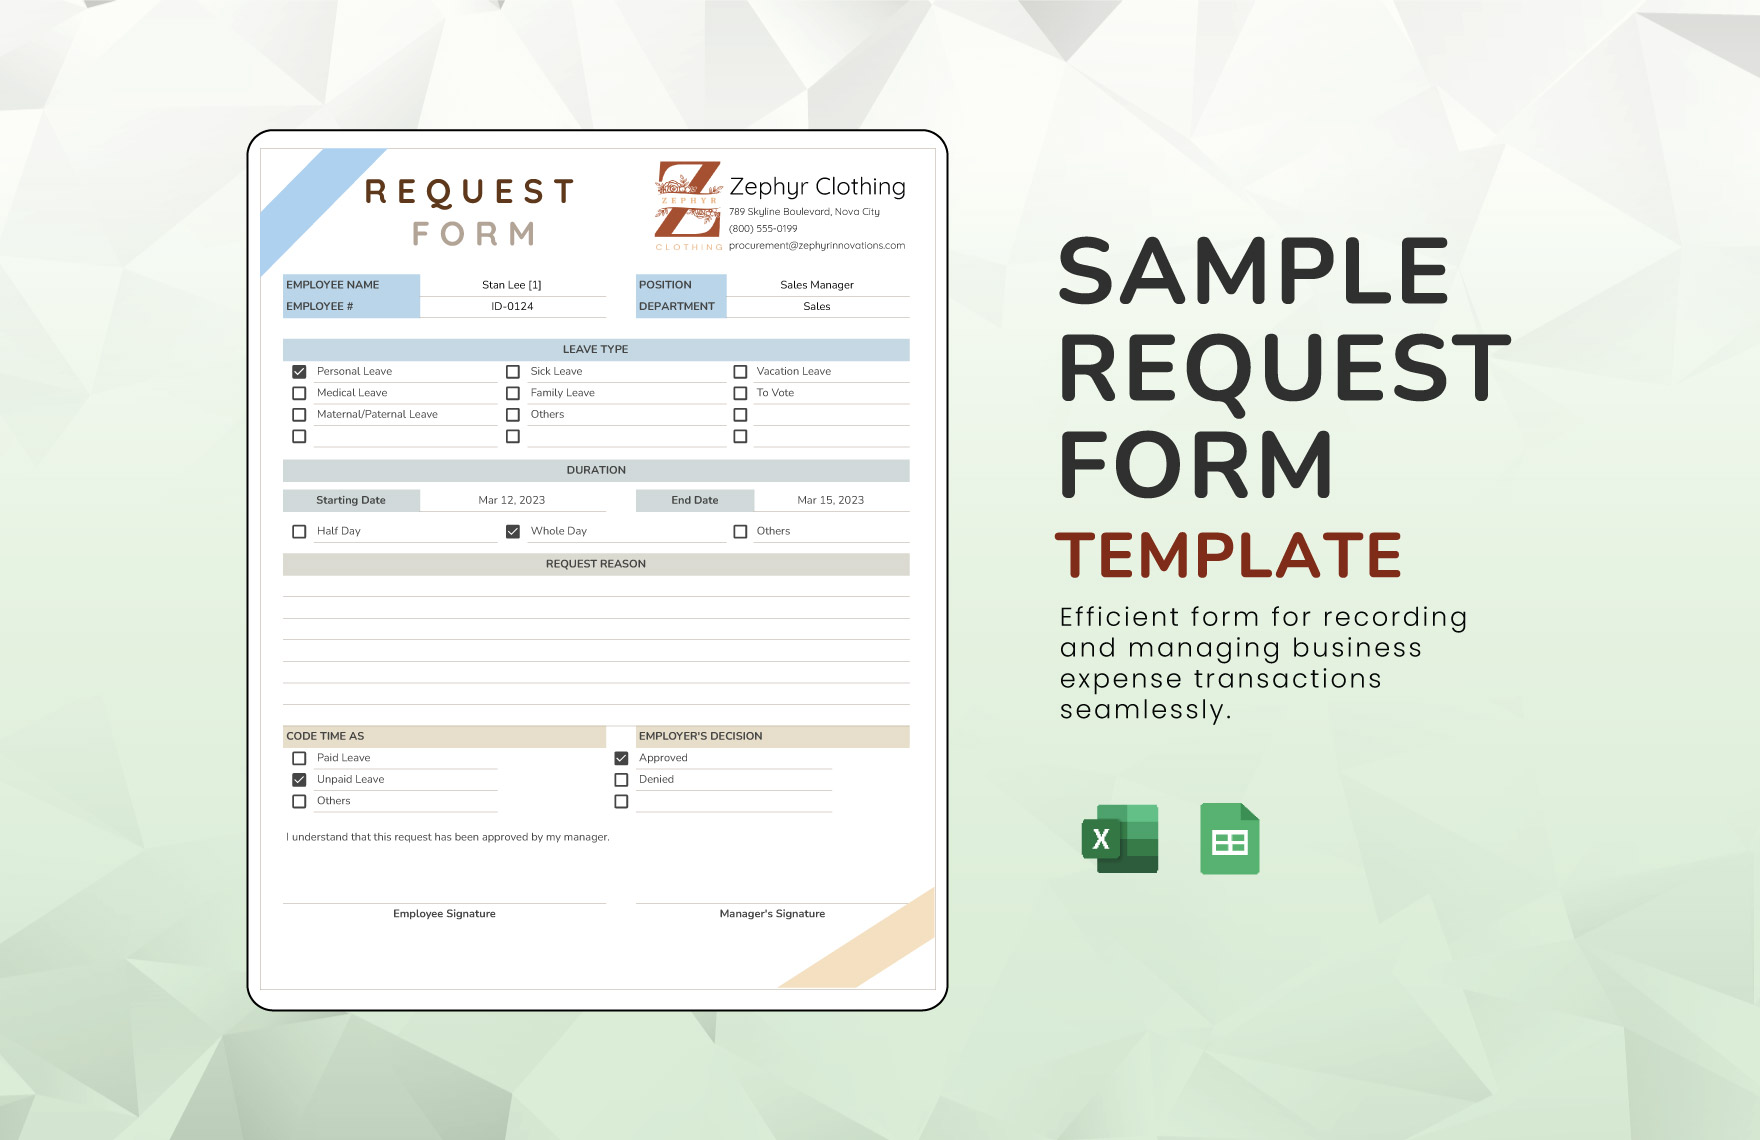
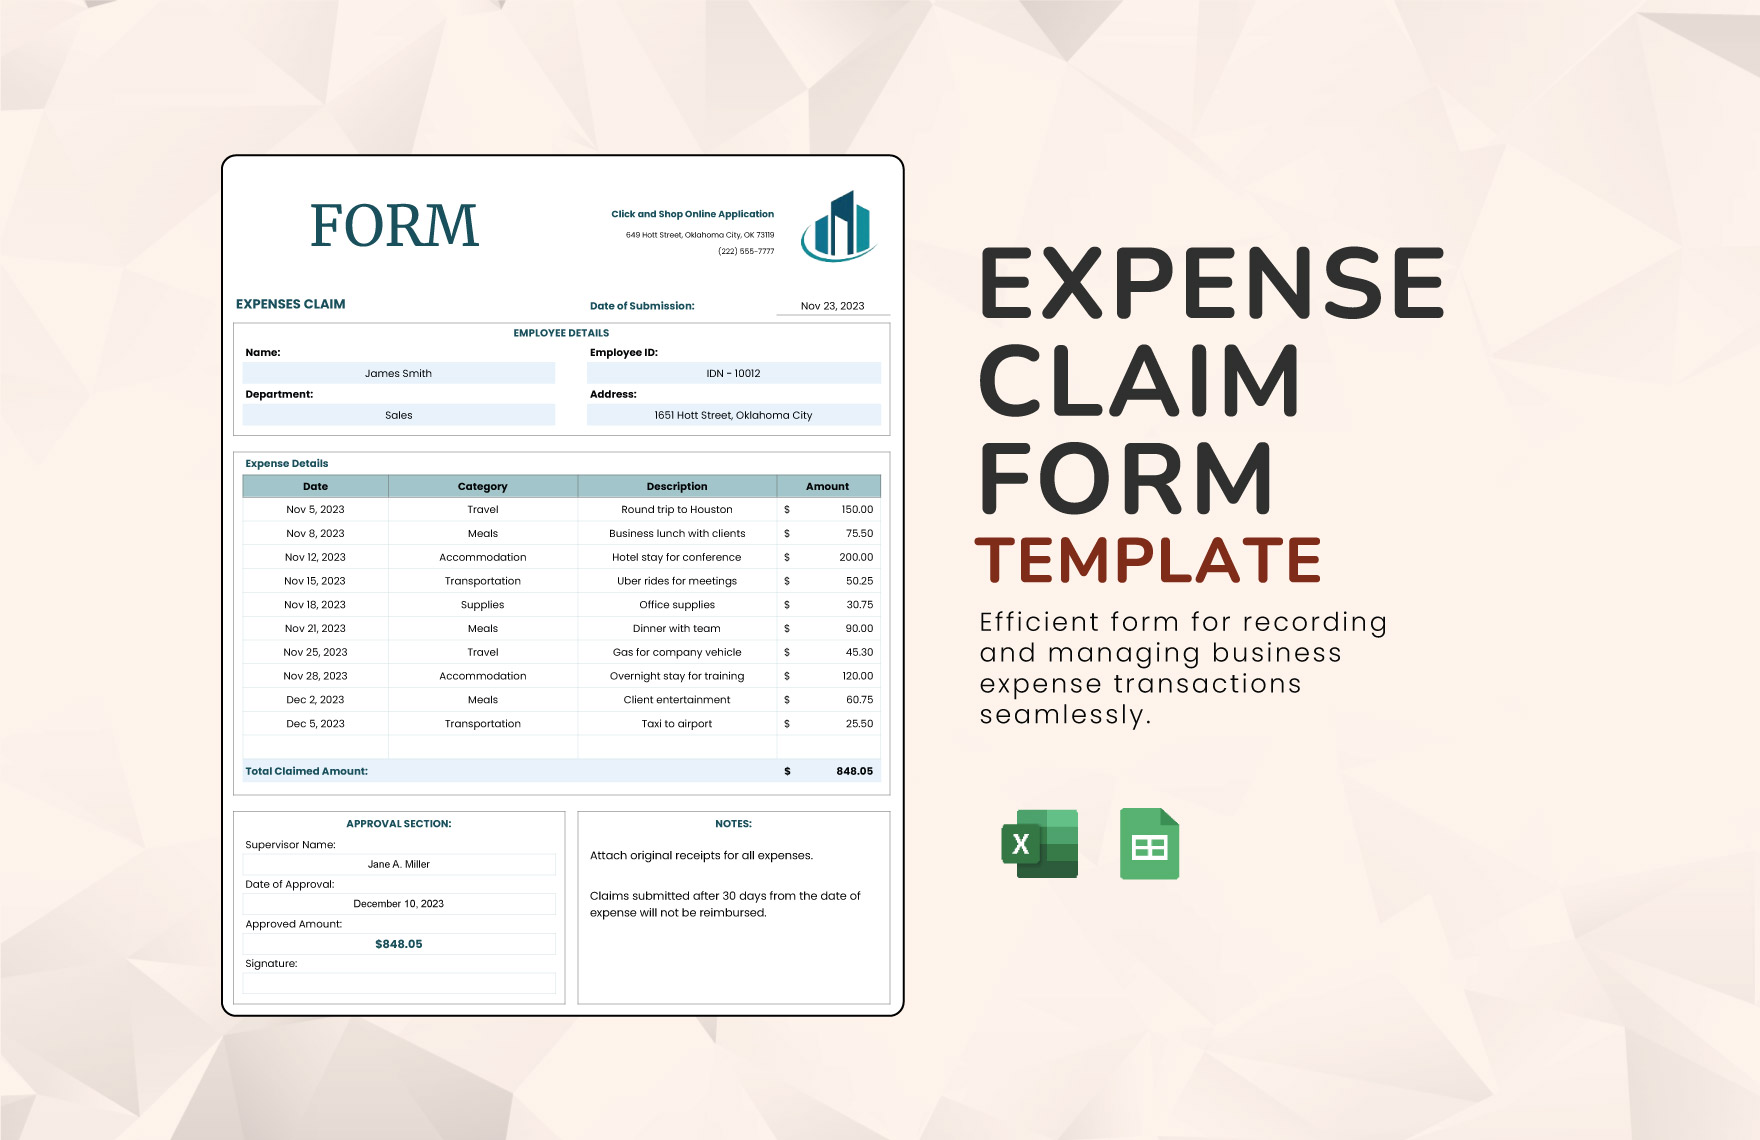
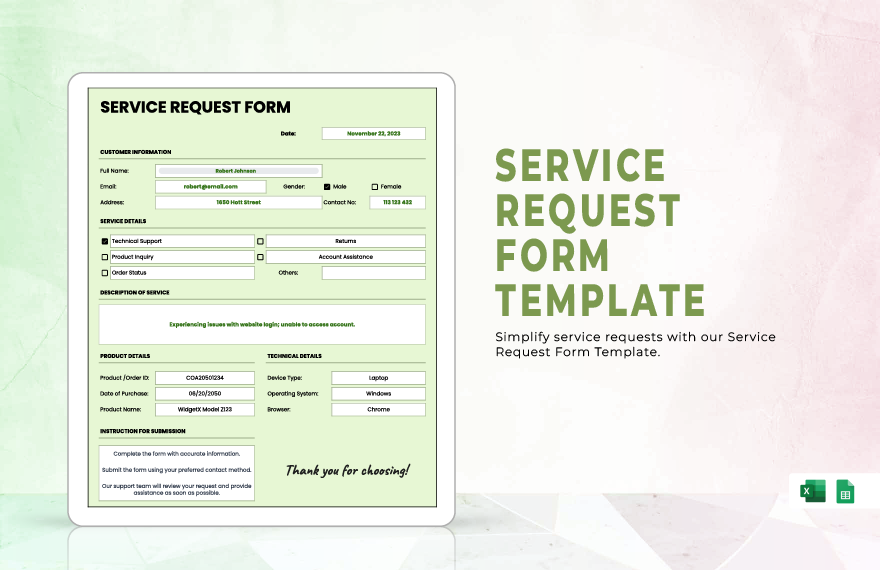
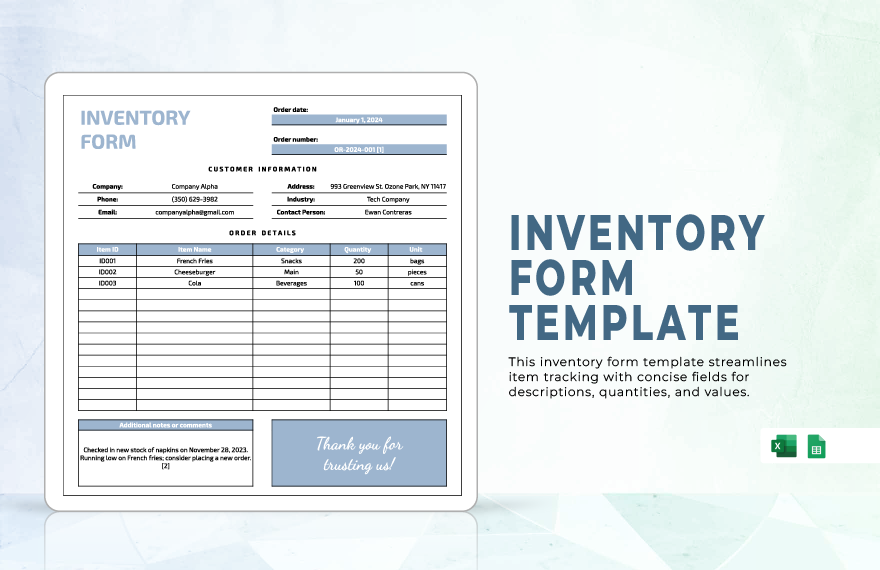
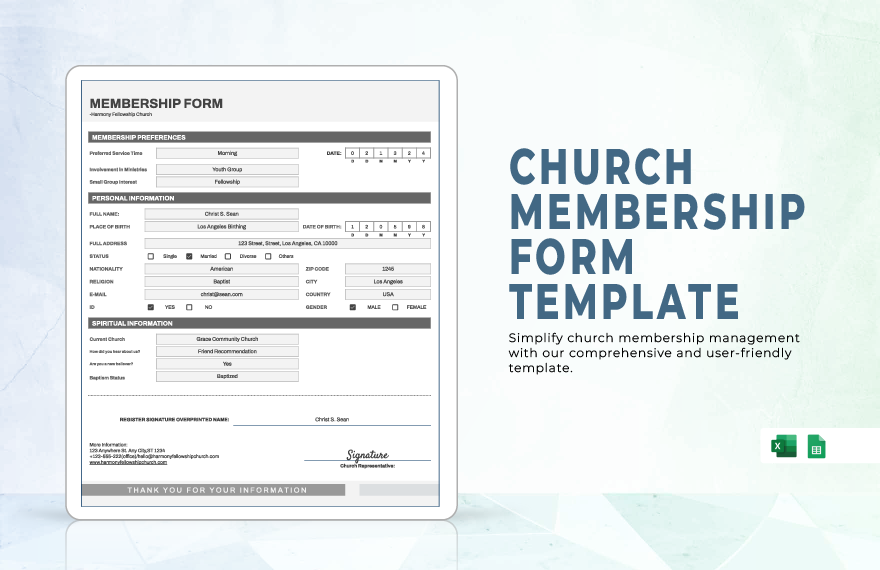
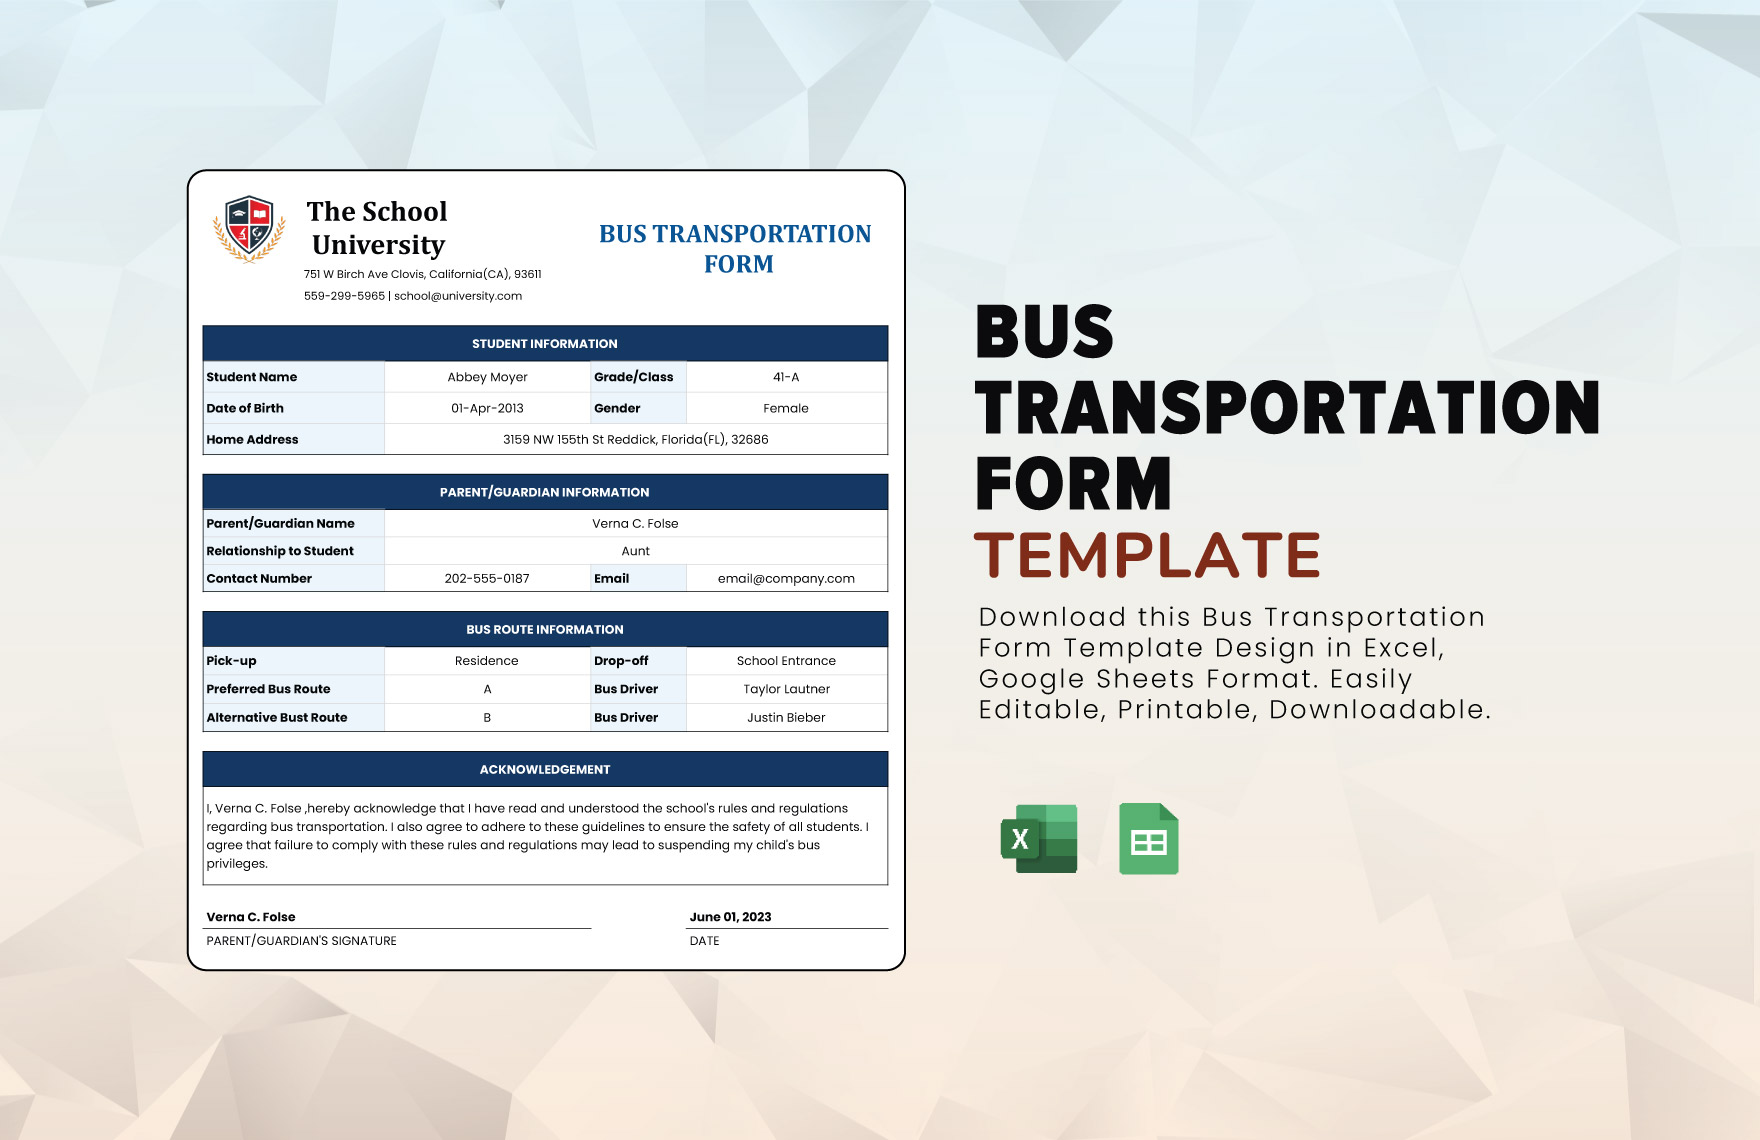
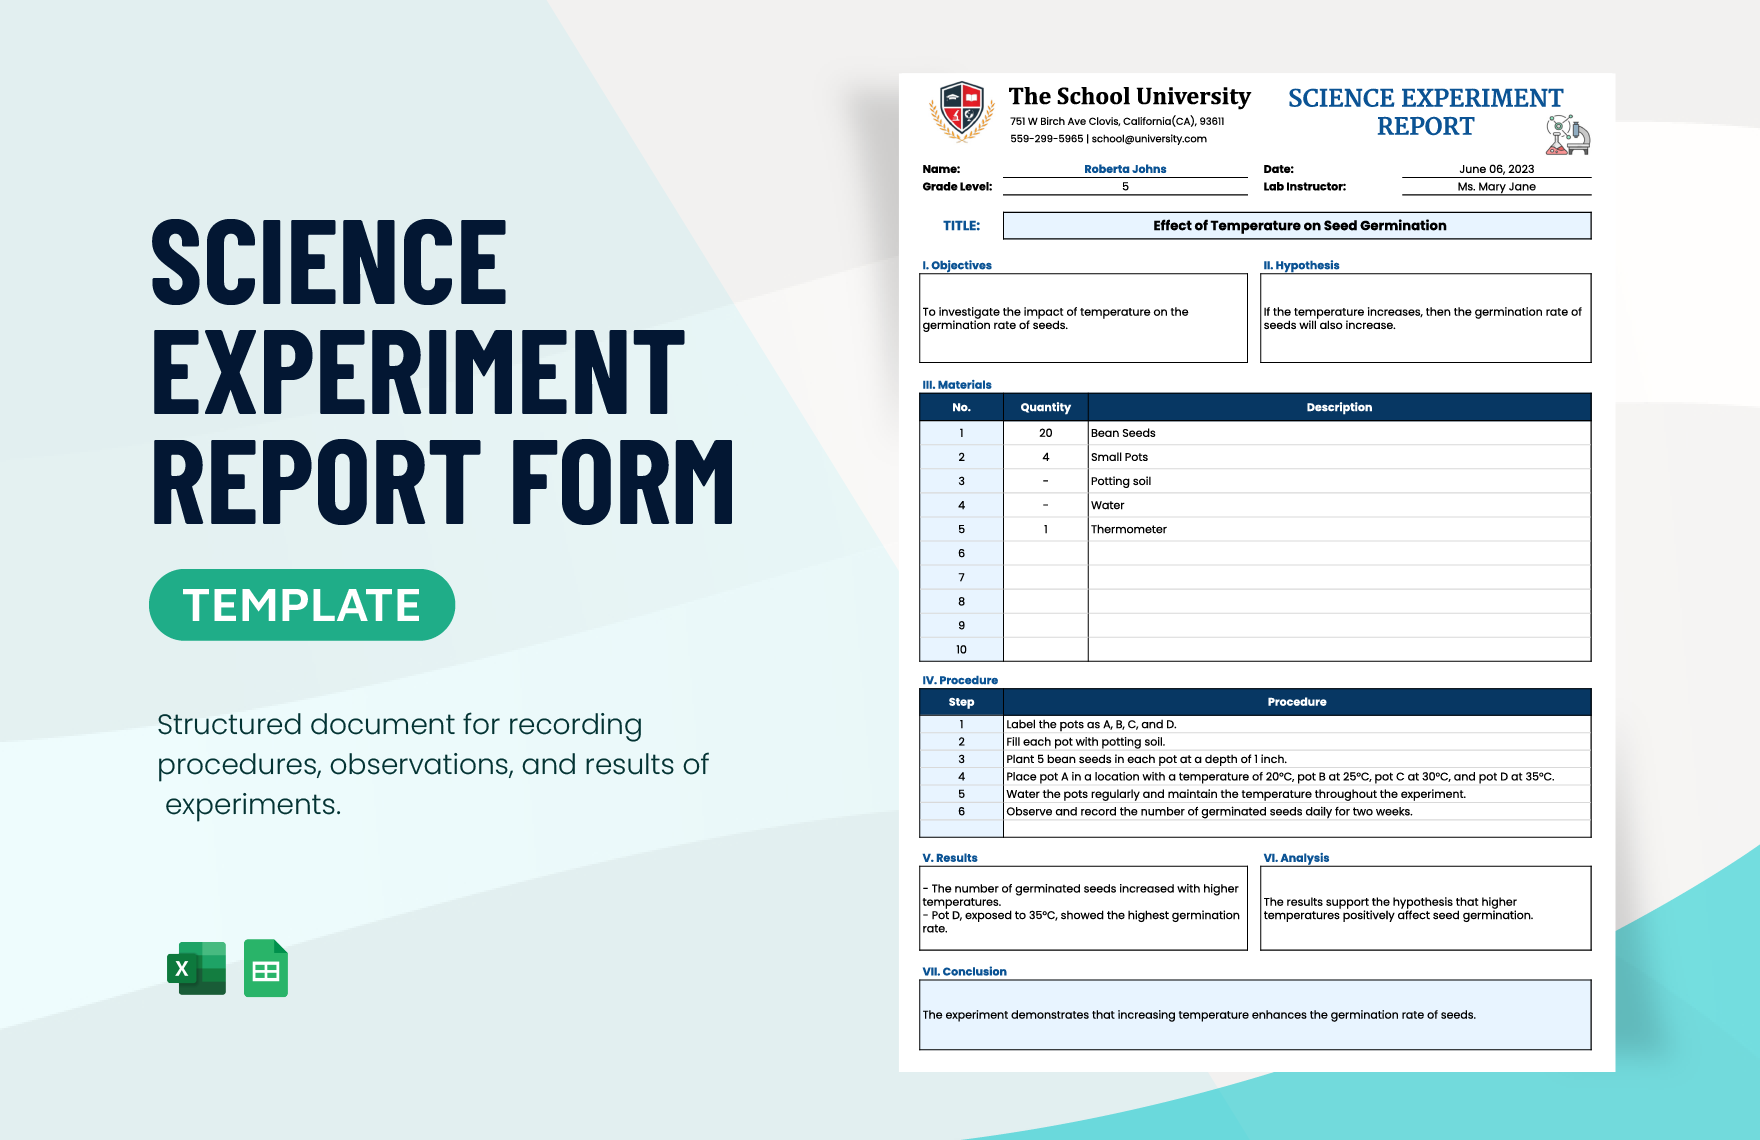
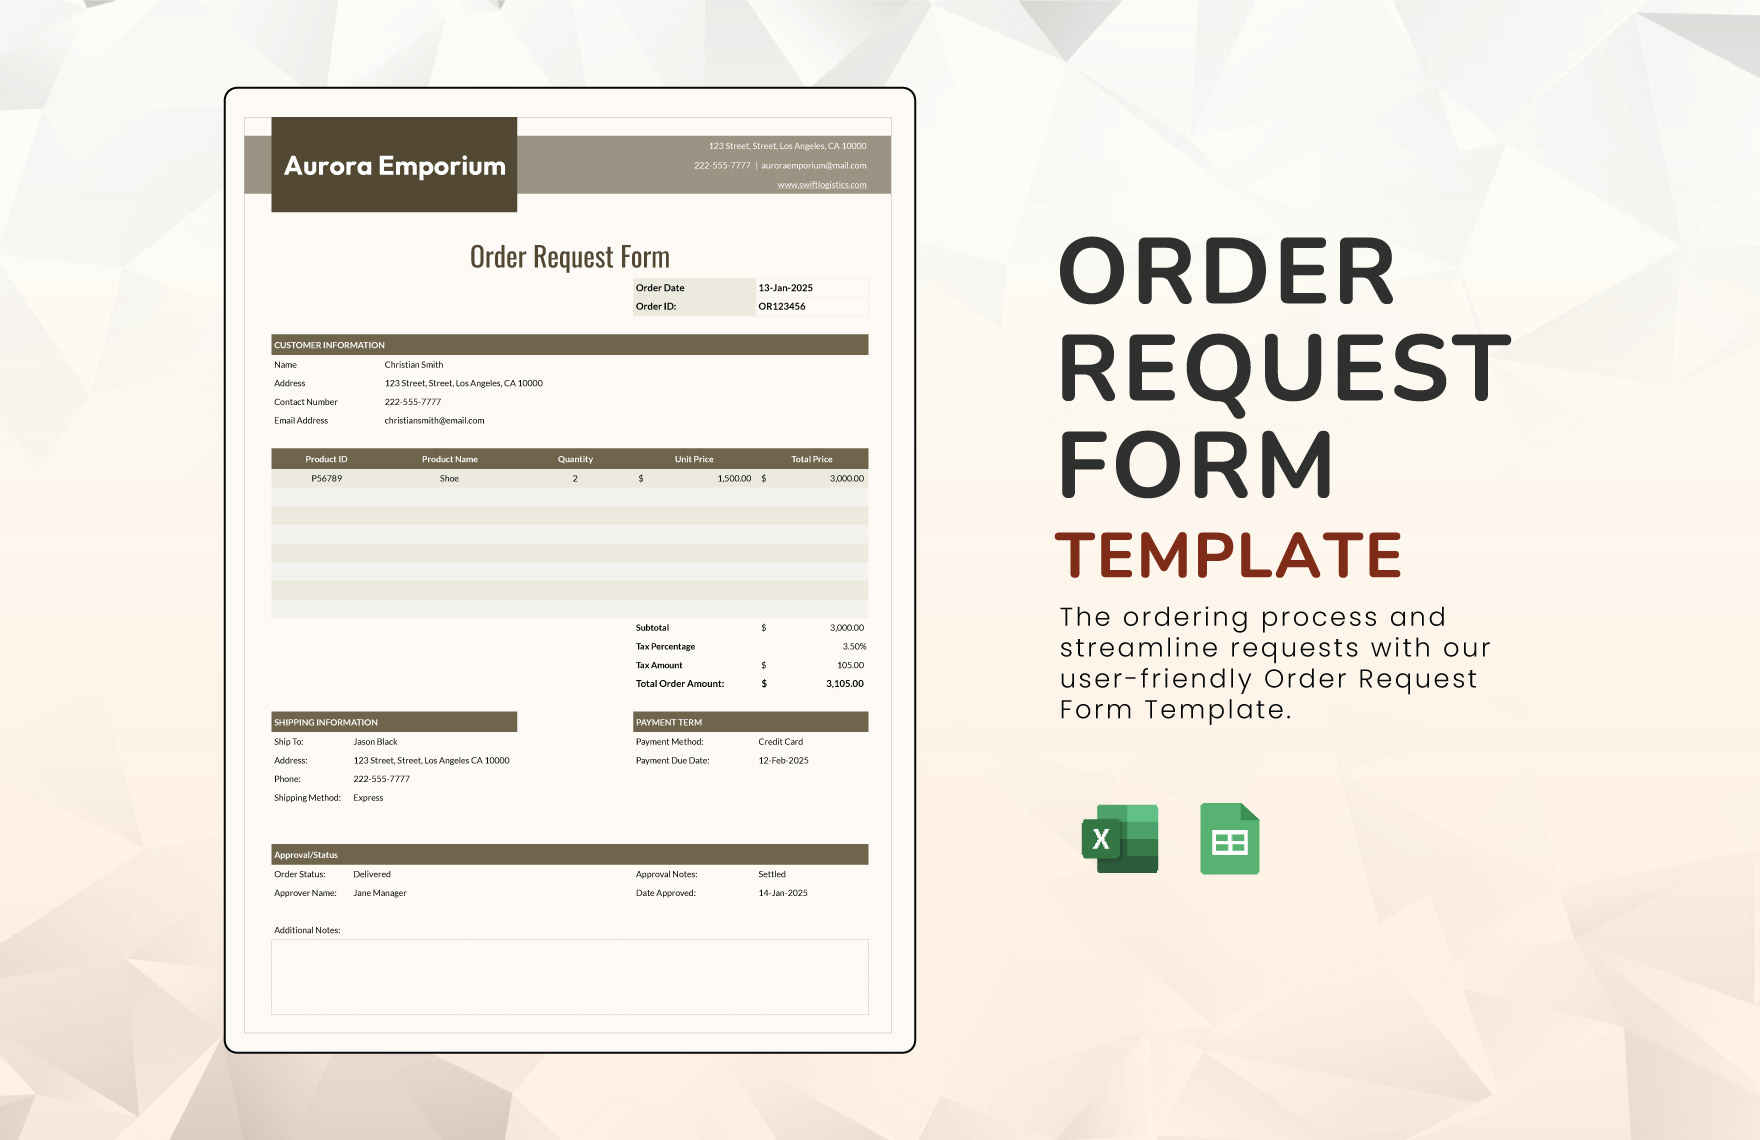
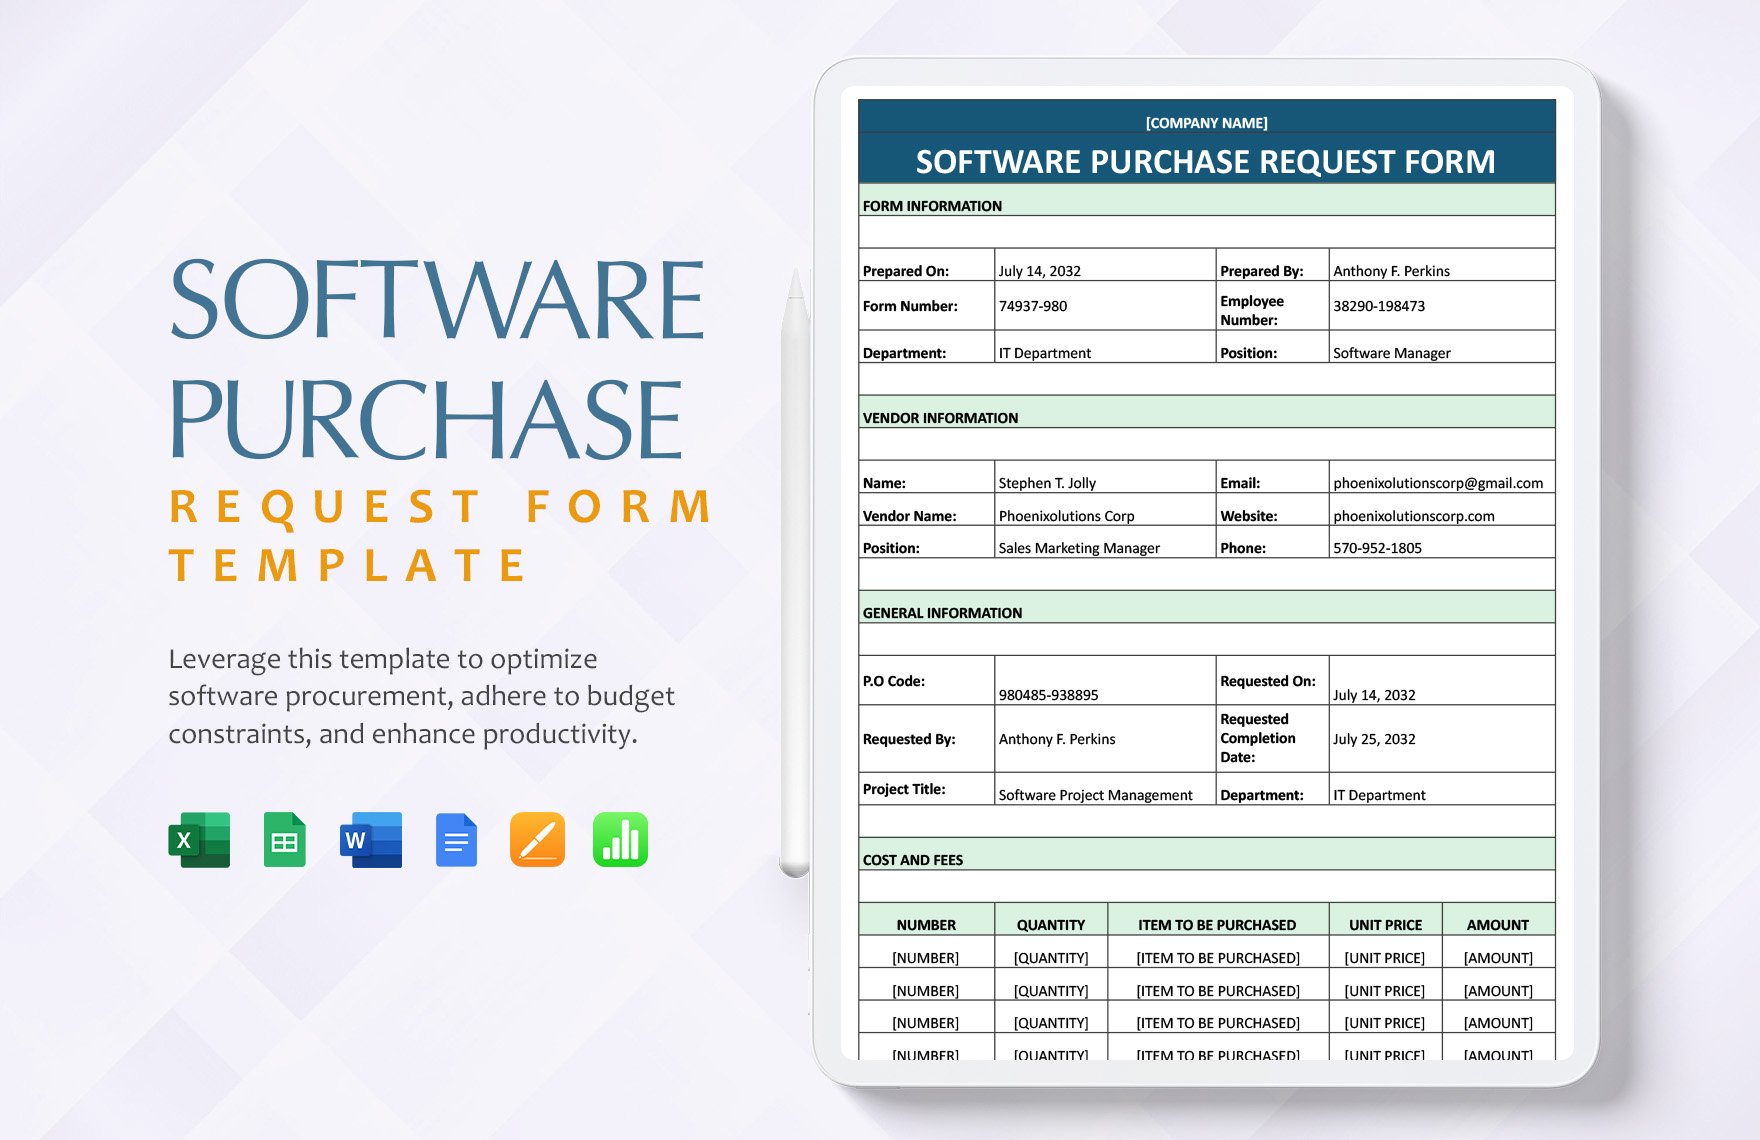
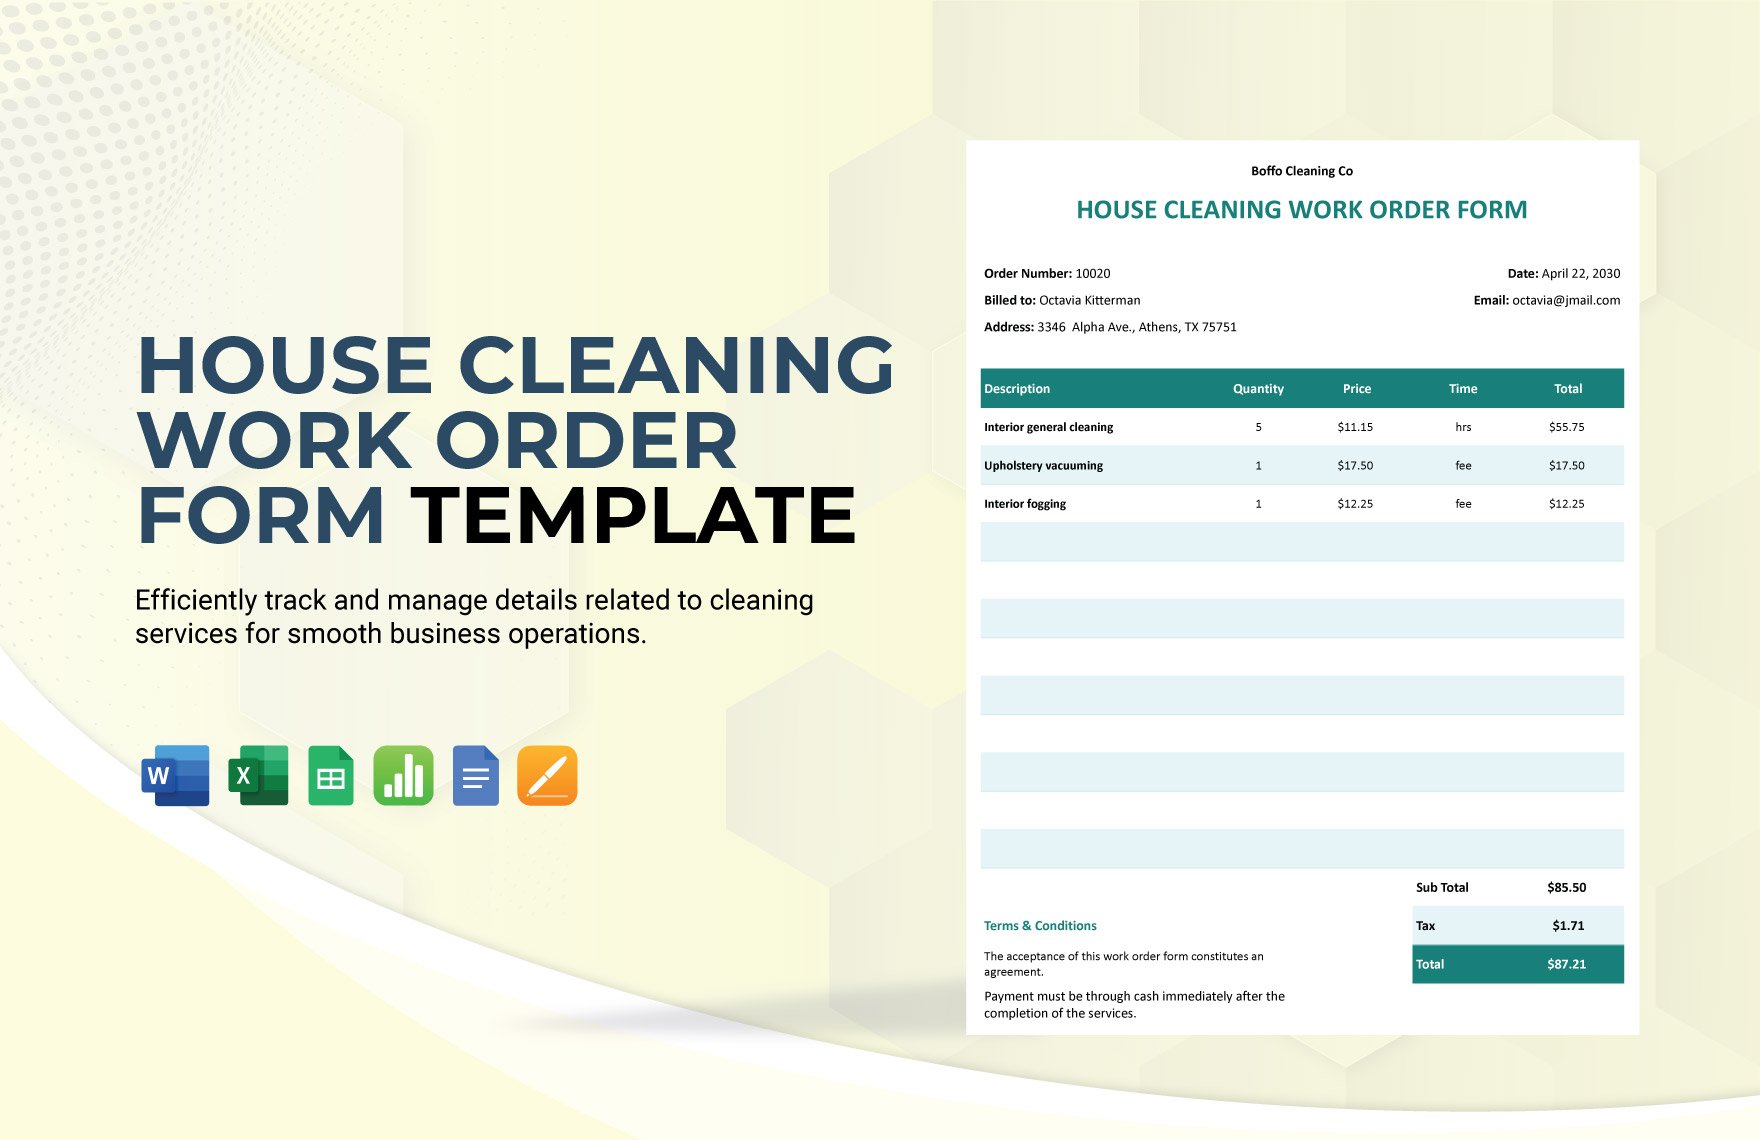
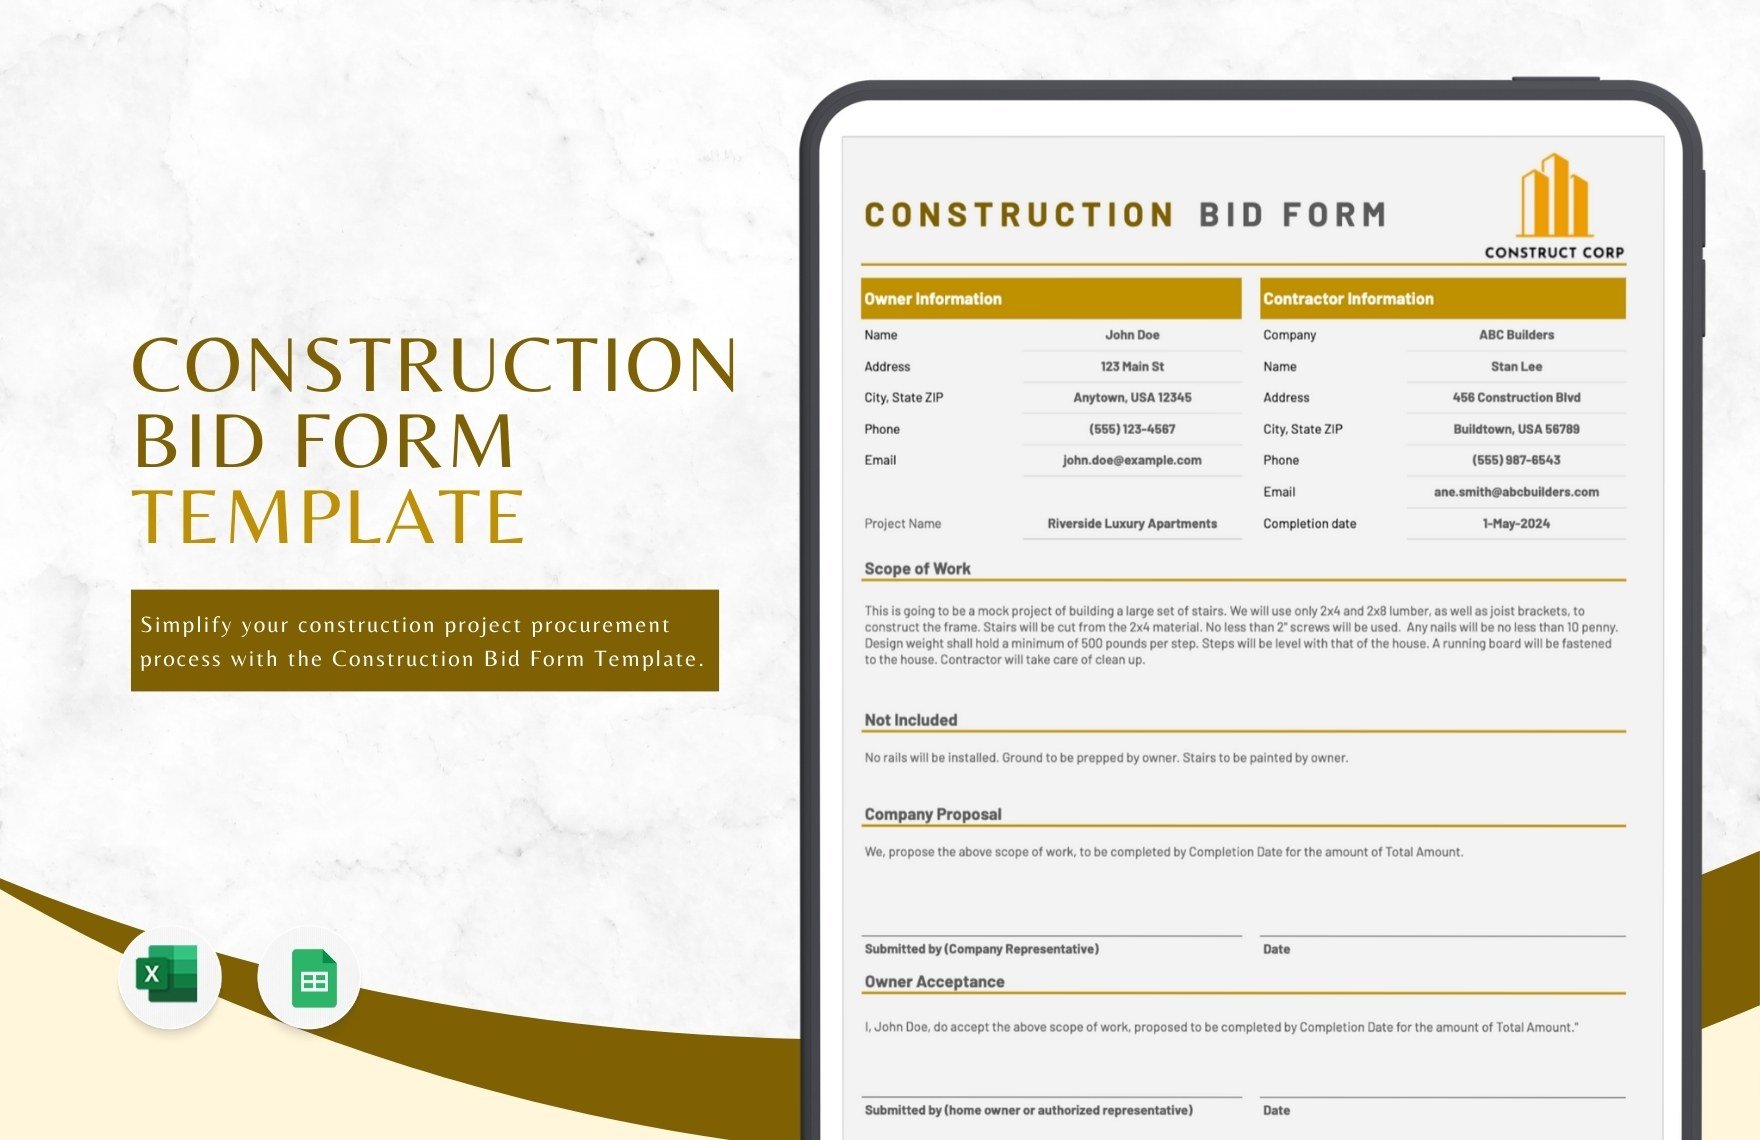
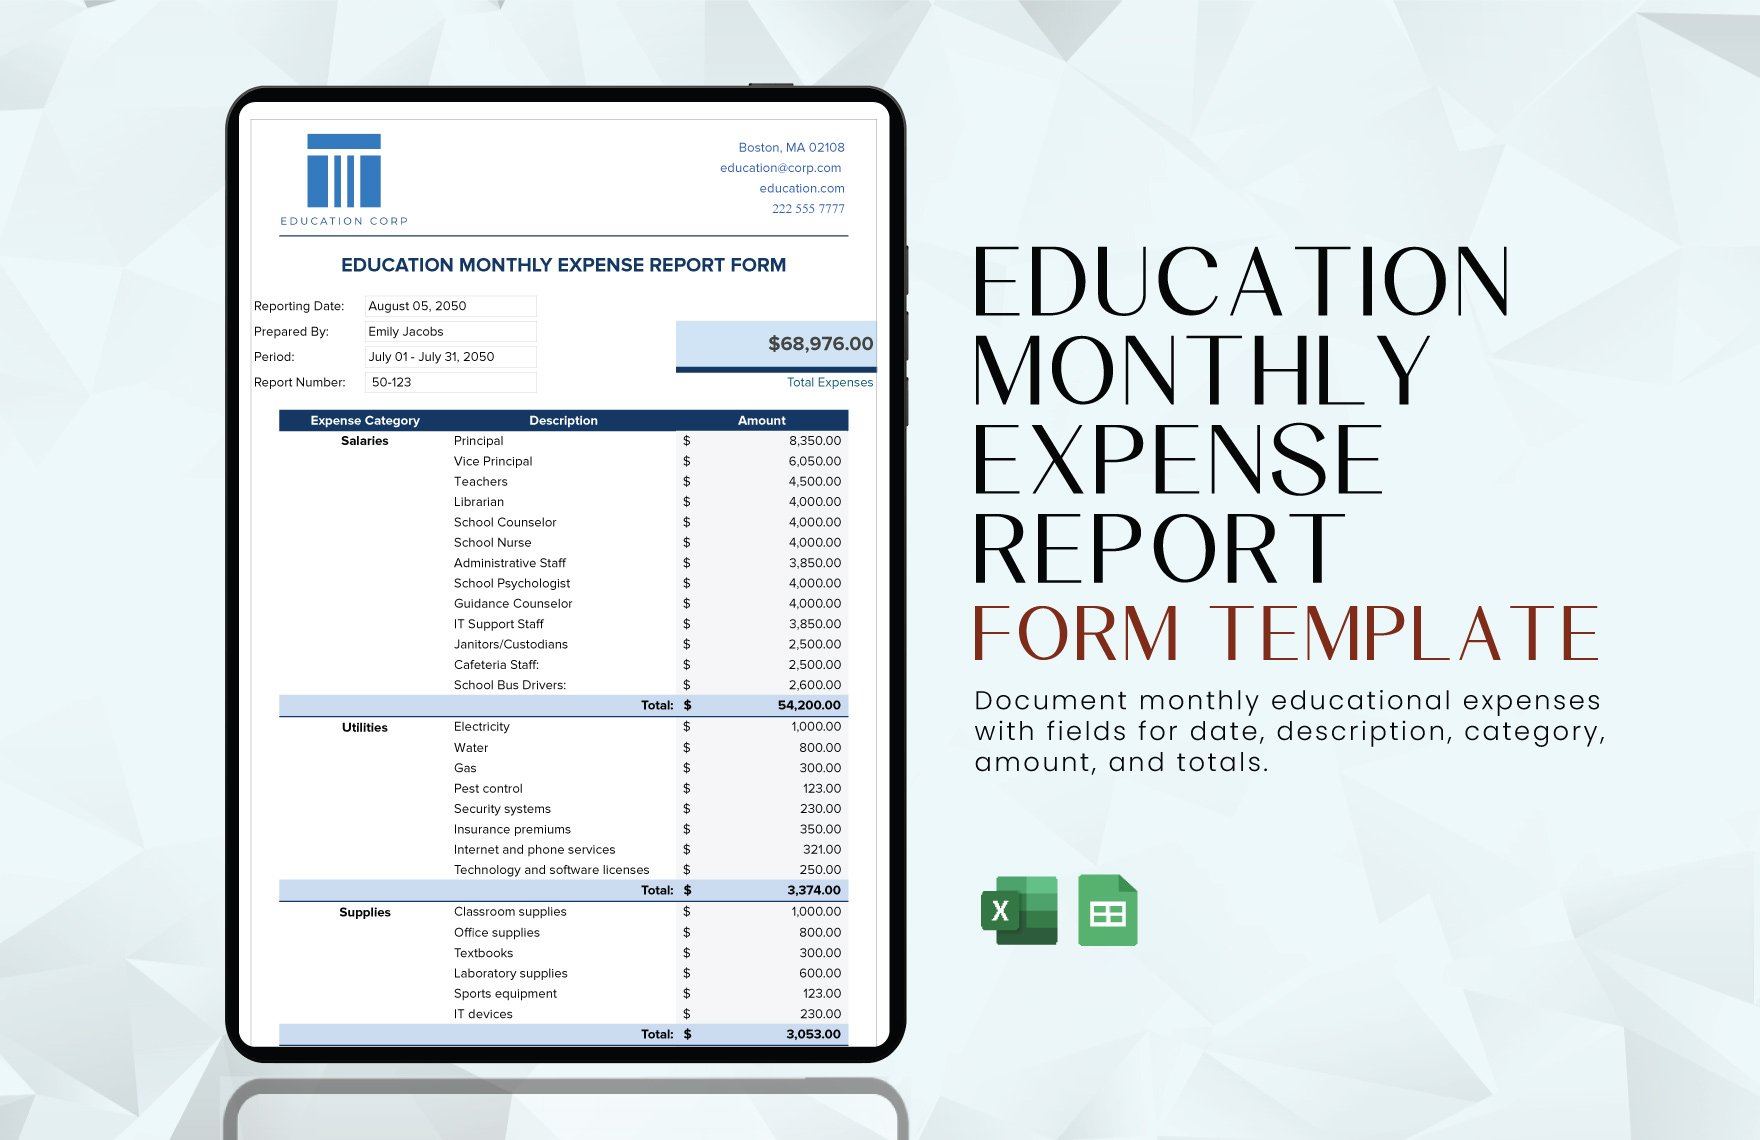
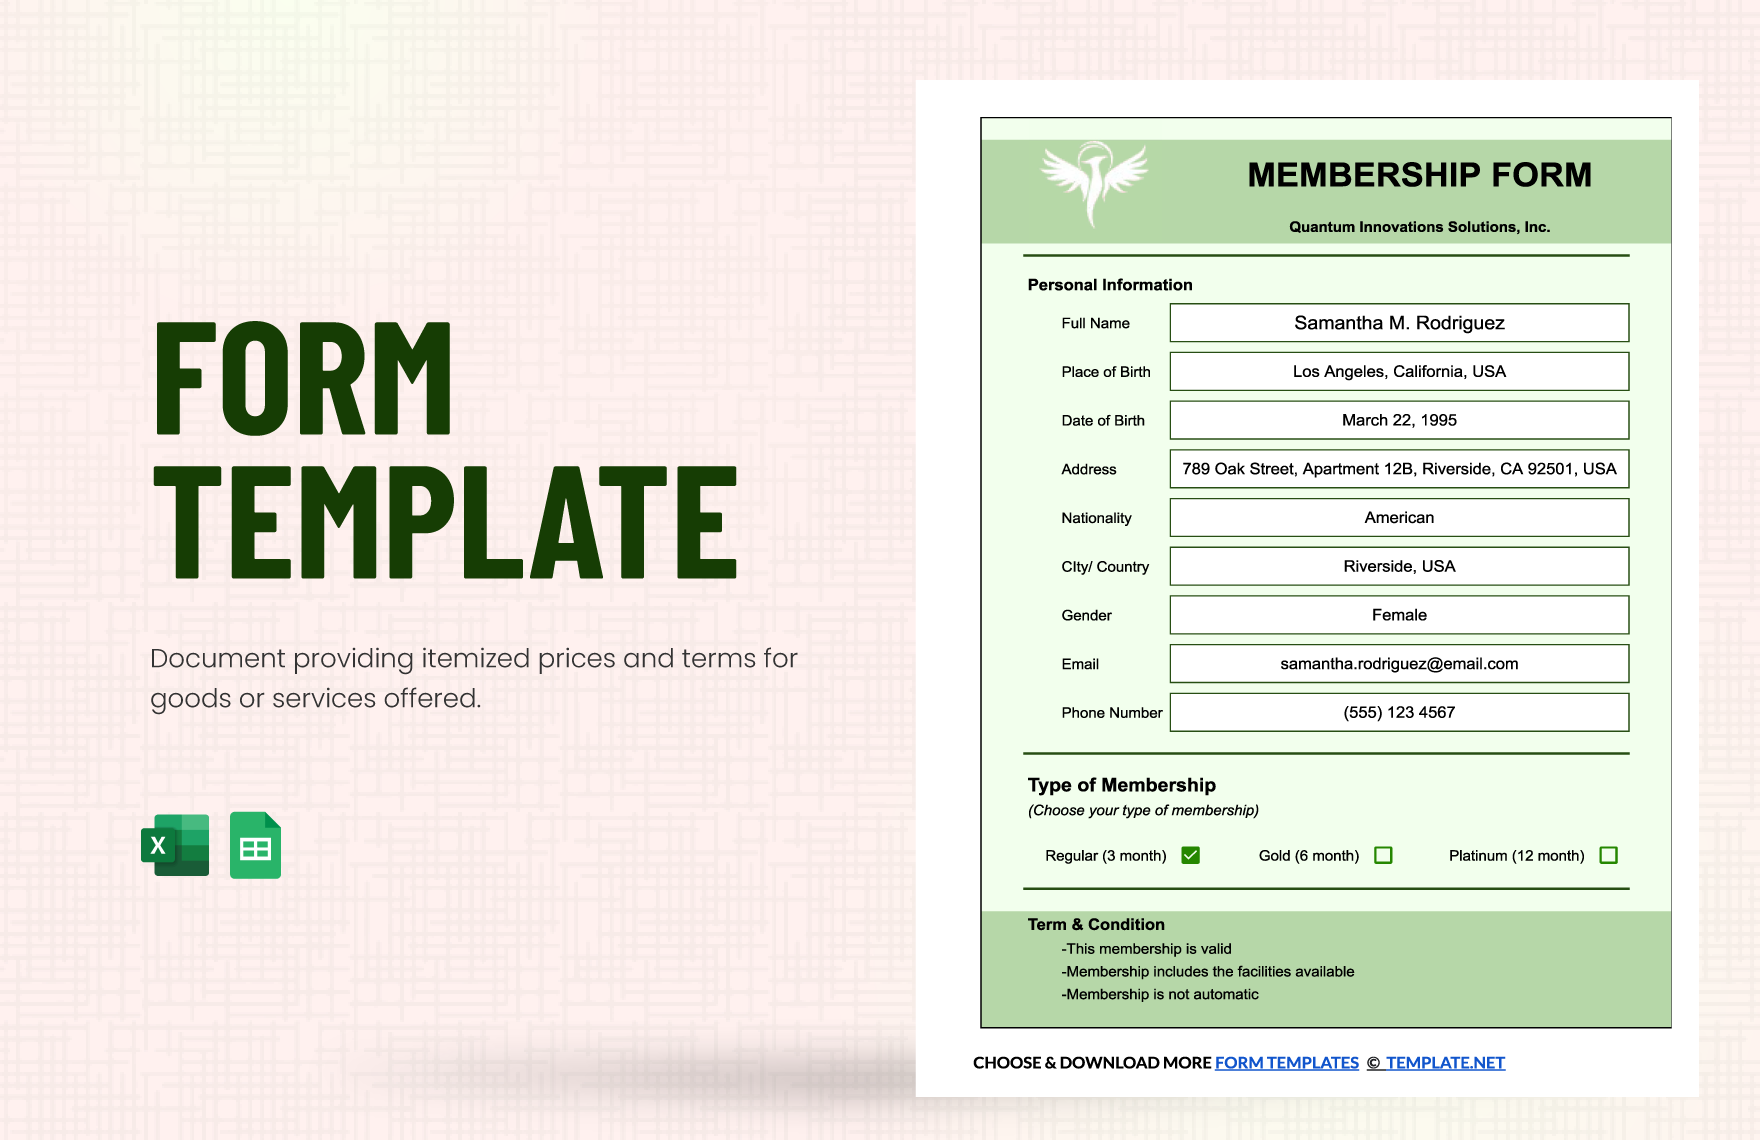
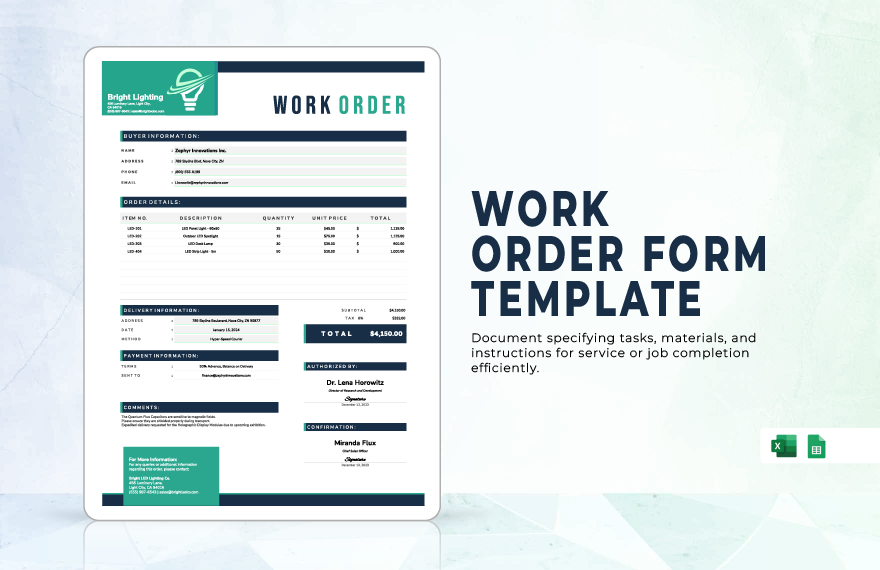
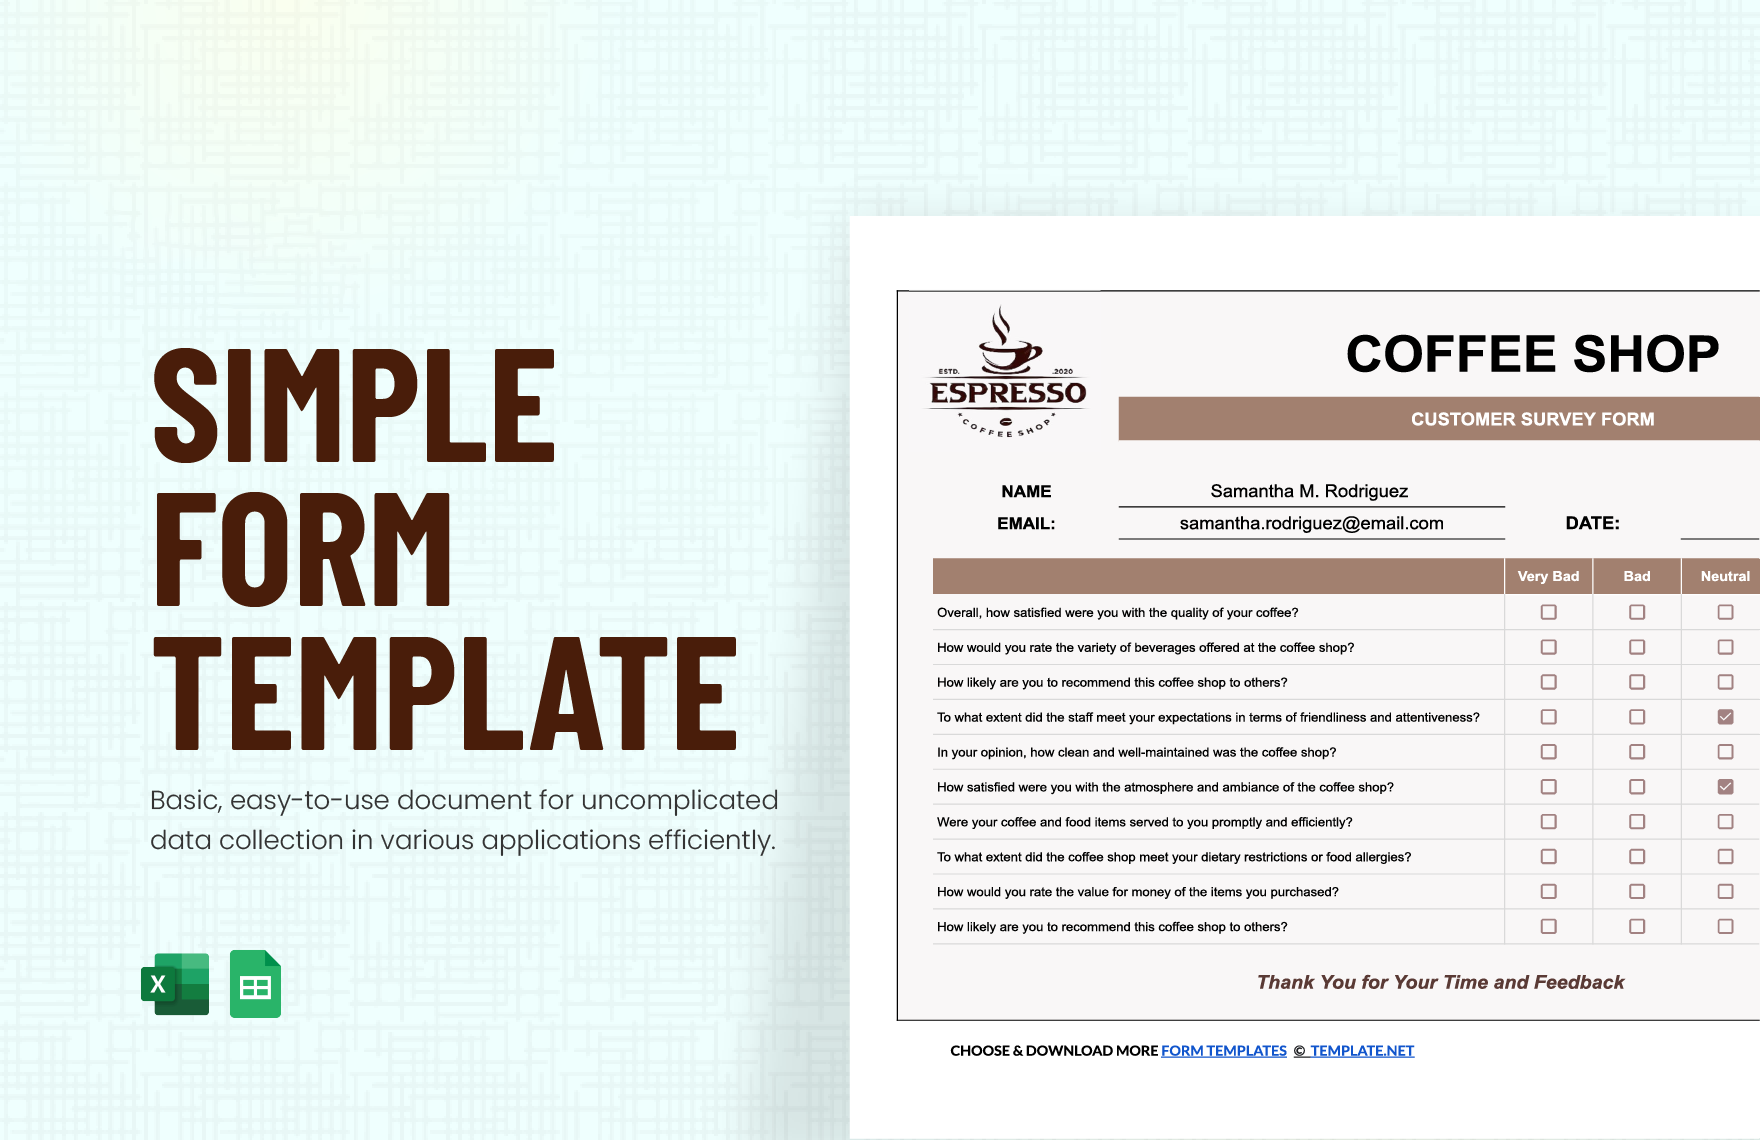
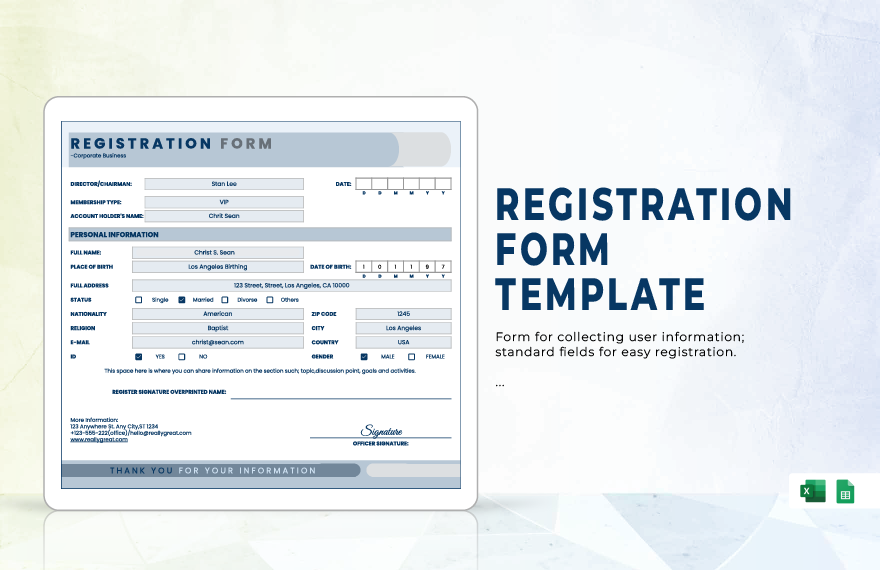
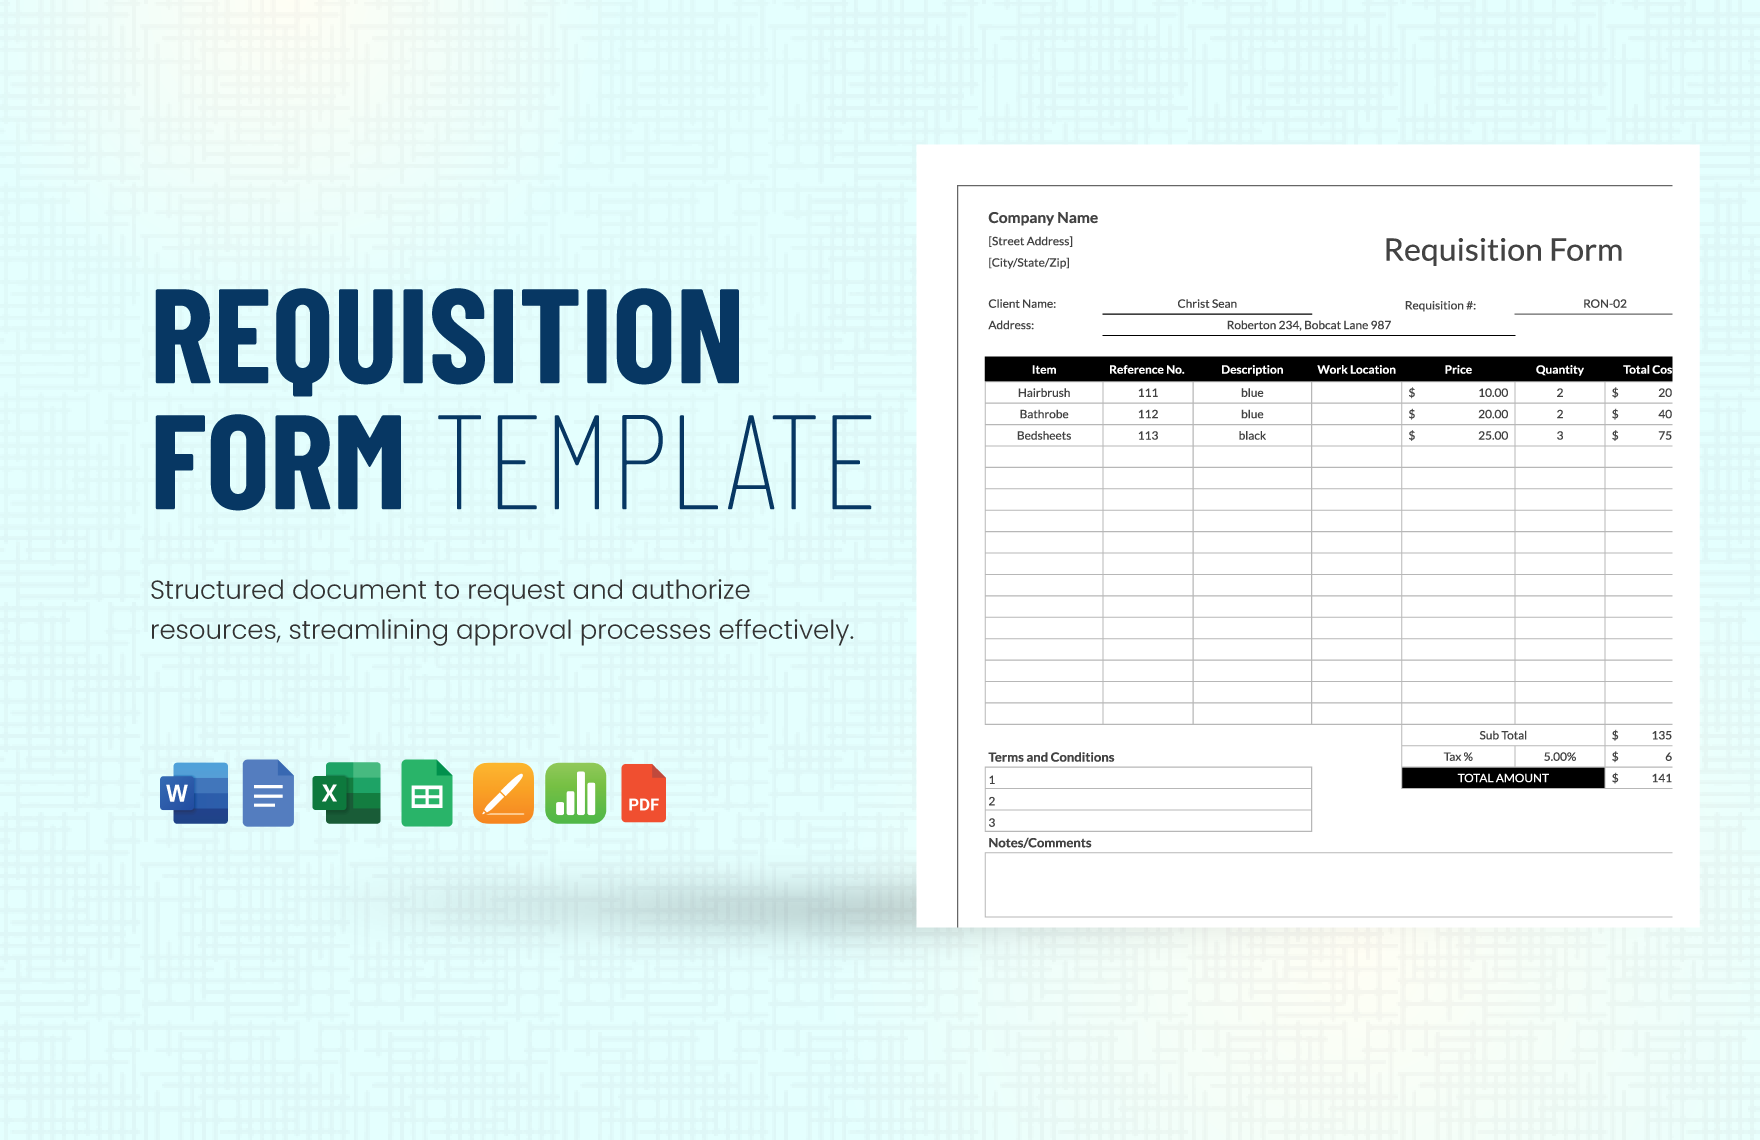
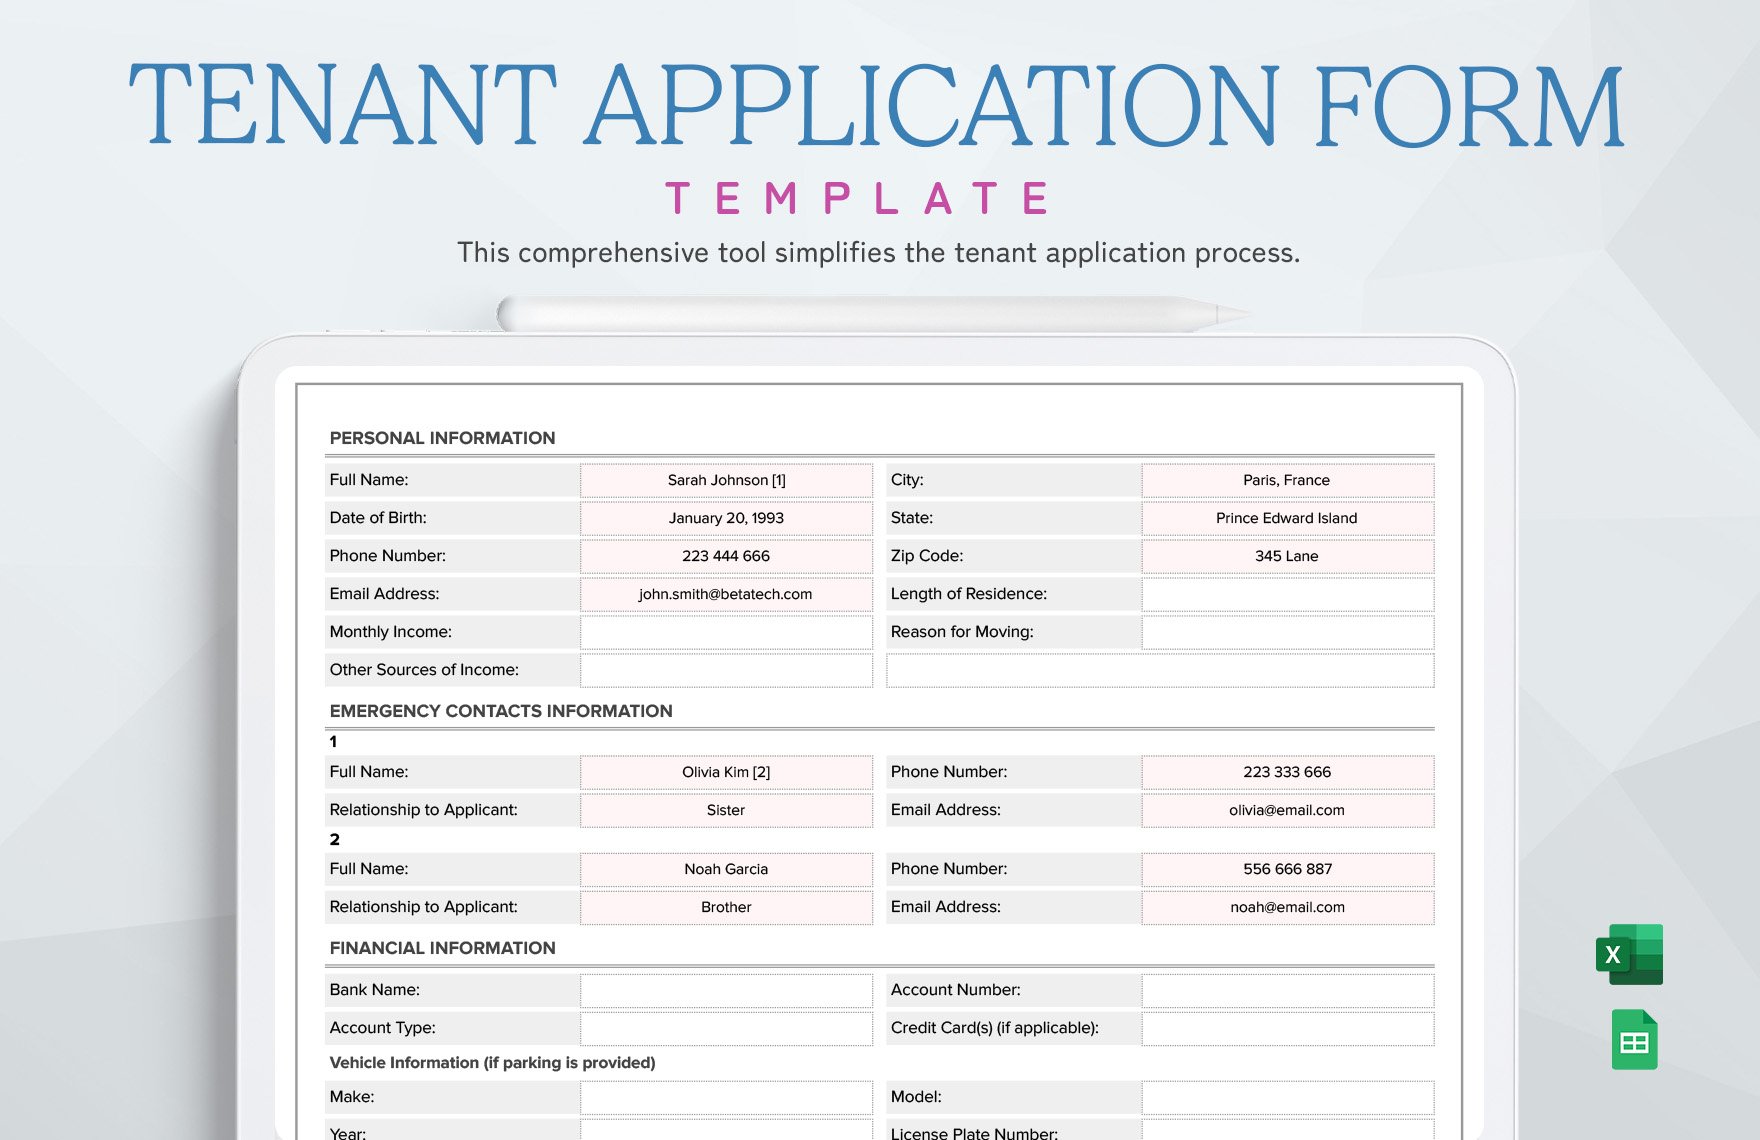
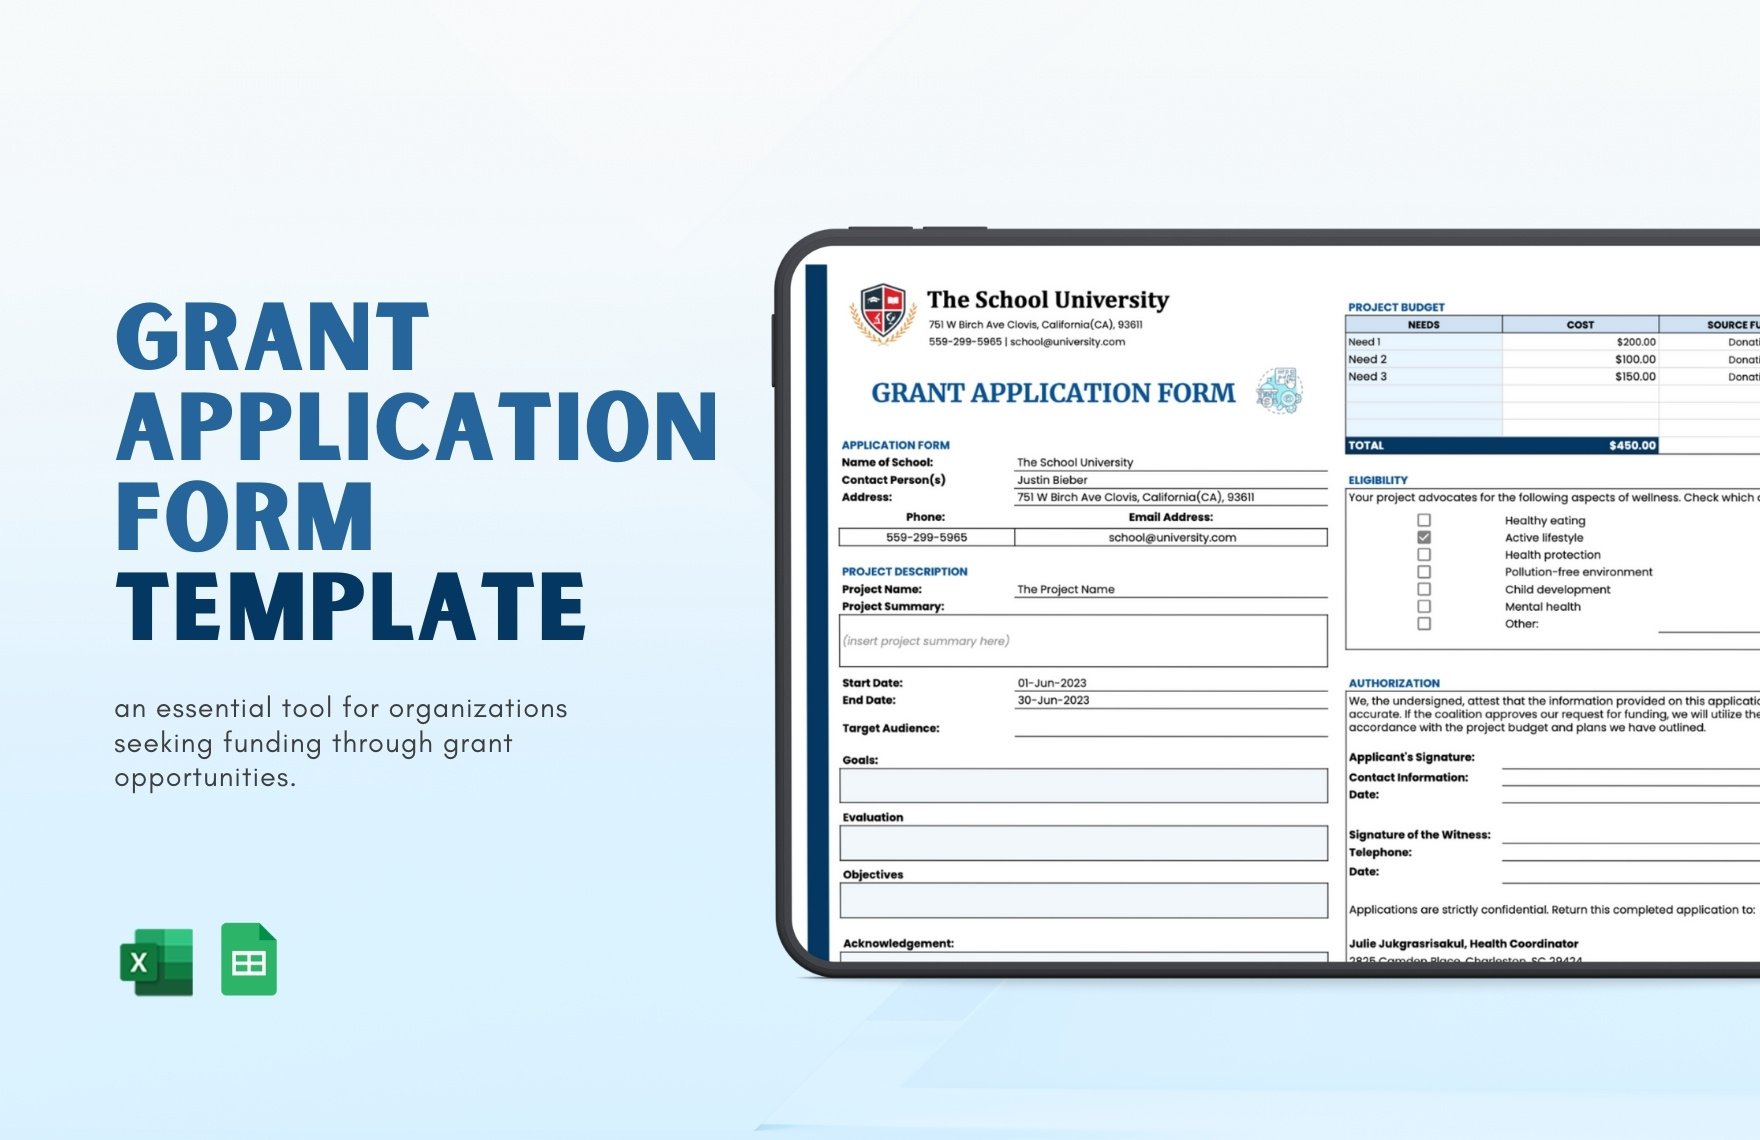
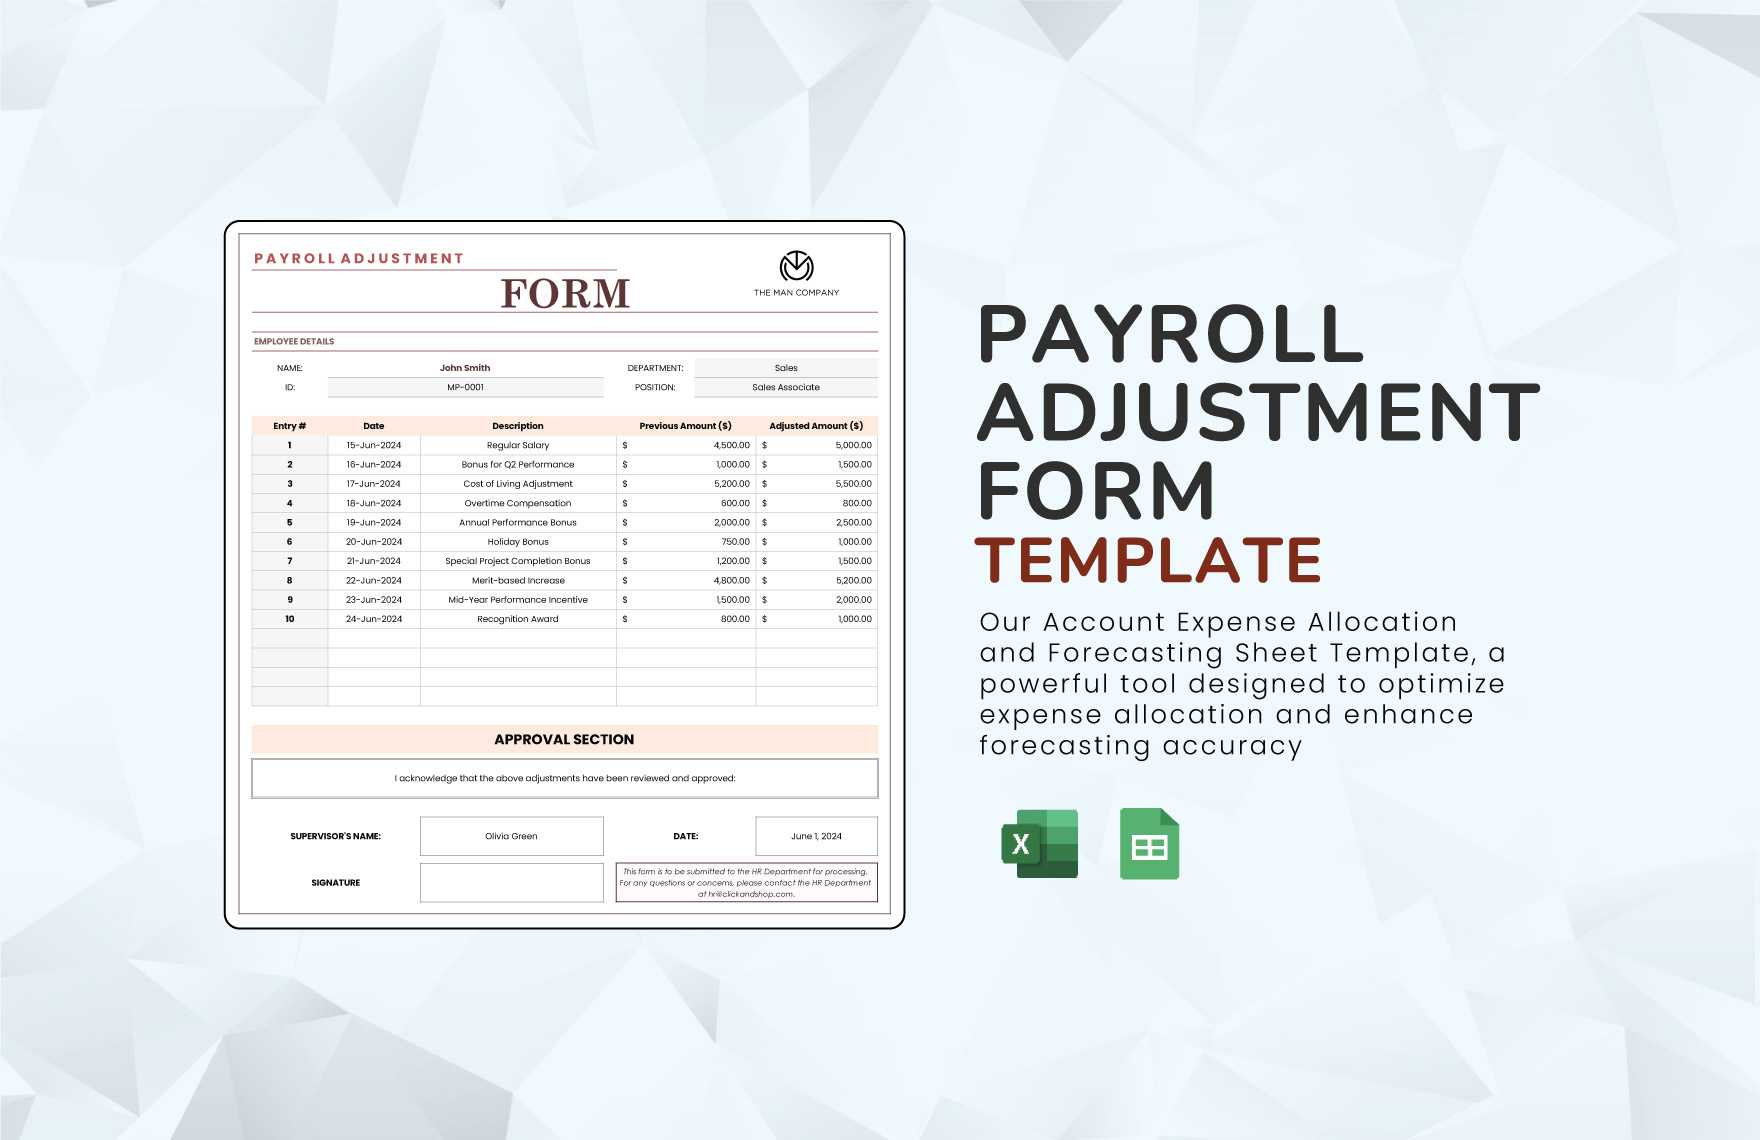
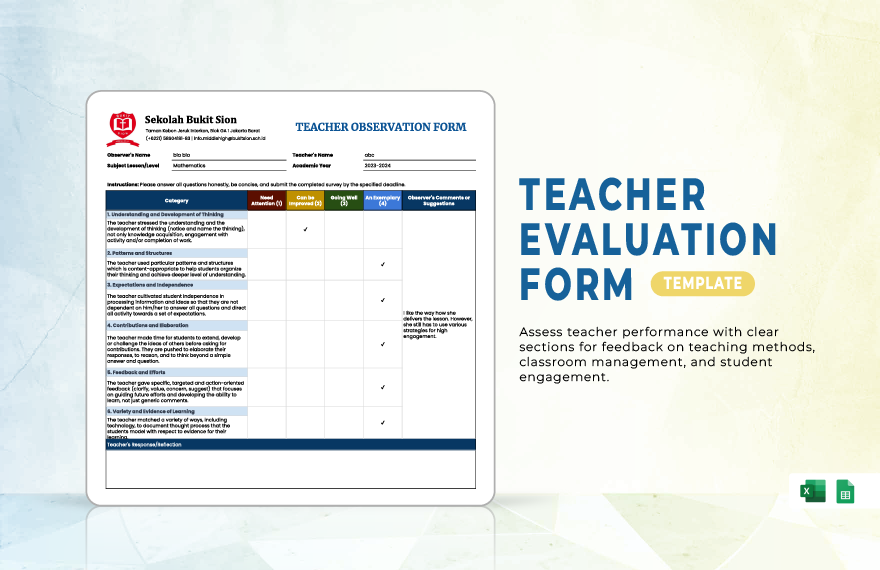
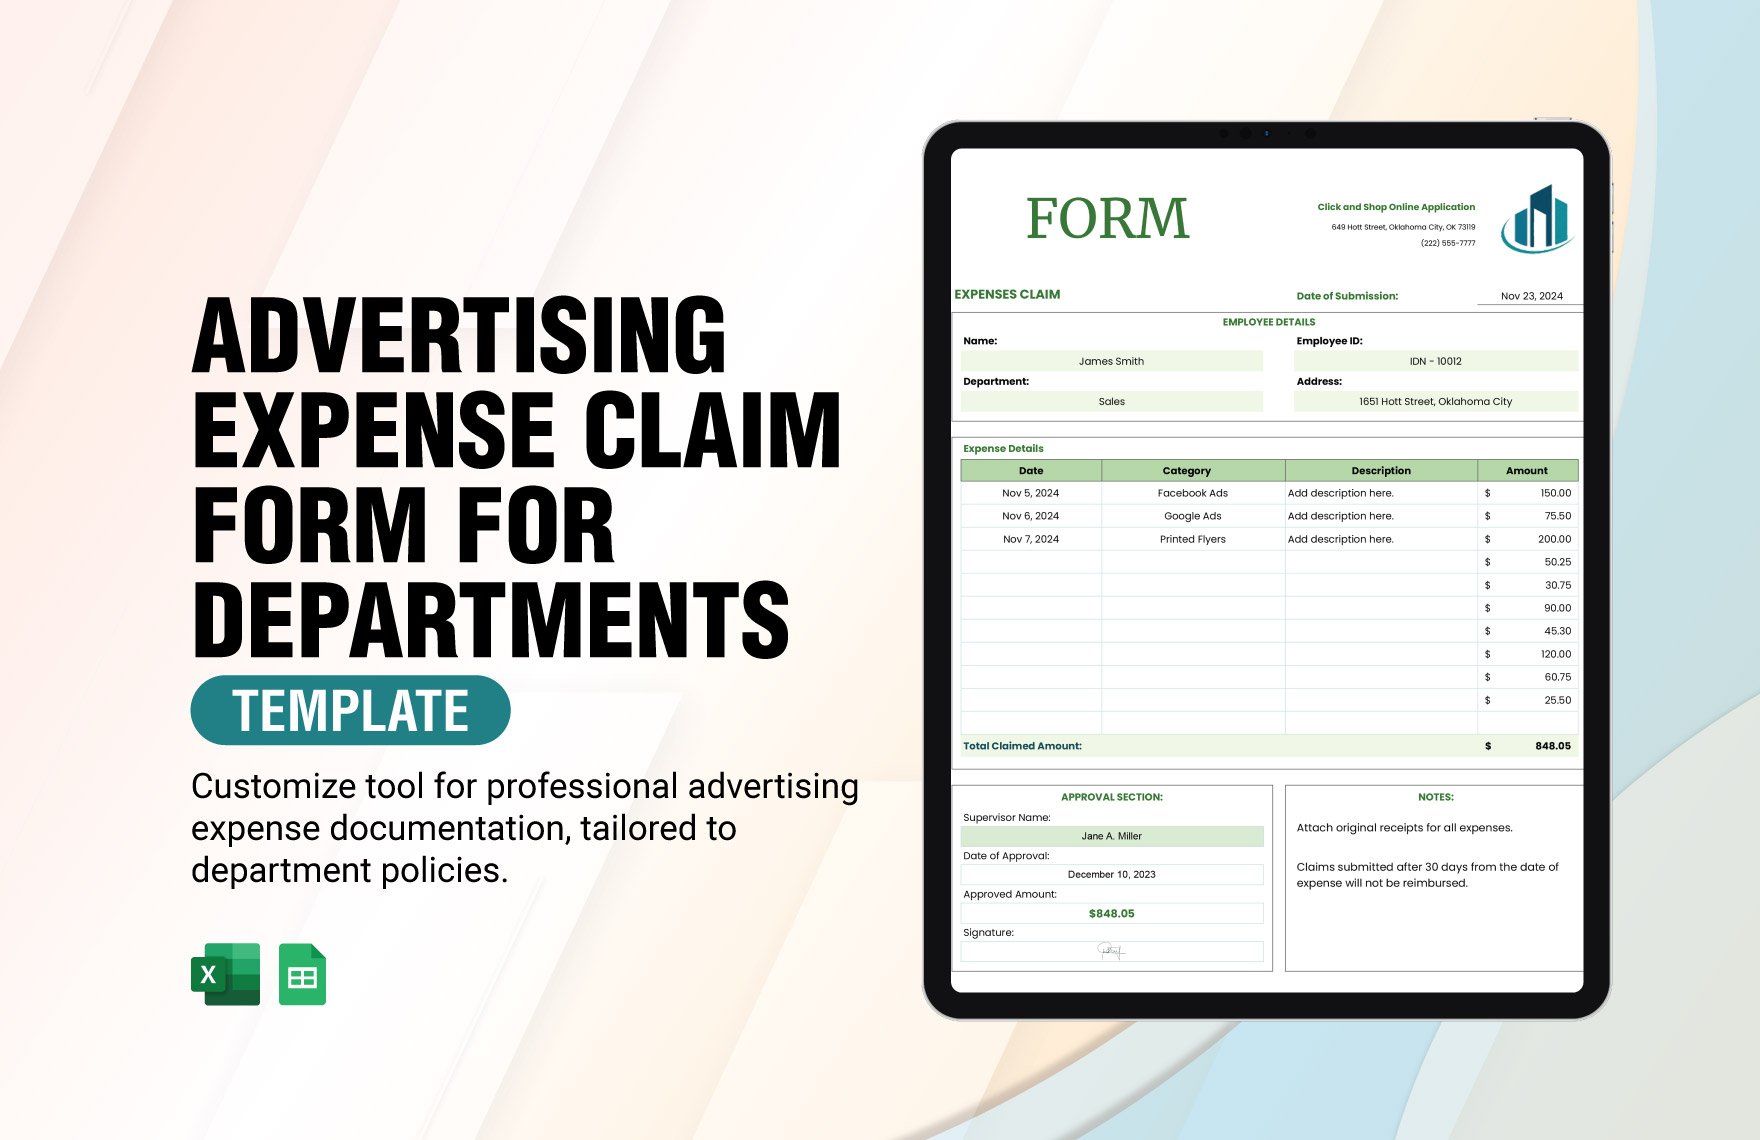
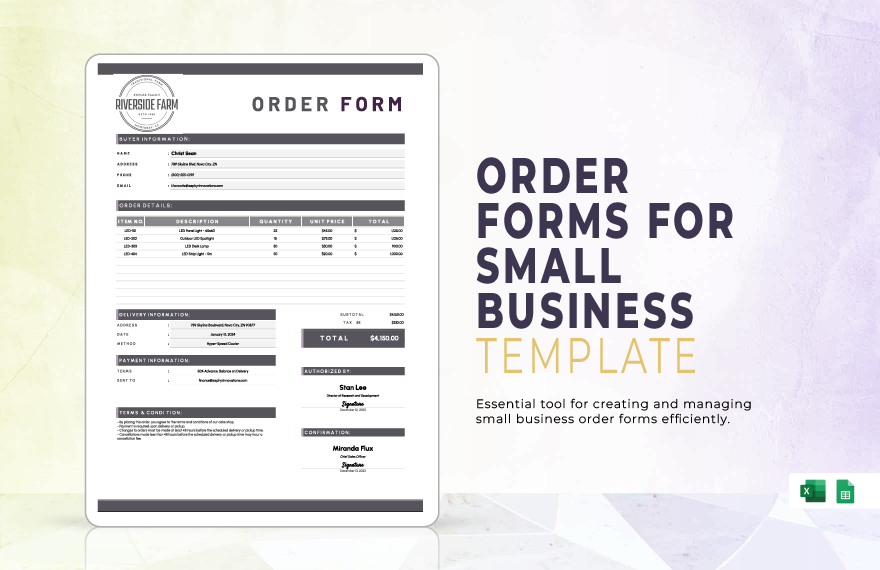
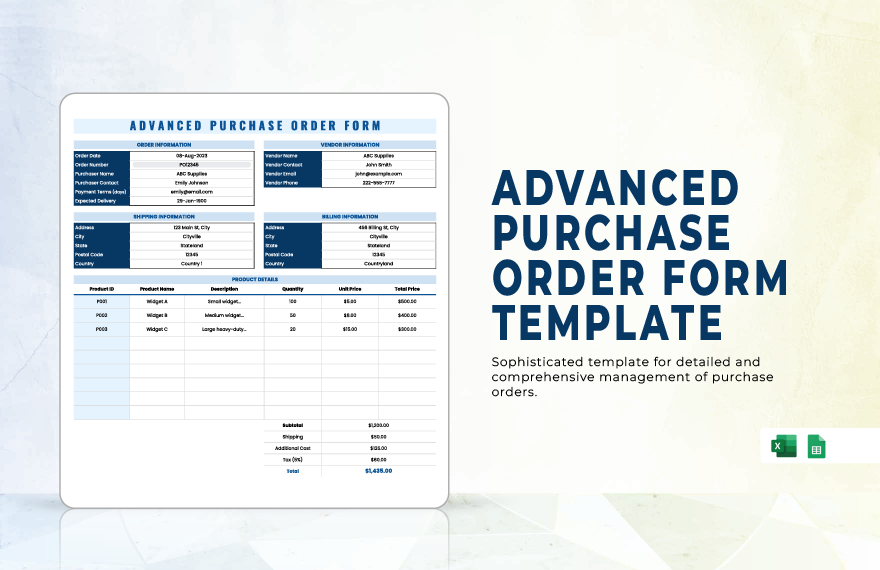
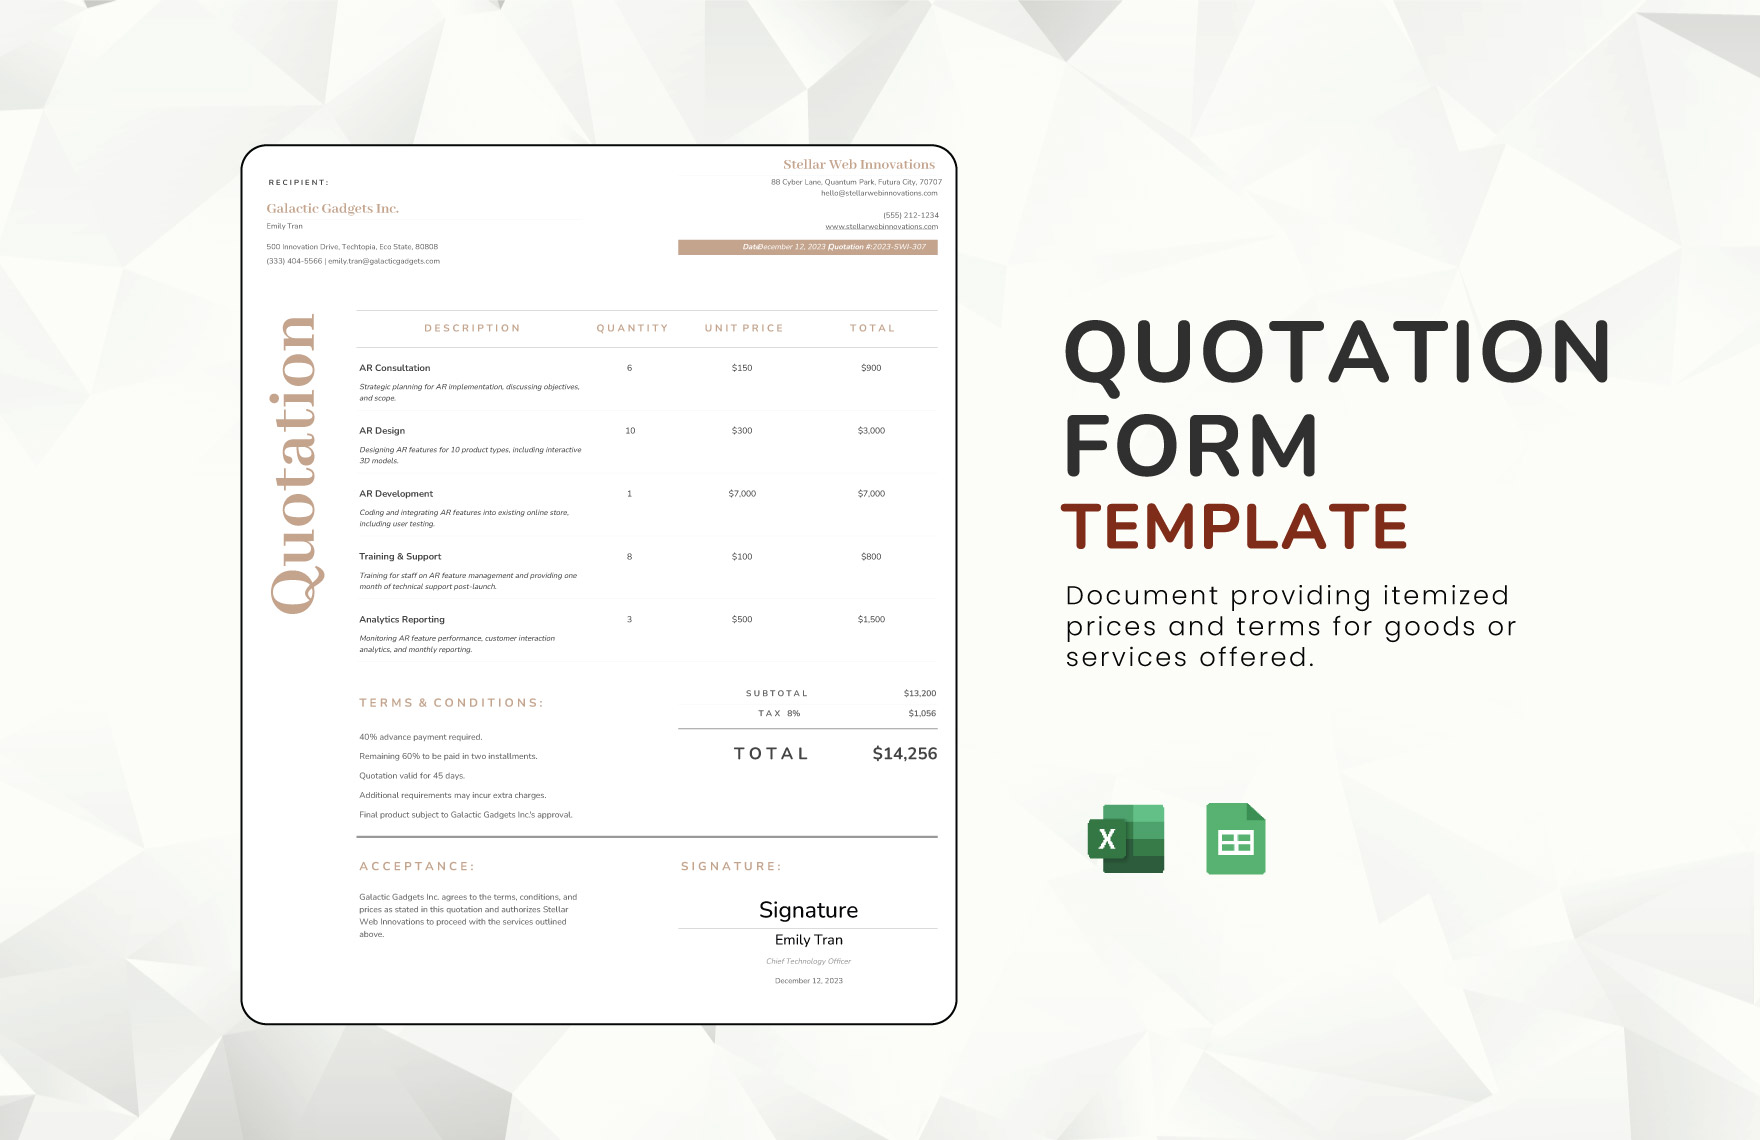
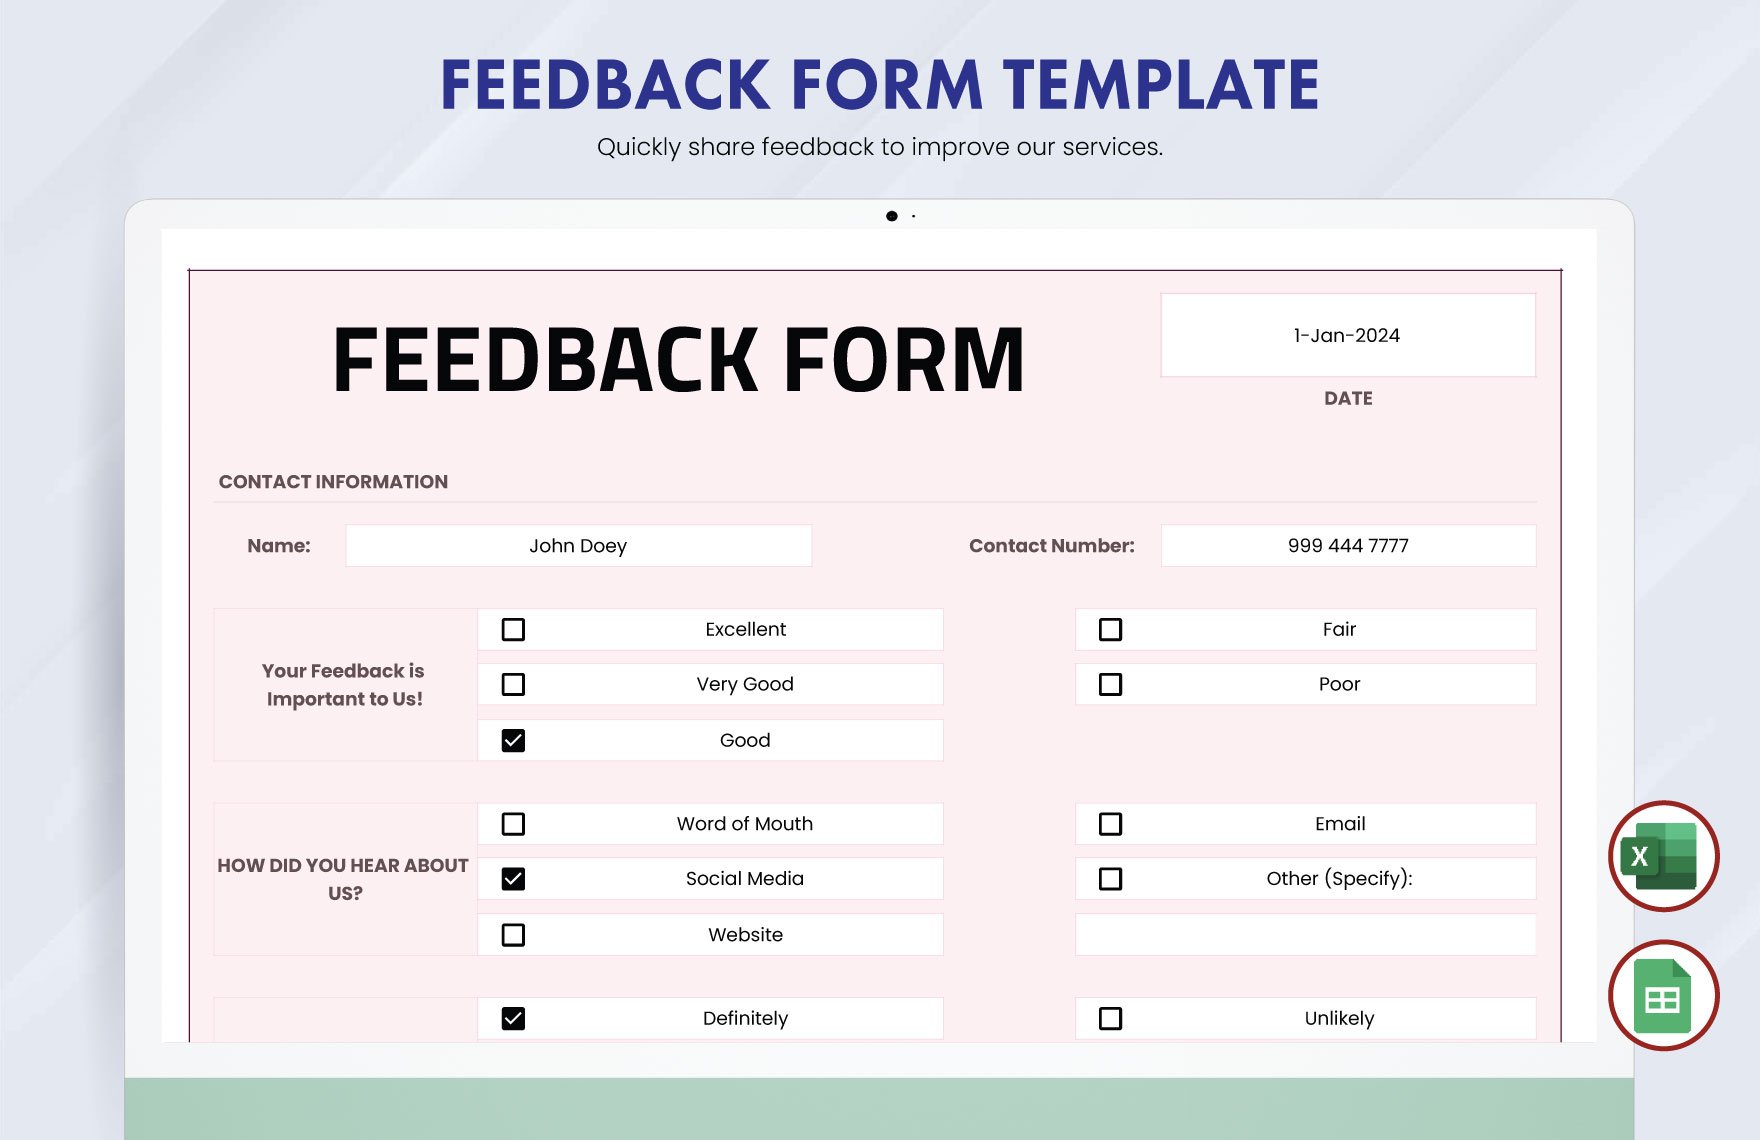
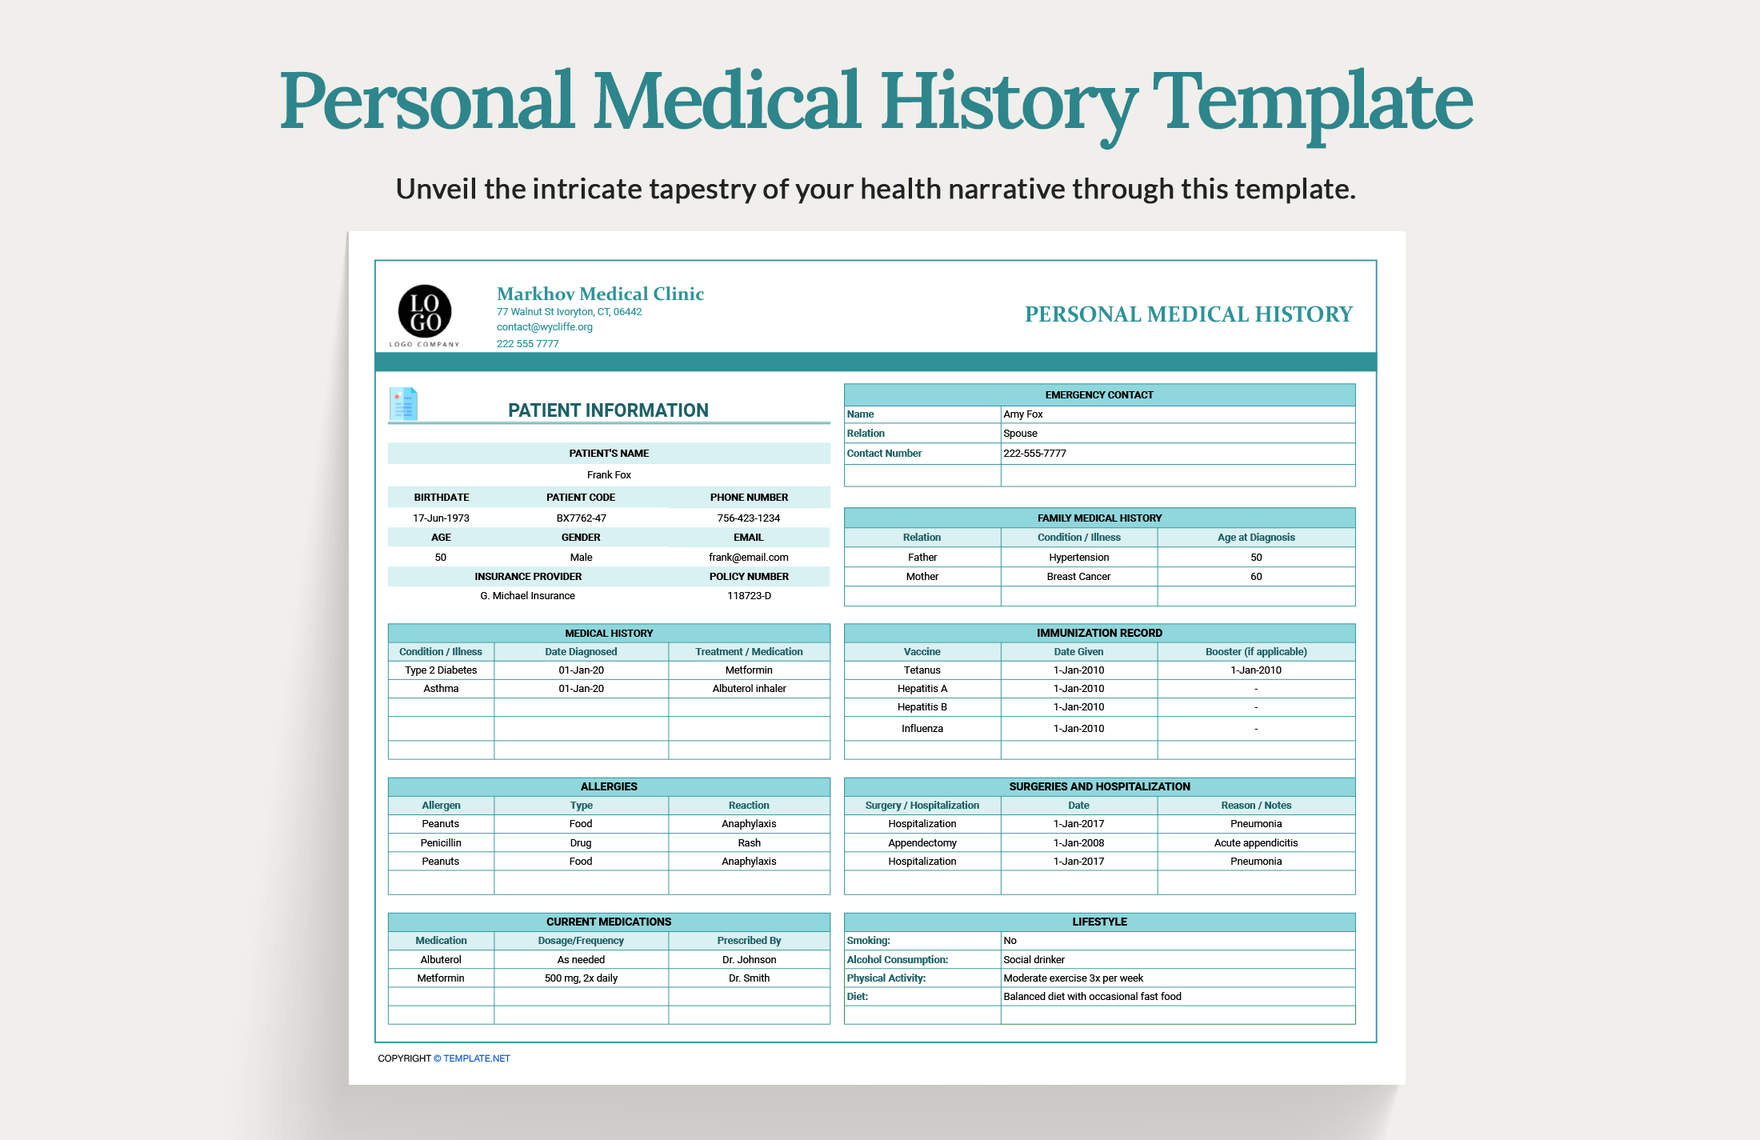
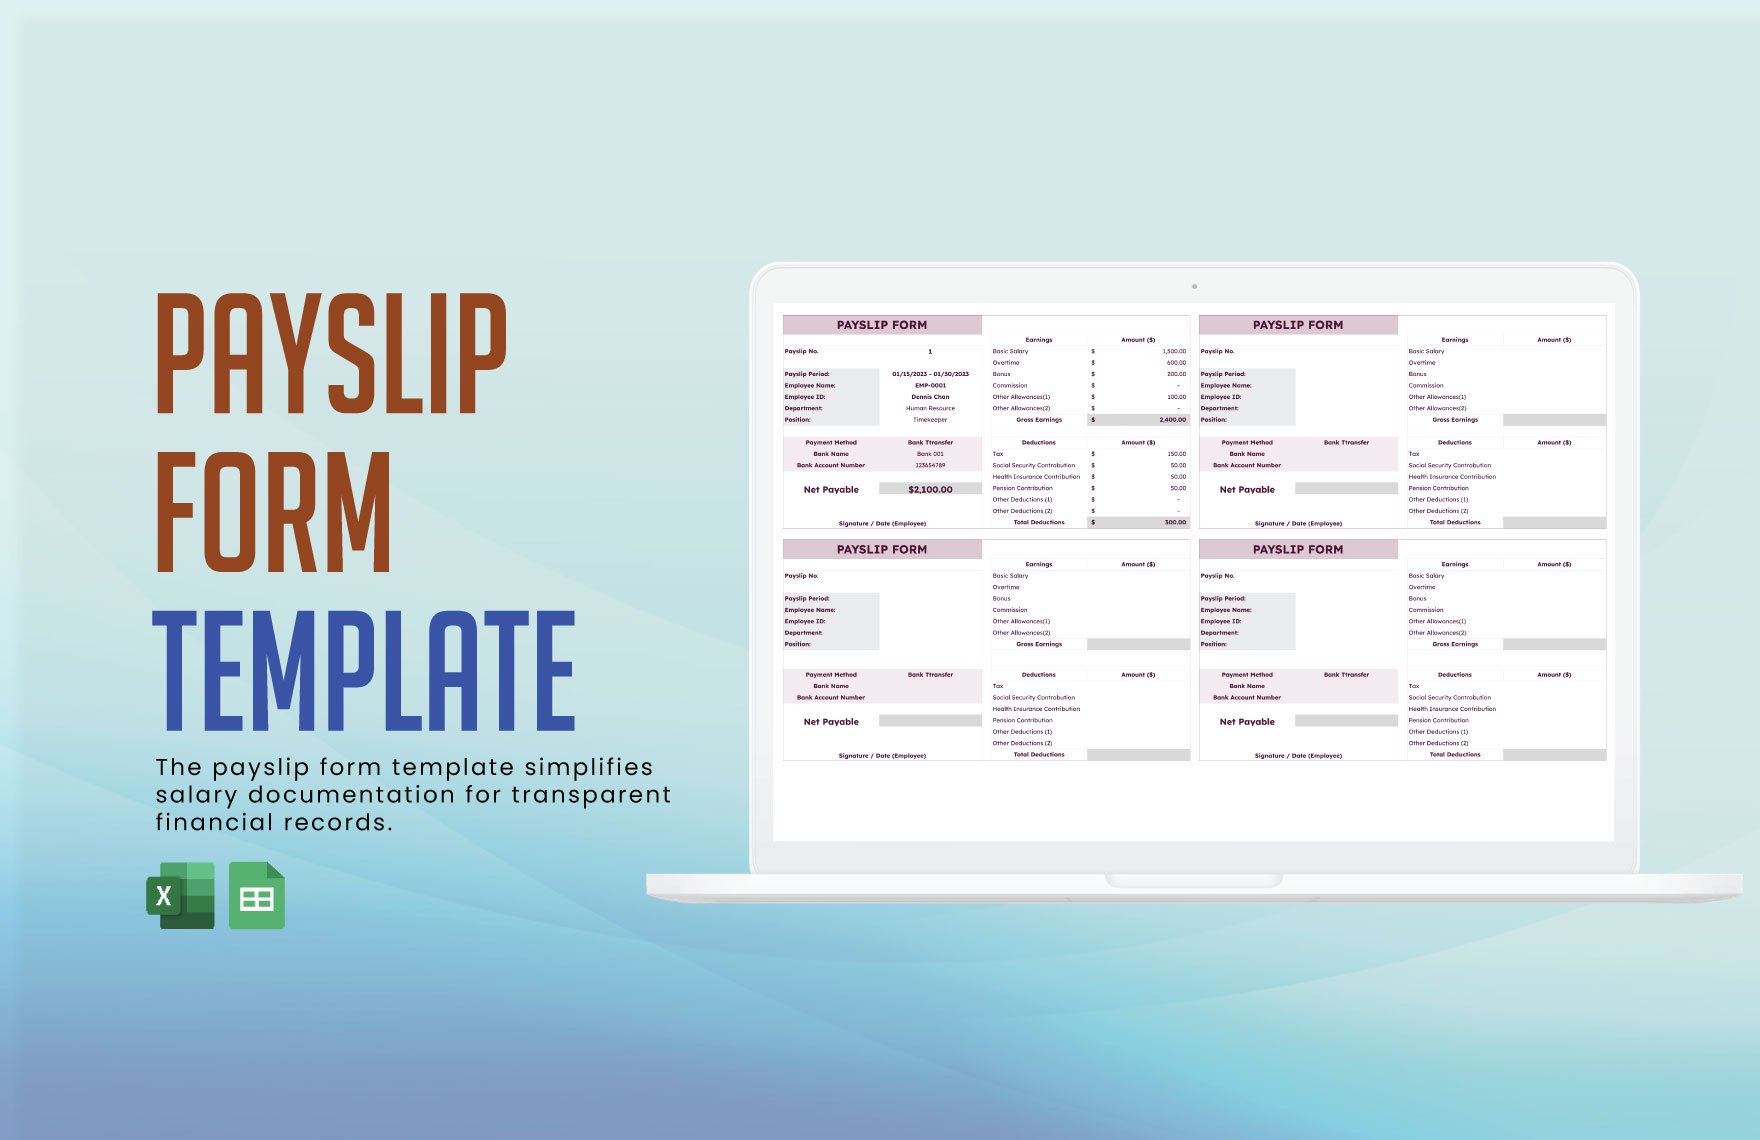
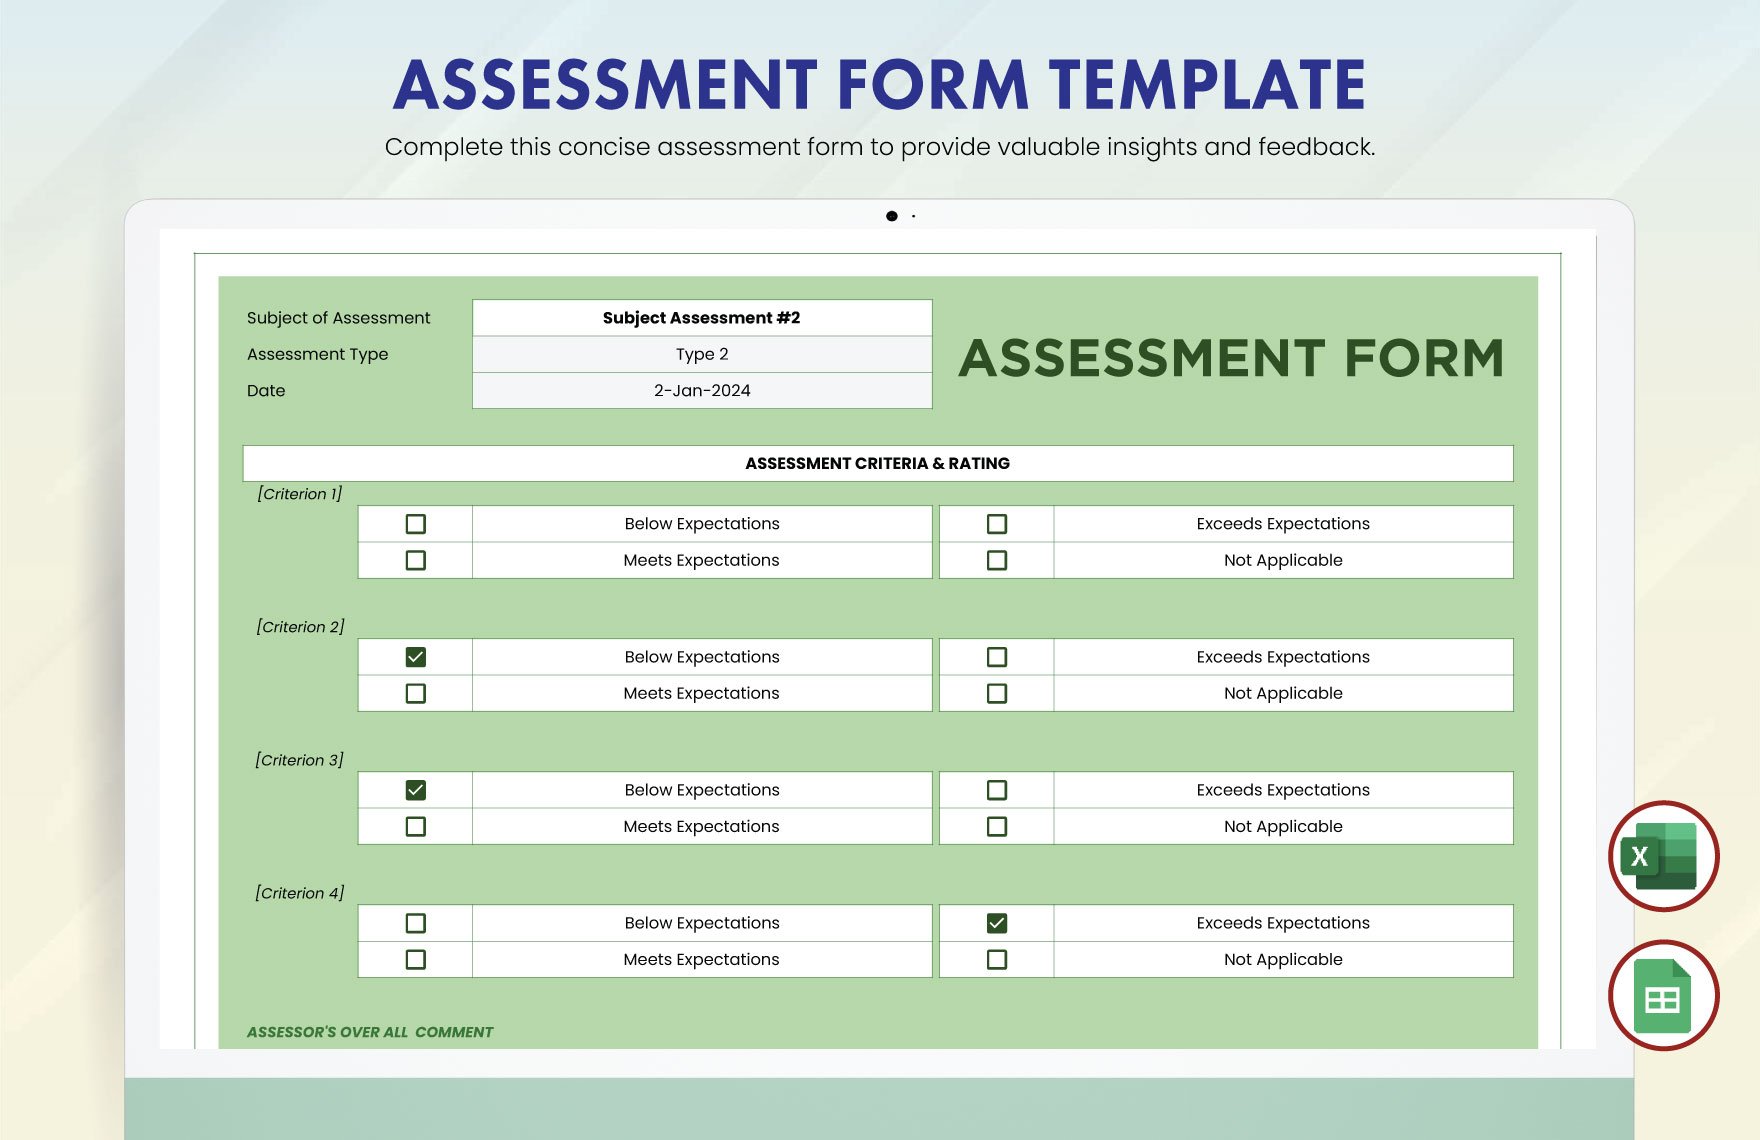
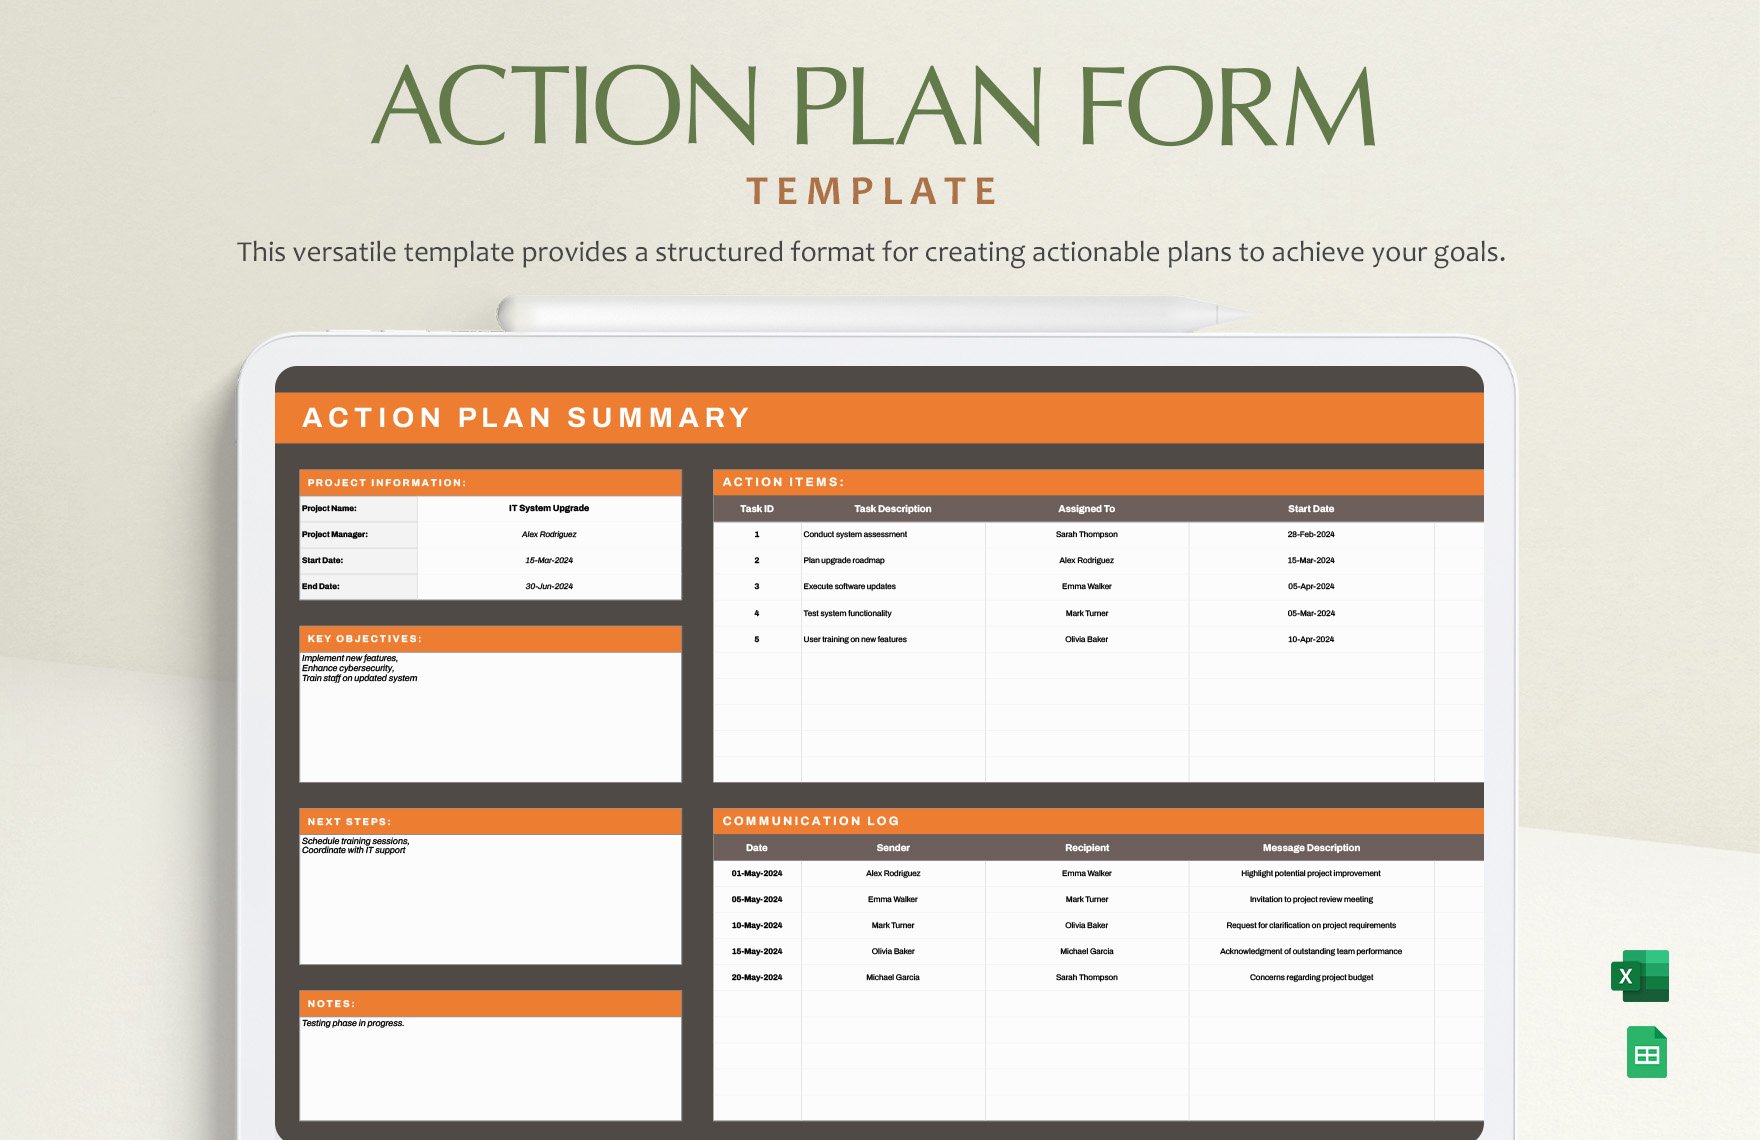
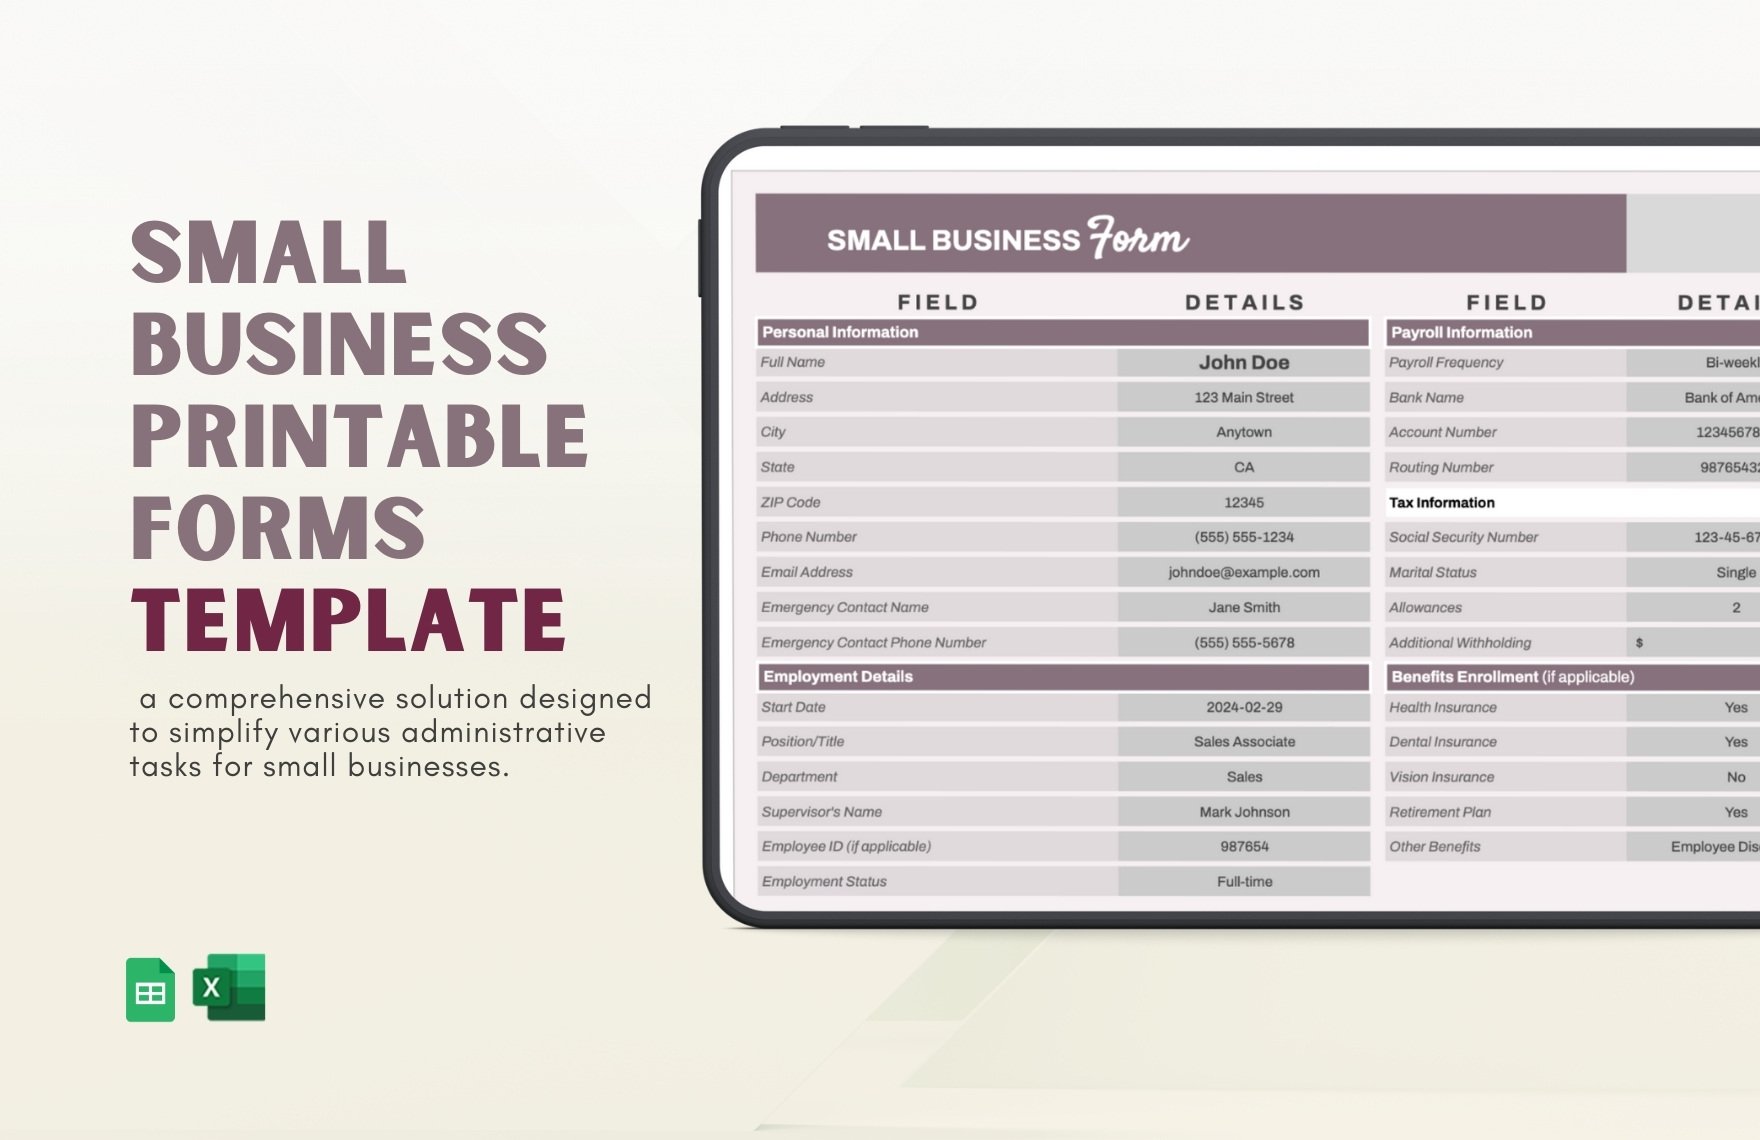
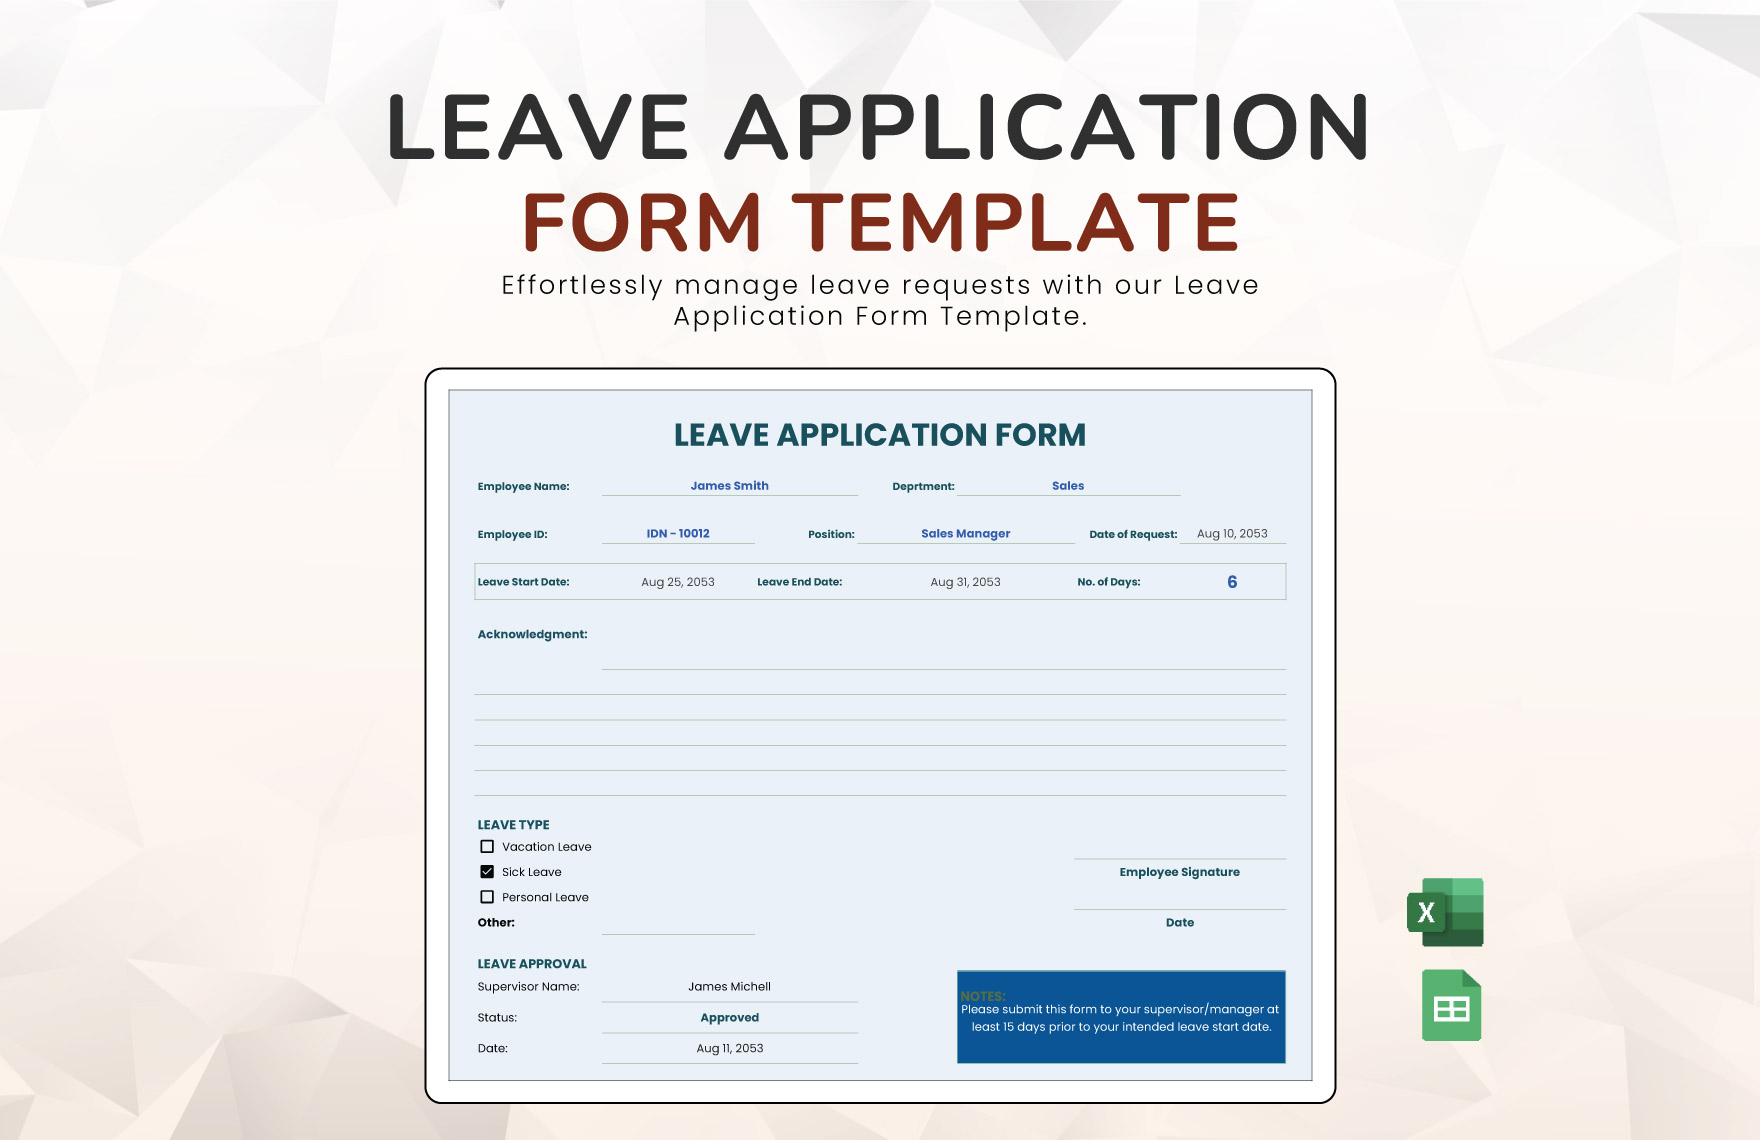
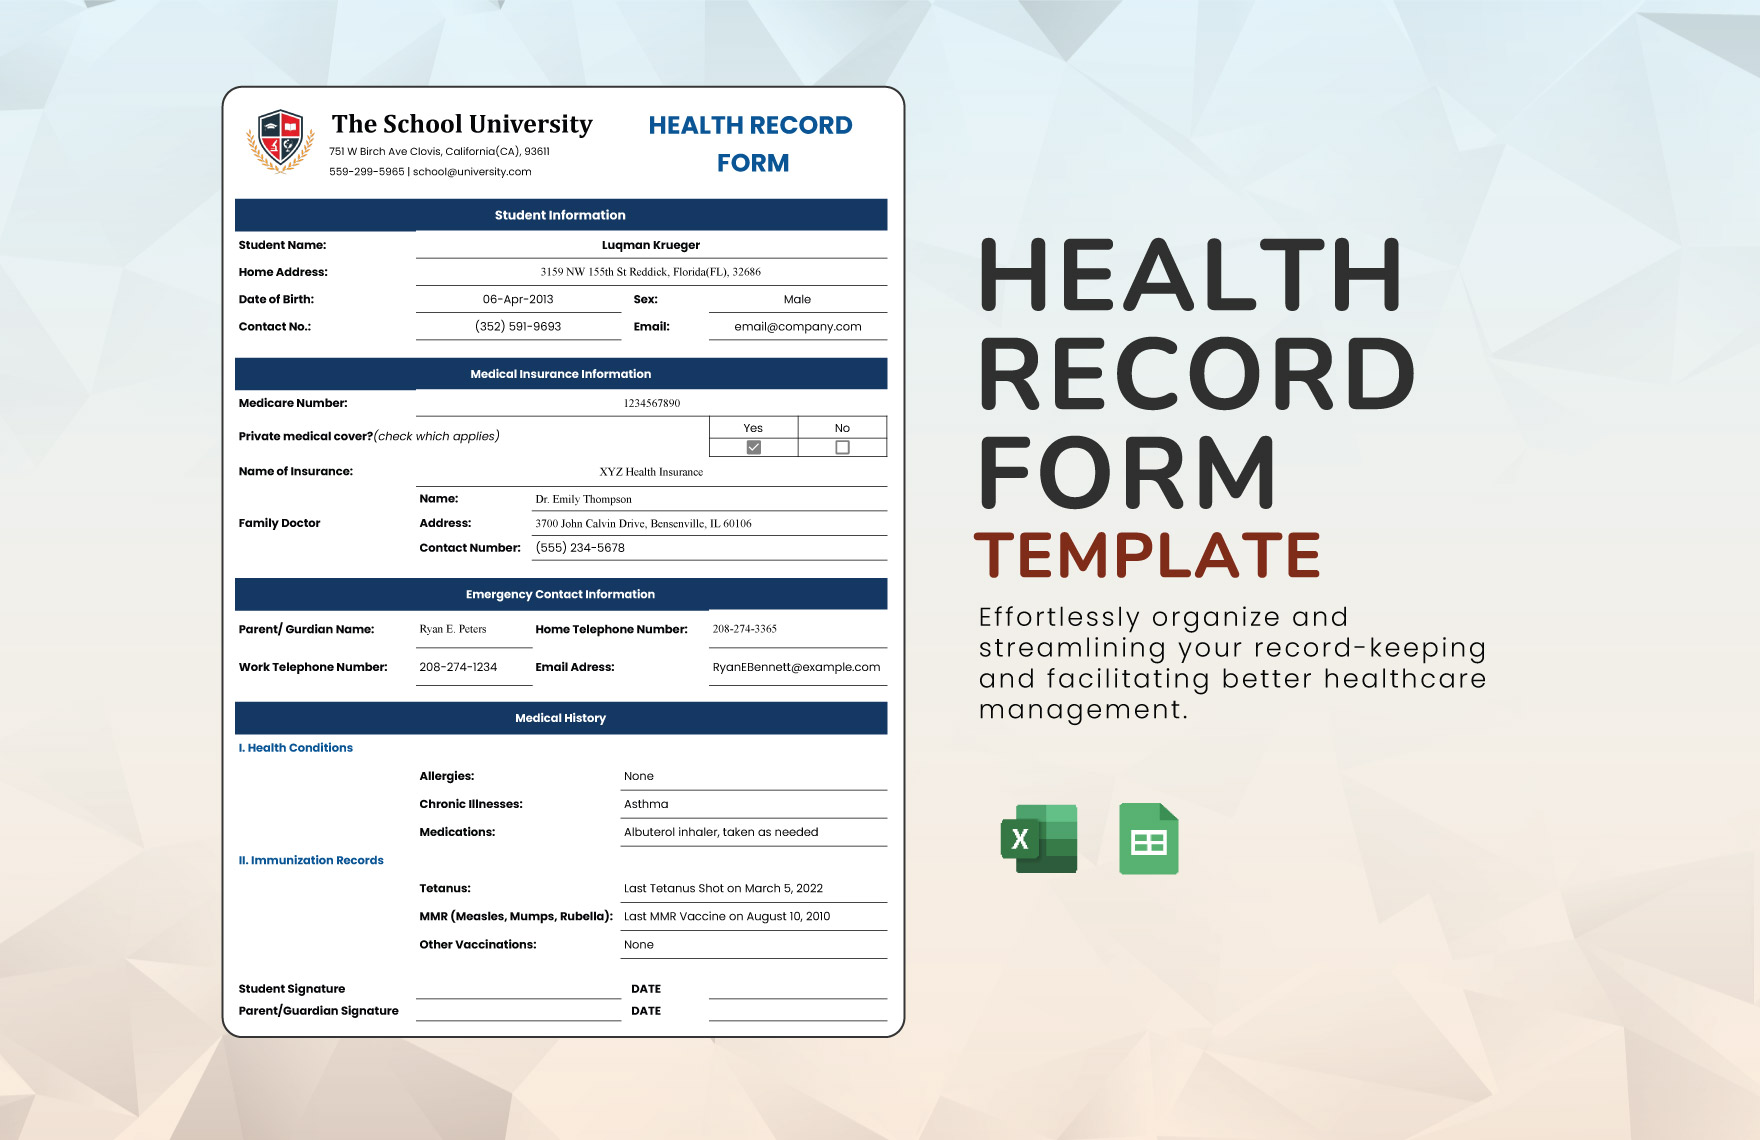
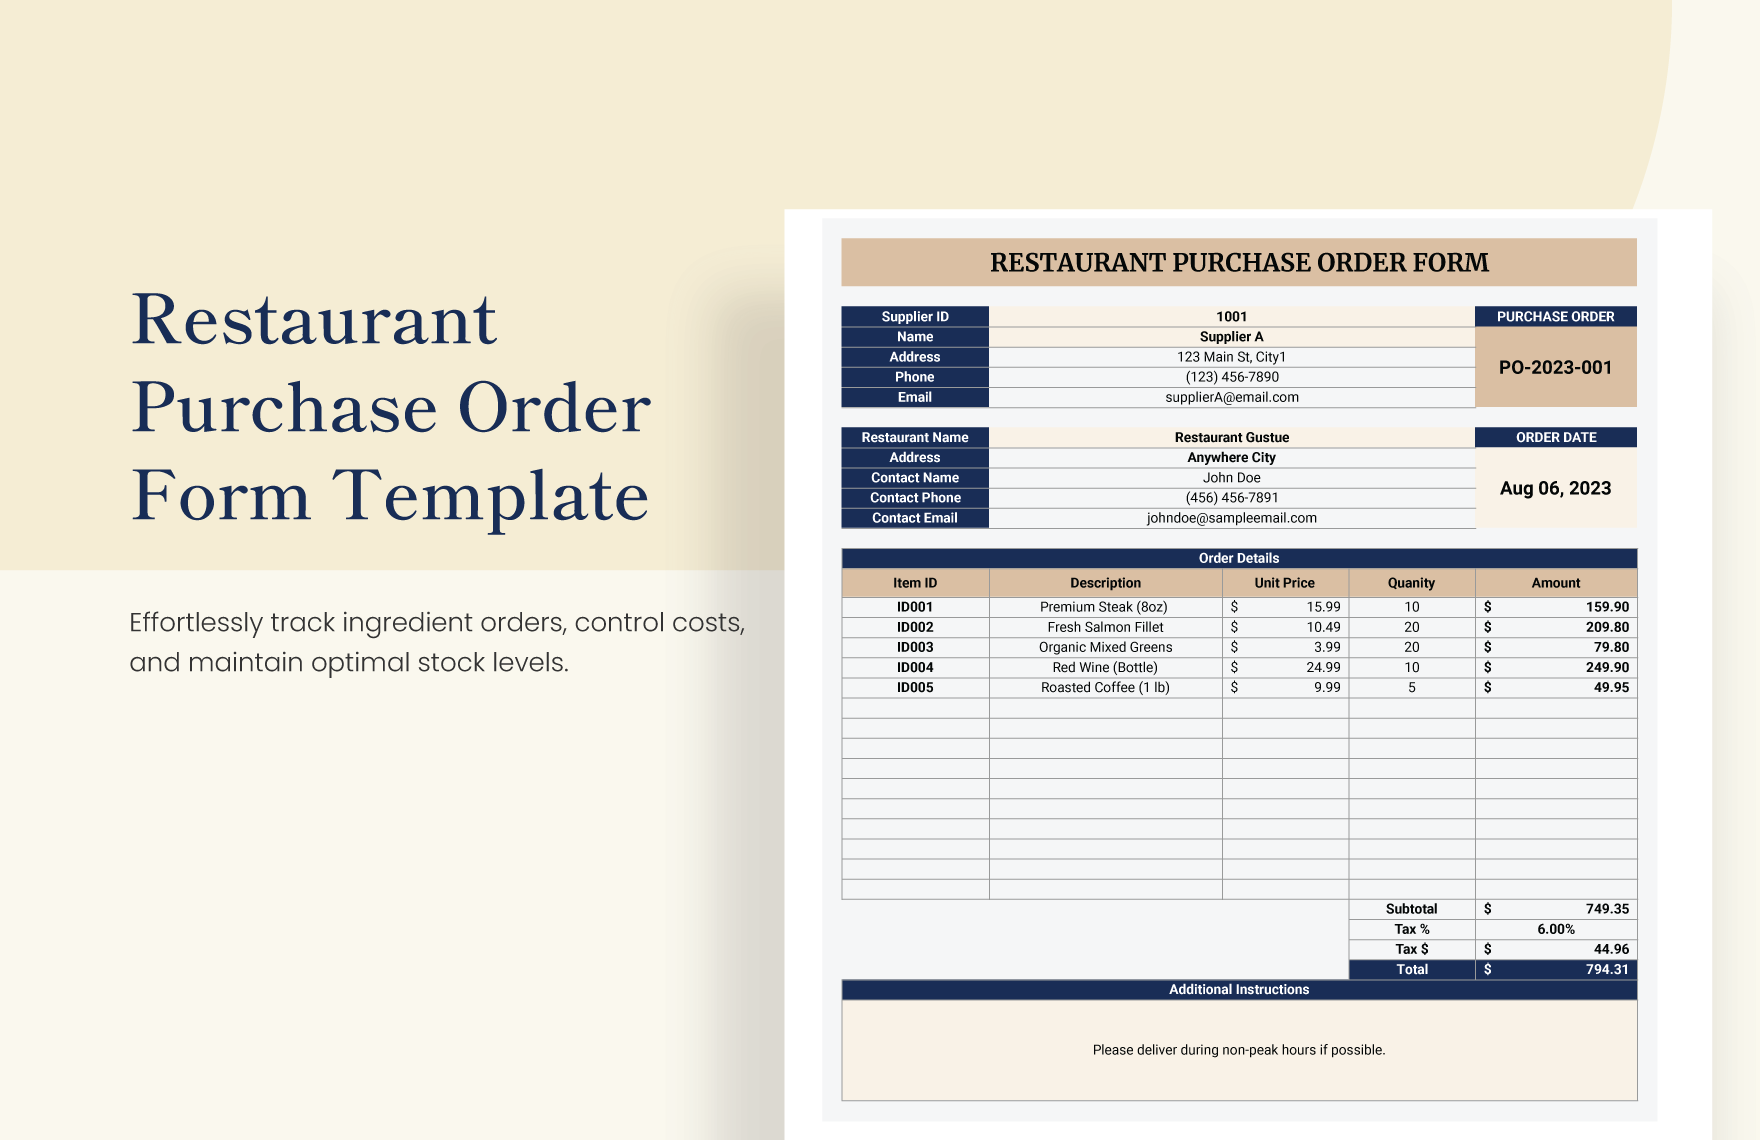
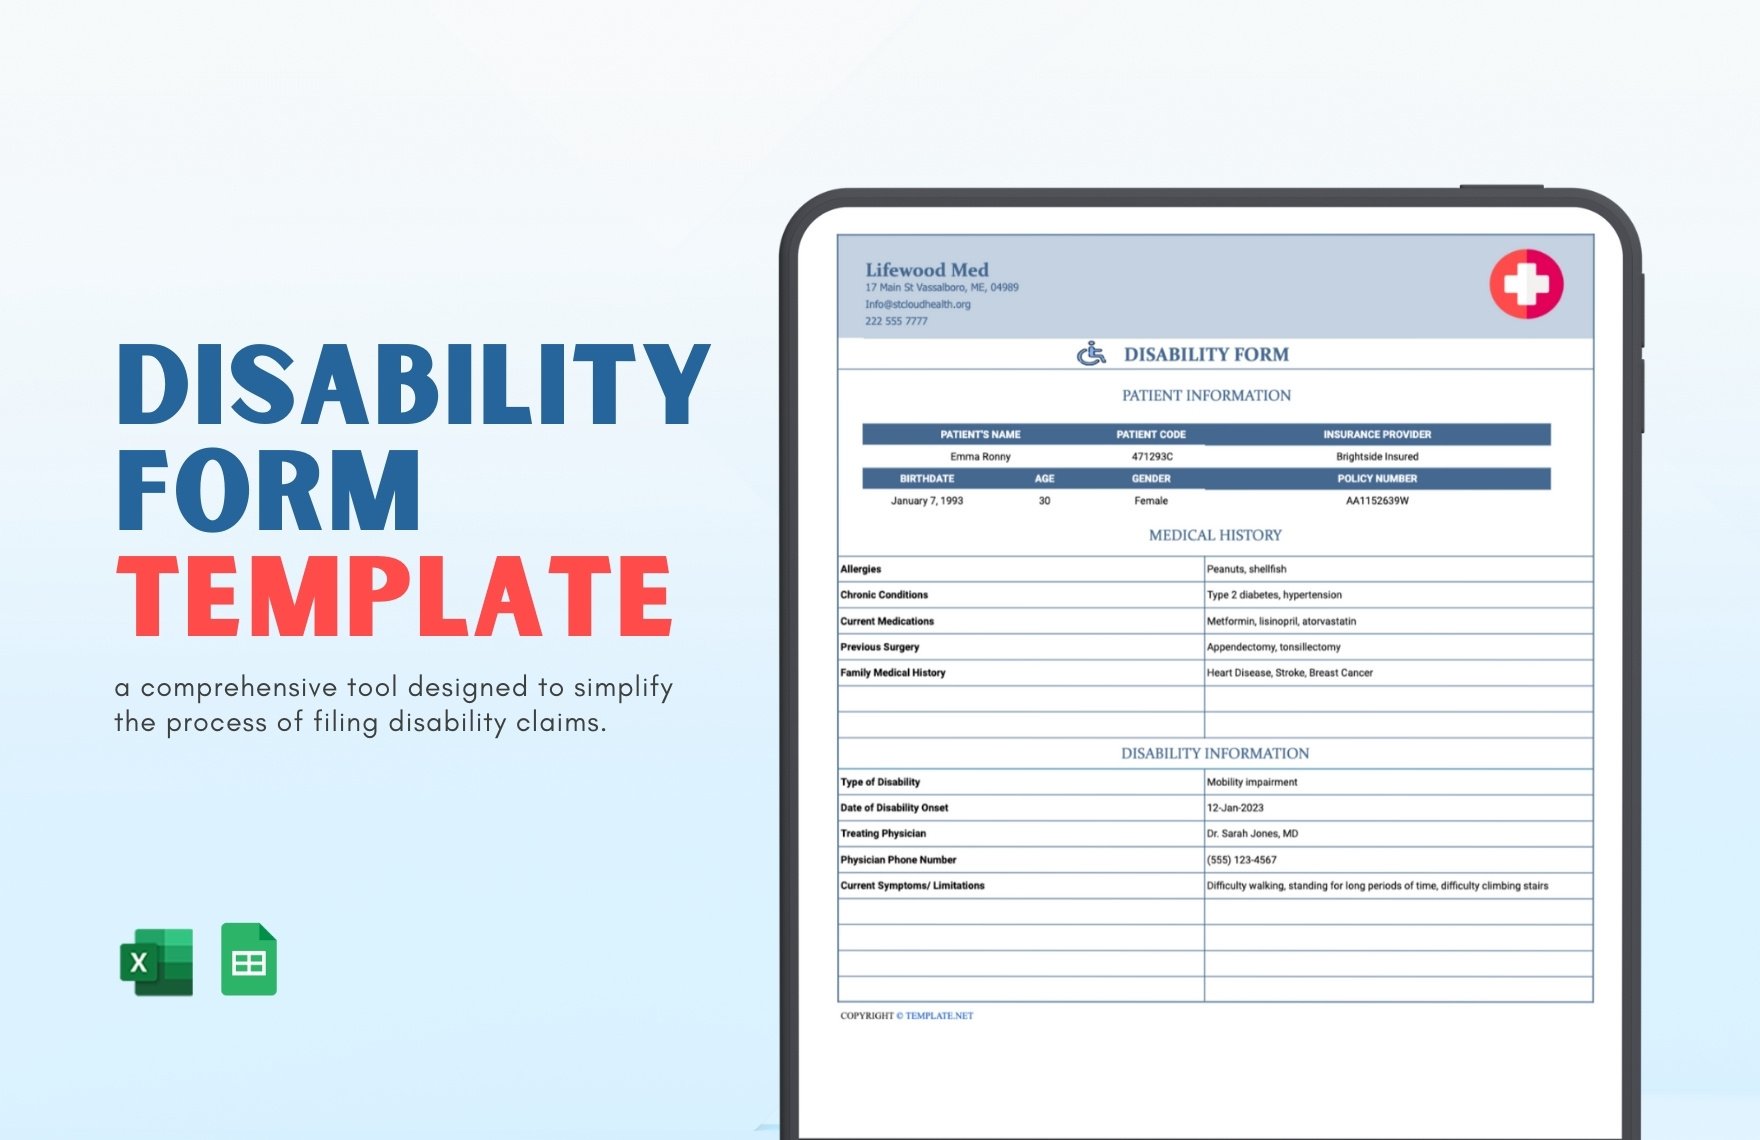
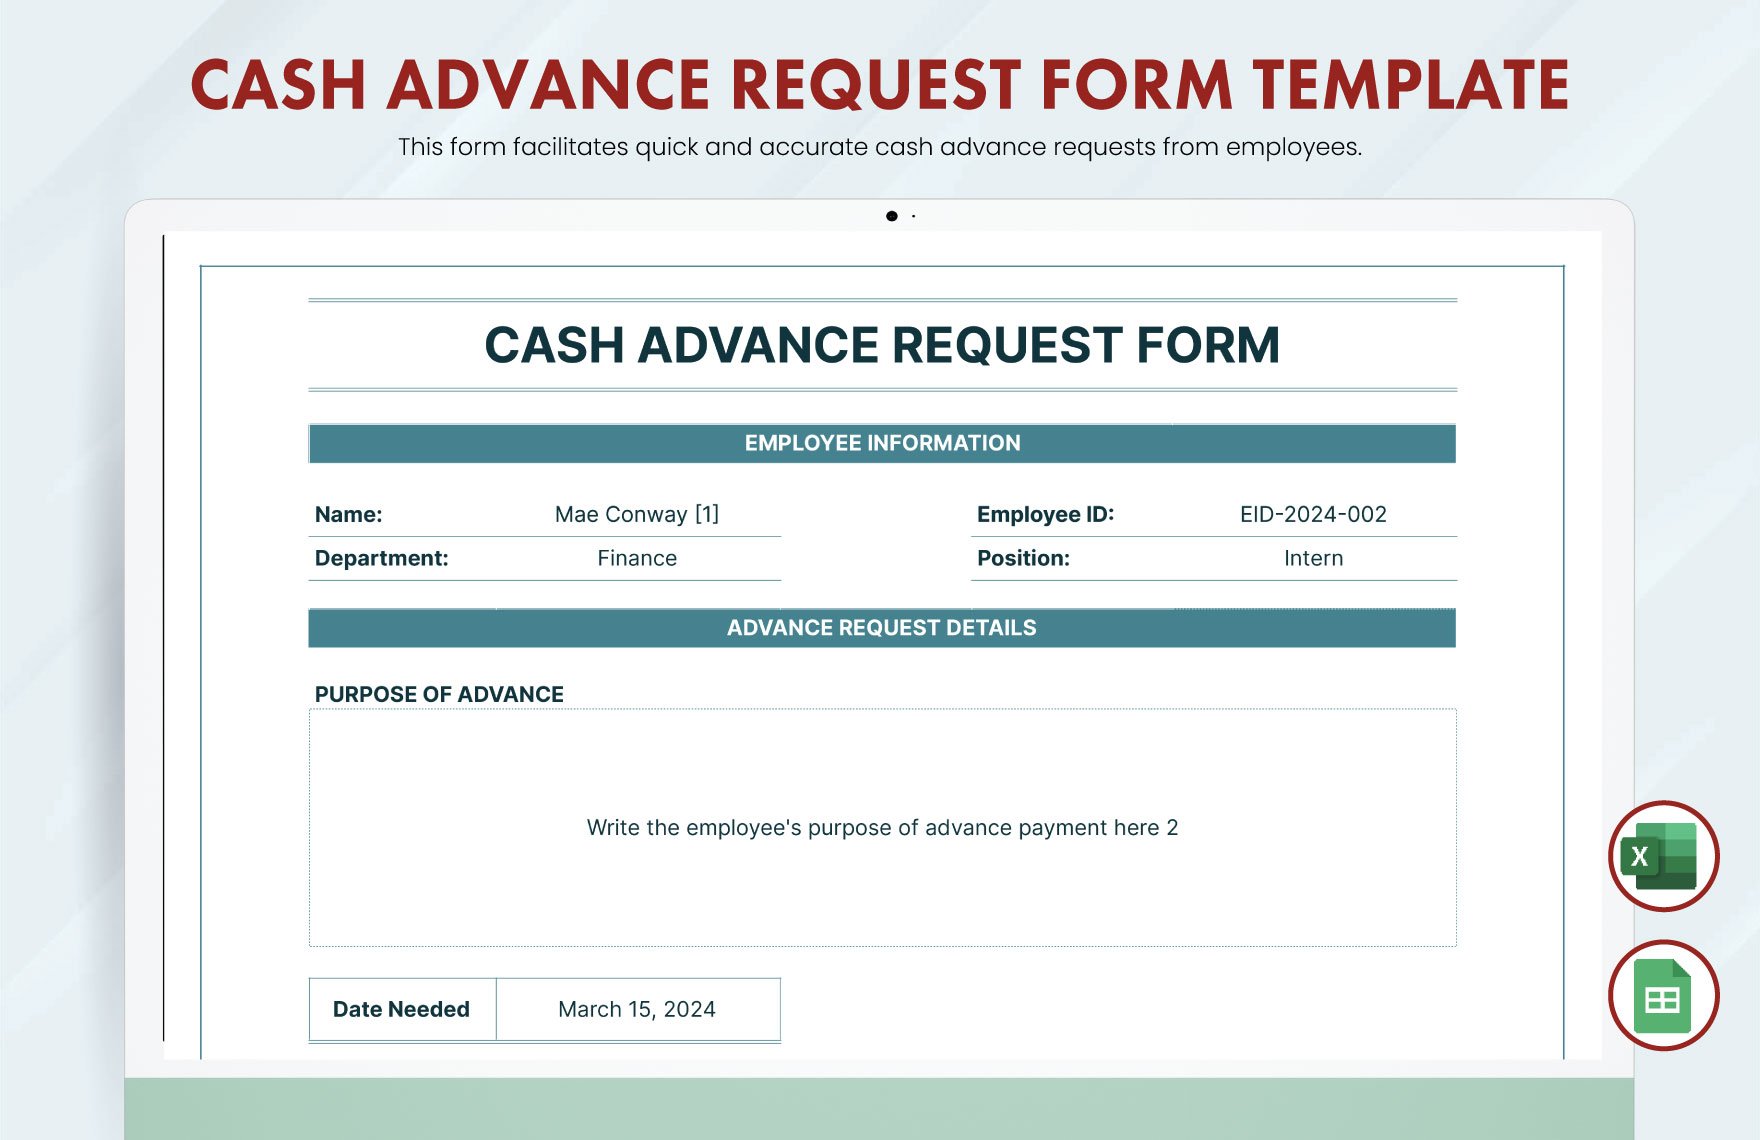
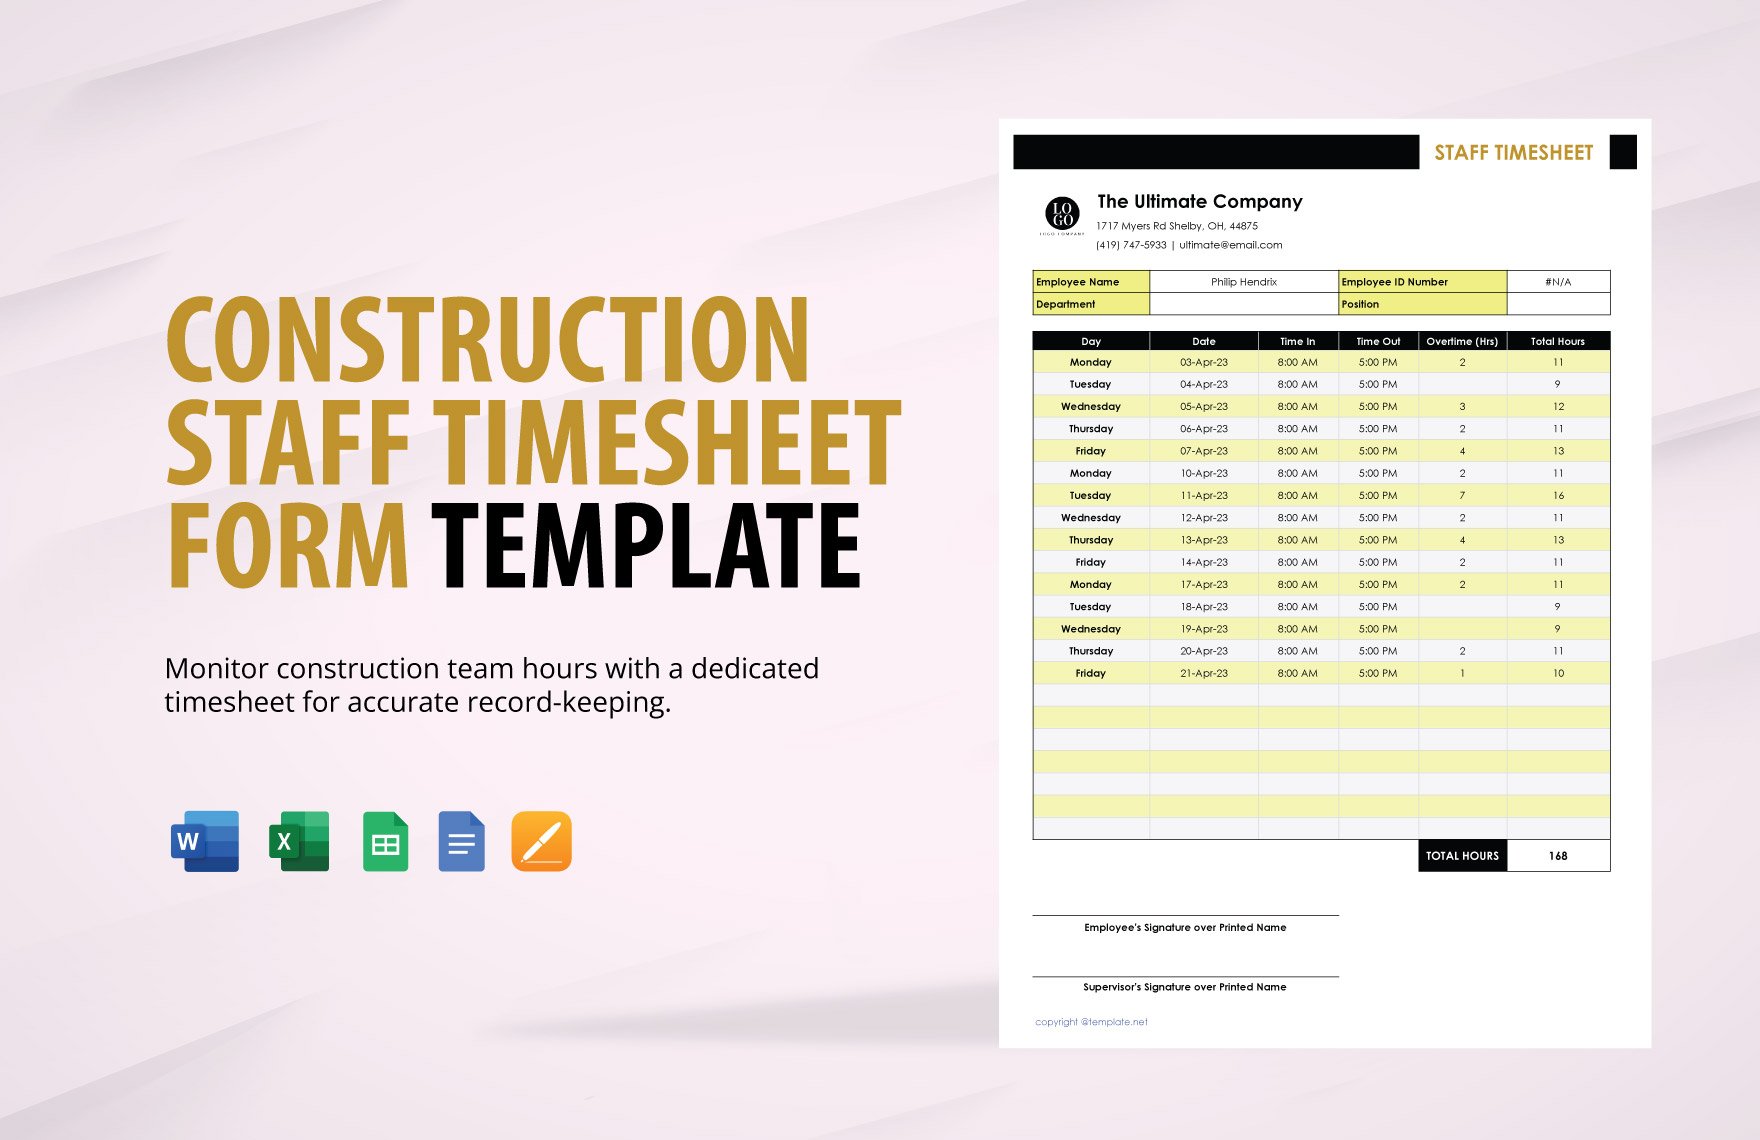
Organize the data in your forms and make sure that you're strictly following a professional format by downloading any of our ready-made Excel templates. Here at Template.net, we've got a collection of 100% customizable templates that you can download anytime and anywhere. These forms are guaranteed to help you create well-written form templates. Whether you're creating an authorization form, order form, or a release form, we've got the appropriate template, and all you need to do is to get your hands on it. These templates are also easily editable in all versions of Excel, so start downloading one right now.
How to Create a Form in Microsoft Excel
Creating a form in Microsoft Excel can be simple or complicated depending on the information you're adding to it. To help you get through the process easily, simply refer to the list of instructions provided below.
1. Determine What Type of Form to Create
A form can mean so many things that involve both communication and gathering of information, and they're used mostly by businesses and organizations. Before you can start creating one, determine what form you're going for. Are you planning to create an application form for job hunters? Or are you planning on conducting a survey through feedback forms? Different forms follow different formats, which is why it's important to determine the type.
2. Know the Basics of the Form and Excel
After deciding on a type of form, know the basics of it such as the format, the details to include, and the people who should be reading or filling it out. Agreement forms, for example, are intended for professionals and should contain details regarding a particular business matter. Aside from familiarizing yourself with the form, also try to familiarize yourself with Excel and all the tools that it offers.
3. Collect and Organize the Data to Be Included in Your Form
Depending on the type of form you're planning to create, you can start collecting the needed data that will be included in the Excel form. In legal forms, your data will usually involve rules and regulations imposed by the state law as well as terms and conditions set by the organization. After the collection of data, it is recommended but not required that you organize it; doing so will make the data analysis process much easier.
4. Open and Set Up Microsoft Excel
When it's finally time to start using Excel, make sure to already have all the data and resources ready. If you do, open Microsoft Excel and then create a new workbook. From there, you can see tabs on the bottom edge that will enable you to shift from one spreadsheet to another if ever you're creating multiple forms. Set up your workbook's details by clicking File in the menu bar and then changing the Margin, Orientation, Size, etc.
5. Input Data and Add Formulas (if applicable)
By using the cells in the Excel sheet, you can start inputting the data that you've collected in a previous step. As long as you have organized your data, transferring them onto the spreadsheet will be more straightforward. Of course, don't forget to include other simple details such as a header for the columns and a title for the rows. And only if applicable, you can also add formulas to the data by using the Function tool or by simply adding an equal sign to a cell.
6. Finalize Your Excel Form
Before you publish, share, or print your Excel form, be sure to go through the data and check for the accuracy of the values especially if you added formulas. In terms of the text, it's also essential that you proofread it to check for errors involving the grammar and/or spelling. After finalizing your form, you can keep it in XLS or you can also convert it to PDF format to preserve the quality as well as the layout.


