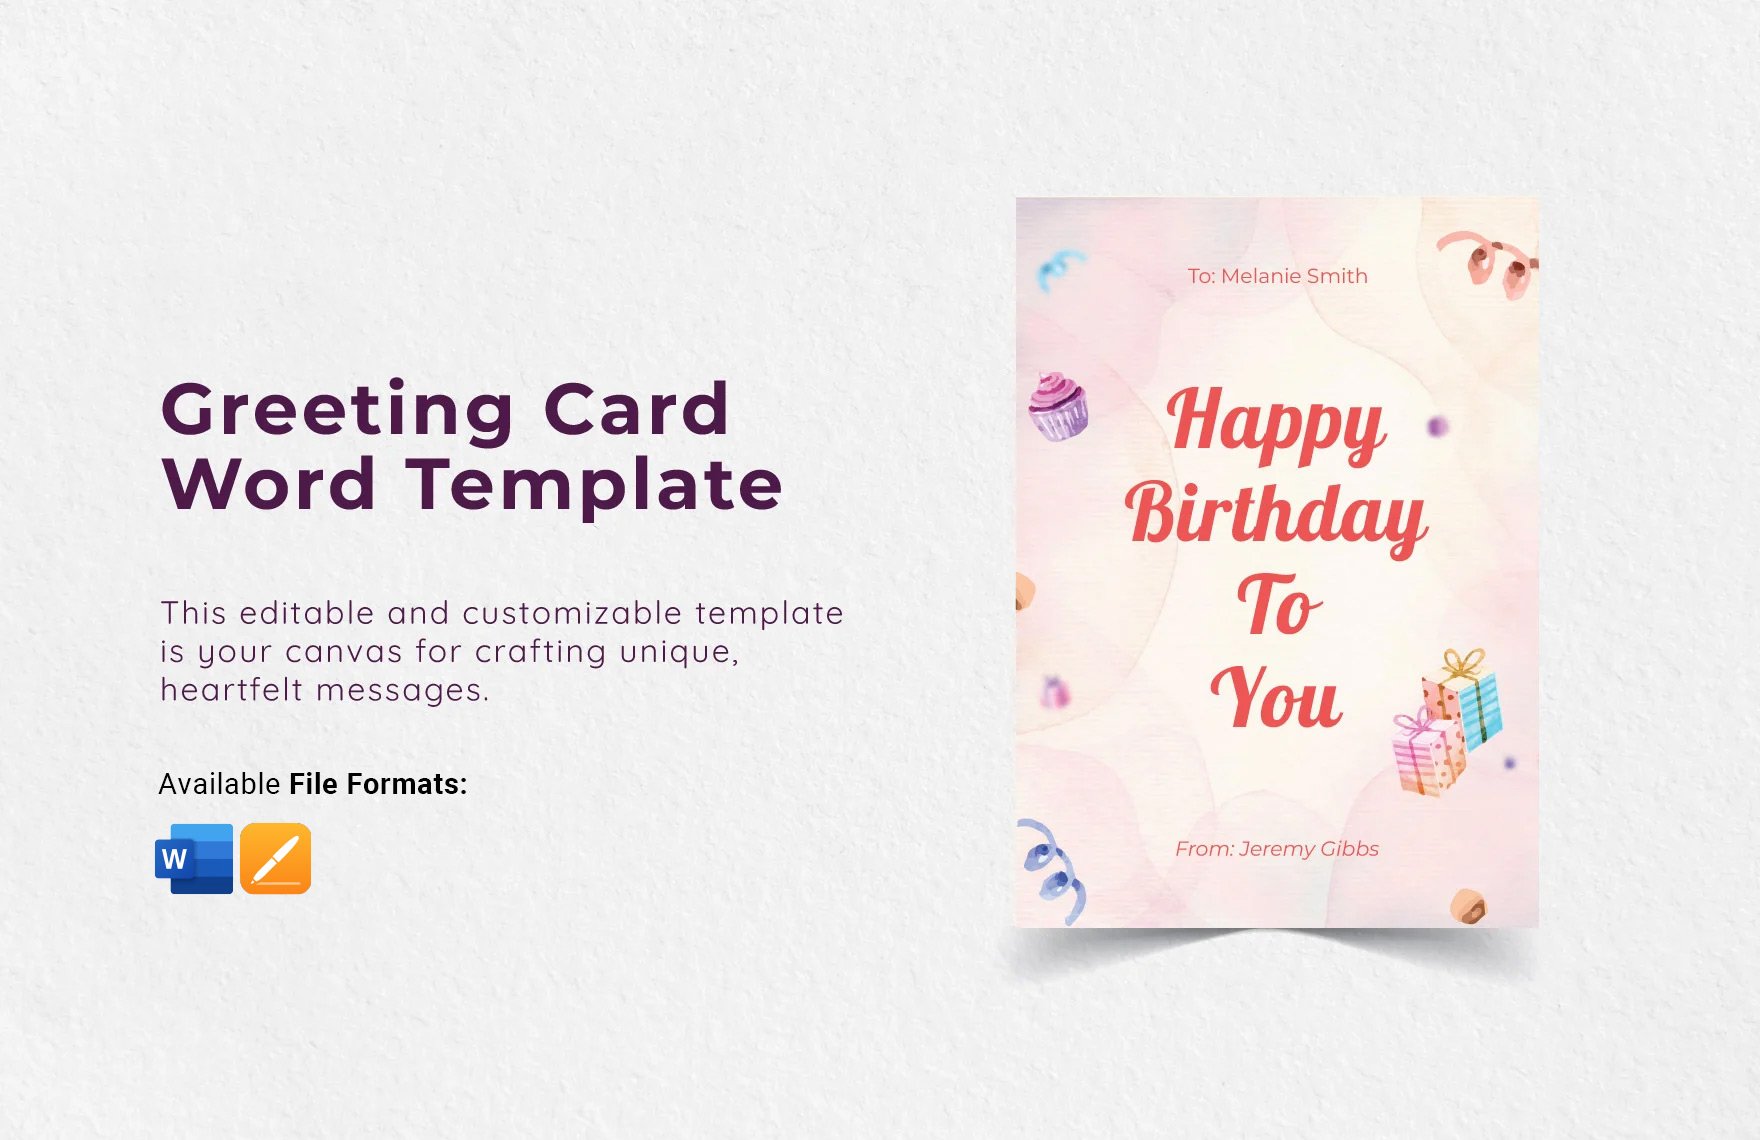
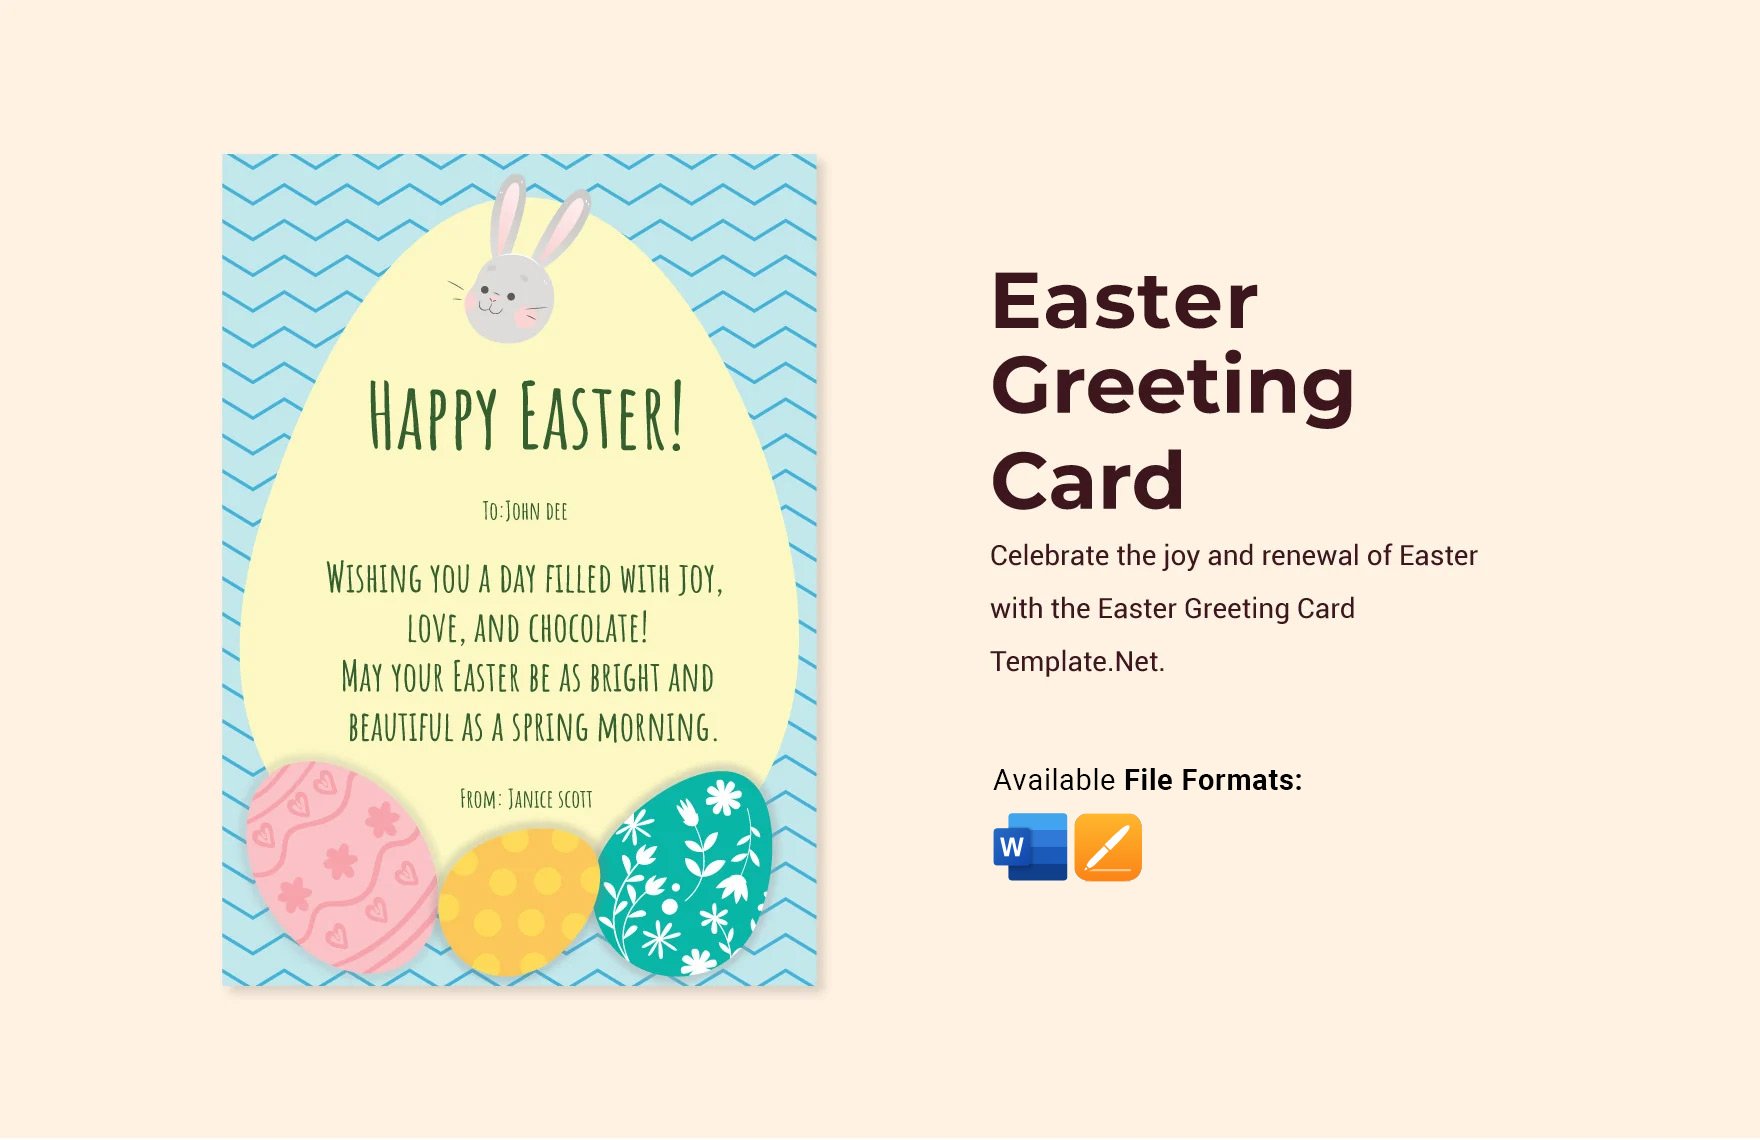
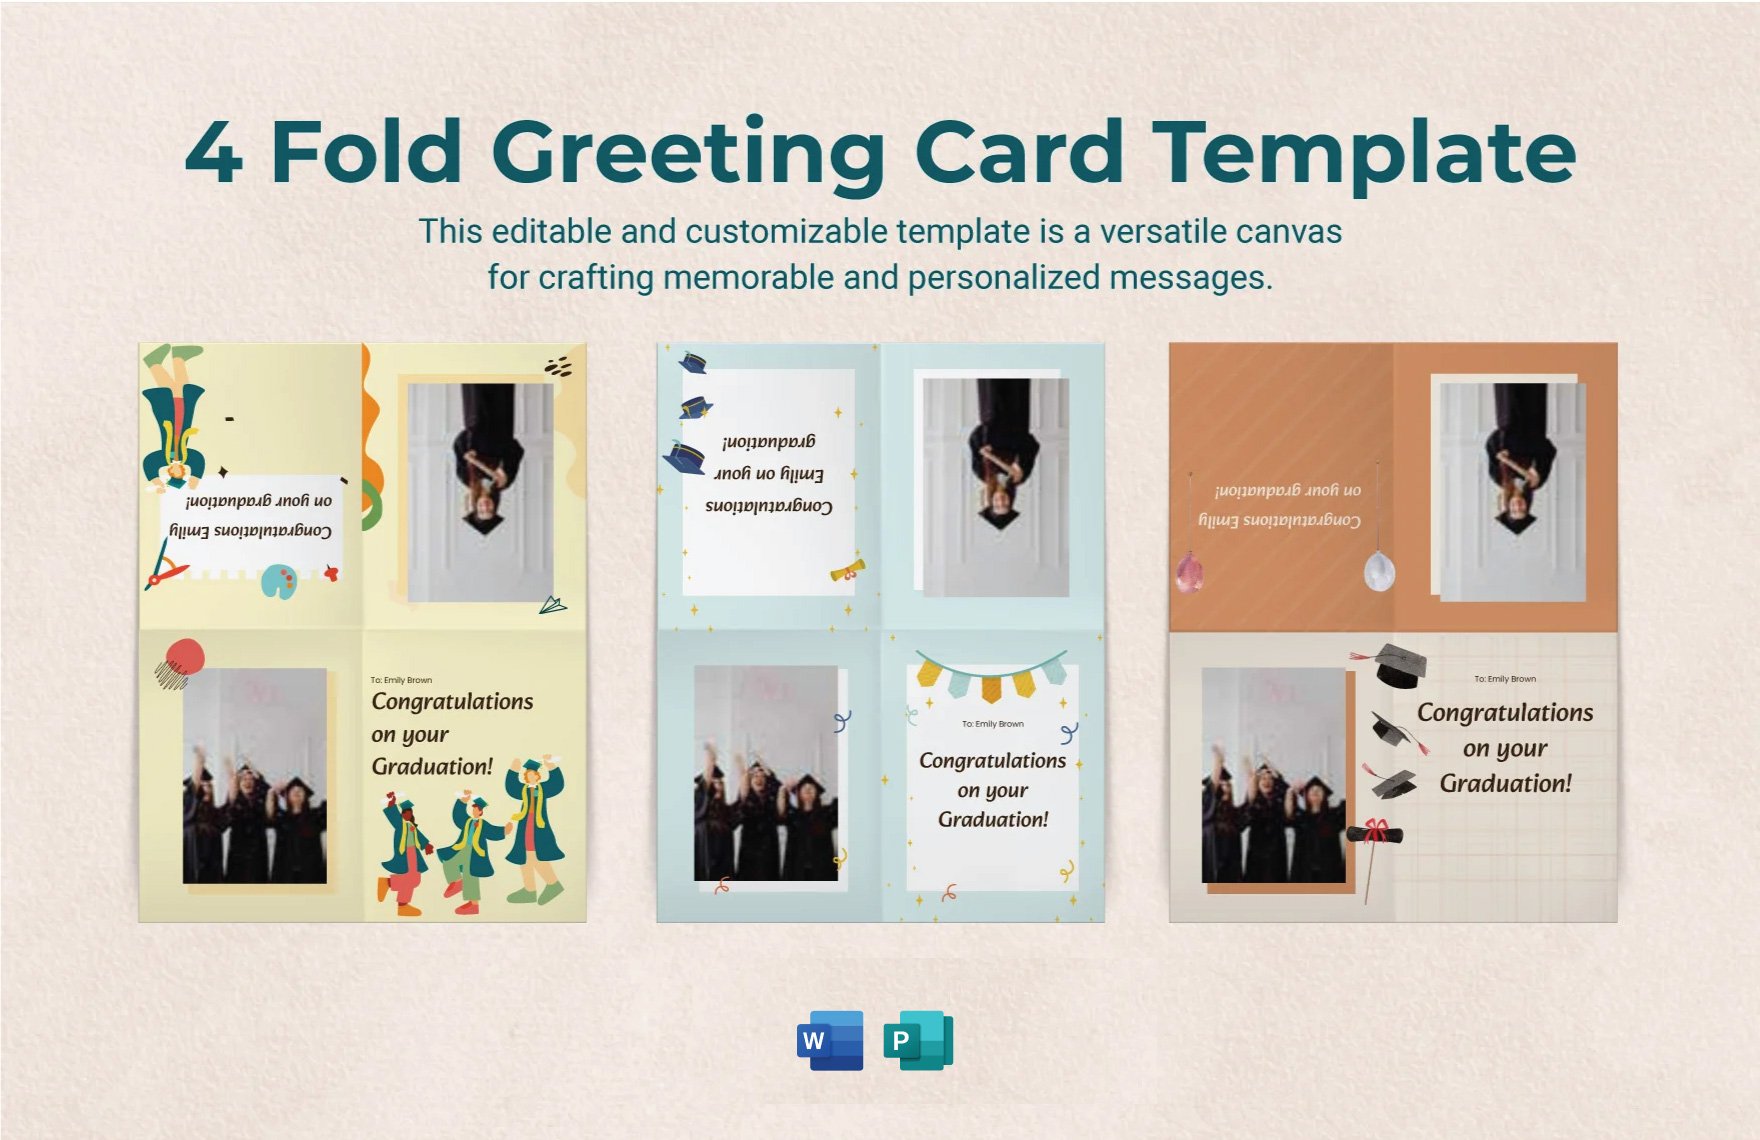
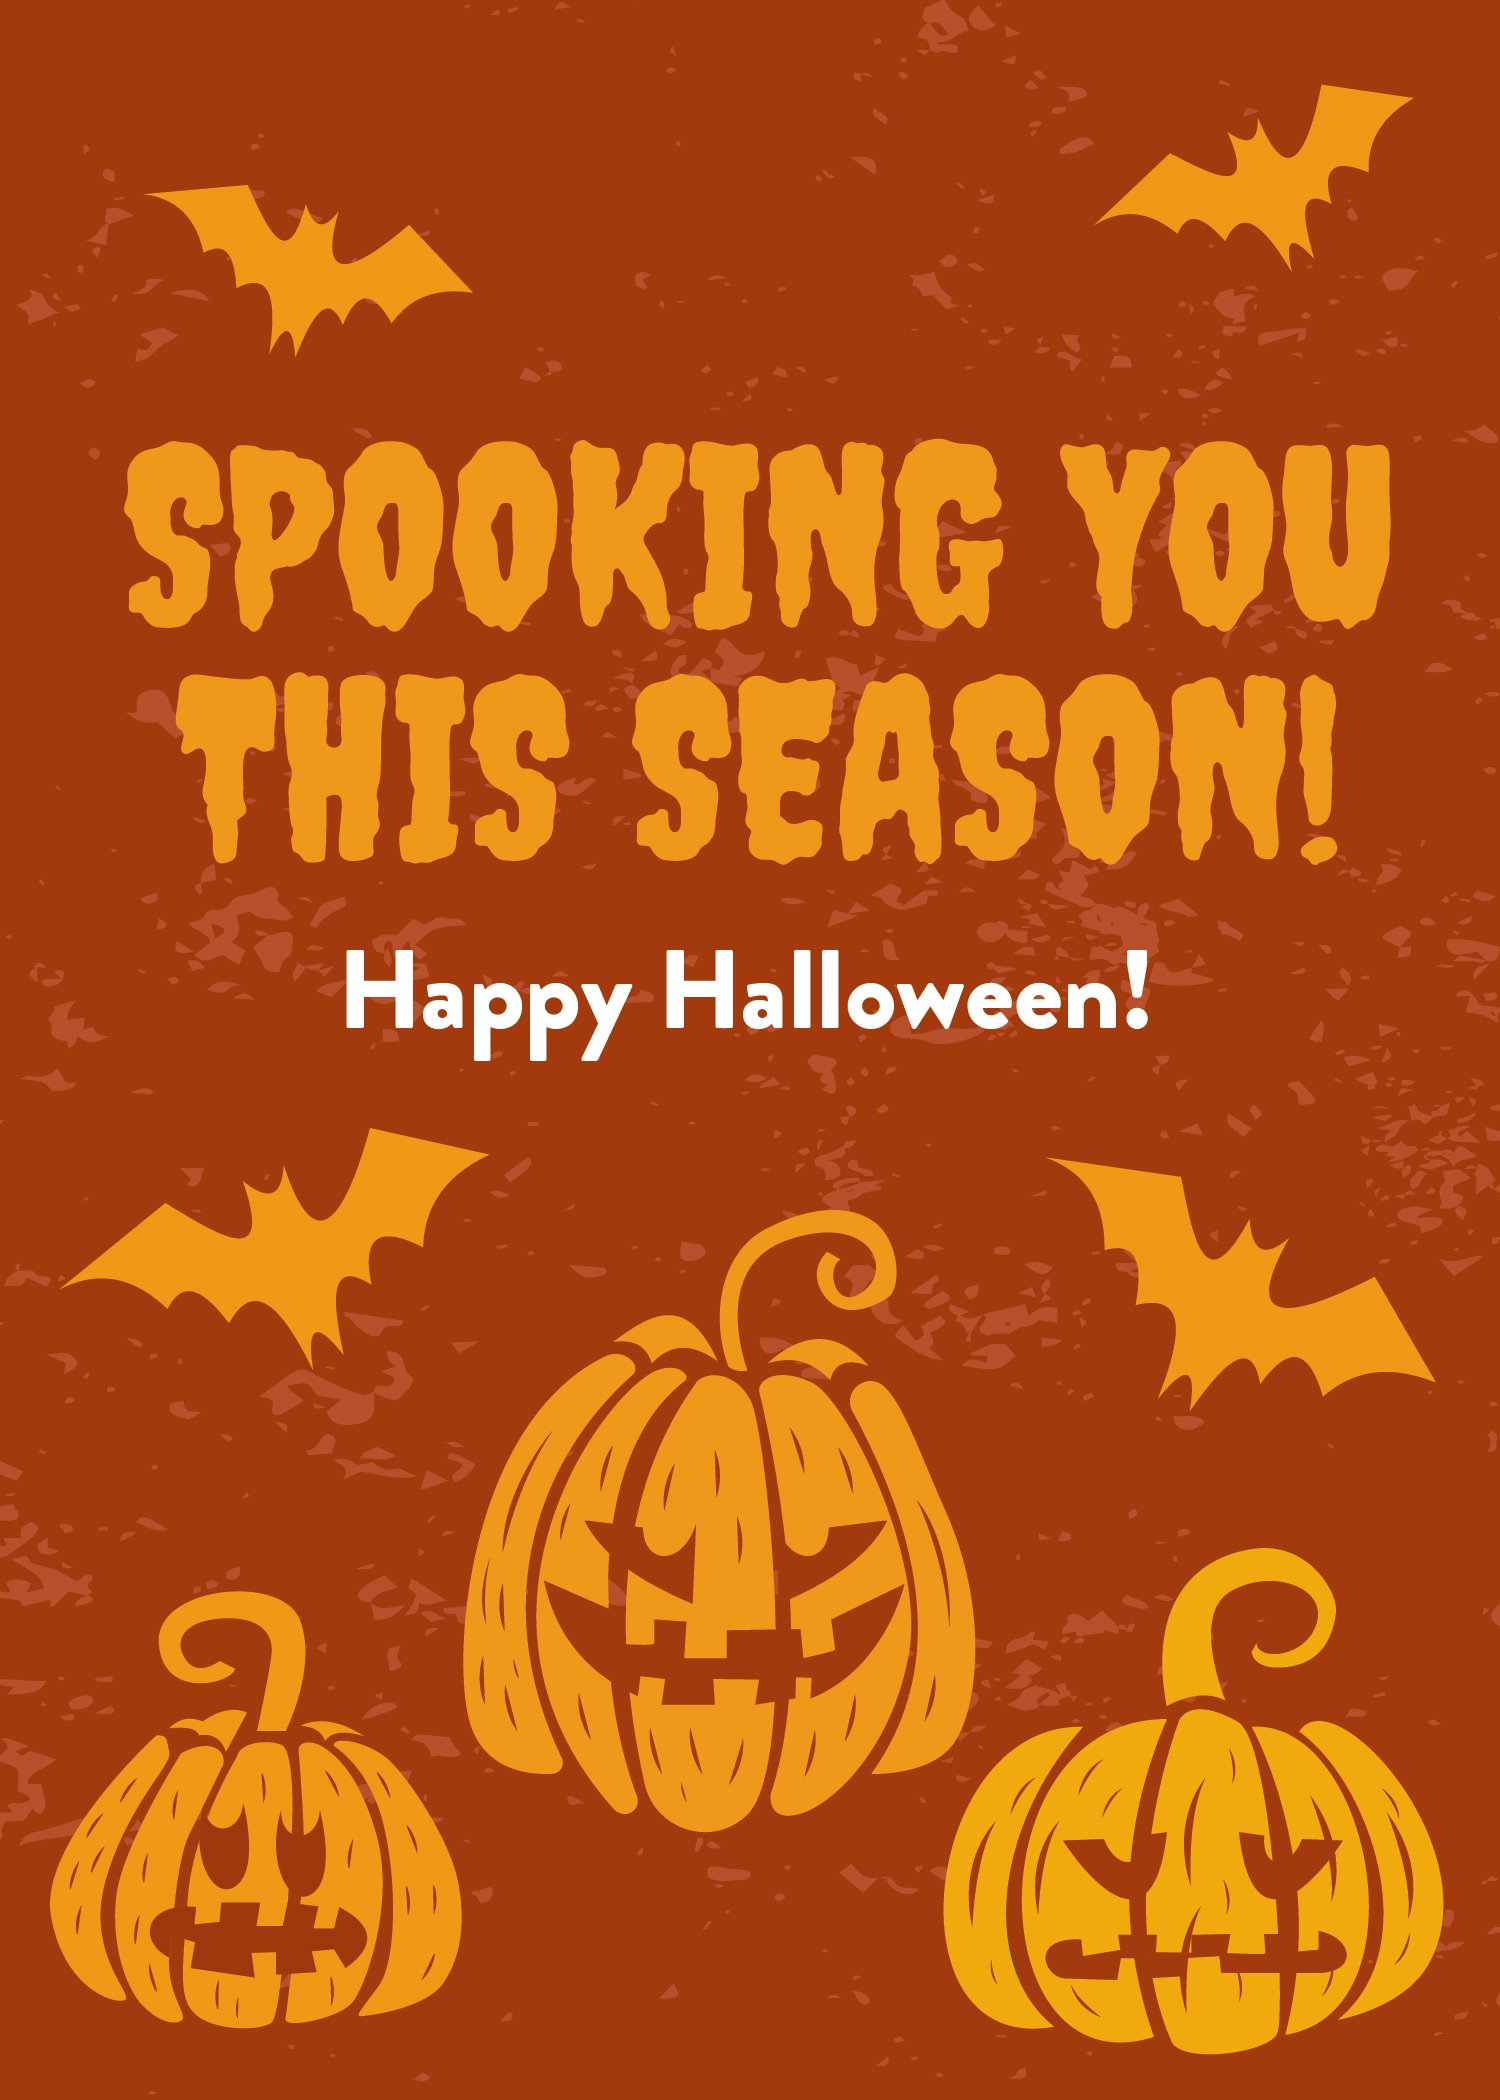
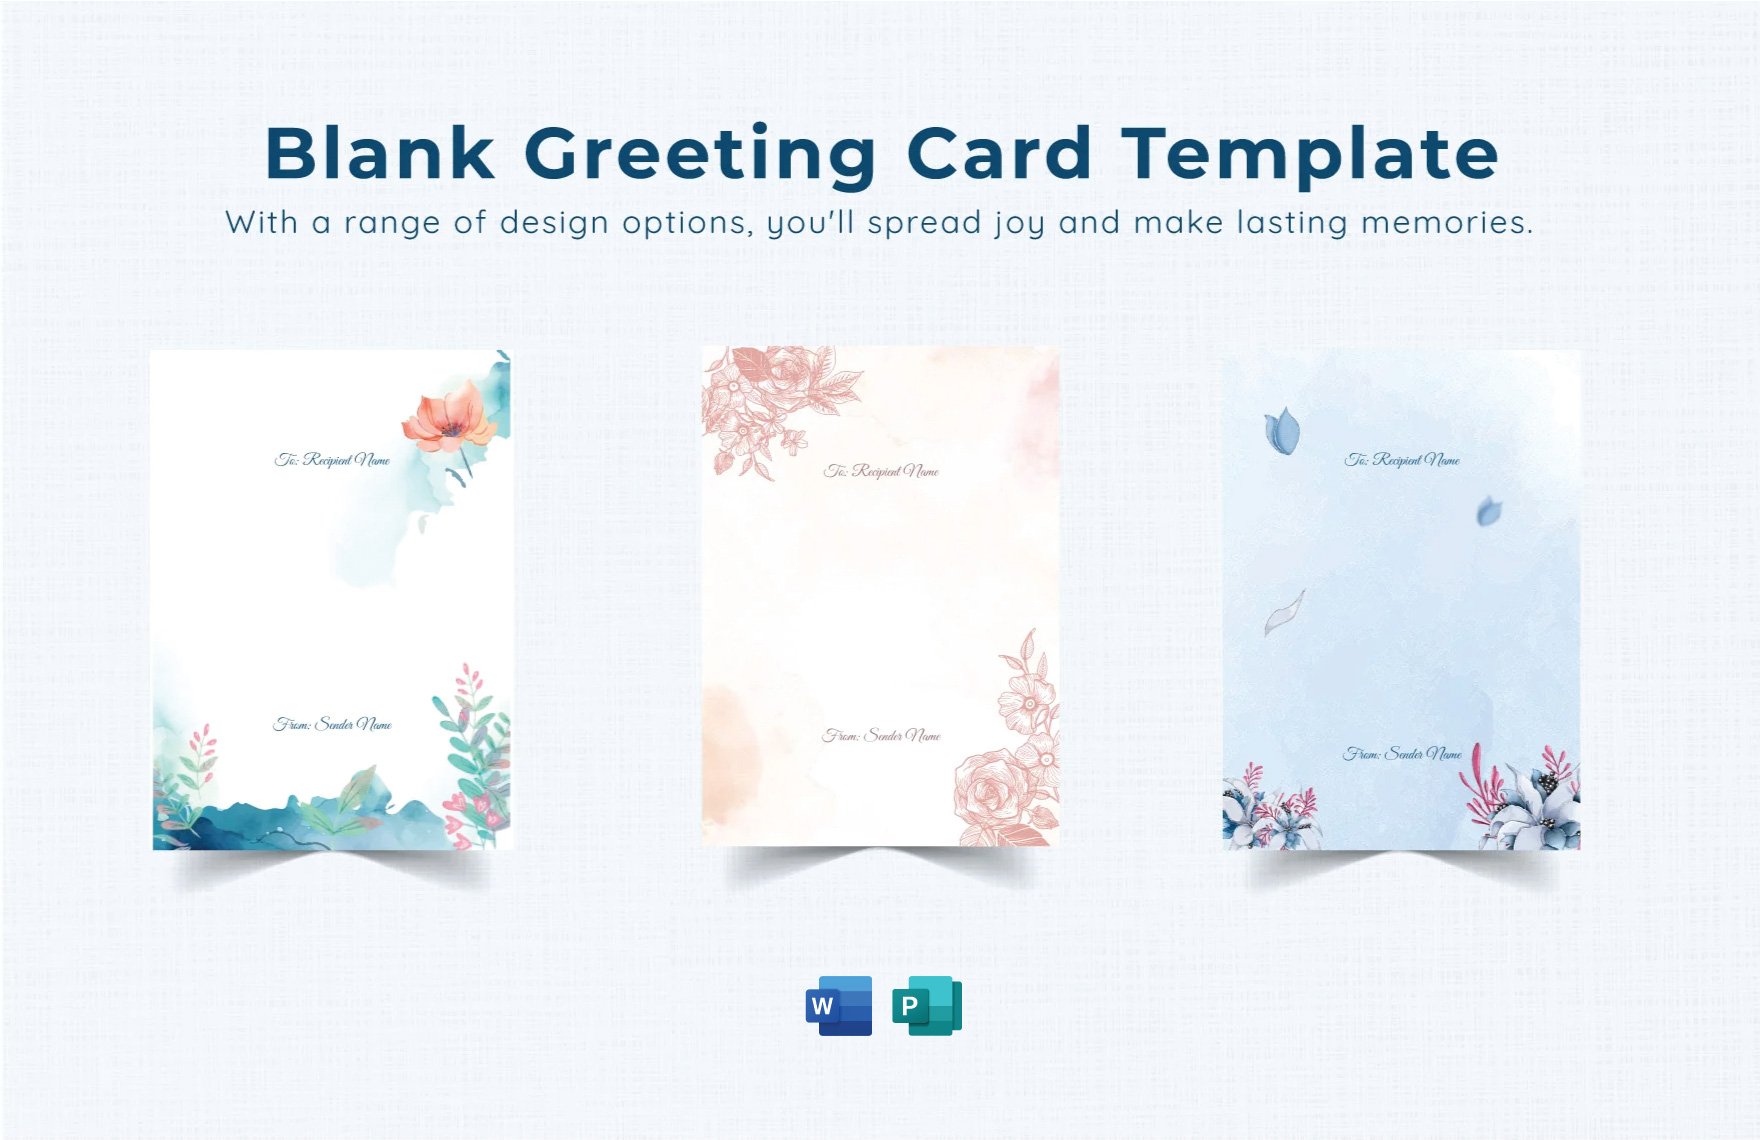
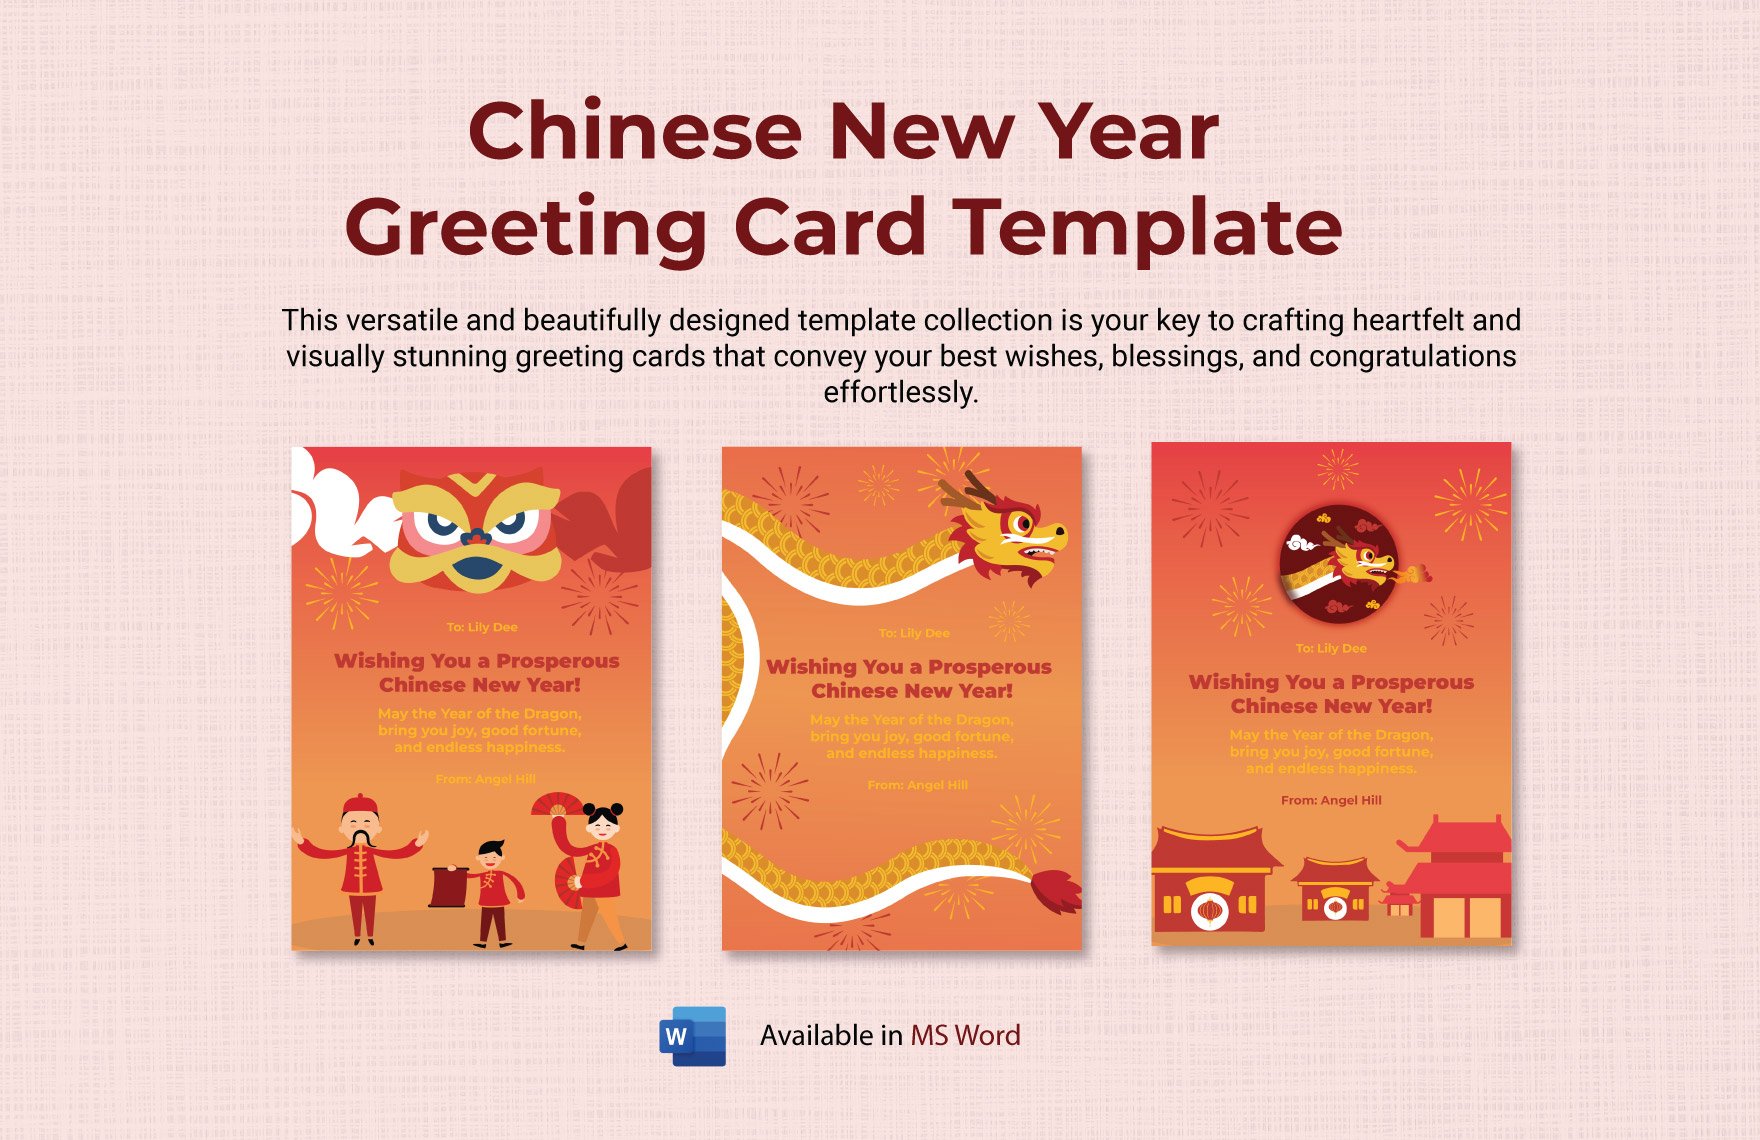
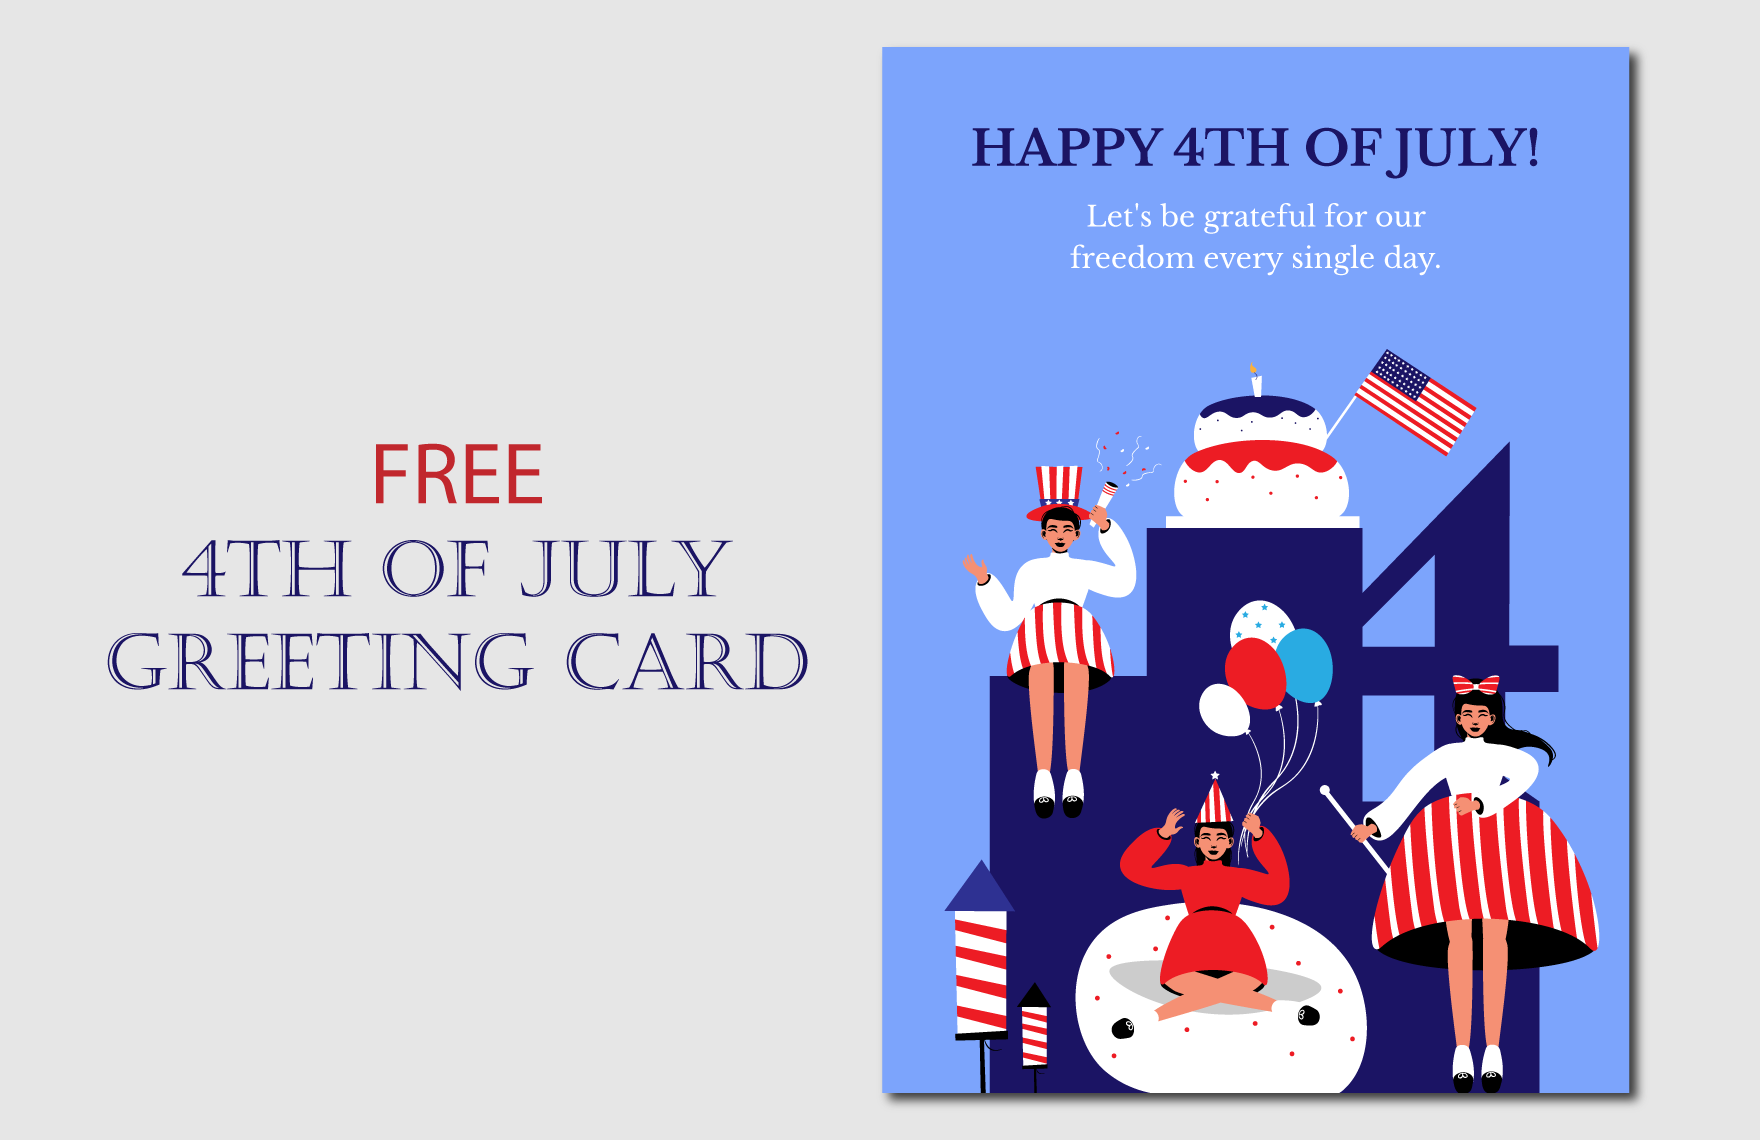
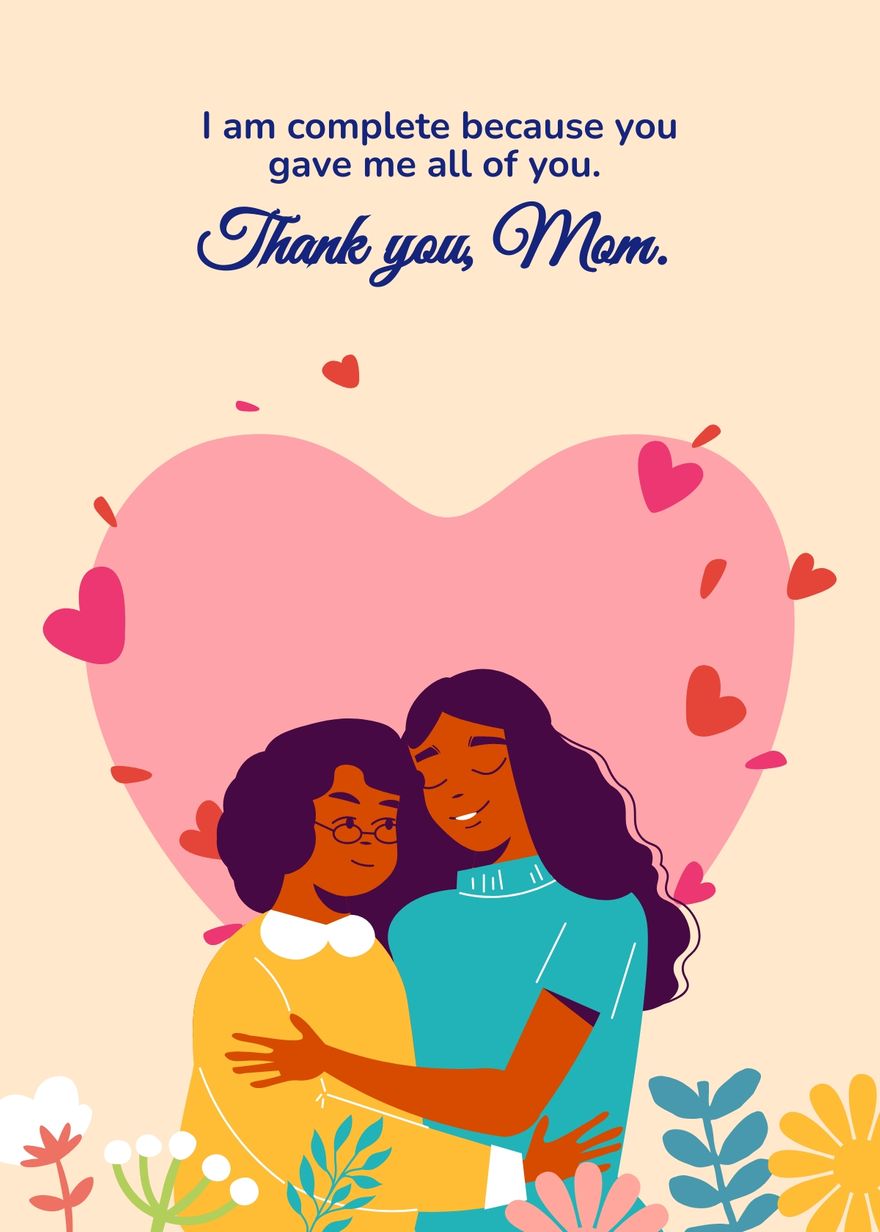
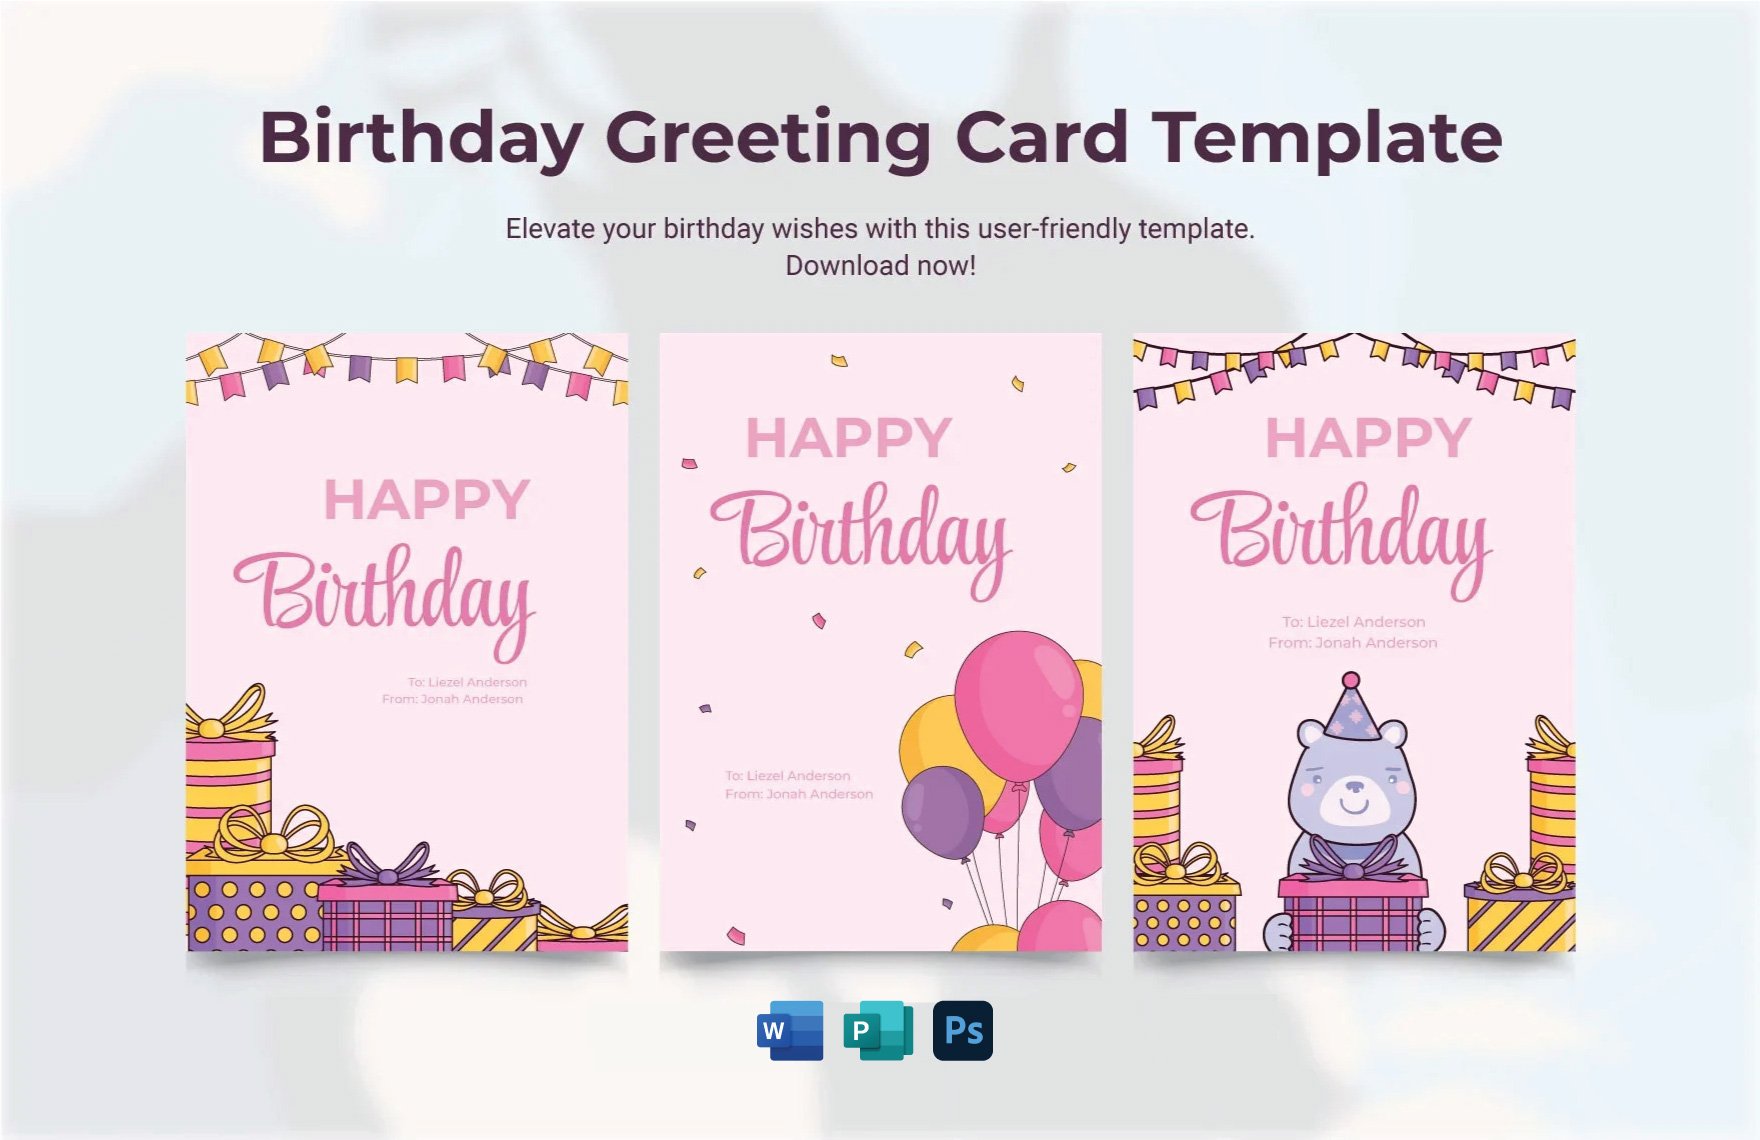
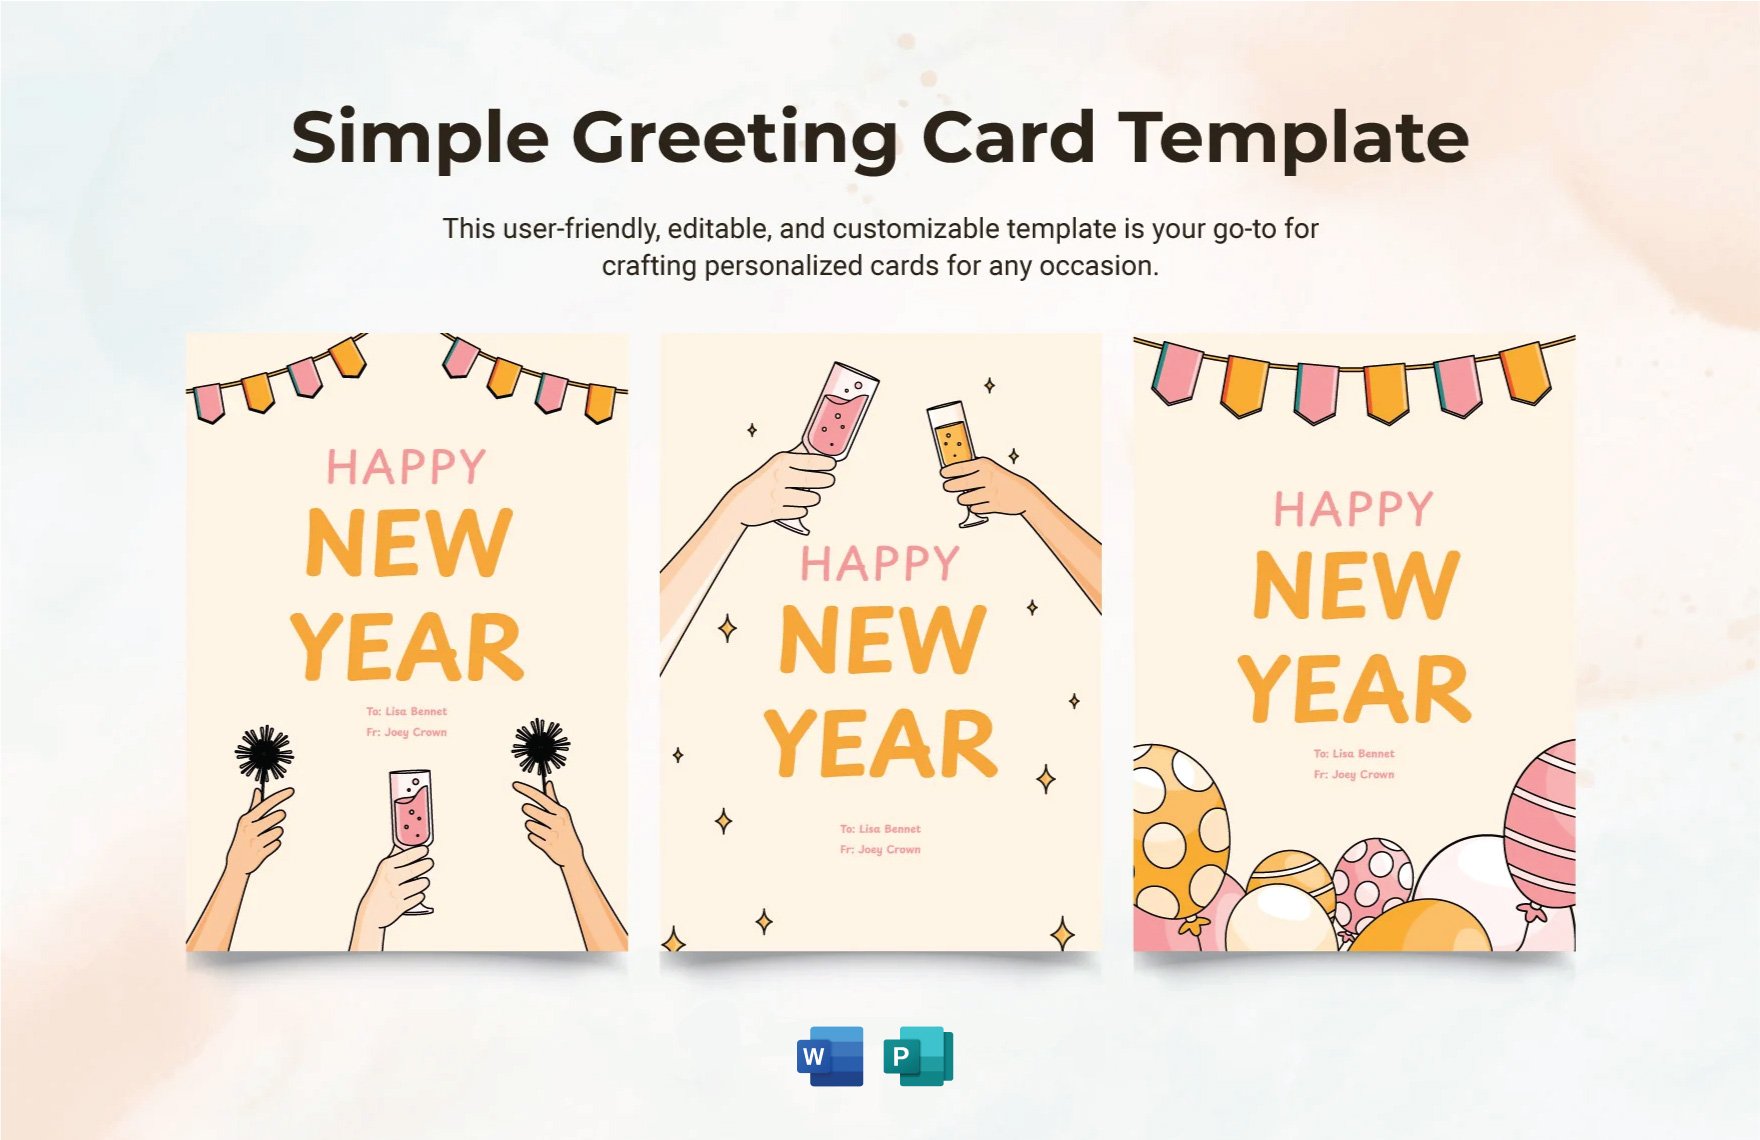
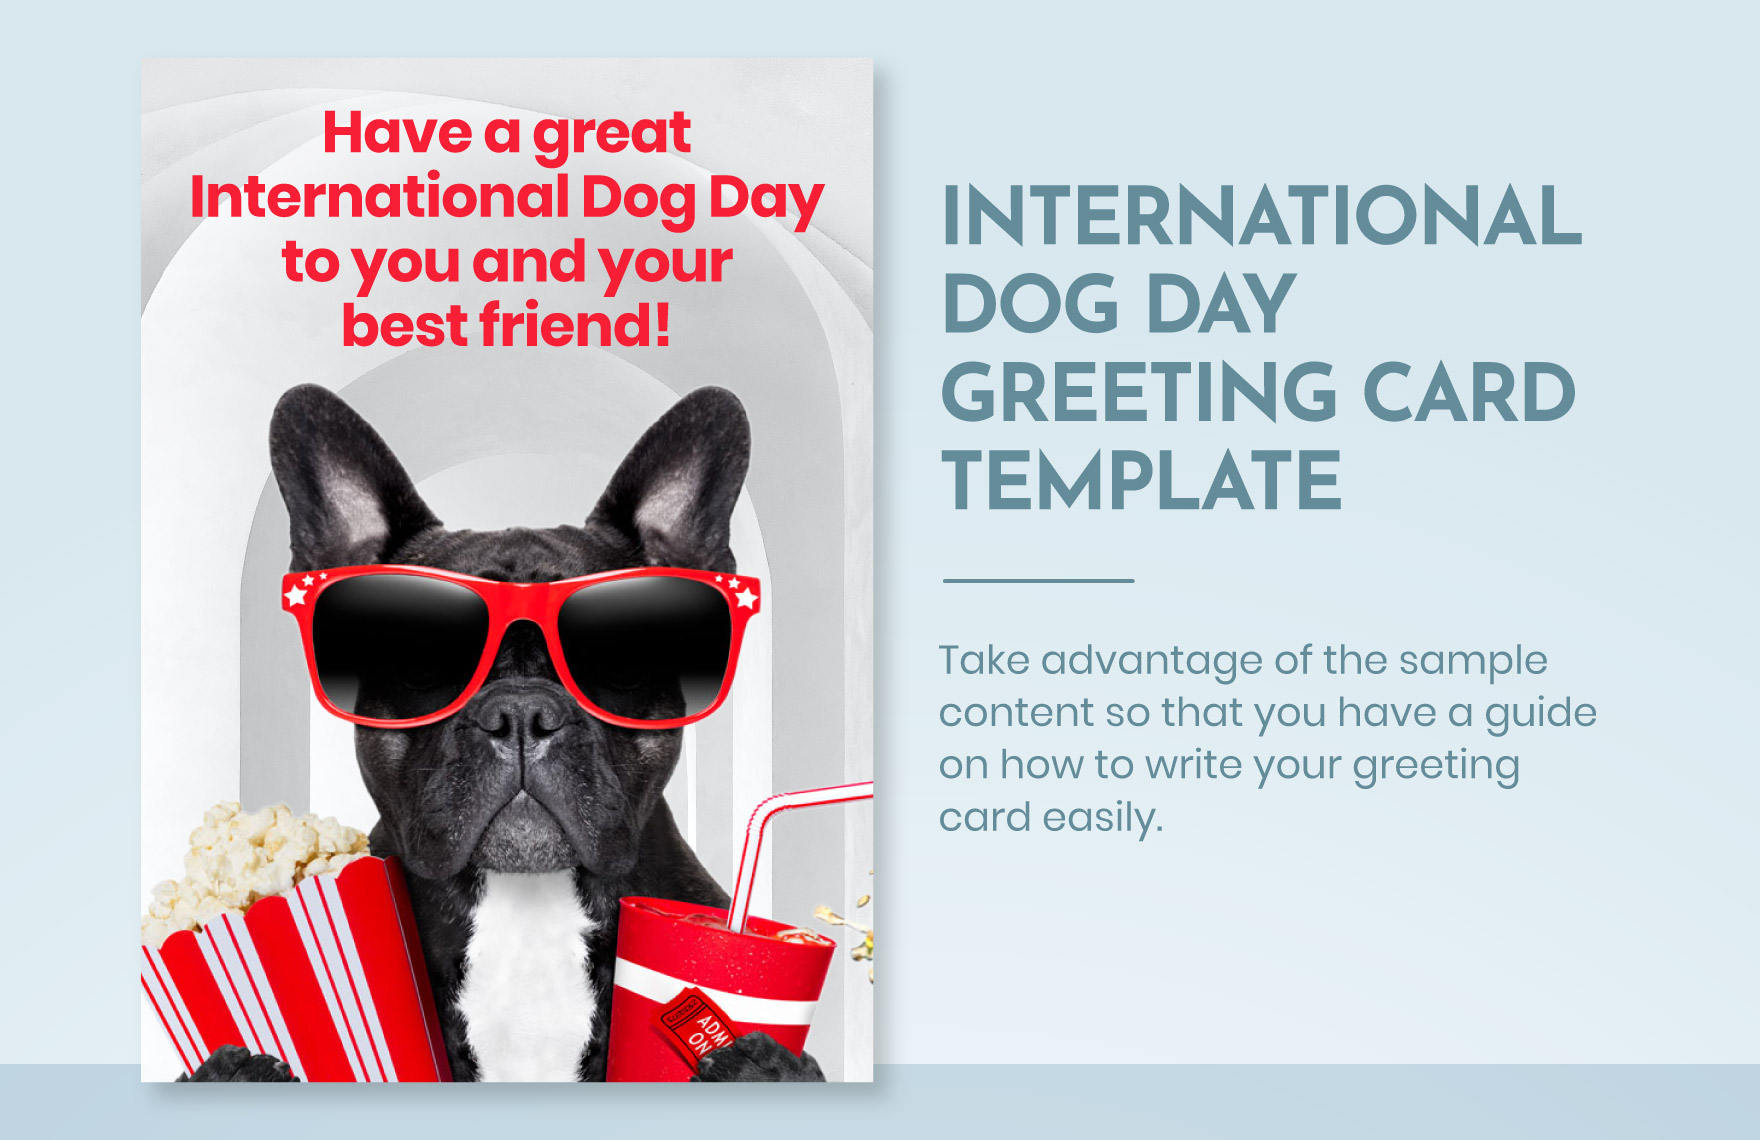
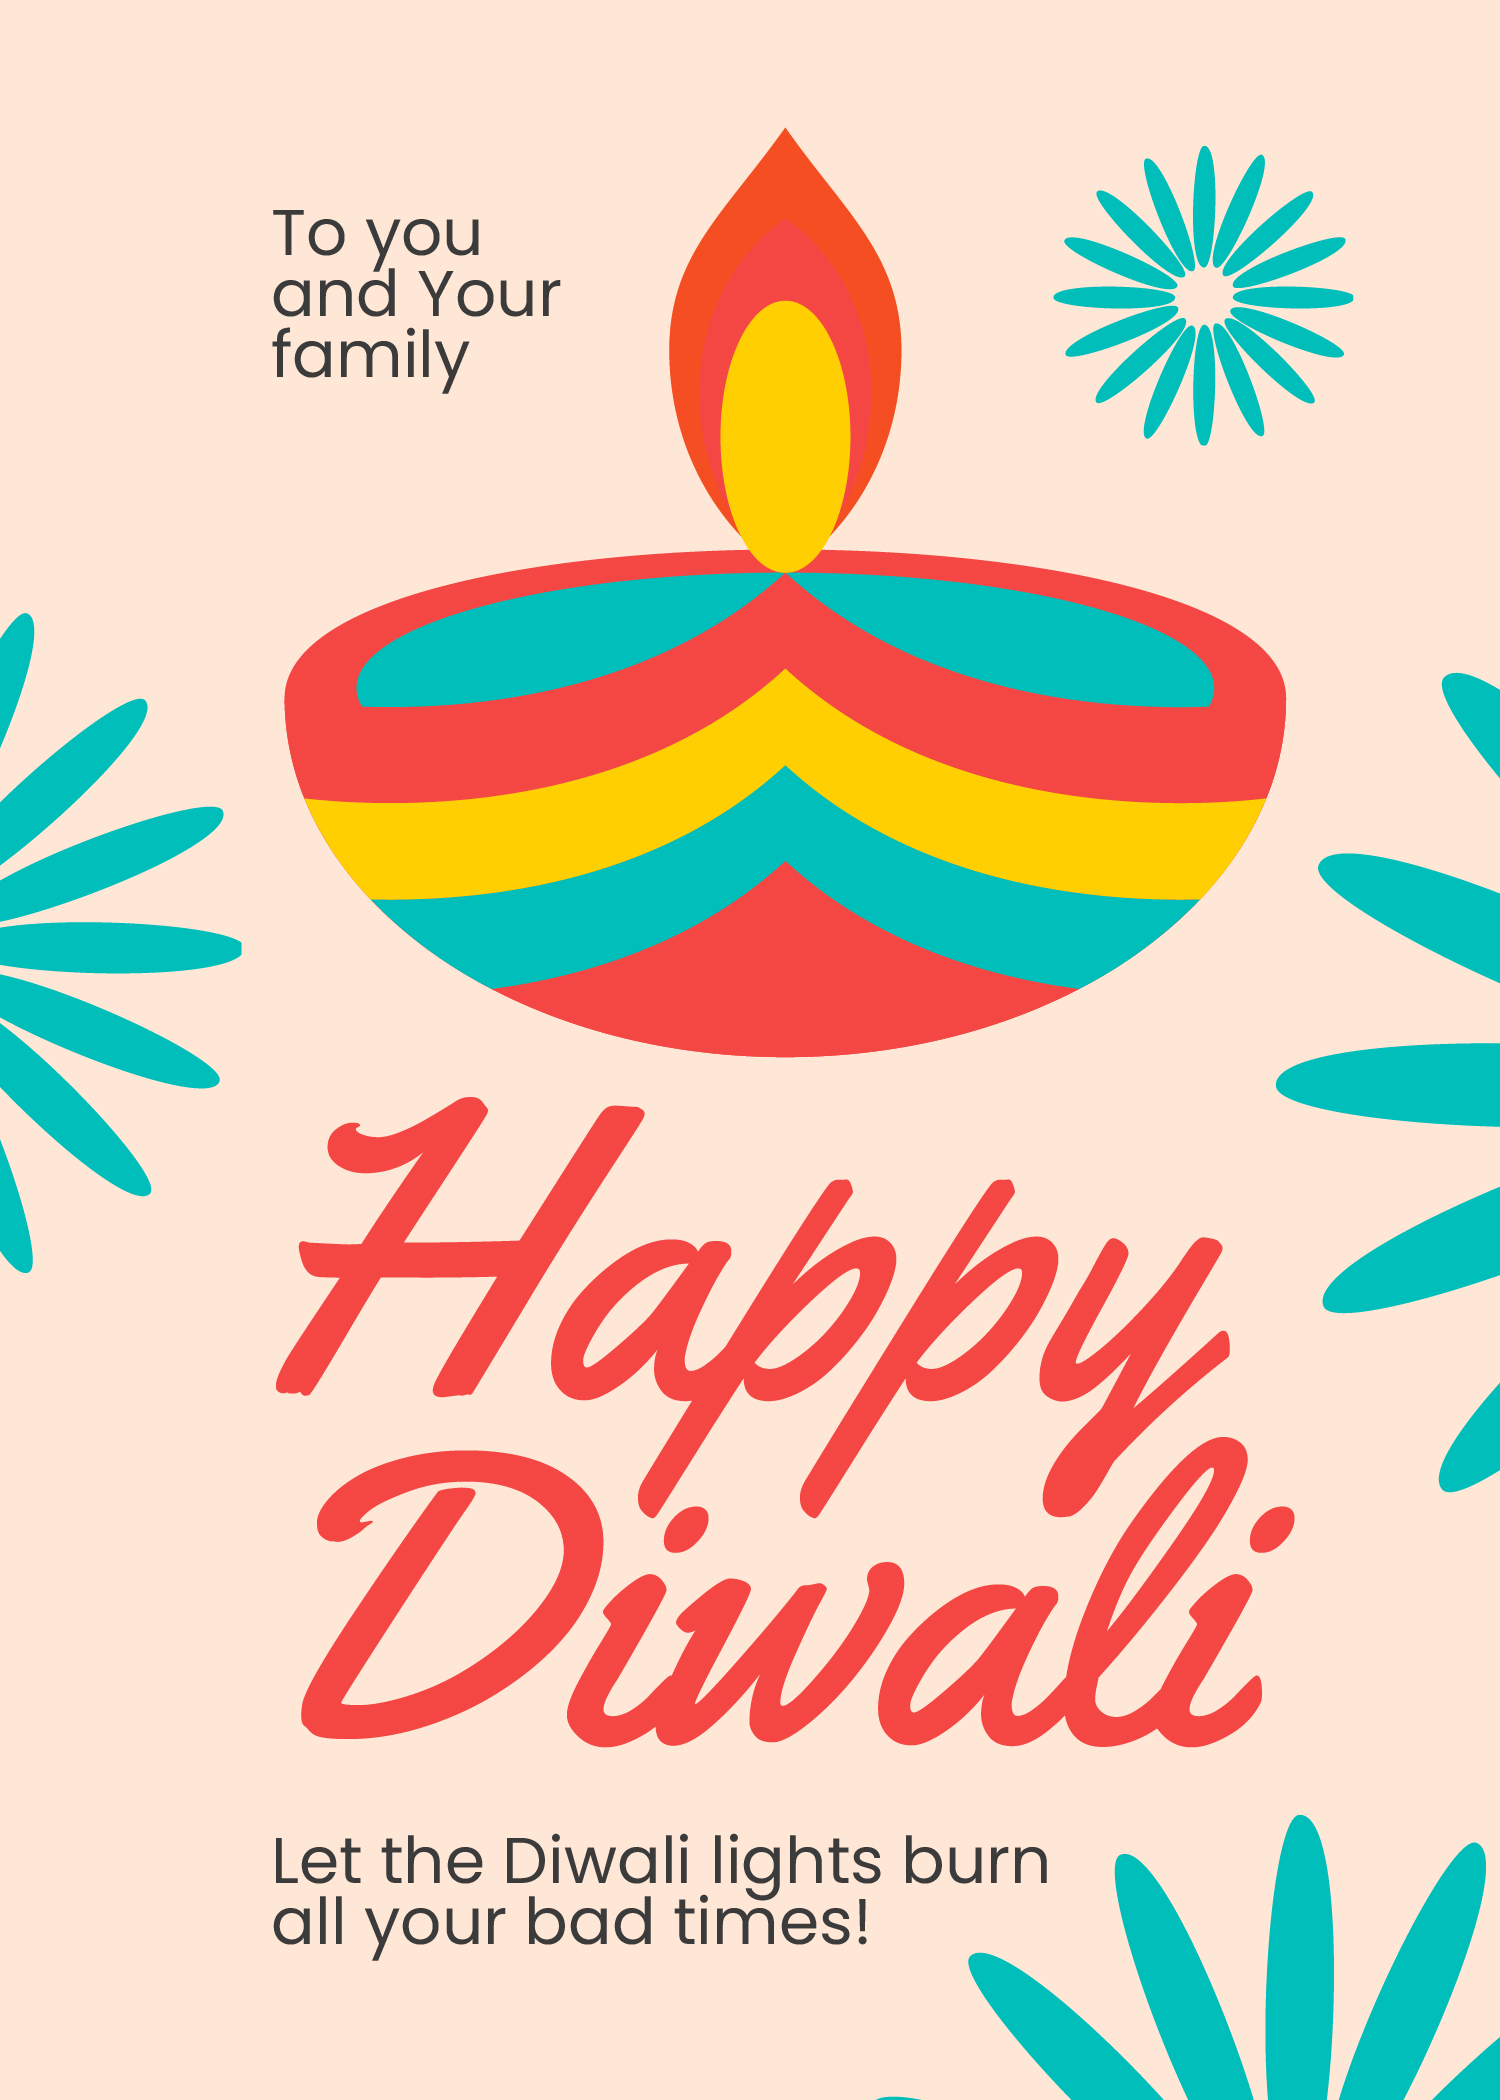
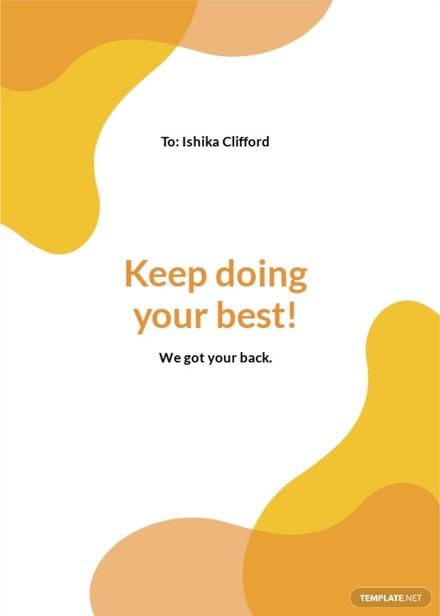
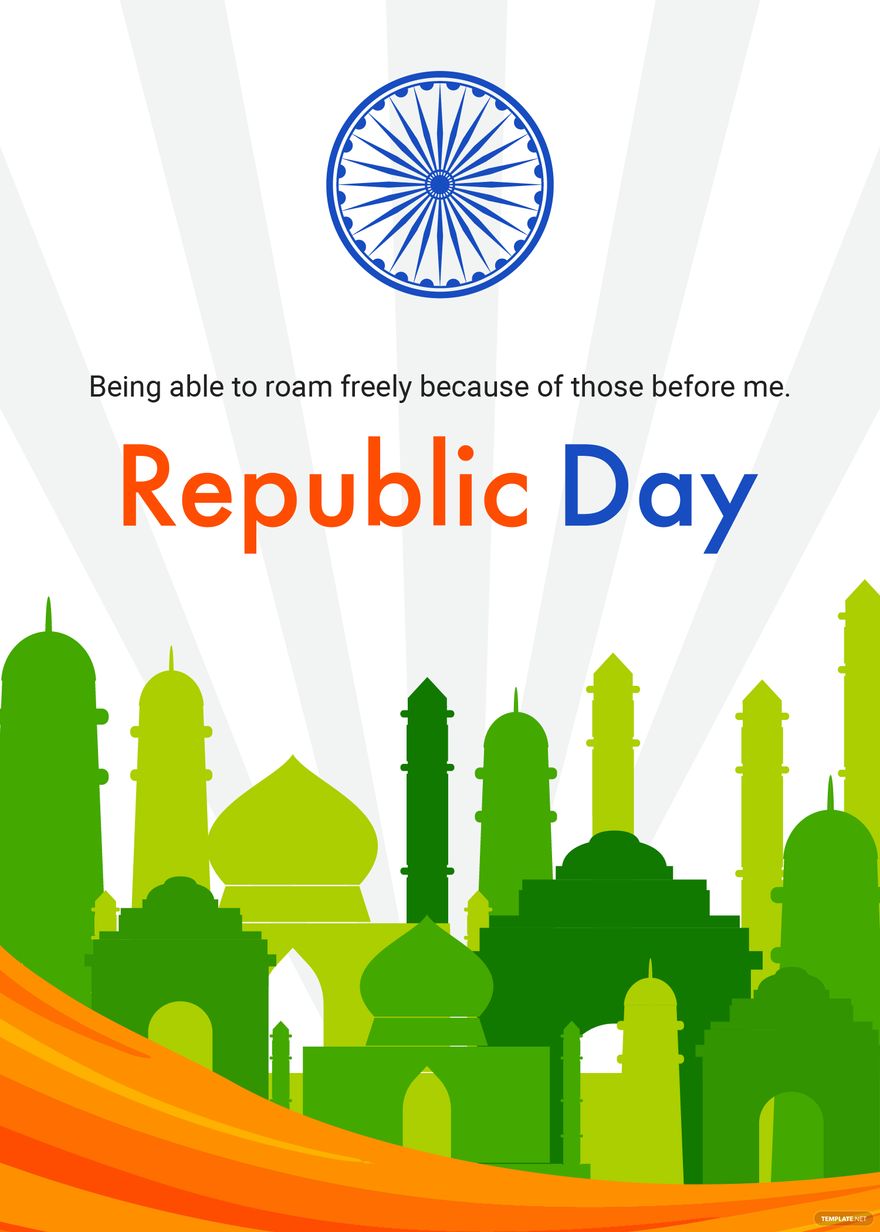
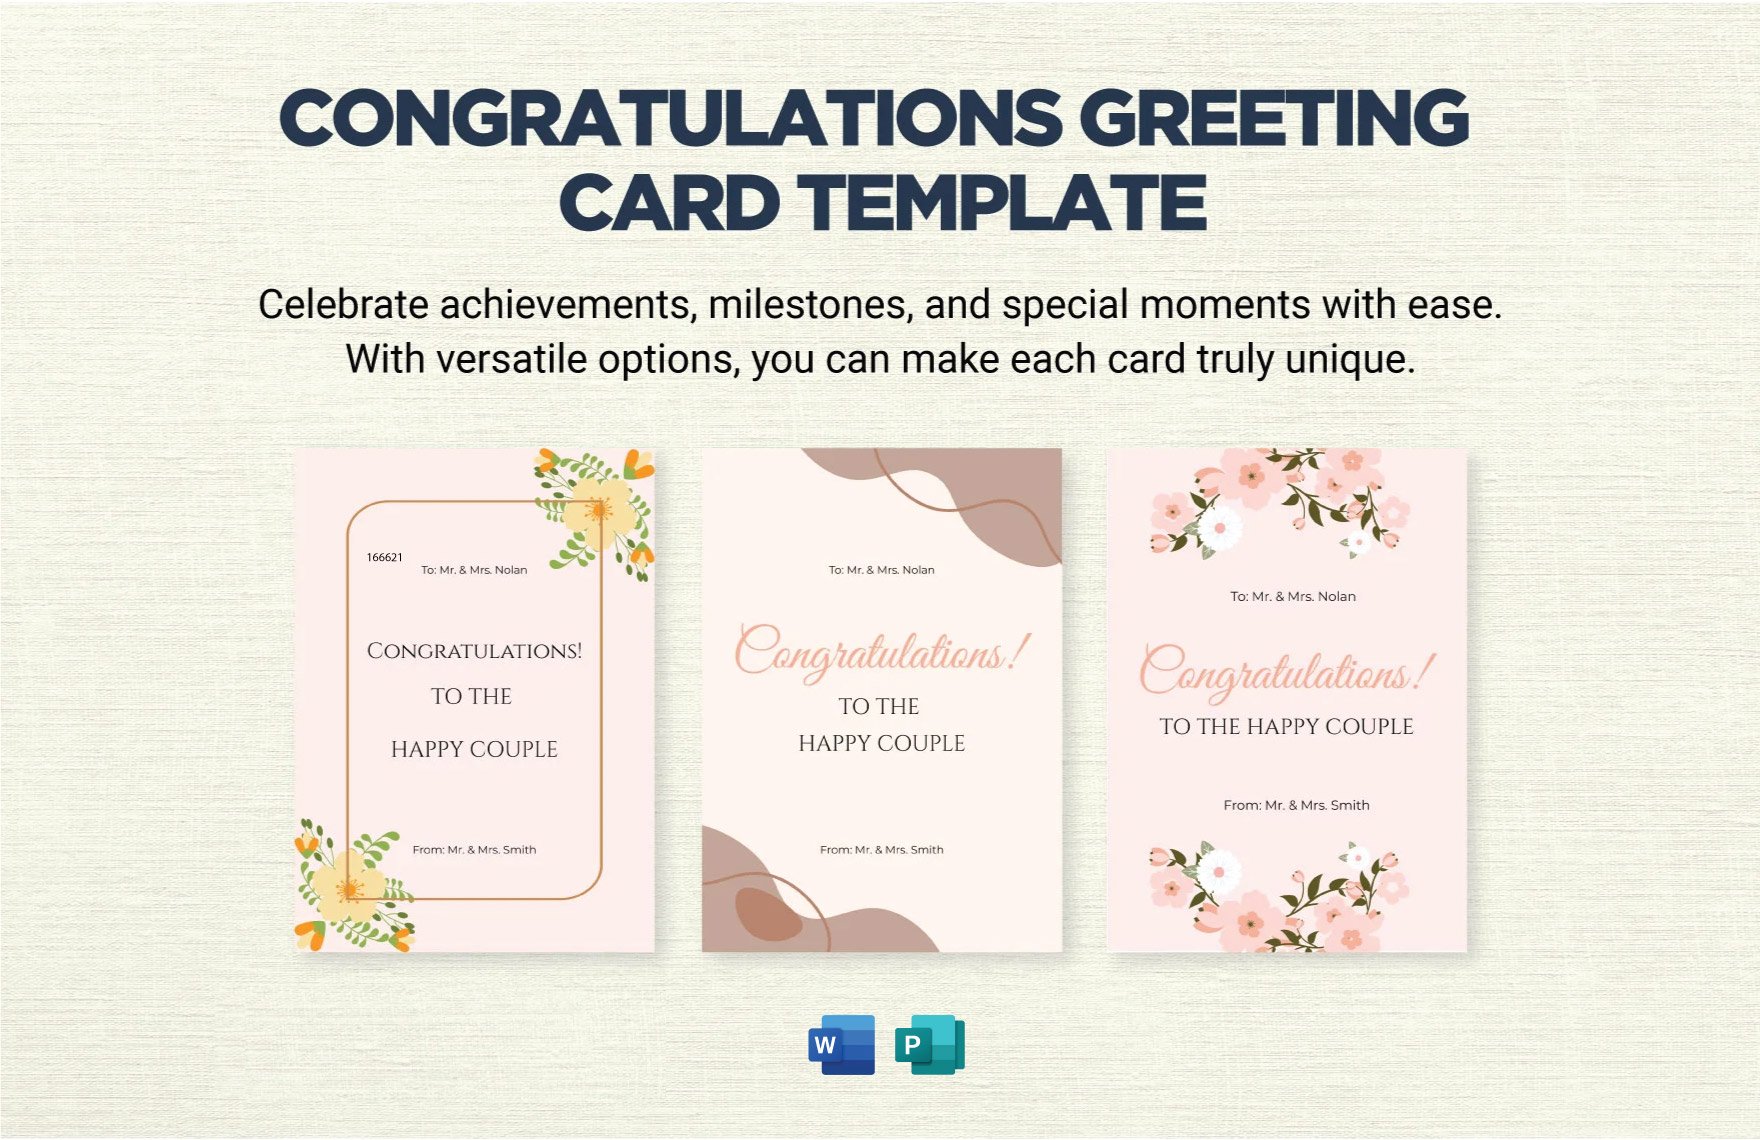
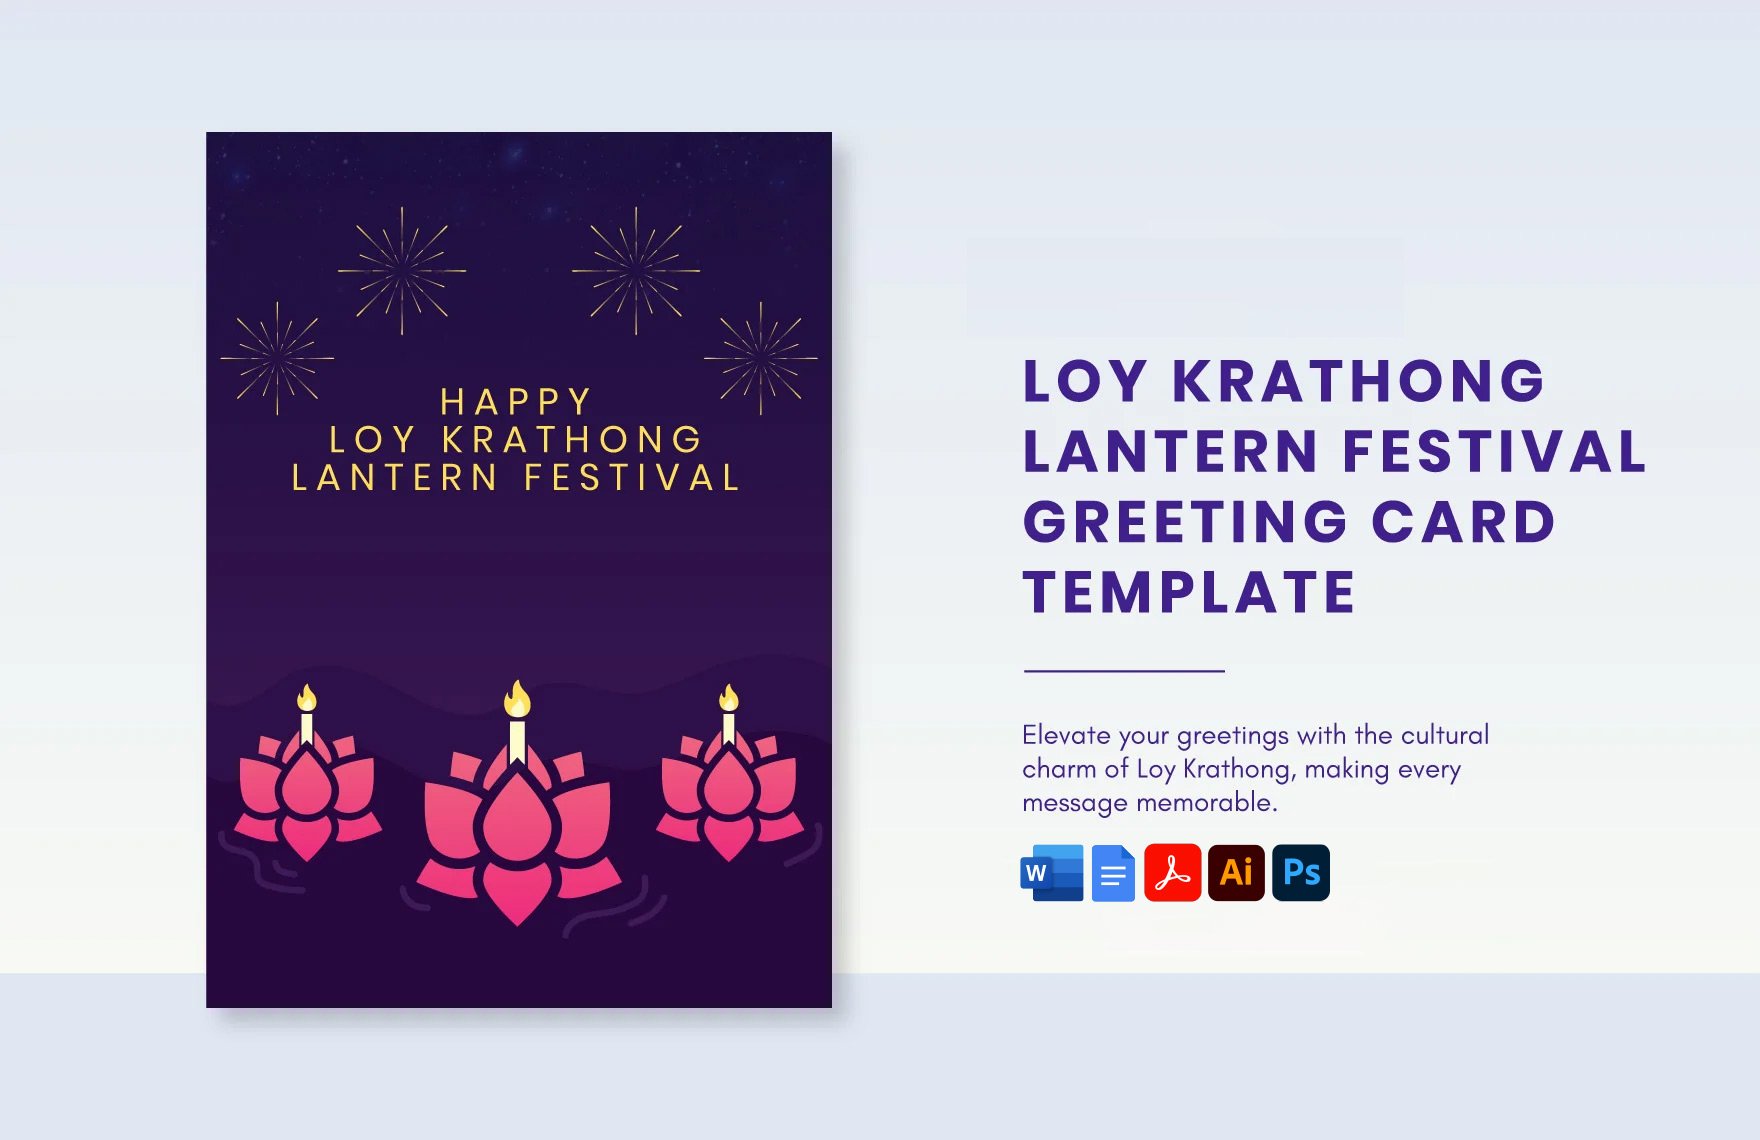
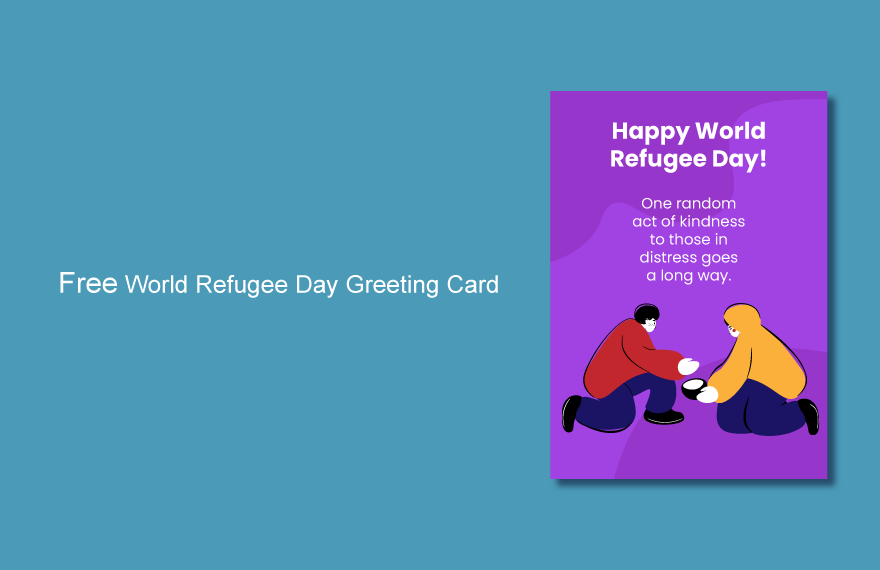
It's simple to craft a greeting card for your friend or loved ones by choosing from one of our premium templates you can download for free. Perfect for special occasions such as birthdays, Christmas, anniversary, and other holidays, or for sending a message conveying thanks or expressing good wishes. They are entirely compatible in all versions of Microsoft Word. The files are ready-made and are customizable within minutes. The models make use of beautifully designed content, including layout, artwork, images, text fonts, and graphic files. They are available in 8x4 inches with Bleed. Bi-fold models are also available. Print-ready, perfect for commercial as well as personal printing, use our templates to create holiday greetings, birthday cards, wedding cards, and business cards.
How to Create a Greeting Card in Microsoft Word?
According to the Greeting Card Association, 90 percent of all US households participate in the greeting card category, purchasing at least one greeting card per year. Those households on average purchase 30 individual cards per year. While the average person receives more than 20 cards per year, about one-third of which are birthday cards. There's a lot of cards out there!
With that in mind, let's talk on how to make a greeting card using Microsoft Word. Microsoft word is a widely used commercial word processor designed by Microsoft. It's usually included one your purchased device has a Windows OS already. It's easy to use the Word program as it is quite popular. Down below is a step by step process of creating a greeting card in MS Word.
1. Download Microsoft Word
Download the Microsoft Word program first if you don't have the program yet. Remember to download from legitimate websites as they are safer and have guaranteed quality. Getting something from illegal sites might cause malware software and viruses to invade your computer, so be sure to buy something from a secured distributor. After downloading the setup.exe file, you can go ahead and install it.
2. Open The Application
While installing, take notice of the hardware of the device you are using. It might be difficult for you to use the program you are downloading if your equipment (RAM and hard disk) is full. In times like this, it might be safer to download something of an earlier version. (instead of Word 2013, use Word2007). Be sure to check the specs to be more reliable, and to make your experience smooth.
3. Adjust the Format
With the program up and running, it's now time to set your legal document. You can change the margin, the document size (8.5x11, A4, or 8.5x13) and the orientation (portrait or landscape). You can also adjust the background, the pictures you wanted to include, and if the card is going to be a tri-fold or bi-fold. Be sure to base all your arrangements on the physical printable material. Using a letter design on a smaller paper will only ruin your effort and waste your ink. You do not want to print that "Happy Birthday" with a disfigured 'H' and 'Y' would not you? So, consider things thoroughly.
4. Add Details
After proper considerations, it's now time to add the details. Include the words you want to say to the person or individuals that will receive the card. Make sure to be considerate and sensitive. Put a poem if you can or some simple words that could make someone's day better. Be creative.
5. Save And Print
After finishing everything, it's now time to save it. Be sure always to have a backup file. It's necessary for some revisions, and having a reserve copy will make the person who will revise the file carefree and creative. Print your card after saving. Give them for the teacher's day, anniversary, or whatever occasion. Make everyone smile with your simple card.


