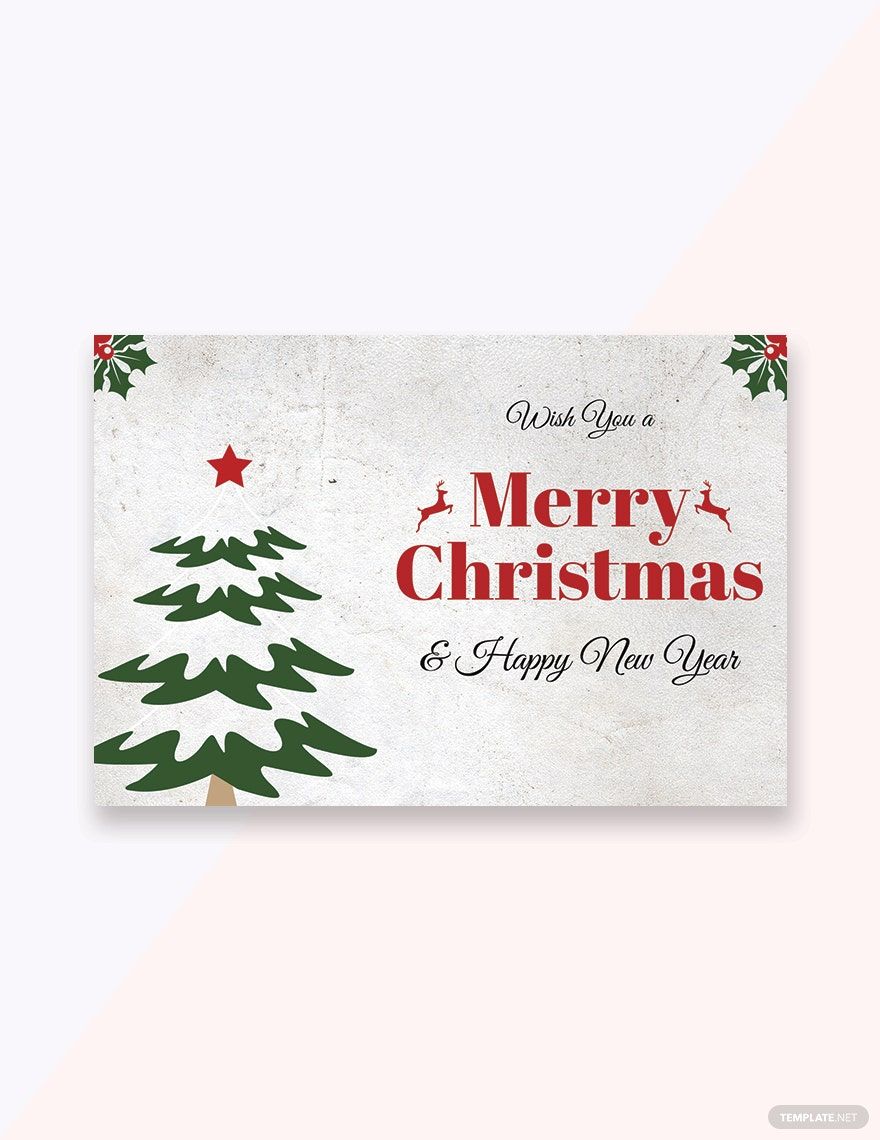
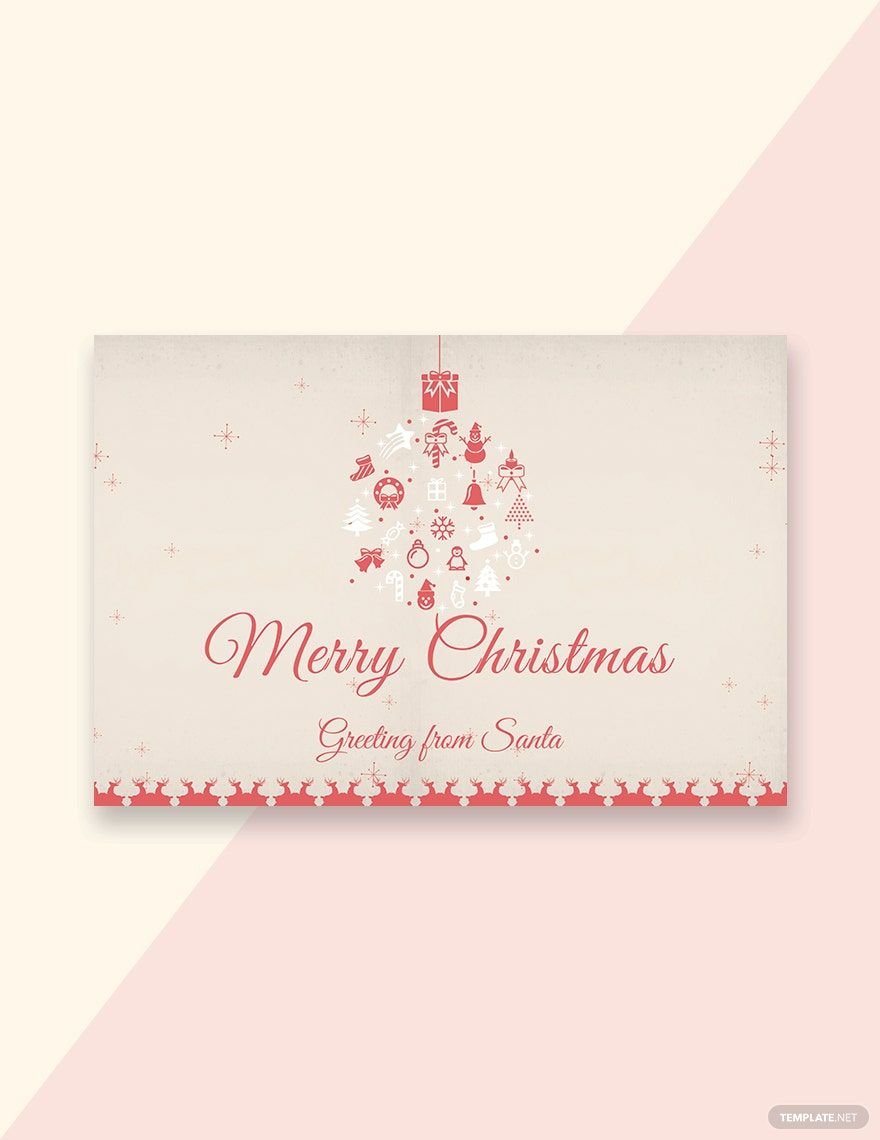
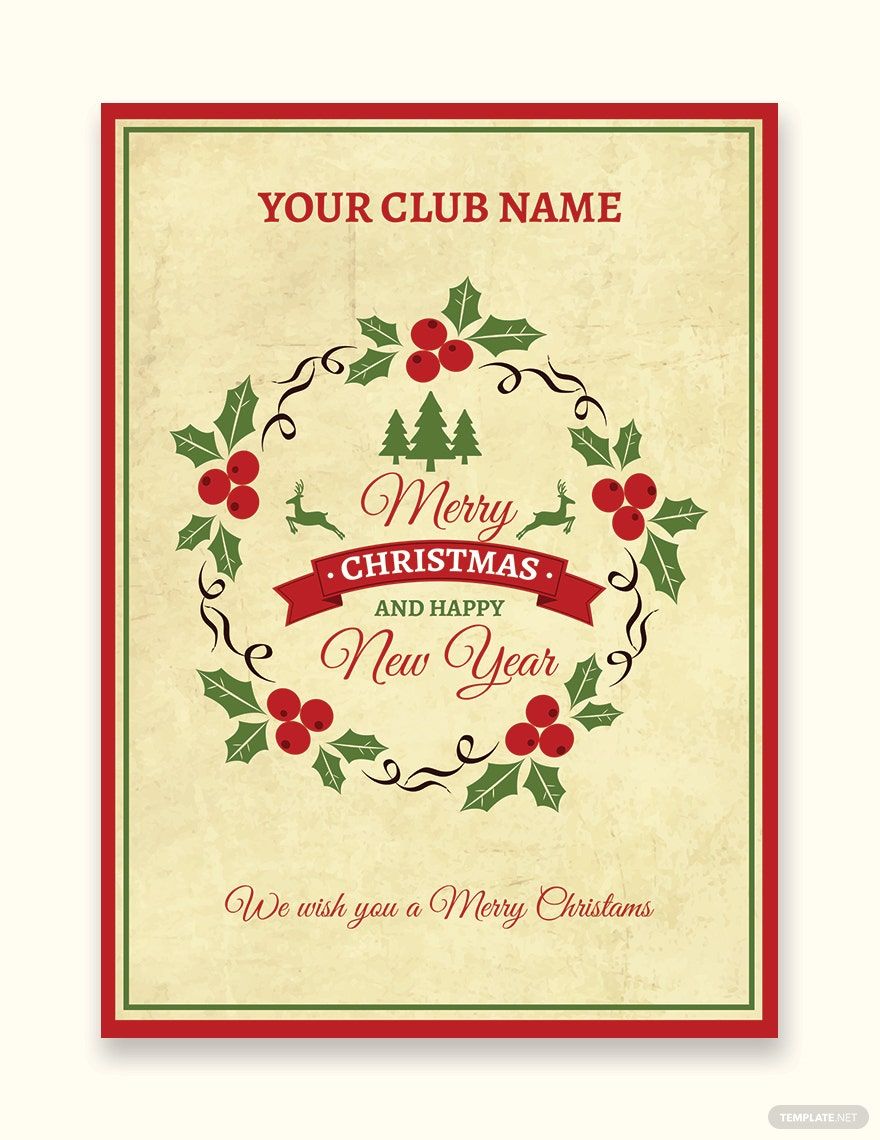
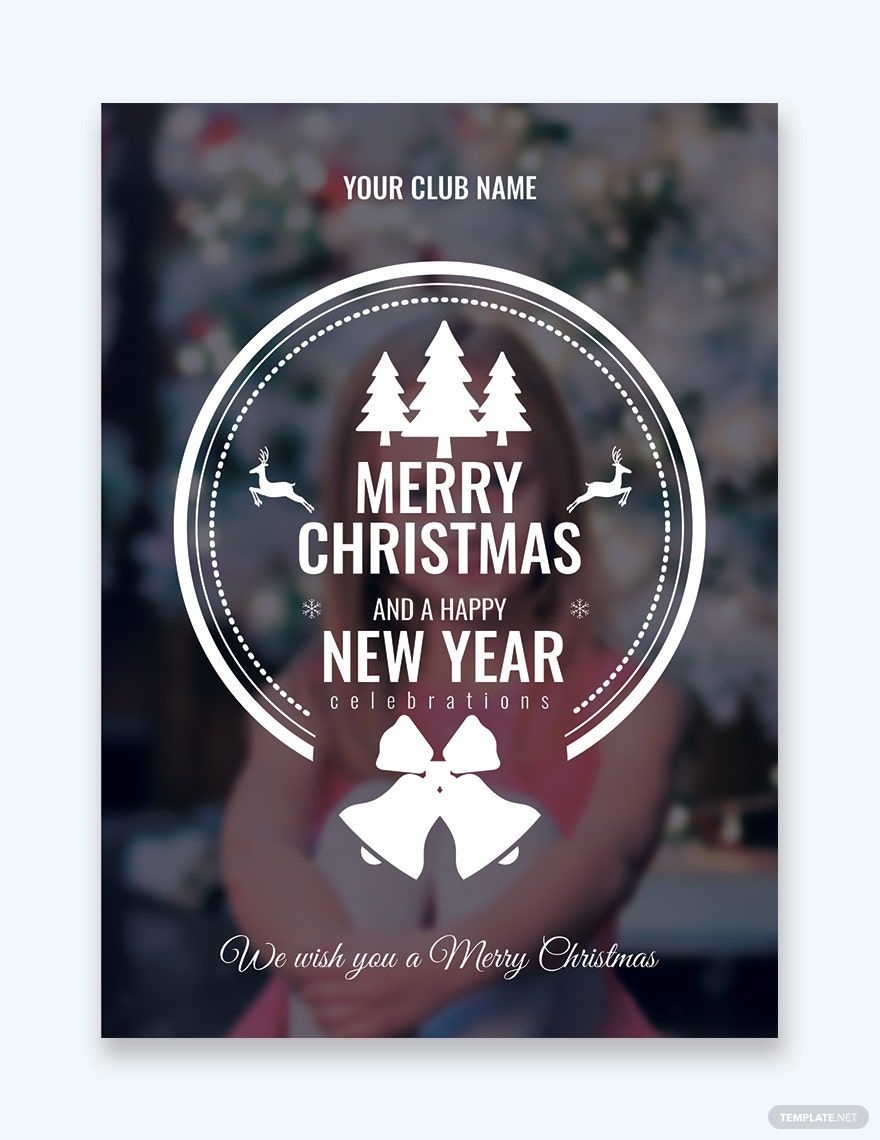
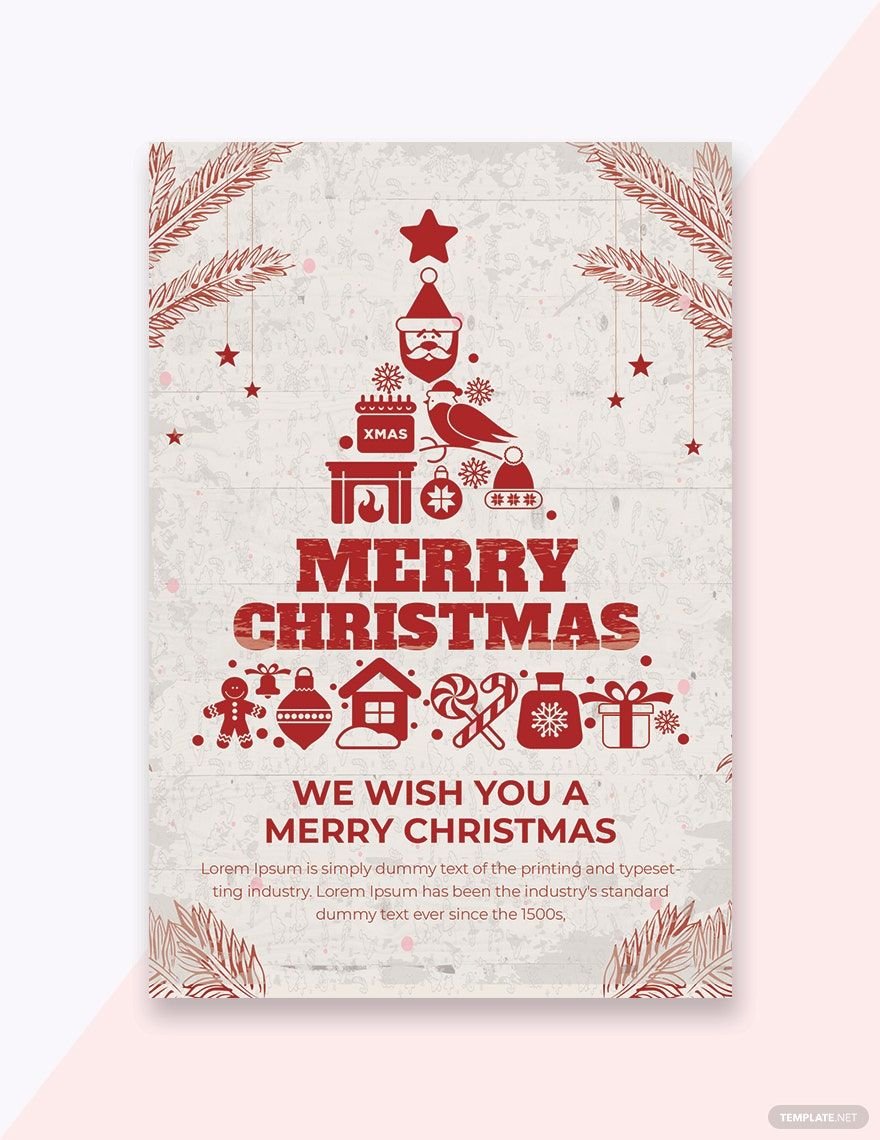
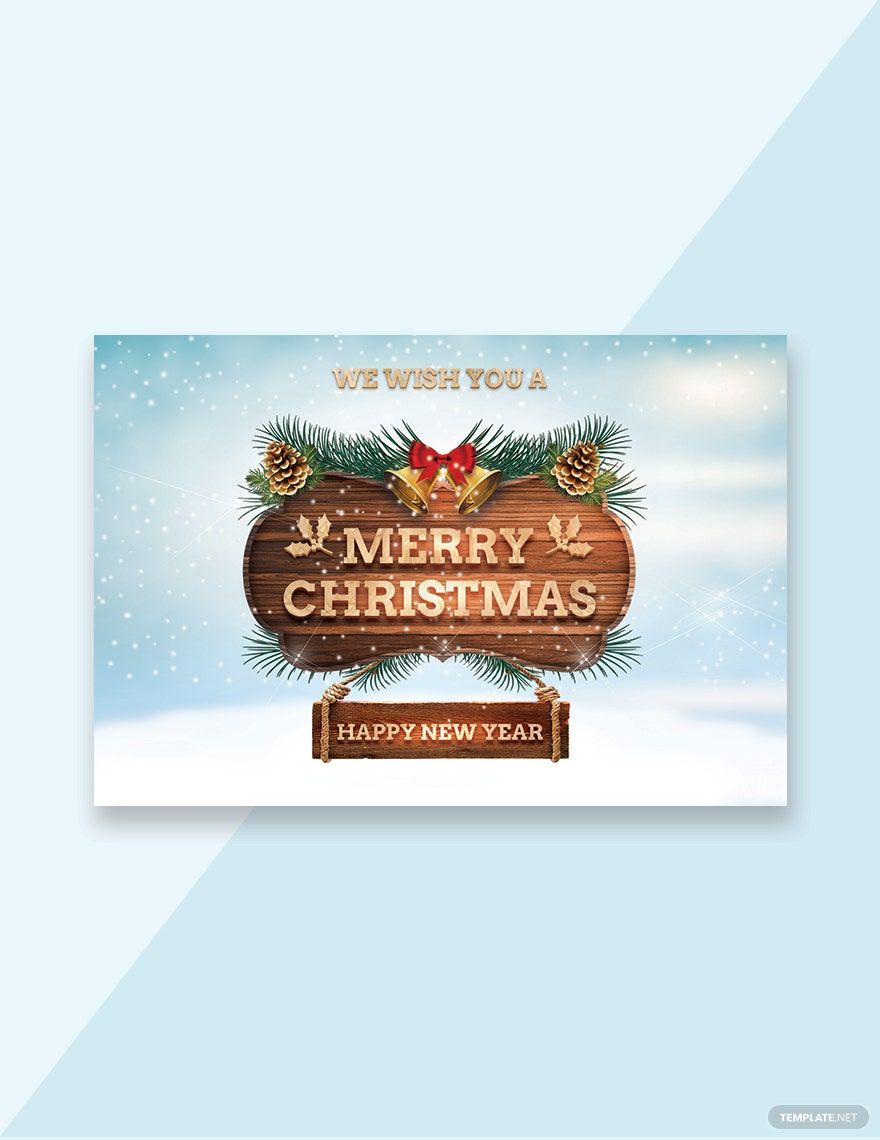
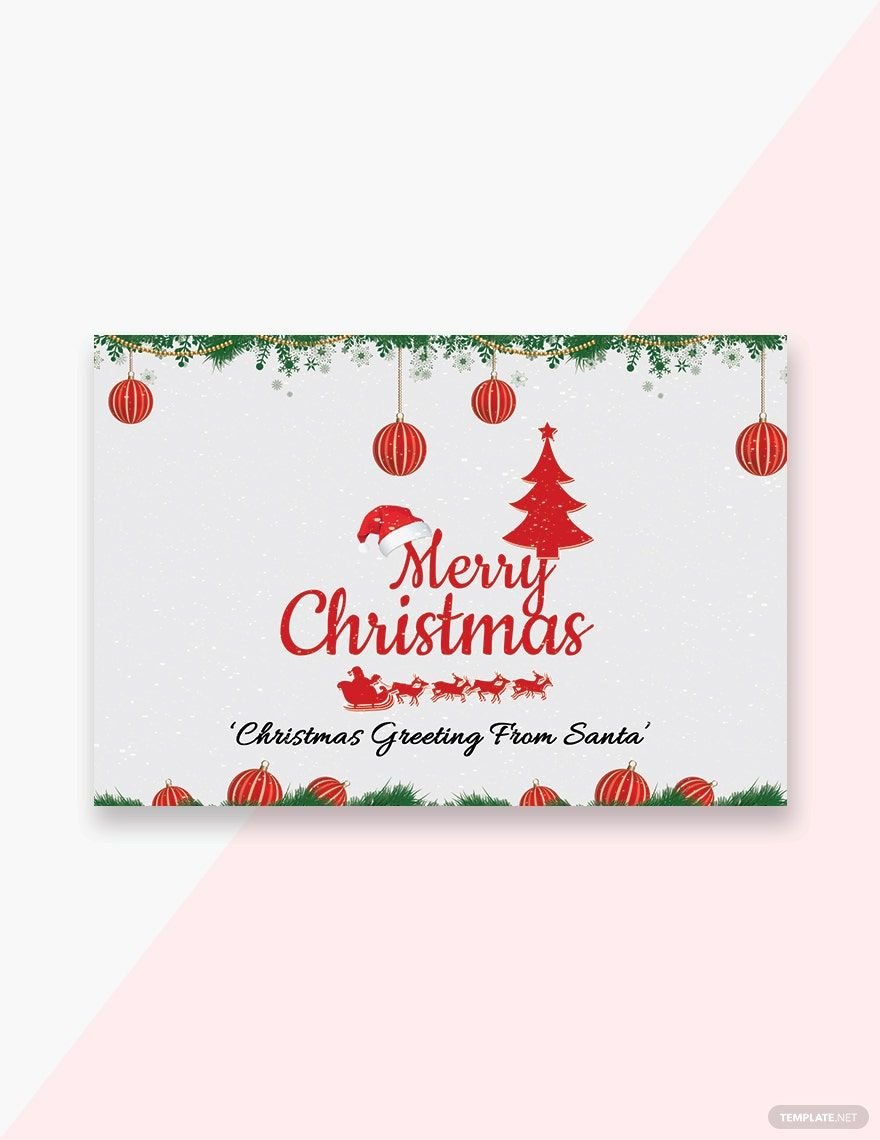
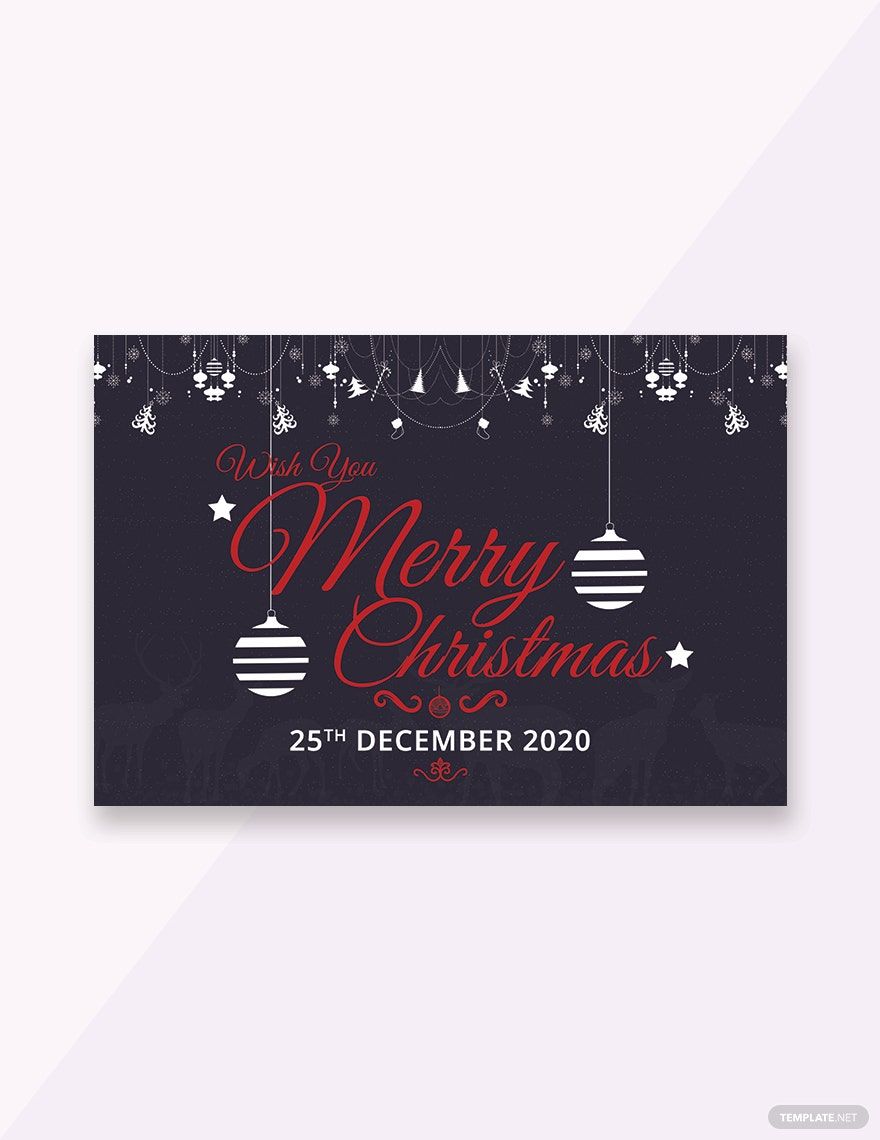
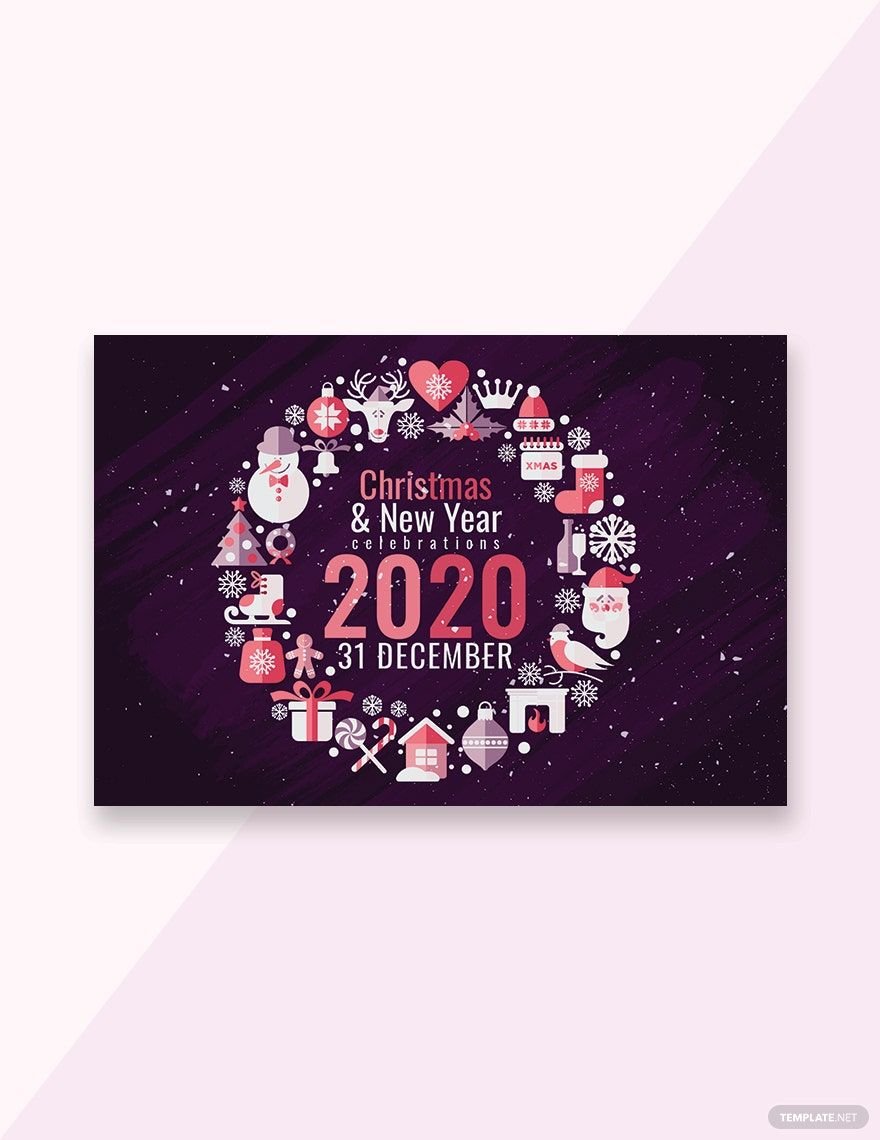
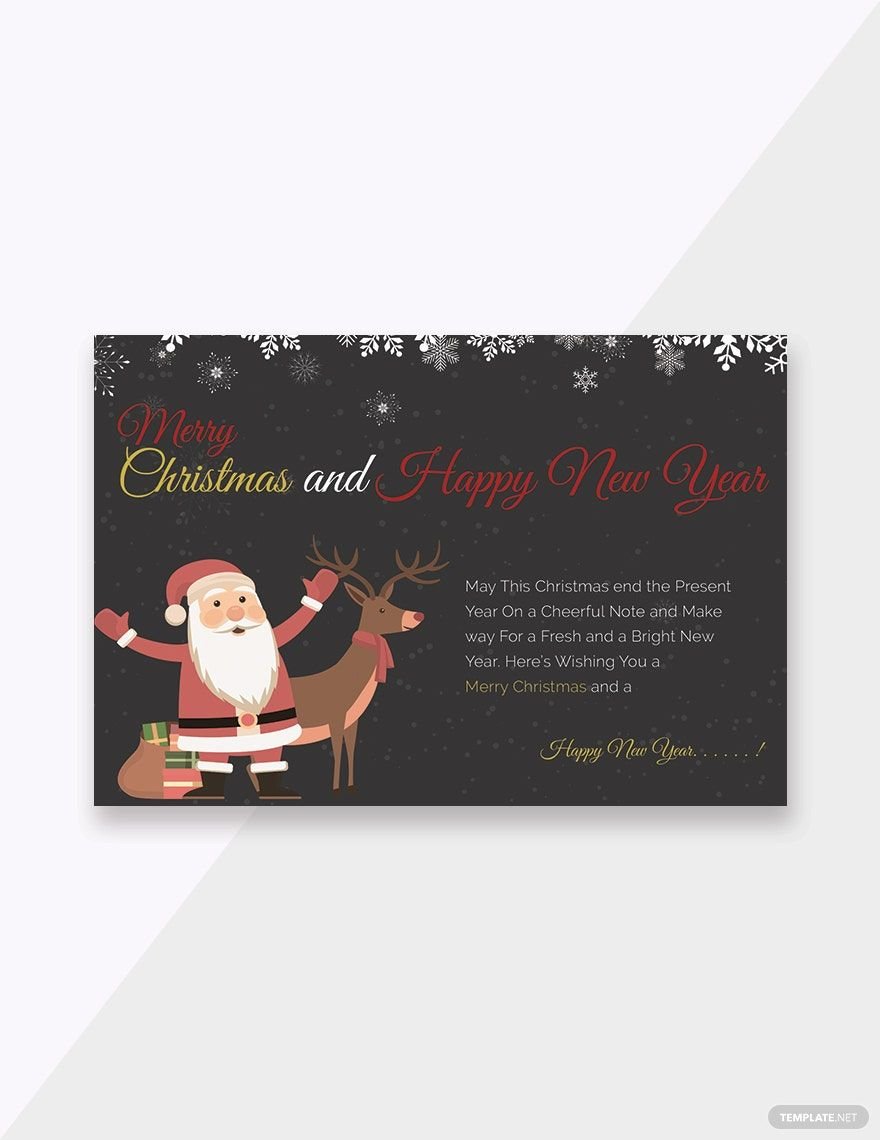
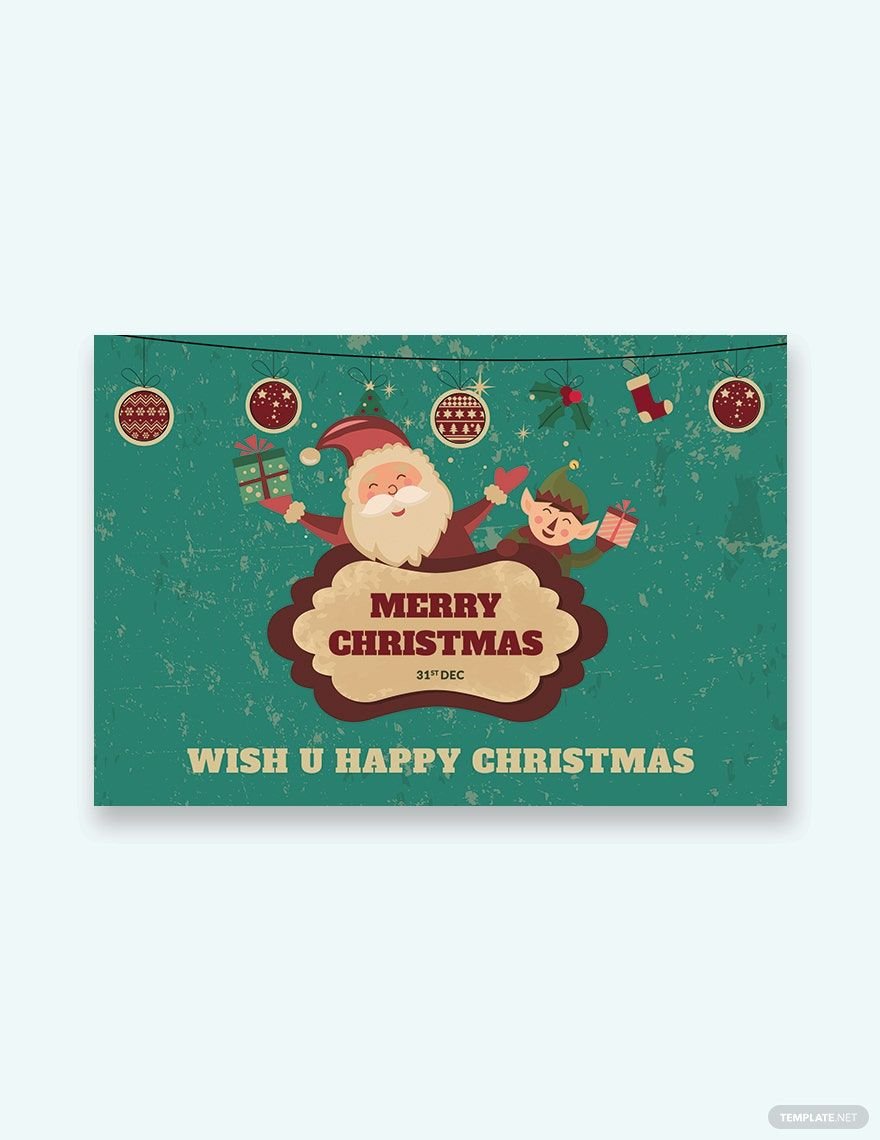
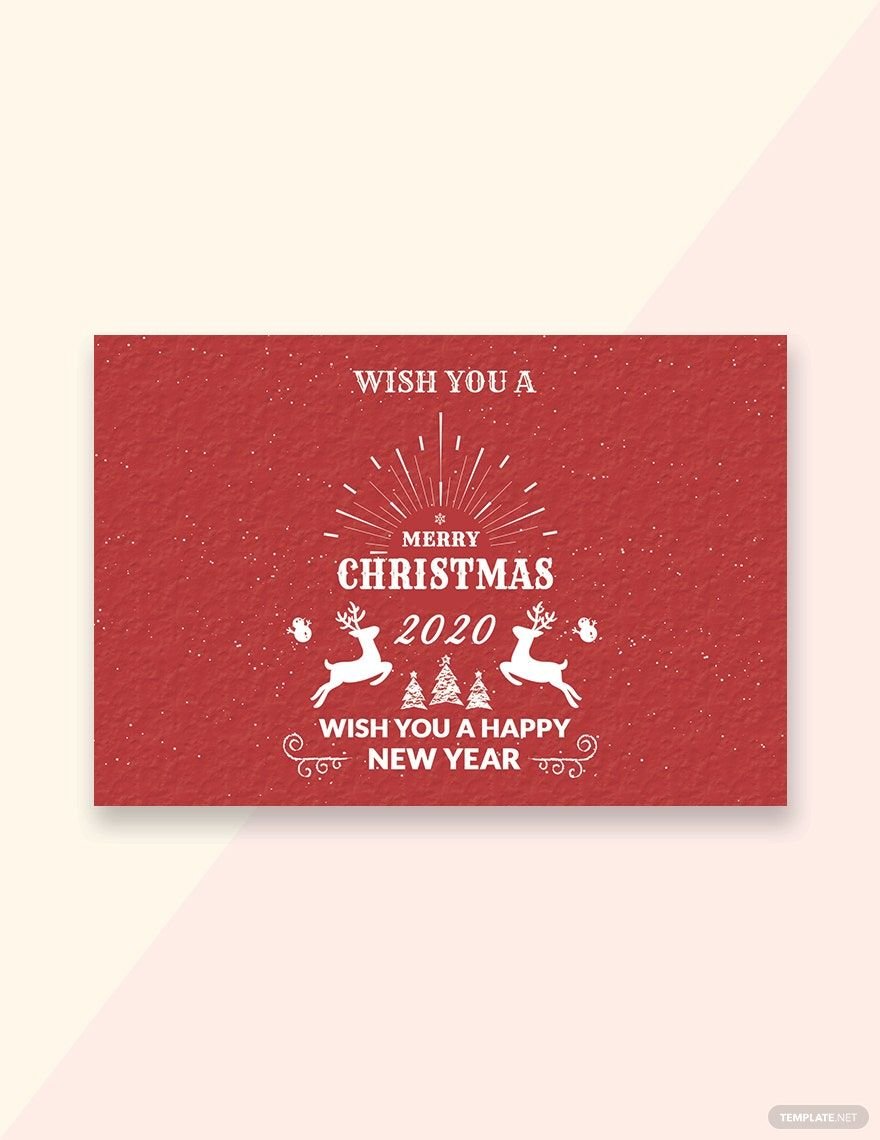
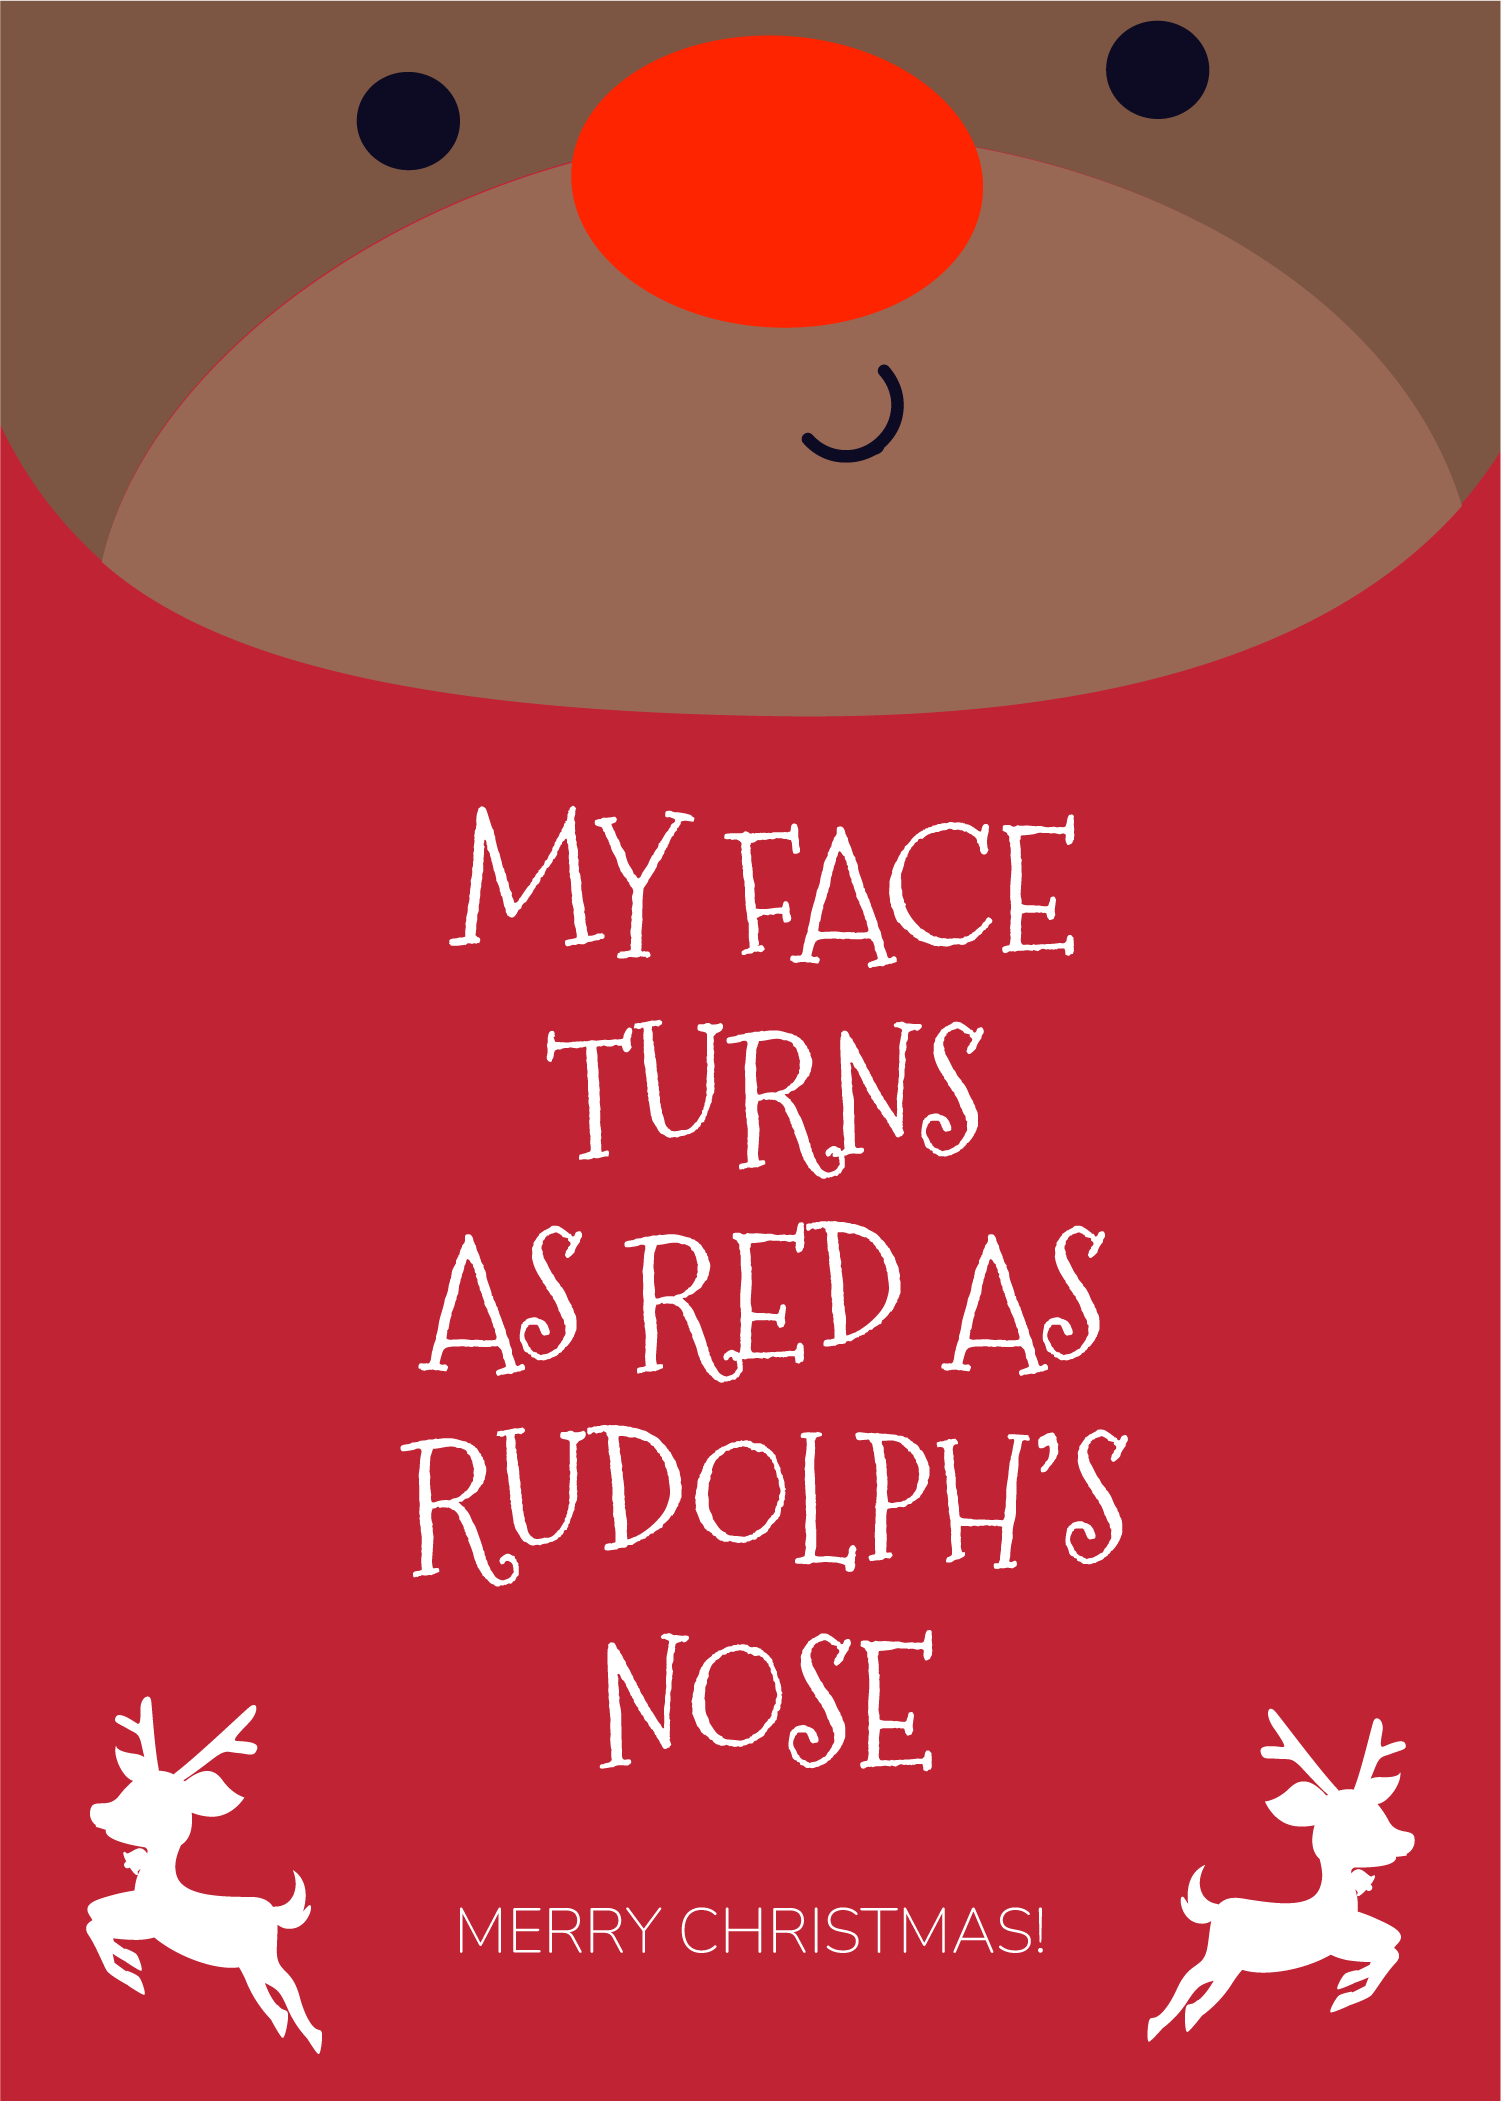
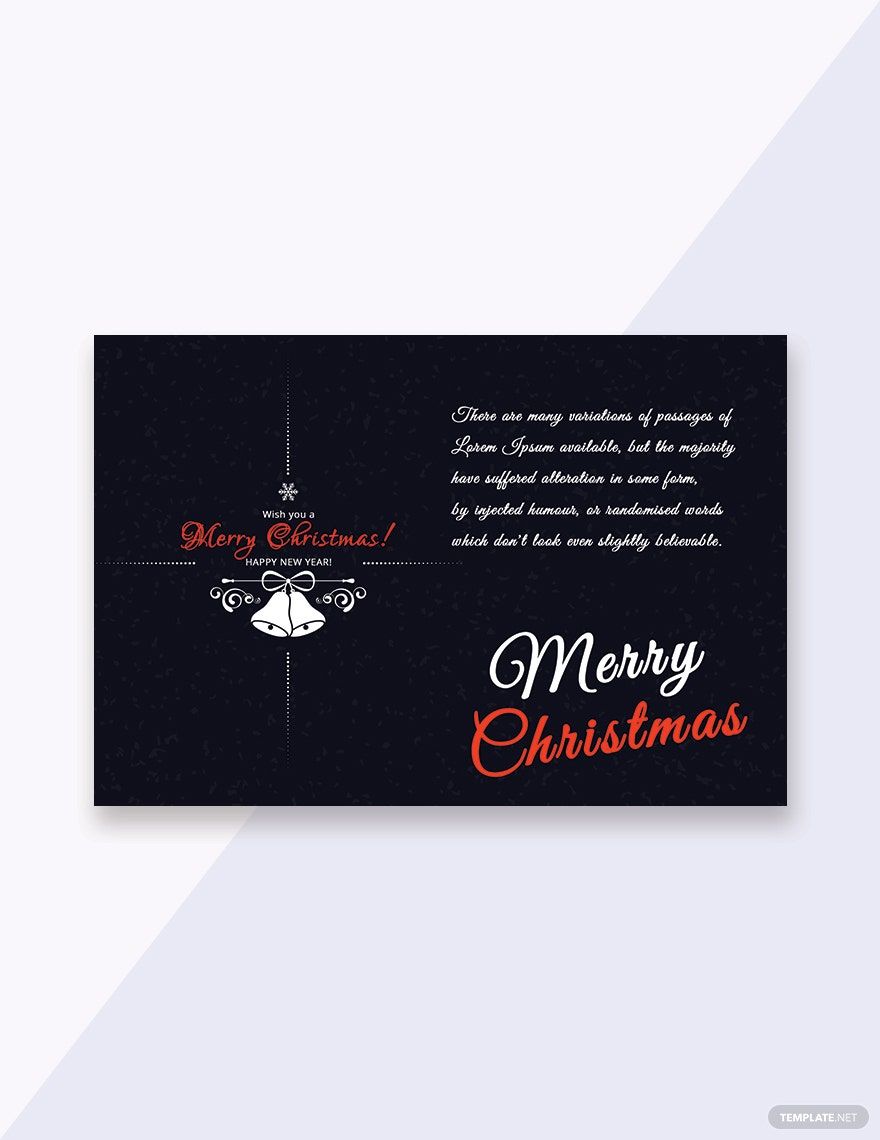
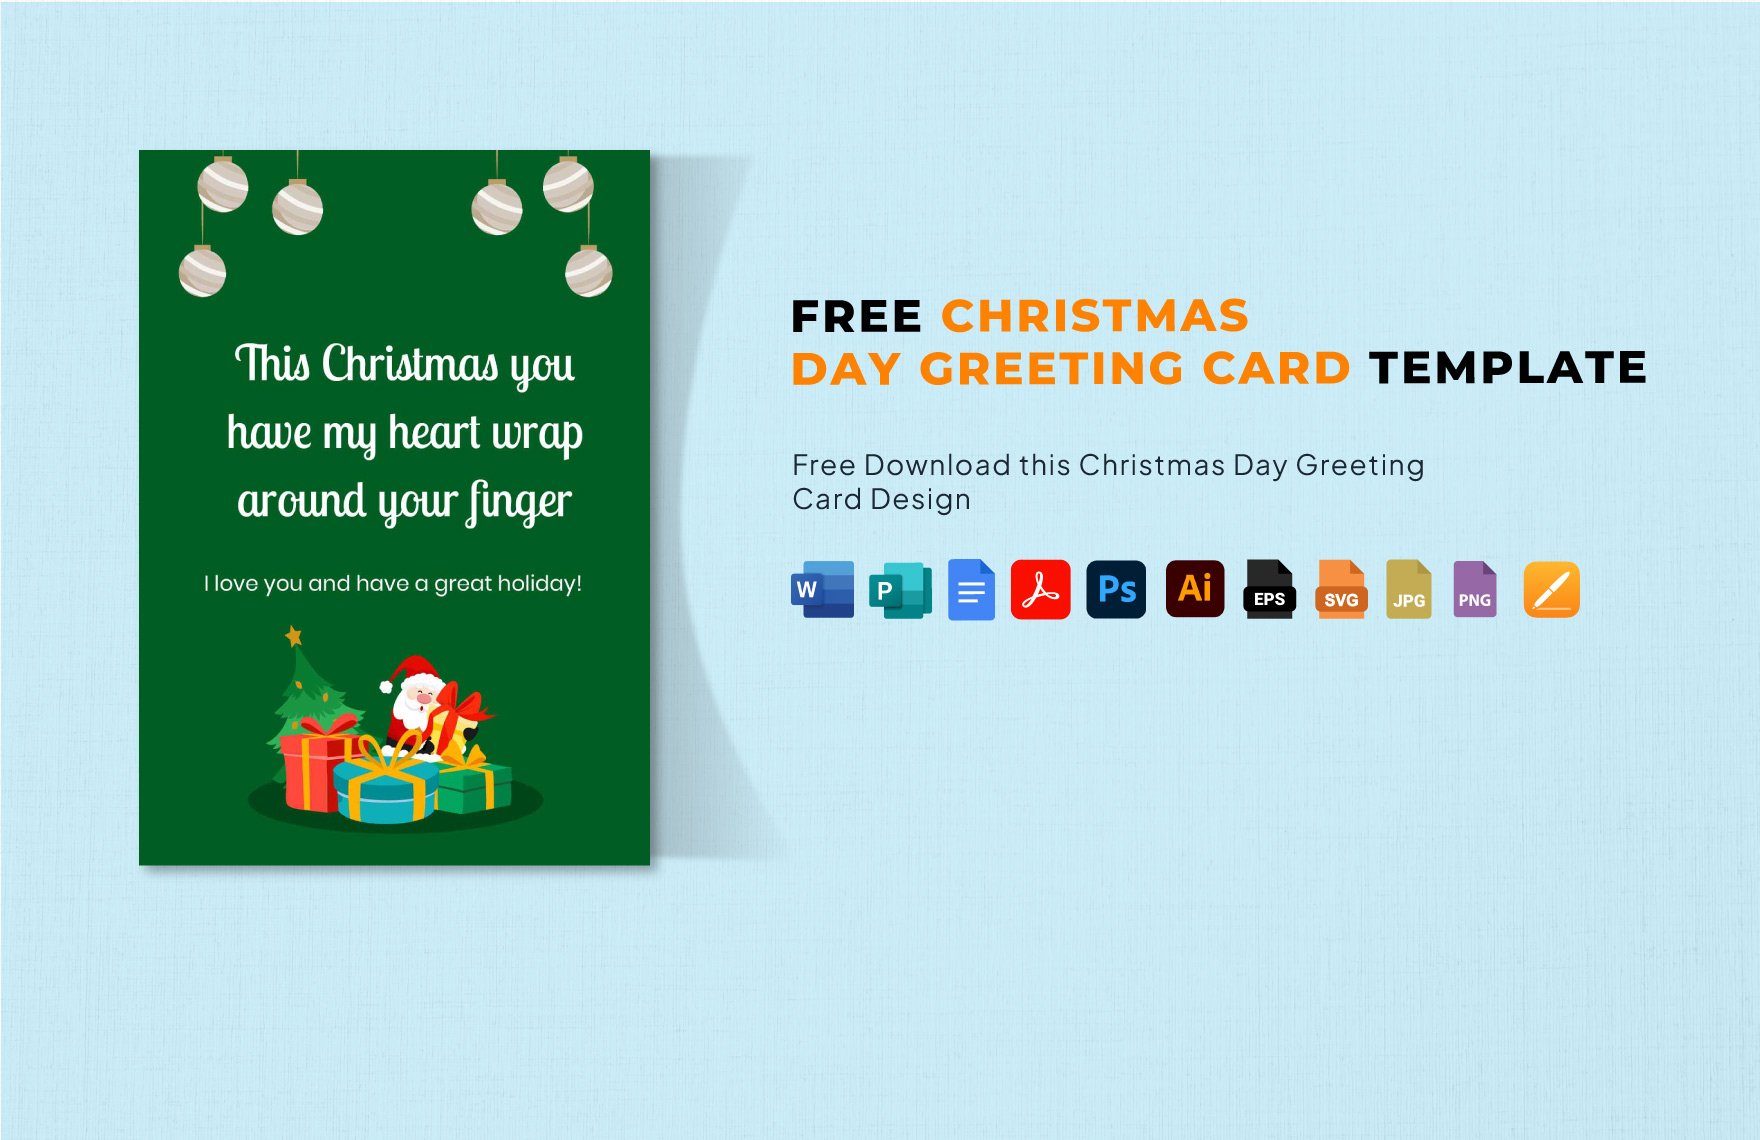
Want to wish someone a Merry Christmas during the holiday season? Then our beautifully-designed Christmas greeting card templates are exactly what you need! They're all ready for you to download and are guaranteed to send warm holiday greetings to those who are closest to you. These ready-made templates are all compatible and editable with every version of Microsoft Word, which means you no longer have to worry about compatibility issues. With this readily-available templates just within your reach, designing high-quality greeting cards for the Christmas season has never been this easy. Should you wish to gain access to more downloadable templates, simply avail of our subscription plans today.
What Is a Christmas Greeting Card?
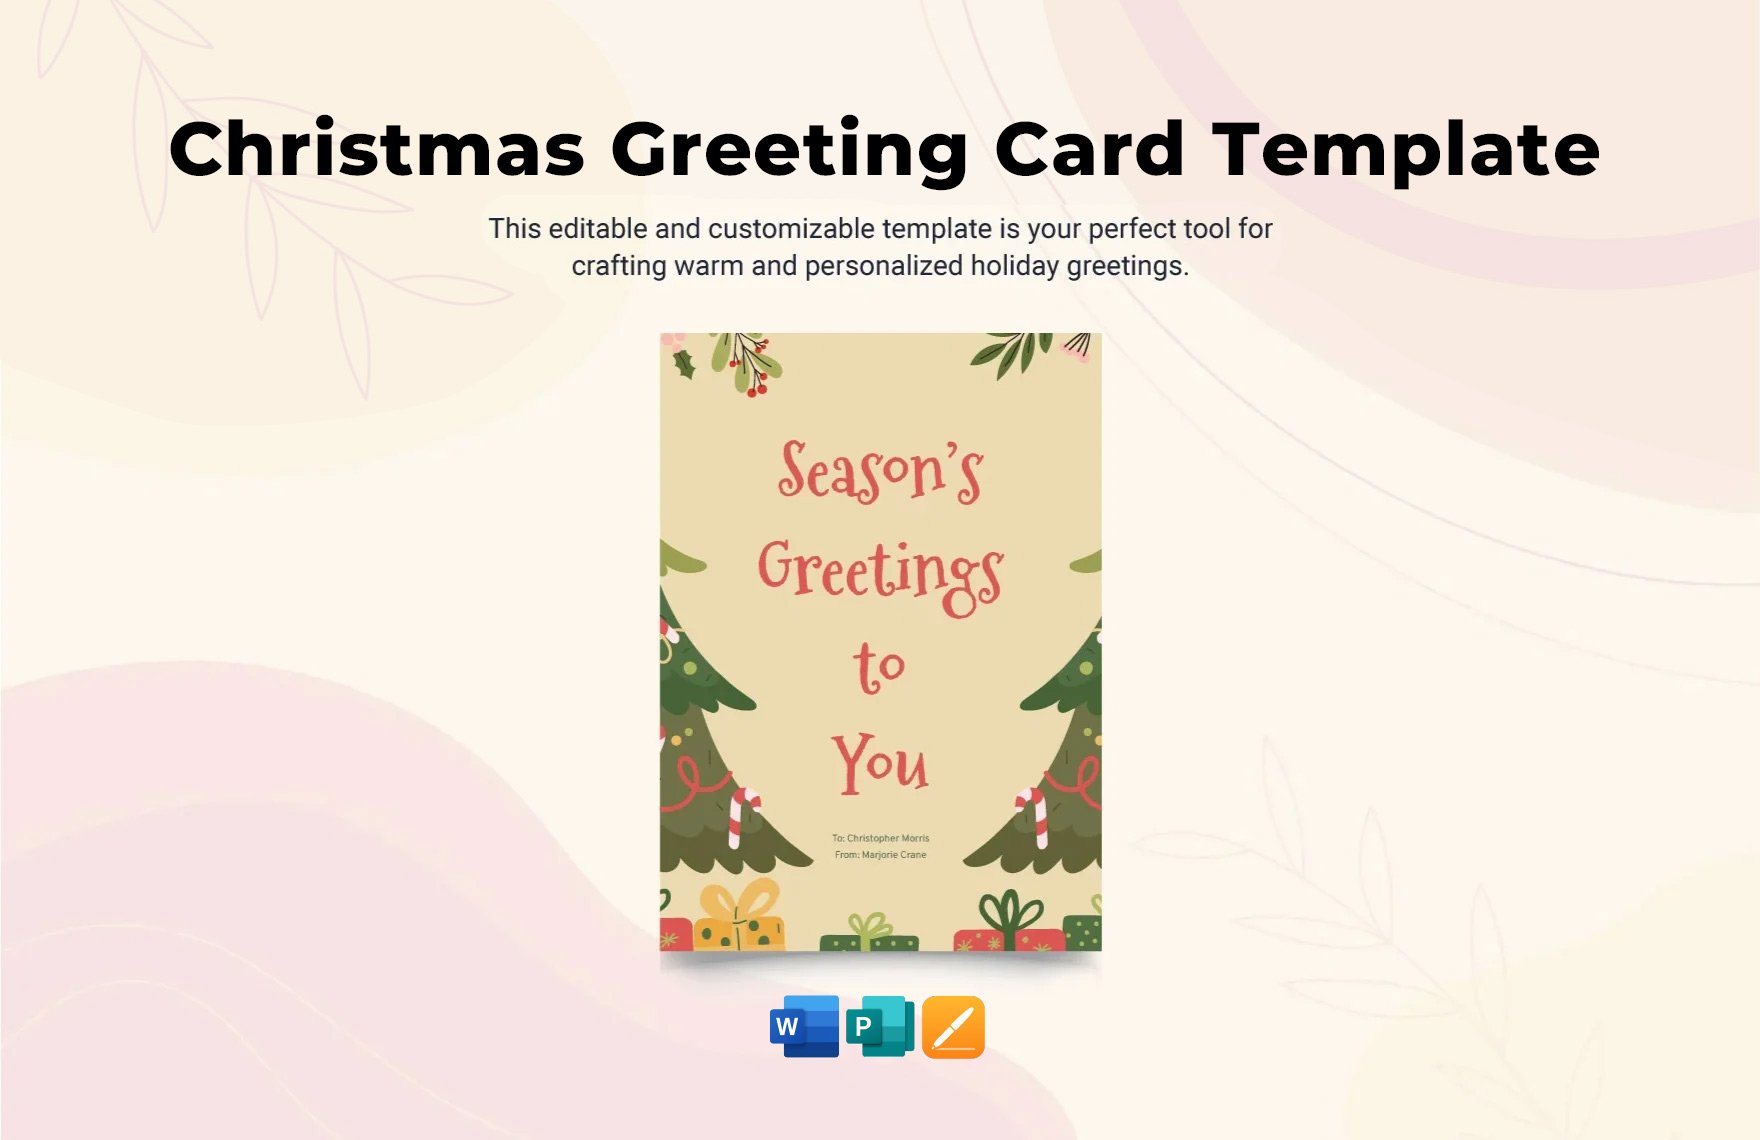
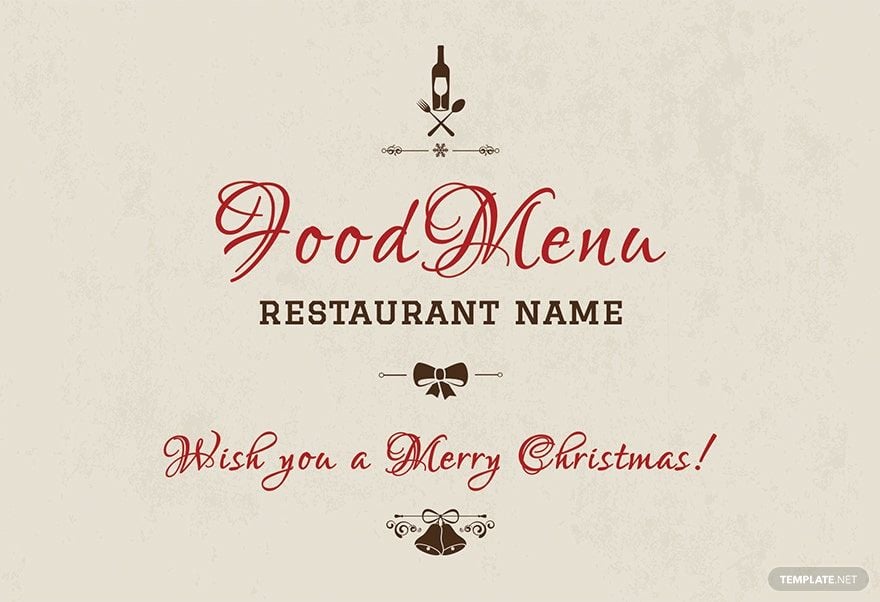
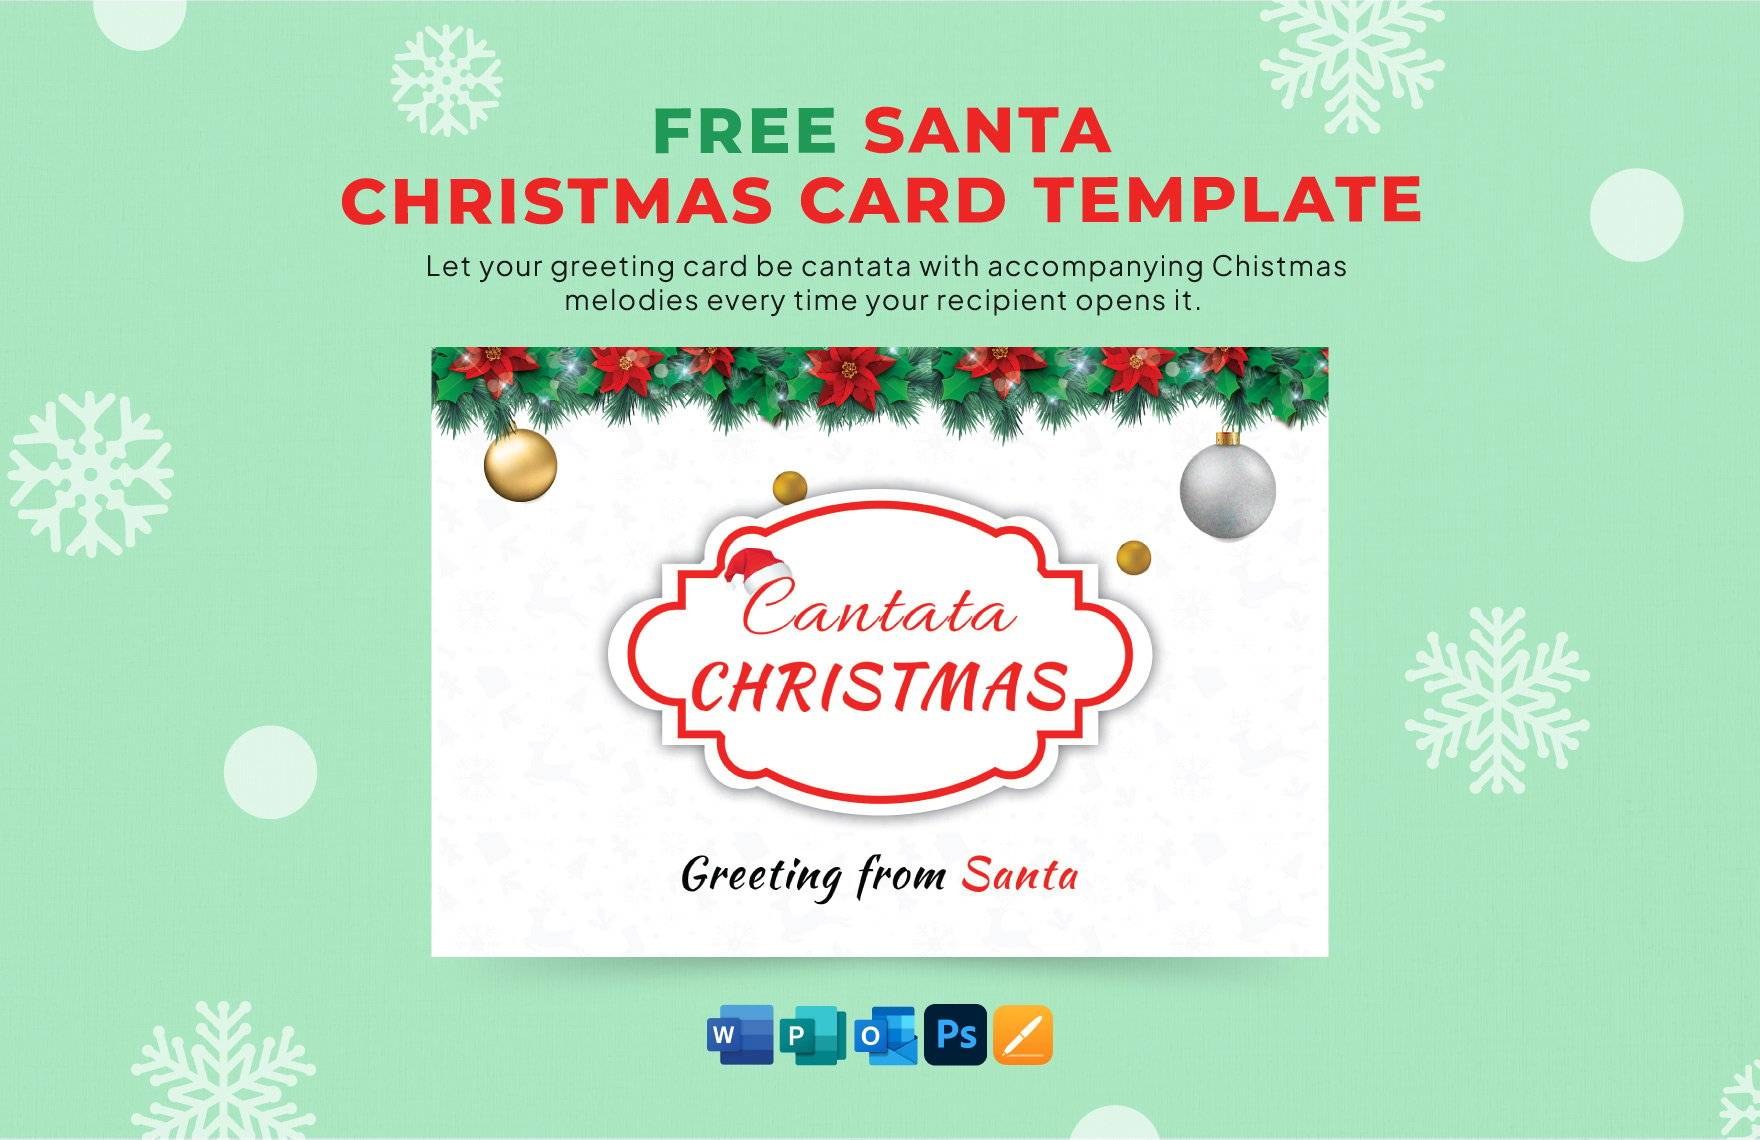
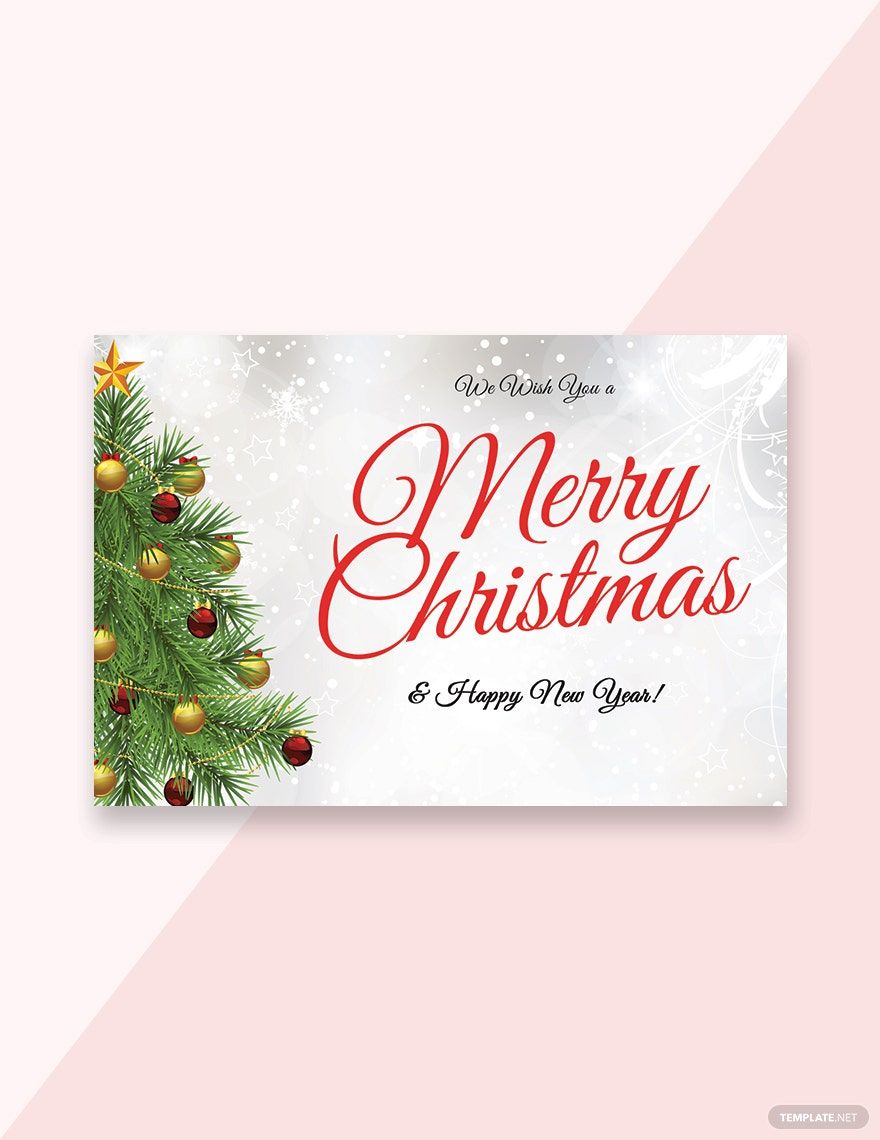
As the name suggests, a Christmas greeting card is a way of delivering warm Christmas greetings to a particular recipient. Although it's just like any other type of greeting card, this one is specifically sent only during the Christmas season. Know that many businesses take advantage of the holidays by making this type of card and selling them to the masses.
How to Make a Christmas Greeting Card in Word
While nine out of every ten households purchase around 30 greeting cards each year, you can choose to make one instead. To get you started in making your own Christmas greeting card, simply refer to the list of steps below.
1. Start With the Design
Since you'll be using Microsoft Word to create your simple greeting cards, know that you'll need to consider things such as the orientation and background. In terms of orientation, this refers to the landscape (horizontal) and portrait (vertical) positioning of the layout. On the other hand, the background can either be a photo or a solid color depending on your preference. Setting the orientation and background of your project can be done by accessing Word's Page Layout section.
2. Add Borders
You want to add a border to make sure that whatever you place in your Christmas card is properly centered. Just like the orientation and background, setting the borders can also be done by accessing the Page Layout section and choosing which one to use. Go with whatever you think will suit your card best as there are many styles for you to choose from. Additionally, you can also customize the color of the border.
3. Use the Right Images
After setting up the layout, you'll need to choose the right images that go well with the creative card's Christmas theme. Although most people would use images of Christmas trees, gifts, or stockings, you can choose to get a bit more creative. To pull off a very personal design, you may even want to use a family photo if you think that it looks good. Once you've found the images that you want to use, add them to your work by simply clicking on Insert and moving the image wherever you think is appropriate. Also, Word will allow you to crop and resize the image according to the right size if needed.
4. Put In Your Message
Now comes the part where you'll need to start adding text to your holiday card. Aside from simply wishing the recipient a Merry Christmas, you should also come up with a personalized message that leaves a good and lasting impression. However, know that it's best not to make your message too long, simply express yourself in the most meaningful and concise way possible.
5. Make the Necessary Edits
Before you print your Christmas postcard, you should go through all its contents to see if there's something that needs to be corrected. Check for the grammar and spelling as well as the composition of the sentences, the last thing that you would want is to send an unpolished greeting card. After reviewing the content and making the necessary corrections to the design, you may start printing copies of your card and send one to each of your chosen recipients.
