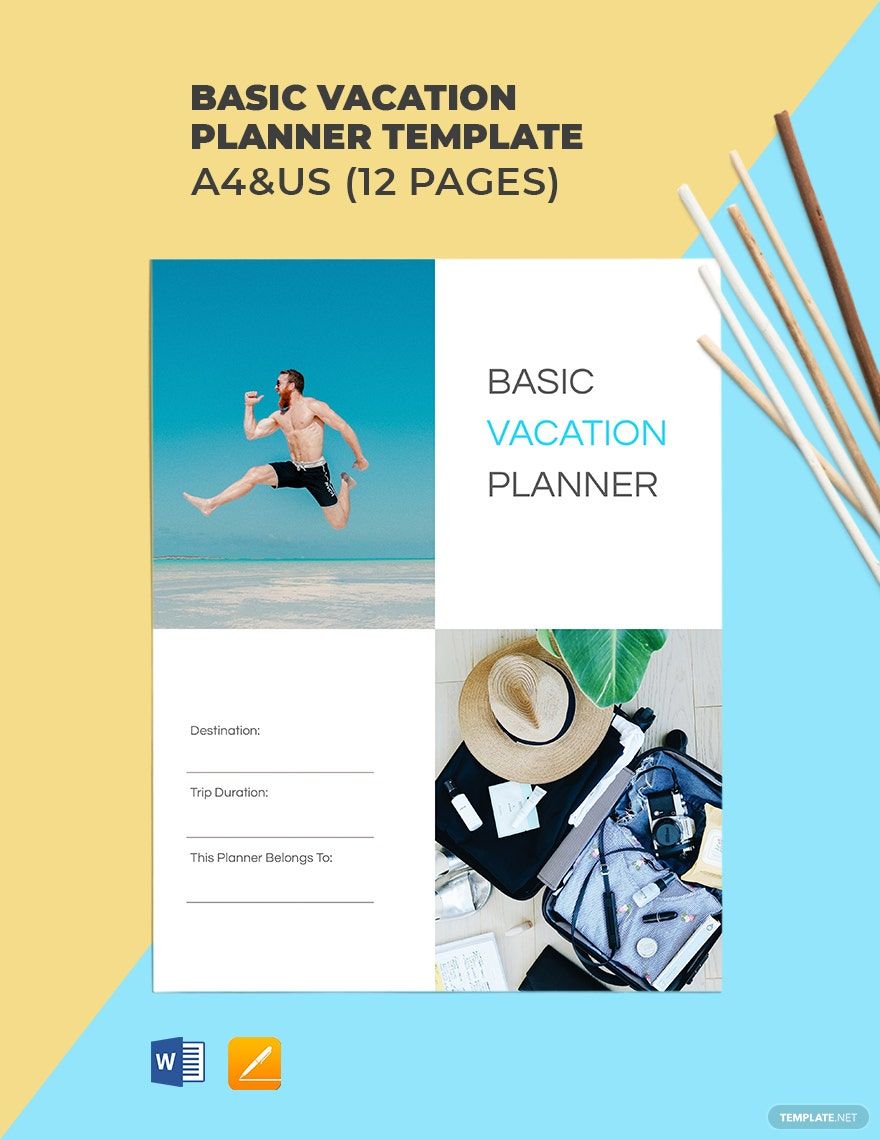
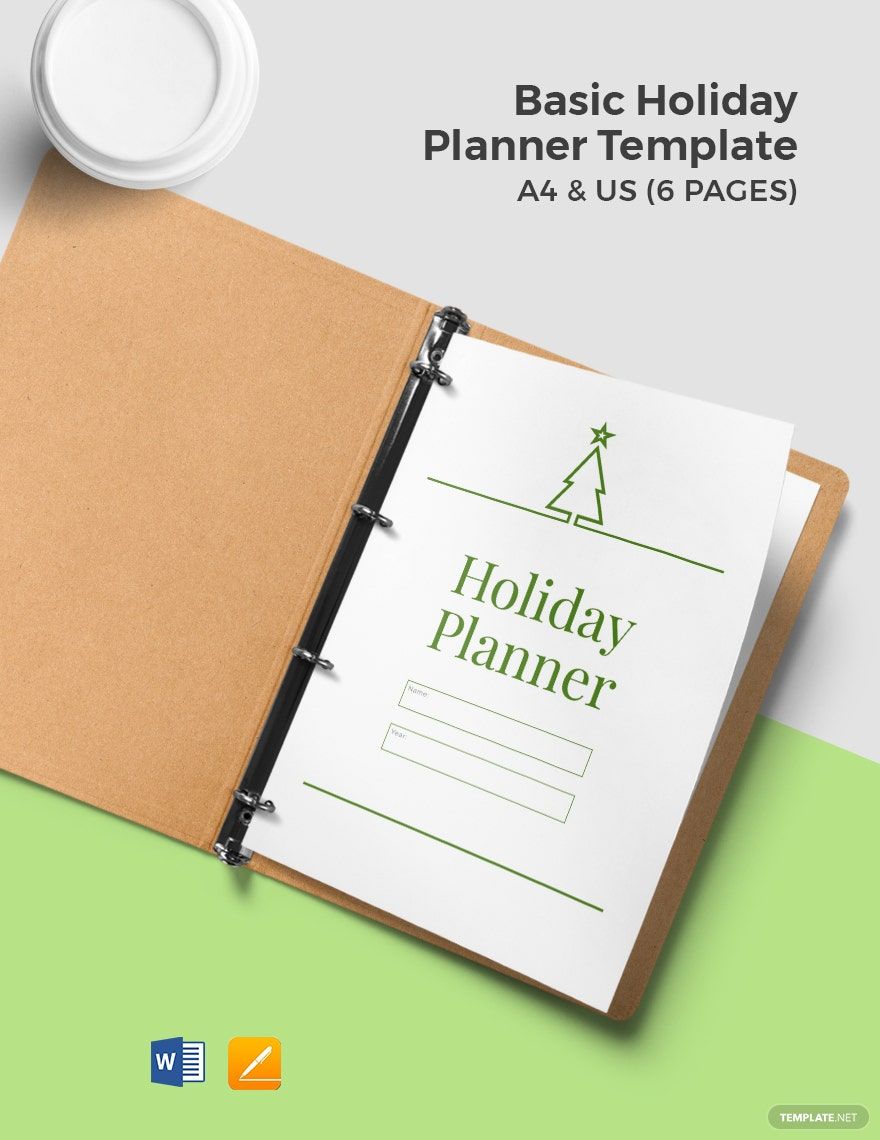
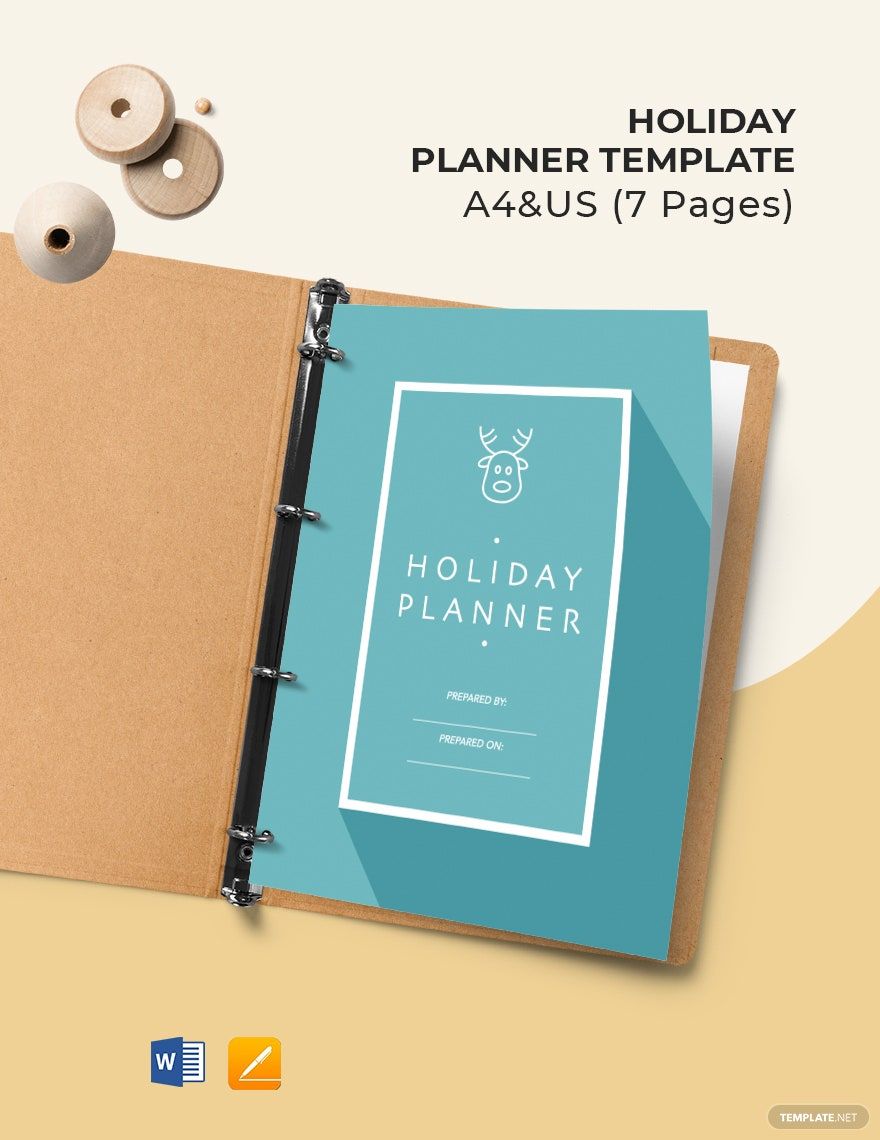
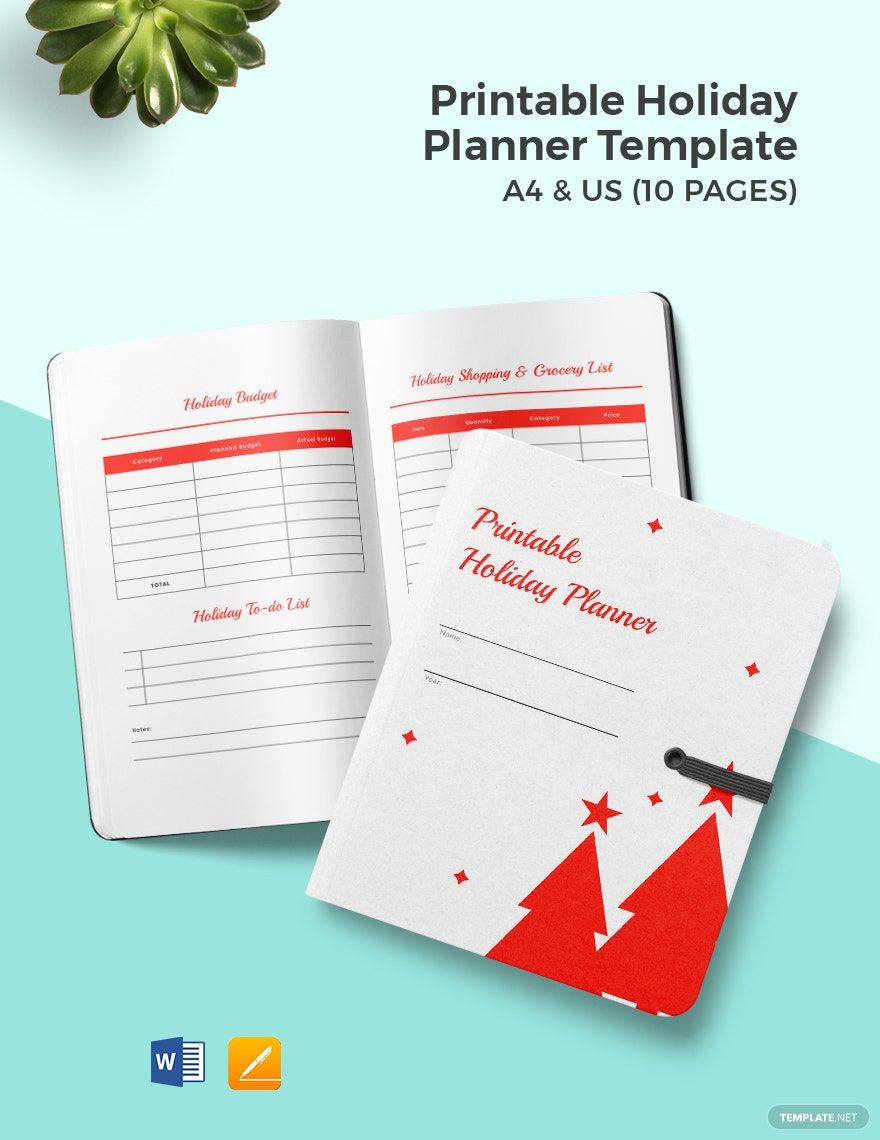
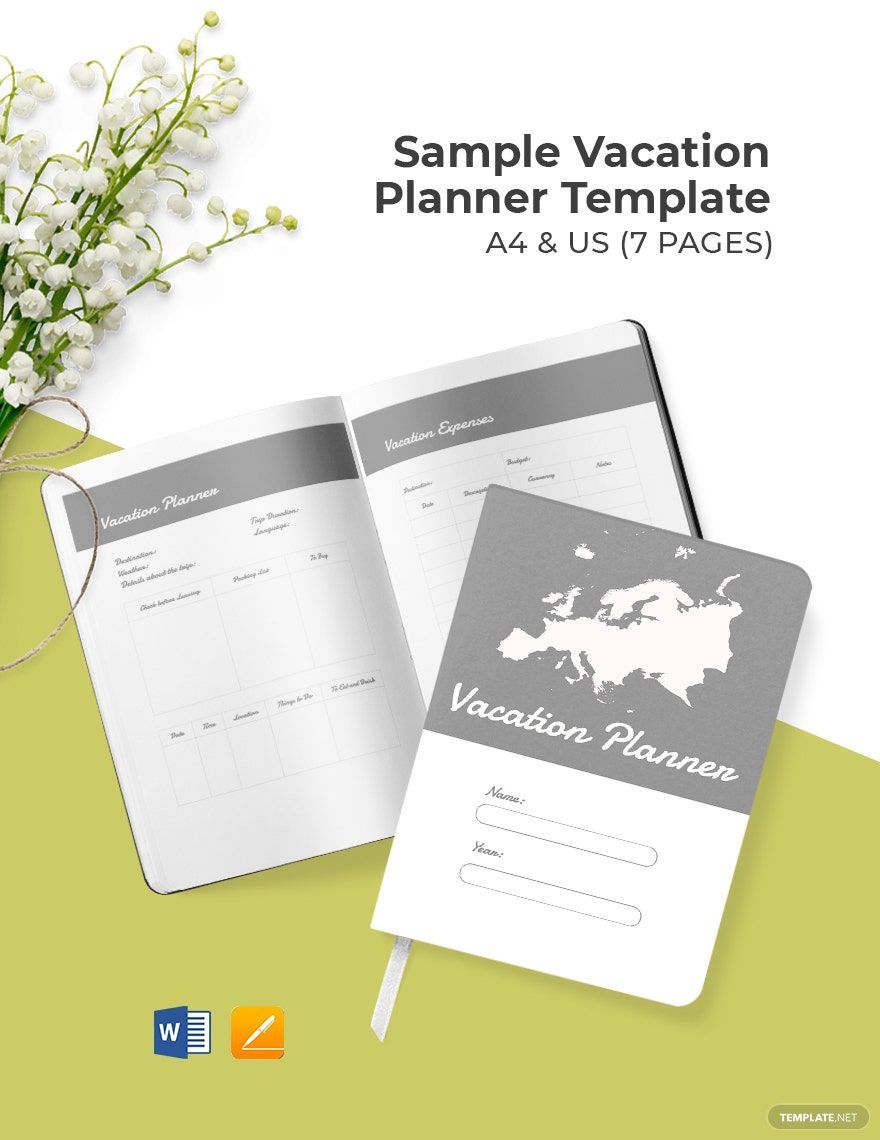
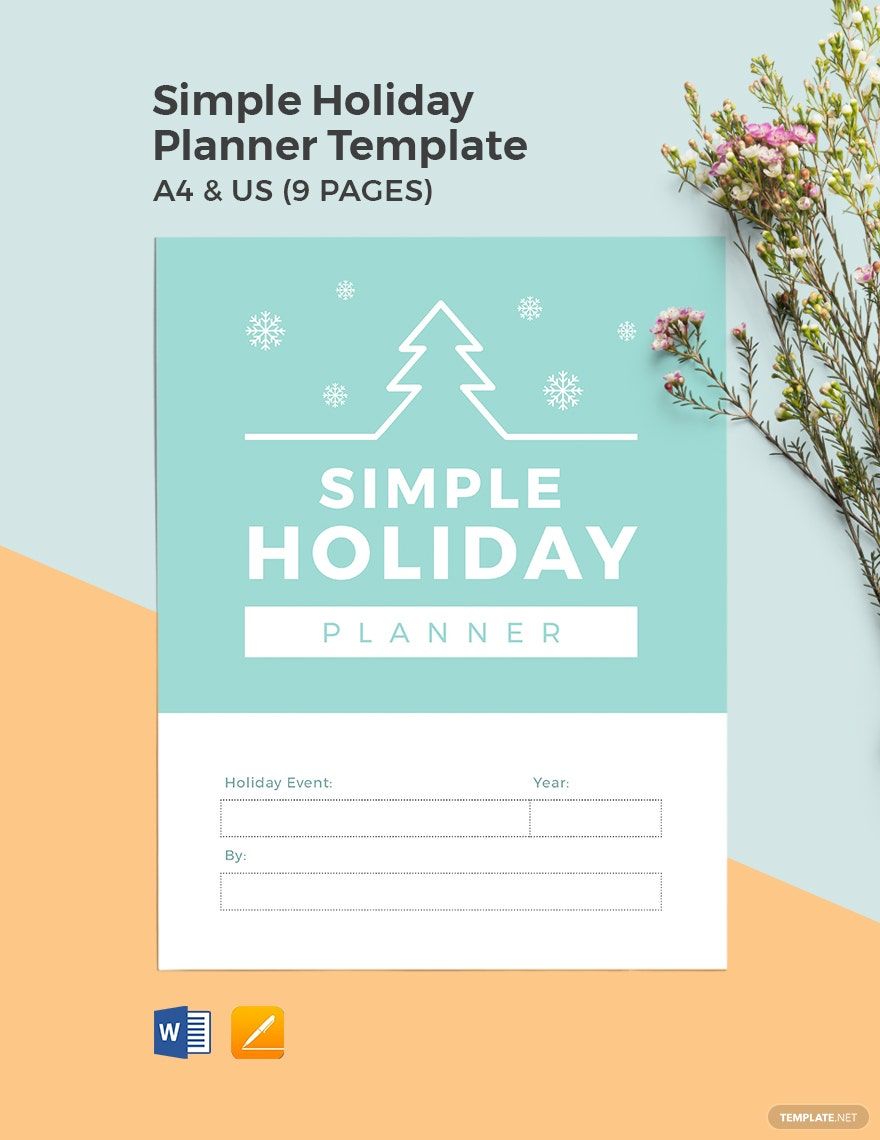
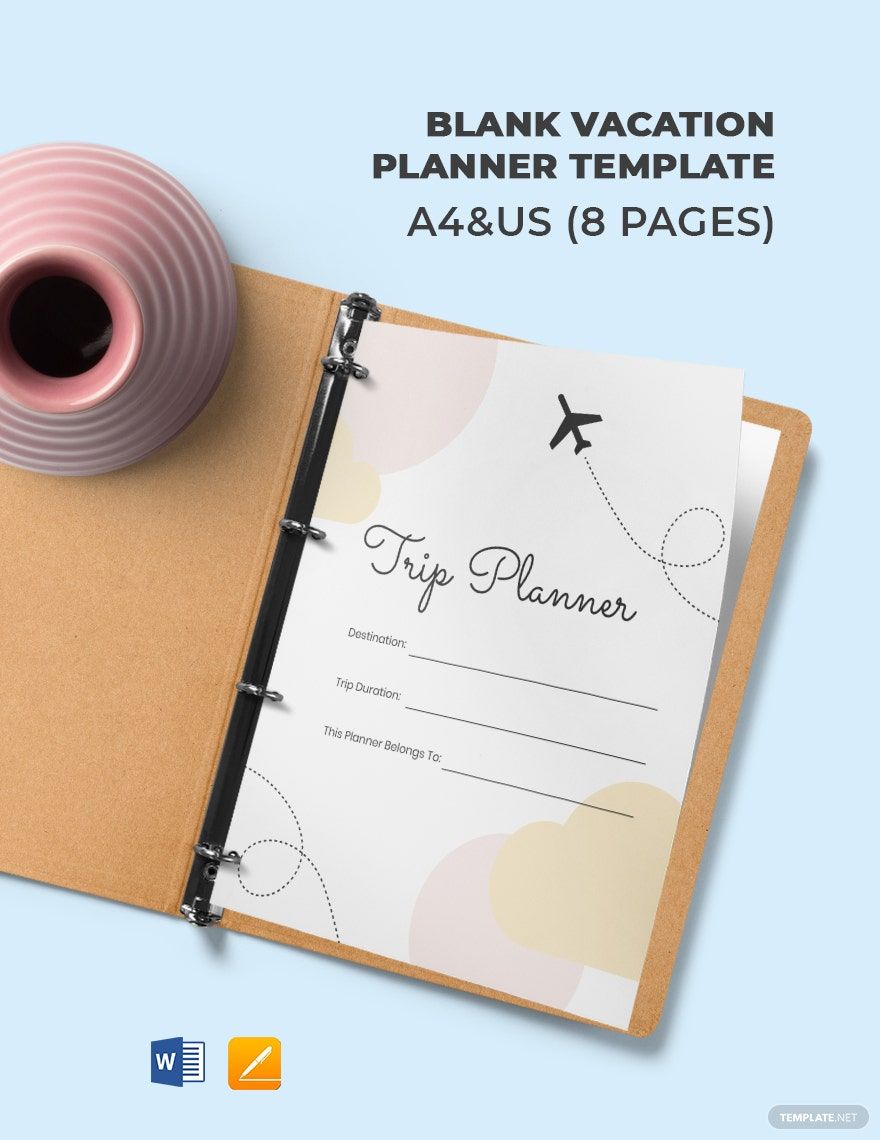
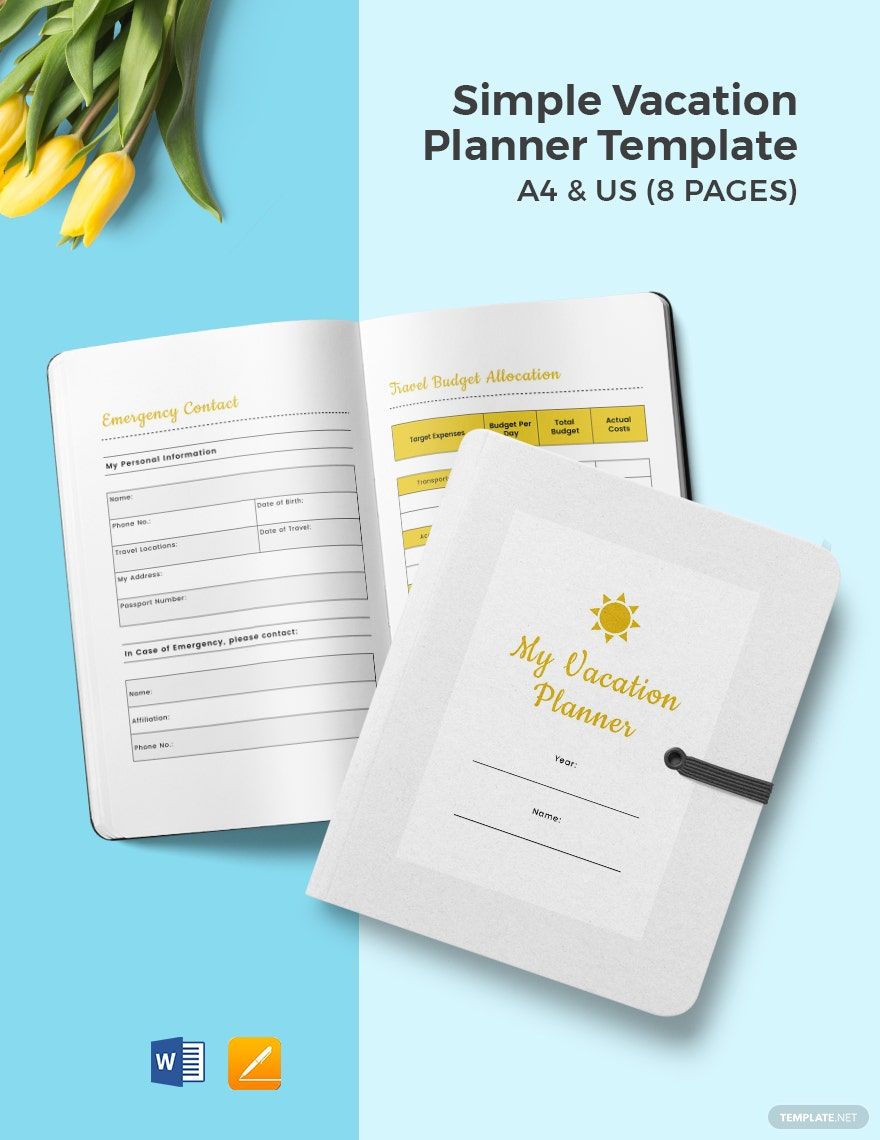
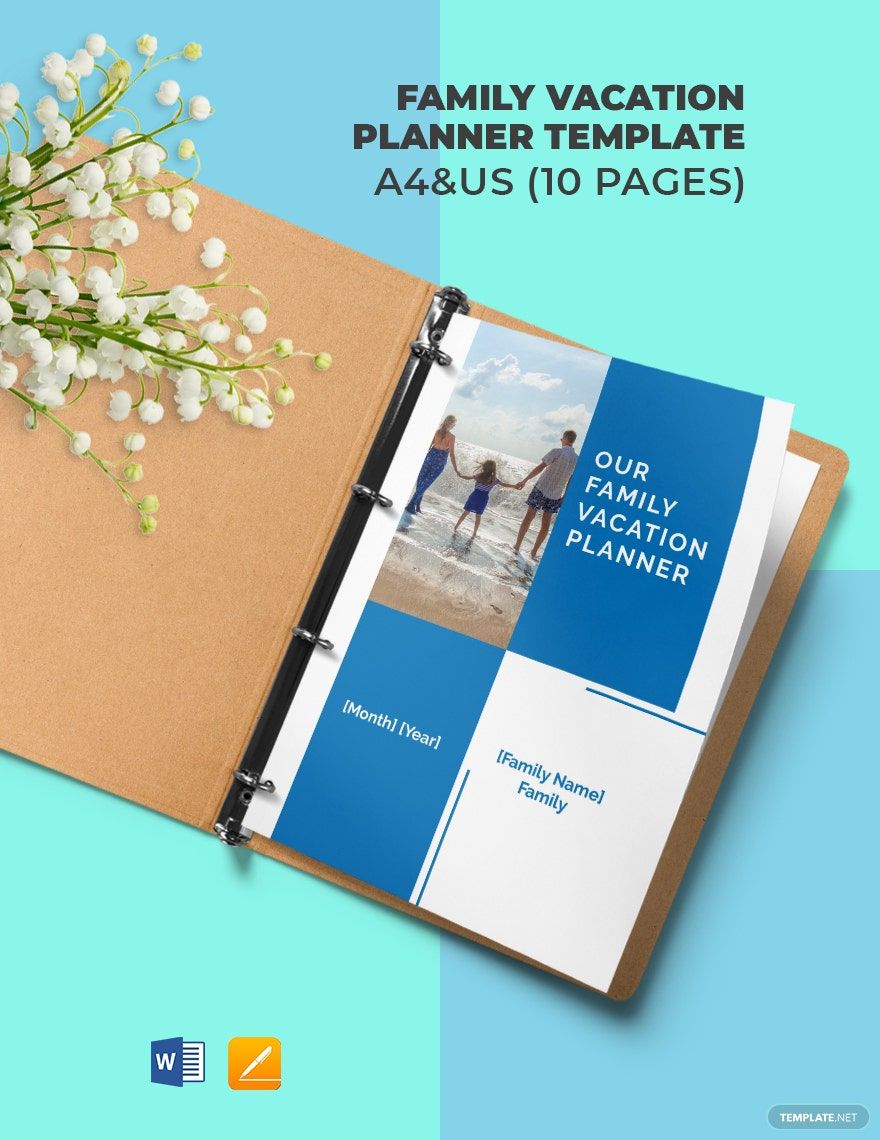
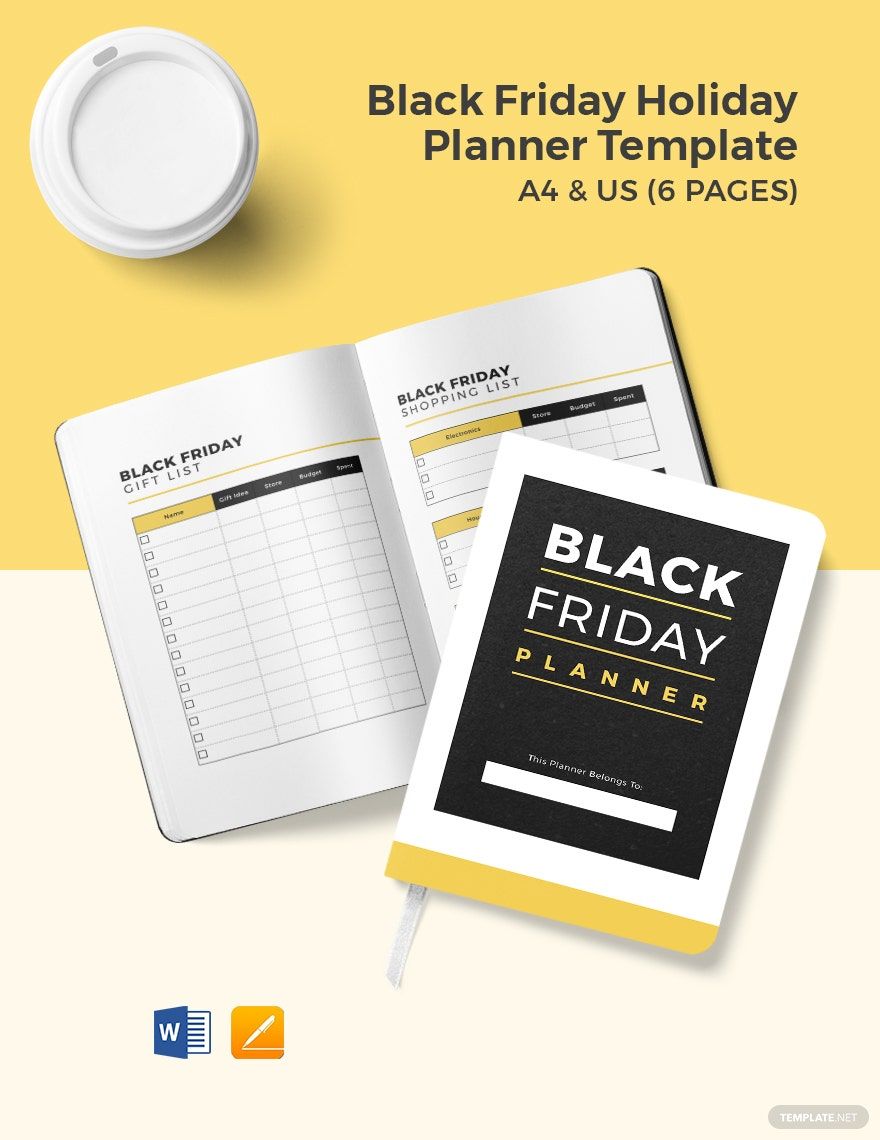
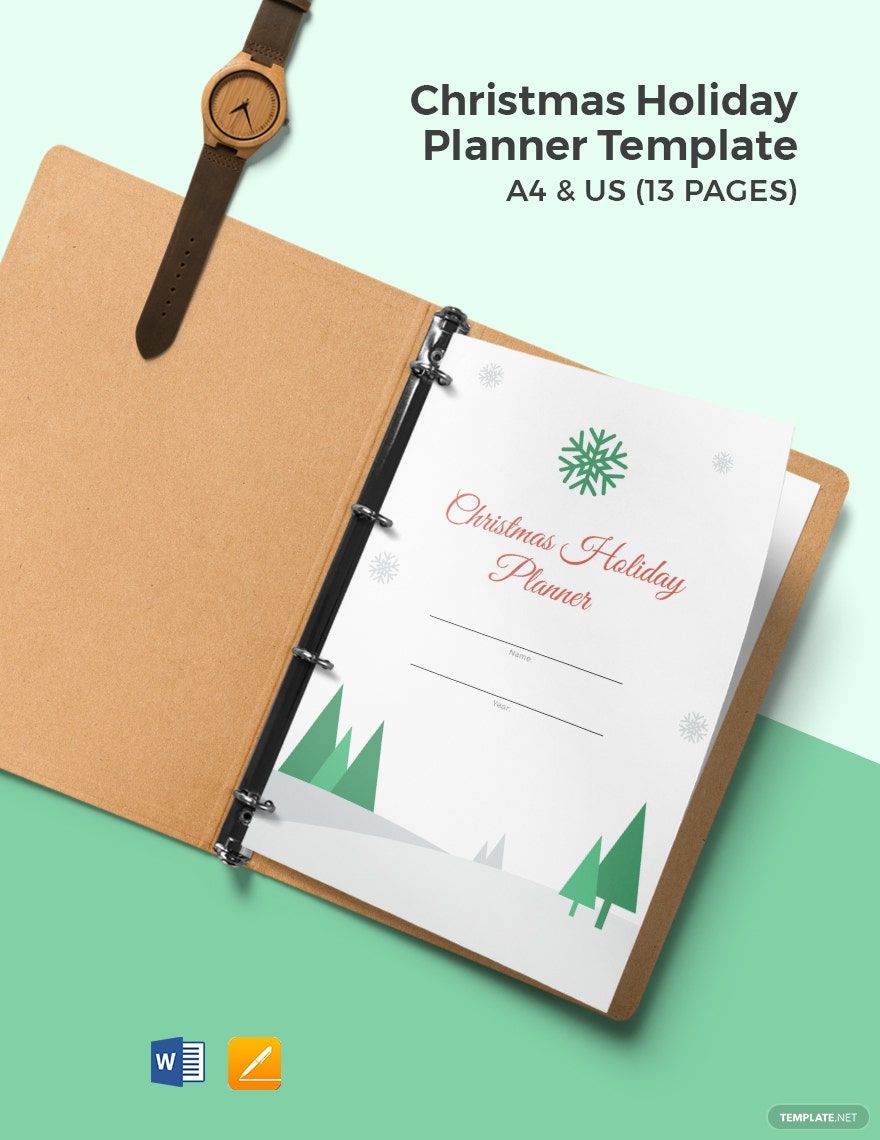
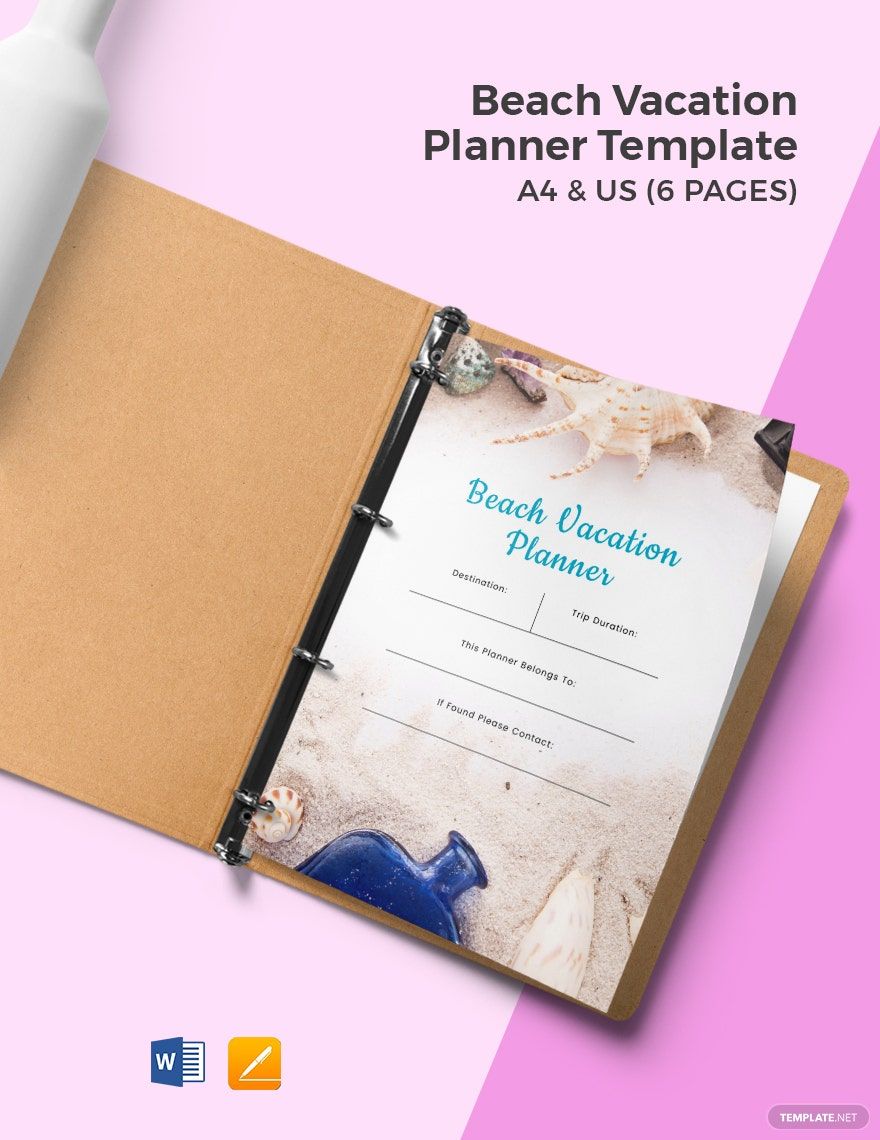
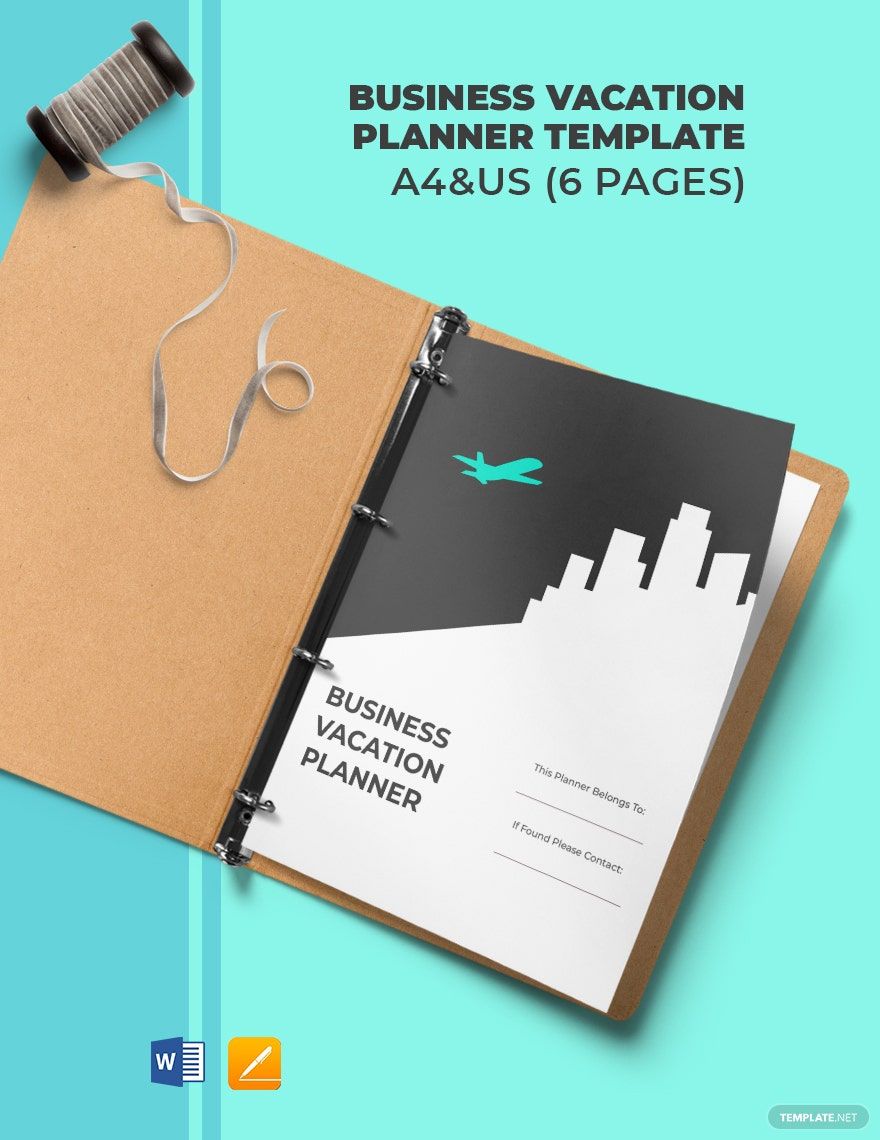
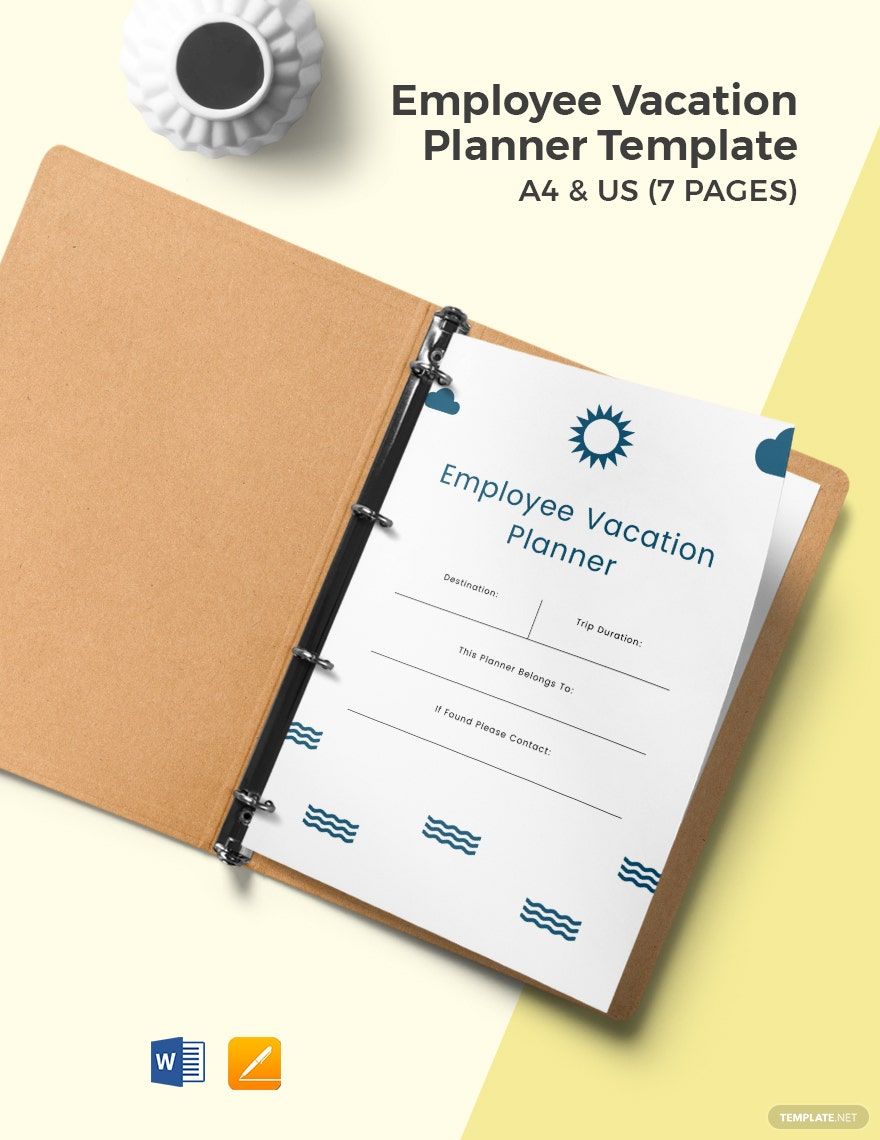
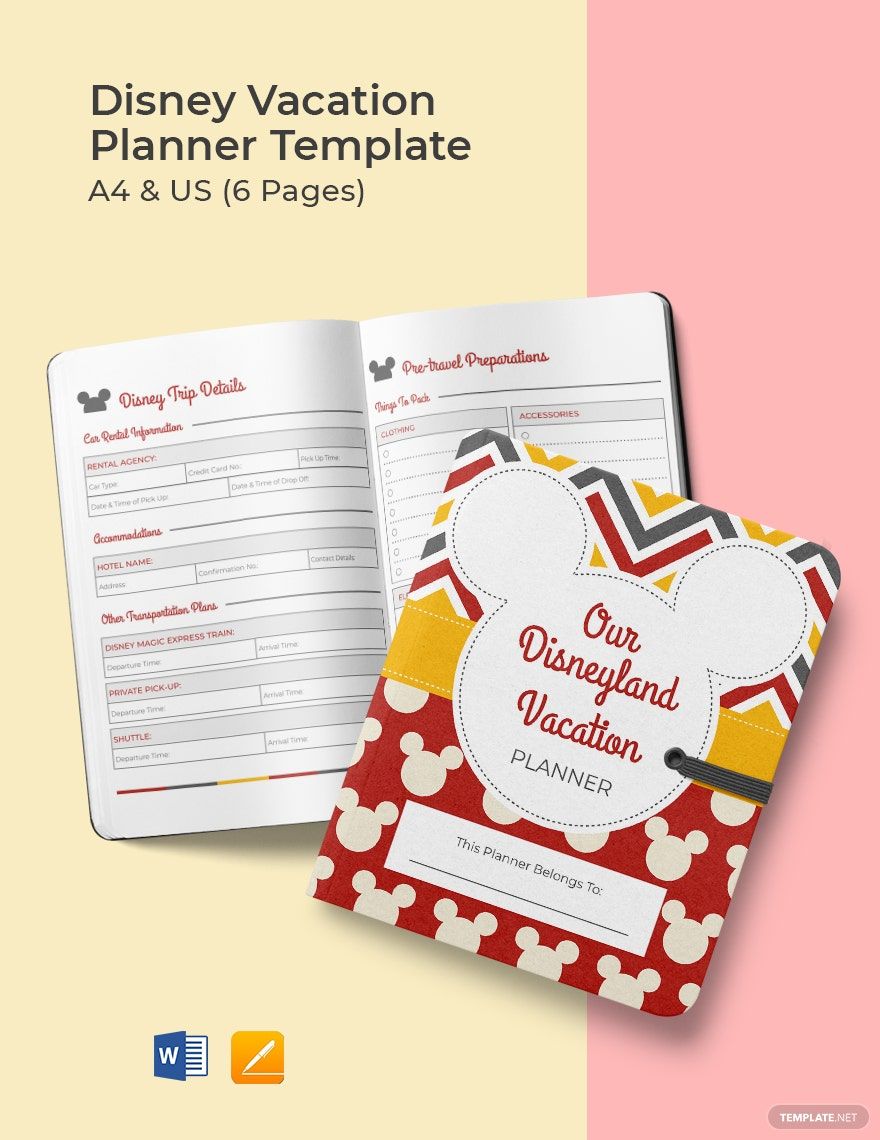
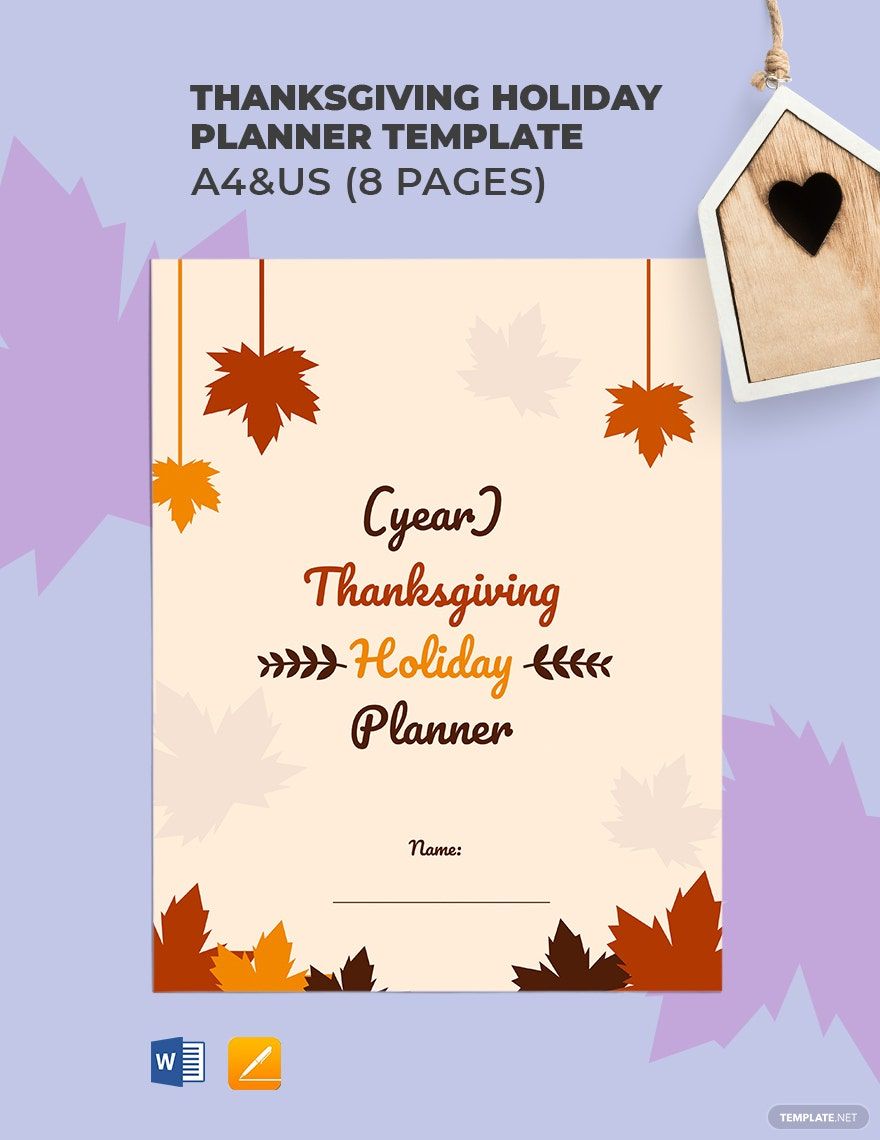
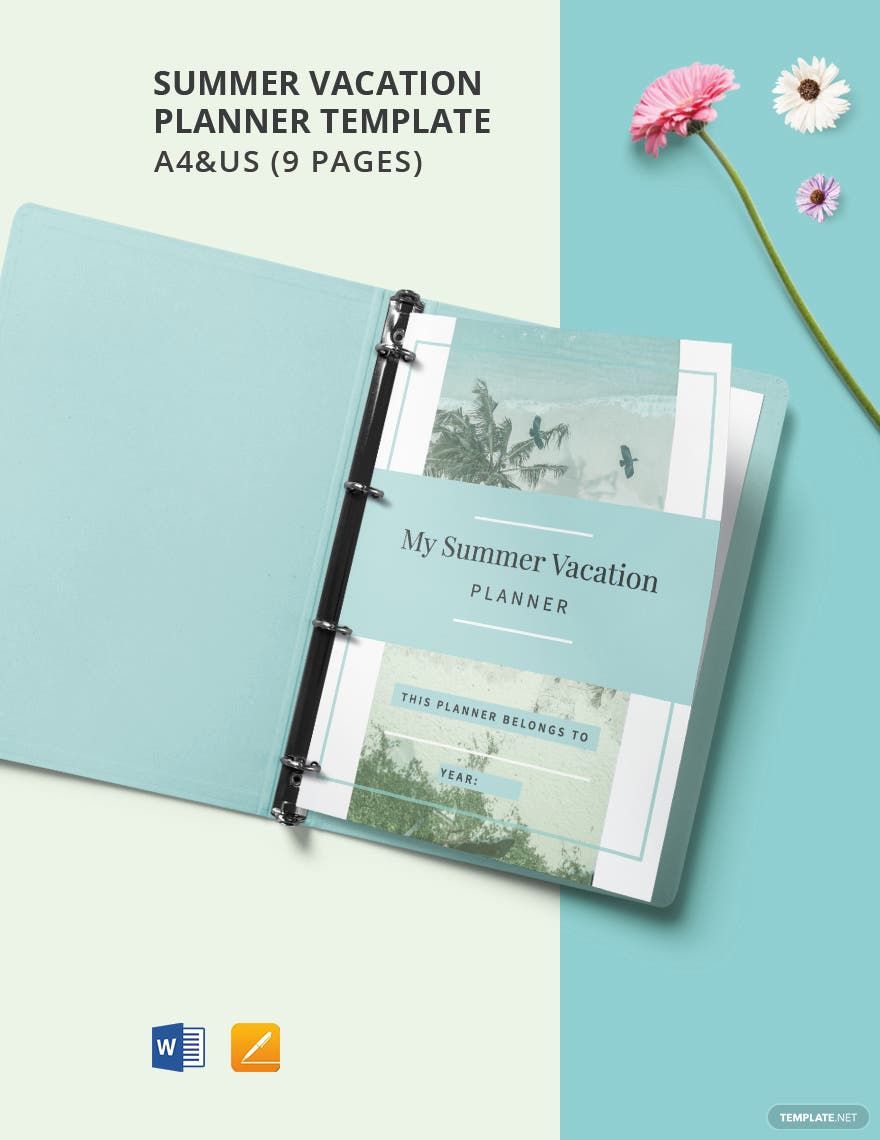
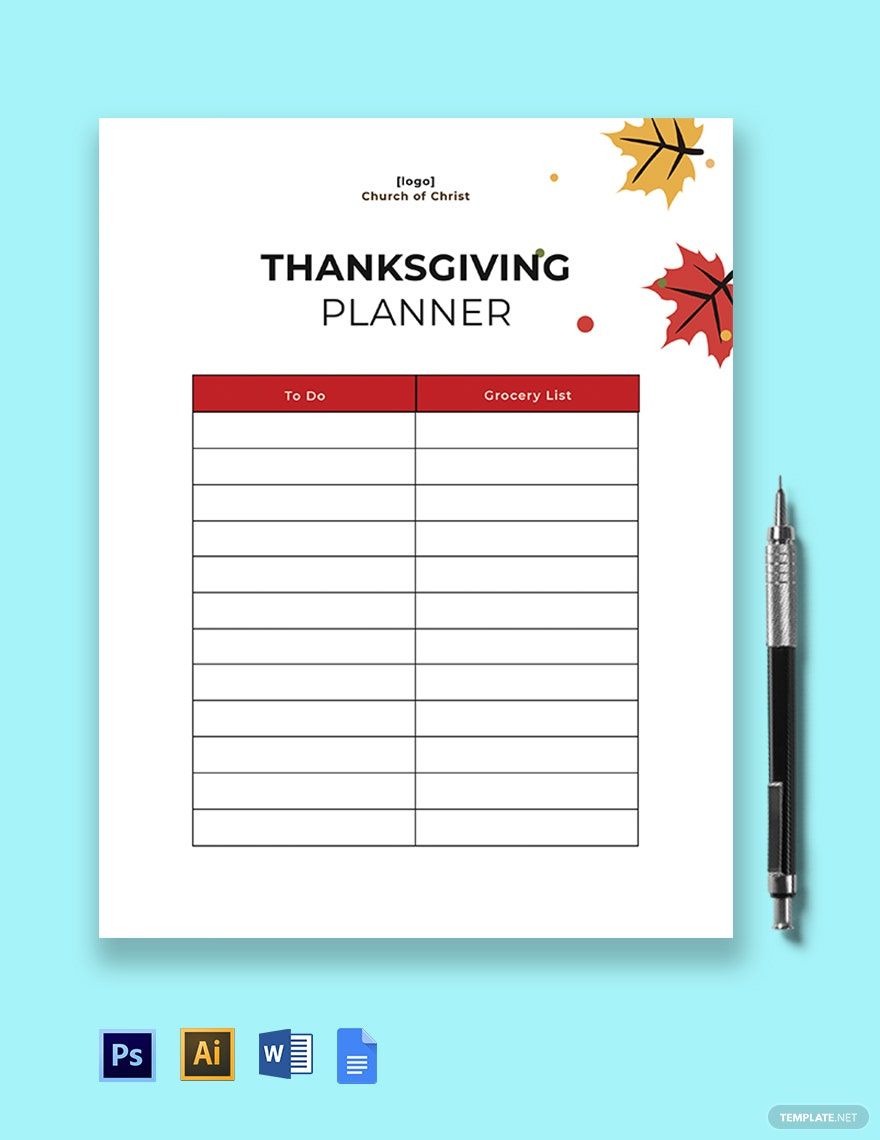
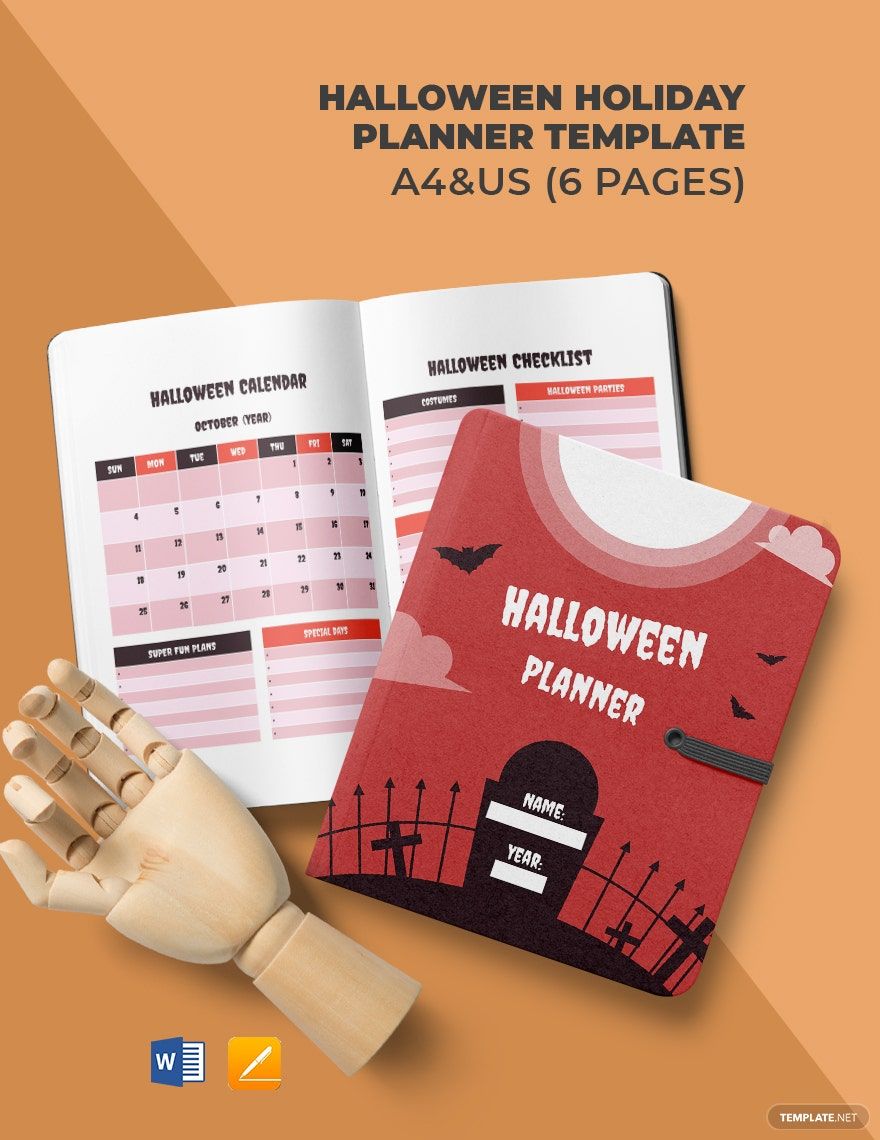
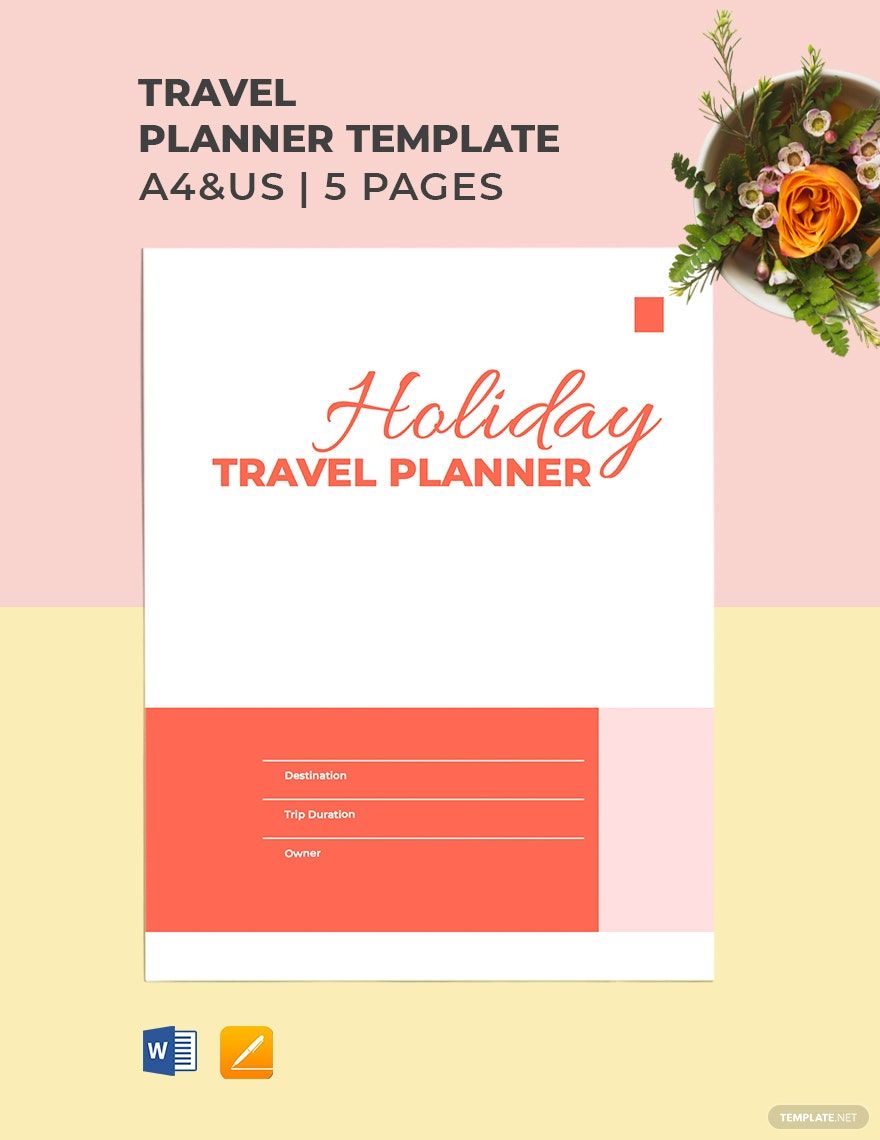
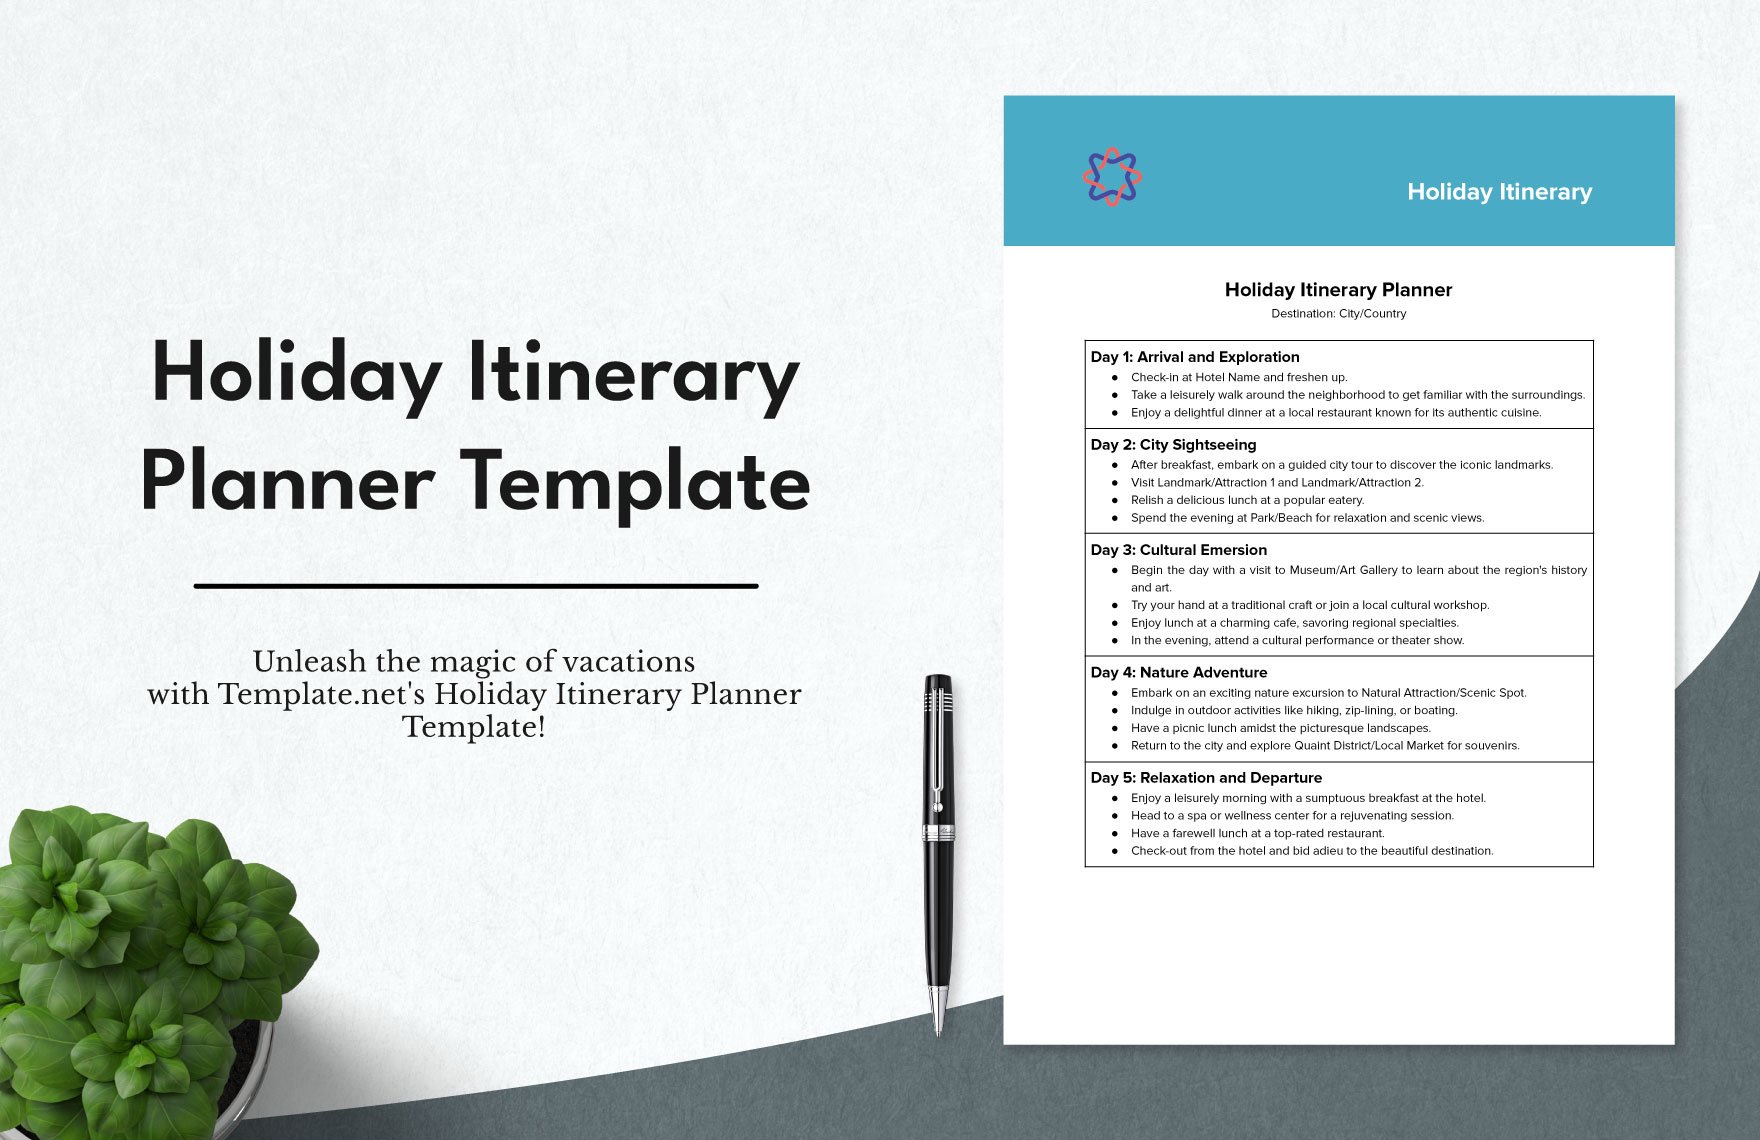
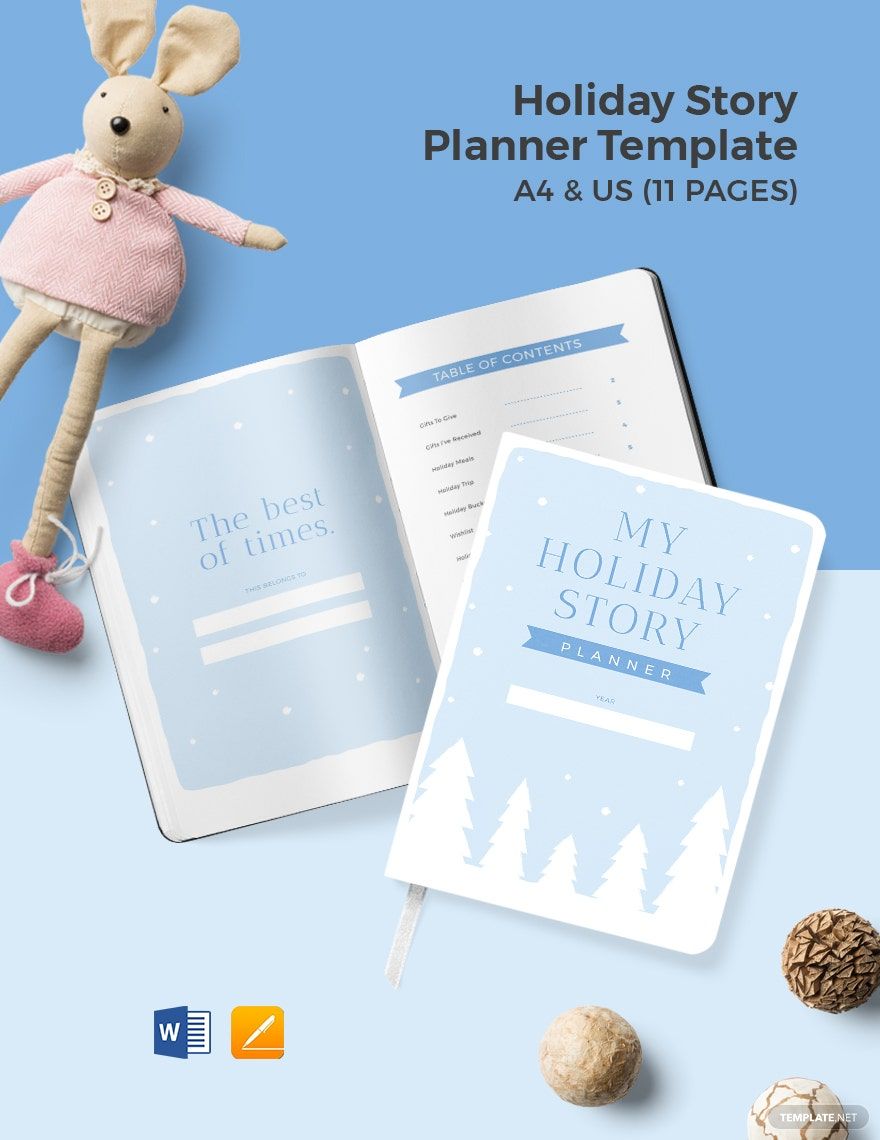
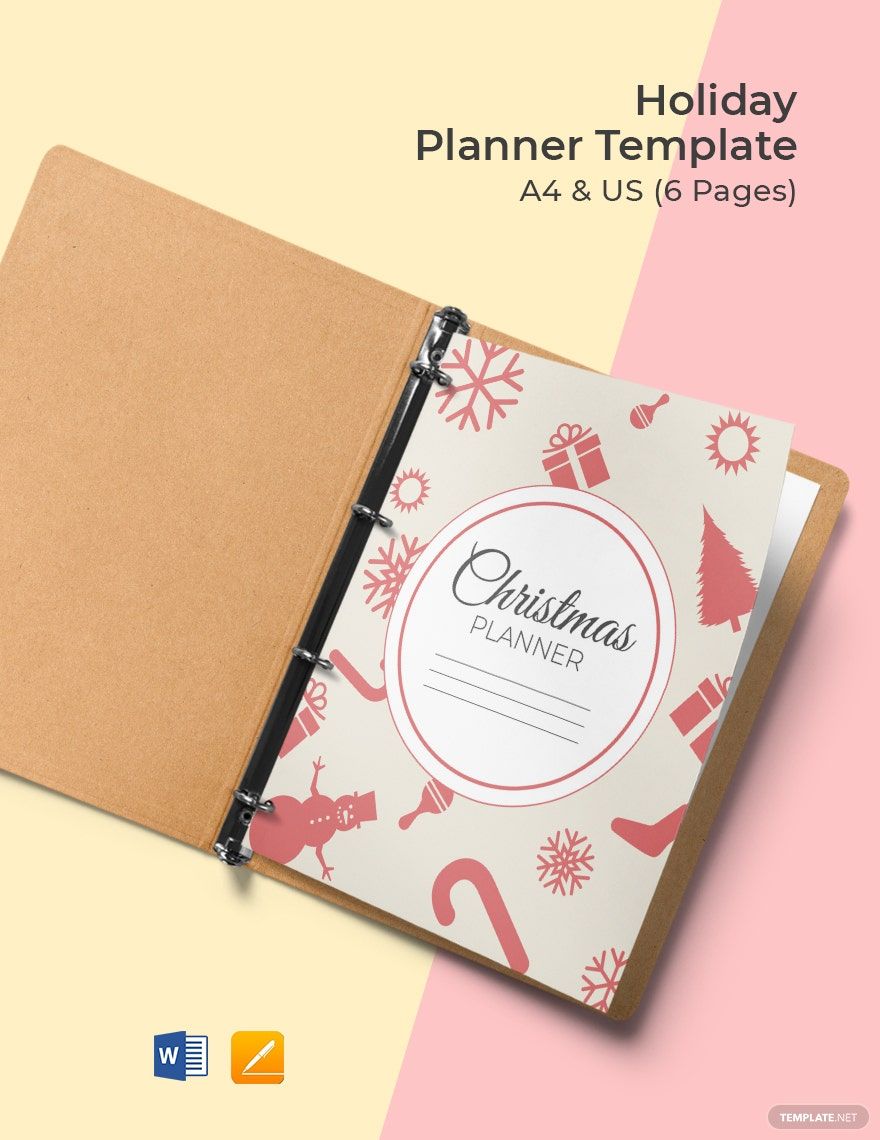
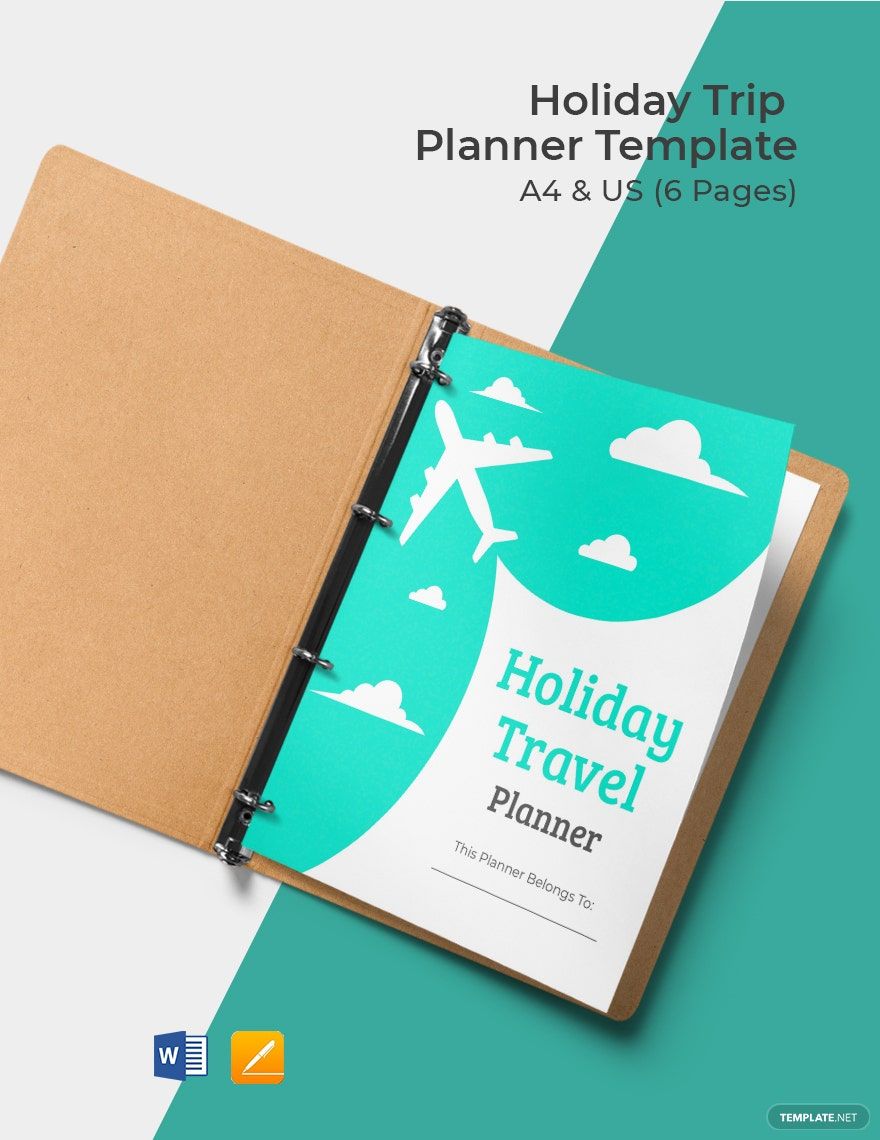
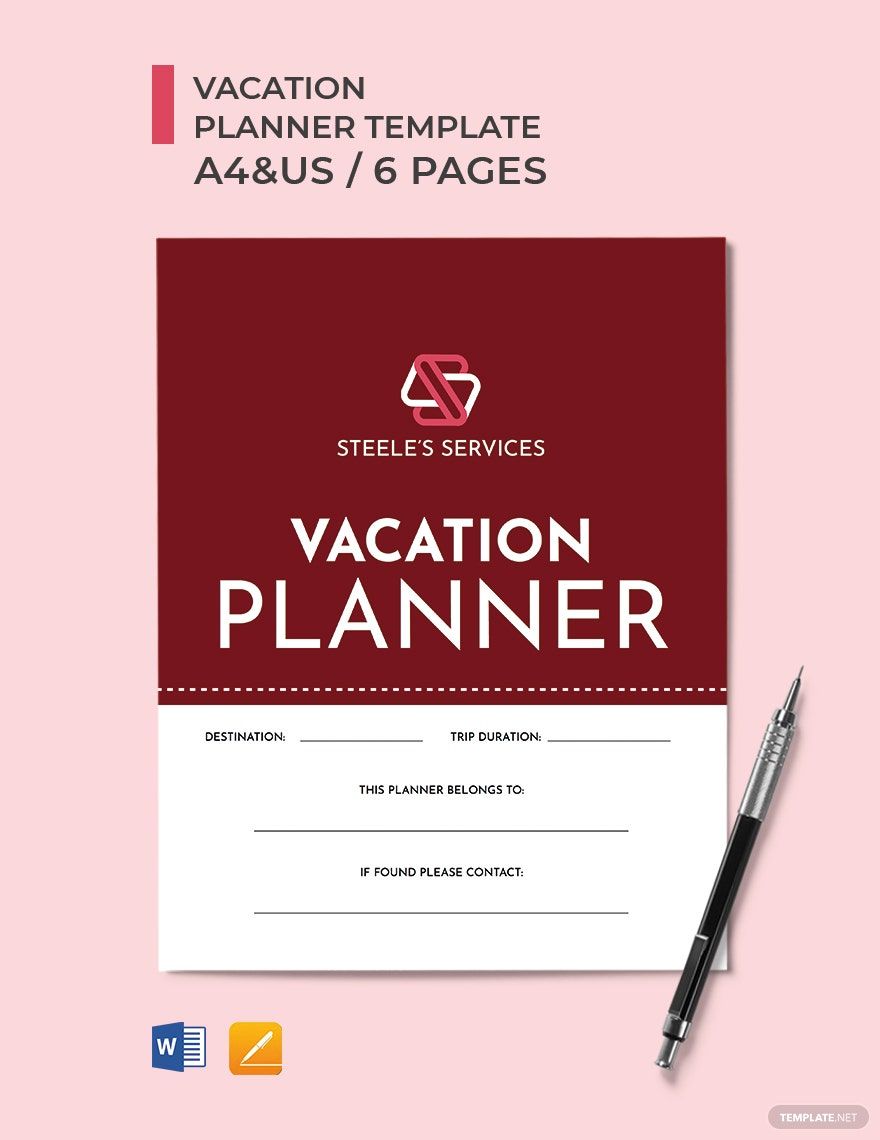
The holiday is just around the corner. Time to spend some quality time with the people you love. Are you planning to go on a road trip with the family this coming holiday? Or perhaps go on a trip to another country with your friends? Plan ahead using our Ready-Made Holiday Planner Templates in Apple Pages and Word. These professionally-made and high-quality templates are downloadable, printable, and 100% customizable. Available in A4 and US Letter sizes. So, what are you waiting for? Start holiday planning and avoid mishaps during your holiday getaway by using our Ready-Made Holiday Planner Templates today!
How To Make A Holiday Planner In Apple Pages
There are a total of 10 federal holidays in the U.S. annually. And most people usually spend these holidays by going to the beach, going on a road trip, camping, etc. with family or friends. Holidays are the perfect time to relax and unwind away from the city, and planning the trip isn't supposed to be stressful. From making a trip itinerary and booking your accommodation to packing your stuff, you have so many things to do. This is why it's important to plan ahead of time and keep yourself organized.
A planner is a booklet or binder that contains a calendar, blank pages, diary, etc. It will serve as a guide and will keep you organized. If you're using Macbook Pro or any Apple devices, it's best to use Apple Pages as your tool so you can create stunning documents. Use the guide below on how to make a holiday planner using Apple Pages.
1. Decide on a Layout
There are two types of layout for planners: horizontal and vertical. This means the sections are divided horizontally or vertically. Horizontal is ideal for writing long notes, while vertical is ideal for writing short notes. You may combine the two to save more space.
2. Create a Calendar
Create a monthly calendar instead of a yearly calendar for your planner. With this, you'll have more space to write on for each date, and you can easily keep track of your schedule.
Use tables to create your monthly calendar in Pages. To add a table, go to the Toolbar section and select or drag a table into the page. Make sure you have enough room to write on. To resize the table, click and drag the dot in the corner until your satisfied with the size.
3. Categorize the Pages
Categorize the pages of your planner. Think of what you'll need to input on your planner and use it as your basis for the categories. For instance, you need to create a budgeting list, then leave a few pages intended for your budget plan alone. You should have a note category, so you'll have a place to take note of important and random information. Make sure to have enough pages for every category.
4. Categorize into Sections
Categorize each page into sections. For instance, you can make the top section as your checklist and a note or small calendar section below. Use tables, so your notes are not all over the place. For instance, for your meal menu, you can organize it by name, description, and date.
5. Decorate
Be inspired to write on your planner by decorating it. Unleash your creativity and make your planner look fun and exciting. The design should scream your personality. You can play with colors, add stickers, and incorporate cute design elements. Or you can make it minimal looking instead. Incorporate typography to your labels. There's no limit to what you can do with your planner. You just have to ensure that your text are readable. Once you're finished, go over your work to look for mistakes before saving your work.