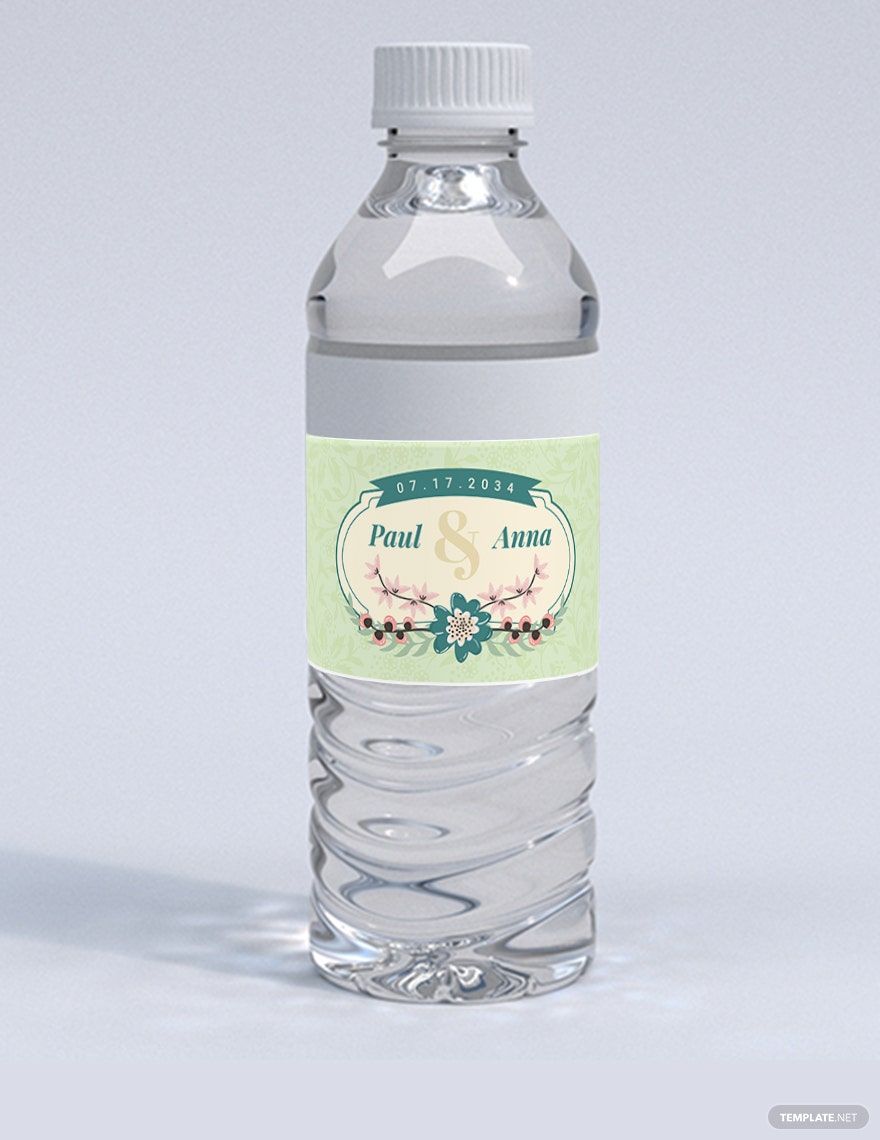
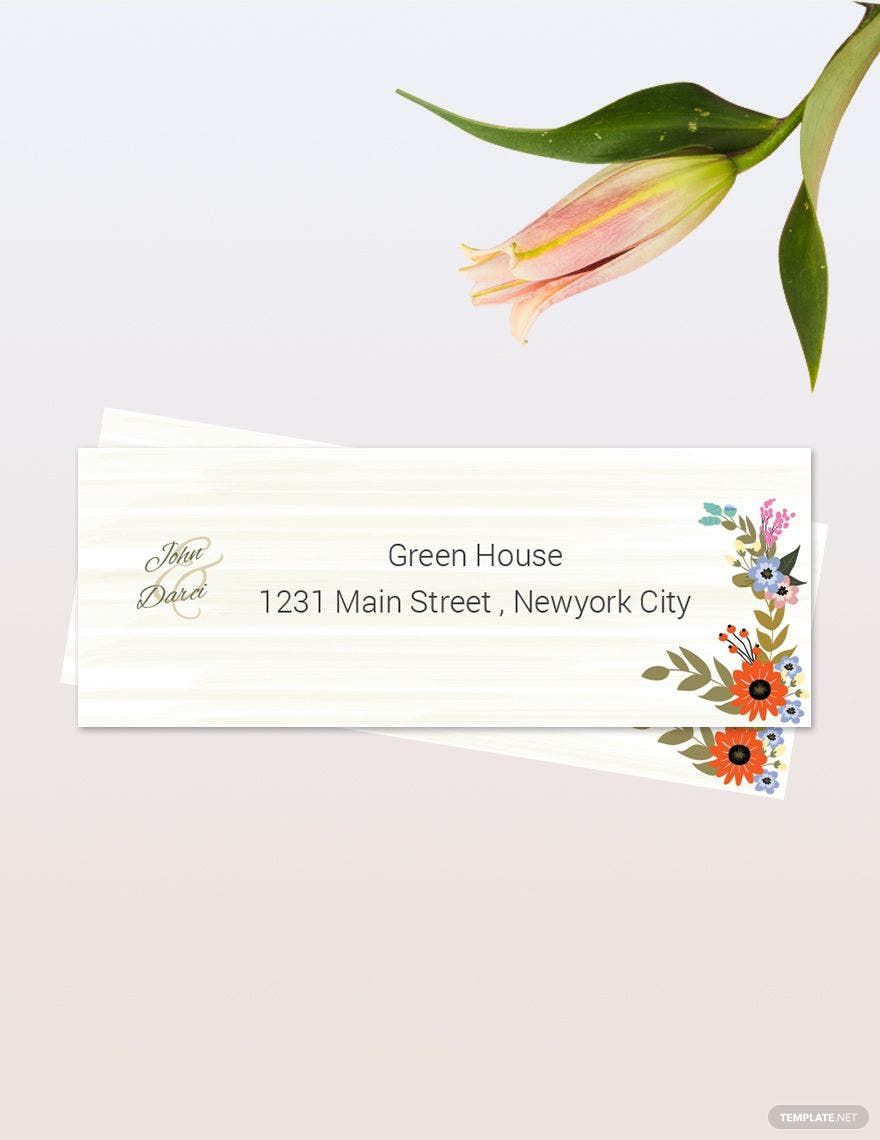
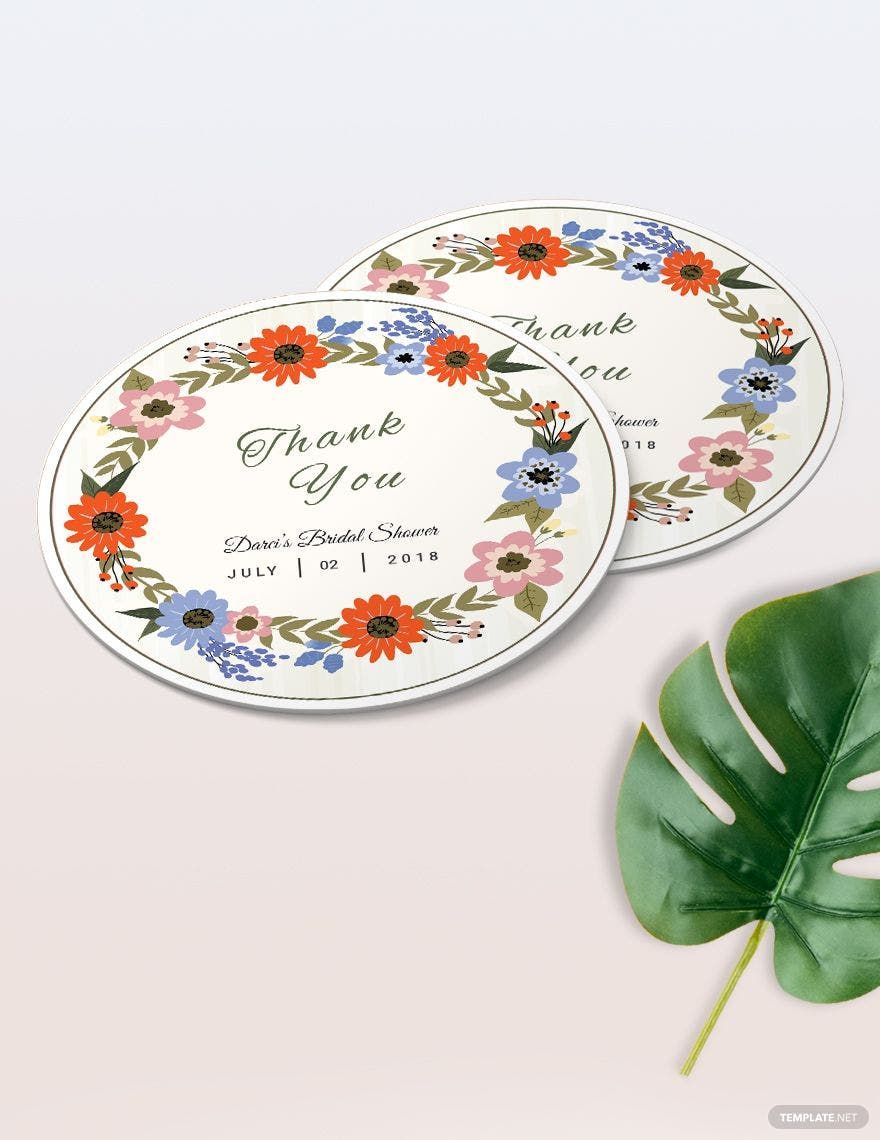
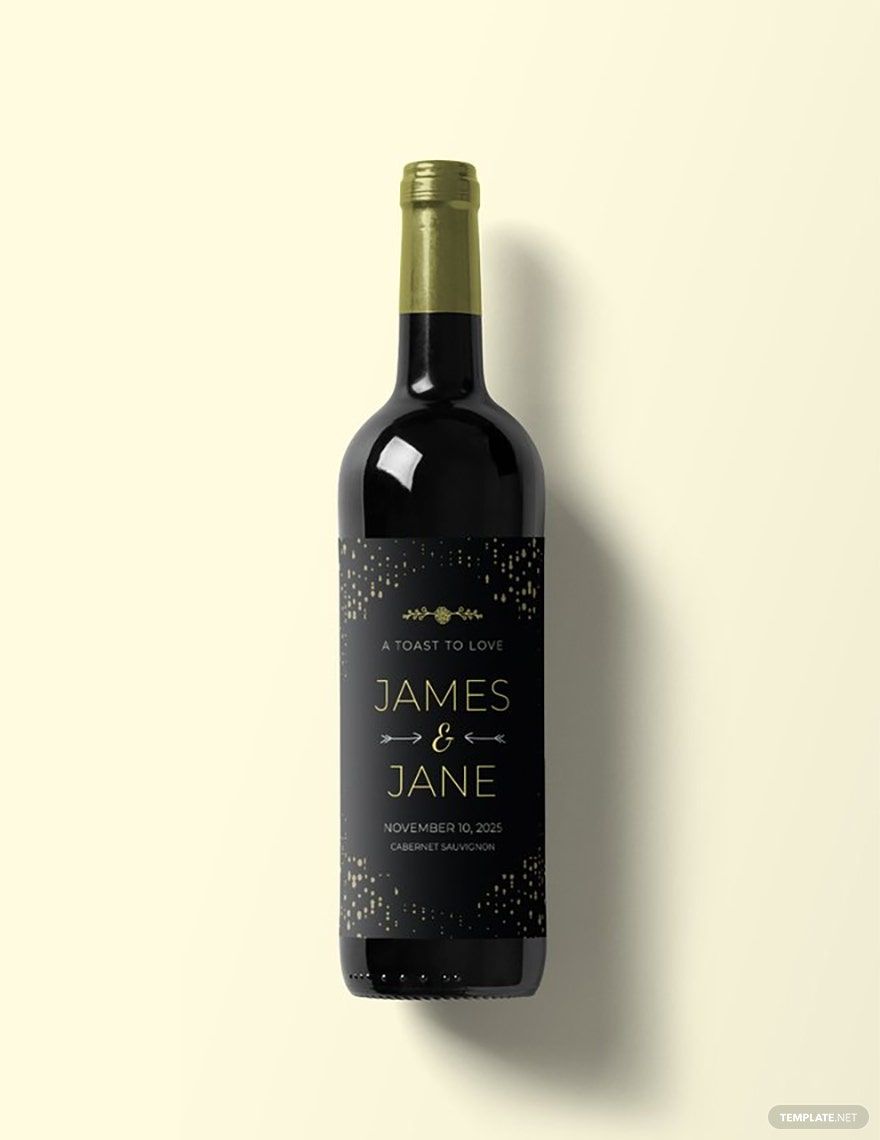
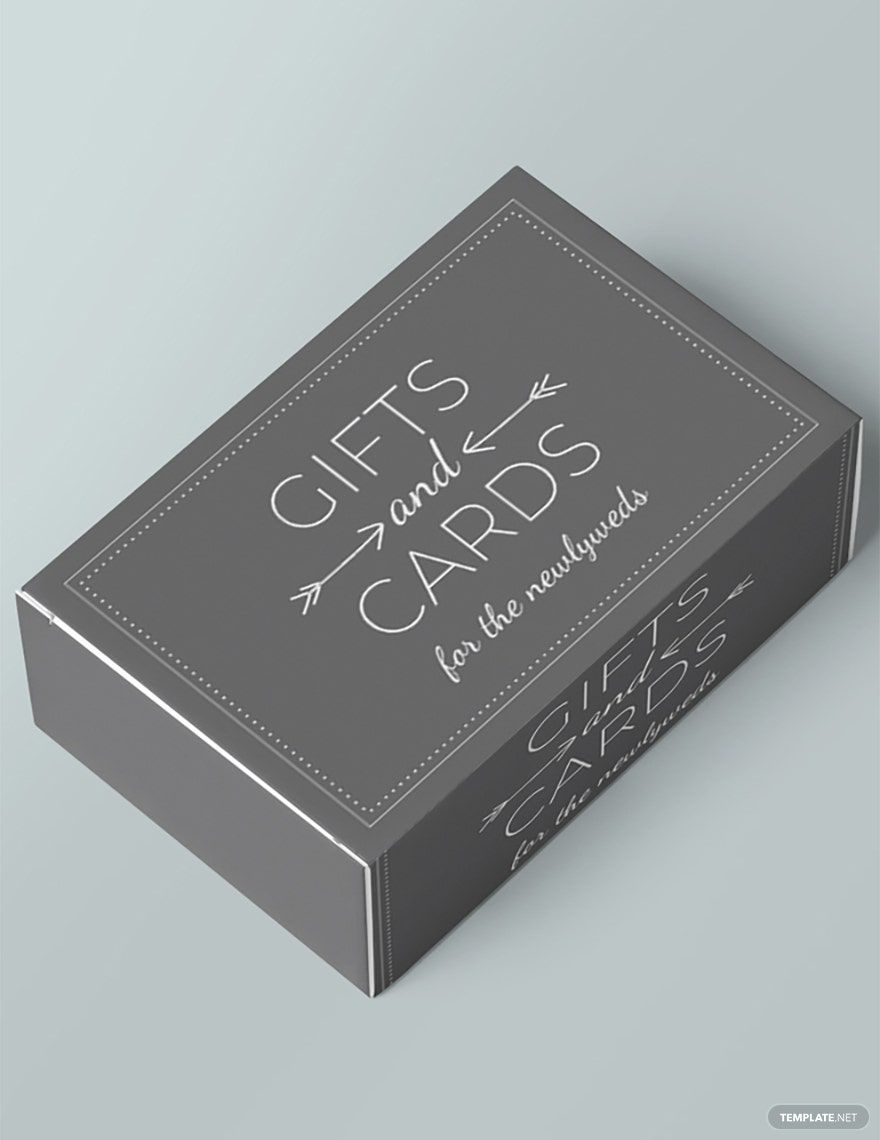
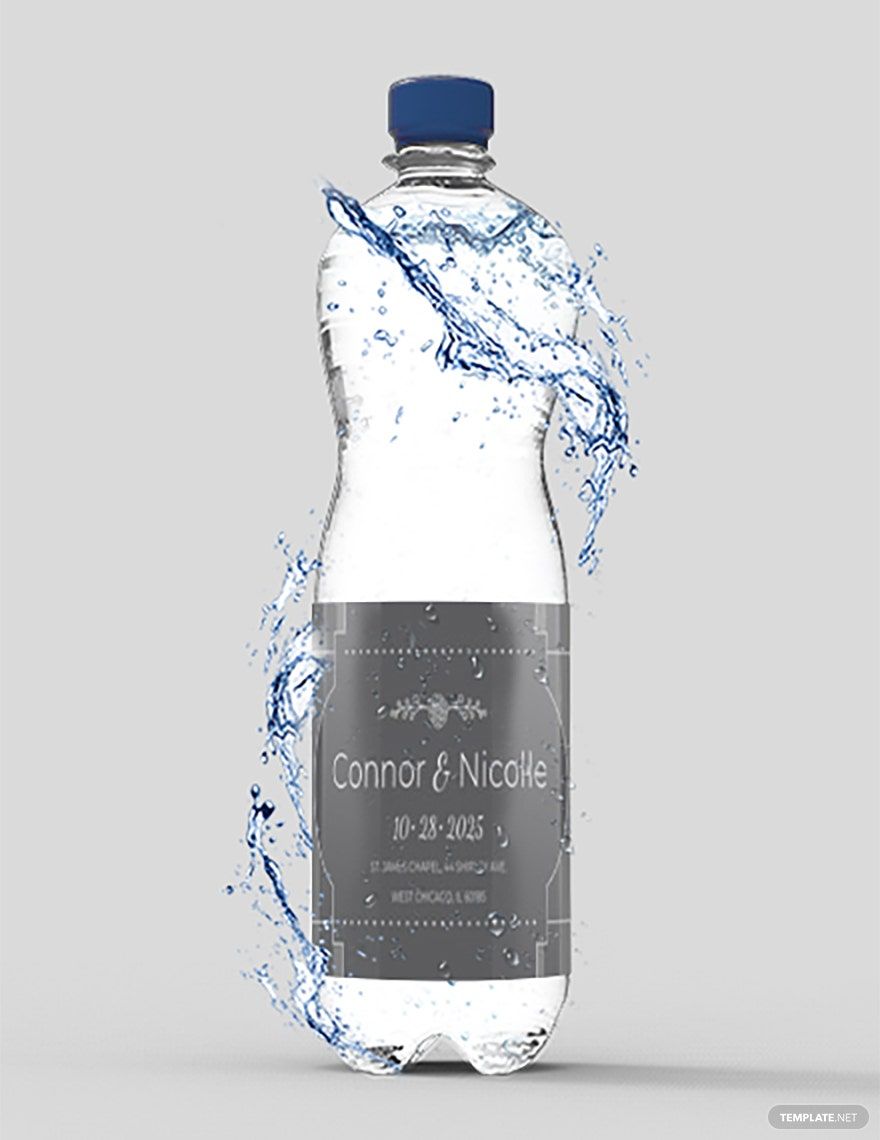
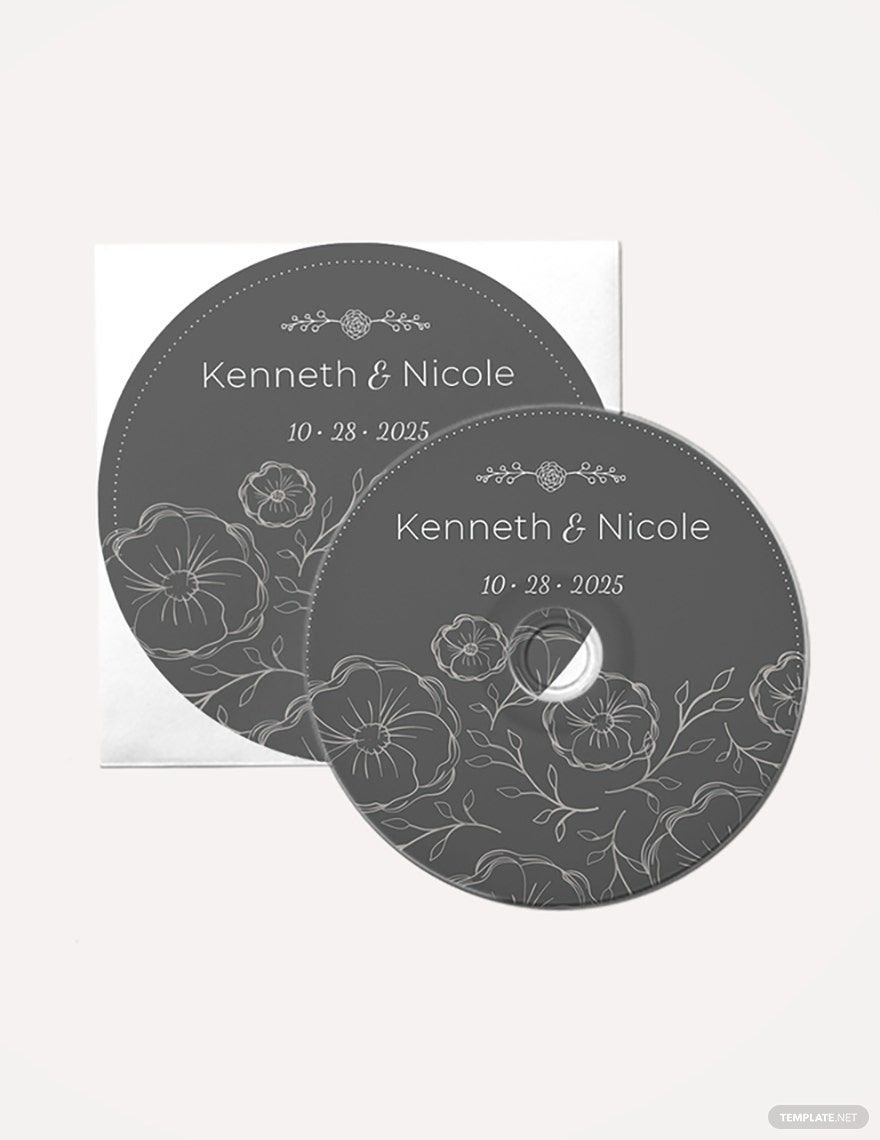
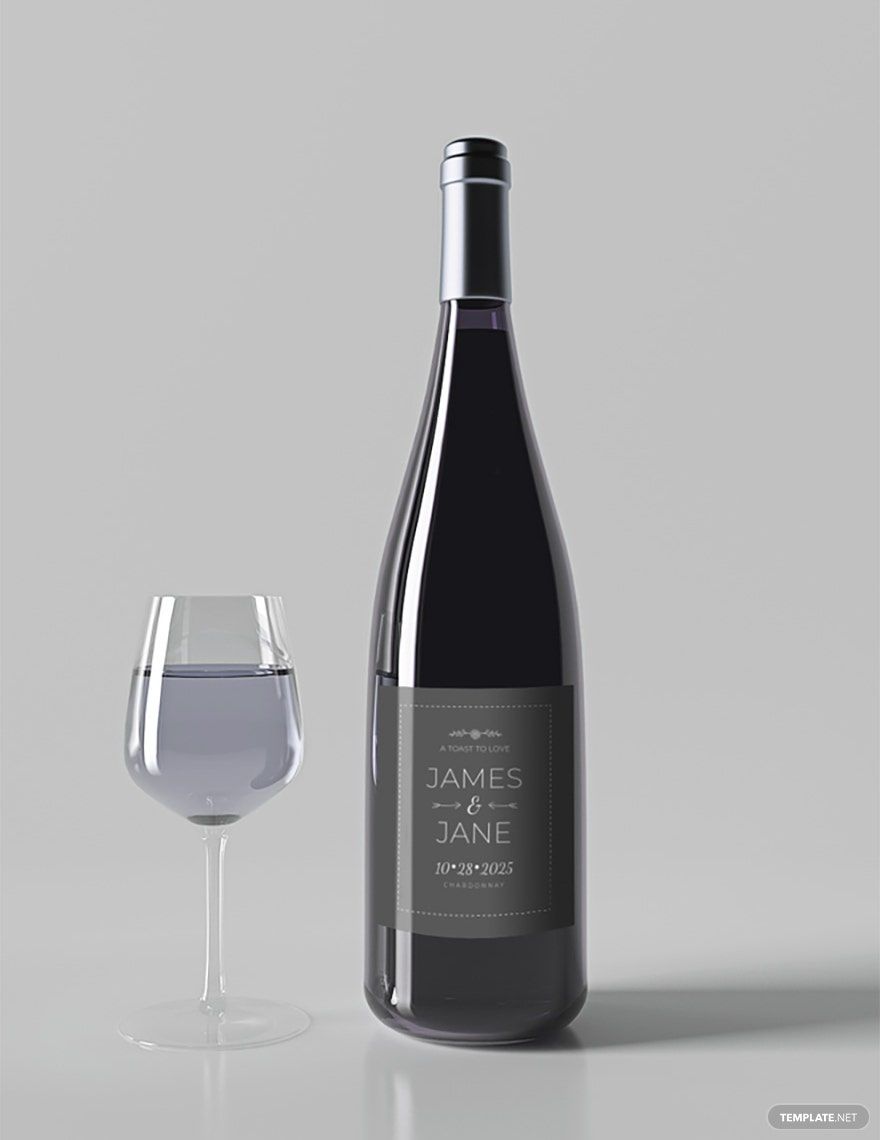
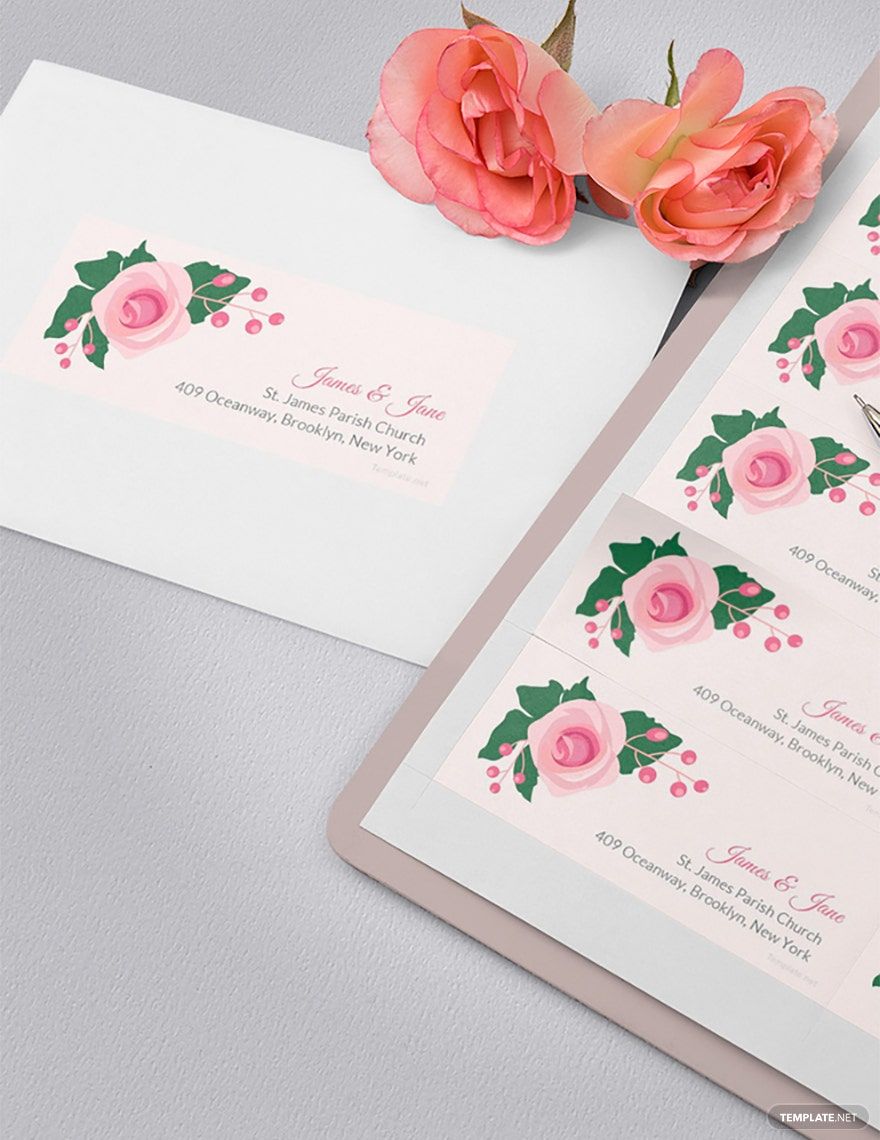
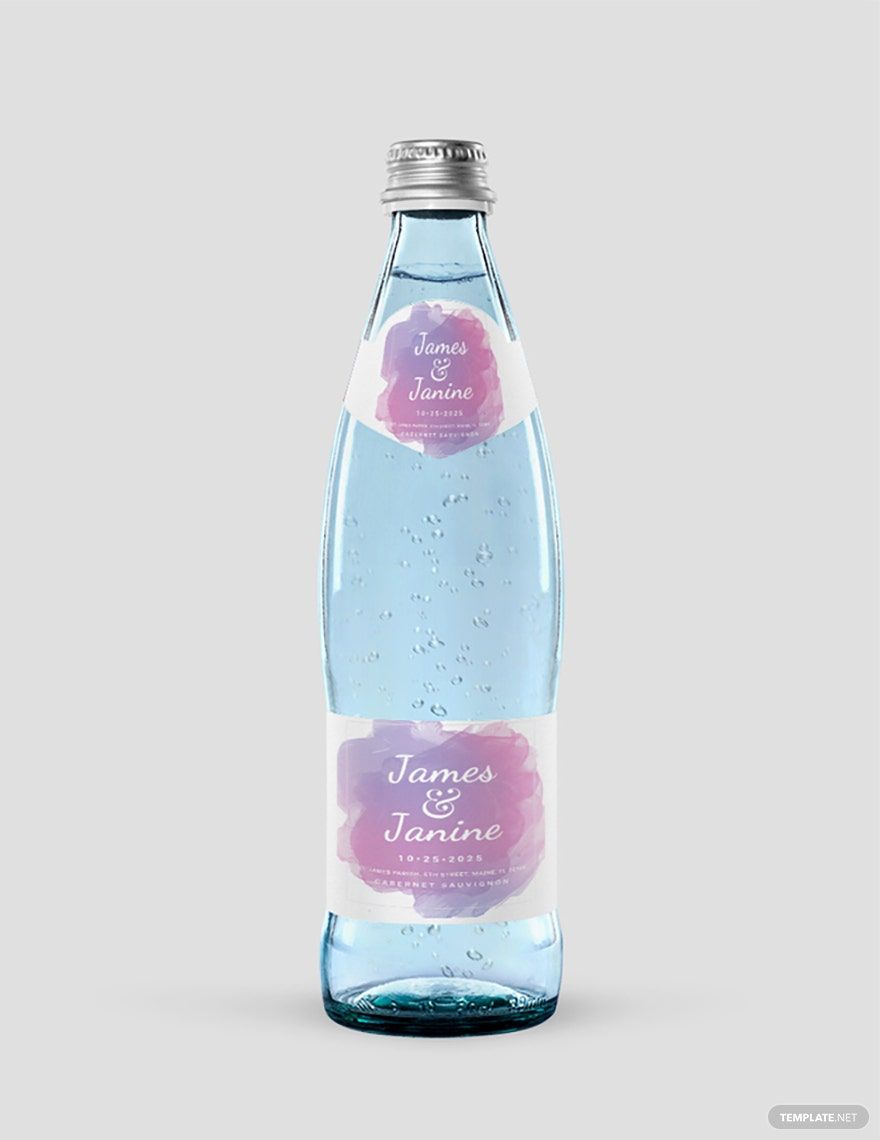
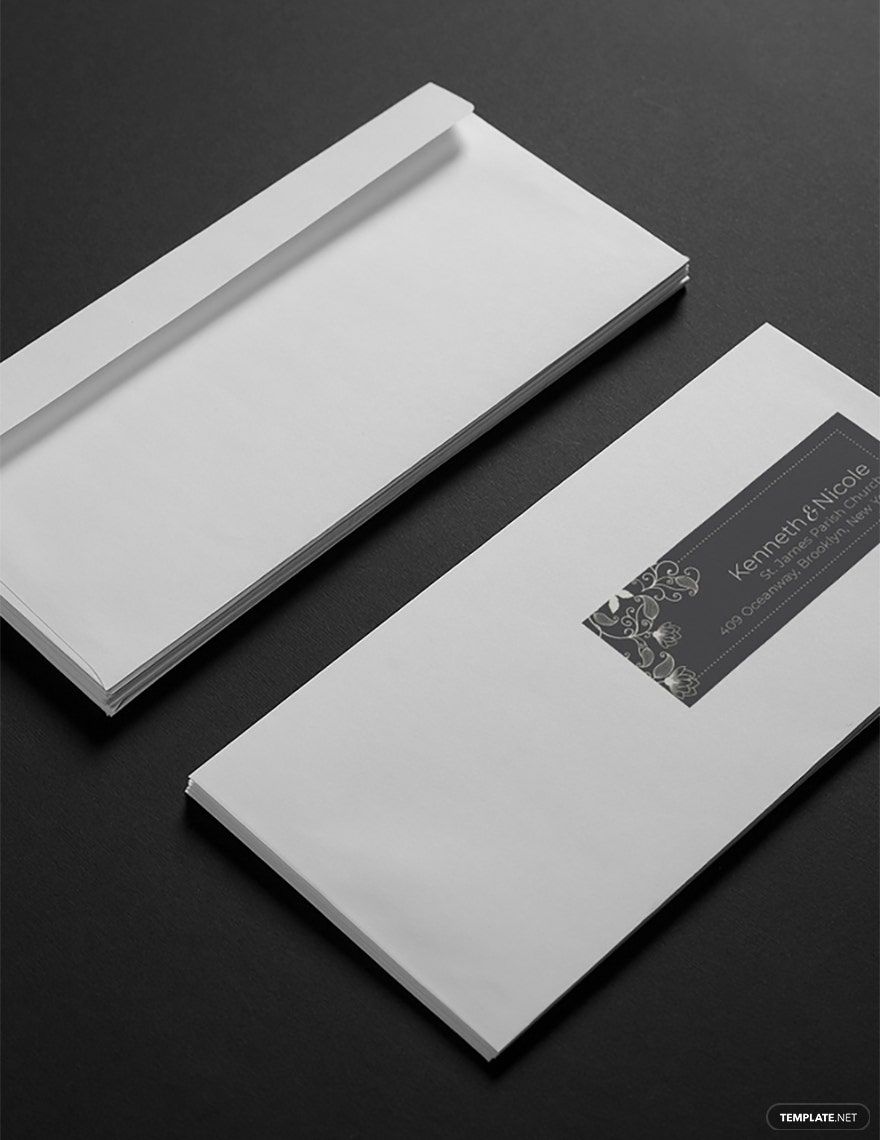
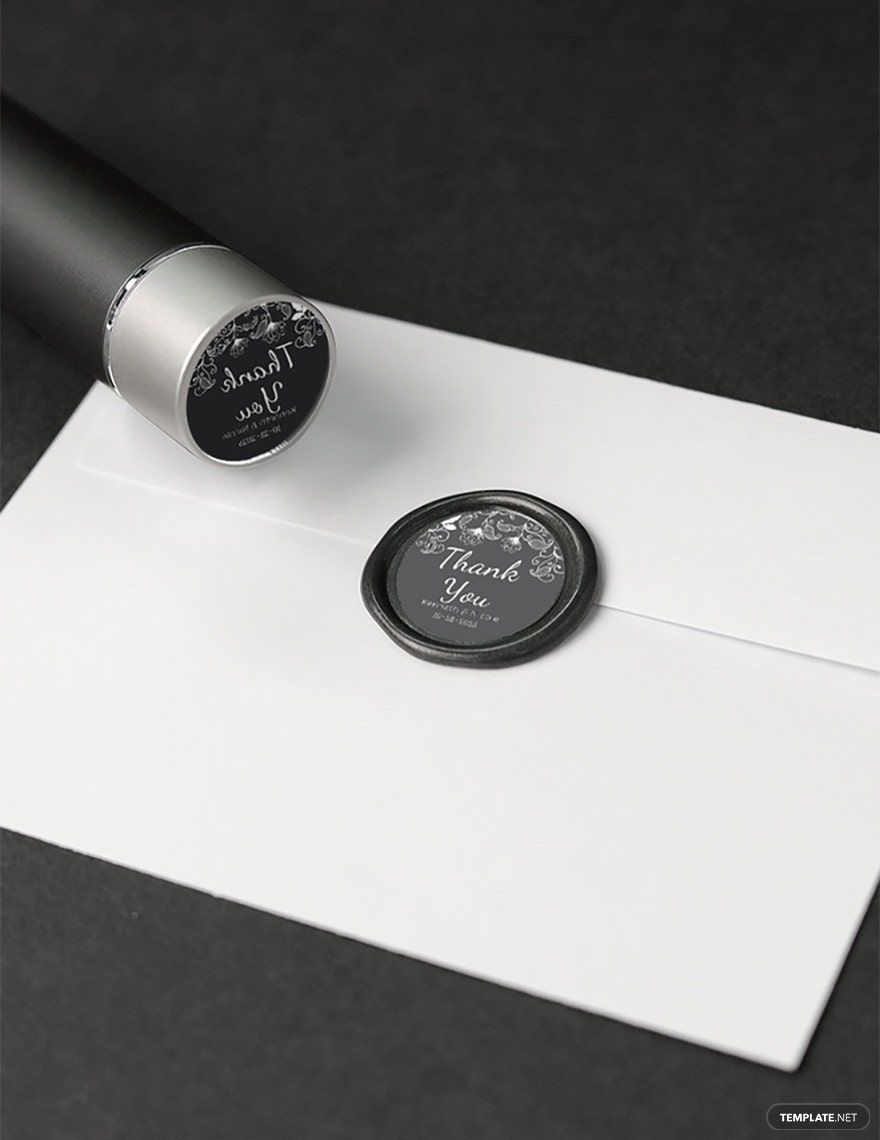
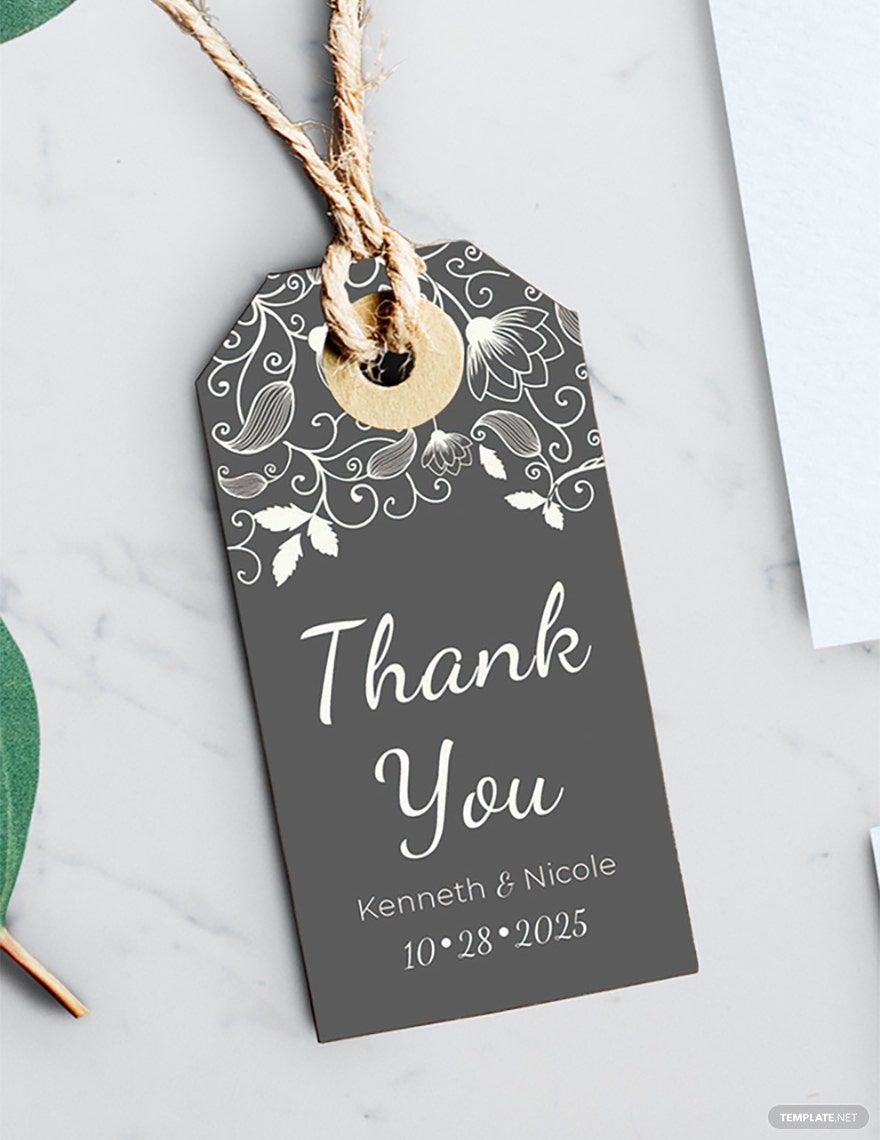
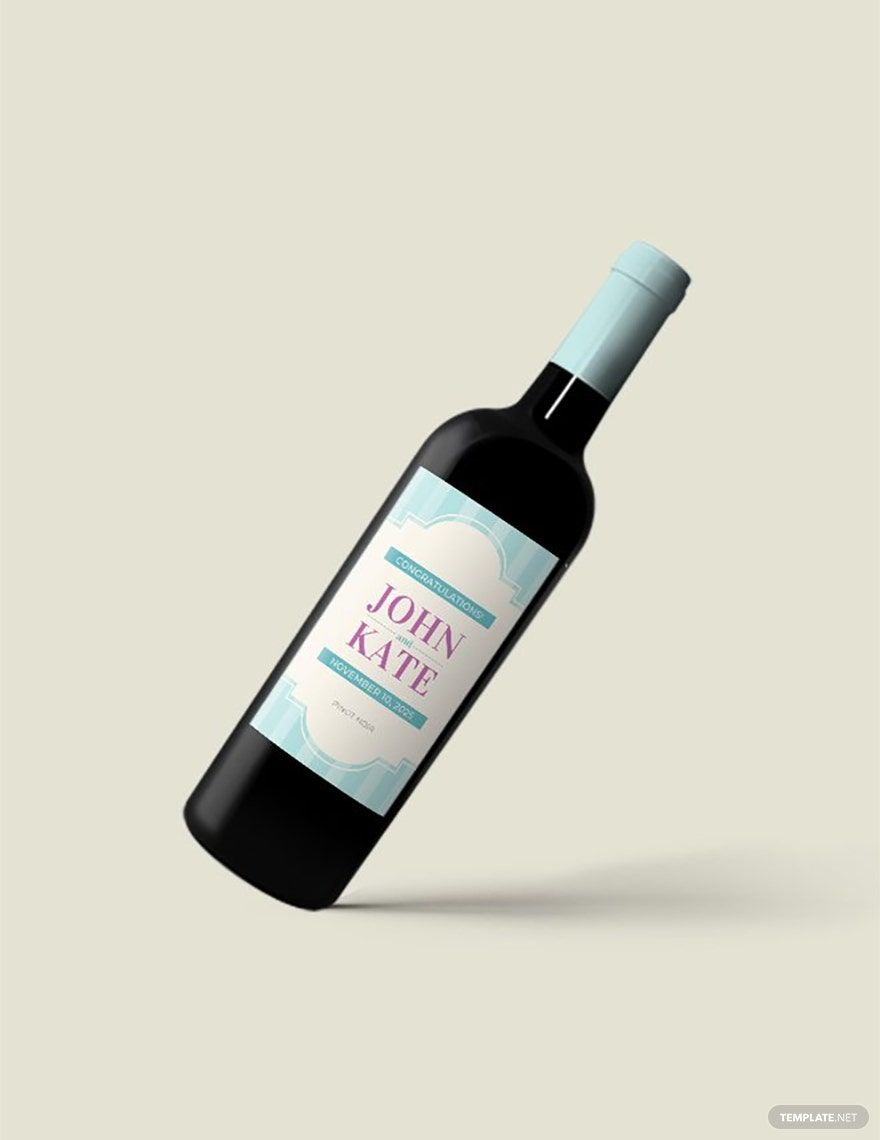
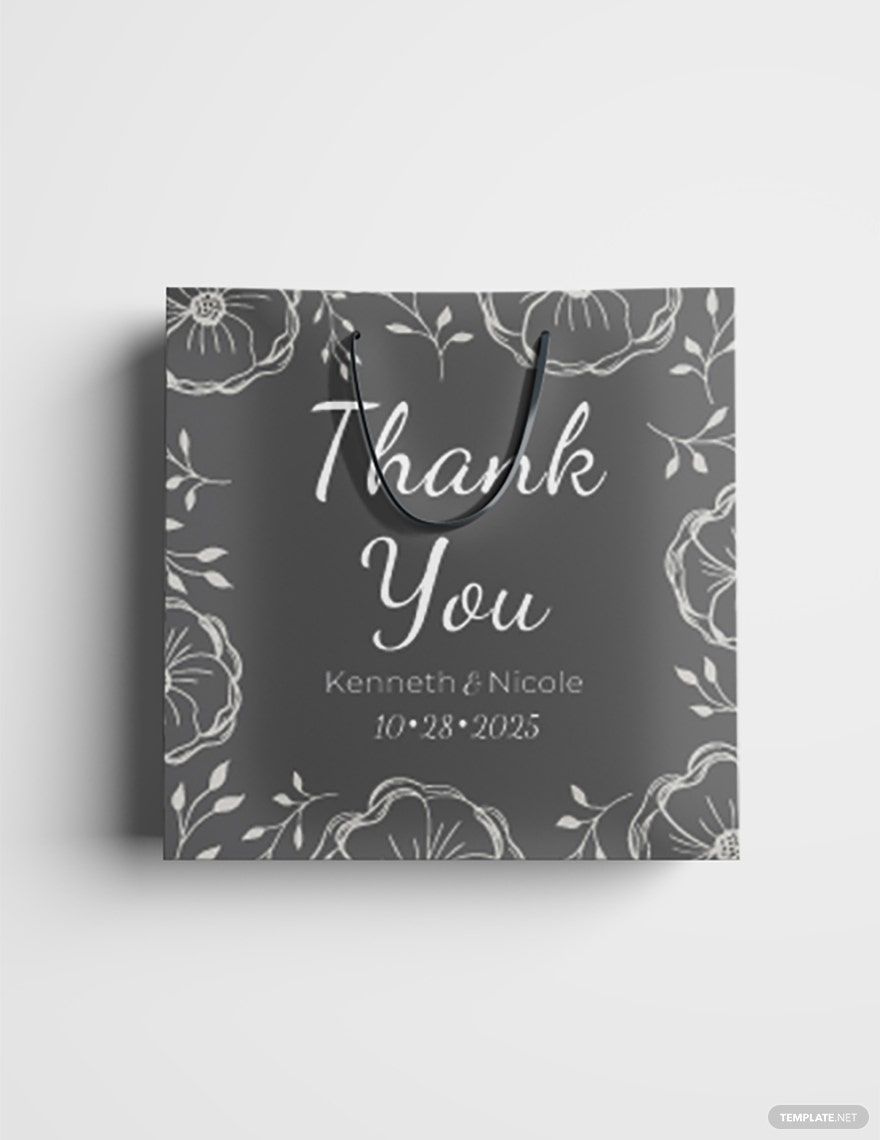
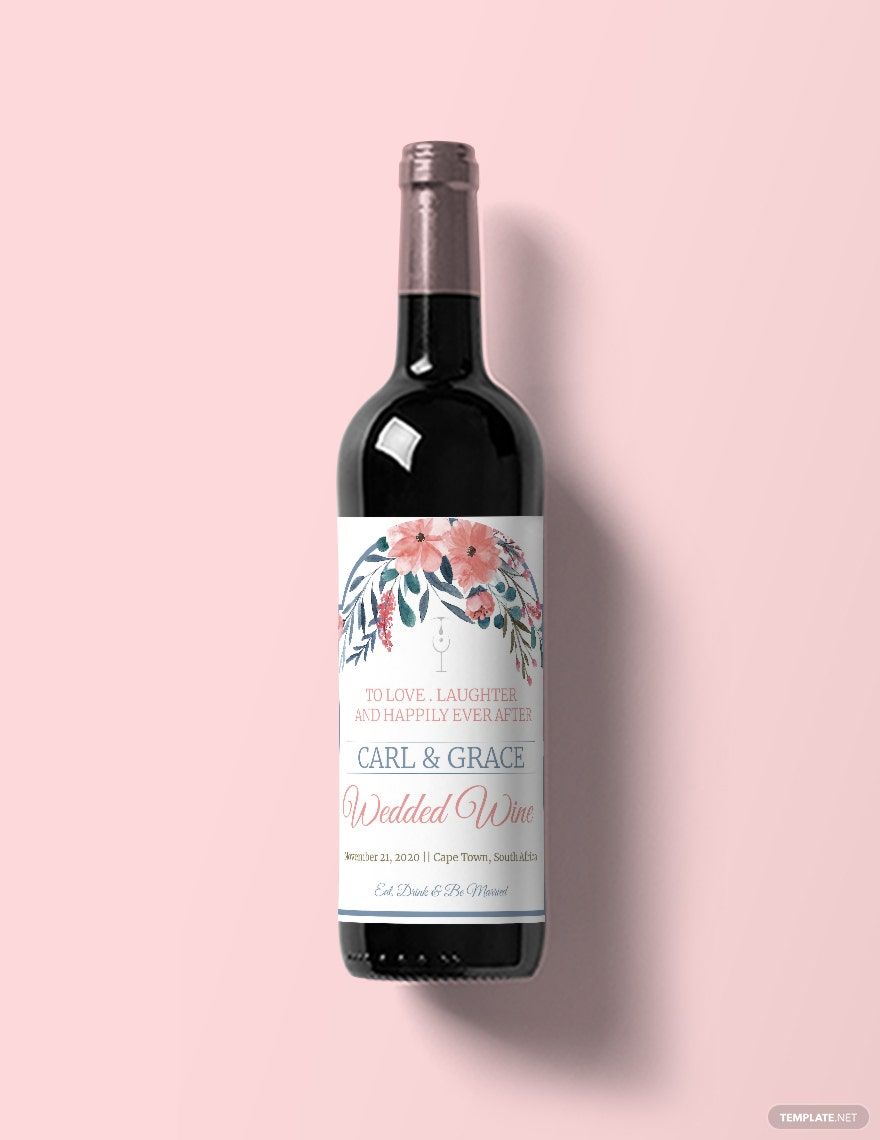
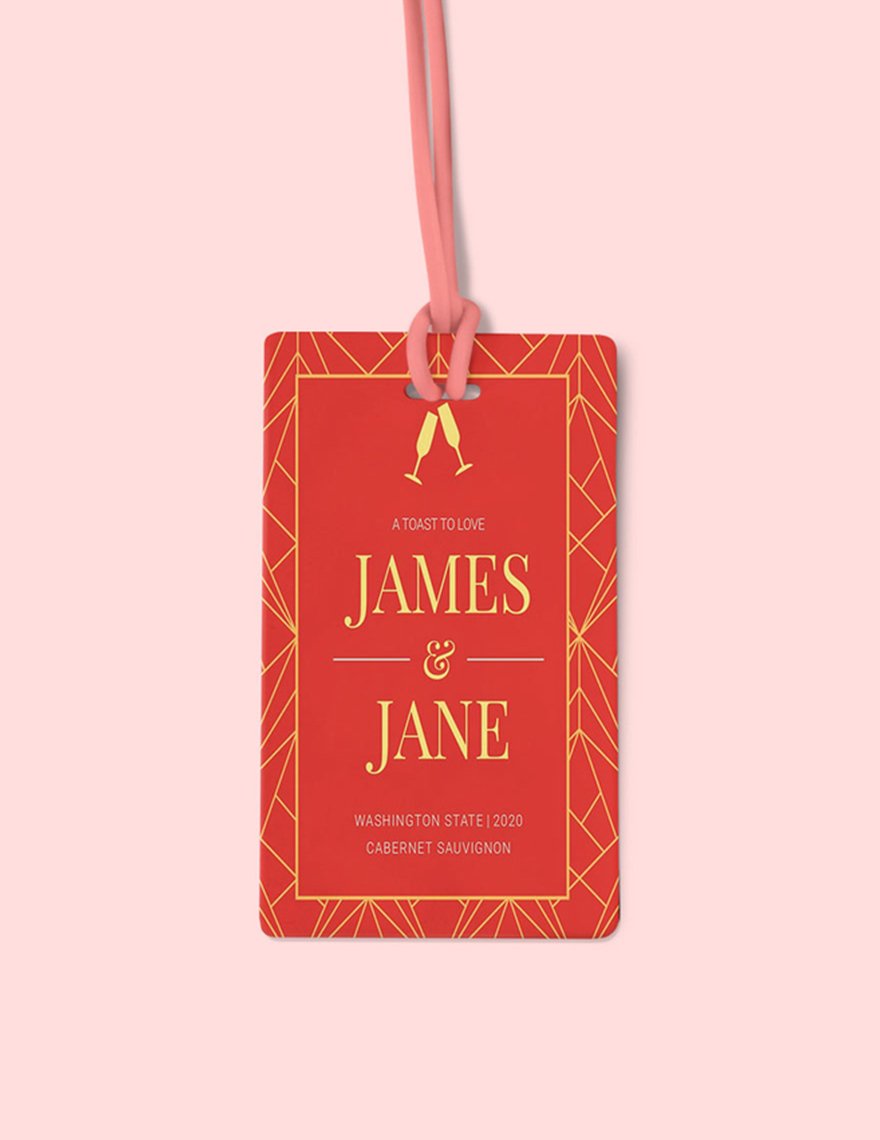
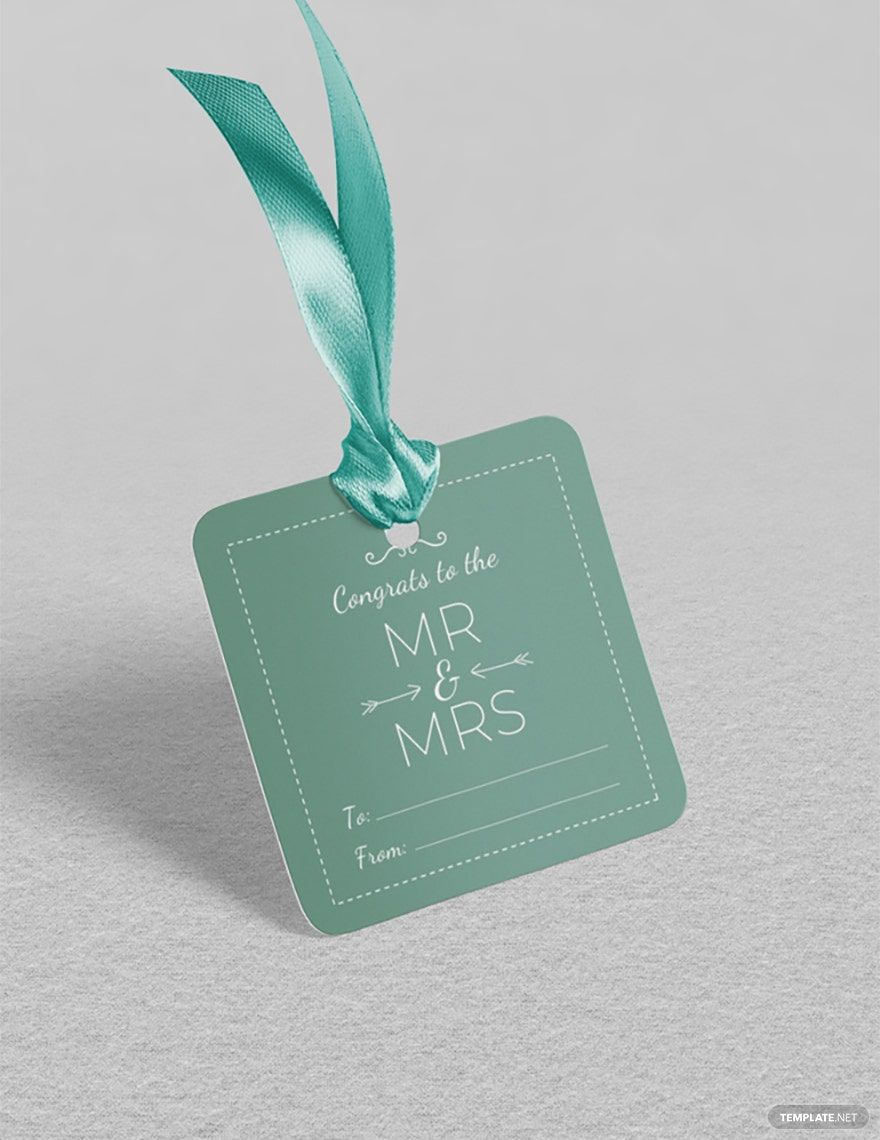
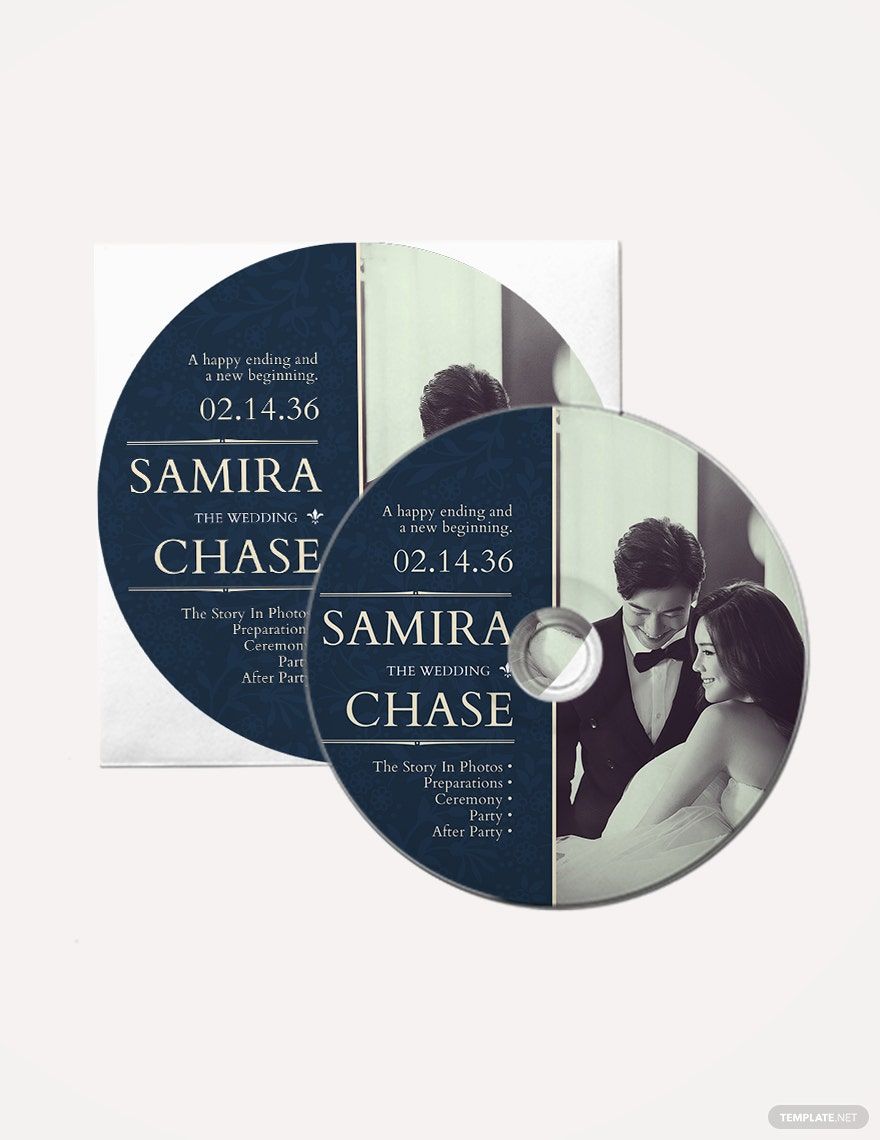
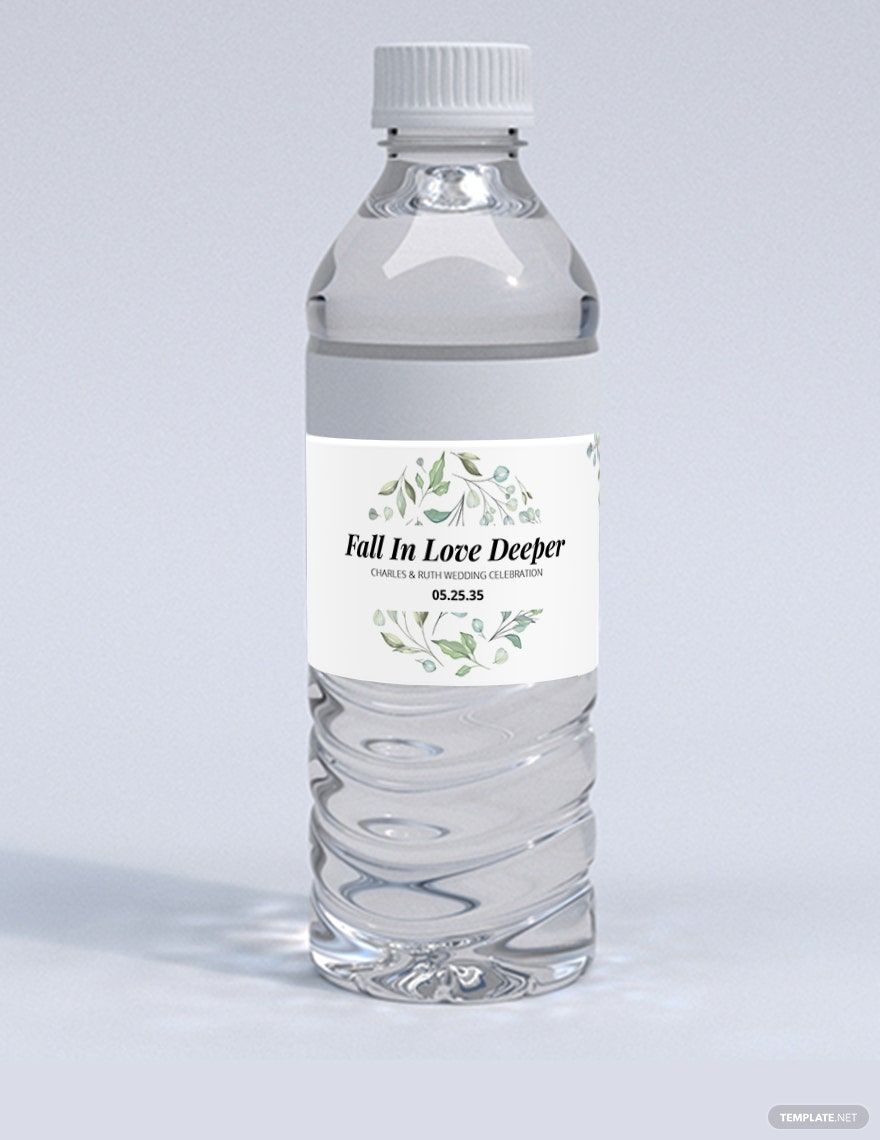
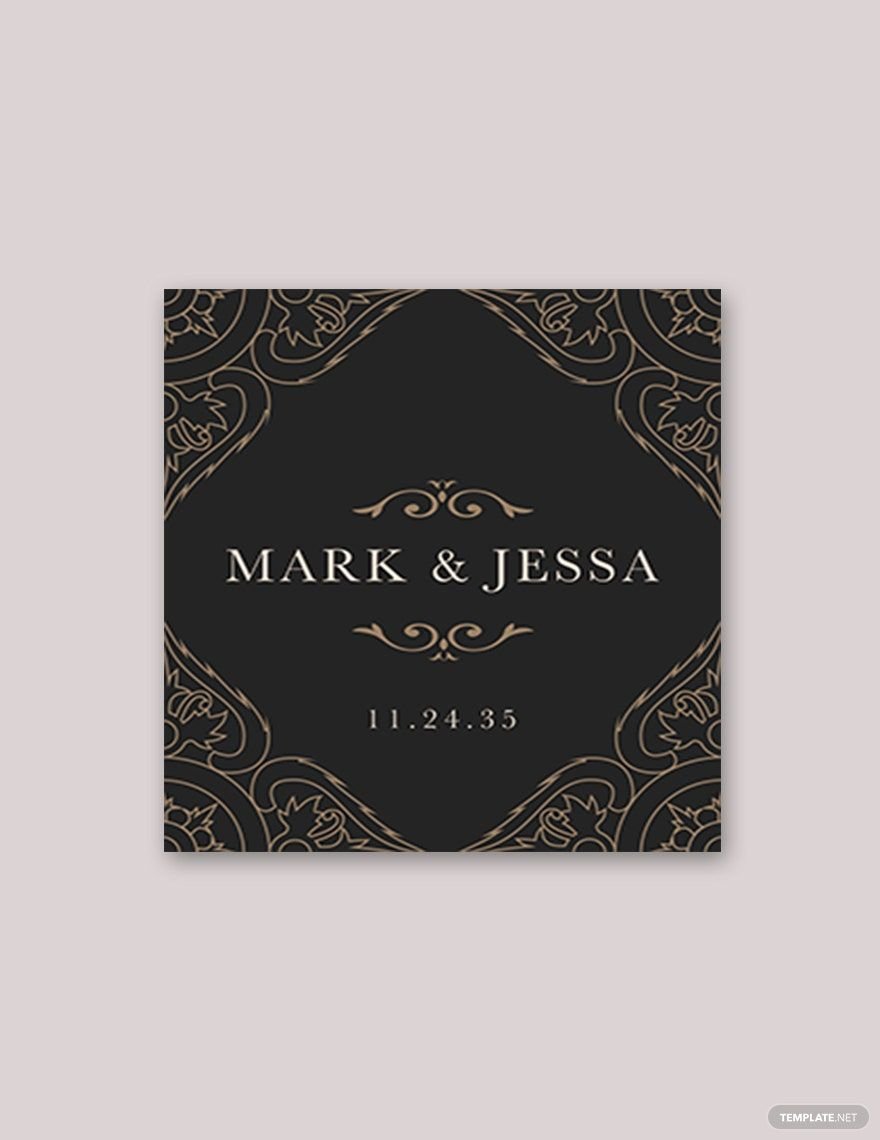
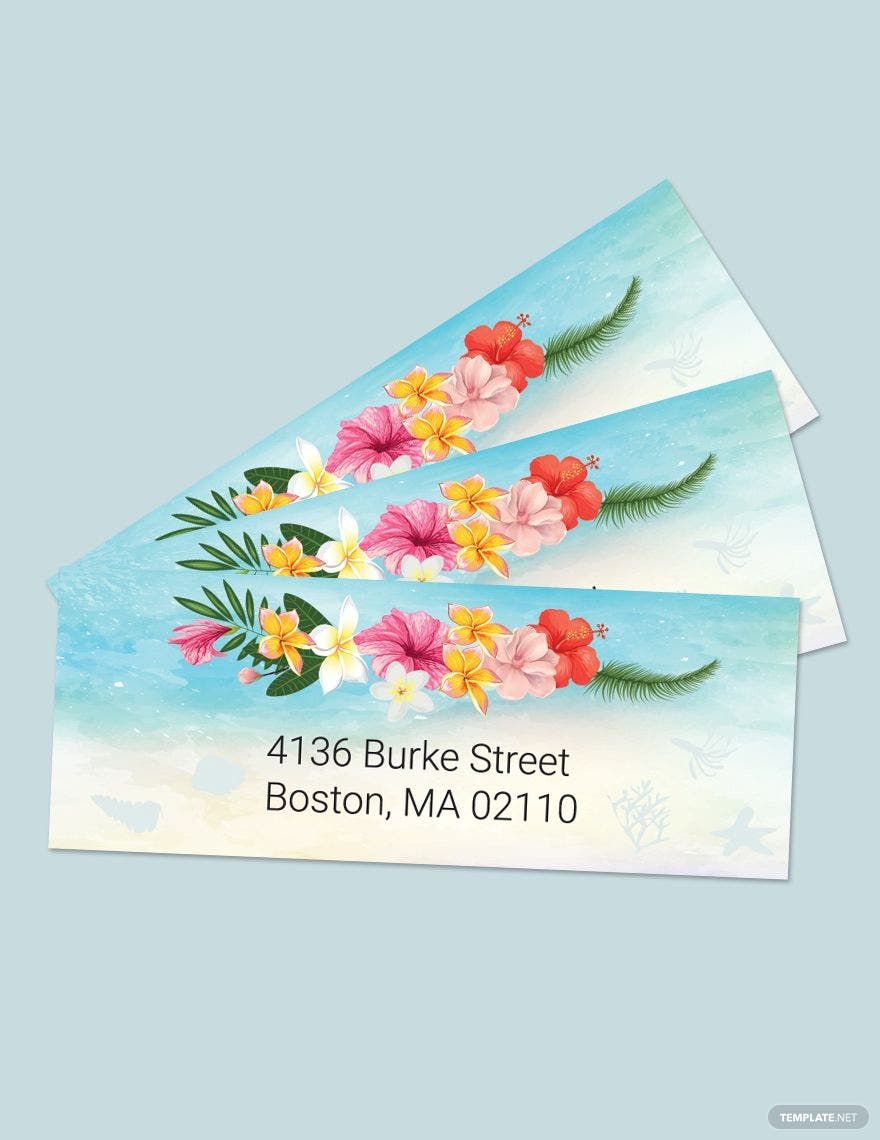
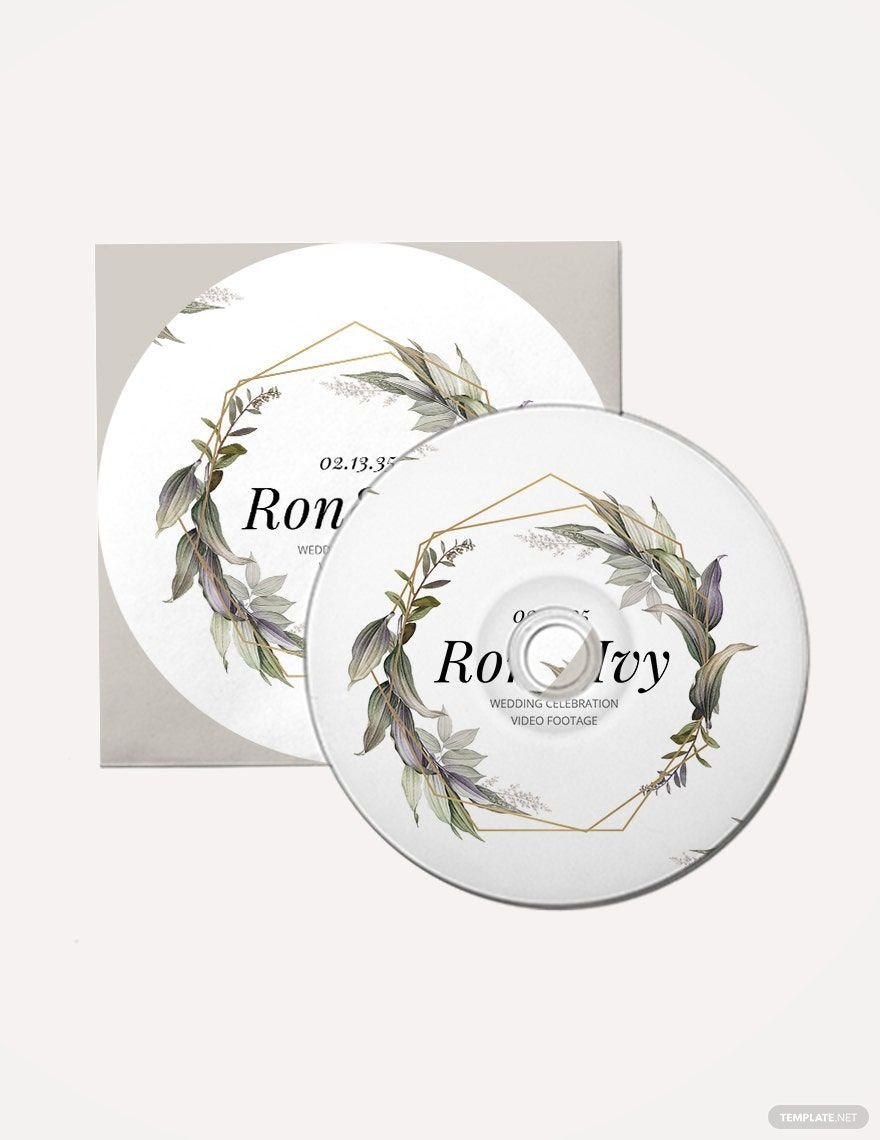
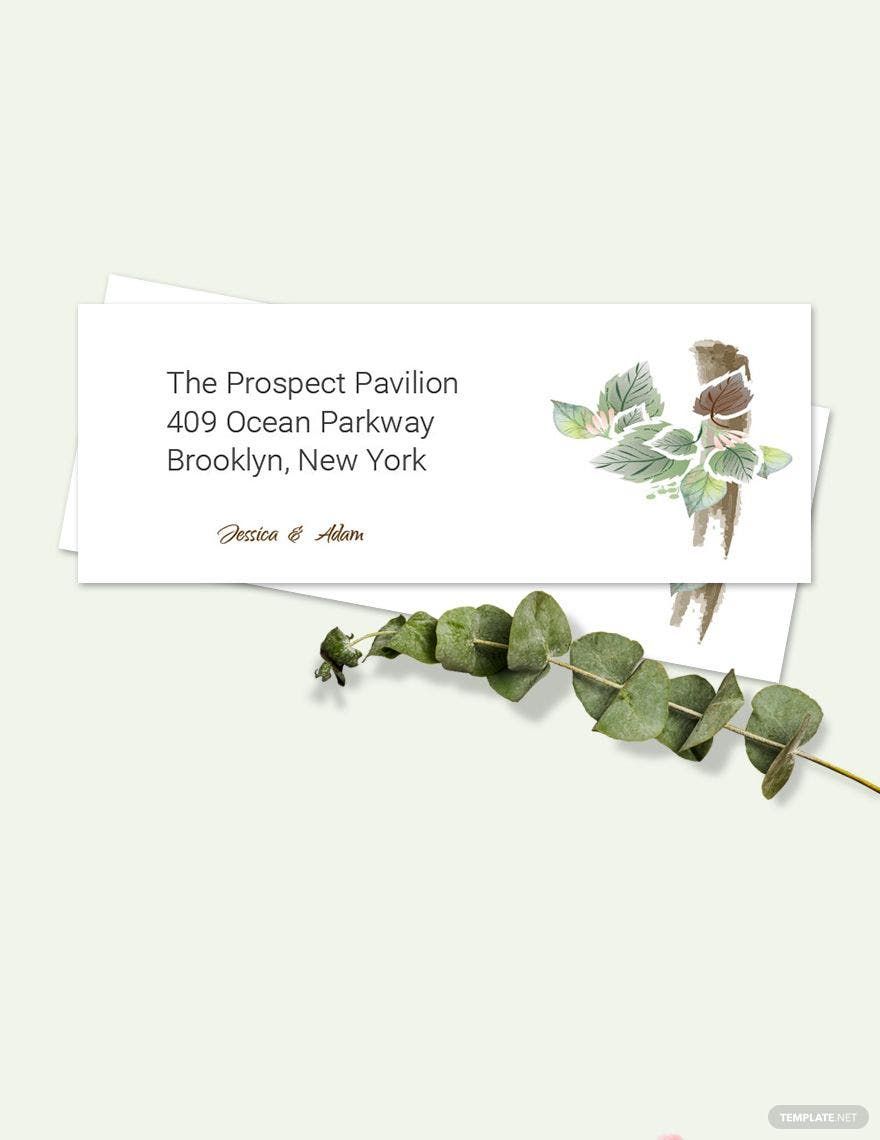
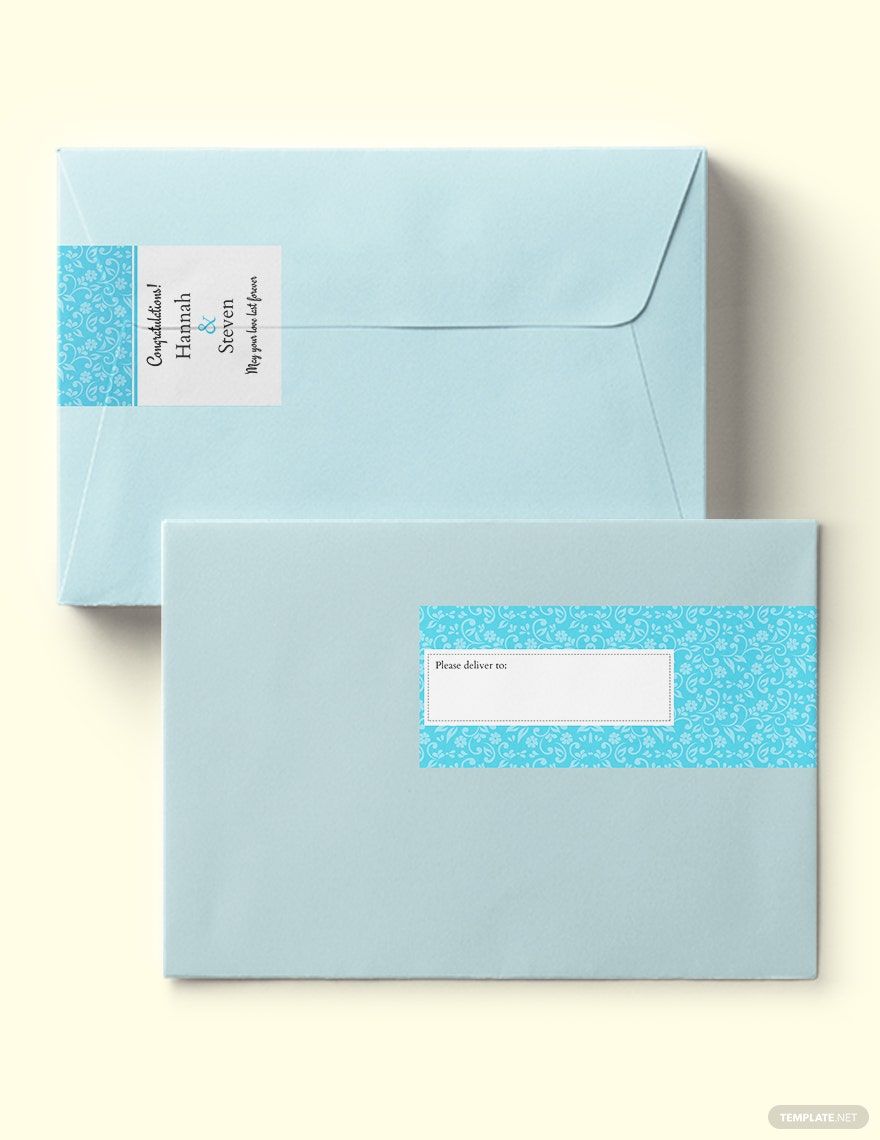
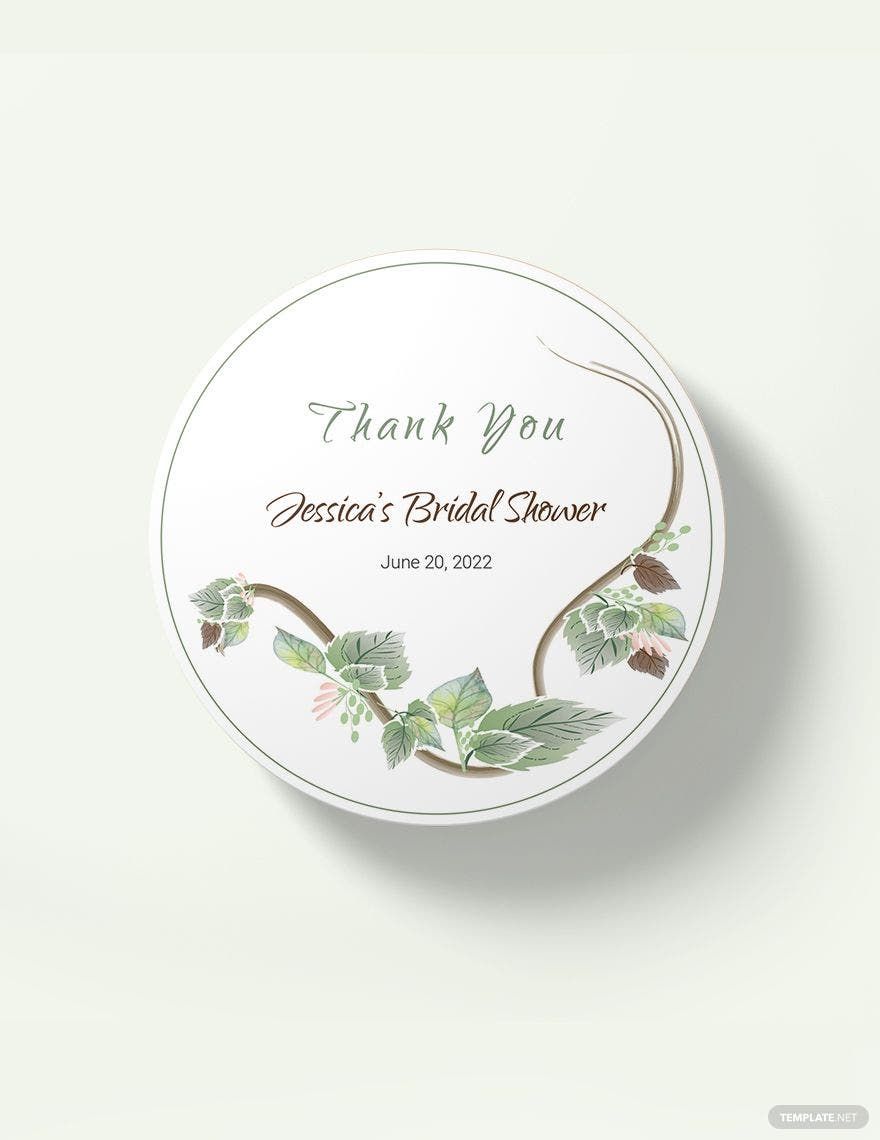
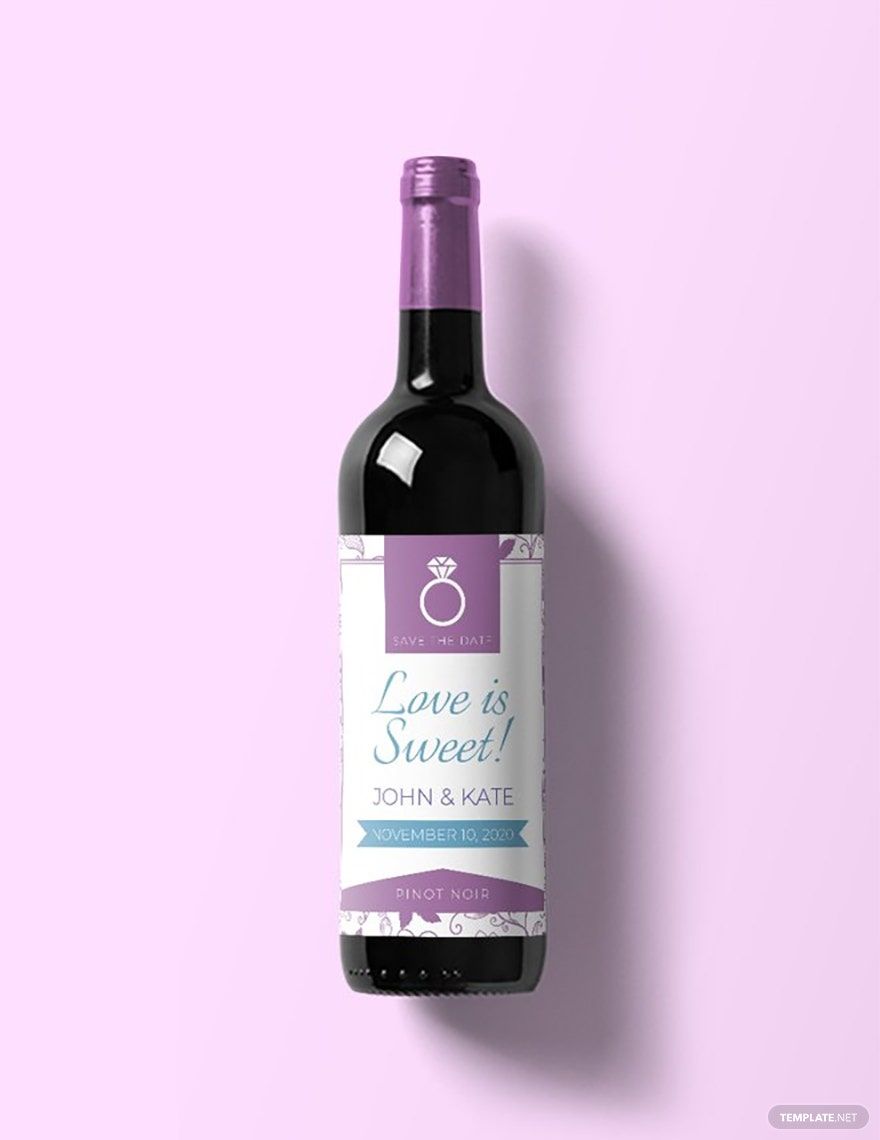
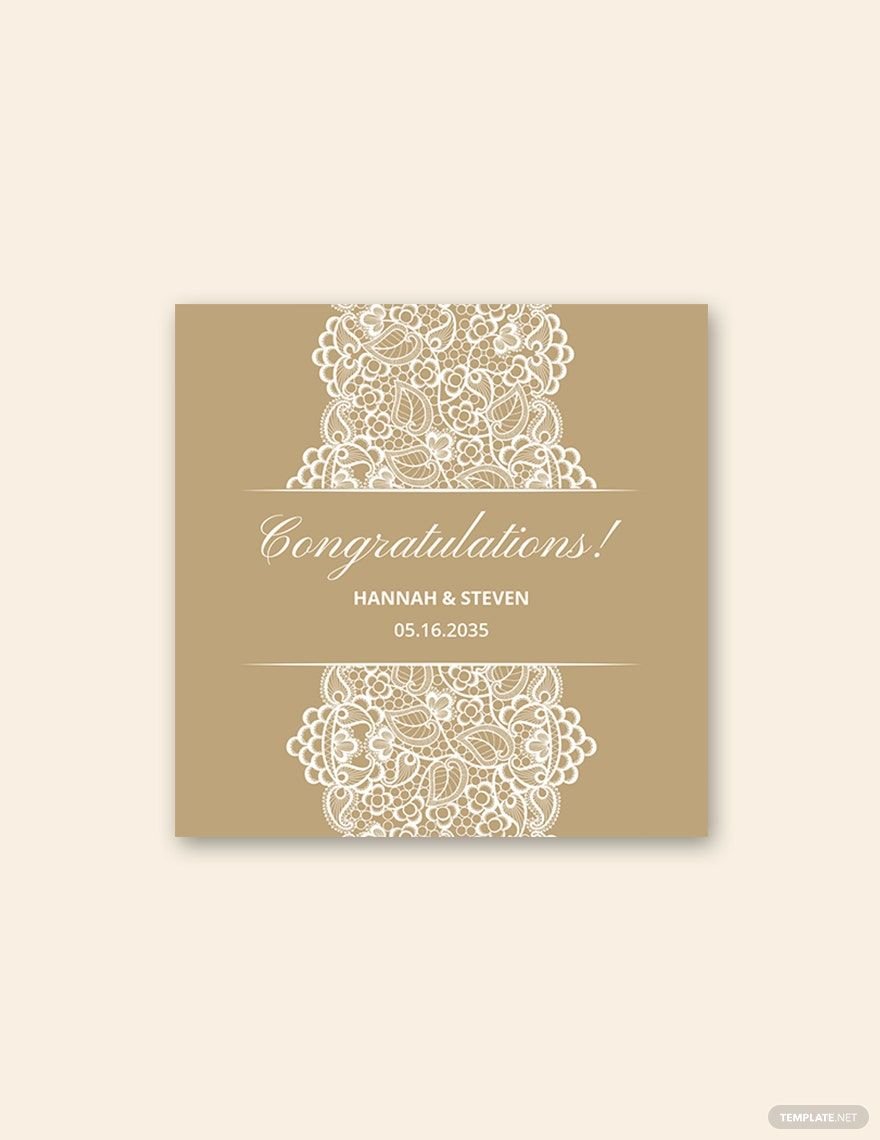
Are you a couple looking for wedding labels that fit your wedding favor? Or a guest that’s seeking for wedding labels to attach to your prepared wedding gift? Any of the two, you’re on the right site. Here in Template.net, we offer you various wedding labels that you can use in whatever you suppose to utilize it. These are 100% customizable so you don’t have an excuse not to avail any of these templates. Other than that, these label templates are easily editable in any versions of Microsoft Word. It’s no burden at all, all you have to do is to scroll and avail the template that you need! These are all a click away of your belonging. So easy, right?
How To Make Wedding Labels in Microsoft Word?
Wedding labels can be seen attached to wedding gifts, CDs, bags, wedding favors, wine bottles, and many more. These might be an add on to the couple’s expenses for their wedding, but these are already part of the tradition. However, there are ways to lessen your expenditures toward these labels. Create your own or avail a template.
If you do DIY for your wedding labels, you can save, however, it demands your time to make it. With such concern, availing label templates can save your money and time. One program that’s easy to use for editing in Microsoft Word. This isn’t best about words, but also in editing graphics.
If you’re quite curious about how to check the details below and make it as your guide while you’re customizing our wedding label templates.
1. Open The Program
No more ado, instantly open your Microsoft Word. You’ll see a blank sheet. If you’ve come up with your wine label layout, start to check the toolbar and click ‘Insert’. The entire design sheet is visible and can be easily understood. Explore the features it offers.
2. Select From The Options
As you look at the toolbar, there are lots of options that you can use when you edit. Just visit each and familiarize whether such tool fits your need. Right after that, start designing. How would you like your address label to be printed? Is it a circle, rectangular, or square? If you decided what shape to use, then proceed to step 3.
Additionally, if you’re customizing, simply use the needed buttons for your editing.
3. Play With The Colors
There are colors that you can use when you edit or customize labels. But you have to be reminded that whatever color you choose has to relate with your theme. Other than that, you also have to check whether the colors you used to complement each other. Do the colors eye-friendly? If yes, then you’ve chosen the right colors.
You can make your judgment according to your standards, but you can also view a color wheel for your reference.
4. Insert Text
After you’ve selected the colors that you believe fit the theme of your wedding, insert the details. Check out our templates above, it has ideas that you can use. However, the details vary on how it’s being used.
If the label is used by the couple or organizer for the wedding favors, it has to include the name of the couple, the date and the address and also some inspirational phrases.
On the other hand, if it’s for the wedding gifts, you can simply include wedding greetings and the name of the couple that you are handing the gift.
5. Choose And Use The Right Paper Stock
Check out durable stationeries and use the right paper stock when printing your wedding labels. This can be hard paper or a soft one depending on the purpose. This is necessary for the paper to last for times.
6. Print Out And Add Other Details (as per your like)
Right after you chose the right paper stock, print it out in high-quality. If you want to add on some details such as laces, you can. You can use laces on your labels to tie it up or hang it to your gifts or wedding favors. You can also add other details on your bottle labels if you want.