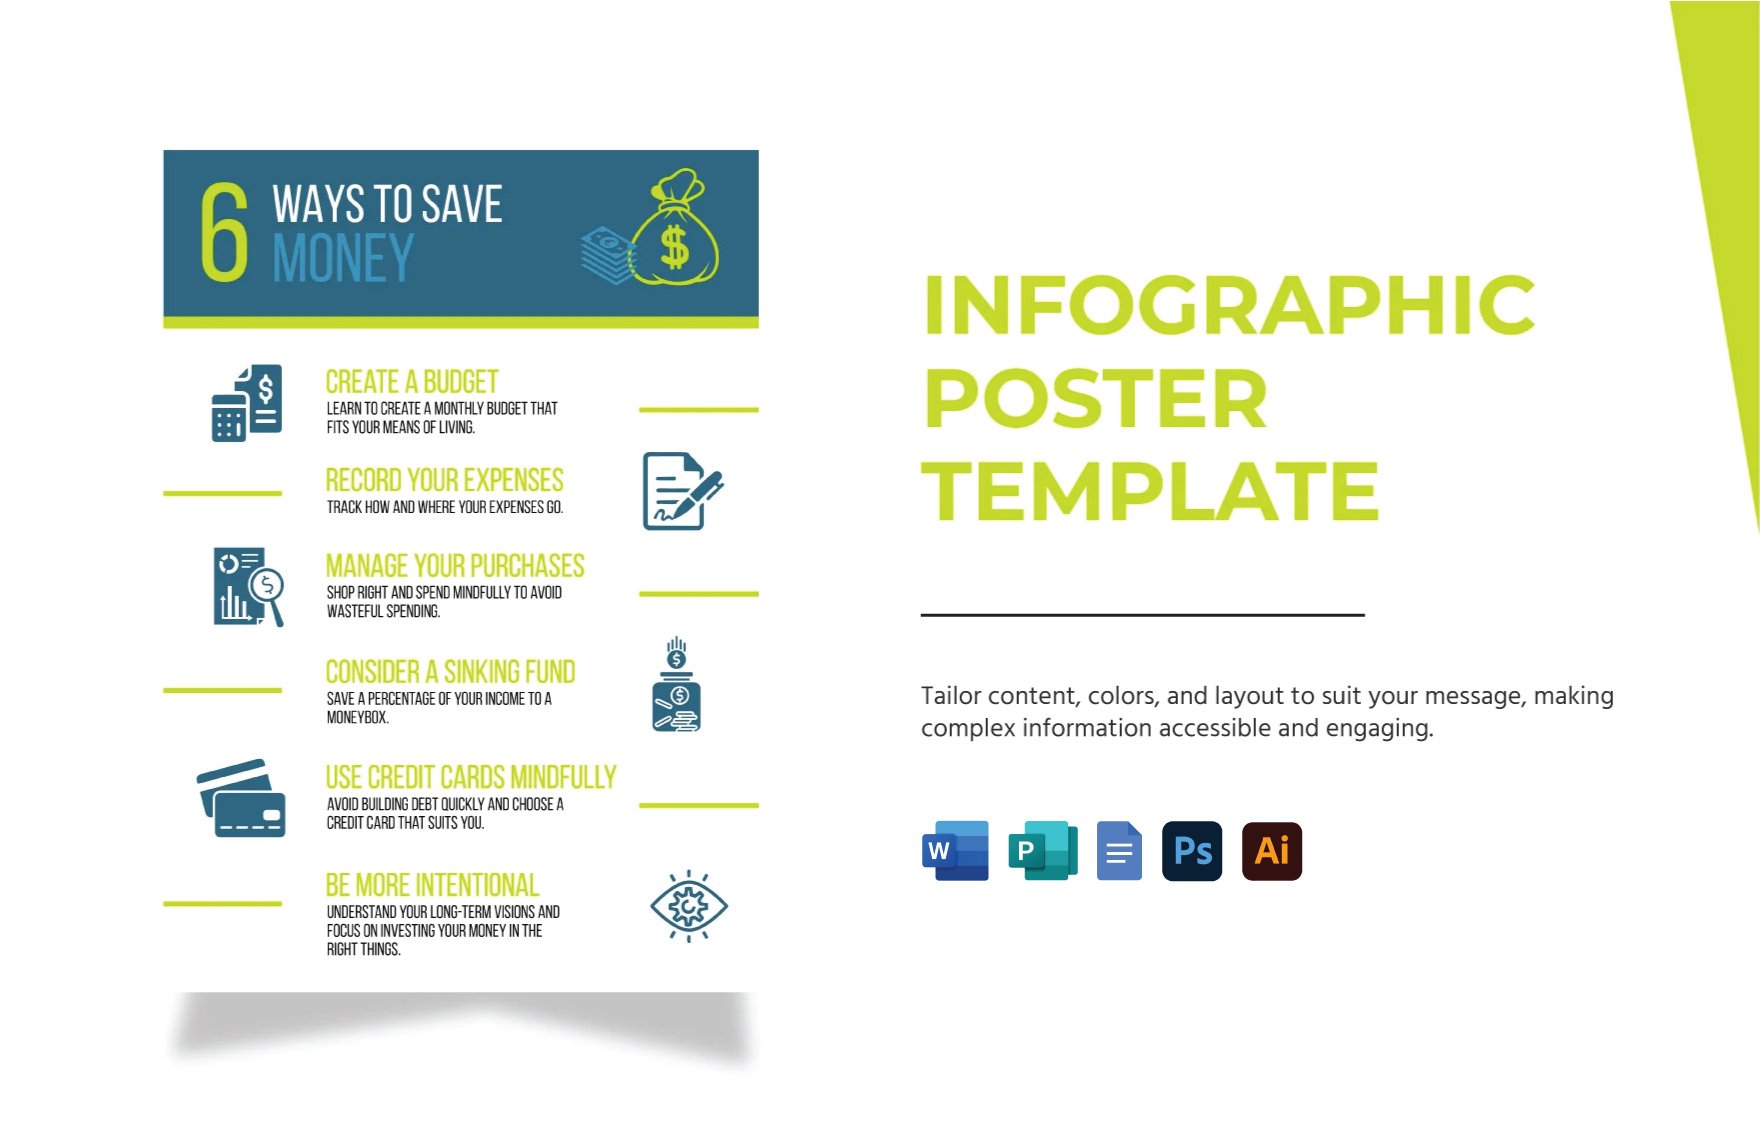
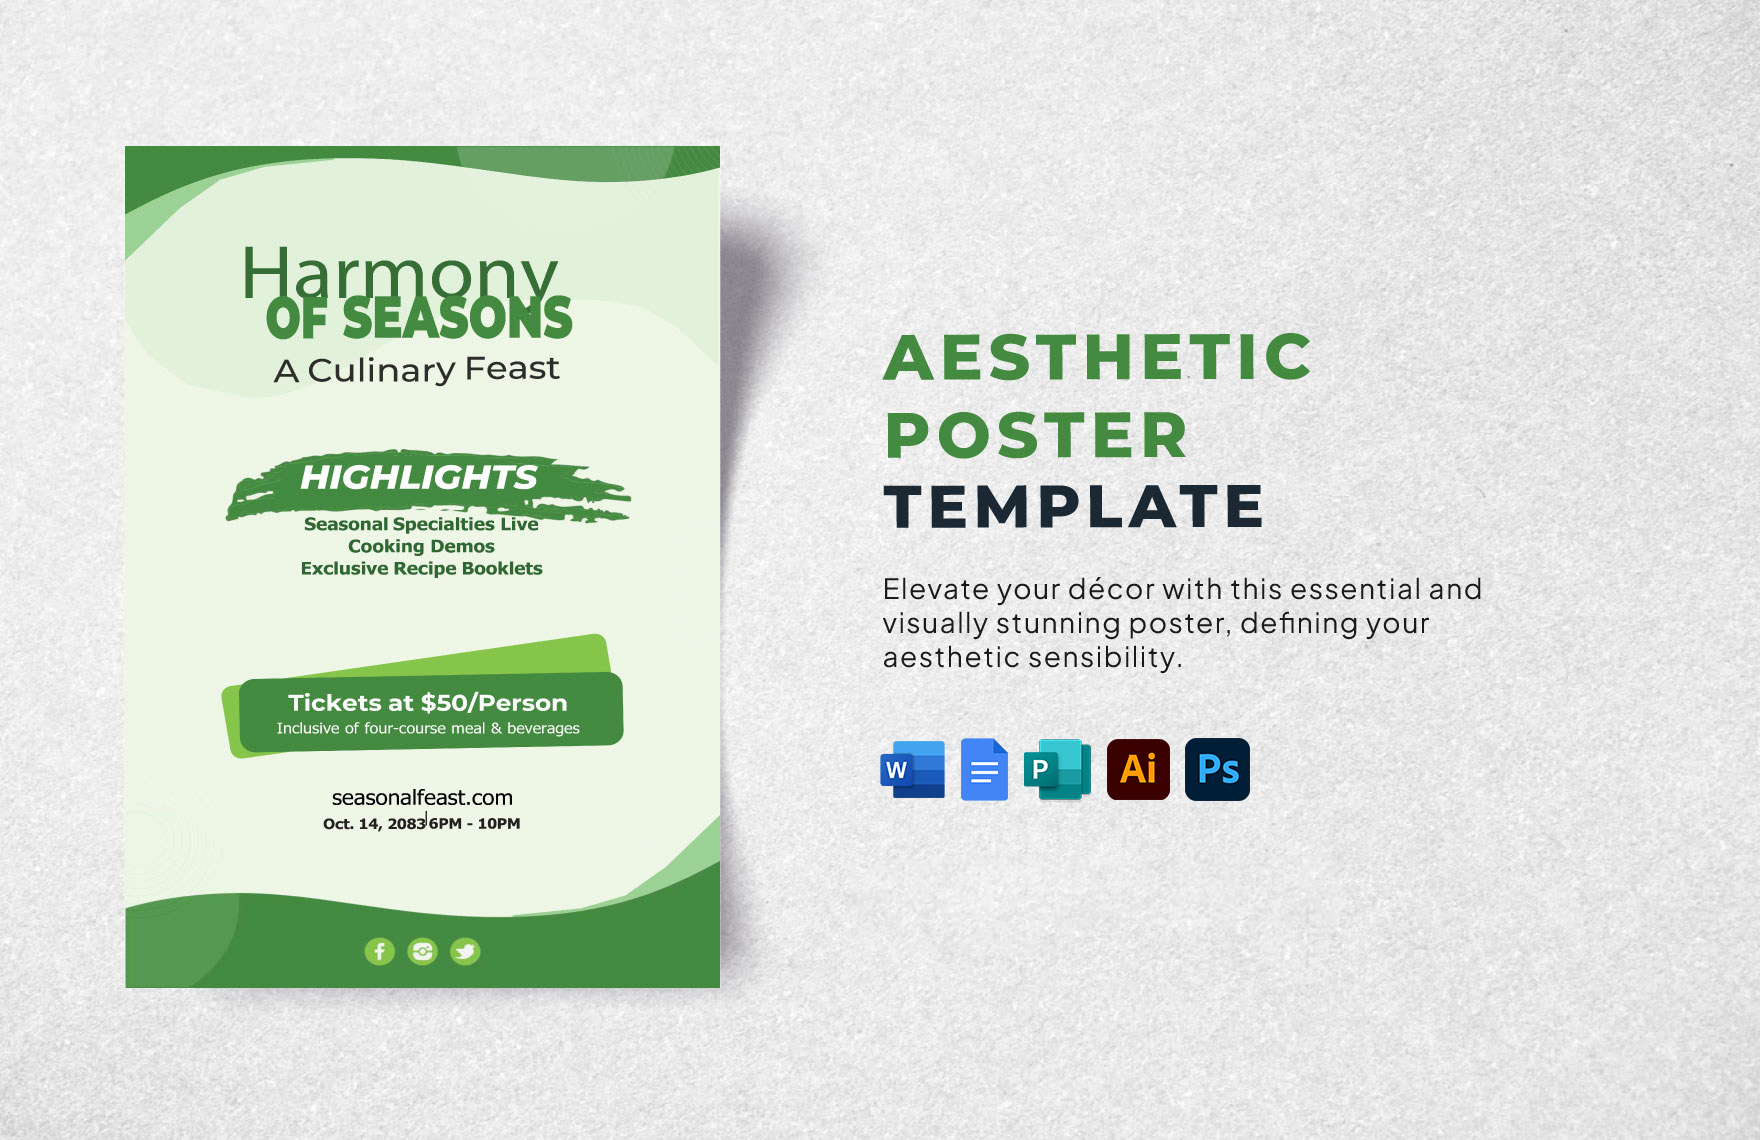
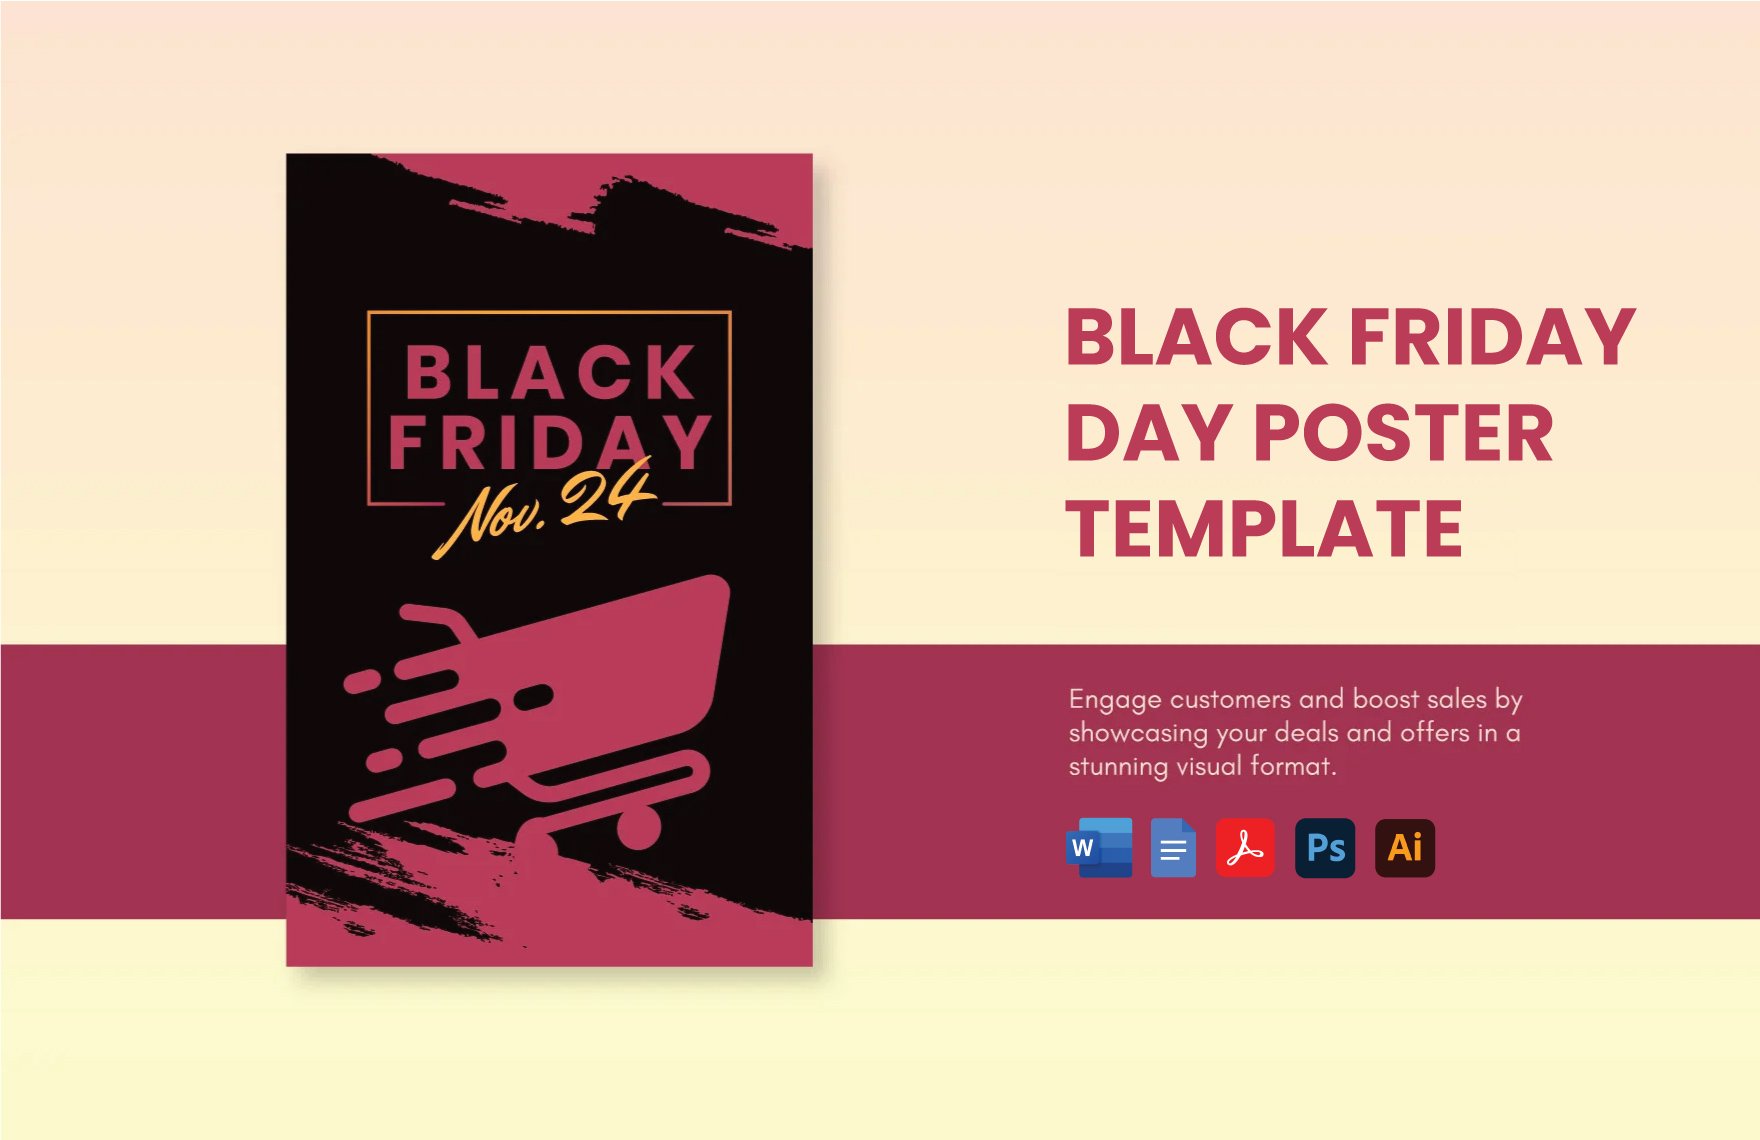
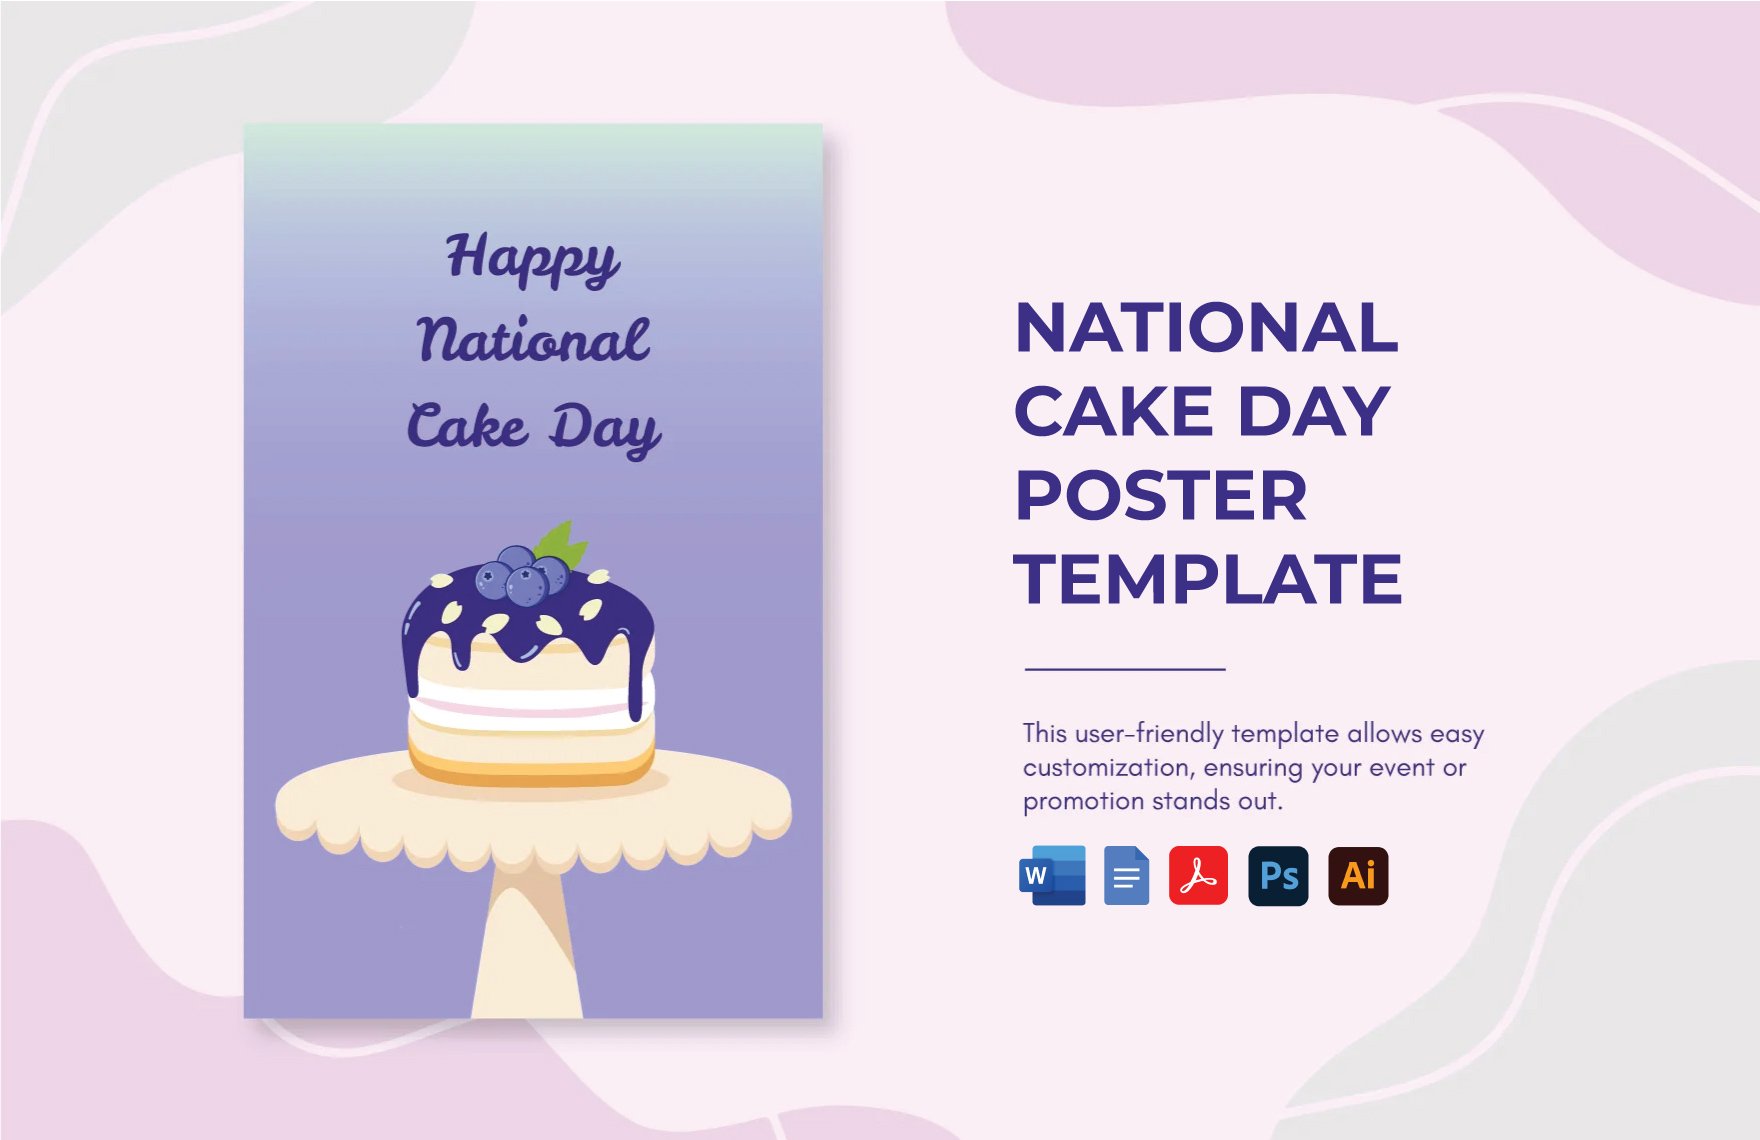
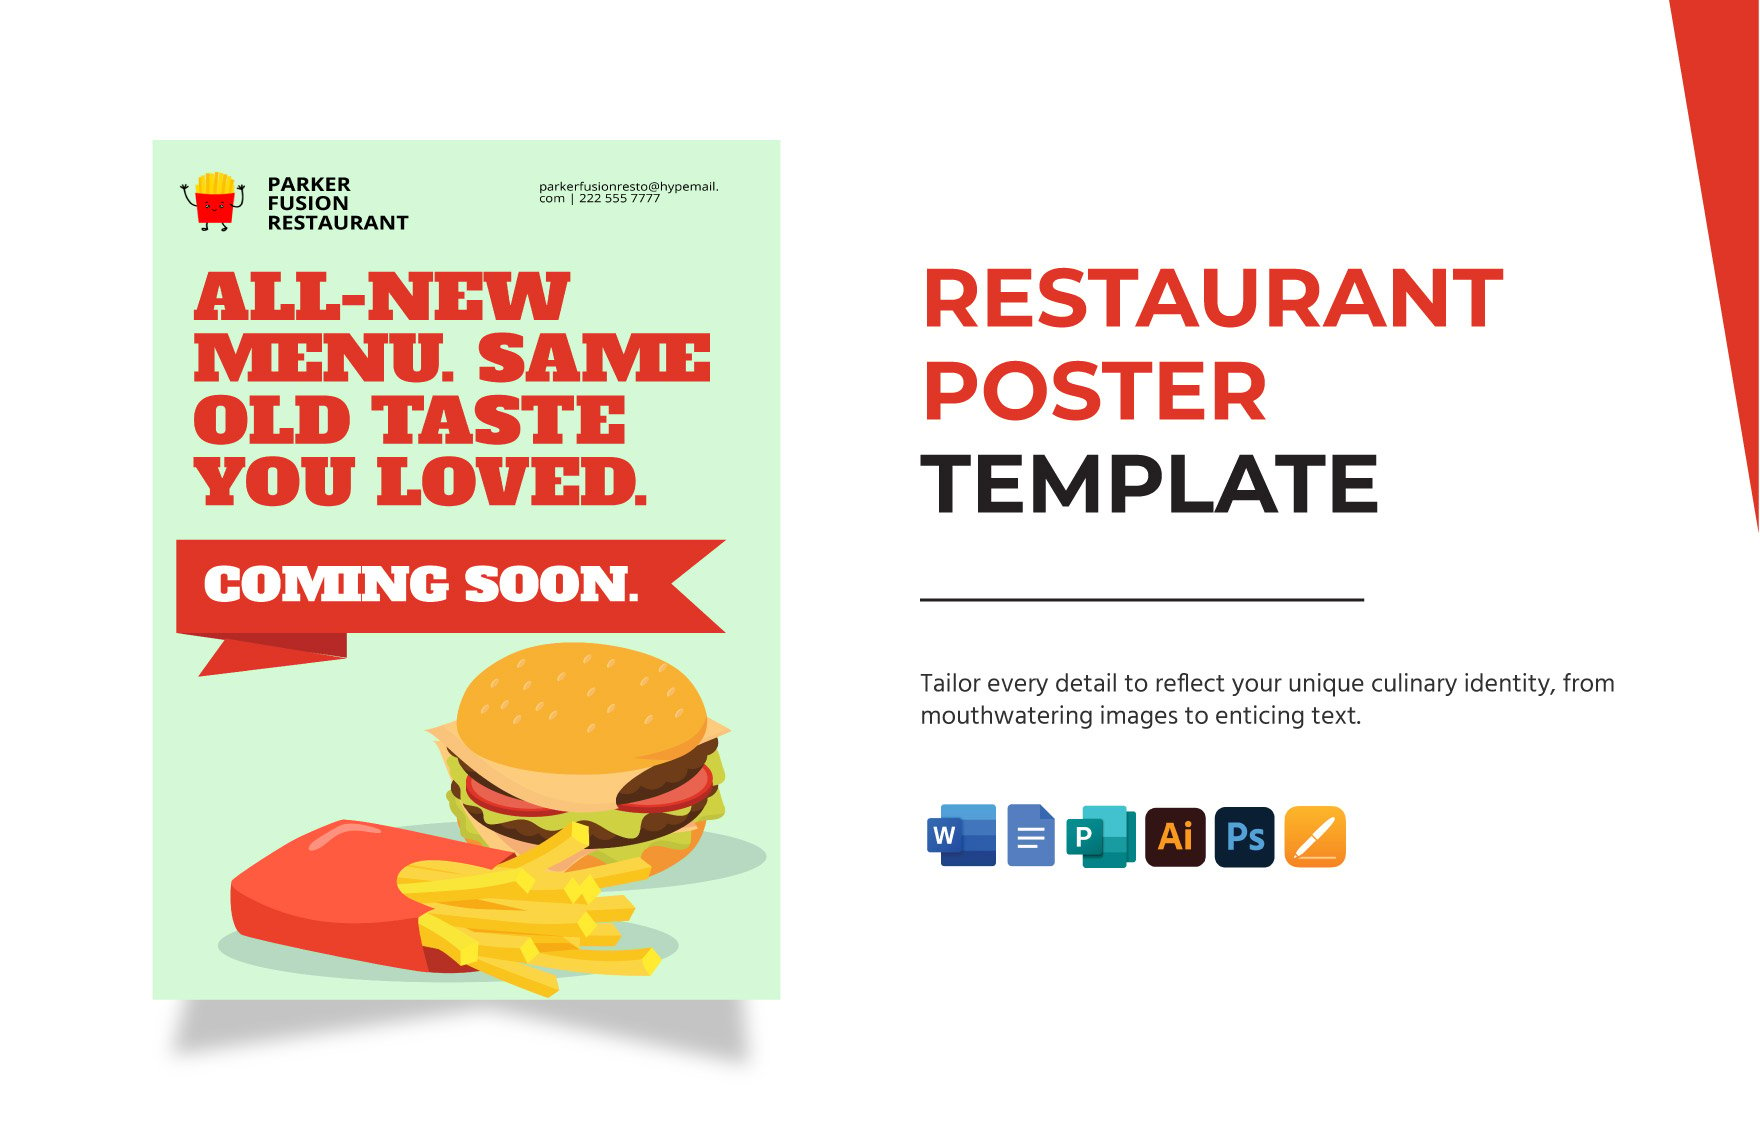
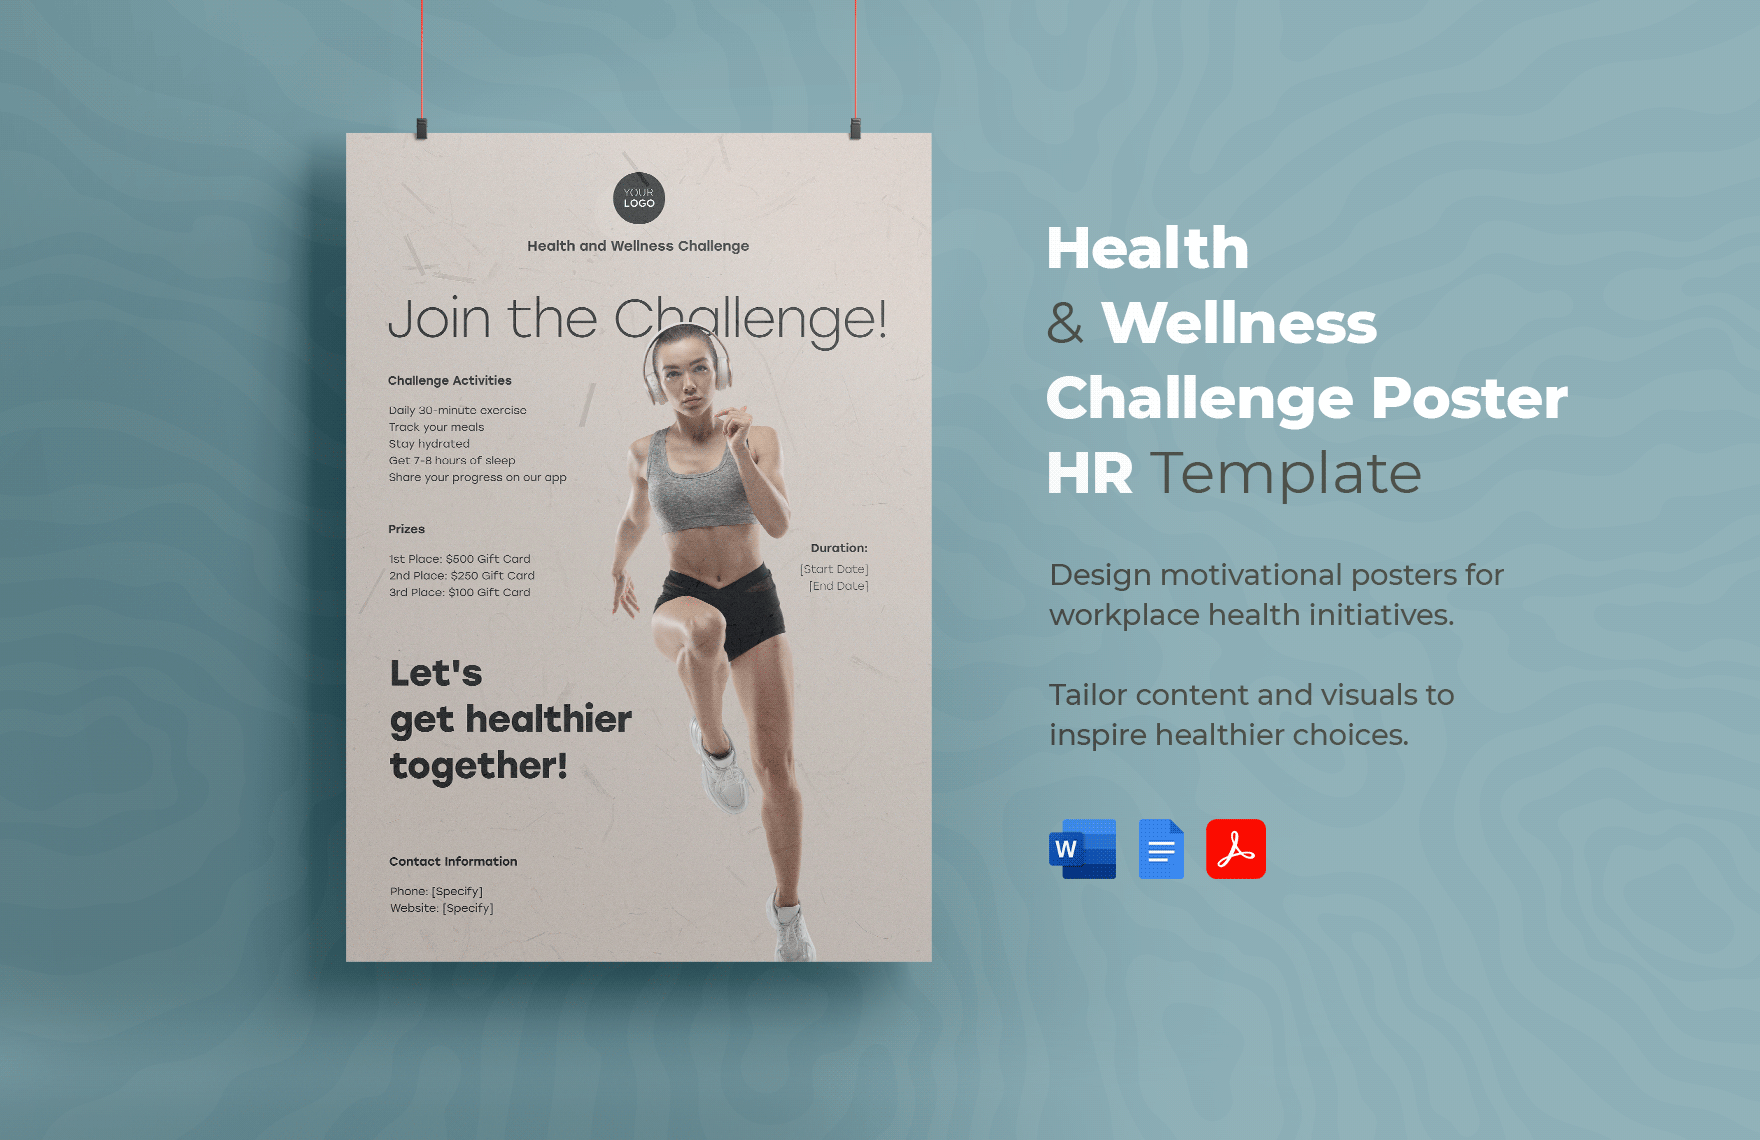
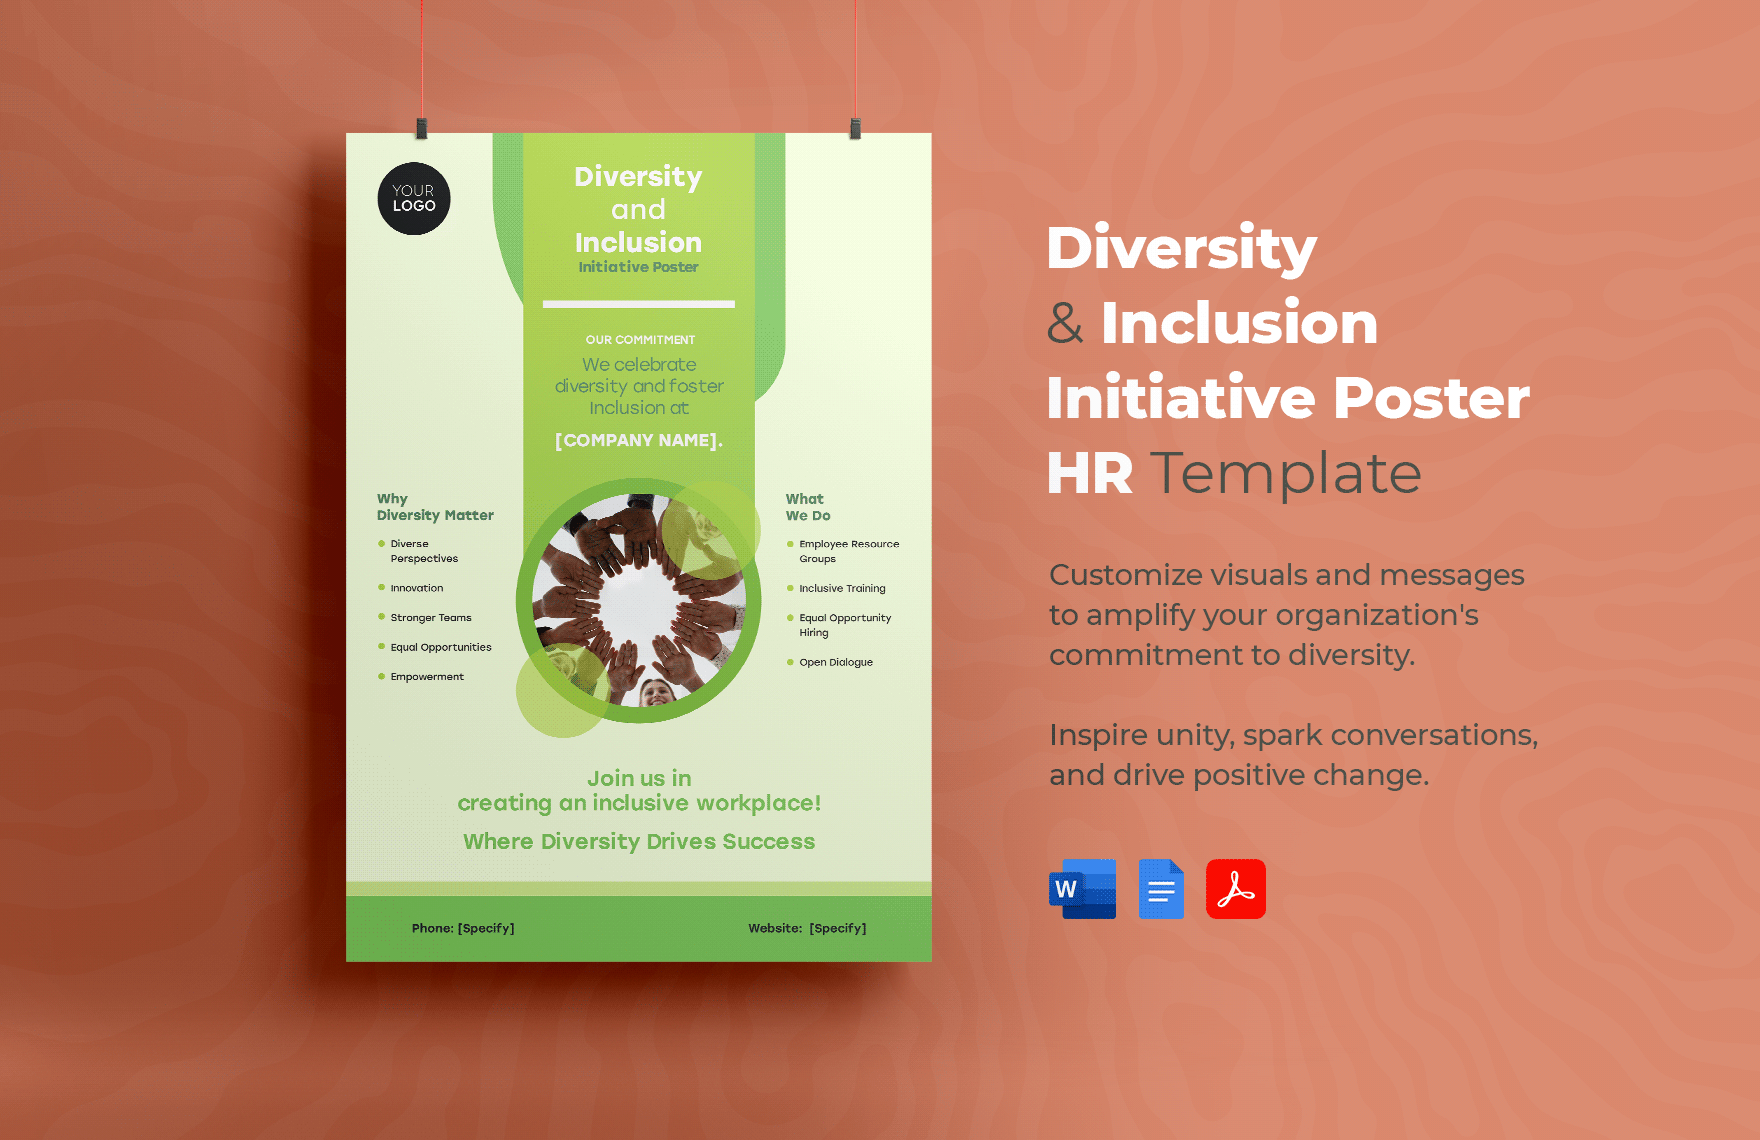
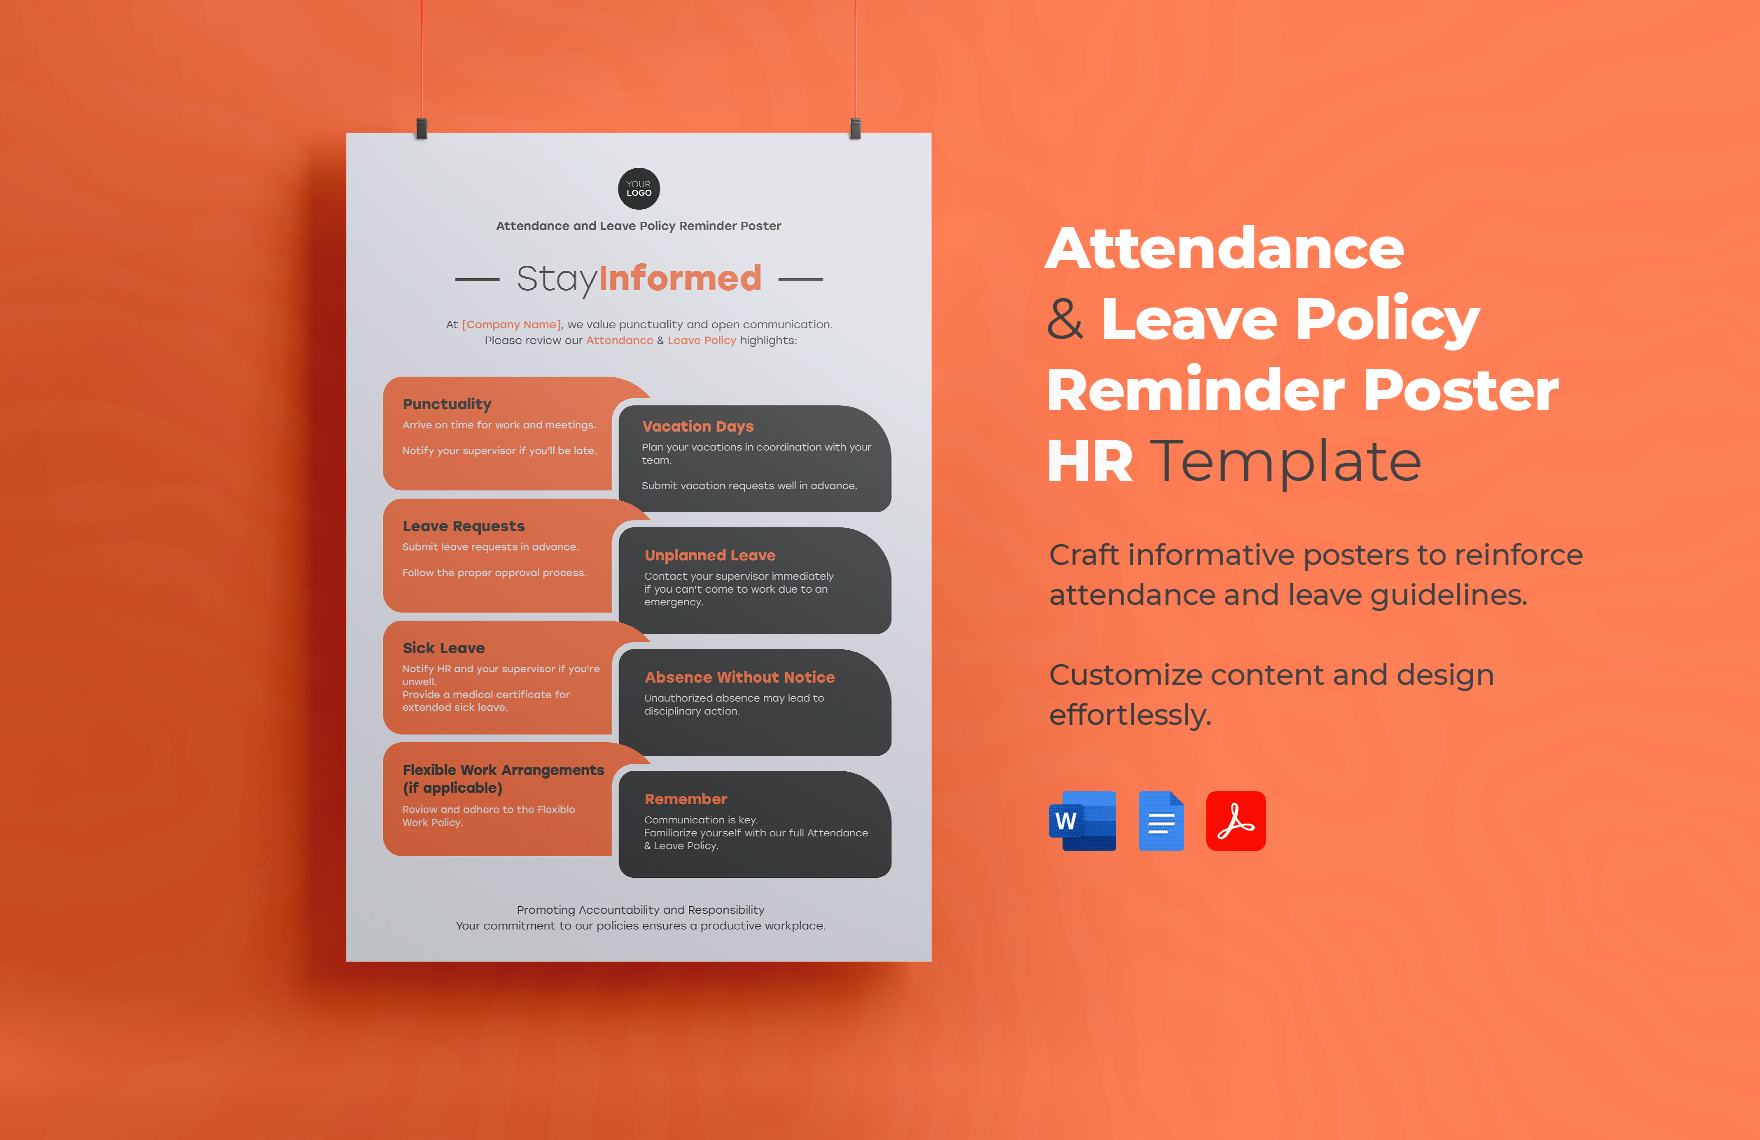
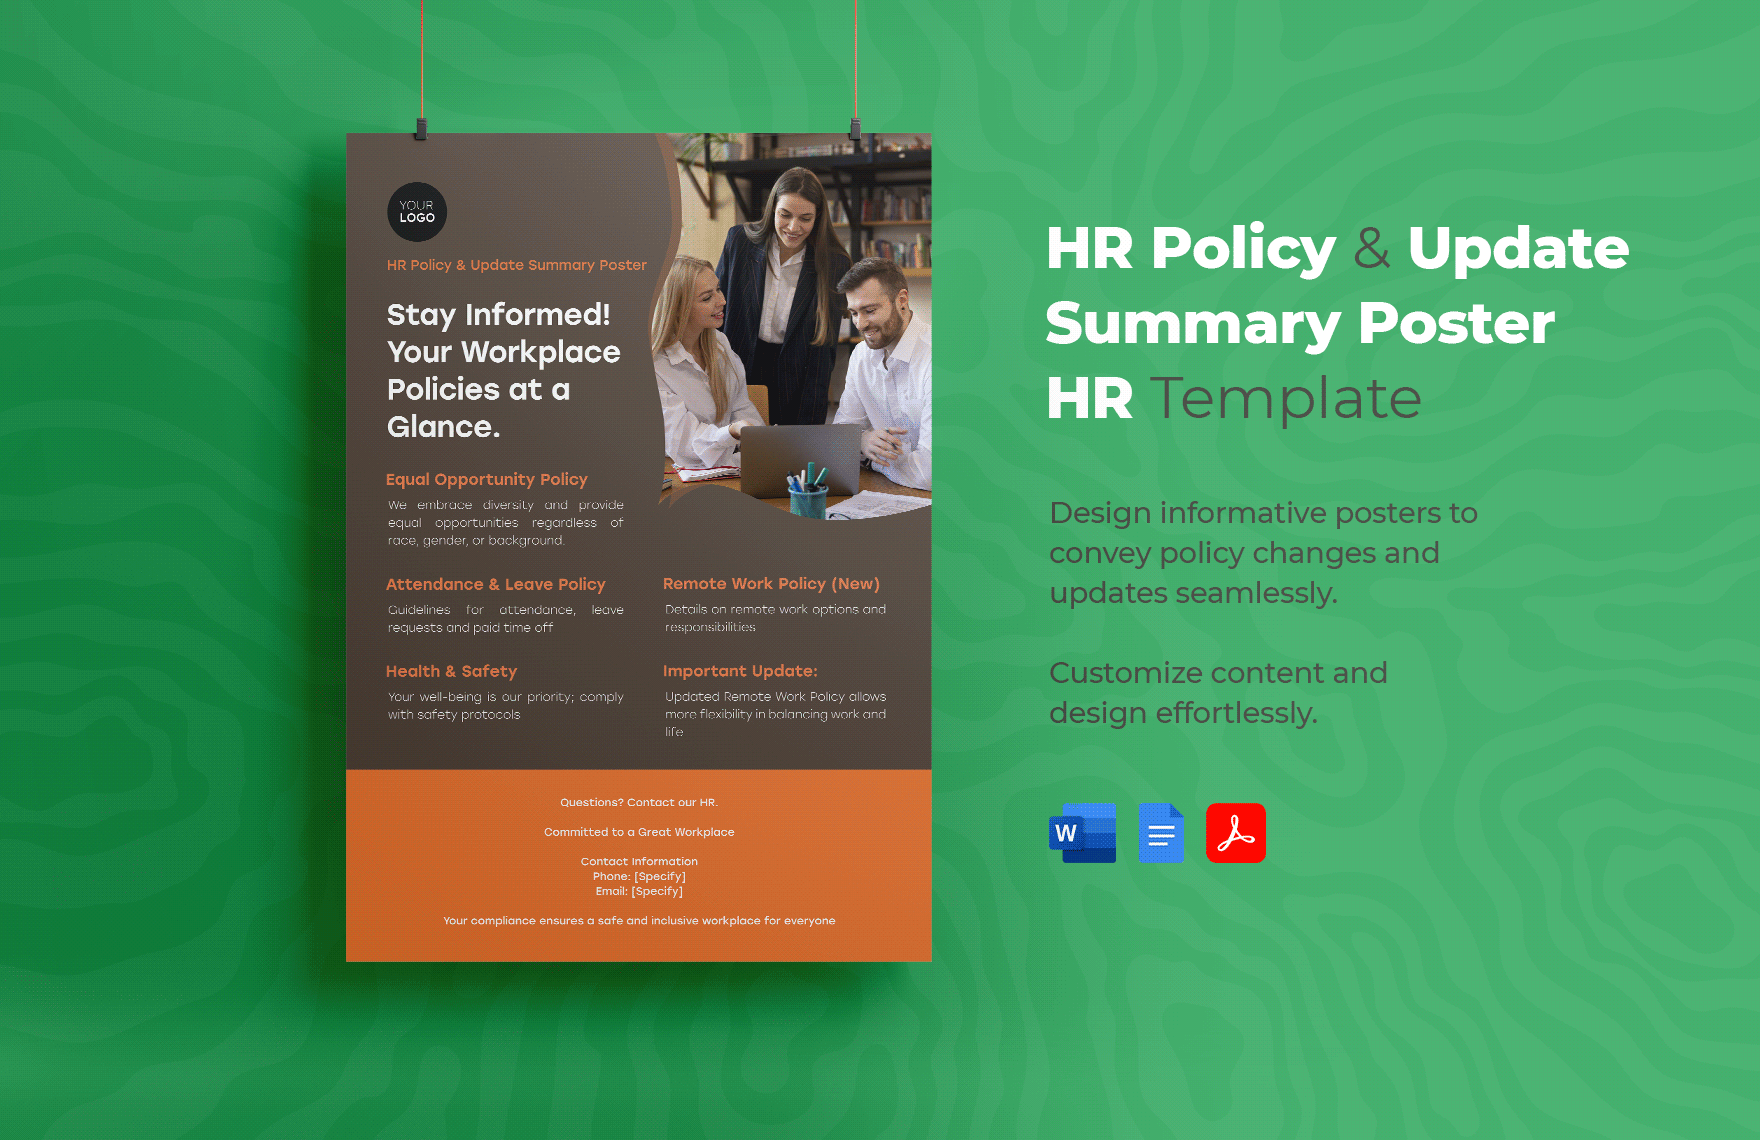
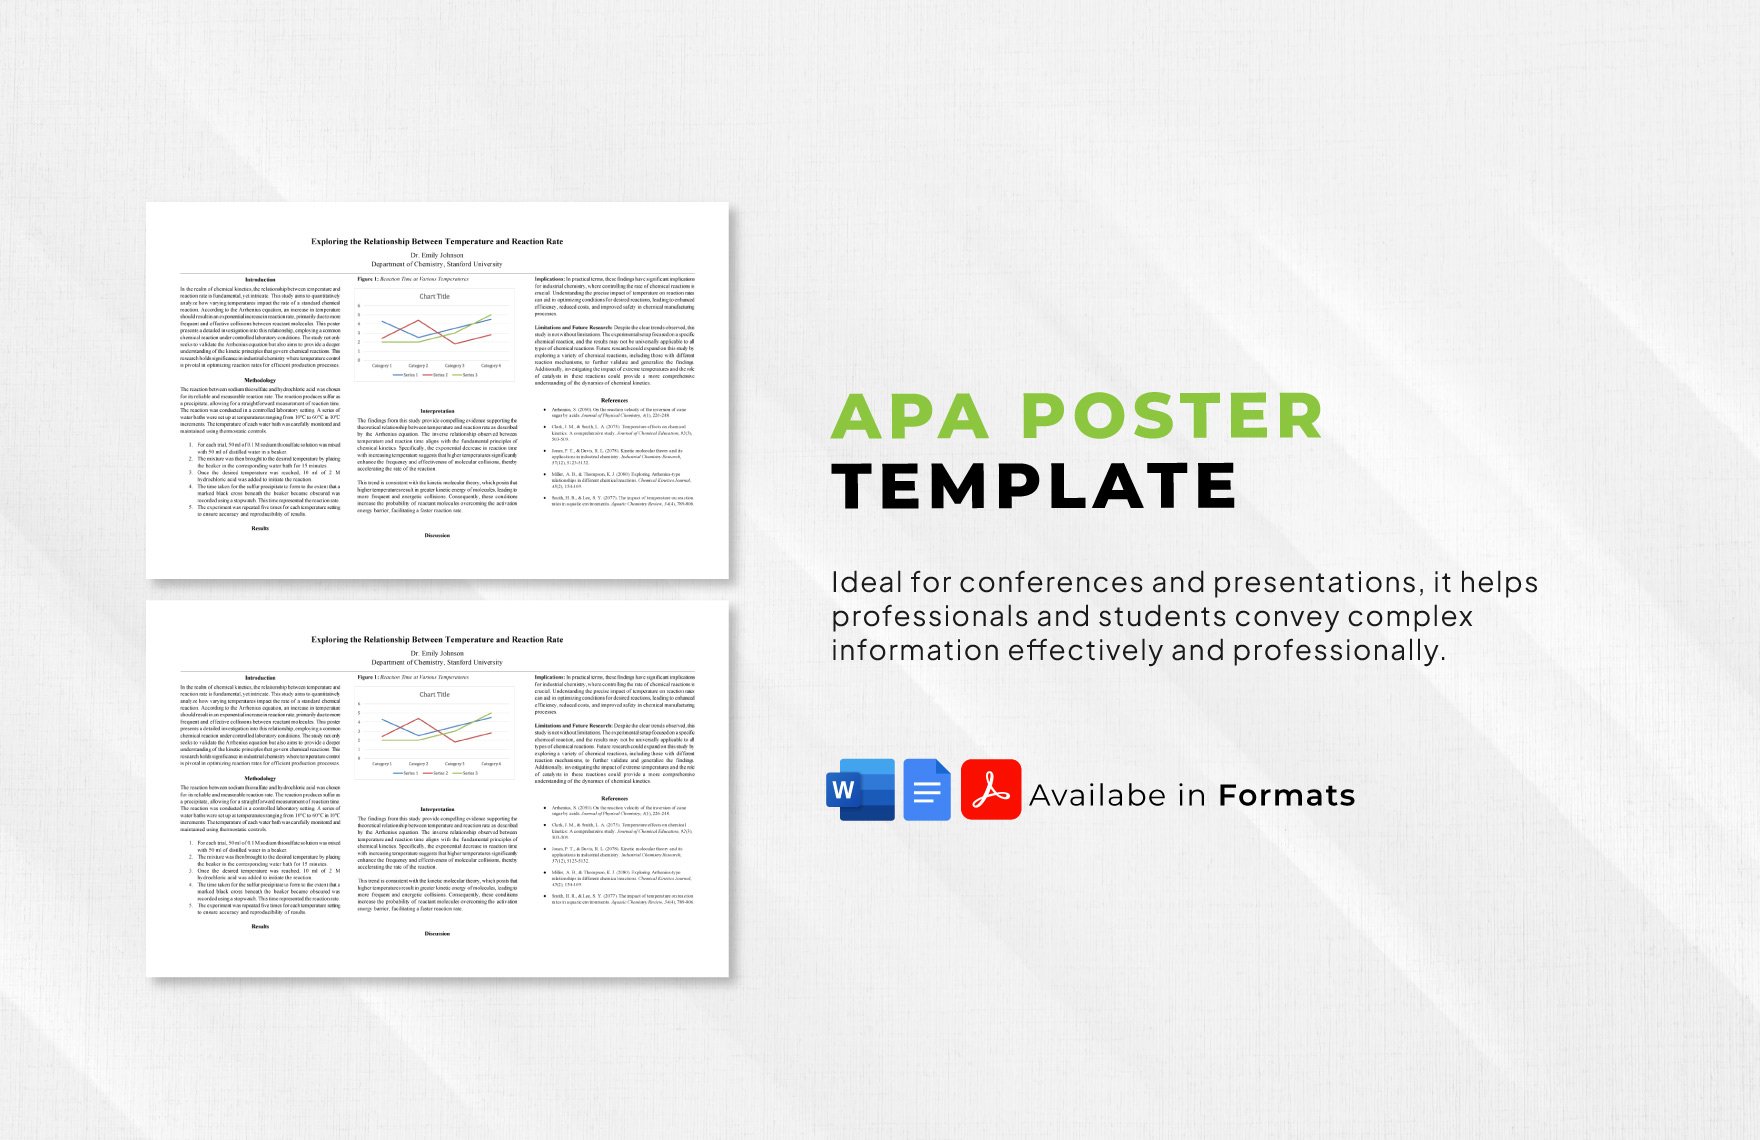
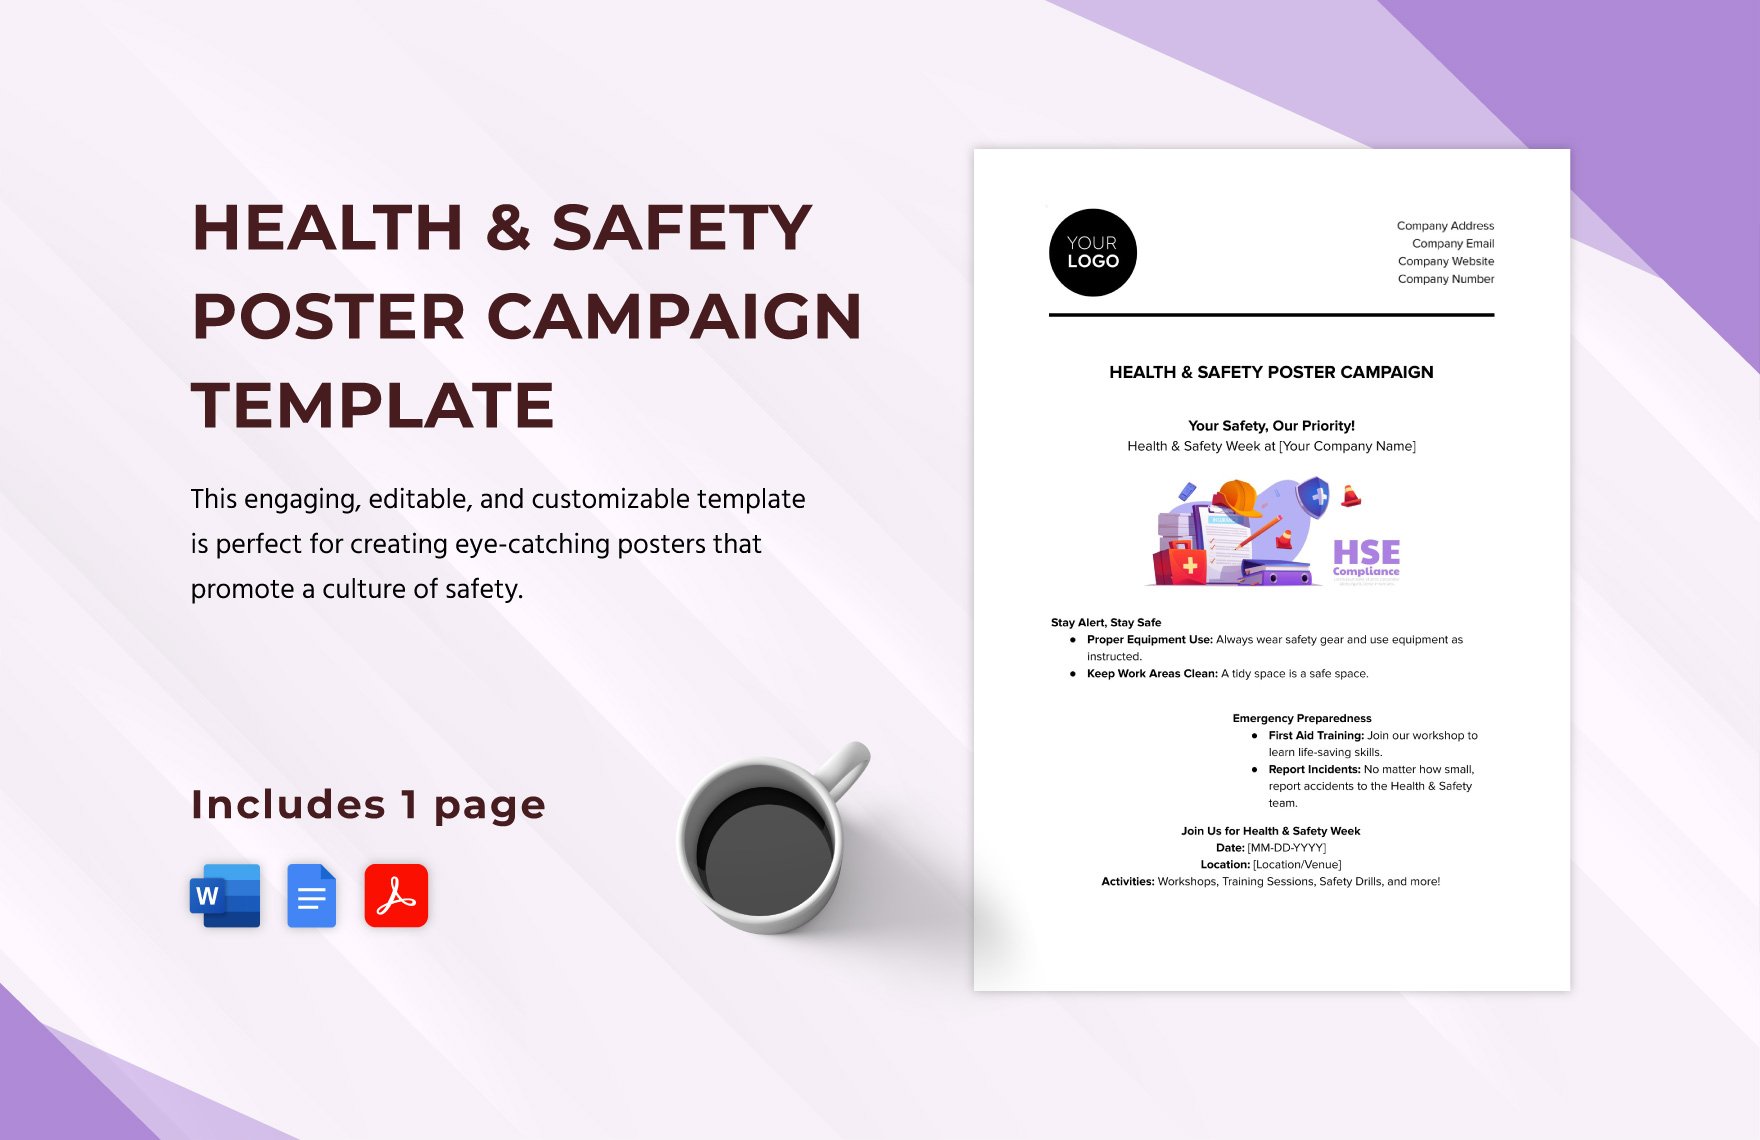
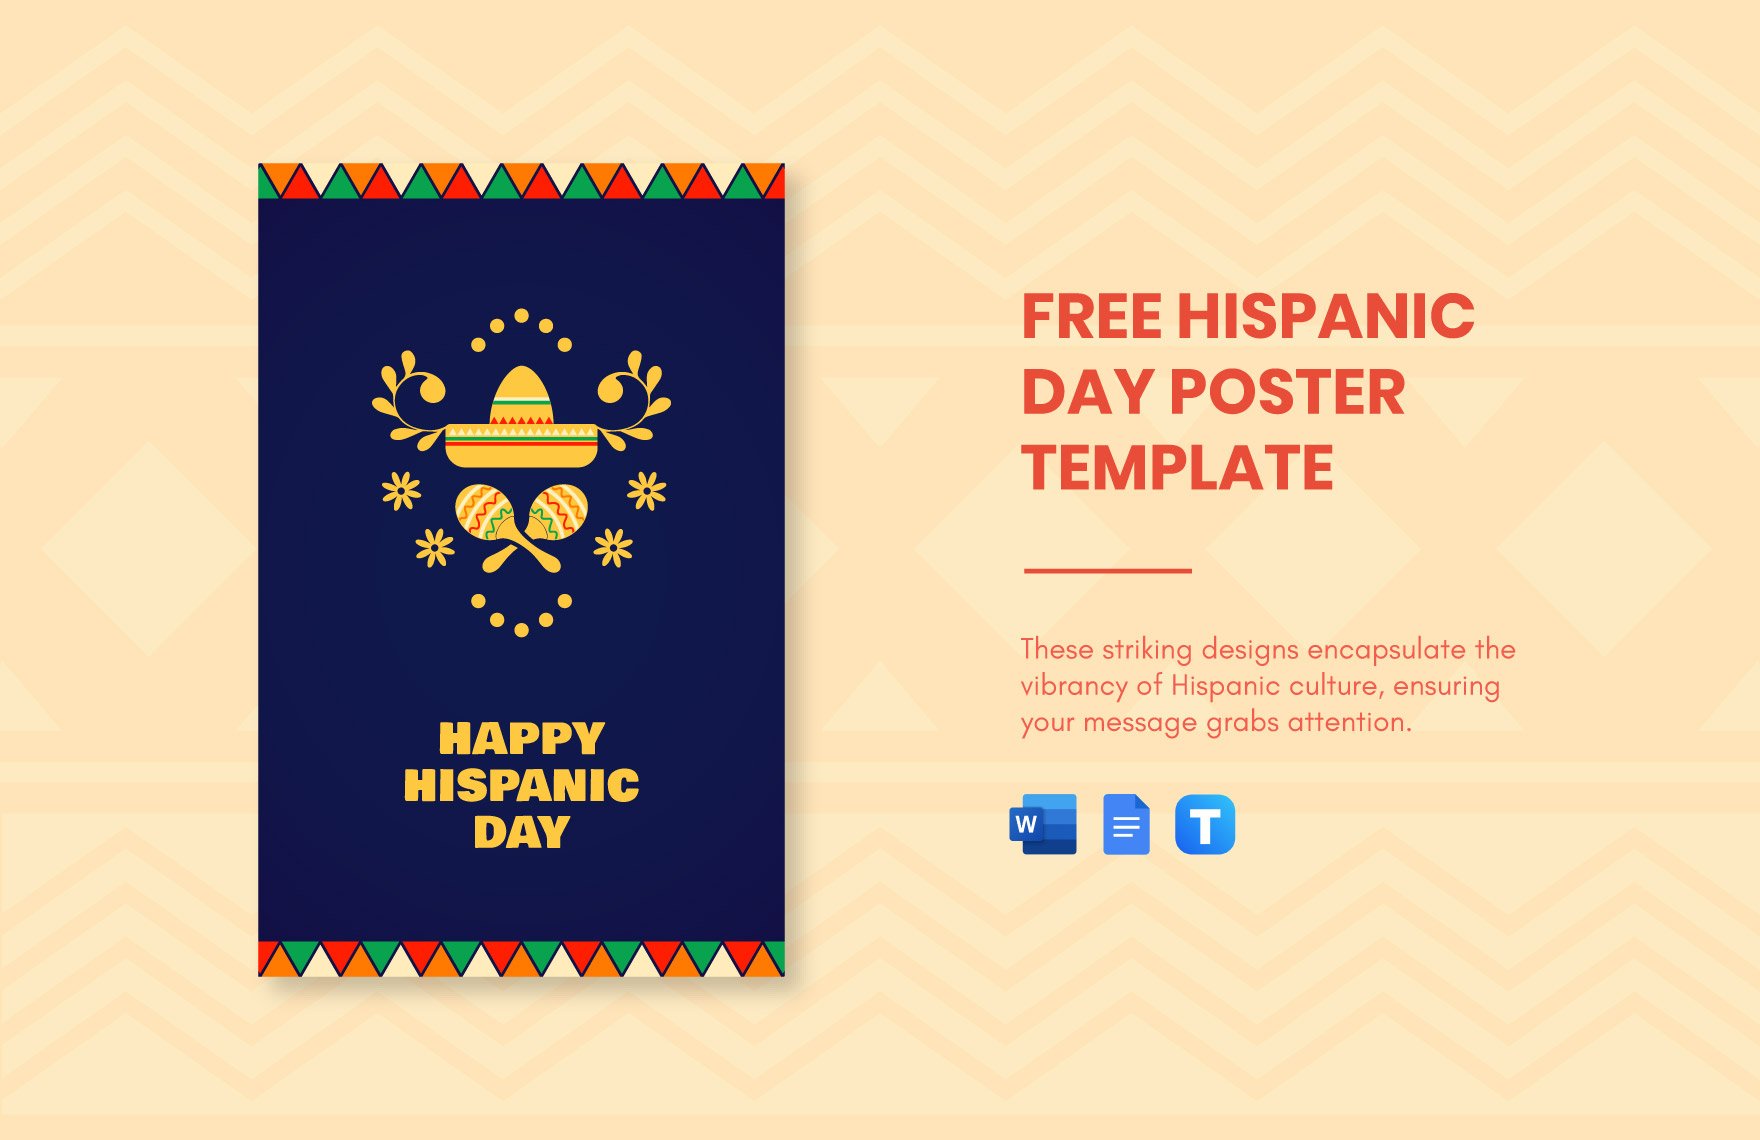
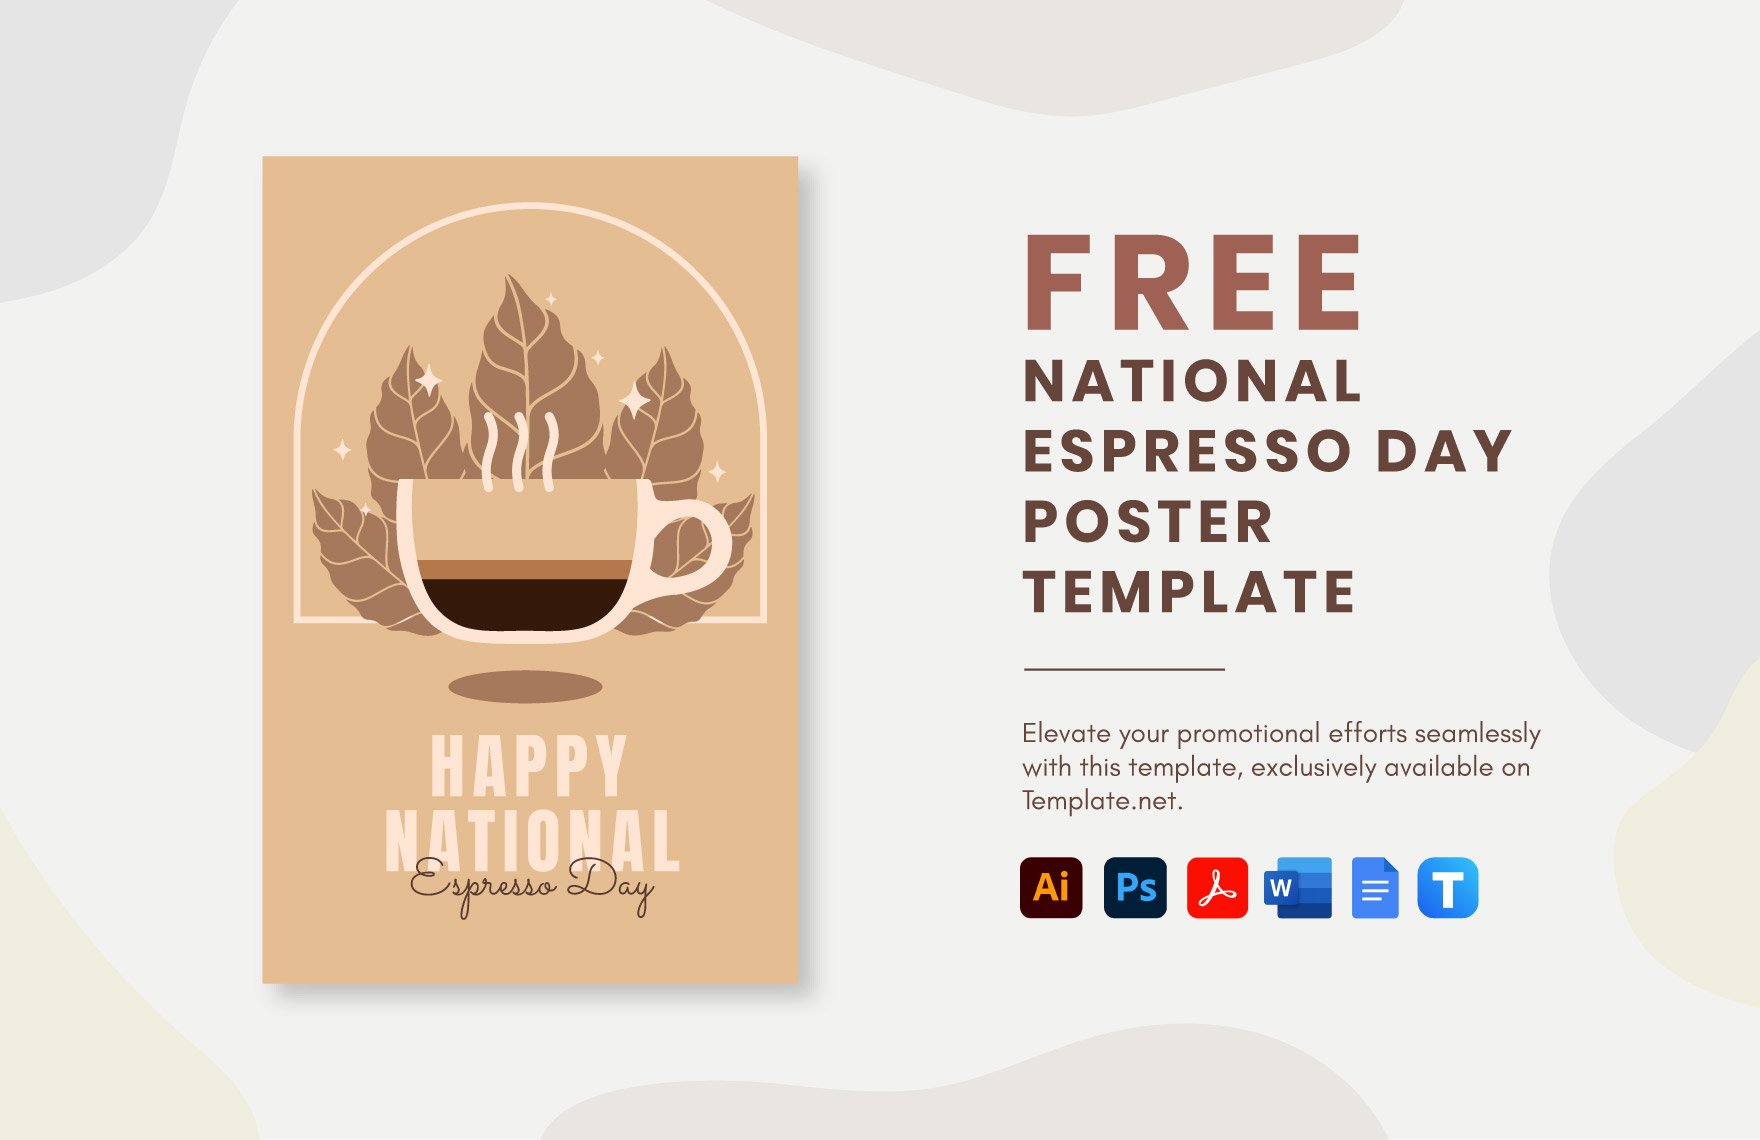
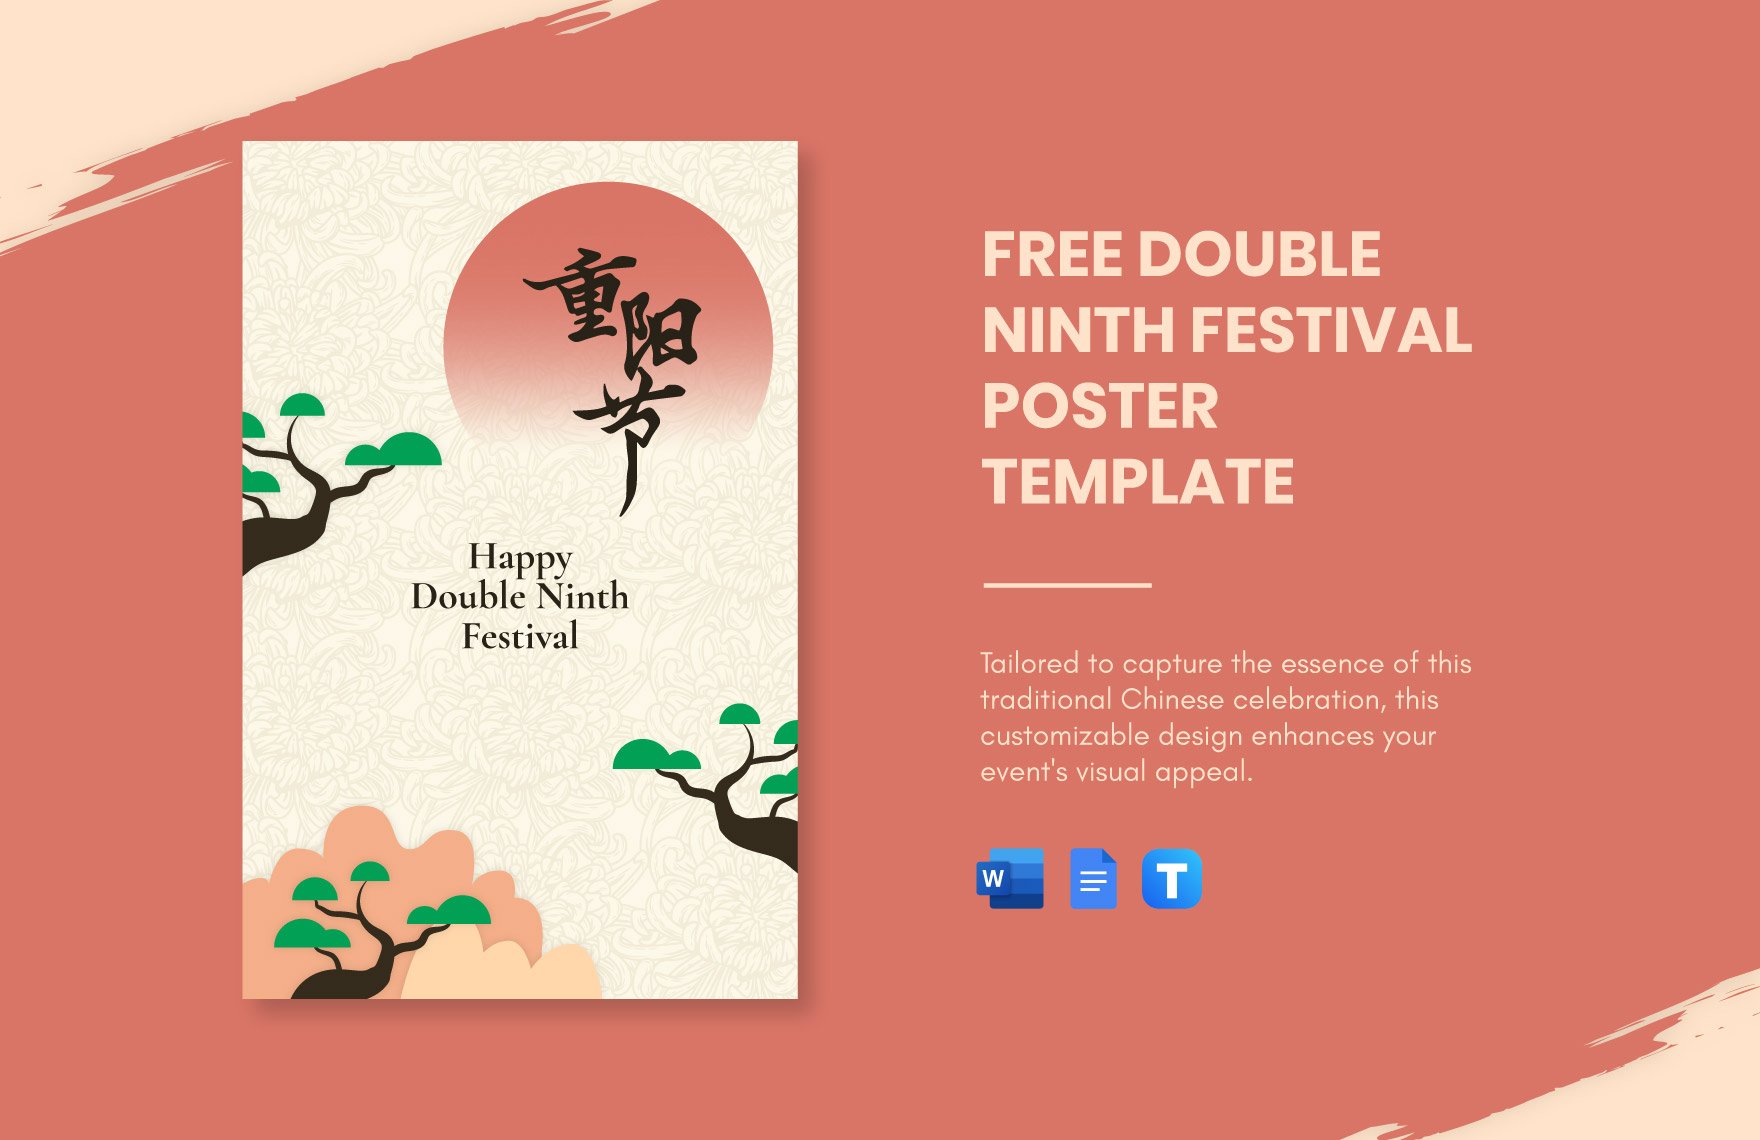
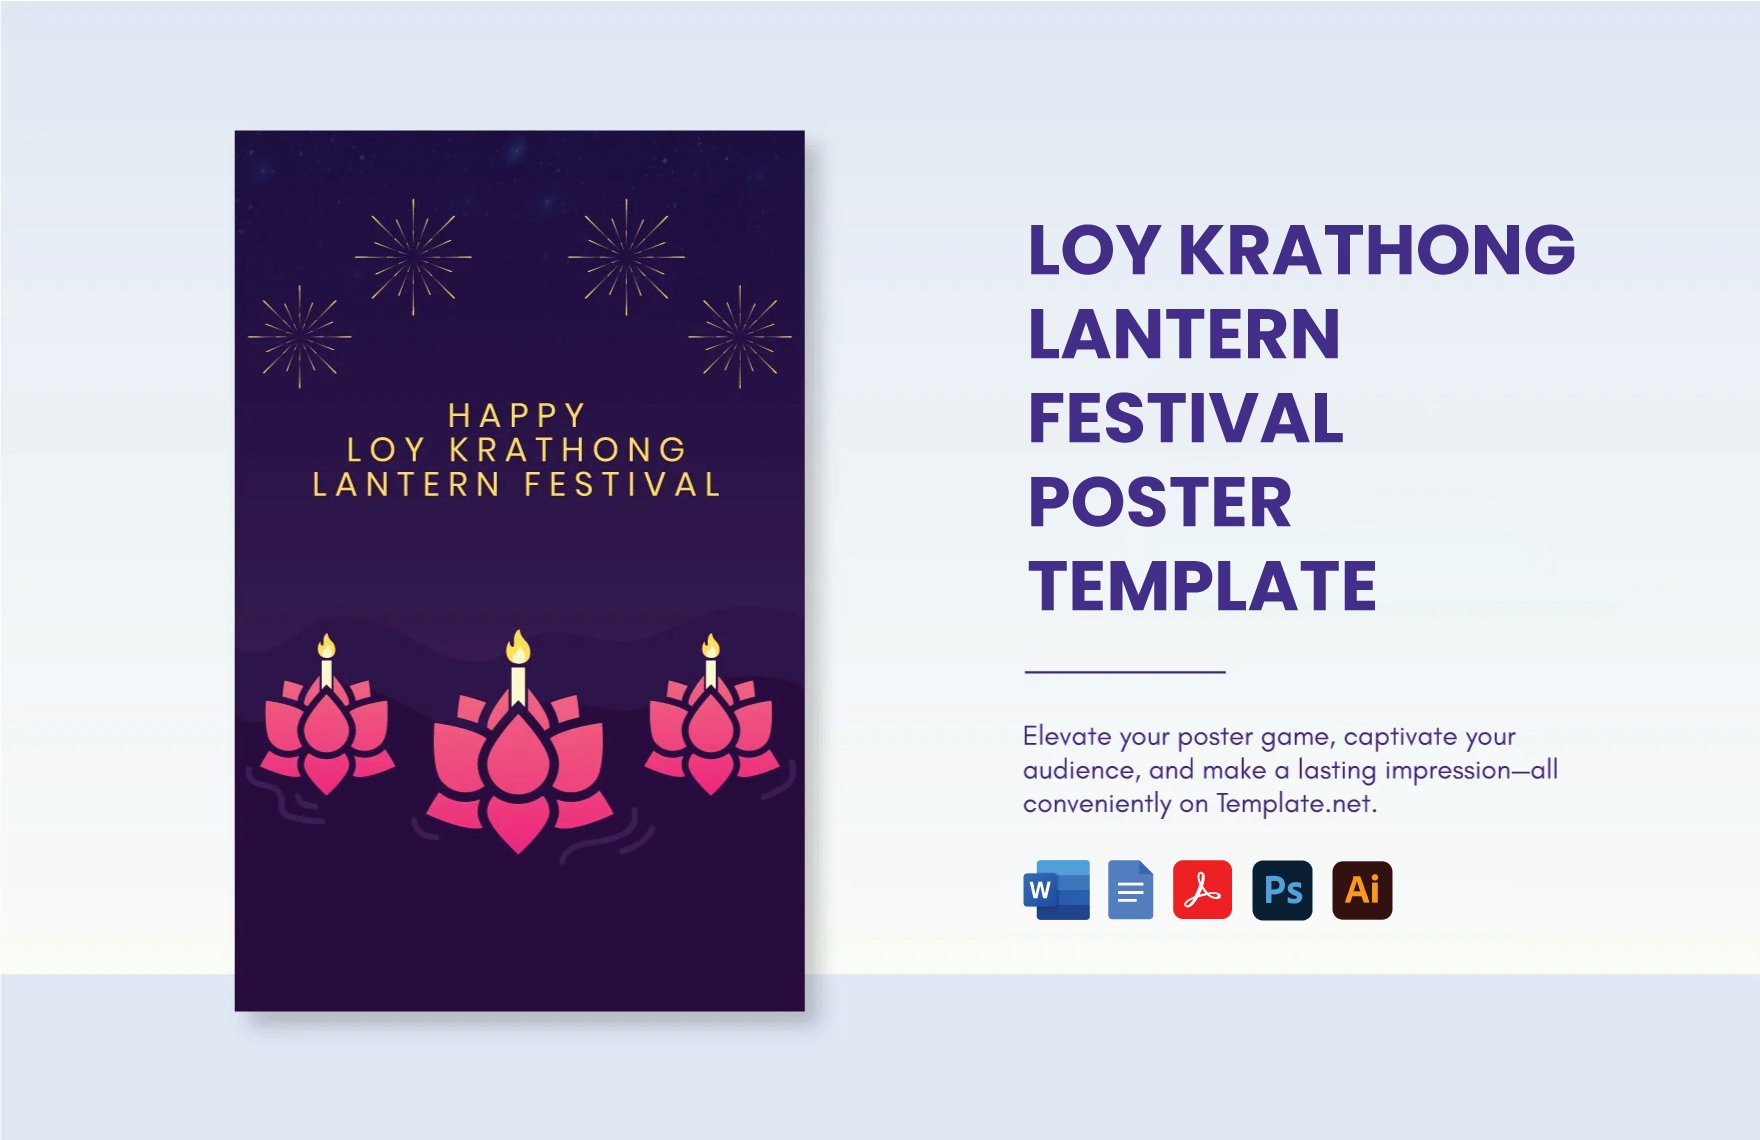
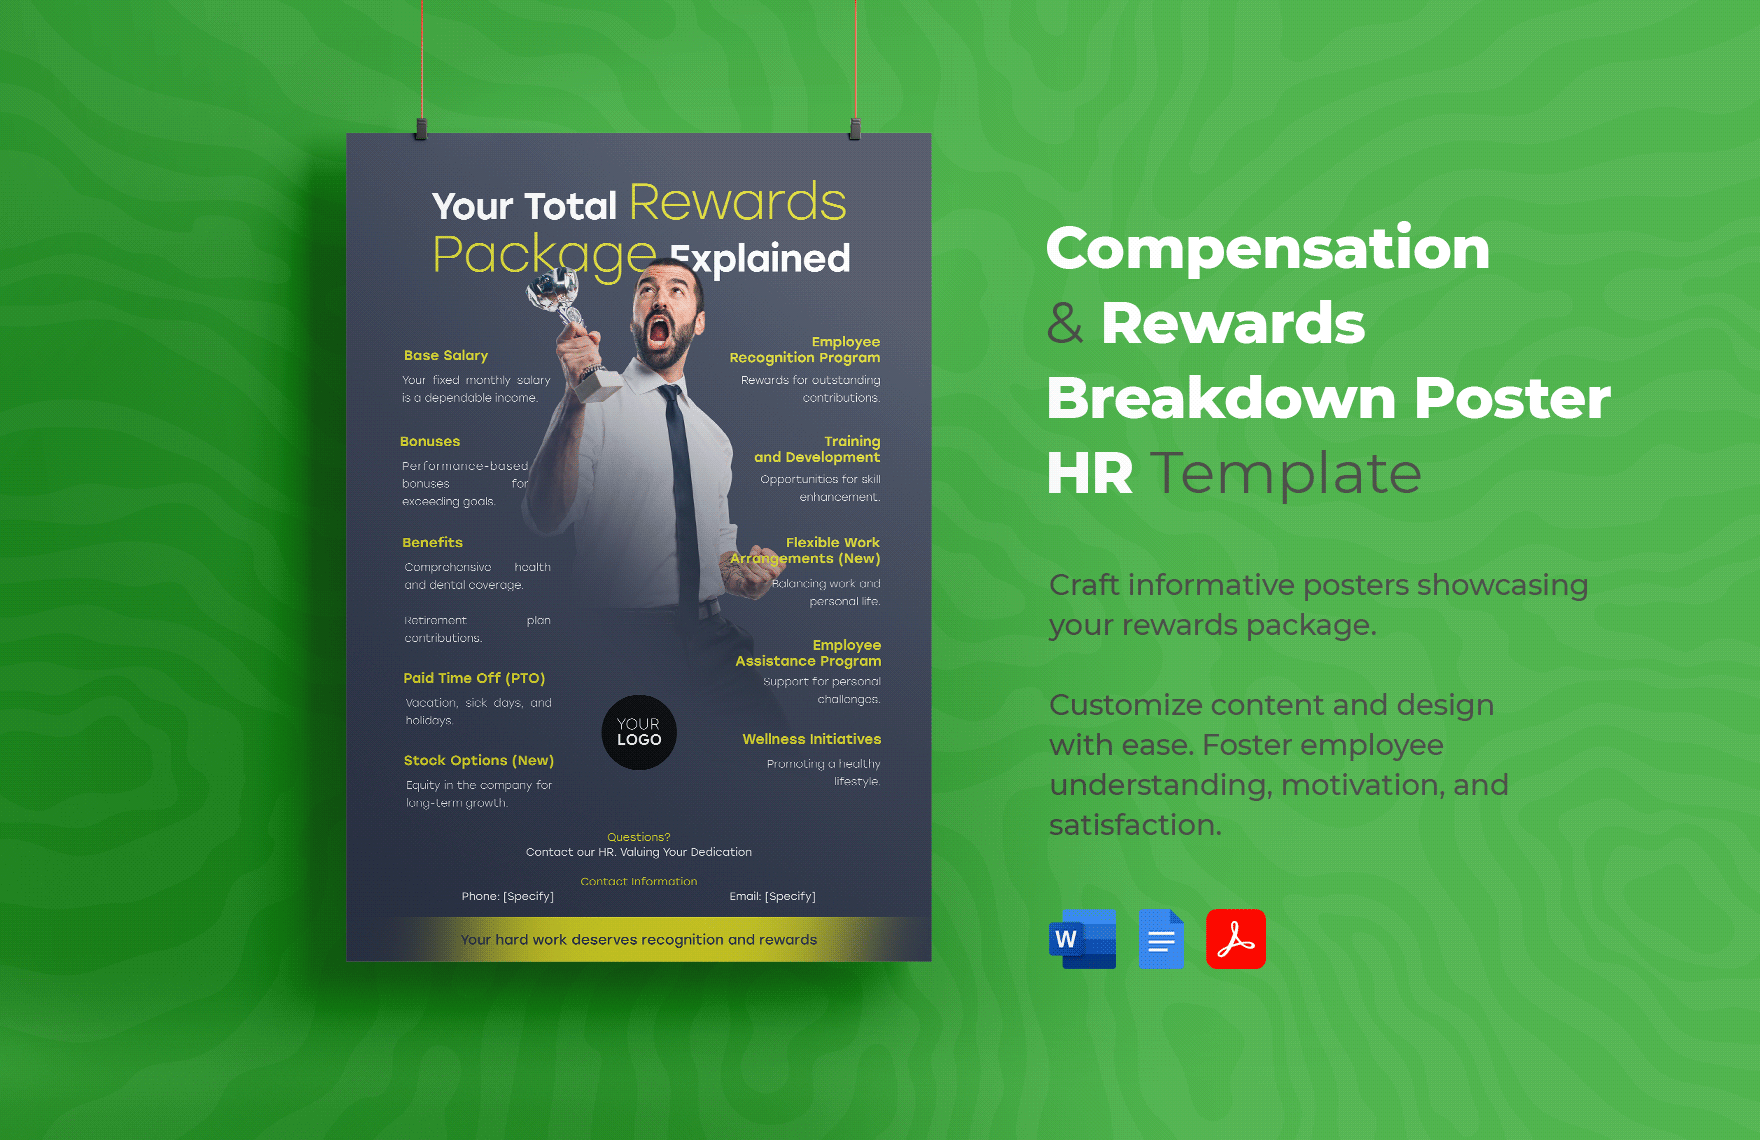
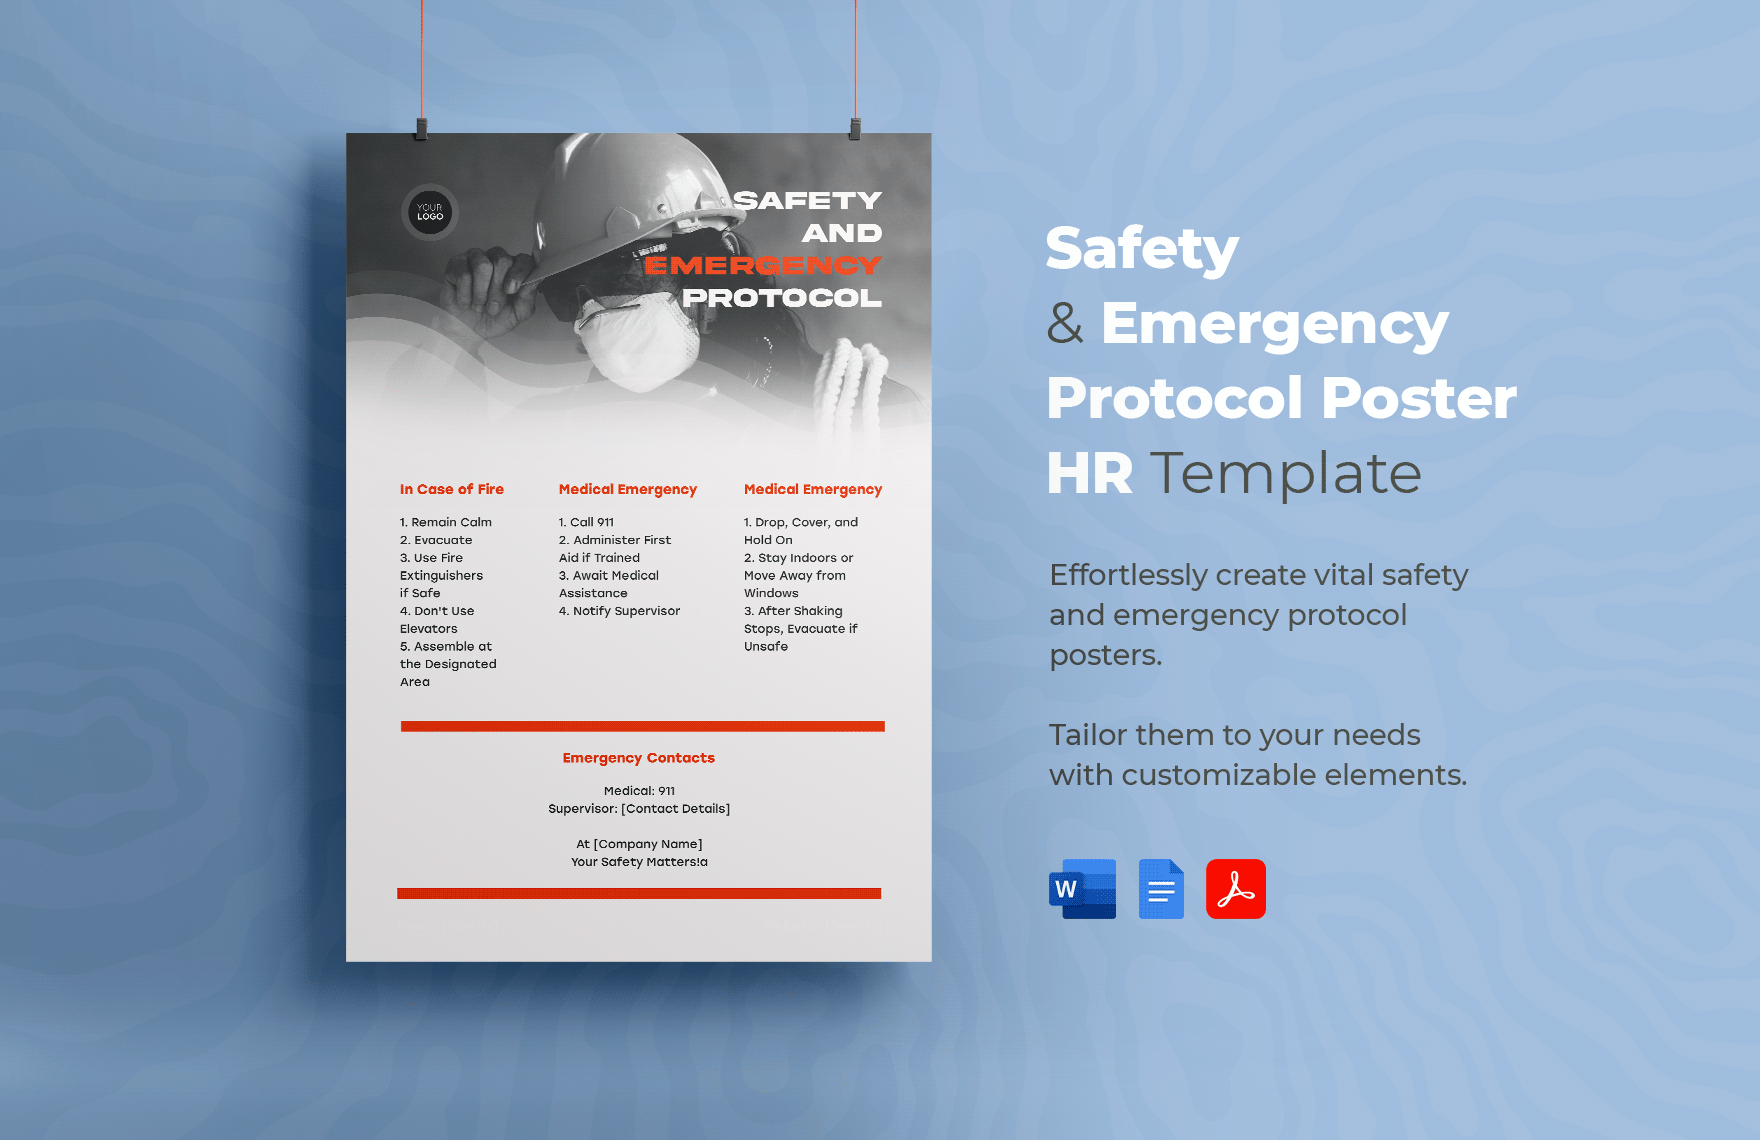
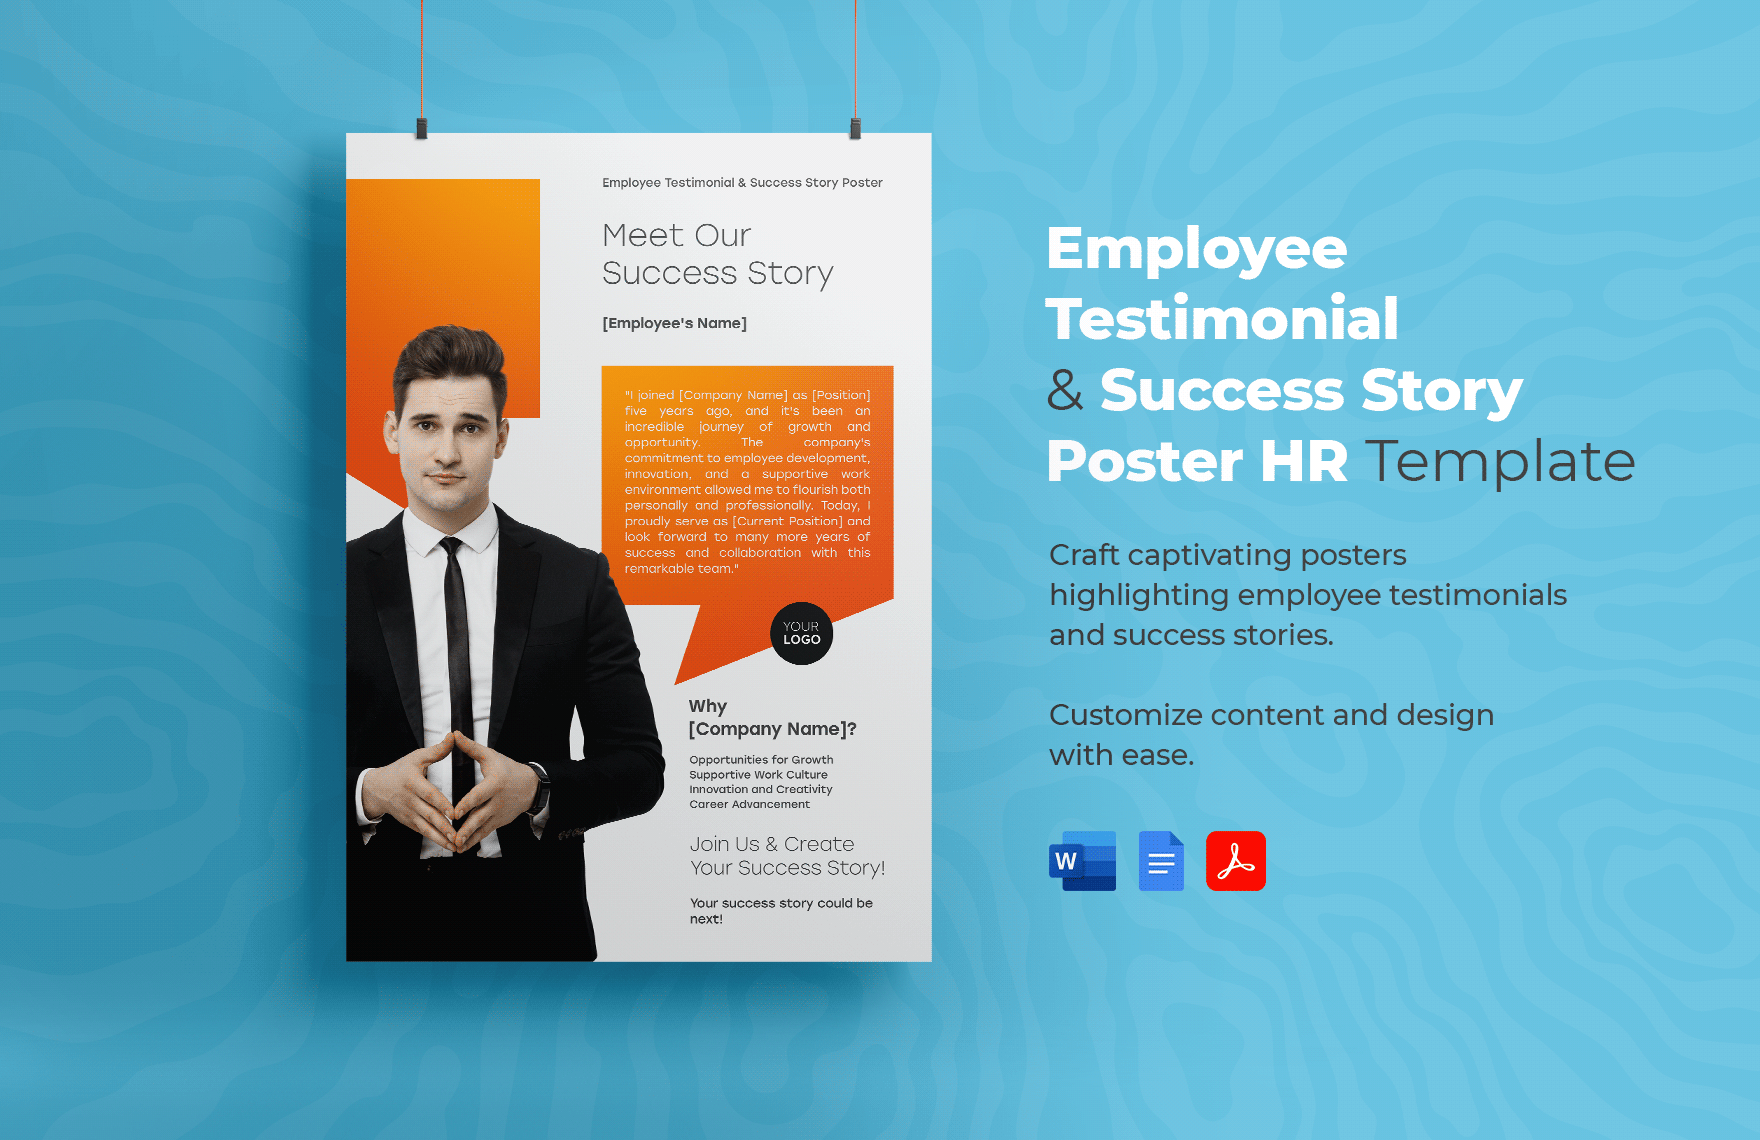
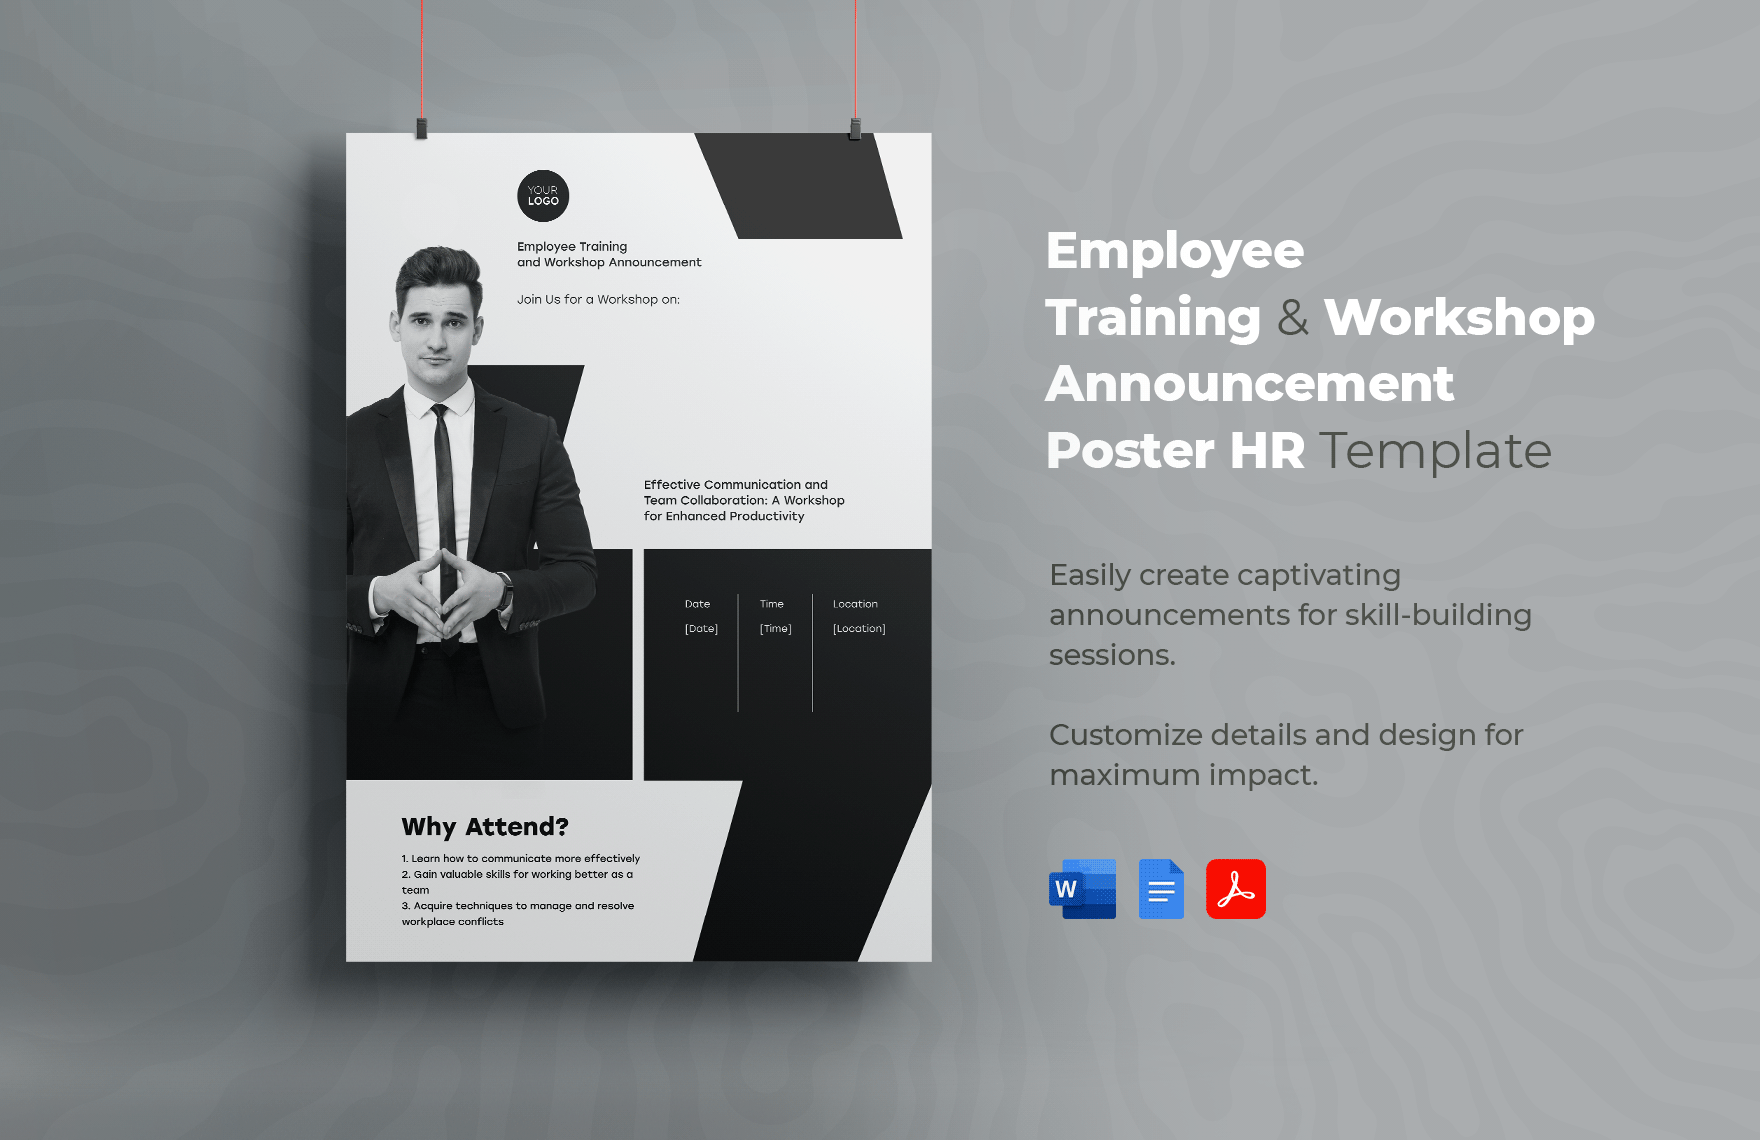
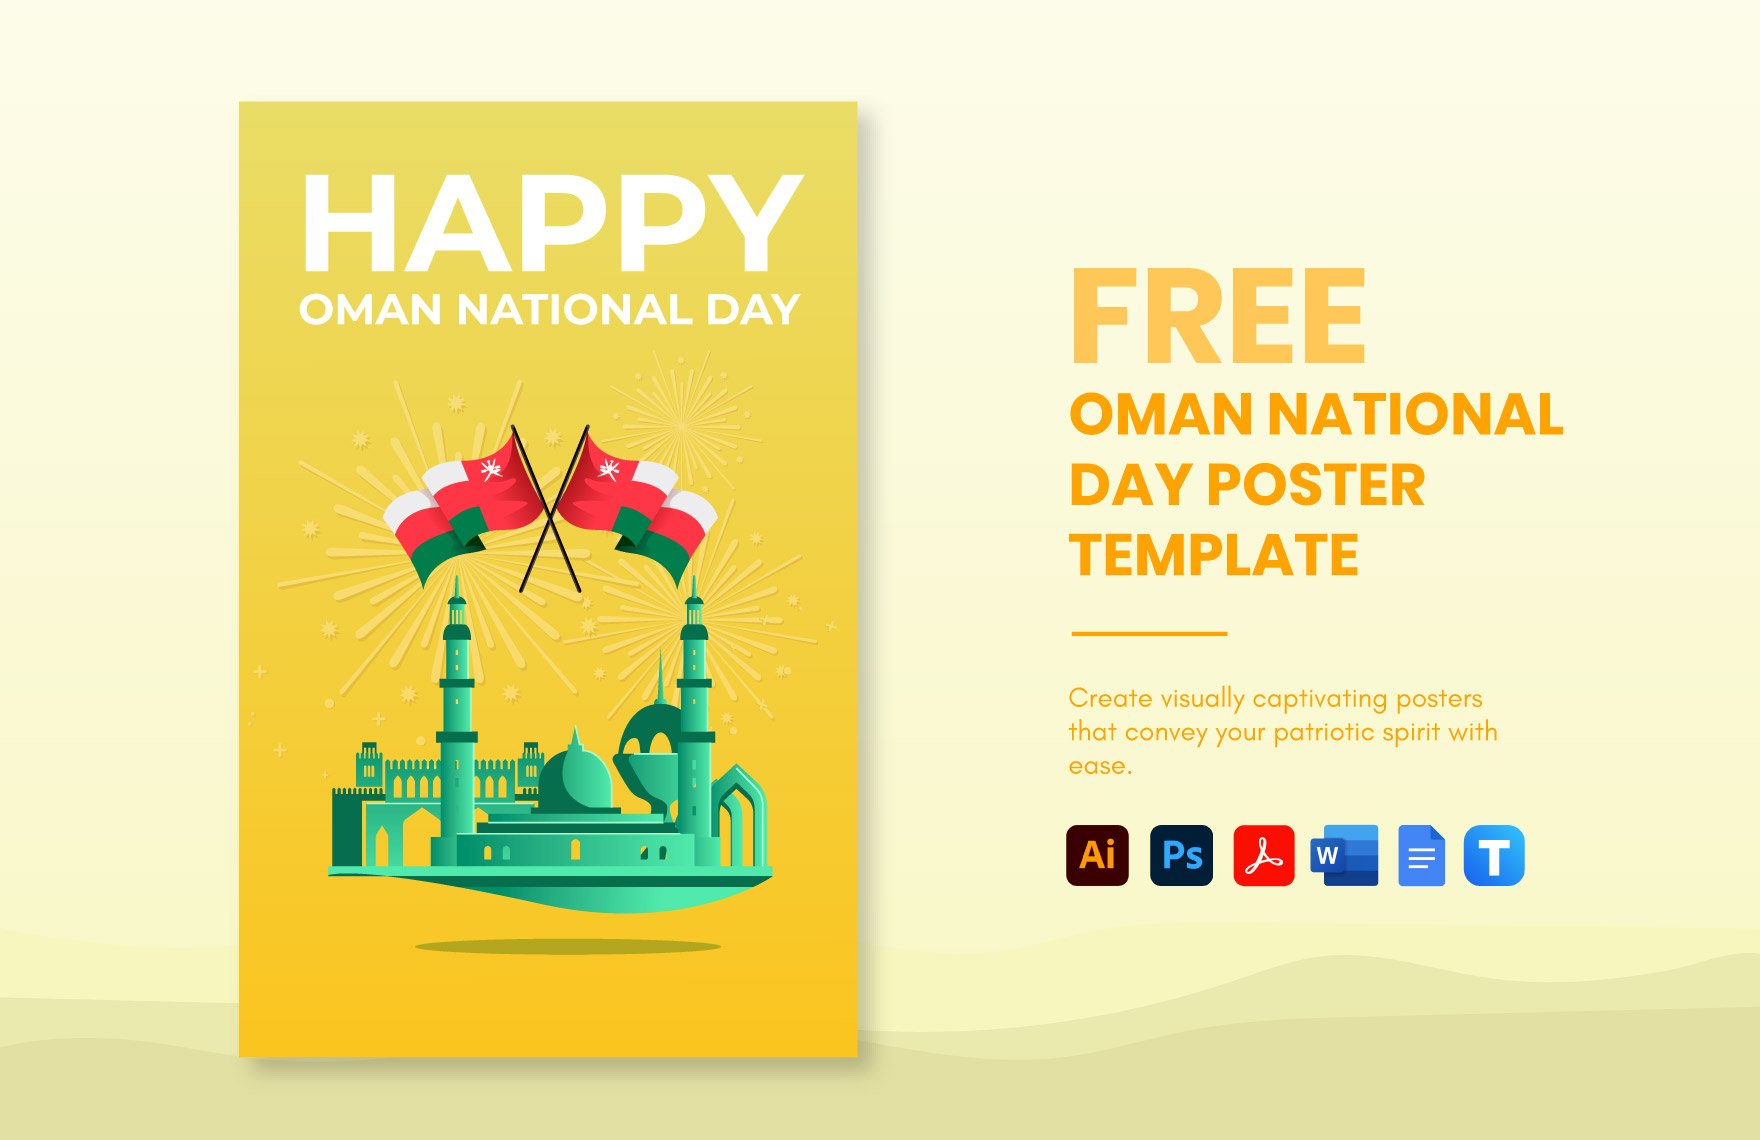
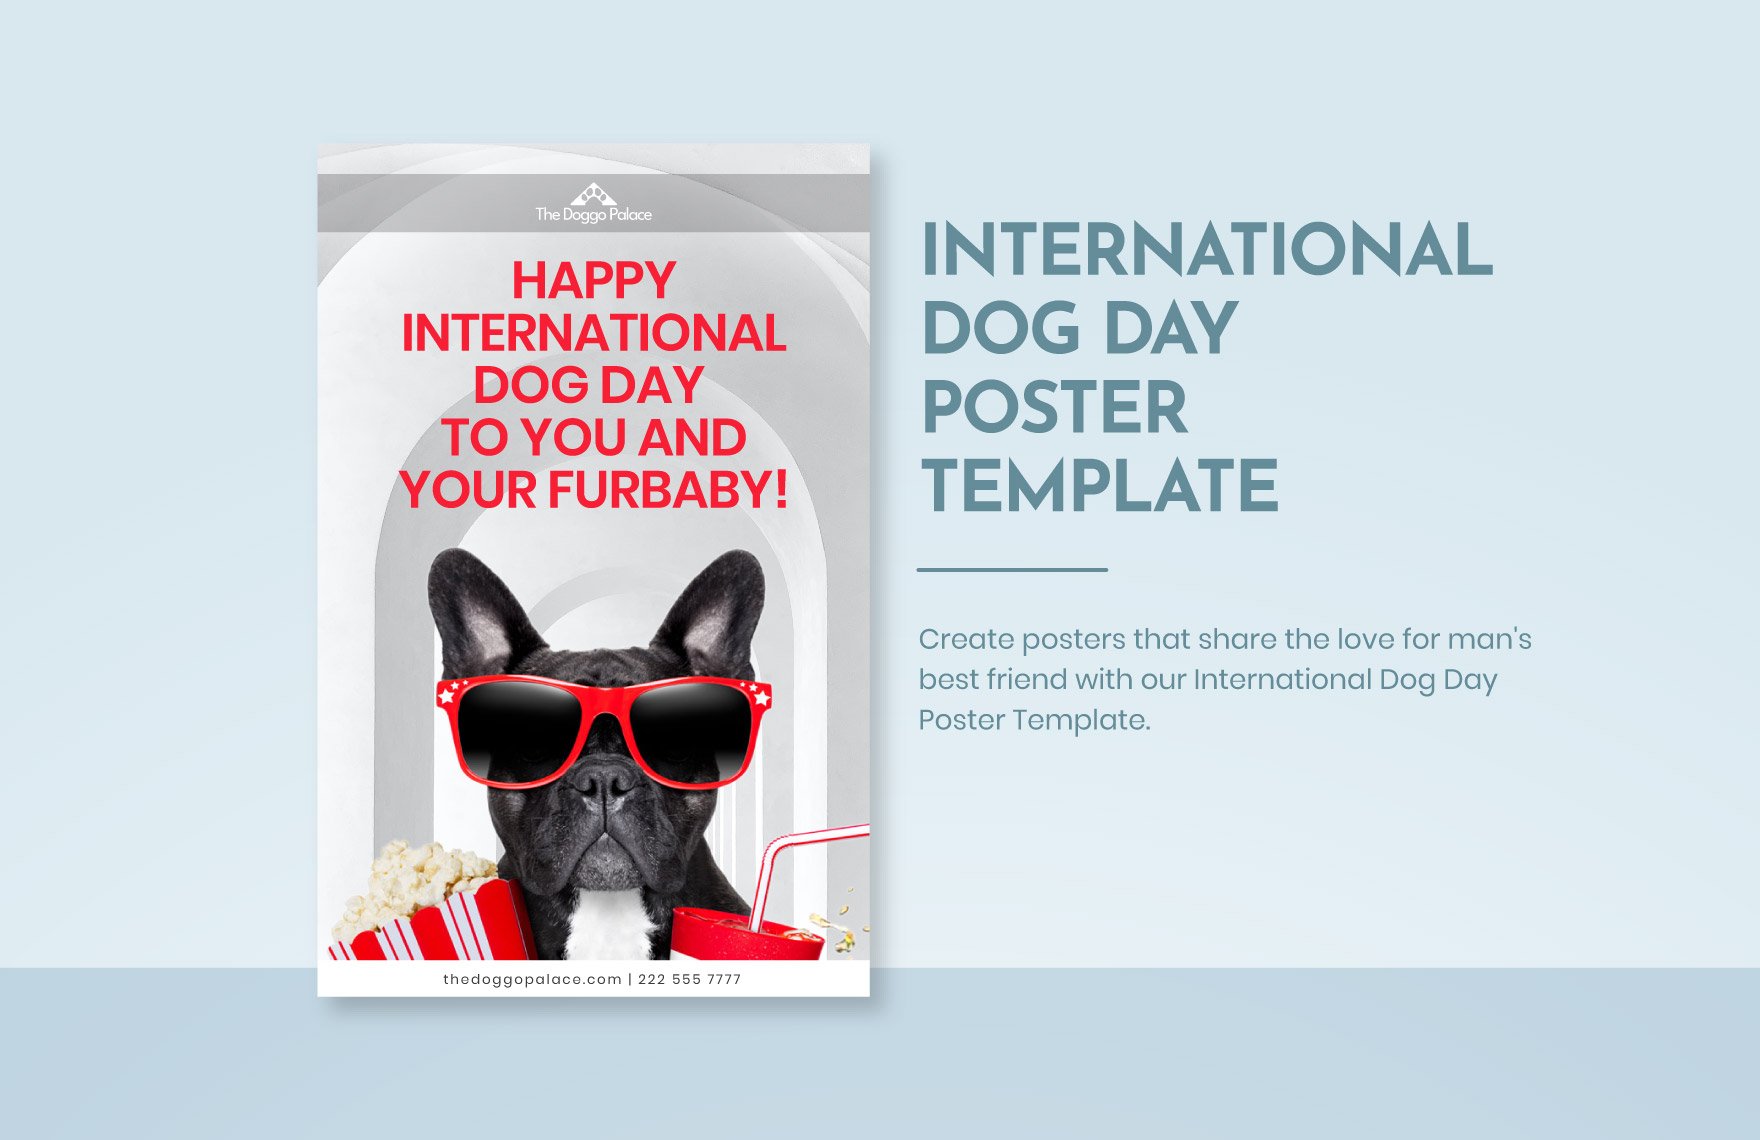
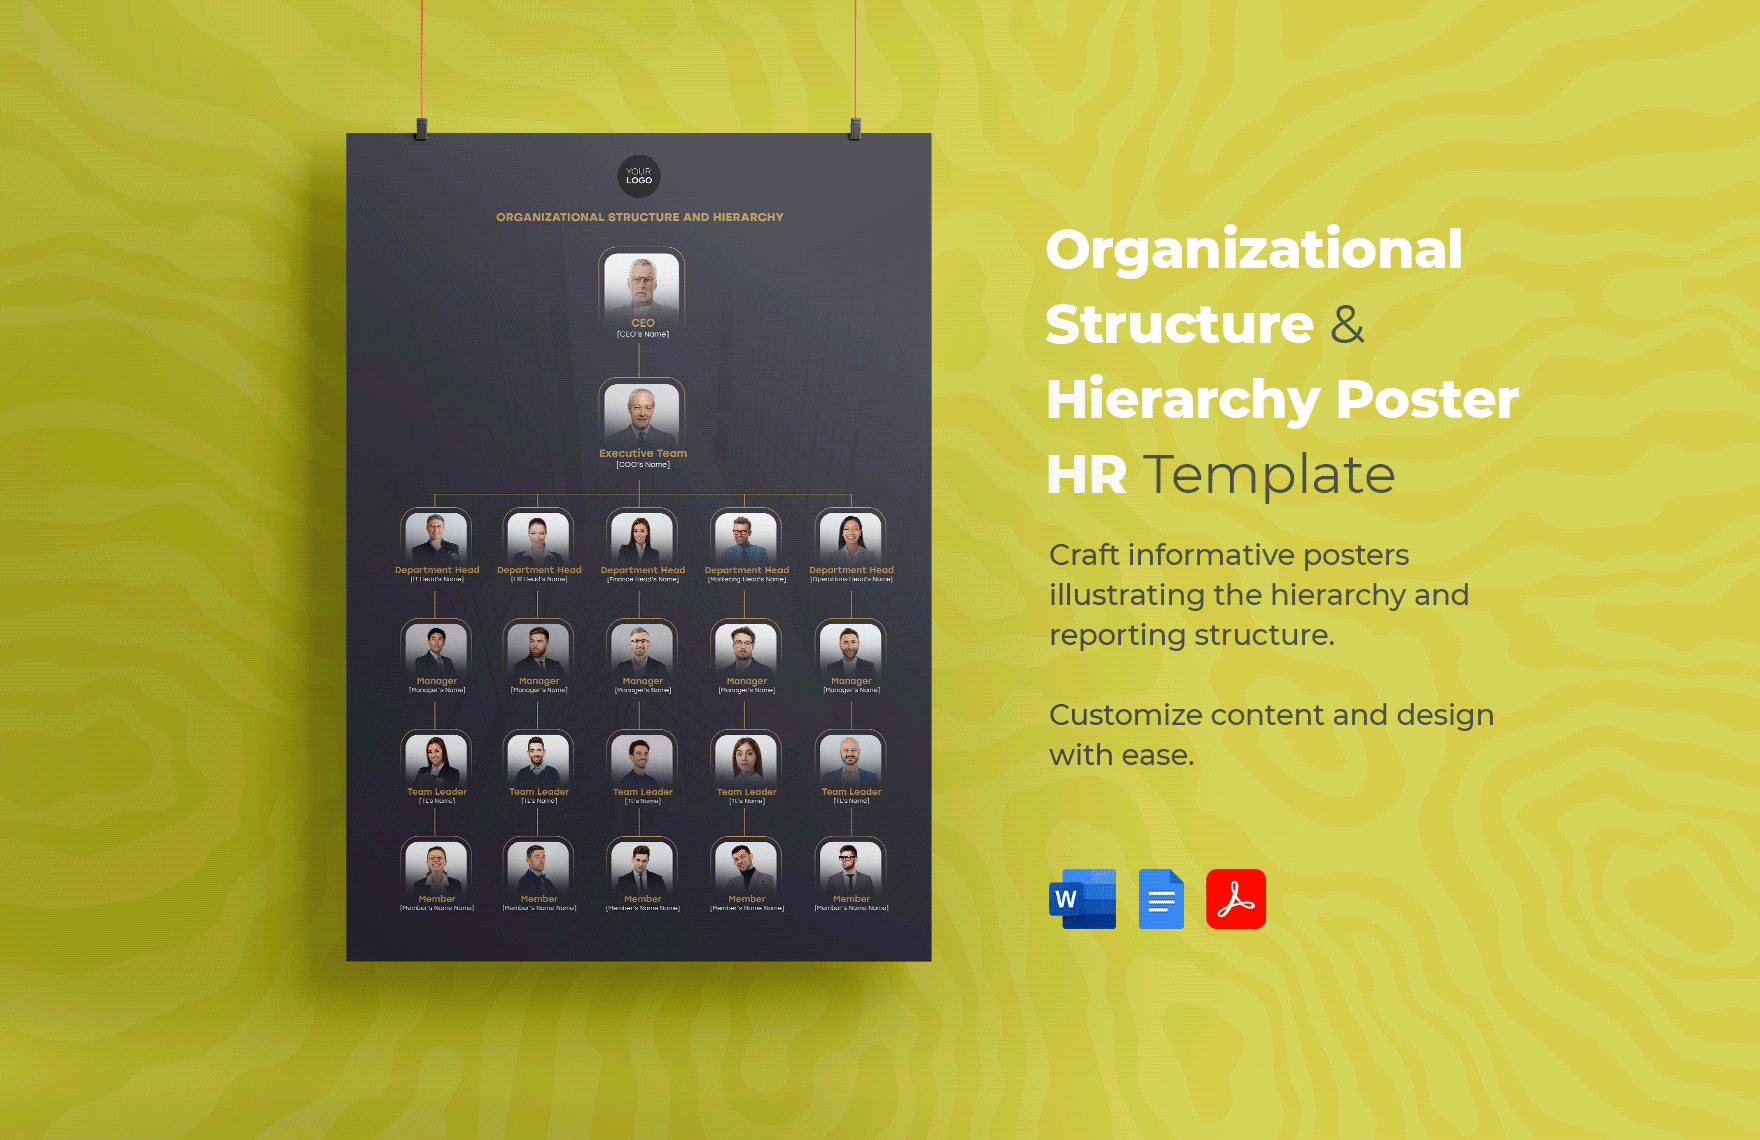
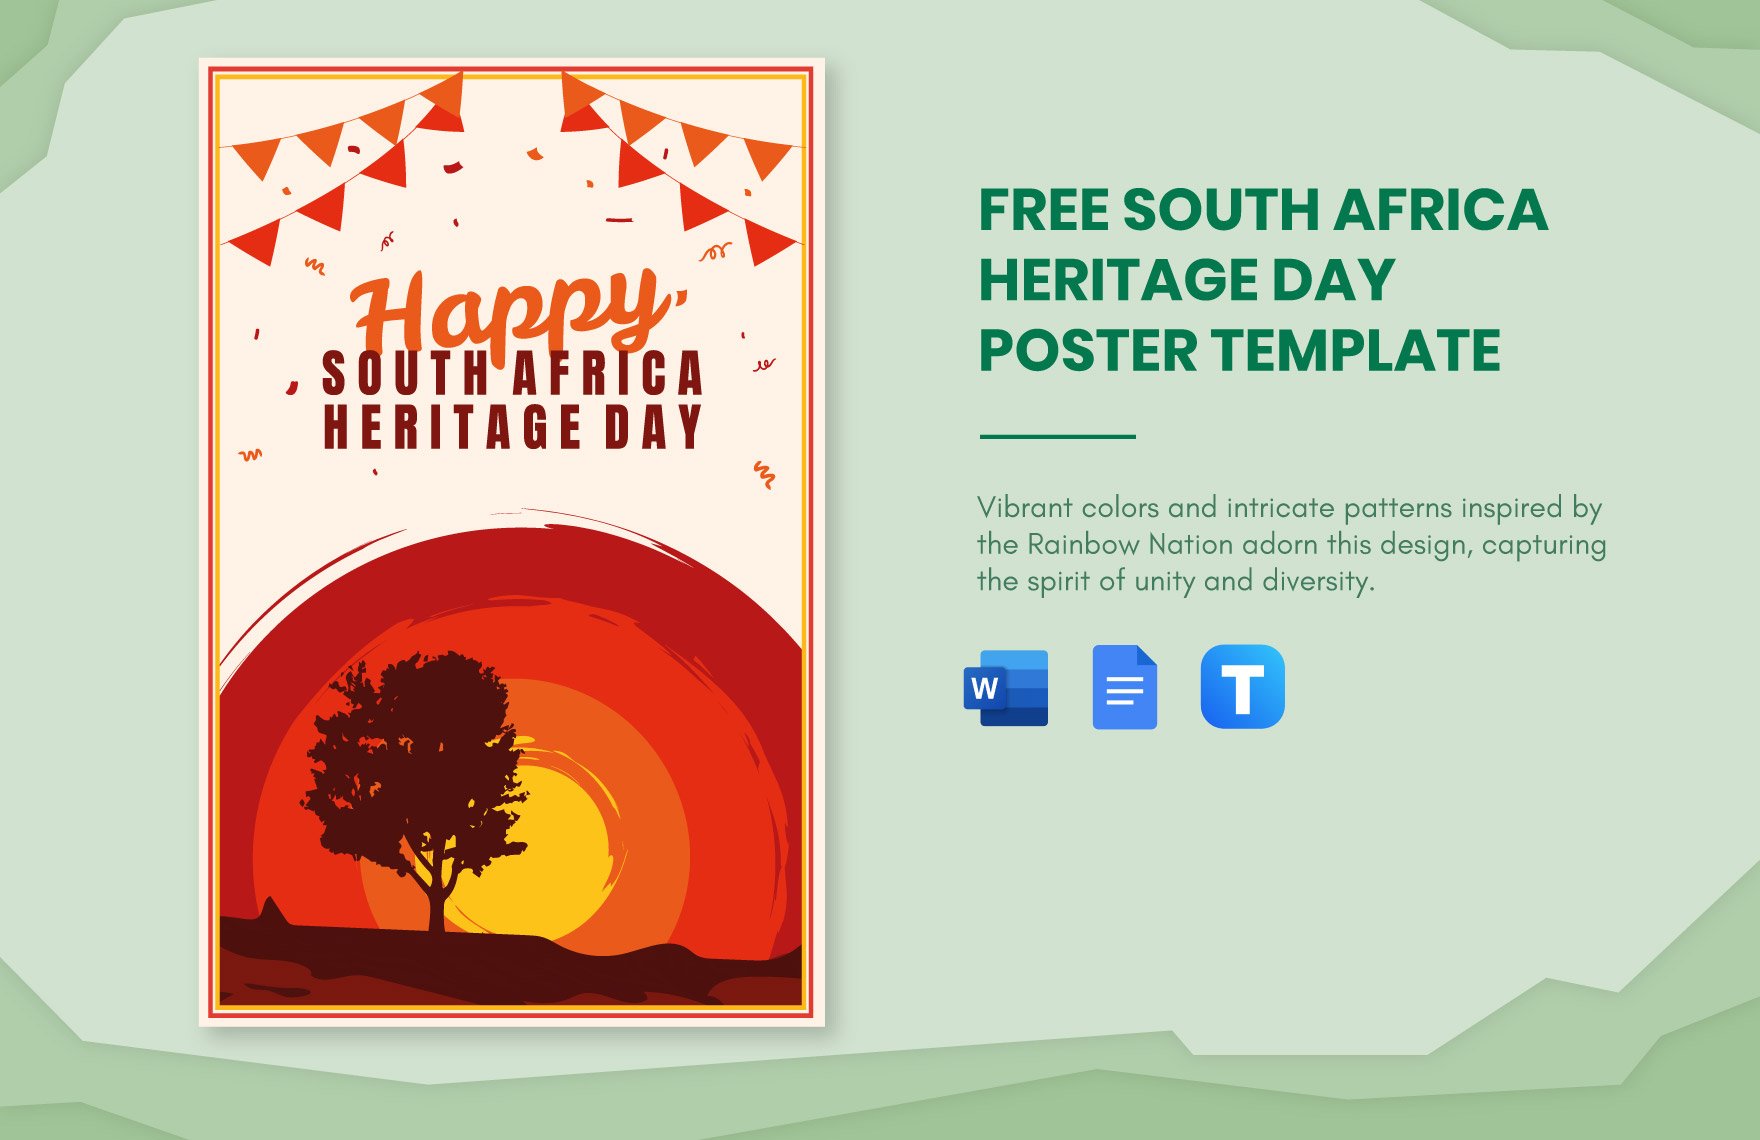
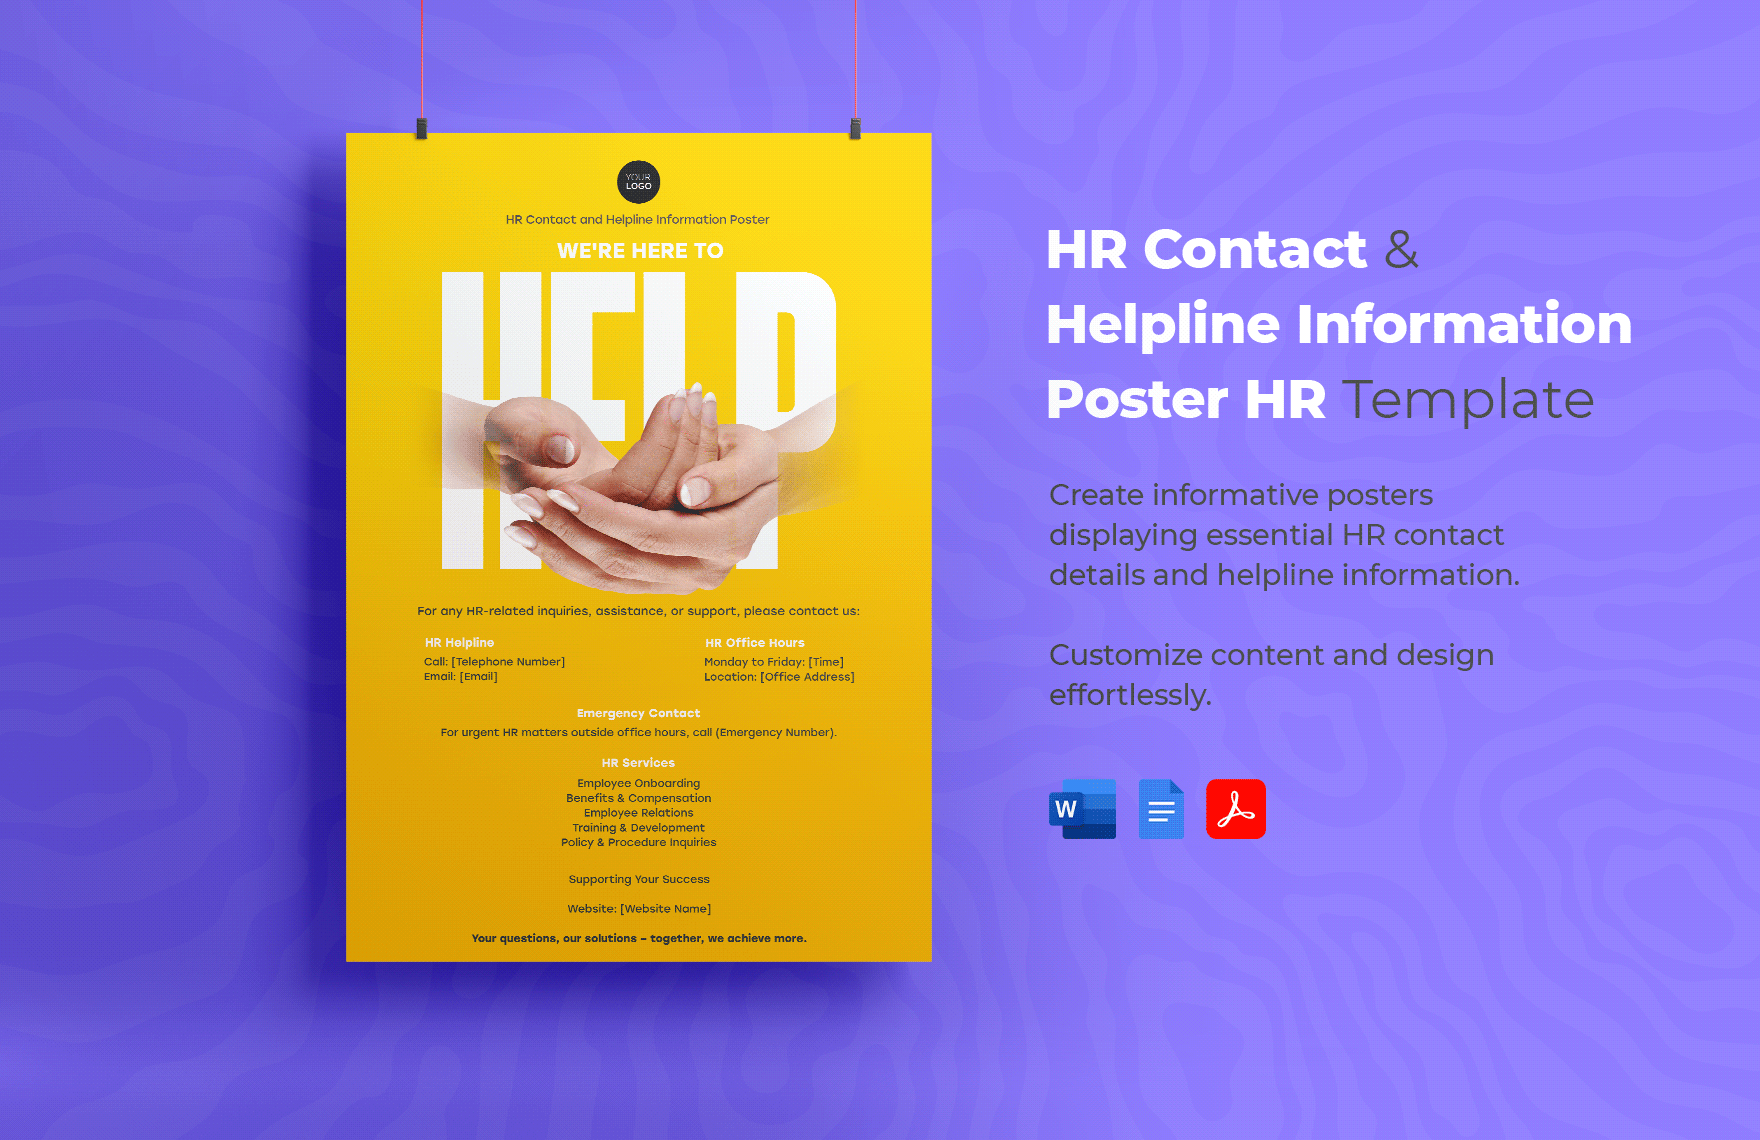
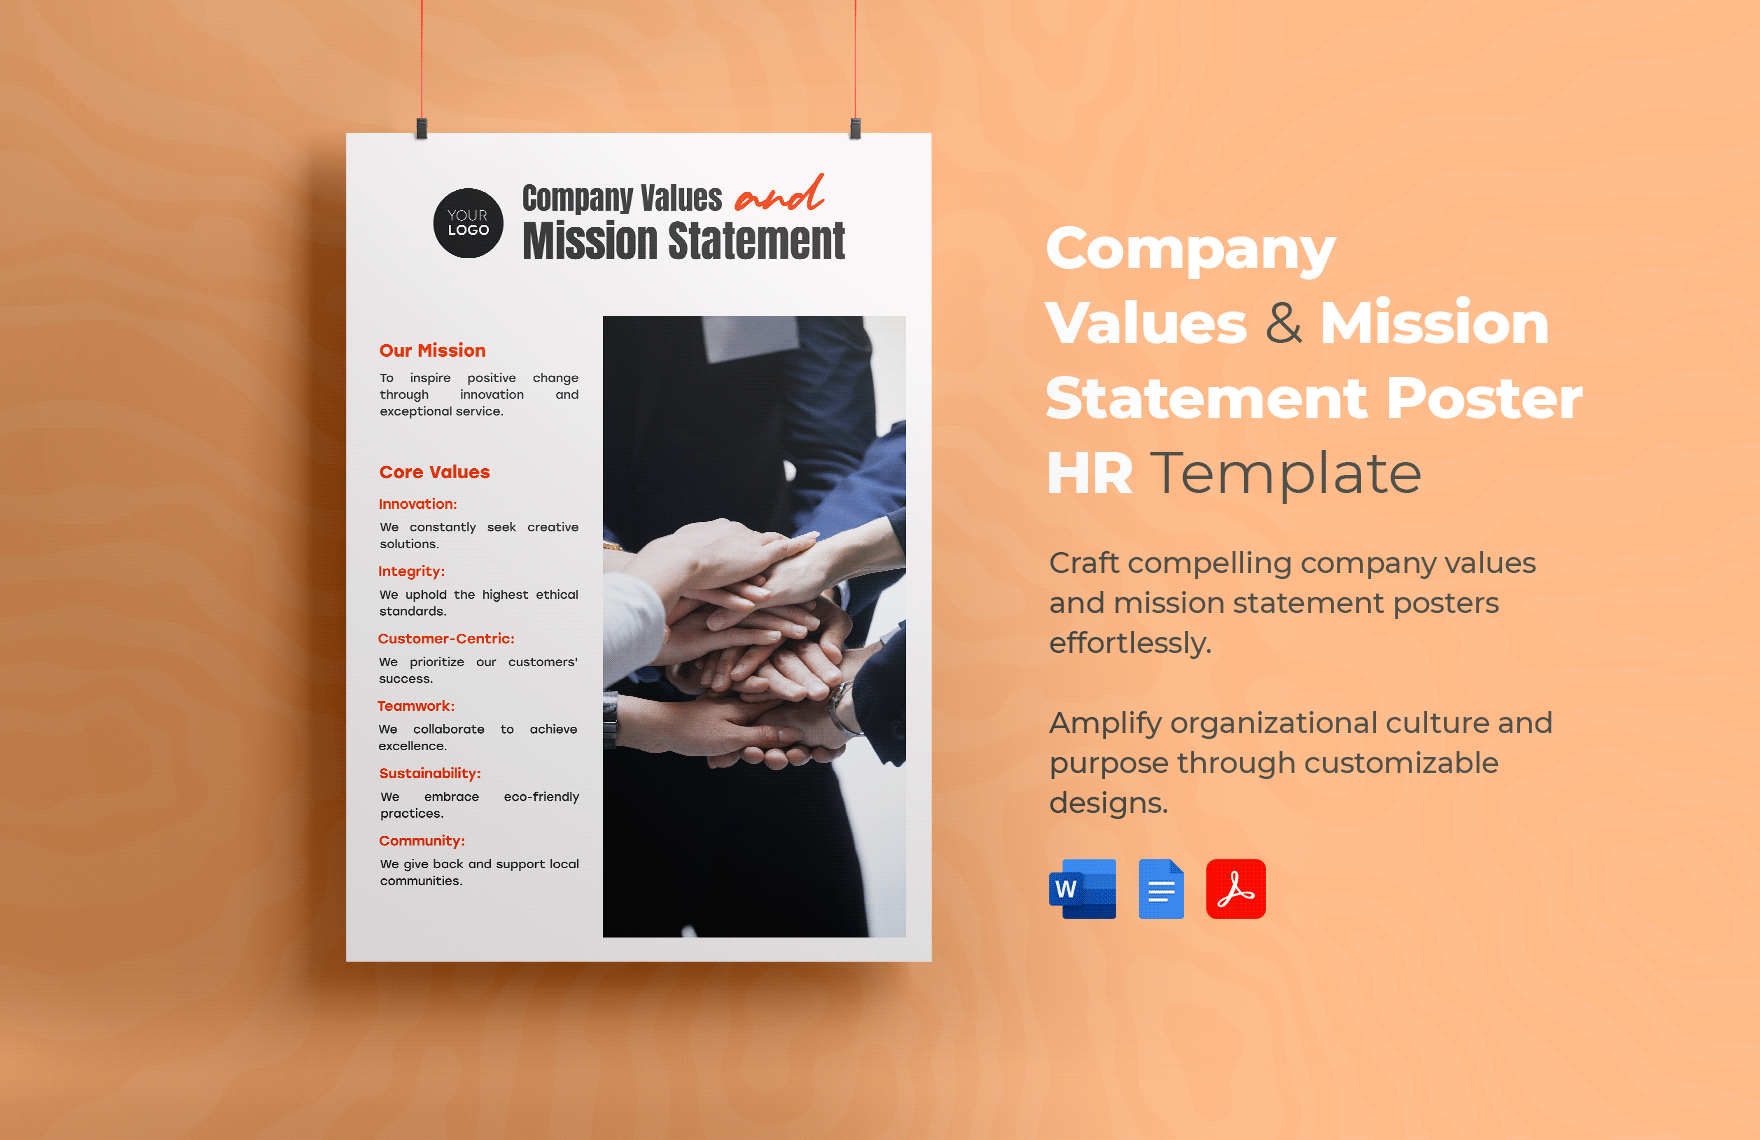
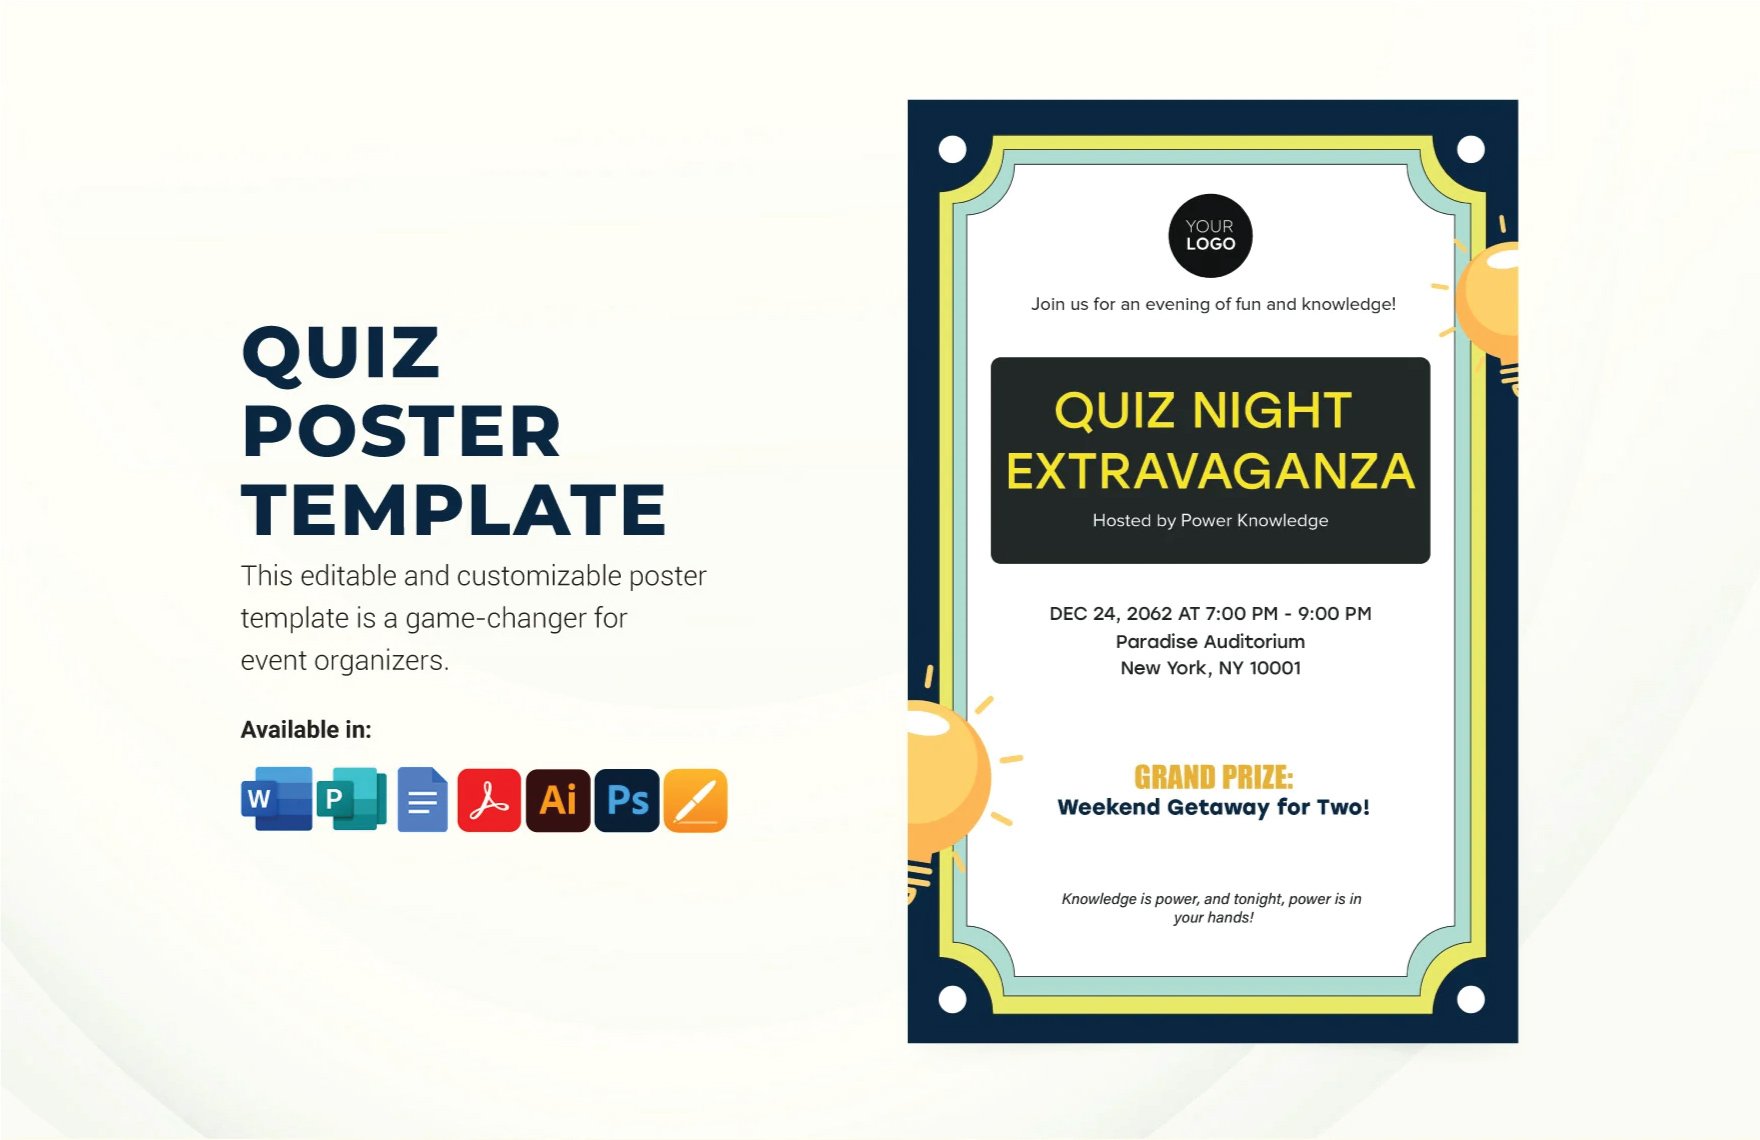
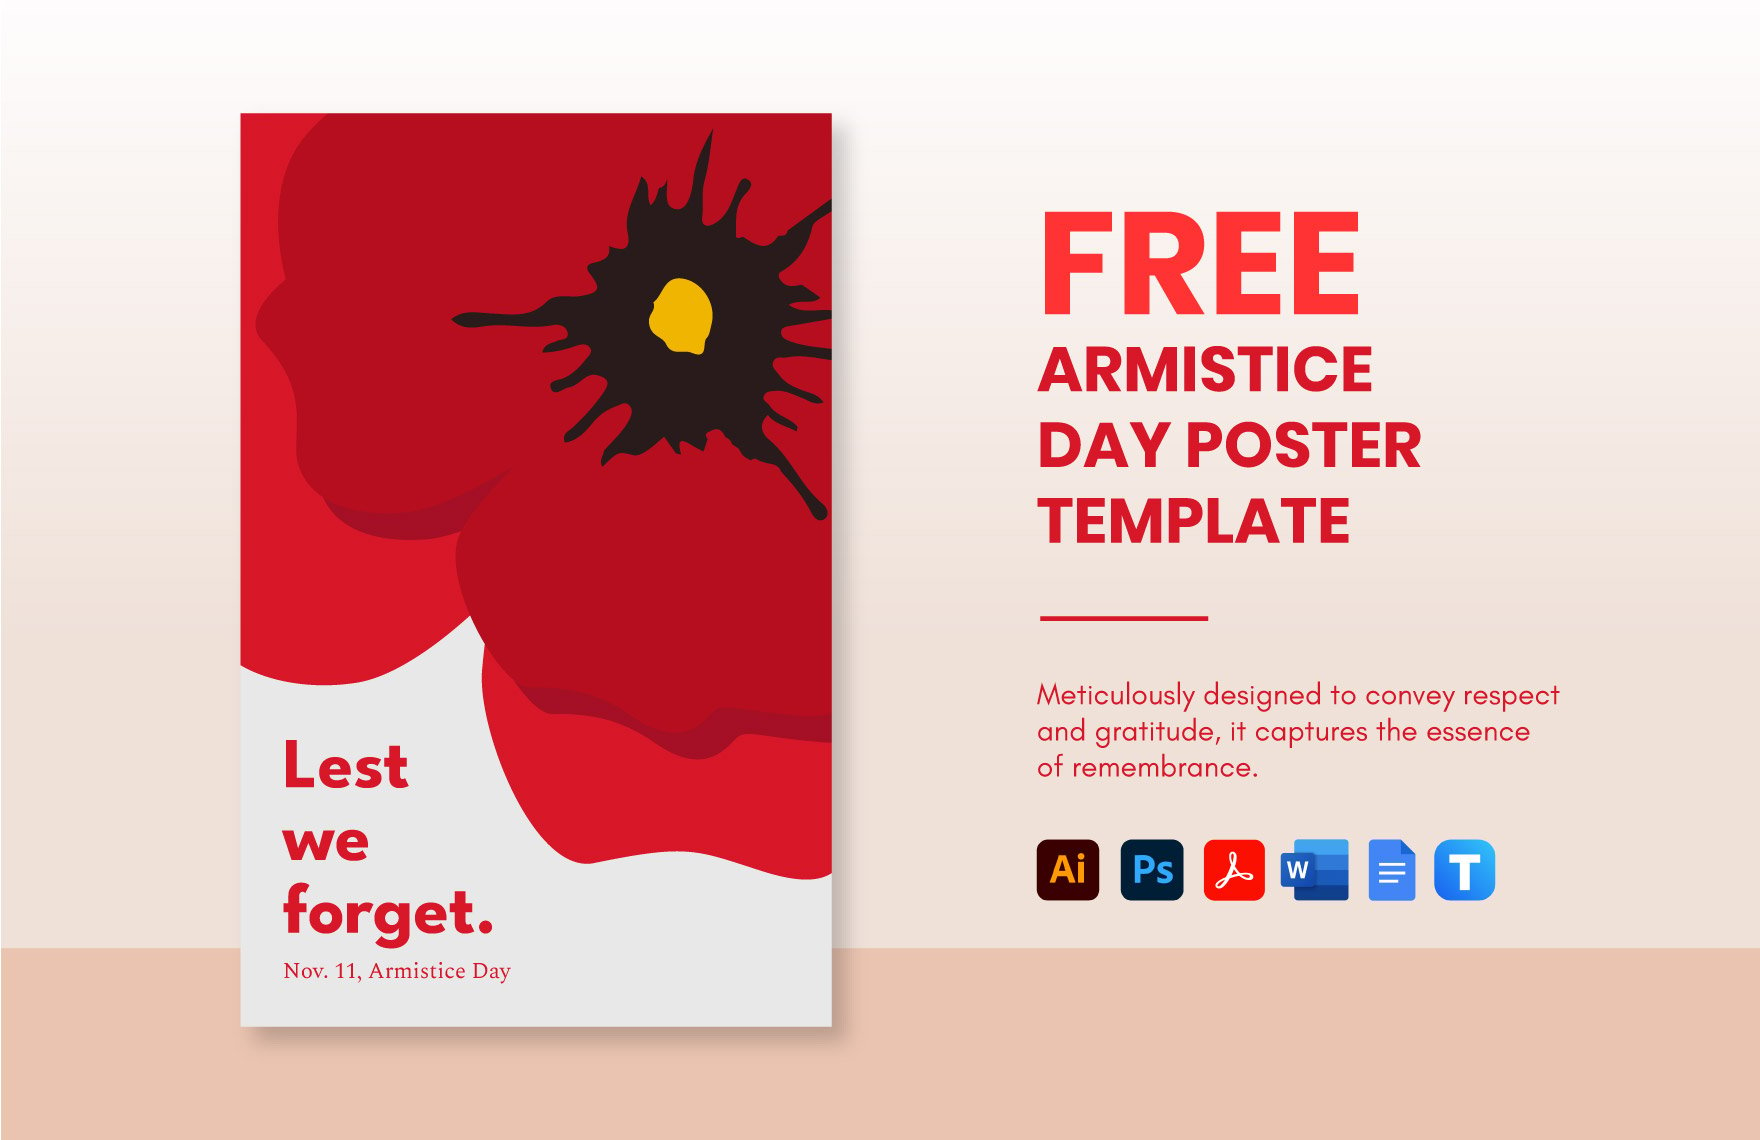
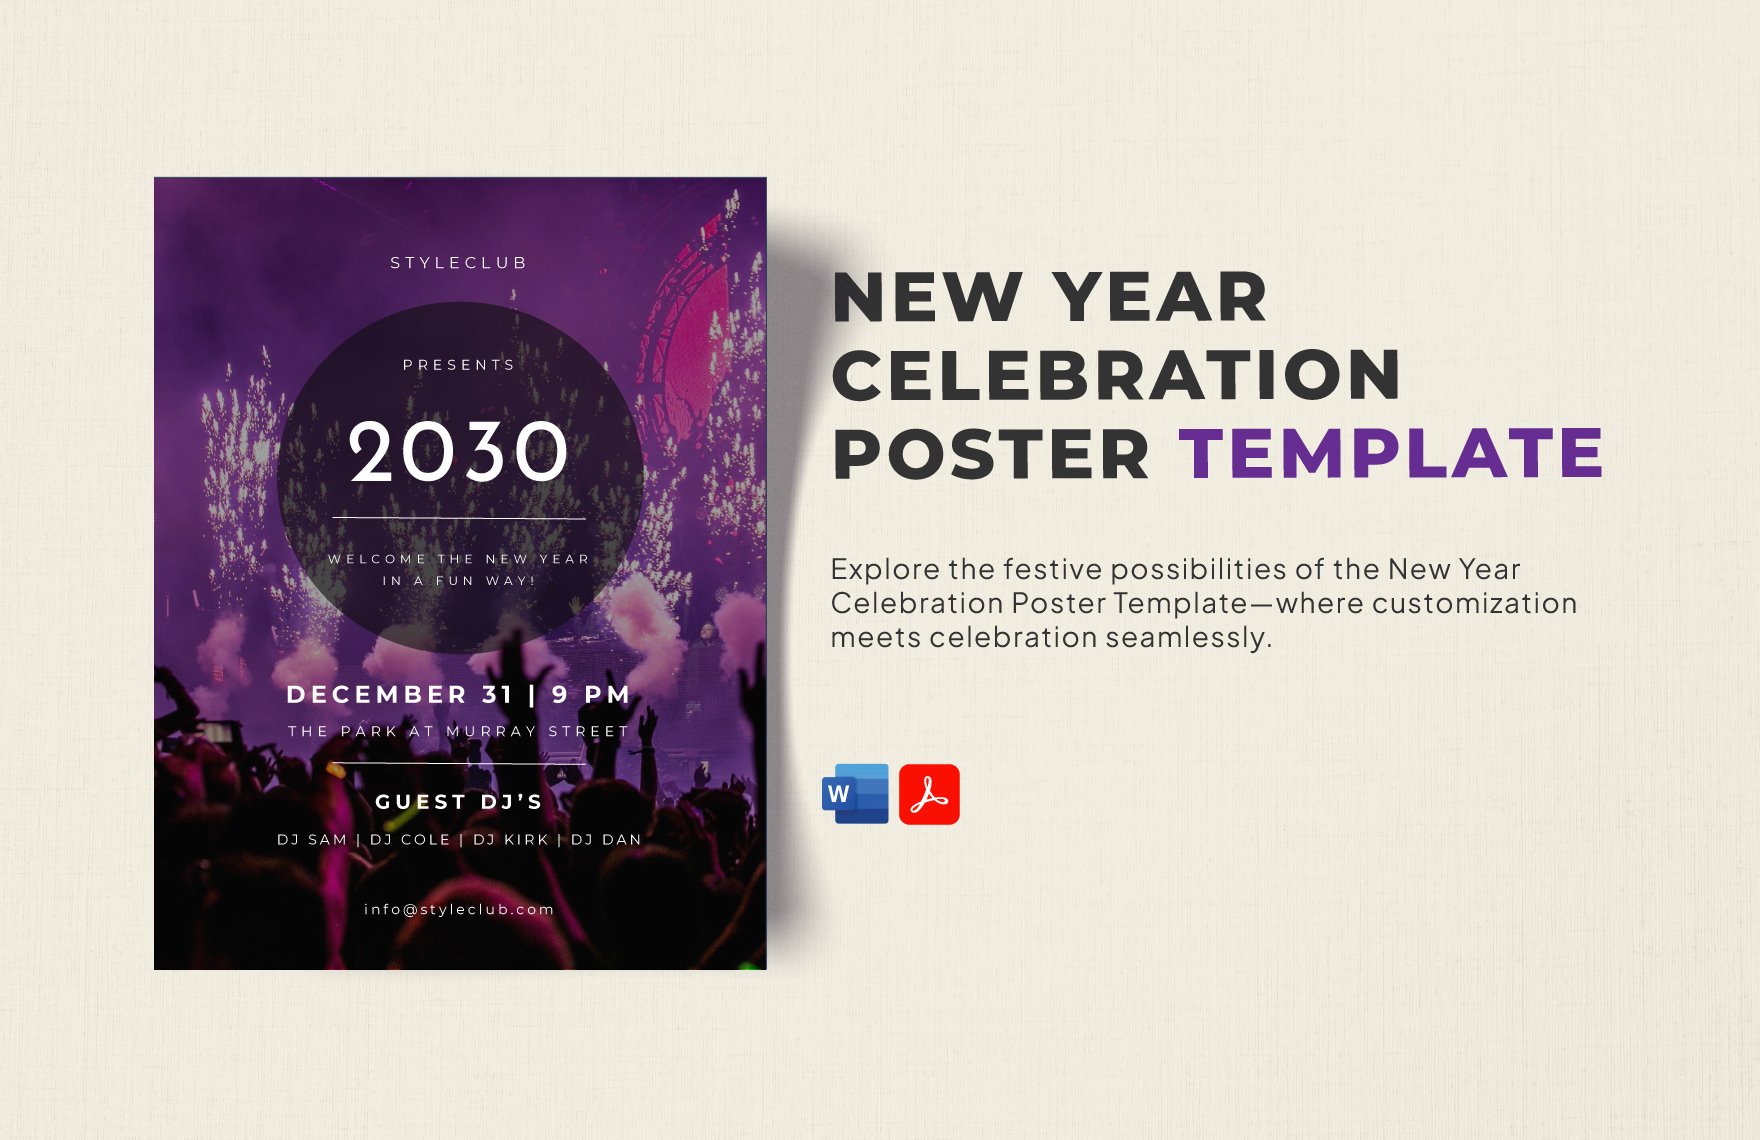
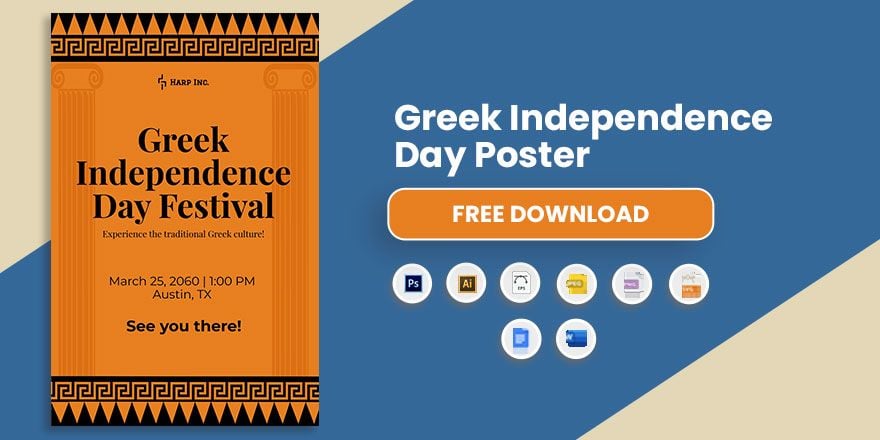
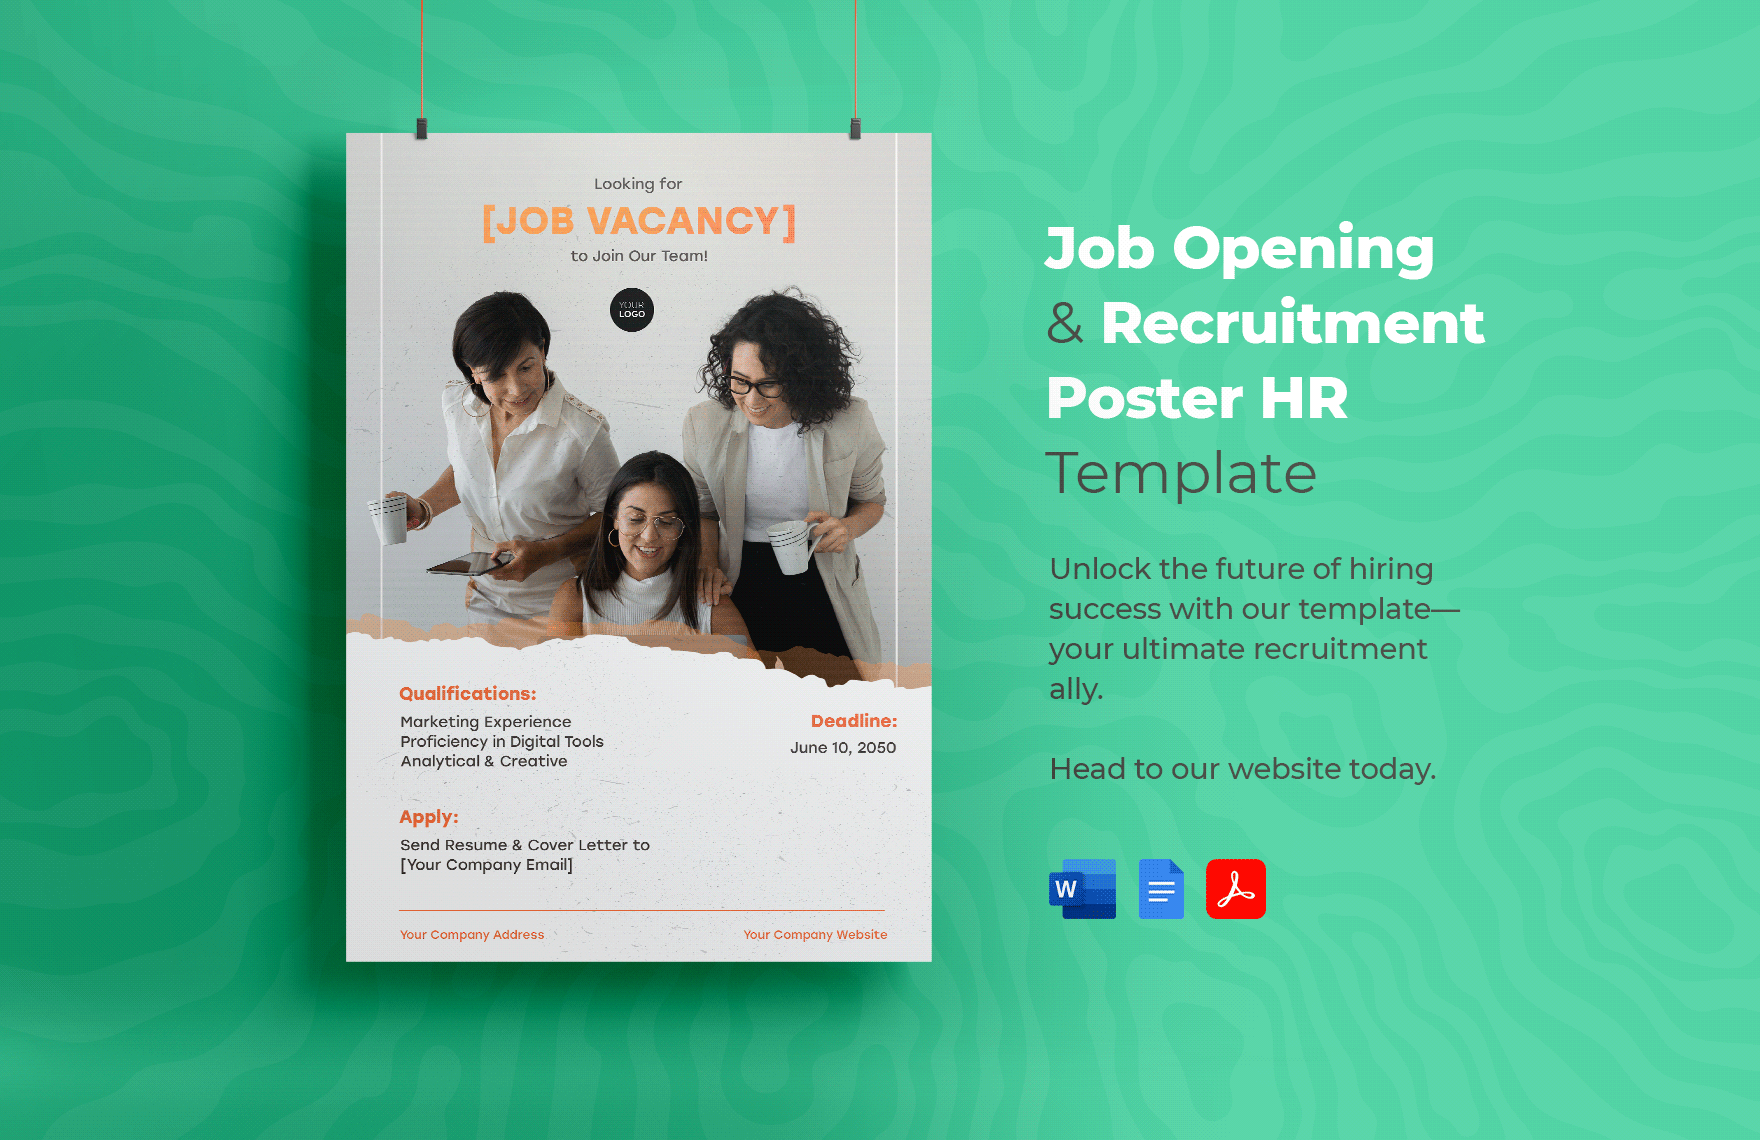
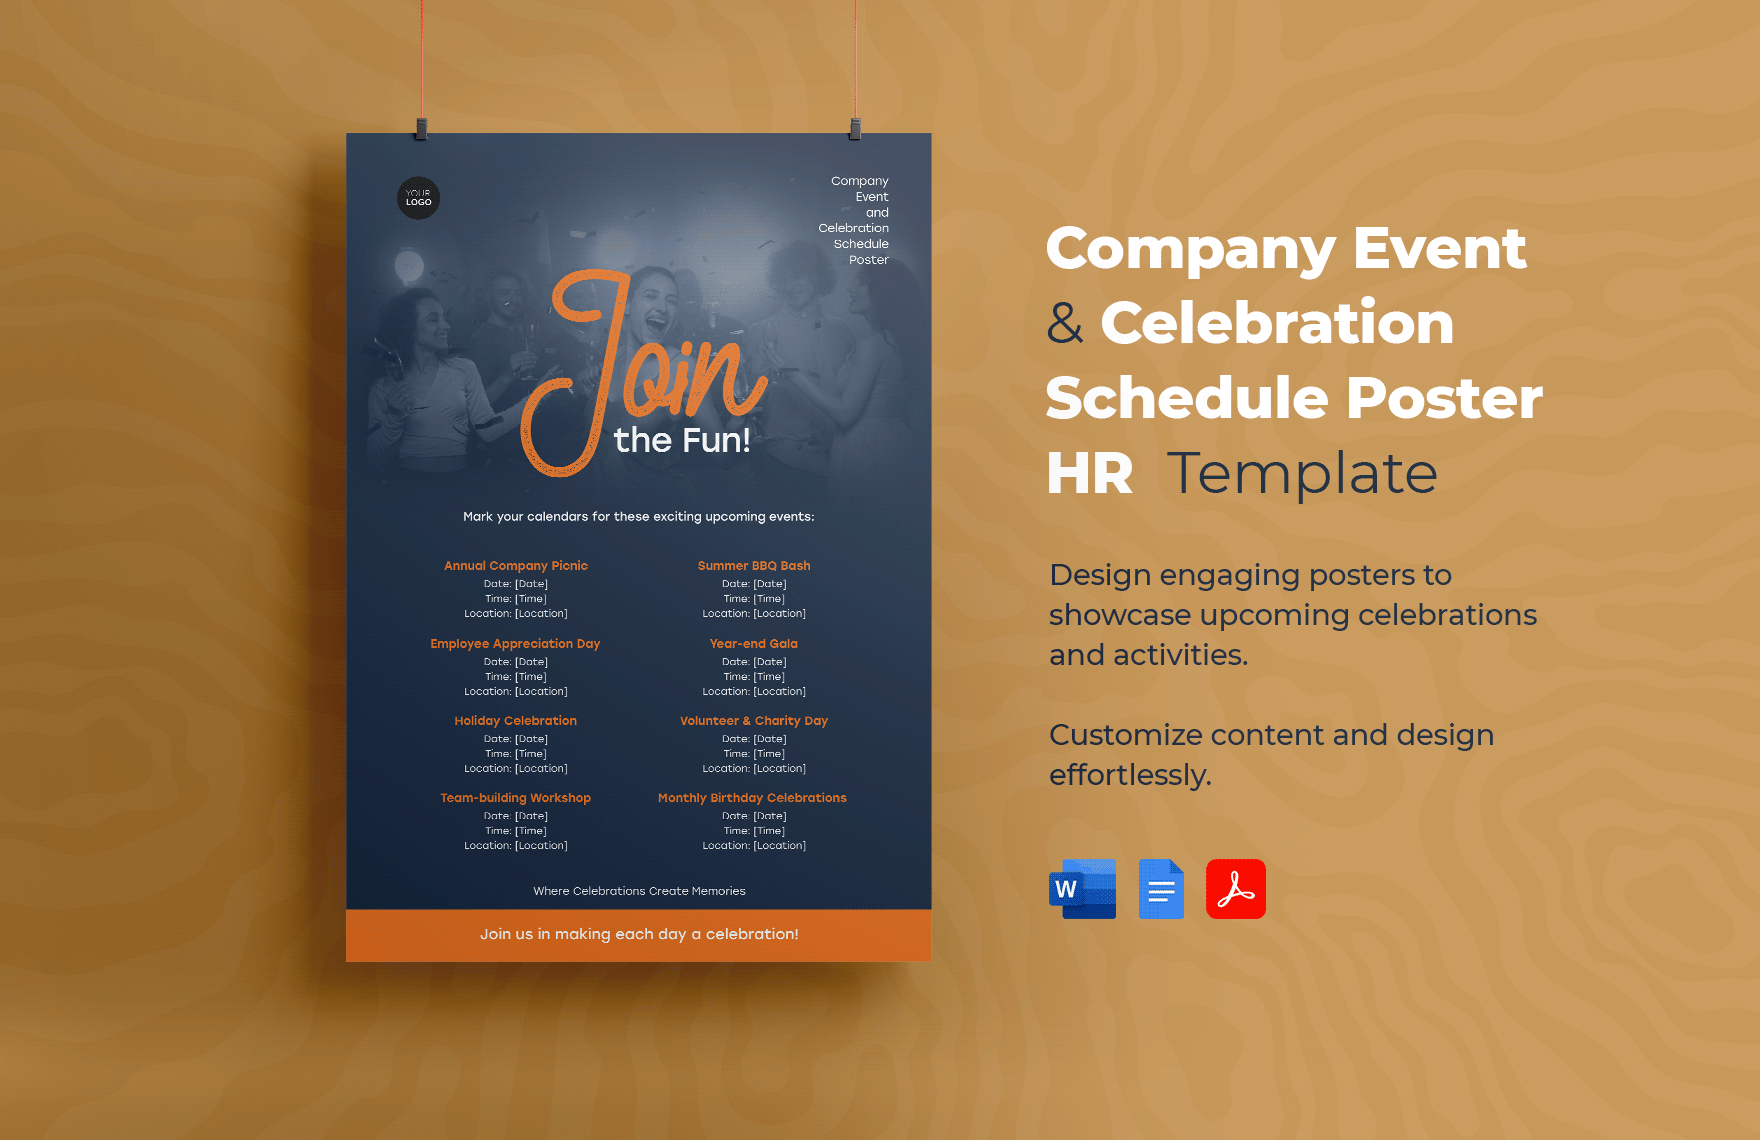
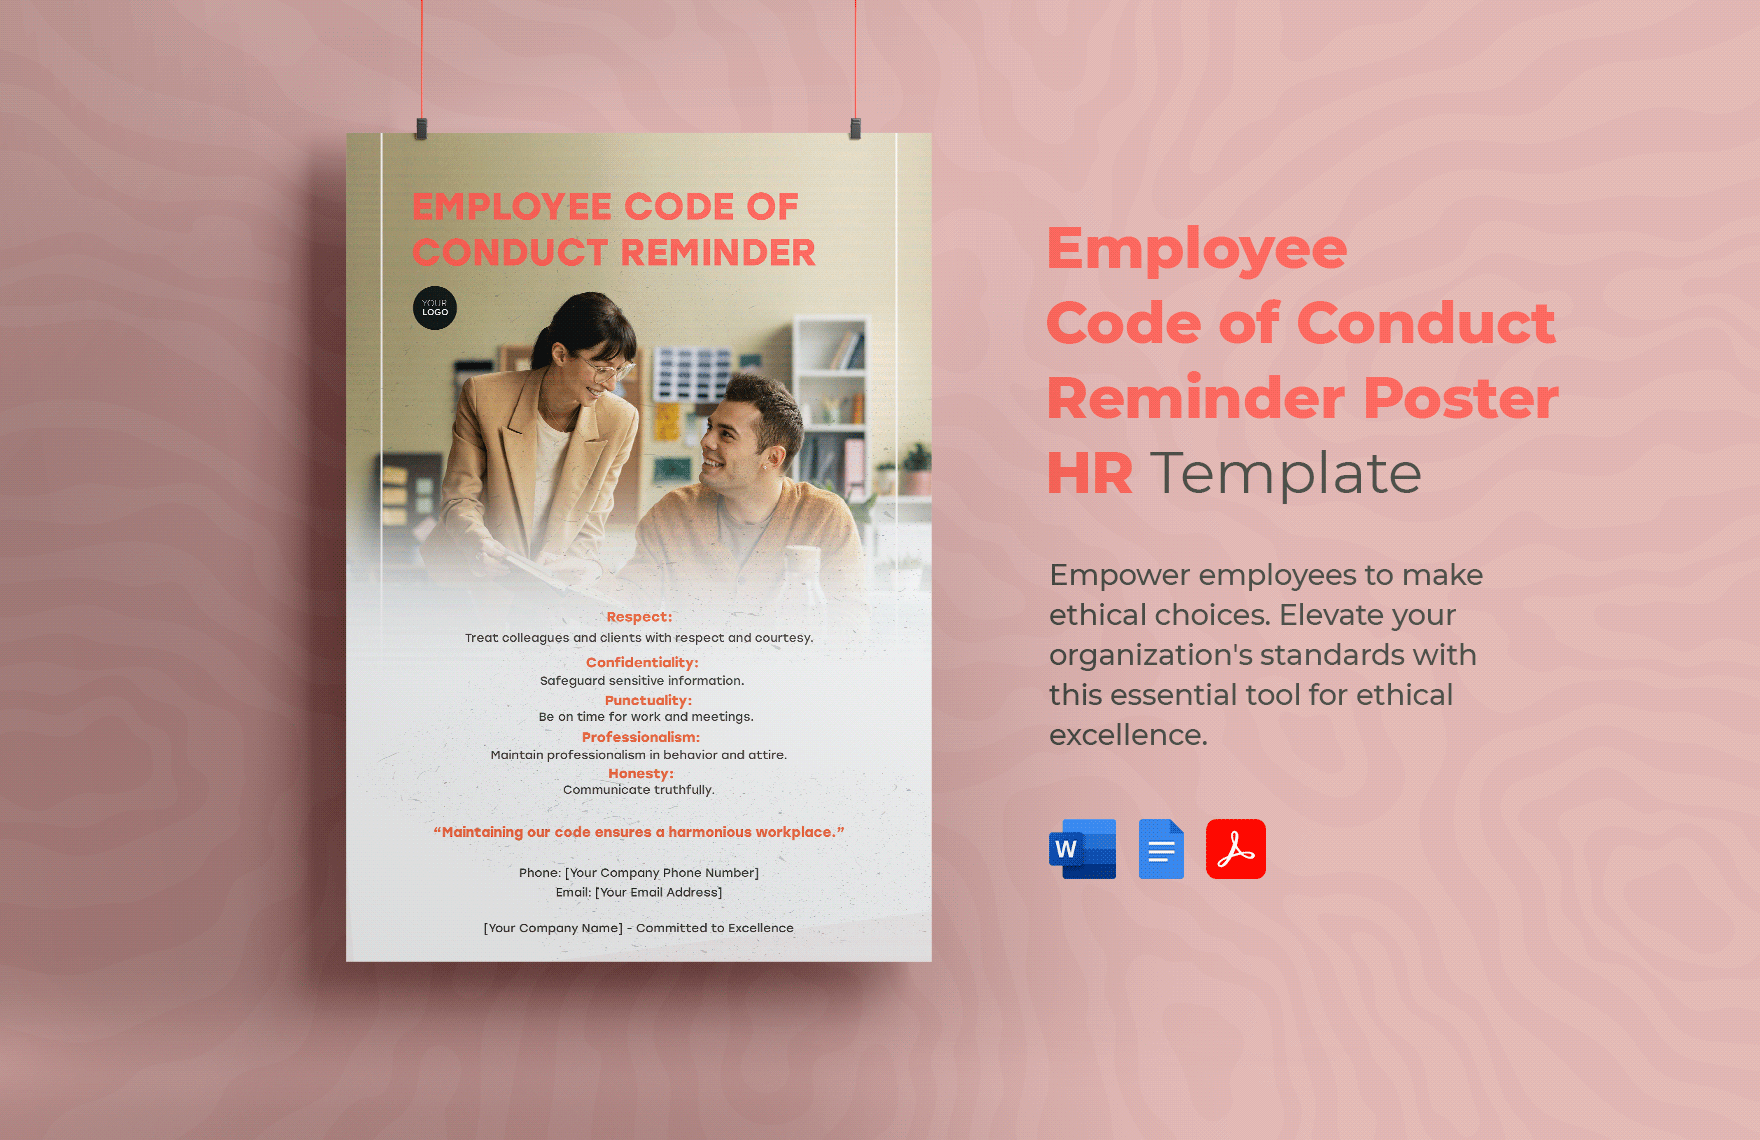
For simple and affordable local advertising, posters are always an excellent go-to. If you need 100% customizable content for your poster designs, then consider downloading our professional Poster Templates. Create stylish and unique posters for movies, stores, and other marketable subjects. If you need a convenient editing platform, you can use our samples in Google Docs. Hurry and download while you can—put together promotional prints with the help of our original templates!
How to Make Posters in Google Docs
Posters are highly versatile, suitable for promoting a shop, enforcing rules, and much more. Plus, you can set them up in all kinds of different areas, from school walls to public transit (as an article from Community Tool Box points out).
Do you need to design custom posters on the go? If so, consider reading our tips (below) on how to quickly and easily do your content creation in Google Docs.
1. Set up the Size of your Poster
First things first—prepare the poster’s size and shape. After opening a new blank document in Google Docs, go into the File menu and select the Page Setup option. In the Page Setup window, you can prepare the poster’s size, orientation, and margins. Opt for 18 x 24 inches for a small poster, while going with 27 x 40 inches for something much larger.
2. Incorporate Professional Images
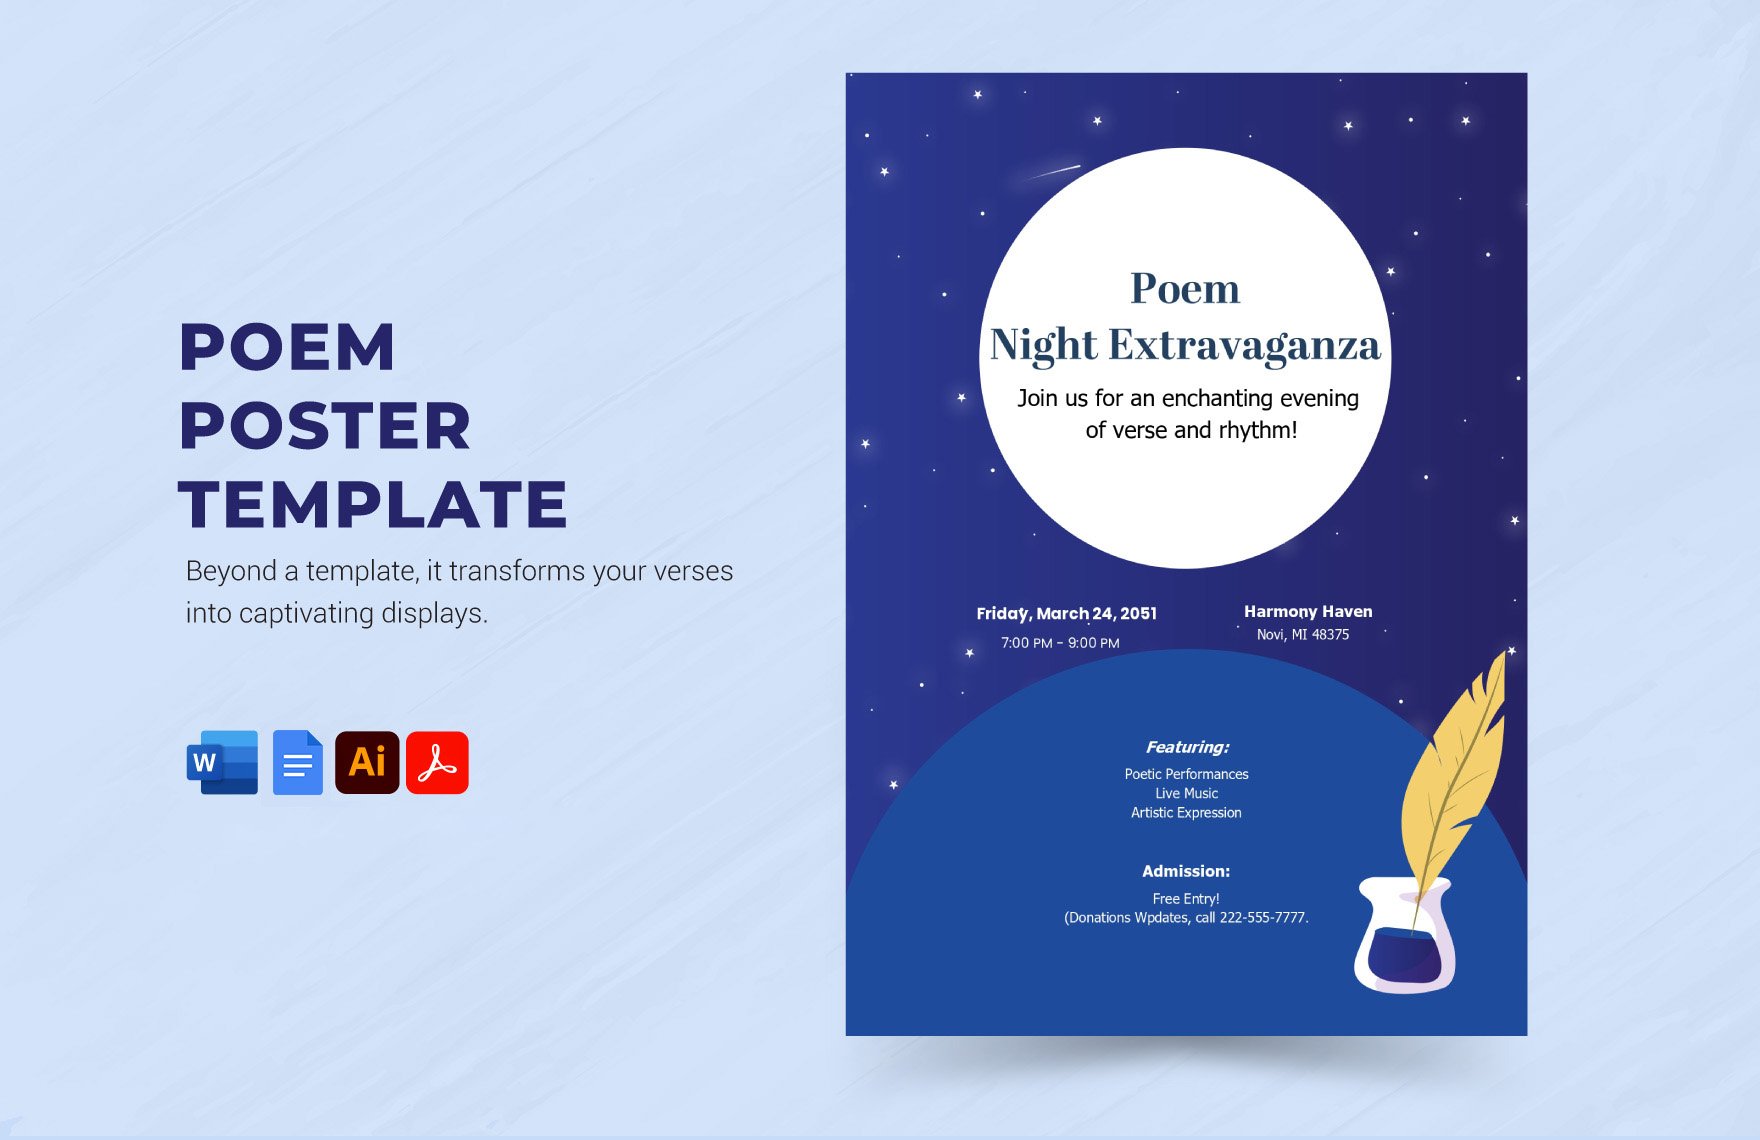
Before creating any content, open the Drawing interface for optimal customization. Go to Insert > Drawing and then select New. Next, for a striking poster design, you need art, photos, and other pictures that are professionally made and thematically appropriate.
Add your images by selecting the Image tool and then using one of the available options. You can upload a file directly from your storage or use one of the options for using an online source.
3. Create Simple Graphic Designs in Your Poster
To complement your pictures, you should incorporate a bit of graphics. You can easily make simple yet effective vector illustrations by customizing shapes. In the Drawing window, use the Shape and Select Line tools to select your shapes, then select the inserted shapes to access various formatting options in the toolbar.
4. Add Written Content to Your Poster Design
Besides your poster’s visuals, its text should also complement the overall look. To insert a text field, use either Text Box in the toolbar or Word Art in the Actions menu. Select a text field to access the formatting options in the toolbar.
Did you read all our tips? Now you can effectively prepare unique and creative posters using Google Docs!


