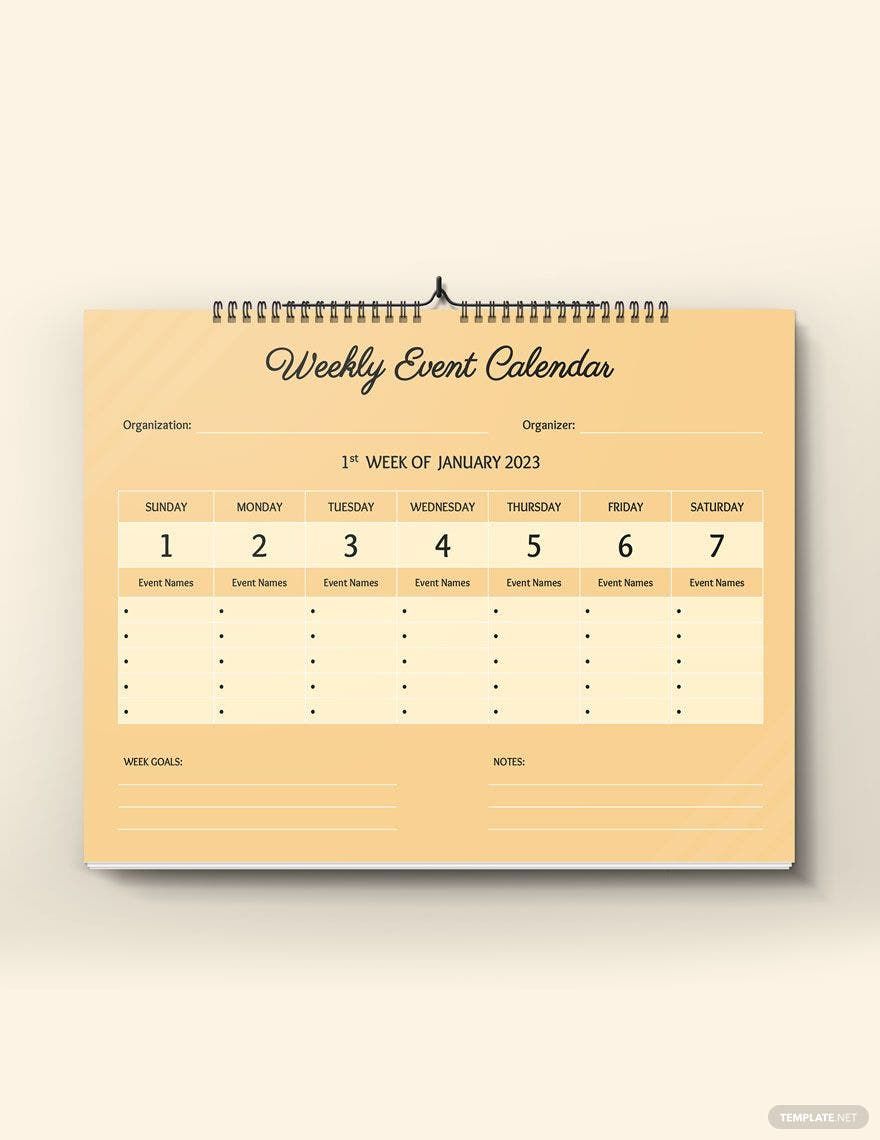
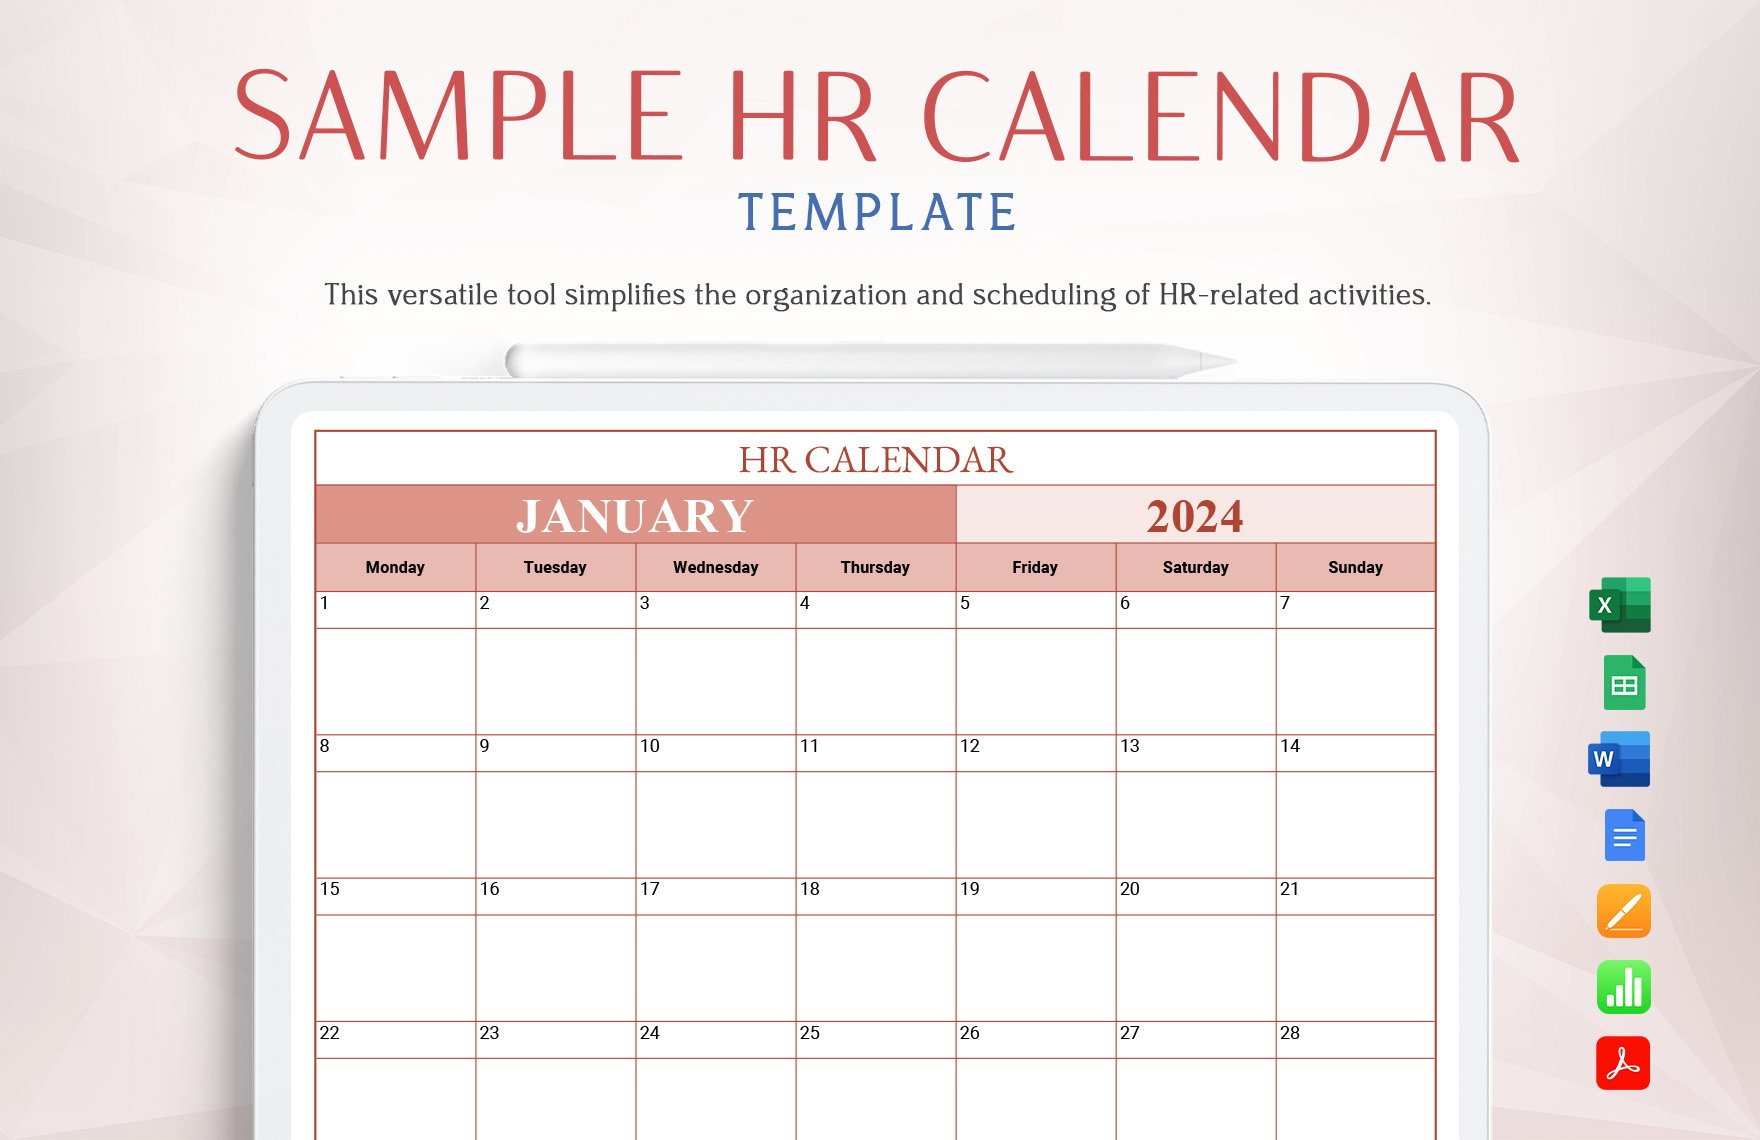
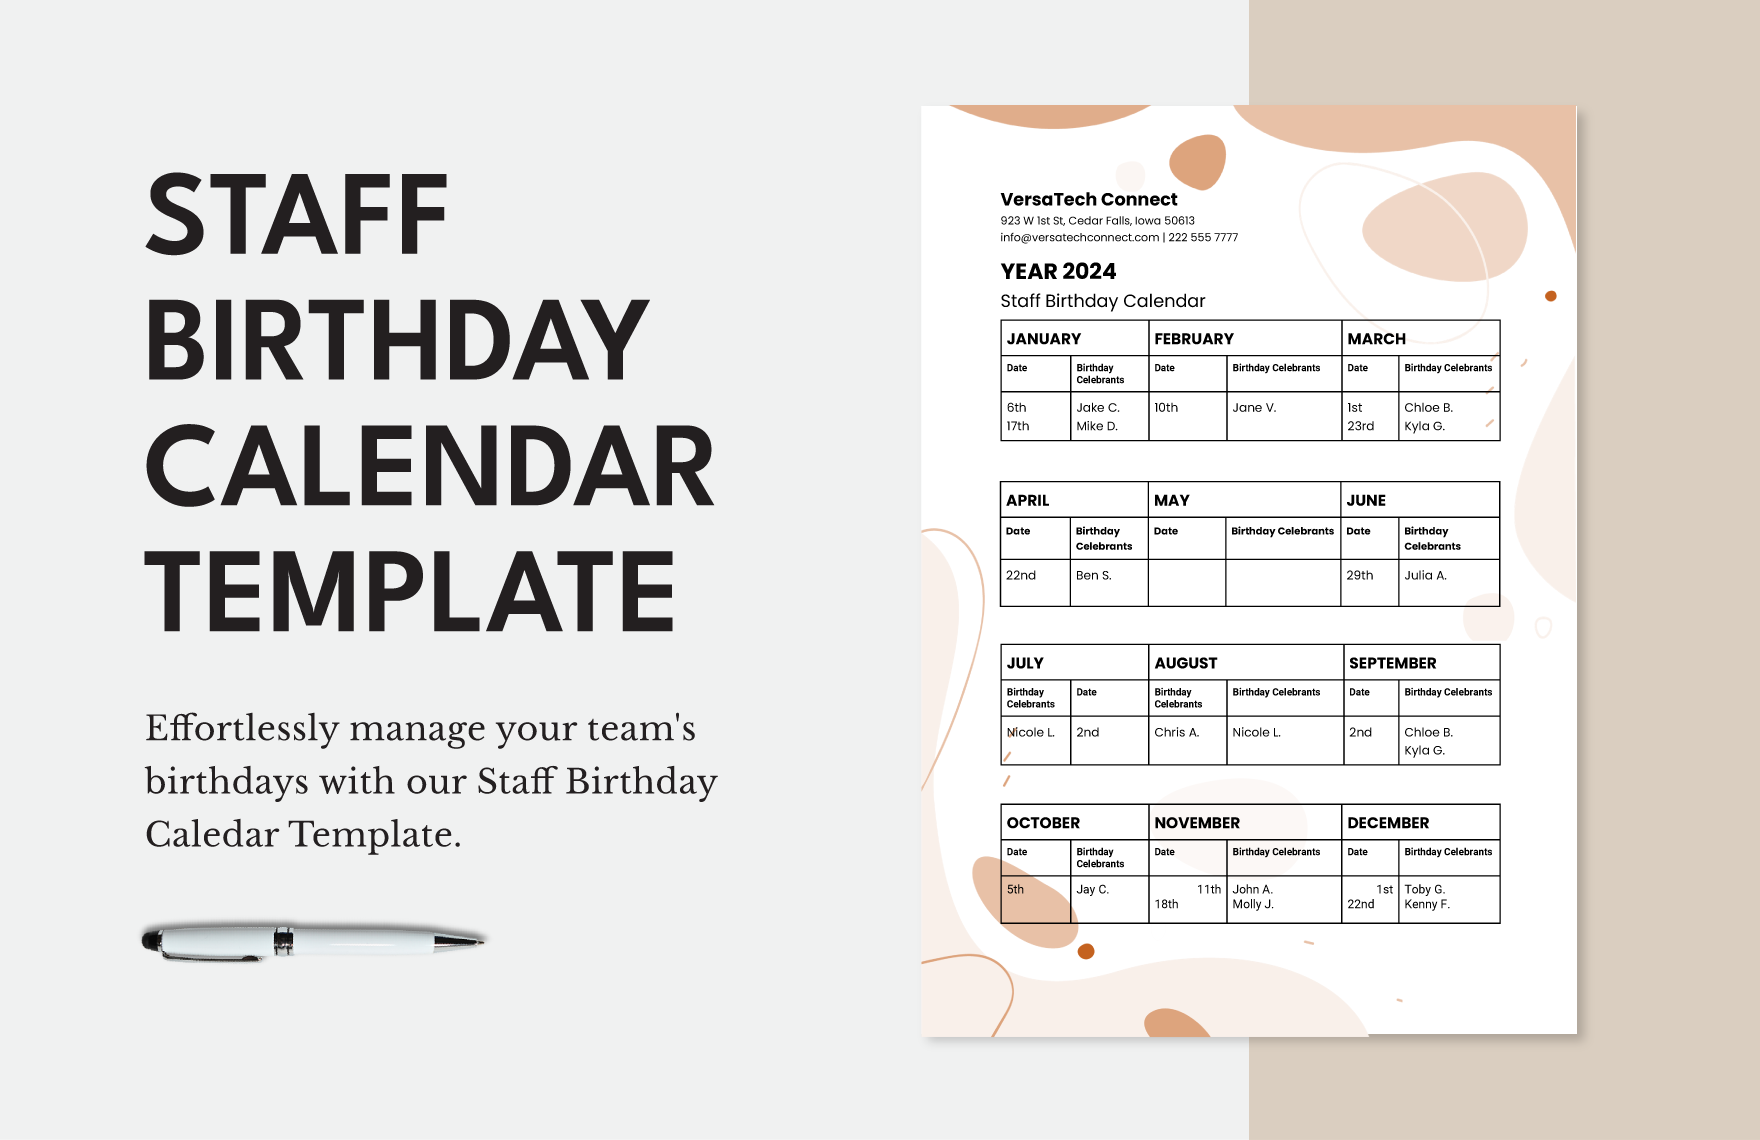
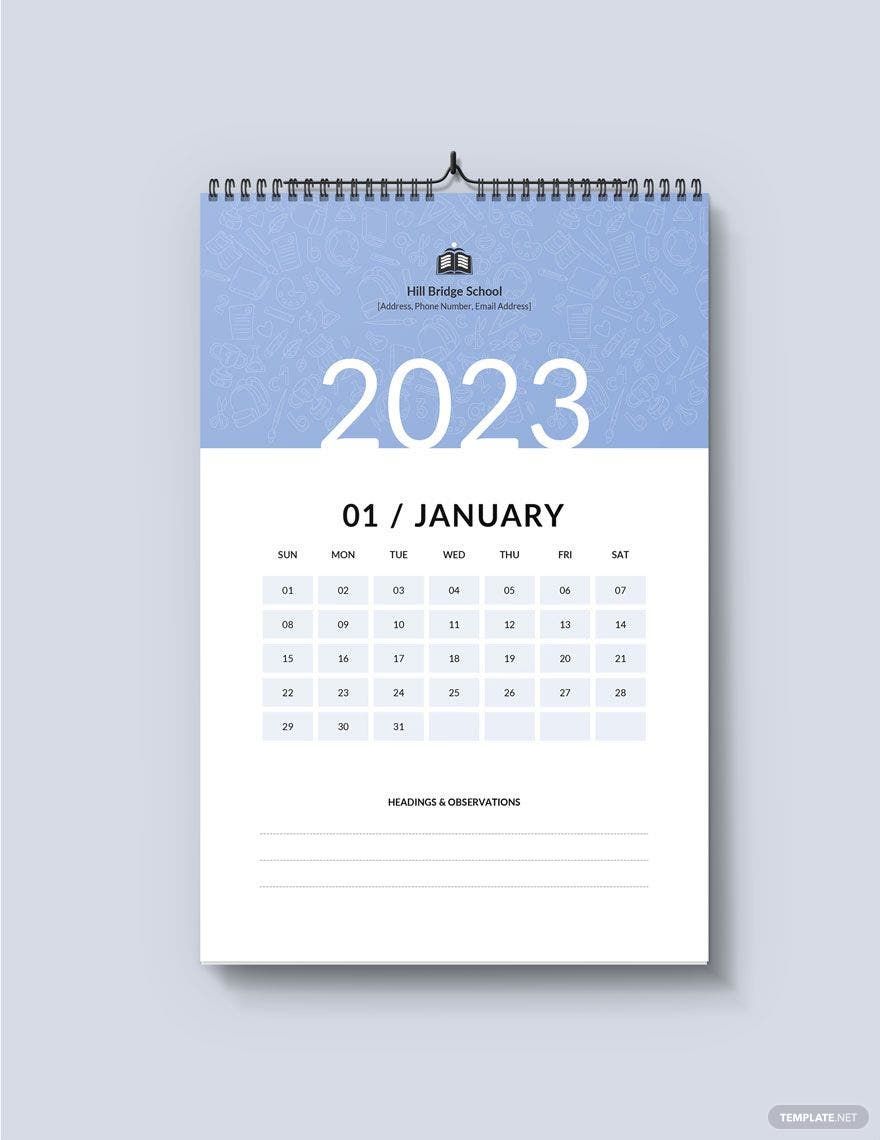
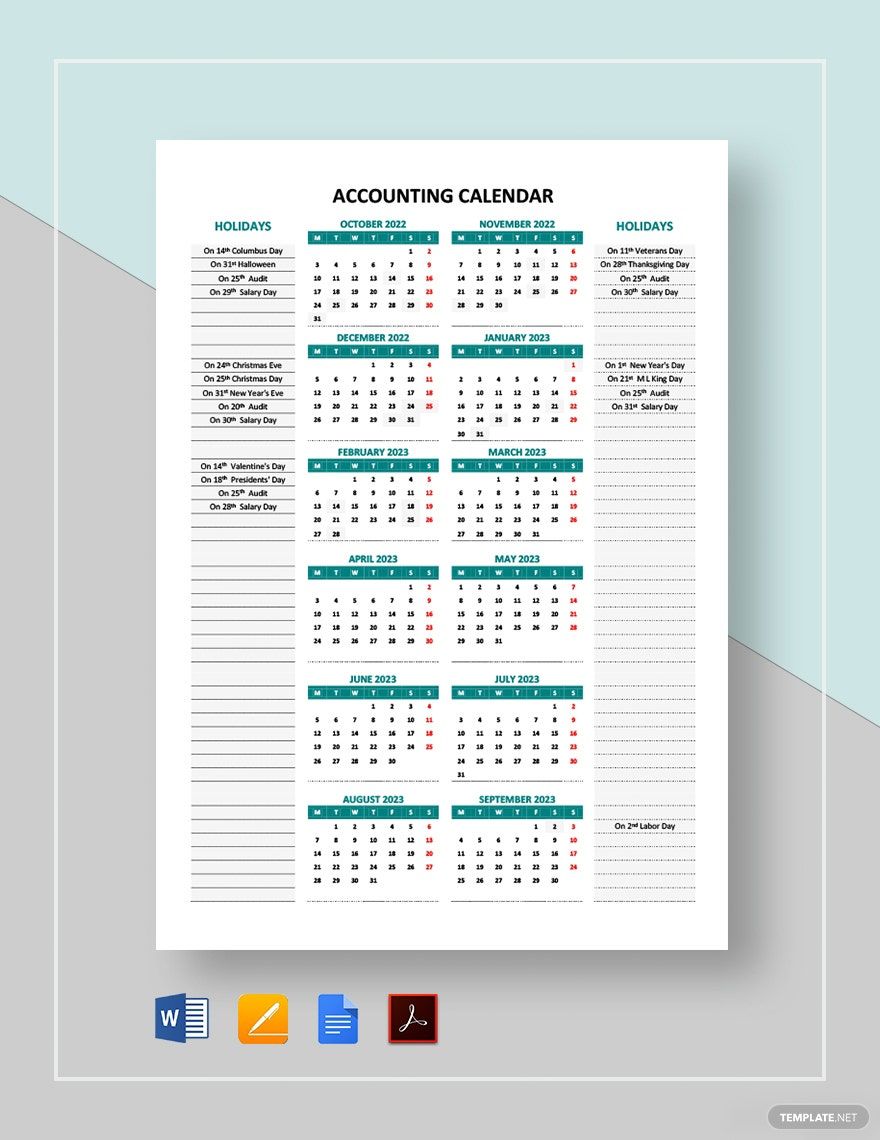
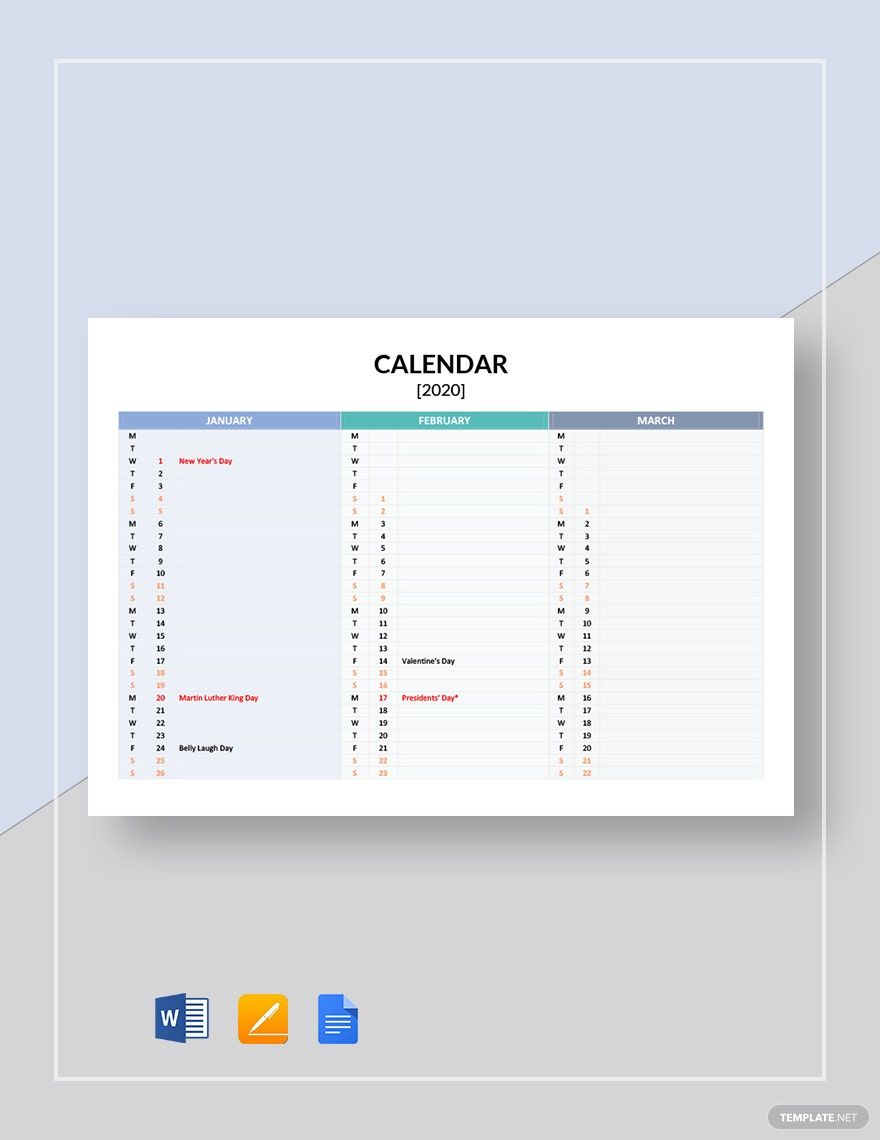
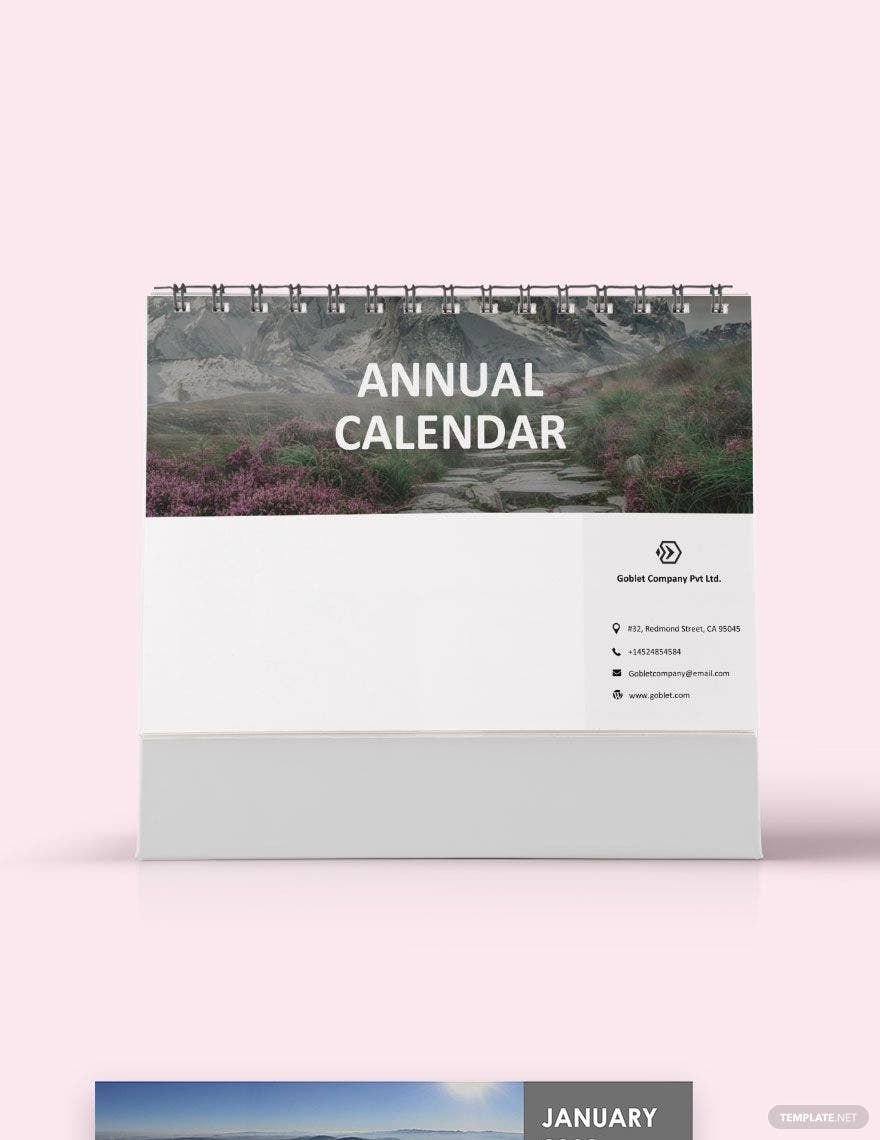
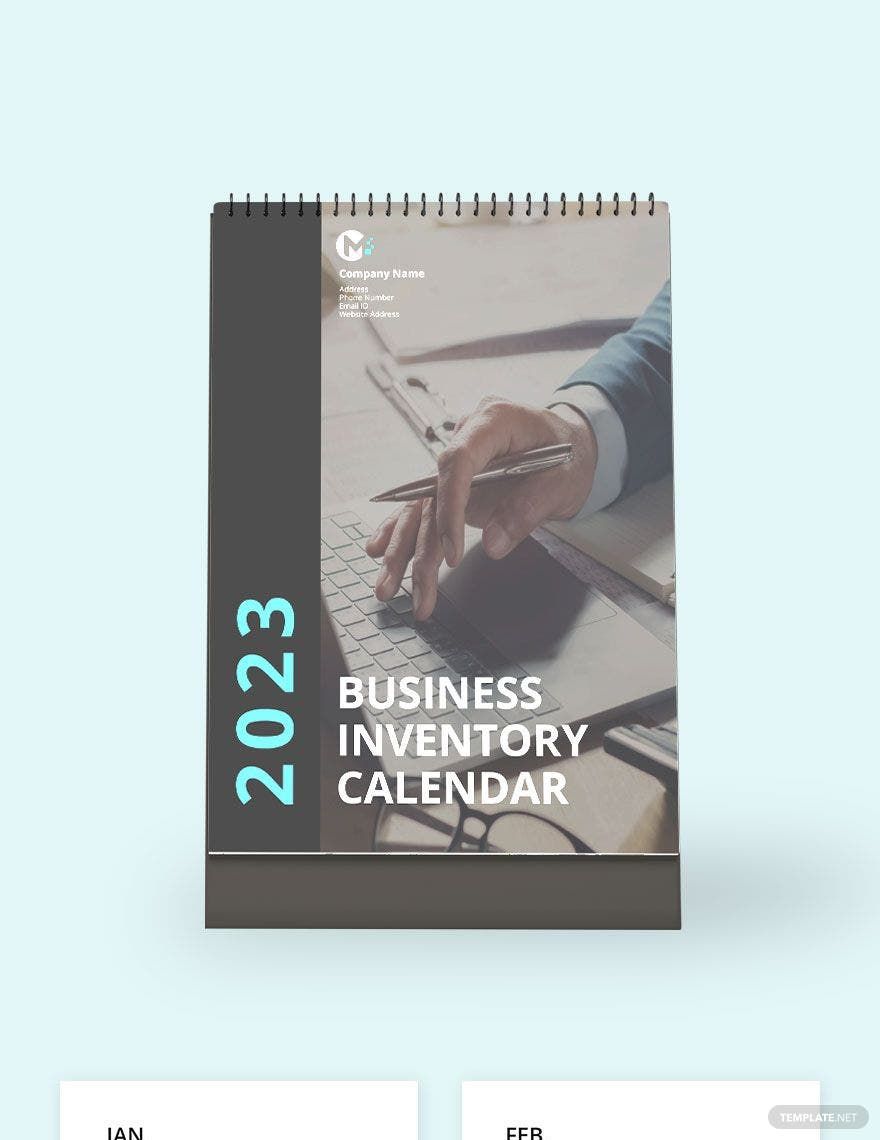
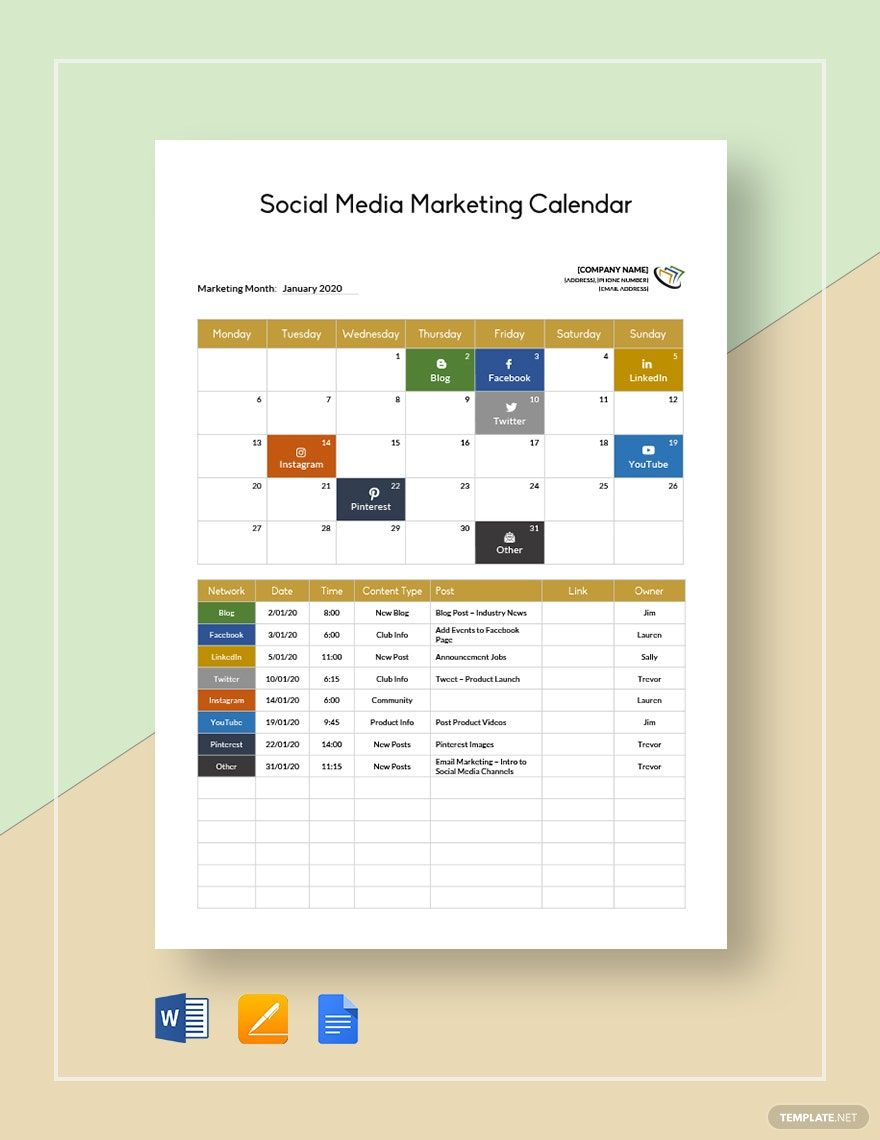
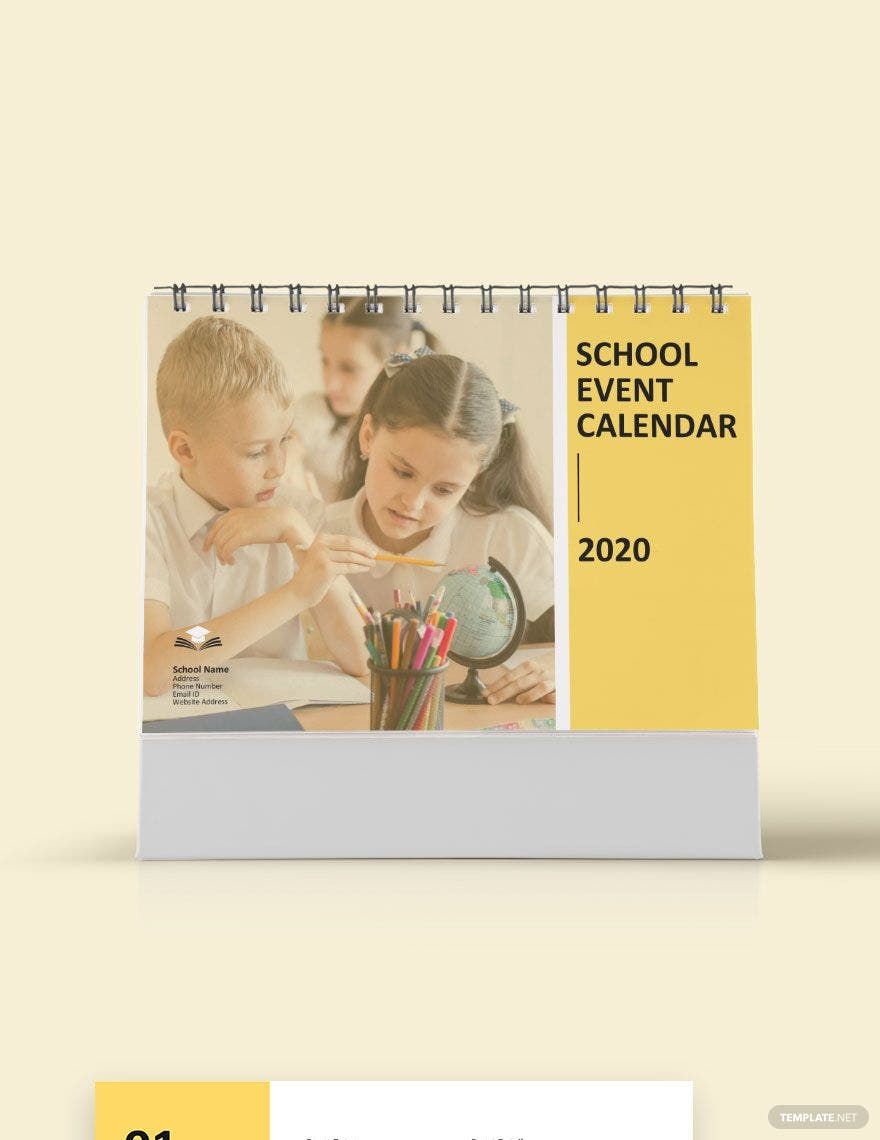
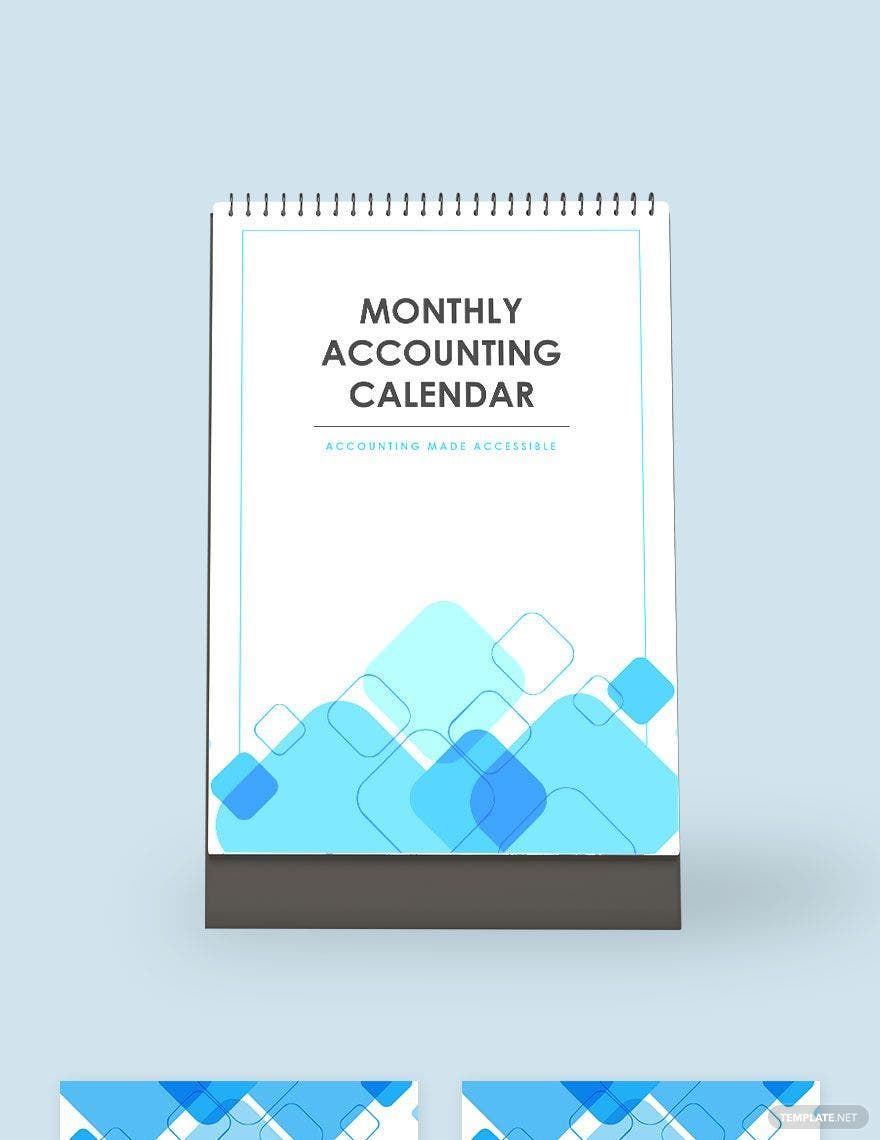
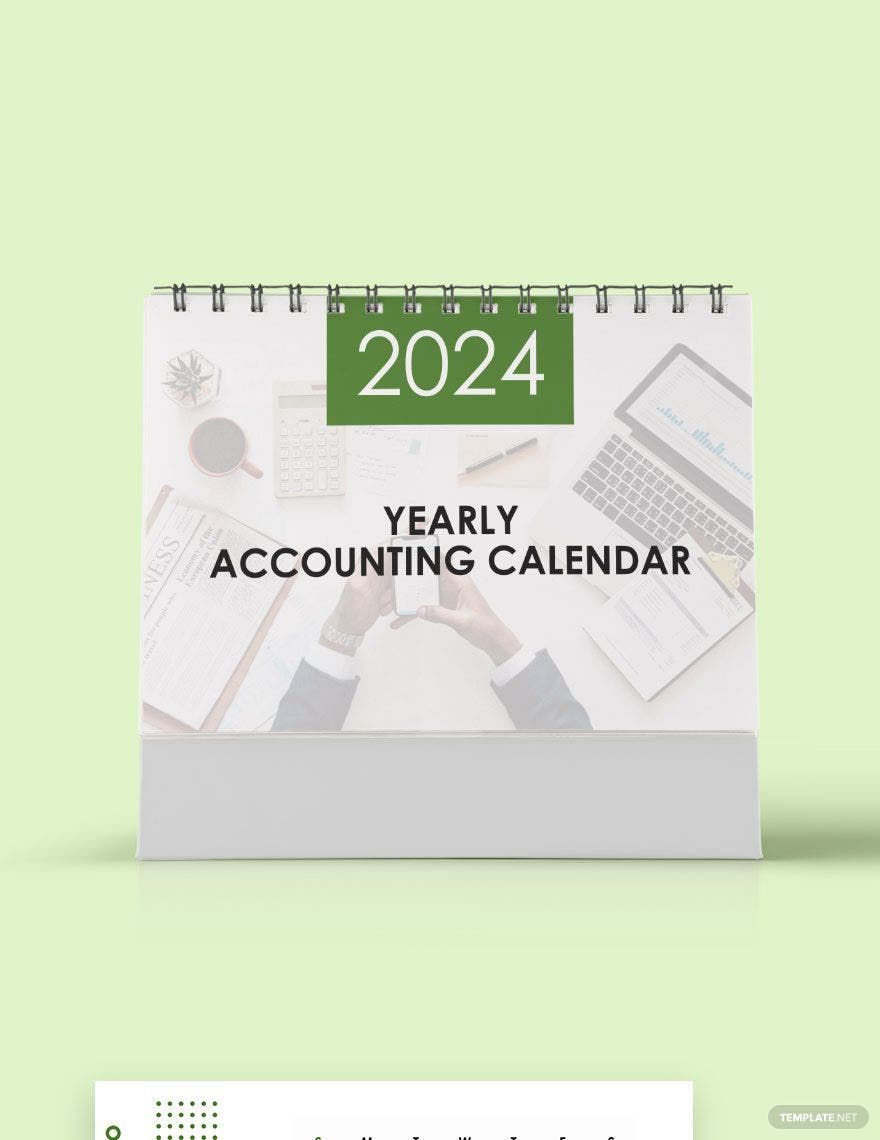
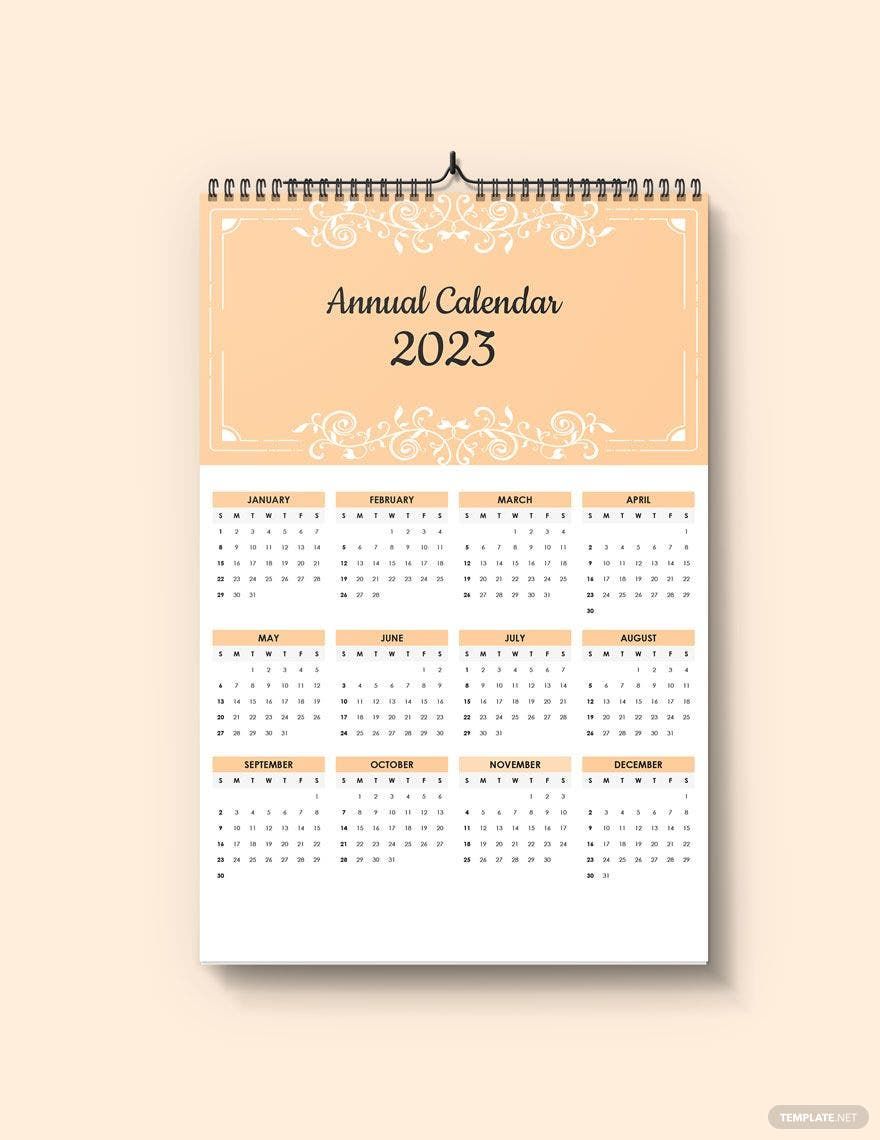
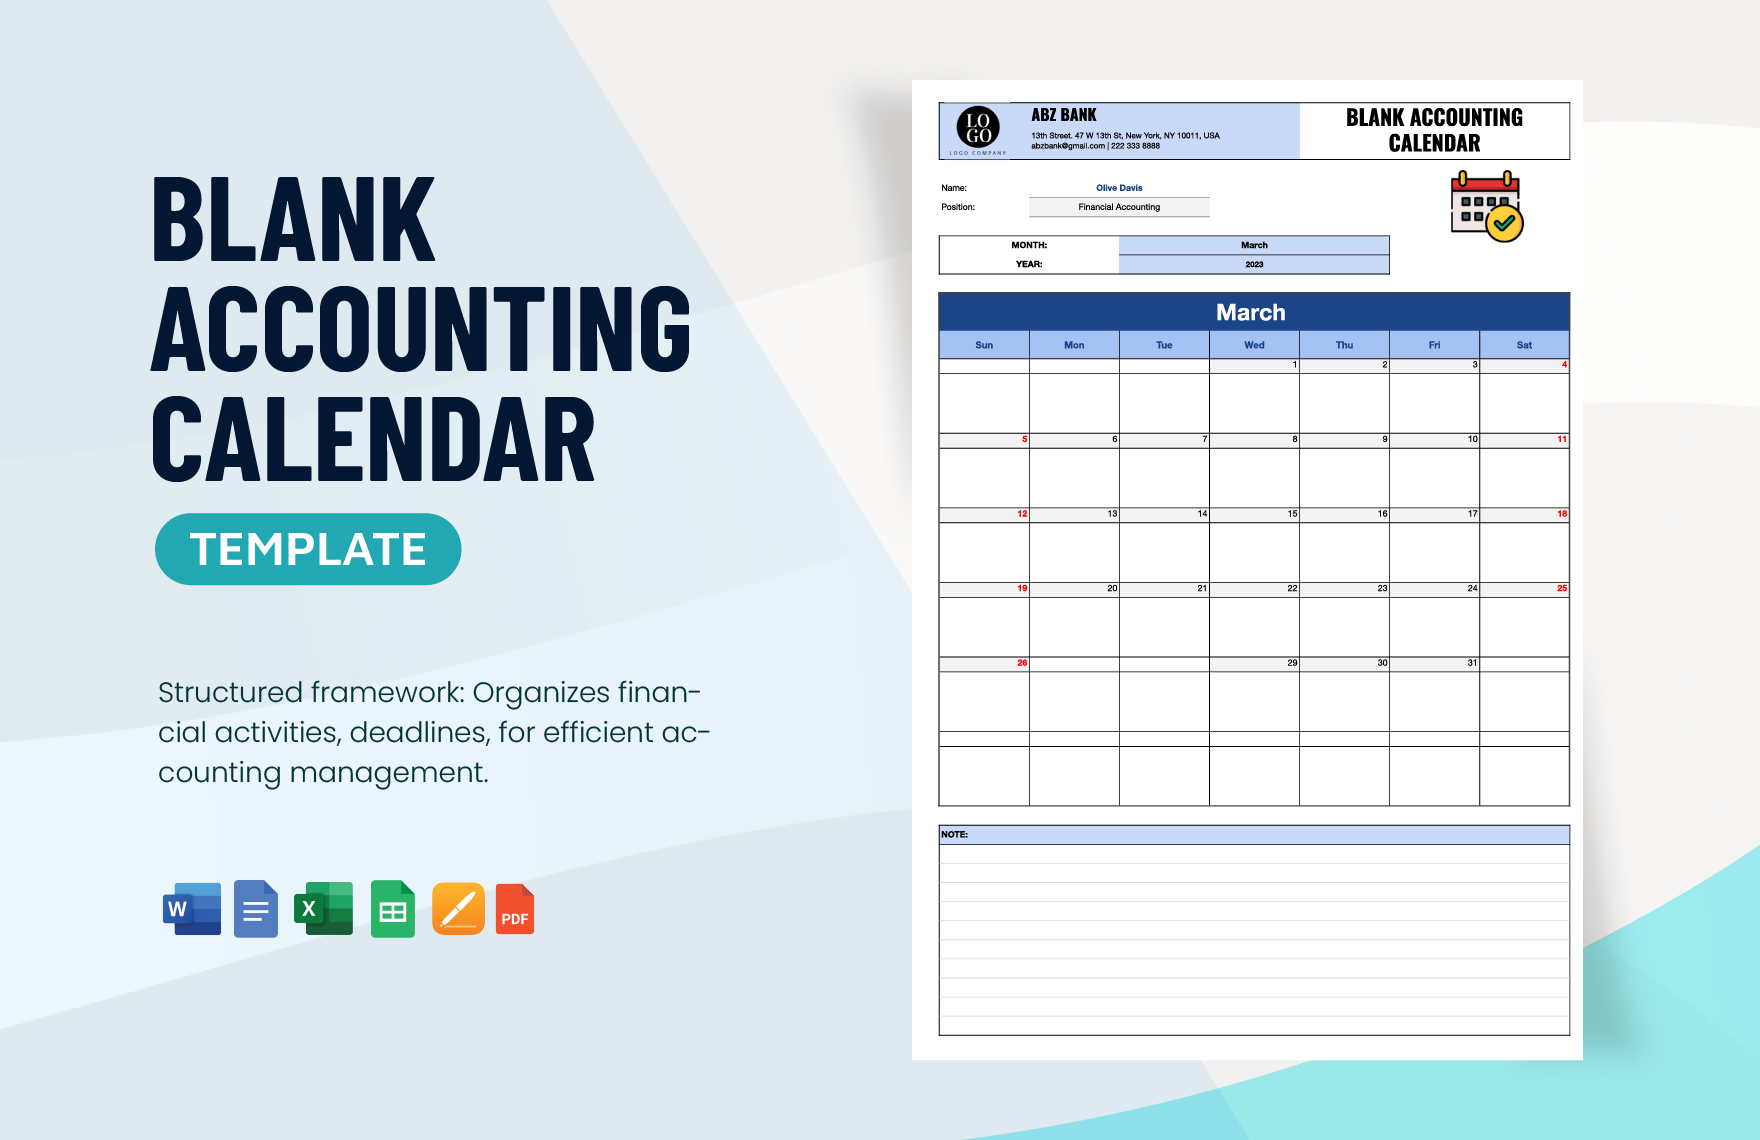
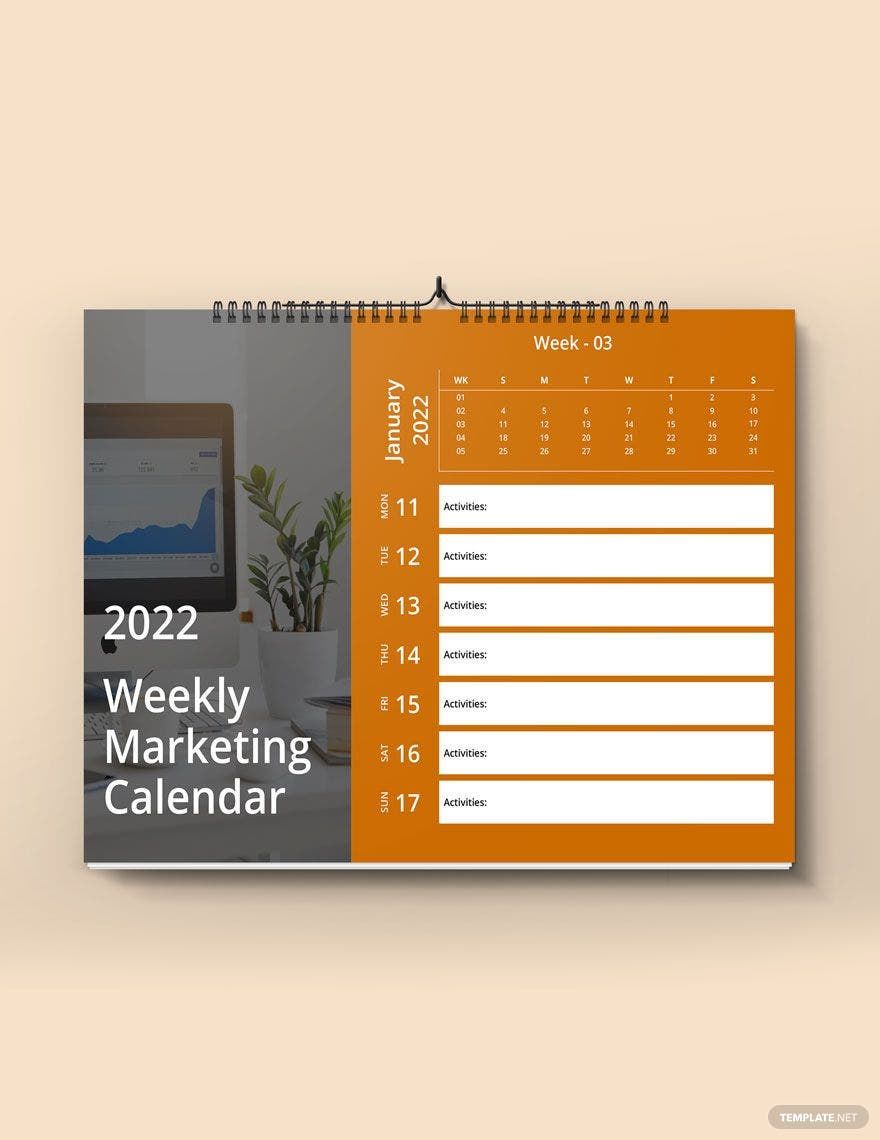
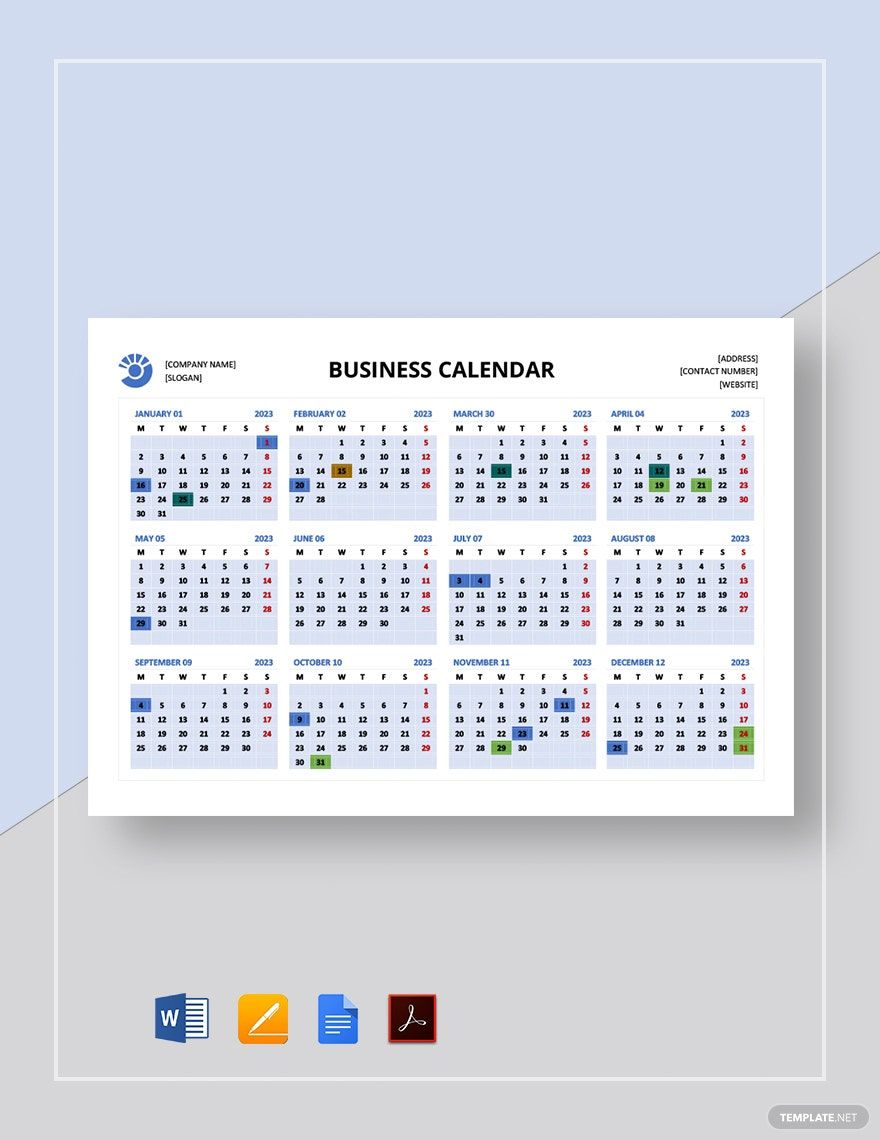
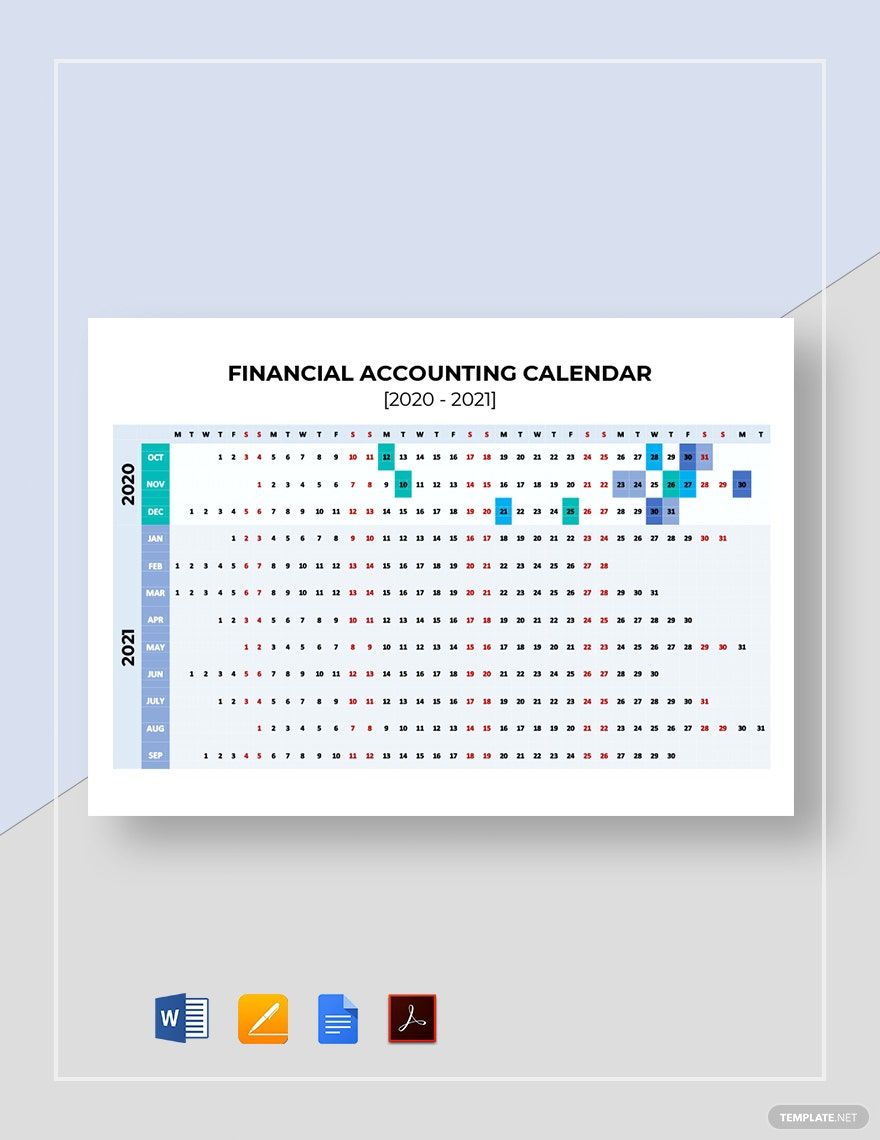
Whether it’s for a desk, wall, or bookshelf, a calendar makes for a nice bit of simple yet effective decorating. And, not only is it good for taking up an empty spot in a room, but it also offers functionality in helping you plan a schedule or just instantly showing you what the current date is. A calendar can even come in a number of different shapes and designs to suit whatever space that needs sprucing up. So, why not start a small art project by putting together your very own printed calendar! With our professional Printable Calendar Templates, you can easily customize an original calendar design using just Microsoft Word, available in both A4 and US letter sizes. Grab one of our downloadable kits and make a daily, weekly, or monthly calendar without breaking a sweat!
How to Make a Printable Calendar in Microsoft Word
As explained on webexhibits.org, our modern calendar’s origin dates all the way back to Pope Gregory XIII, who created the Gregorian calendar to replace the older Julian system. And, because of Pope Gregory’s invention, we now have the contemporary calendar system that we take for granted today.
The calendar is an essential timekeeping system, which is useful in its versatility for many different needs--from creating a project task planner to counting down until the next holiday event. Not sure how to go about putting together a printable calendar design? Well, we’ve got you covered with our tips (below) on making one using in Microsoft Word!
1. Plan a Page Layout
You first need to decide on the layout orientation and margins of your document, Open a new file in MS Word, then go to Page Layout and pick either Landscape or Portrait under Orientation; feel free to choose whichever orientation you want/need. Next, set up how large or small you want the margins to be.
2. Insert a Table
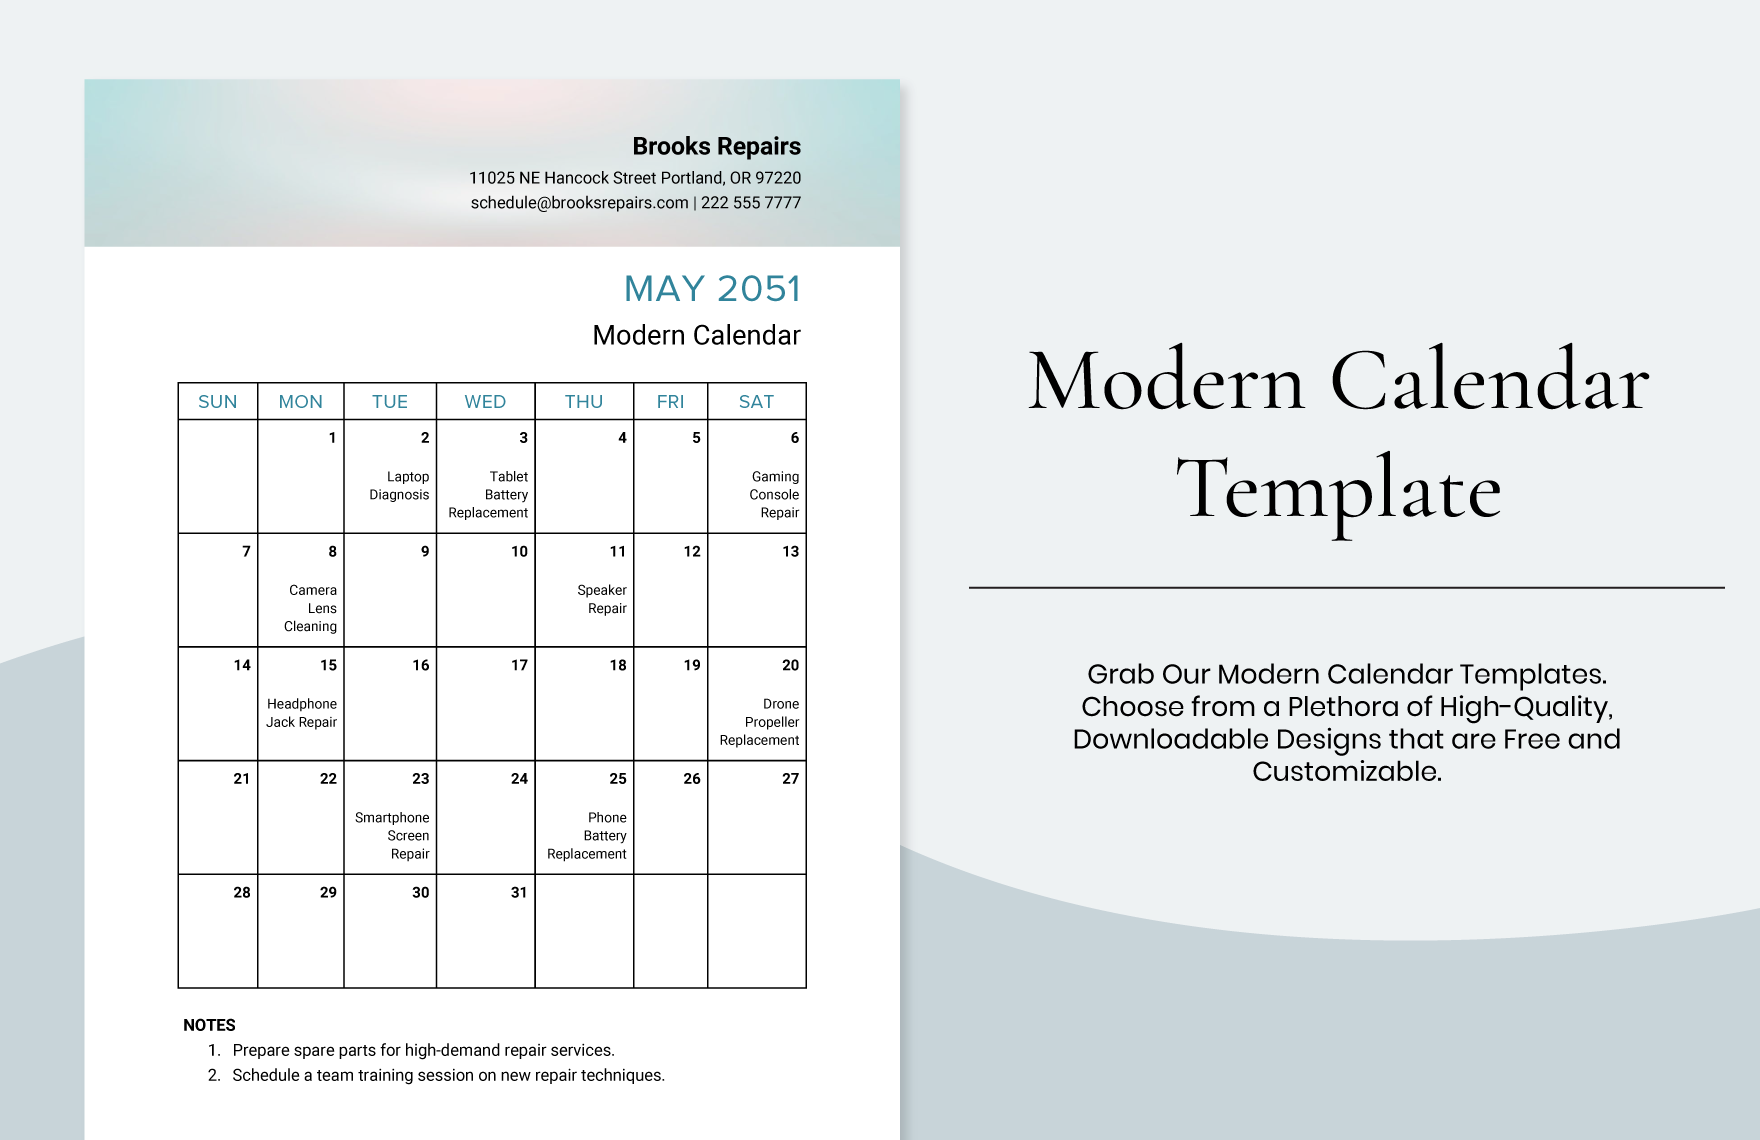
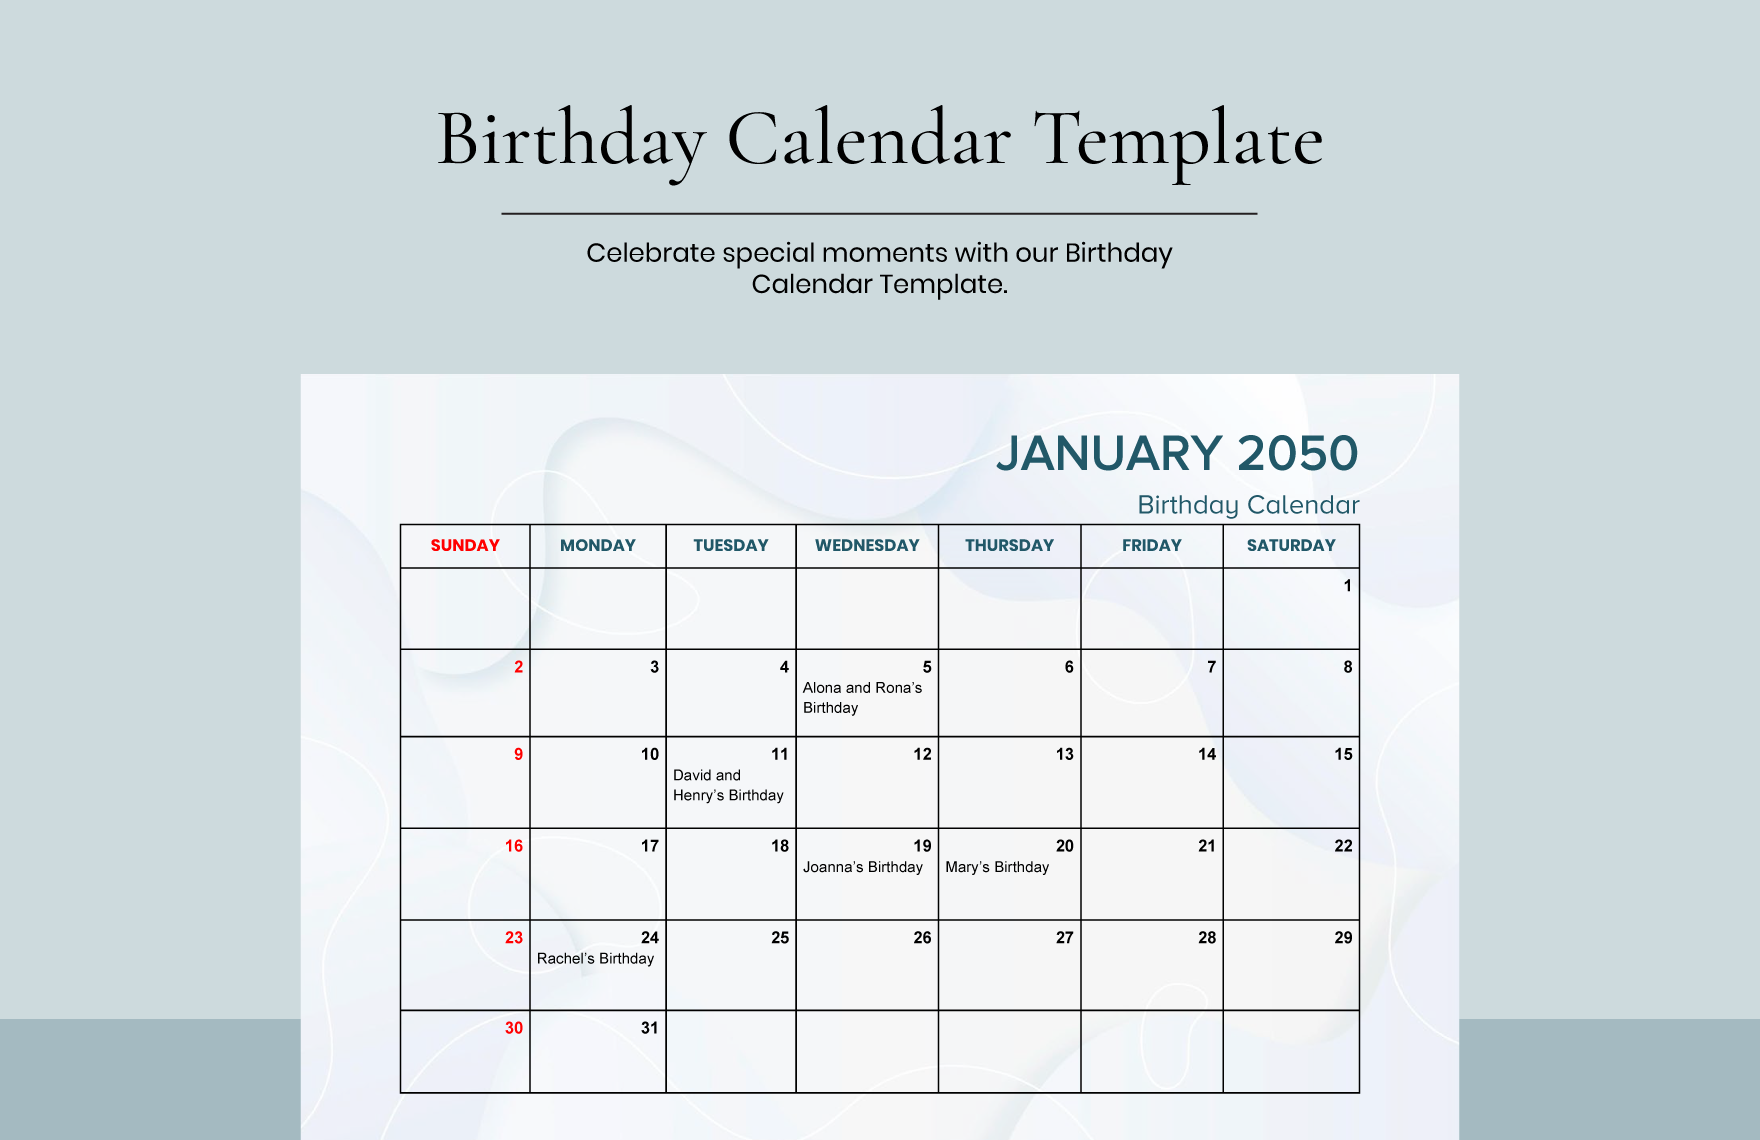
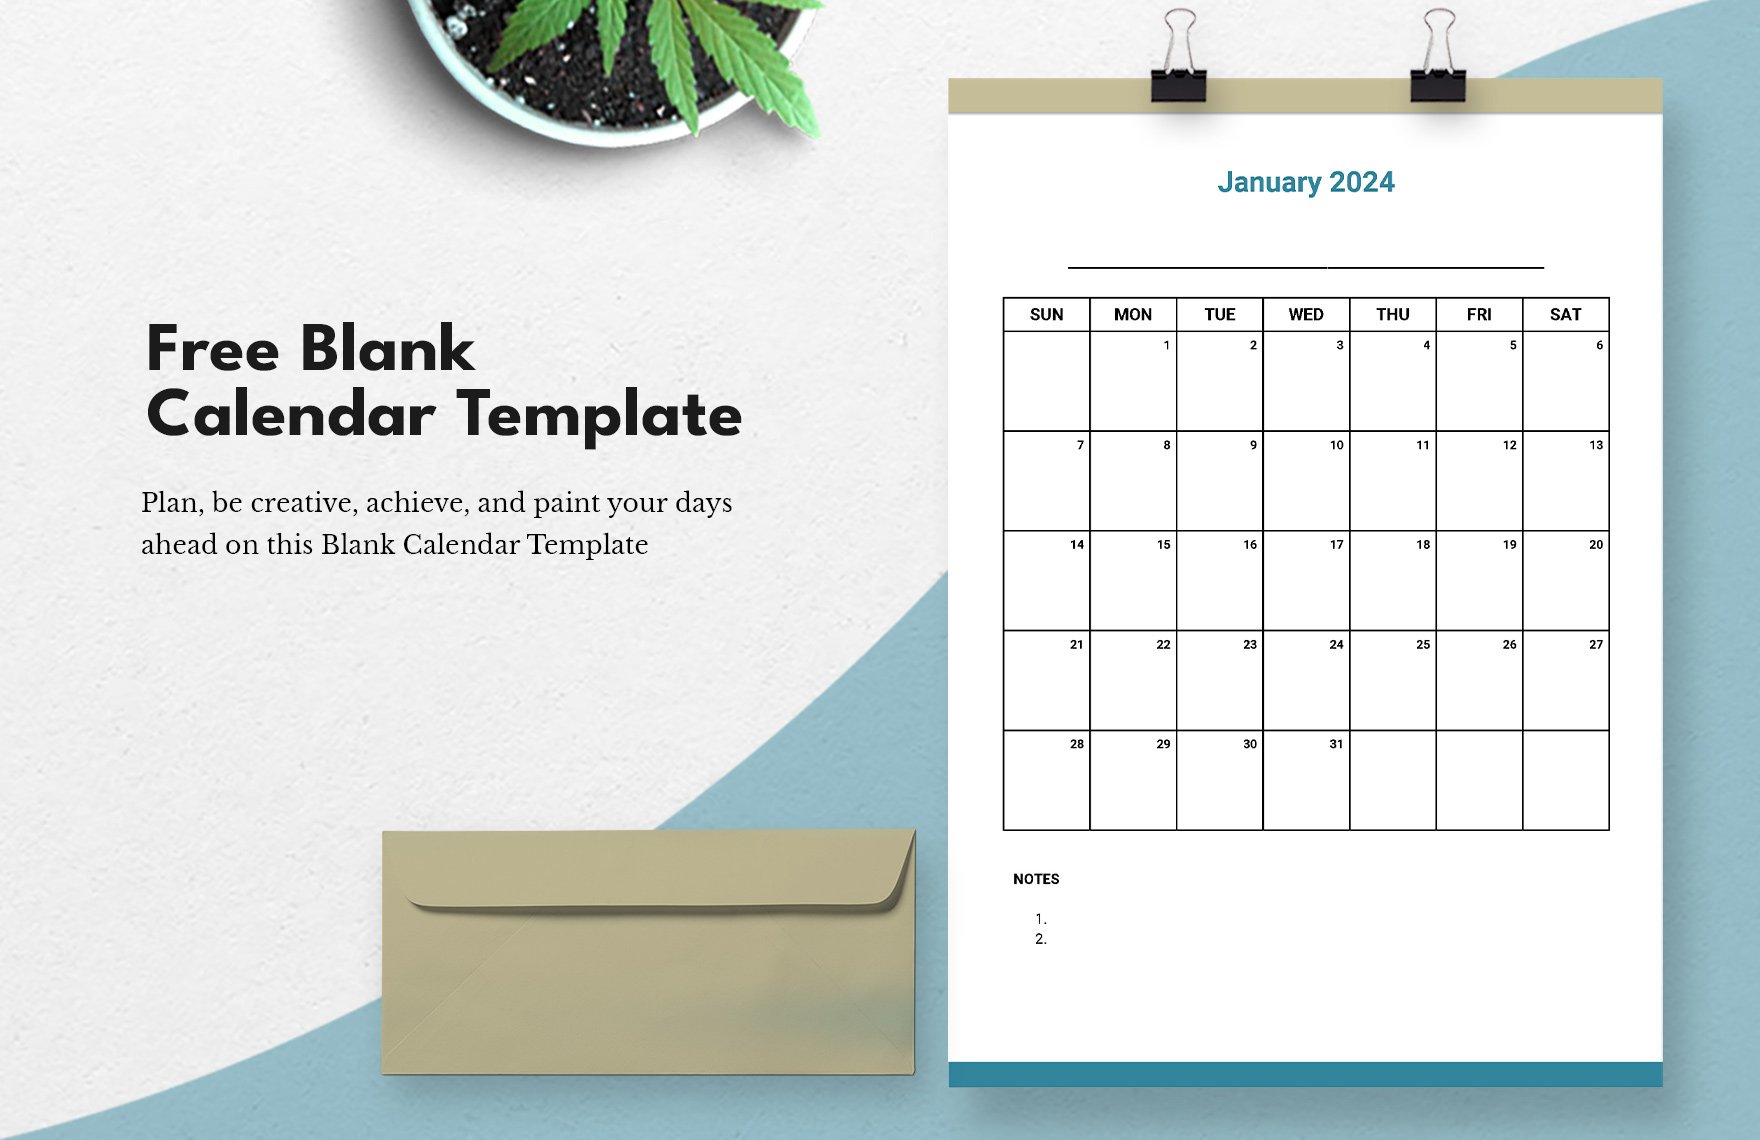
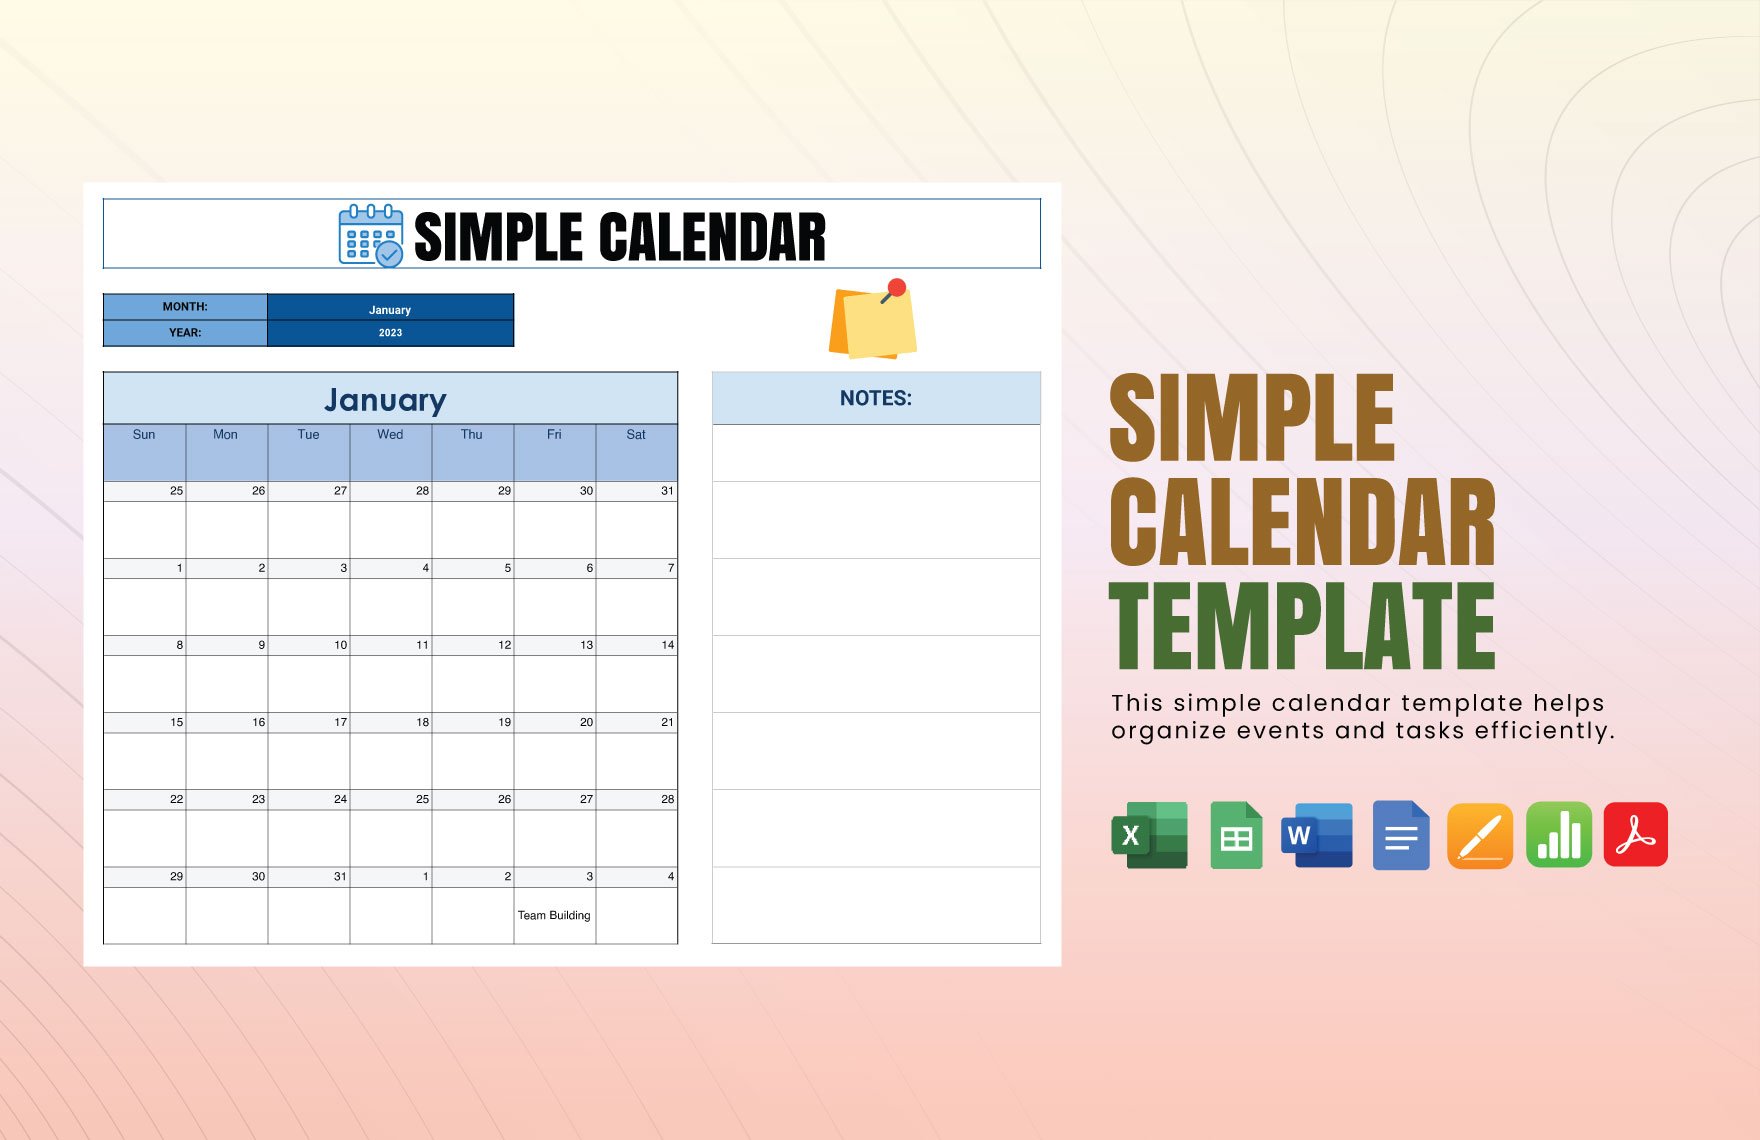
For the main part of your document, you need to use a grid table. Go to Insert and then Table; go with 6 rows and 7 columns. After the table shows up on the page, you can resize it by click-dragging the node on the lower-right corner of the table; reposition the table by click-dragging the node on the upper-left. Move the table down to leave some room for more content later!
After that, shrink the top row by click-dragging its bottom line. The top row is where day-of-the-week labels go.
3. Add the Days and Dates
With the body of your calendar now laid down, it’s time to input the month, days and dates.
In the blank space above your table, insert a textbox and write down the month in it; resize by click-dragging one of the nodes on the sides and reposition by click-holding inside. For the top row of the table, start with either Monday or Sunday in the left-most cell and proceed to each next cell towards the right. For the dates, go to the row just below and input each number into the blank cells, making sure they correspond to the labeled days on top.
4. Make Your Calendar Look Good
Add a bit of life to your calendar by including some images! When inserting a background picture, choose Behind Text under Text Wrap so that the image is actually placed behind the table; resize and reposition by using the nodes on the image’s sides. Feel free to stretch the image past the document’s size, if you prefer. You can also adorn your calendar with some smaller artwork/pictures; it’s best to use images with transparent backgrounds to make them blend in better.
Don’t forget to play around with size, color, transparency, etc. for the text and table. Also, if you need a premade base to work on for the other months, simply use CTRL+A to copy all of the content in your finished page and paste it onto a new page.
If you’re interested in some calendar examples that are cute, sleek, colorful, and more, then have a browse through our Printable Calendar Templates!
