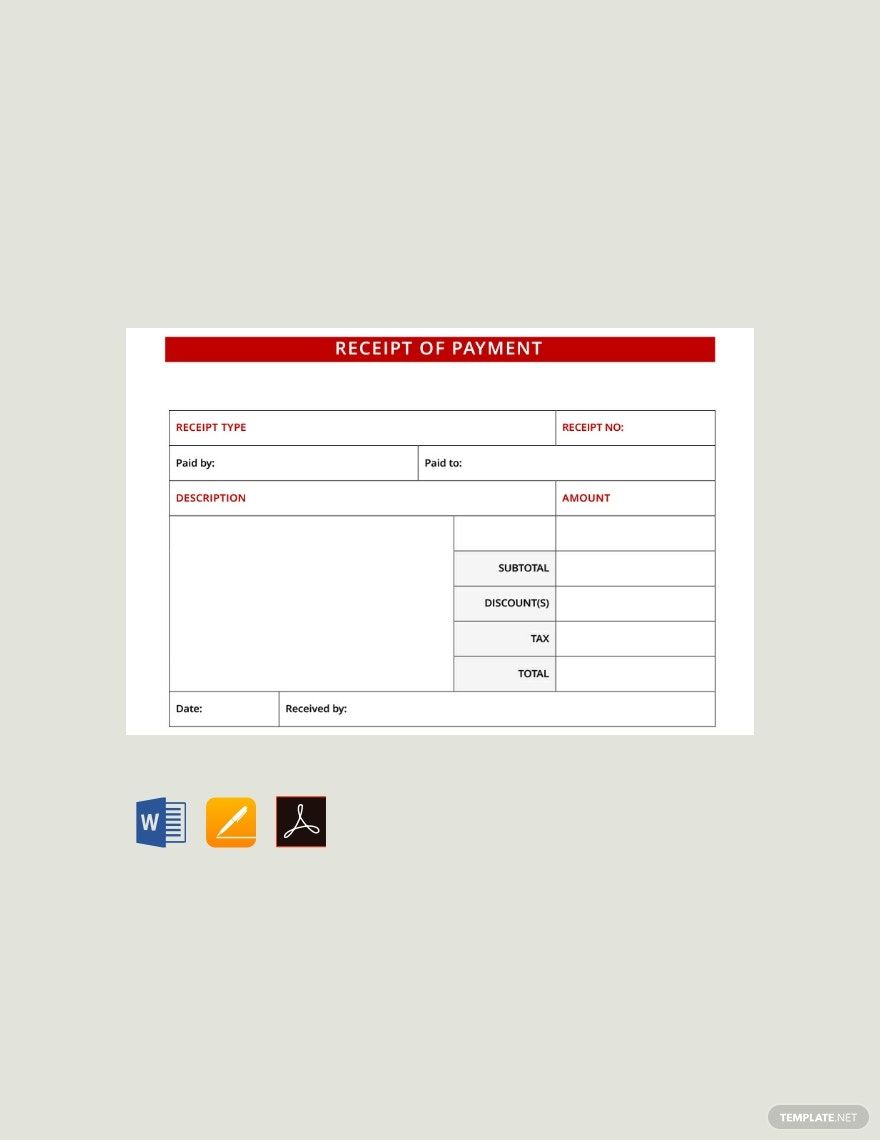
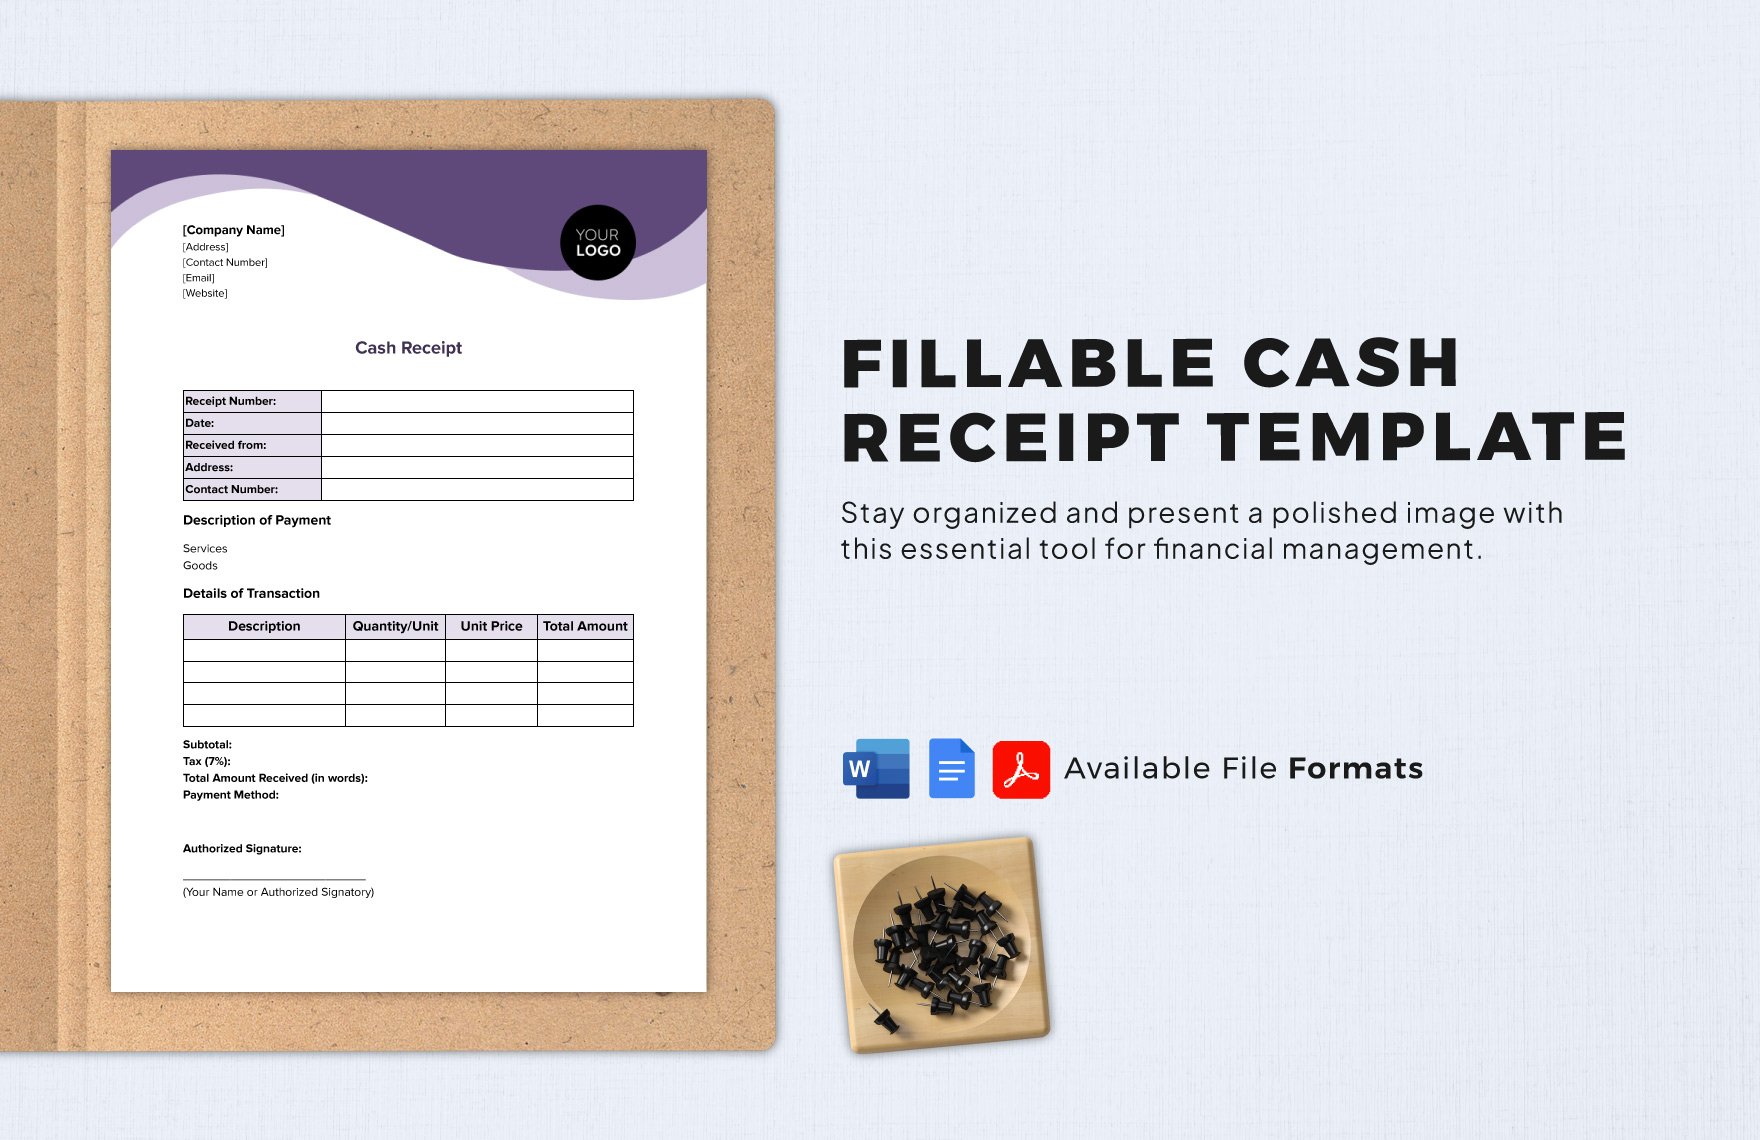
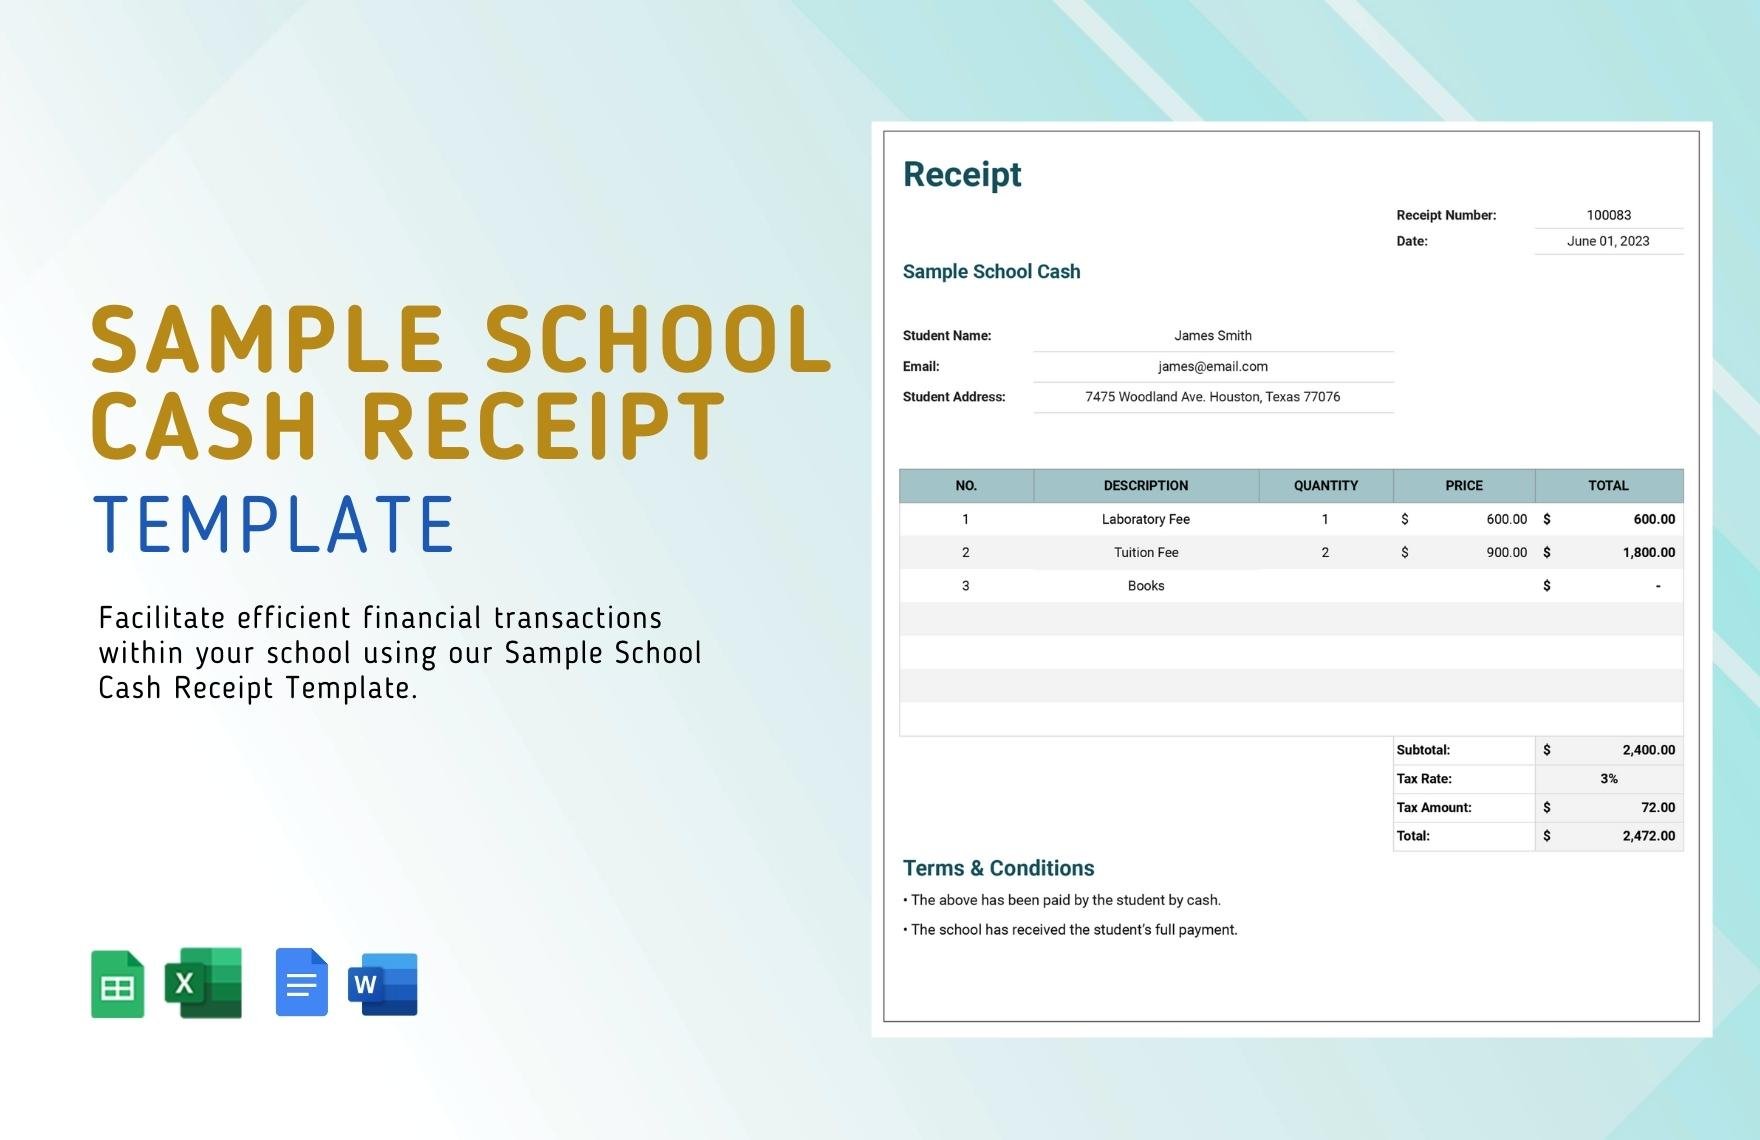
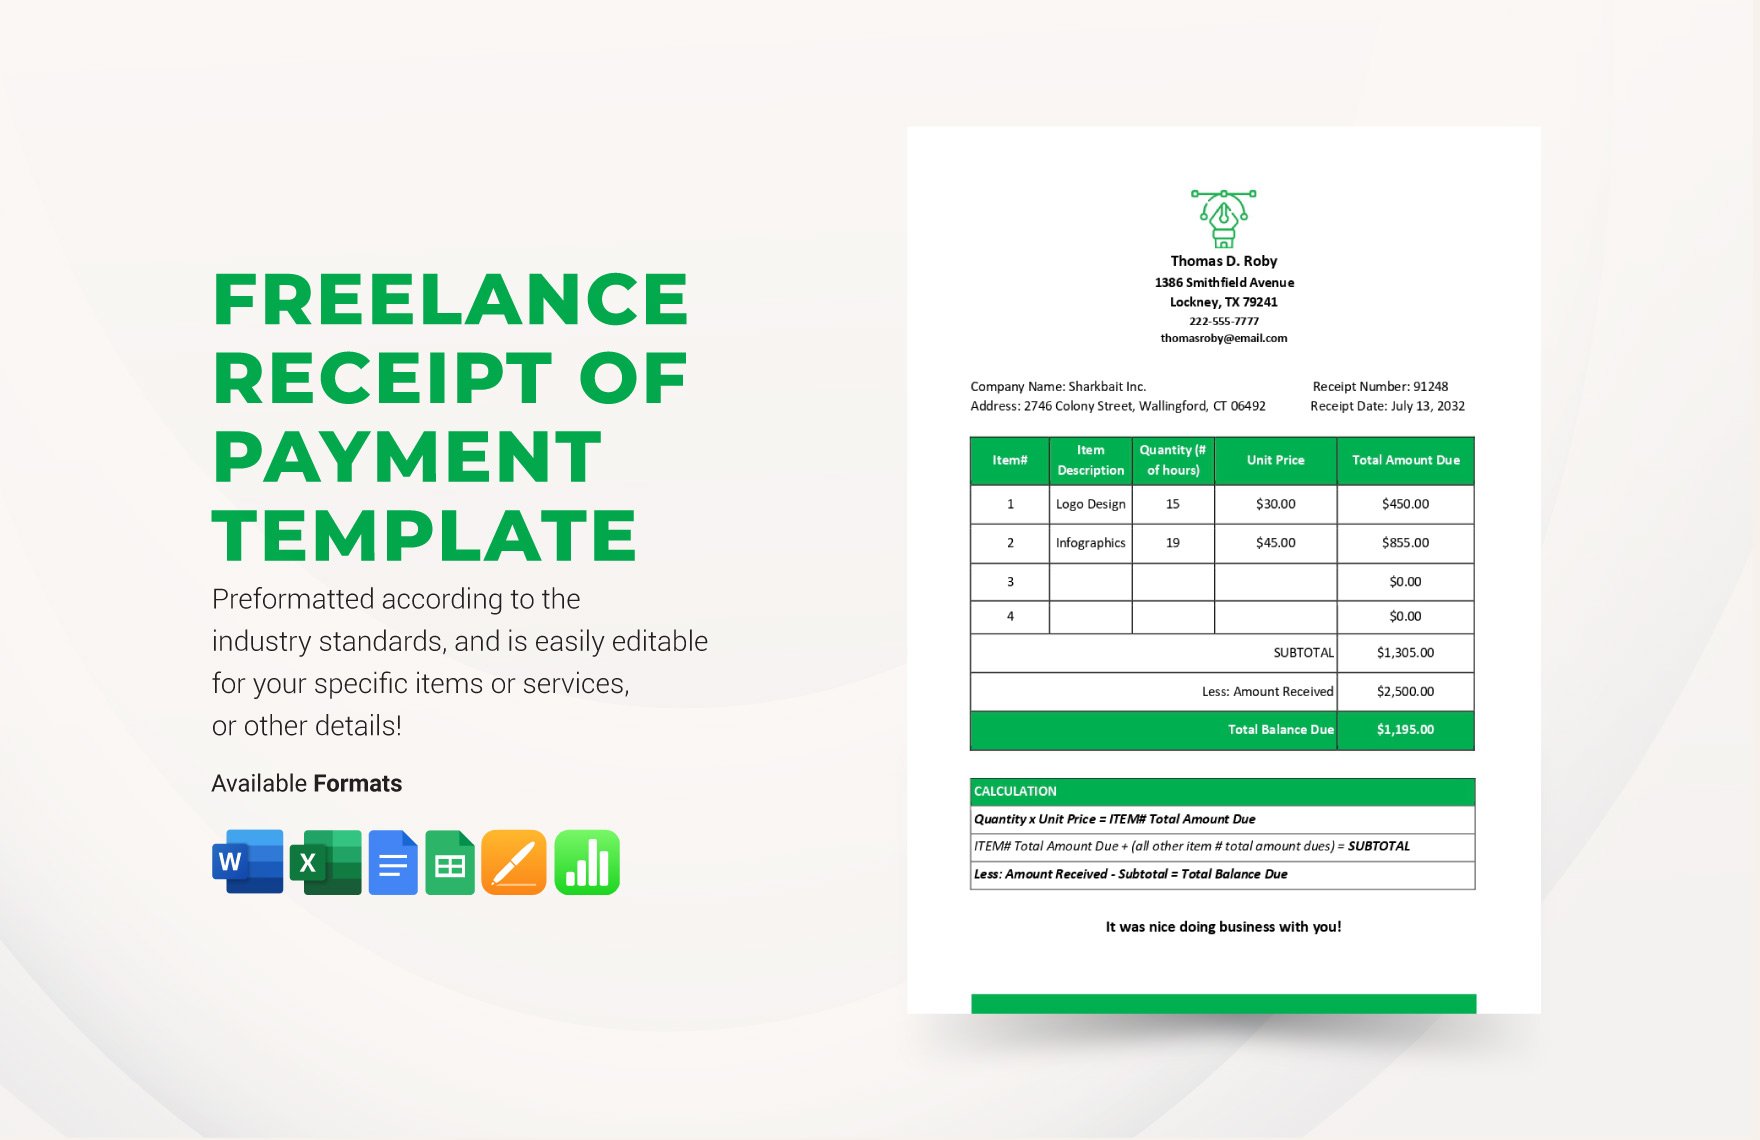
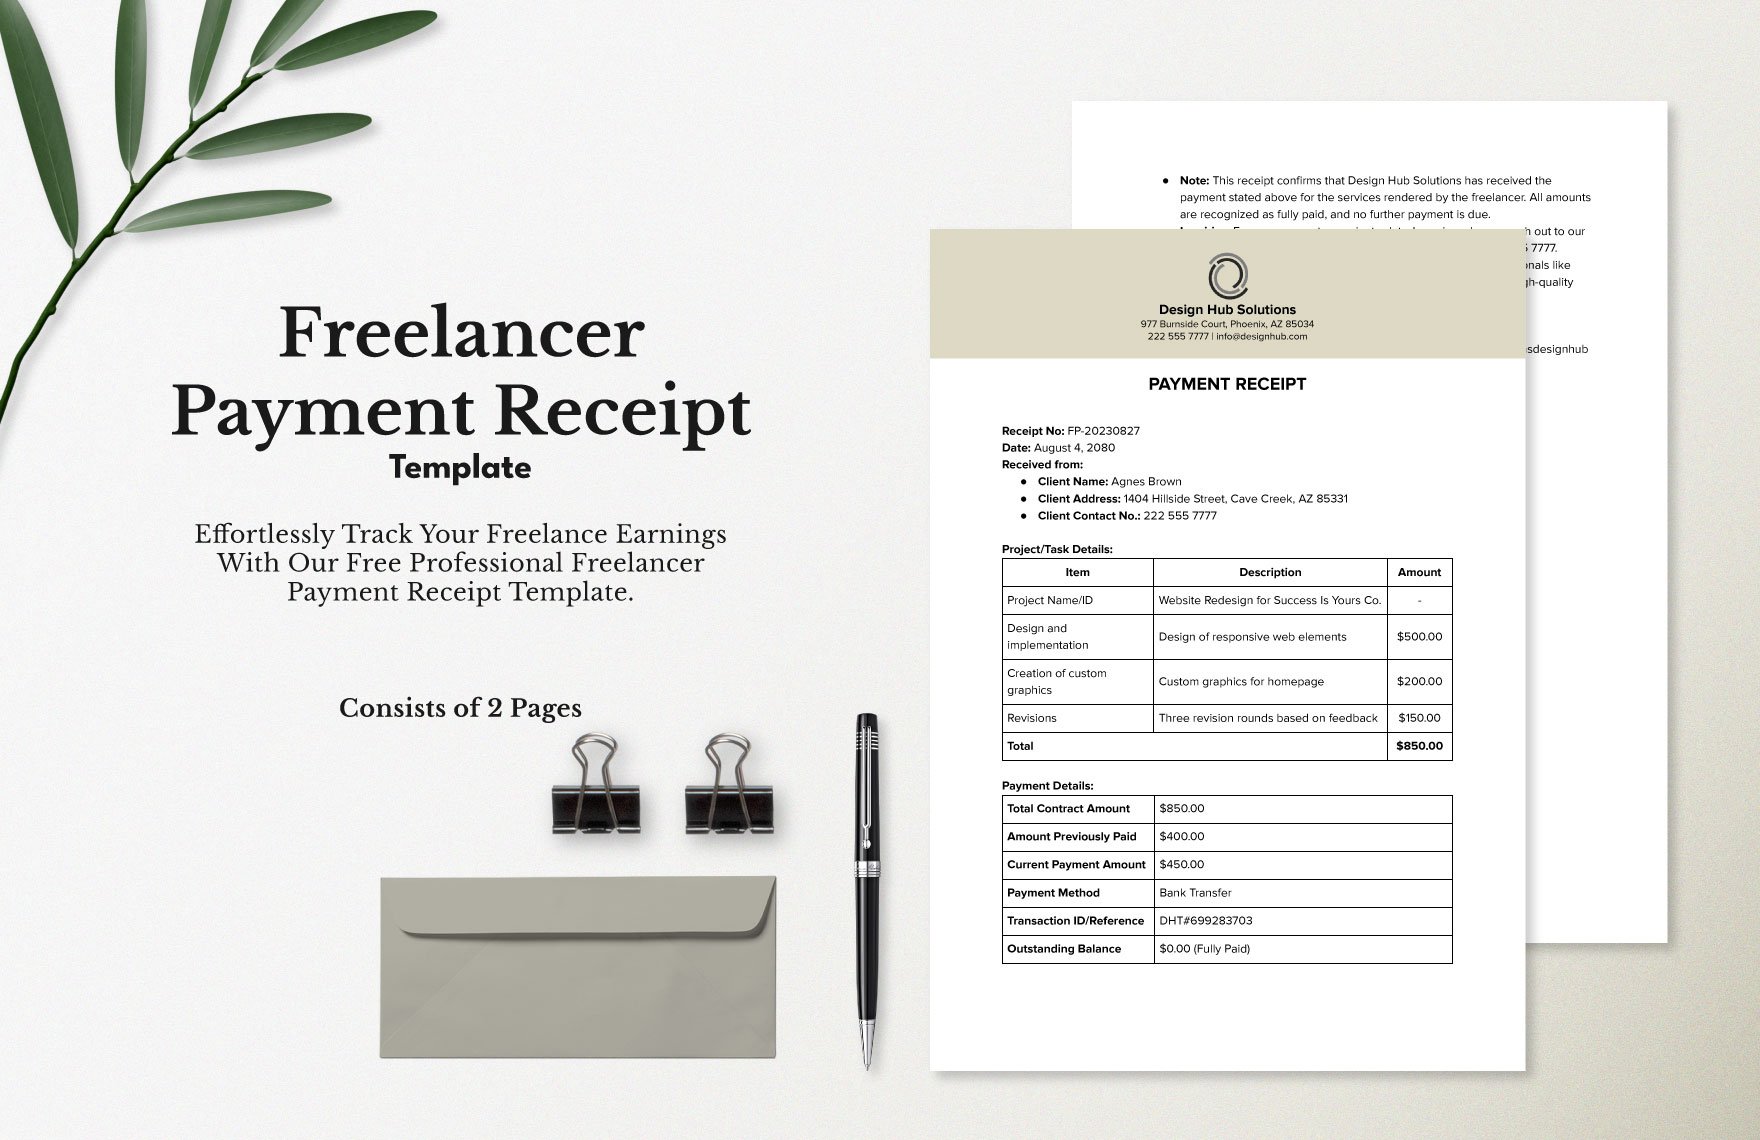
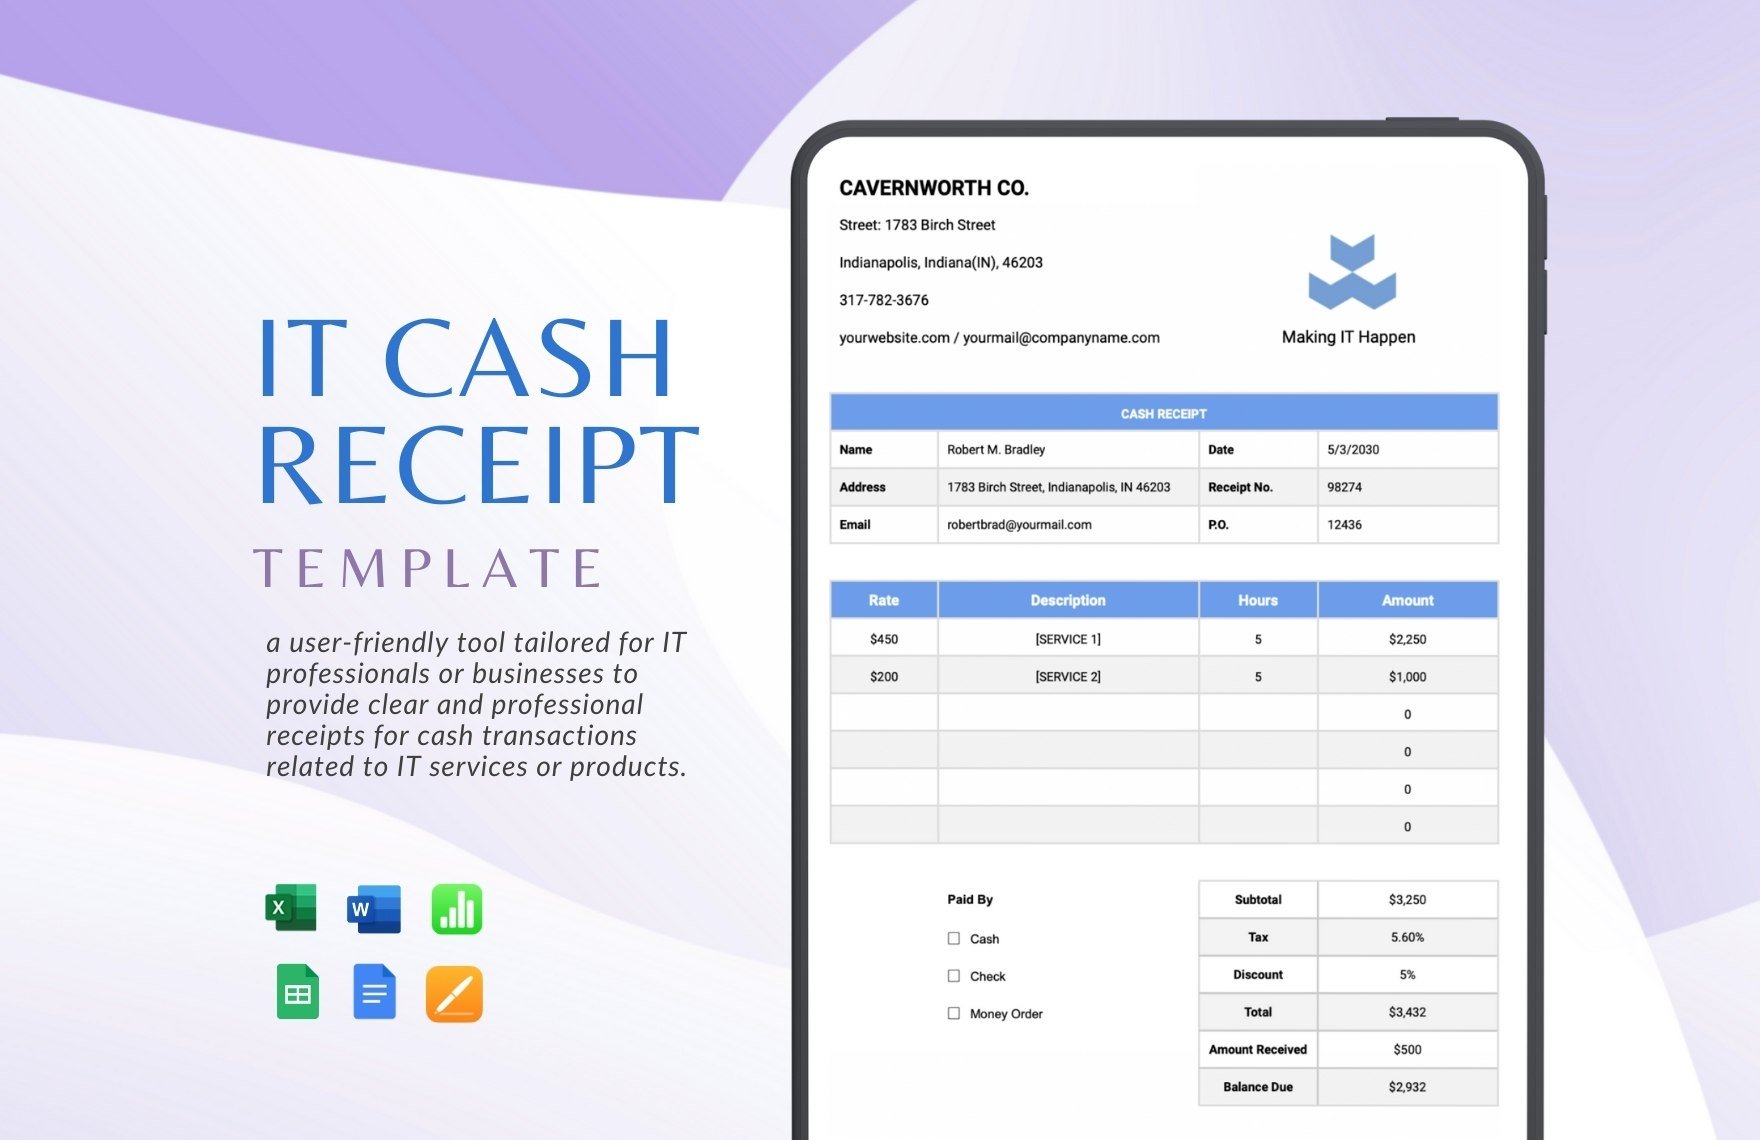
Tired of trying to figure out how to make the perfect receipt for every one of your successful sales? Then our professionally made cash receipt templates should be exactly what you're looking for! They can all be accessed with every version of Microsoft Word and they're very easy to edit to ensure that they meet your needs. We offer a wide selection for you to choose from and all of them are just waiting to be downloaded. If you want even more high-quality templates, then our affordable subscription plans are here to help you get them. So what are you waiting for? Sign up today!
What Is a Cash Receipt?
Think of it as a sales receipt but that this one specifically focuses on cash transactions. What this means is that this is only provided to those customers who managed to pay in cash for whatever it is that they need. This is a very useful tool for helping one keep track of every successful sale and other details such as when the sale was made, the items that were purchased, and the total amount that was paid.
How to Make Cash Receipts in Word
1. Setting It Up With Microsoft Word
When making an official receipt or any kind of Word document, you'll want to start by opening up Microsoft Word and heading over to the "File" tab and selecting New. From there you'll see a long list of templates. You may now start searching for the cash receipt template you want to use from whatever is available. Once you've made your choice, simply click on "Download" located directly under the template you want to use. This is the perfect method for those of you who are tired of making handwritten receipts.
2. Provide Details on Your Business
Every professional receipt should have the name of the business that's responsible for its creation. Start by putting in the name and from there you can place other details such as its complete address and its contact details. In regards to how your business can be contacted, you'll want to include a phone number and even an email address. All of this information is very important as there may be customers who need it in order to have their questions or concerns addressed.
3. Place Information on the Buyer
Aside from just placing the buyer's name, you may have to include additional information. For example, there are some receipts wherein it is important that the buyer's delivery address is placed to ensure that all of the purchased items make their way to the right hands. So basically, just put in whatever you need to know about the buyer to ensure a successful transaction.
4. State What Was Purchased
Any form of receipt will have a list of items that were purchased by the buyer. When writing each item down, you are going to have to provide their full legal description so that customers will know exactly what it is that they are paying for. Then you will need to put in the quantity and total price for each one.
5. Put In Payment Details
At the bottom of the item list, you must then state the total amount that has been paid by the buyer. In order to get the total amount, you must first get the subtotal by calculating the prices for each item. You must then add or subtract the subtotal if there are any taxes or discounts that have to be included. It is important that the receipt is also able to point out the method of payment that was used by the buyer.
6. Place the Date and Time
You must never forget to include information on when the receipt was issued. So what this means is that you'll have to include the date and time as to when you made it. When writing down the date, be sure to include the month, day, and year. For the time, place the exact hour and minute.


