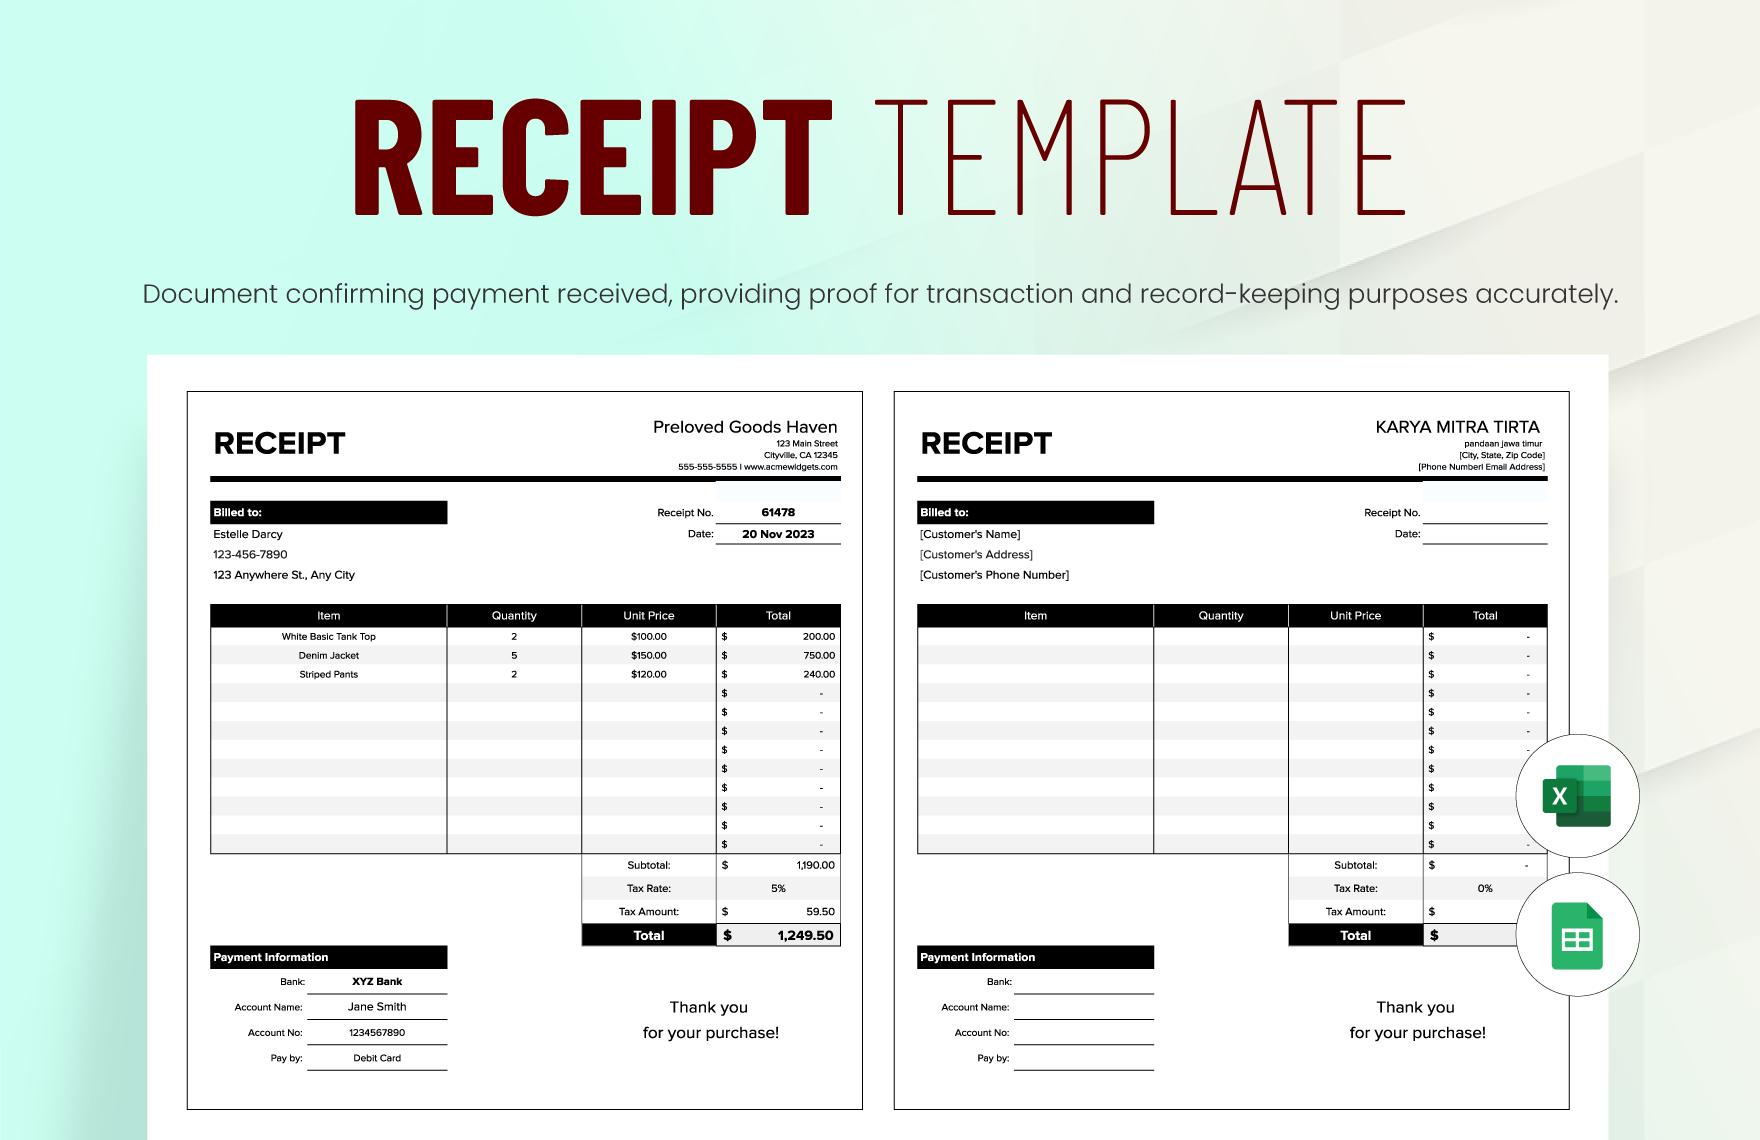
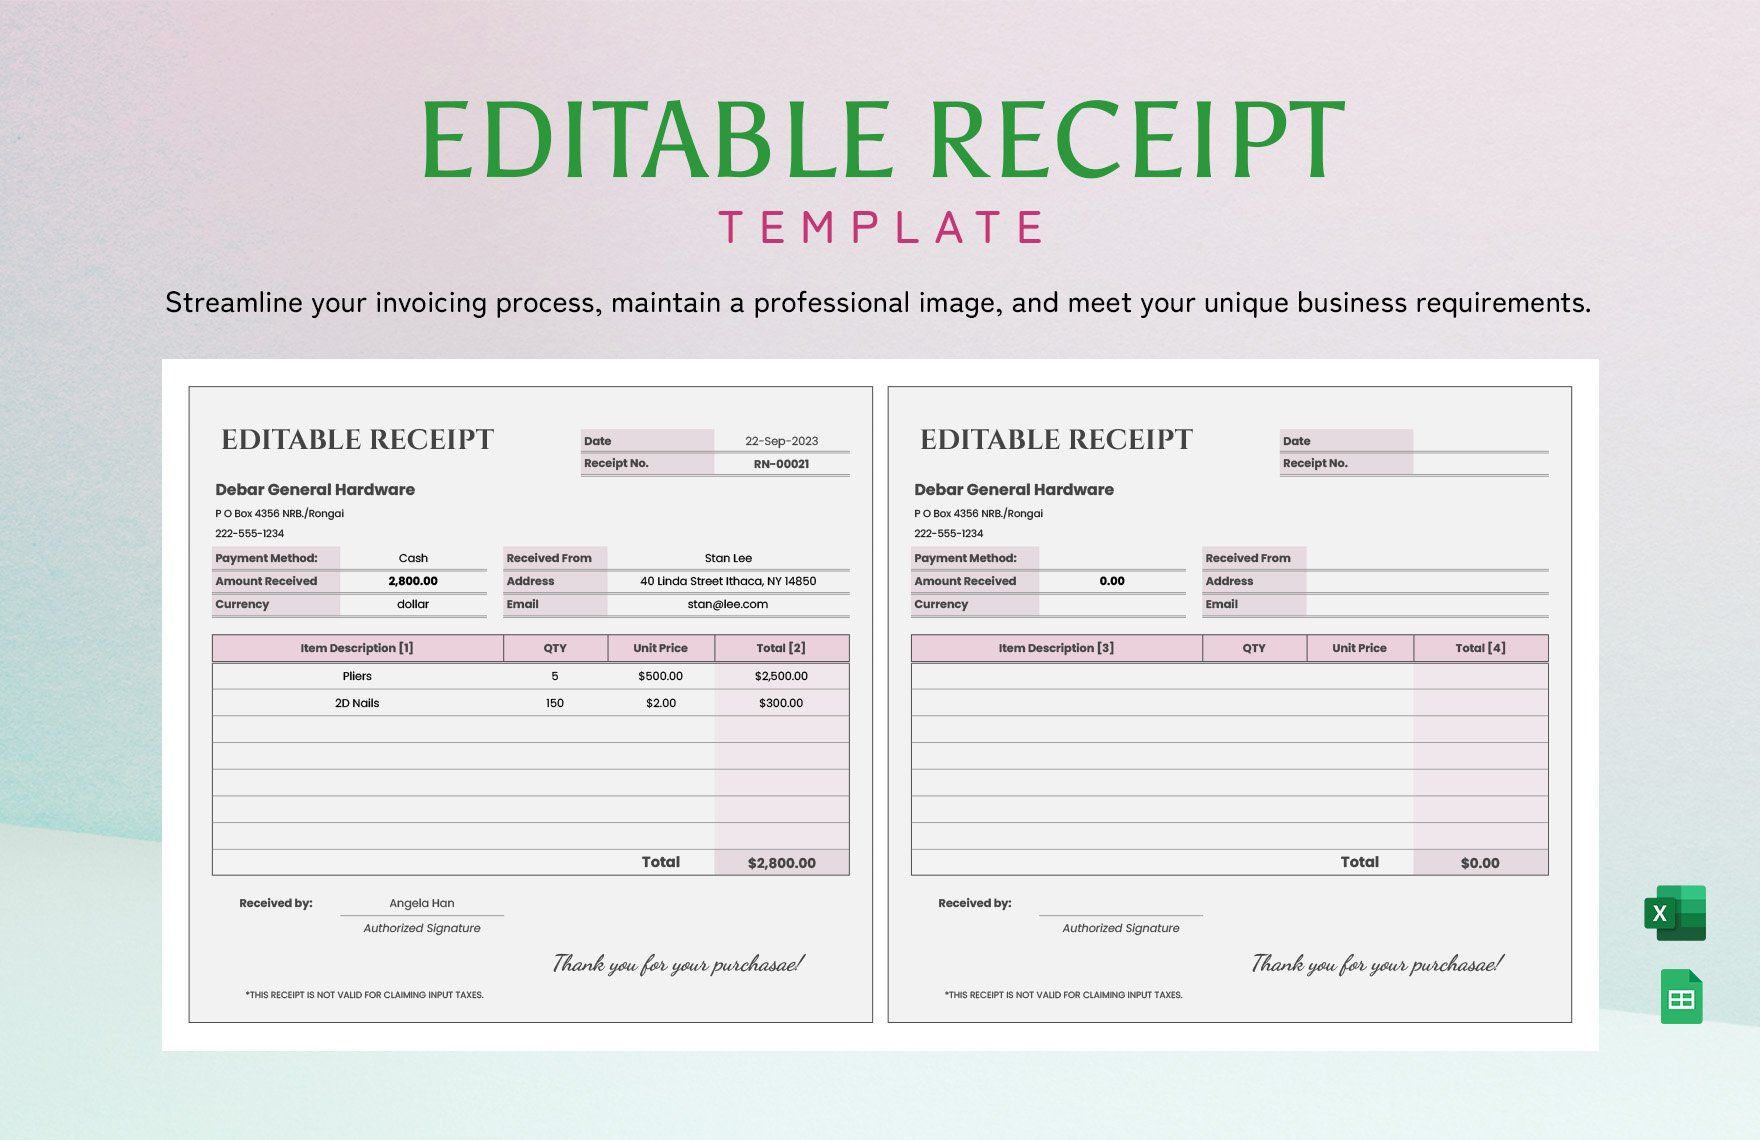
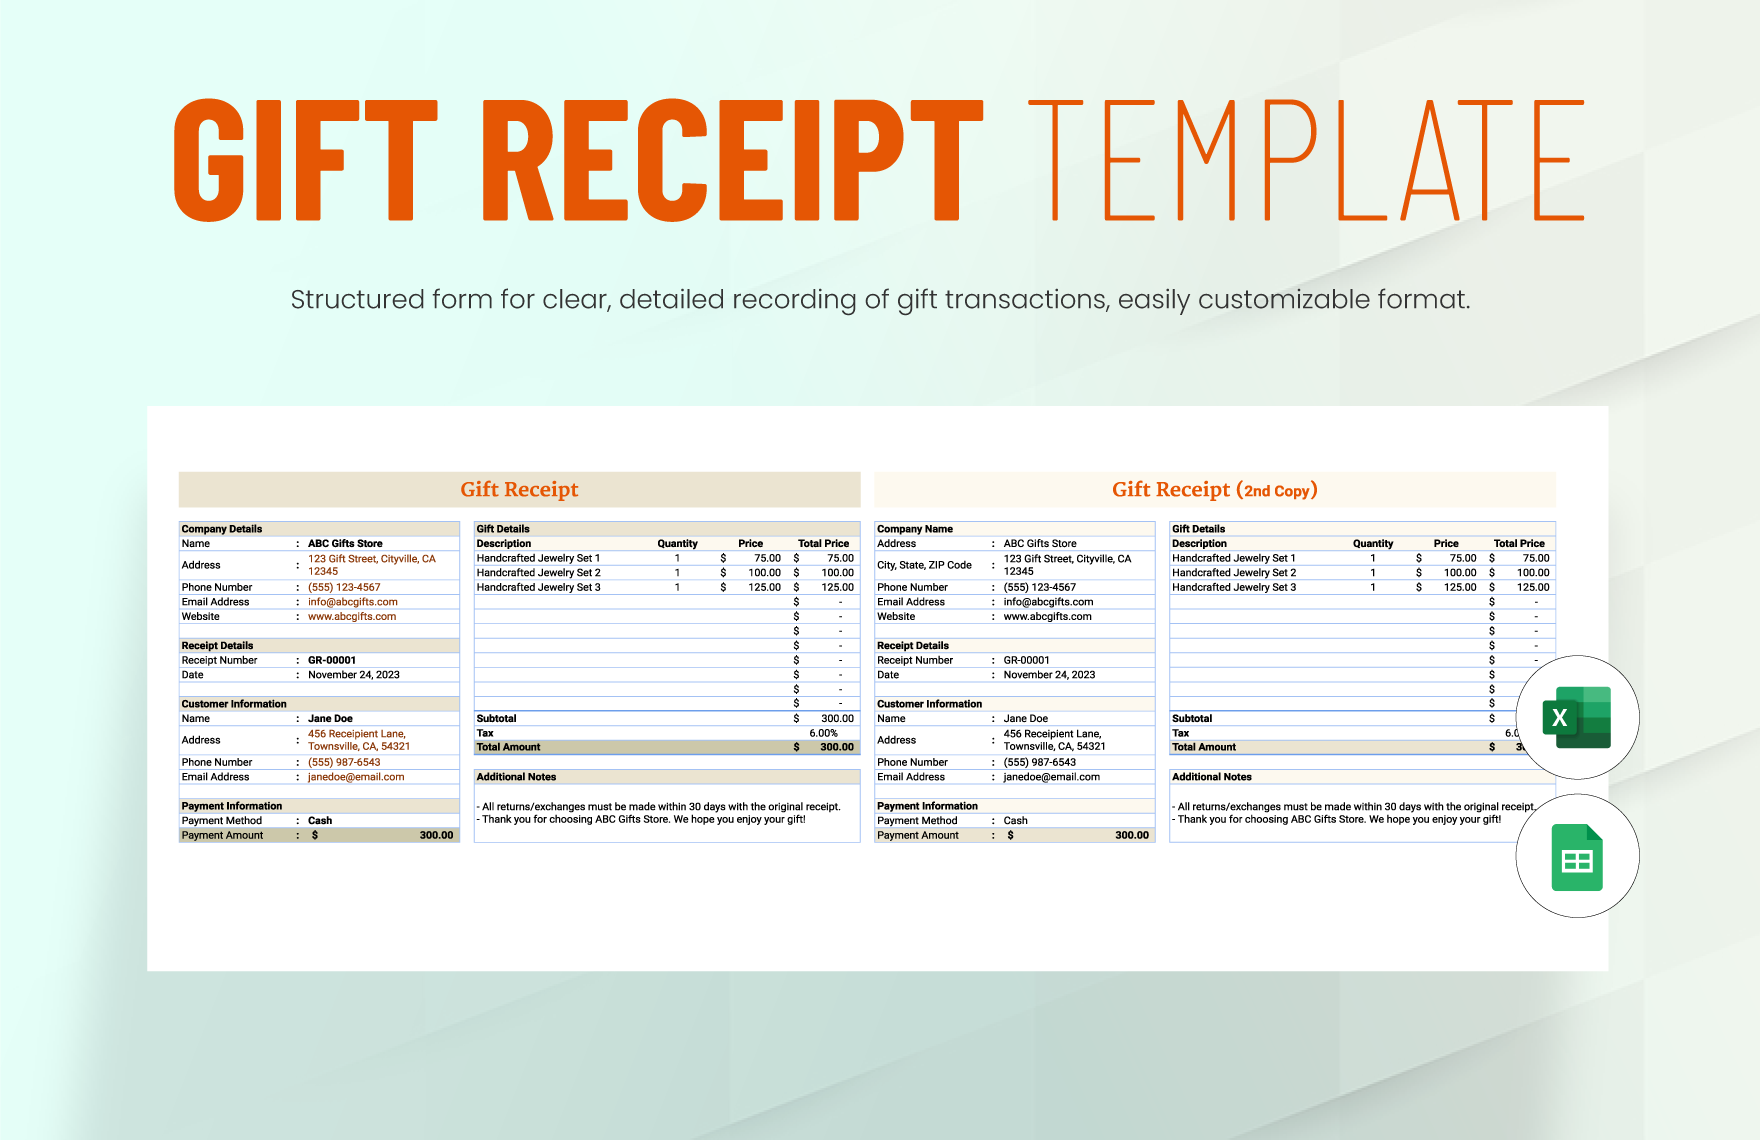
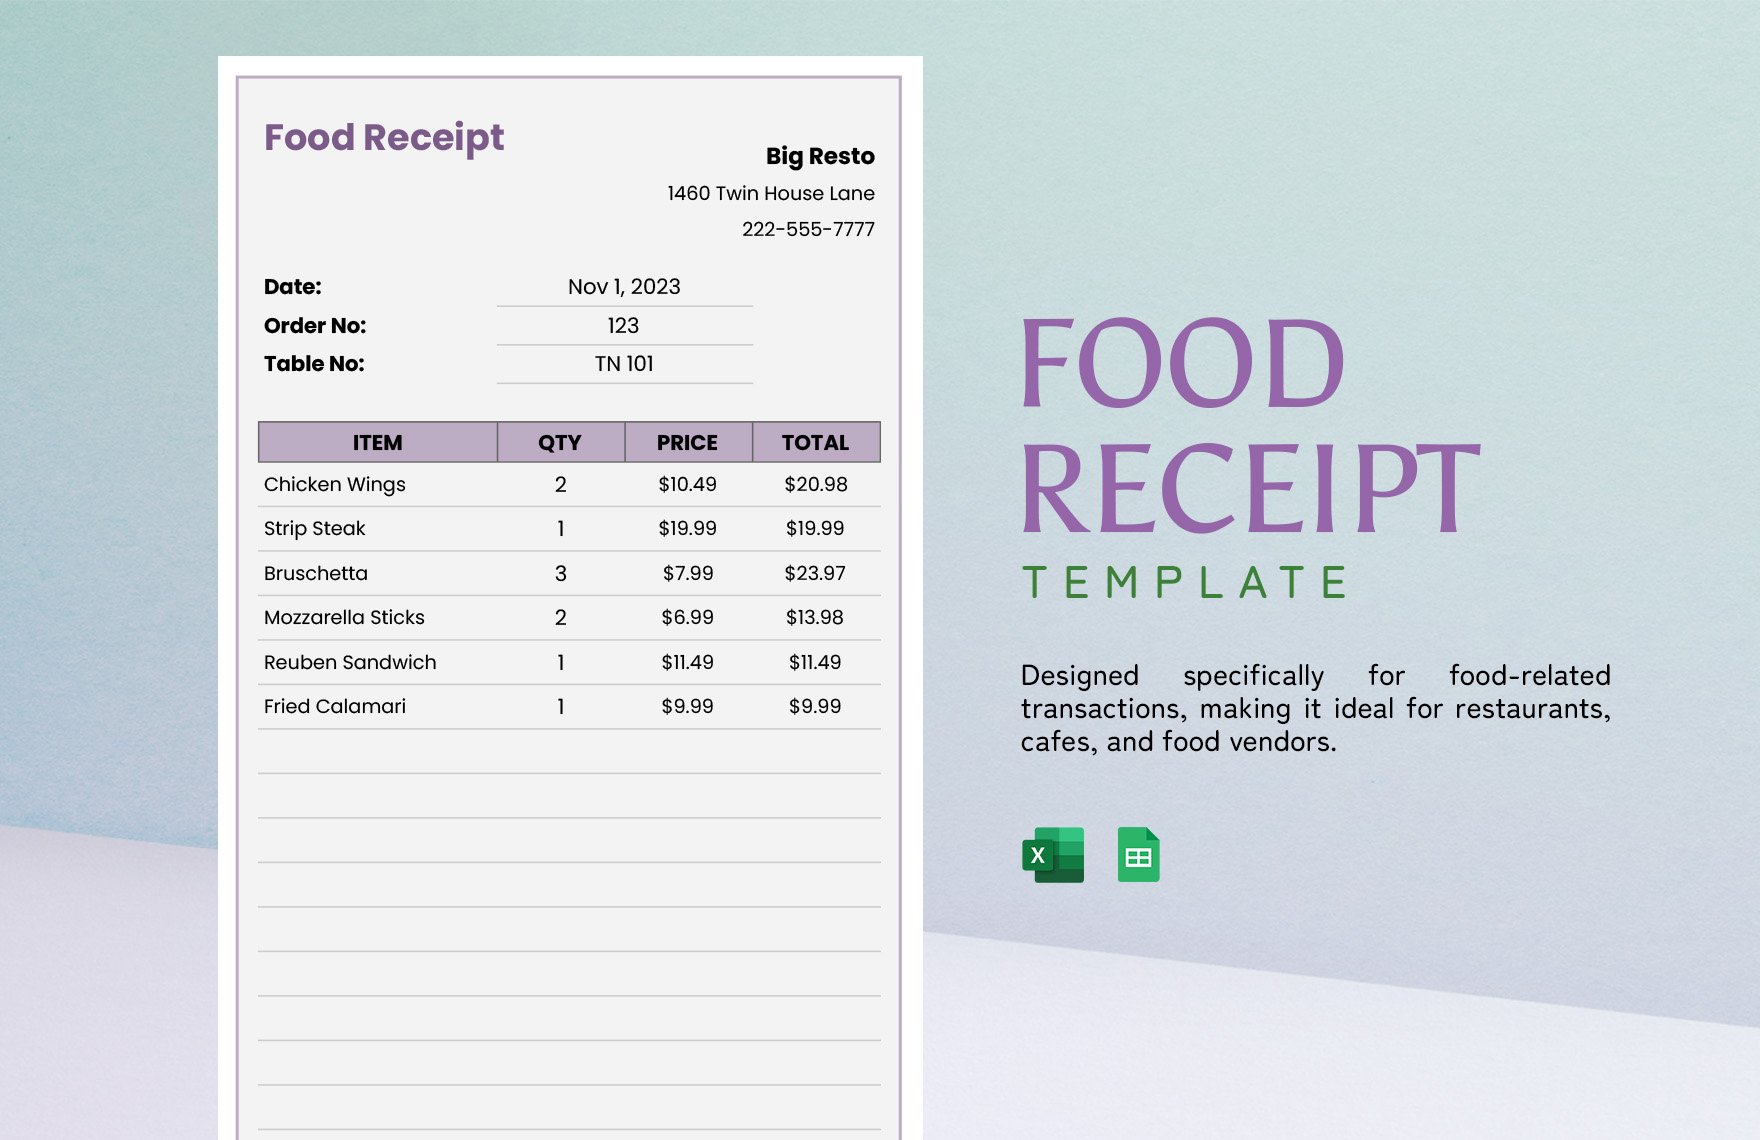
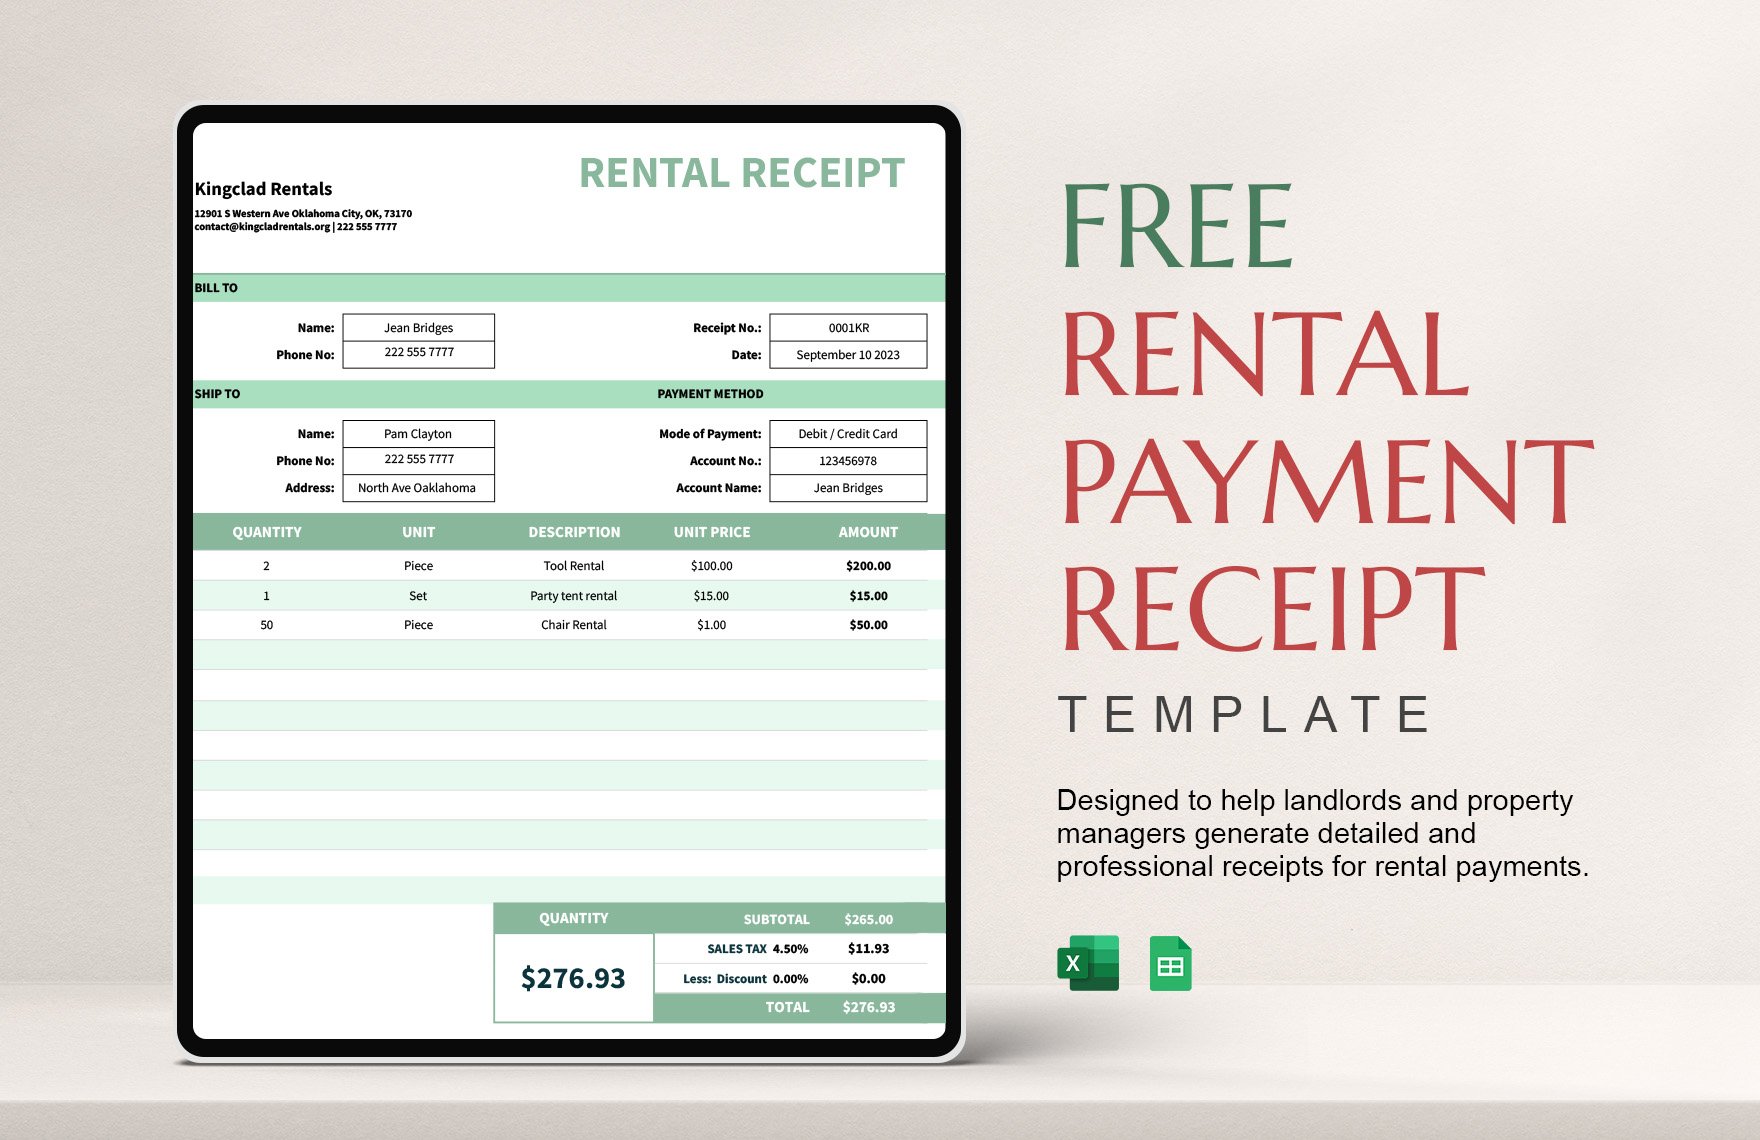
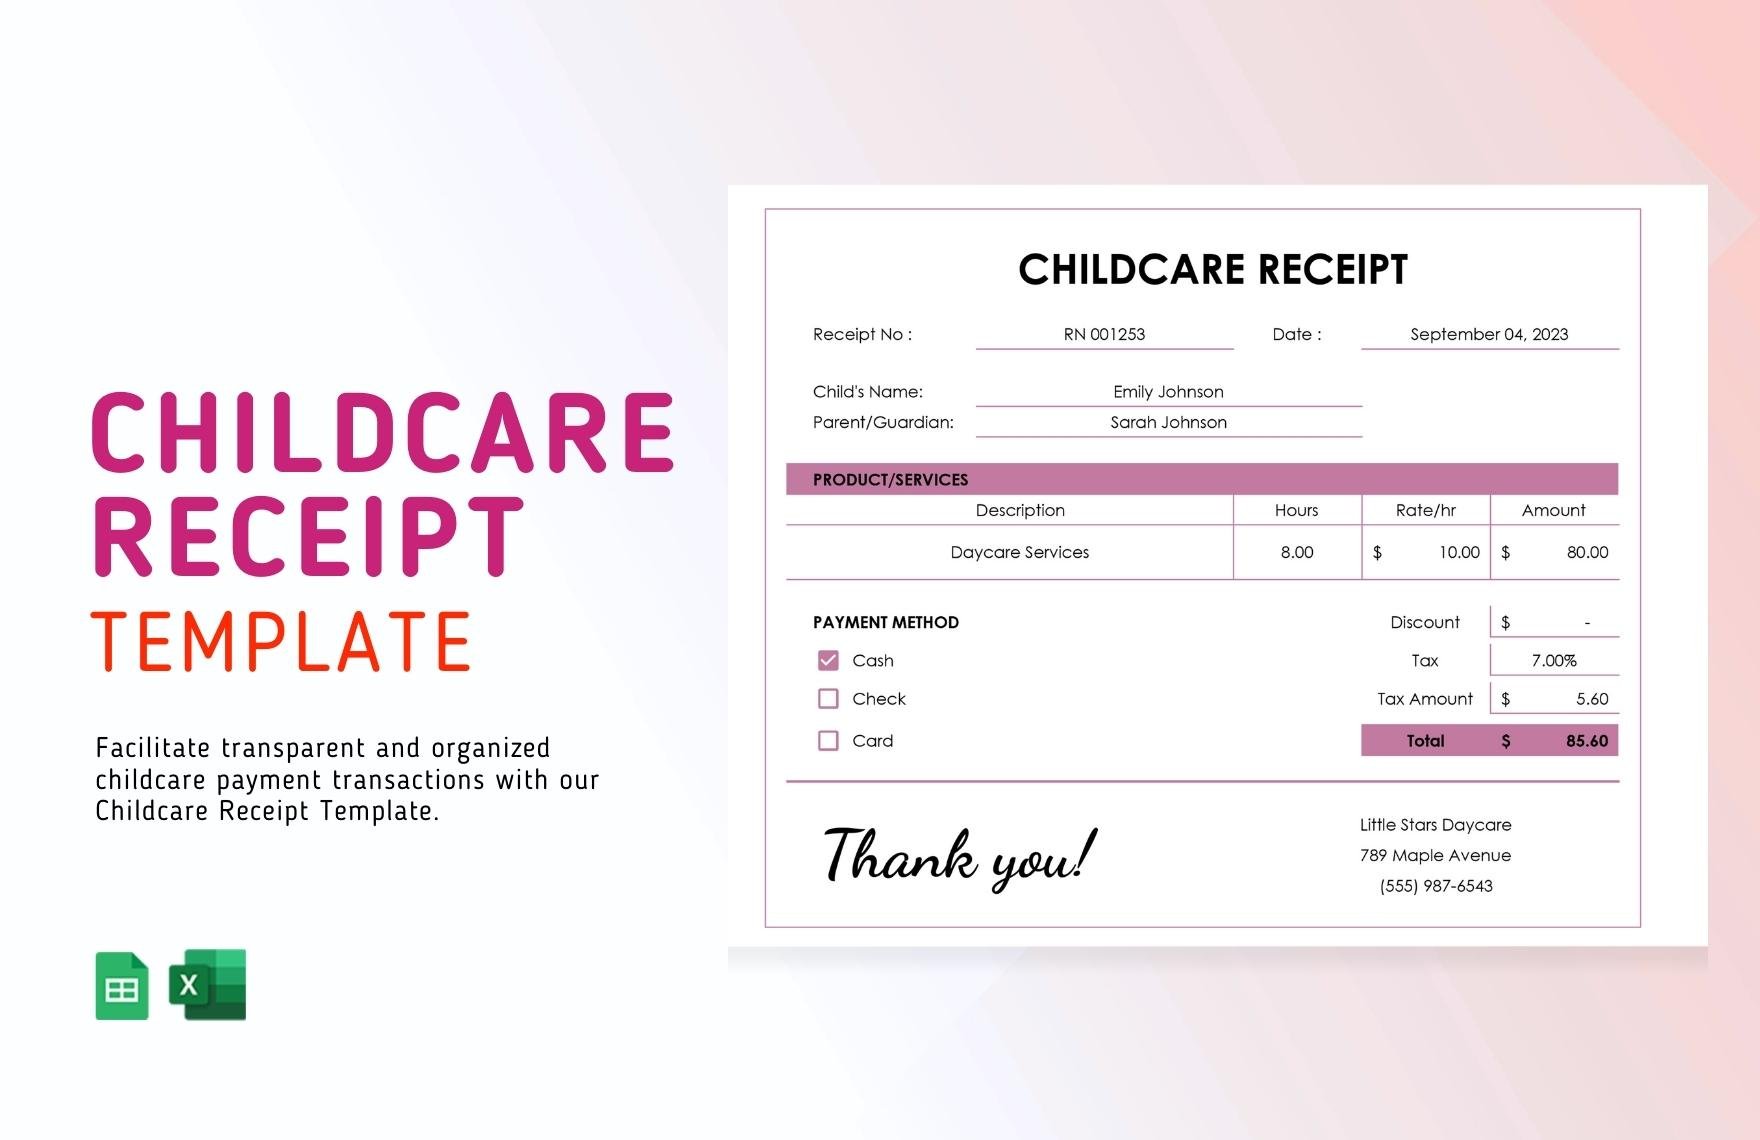
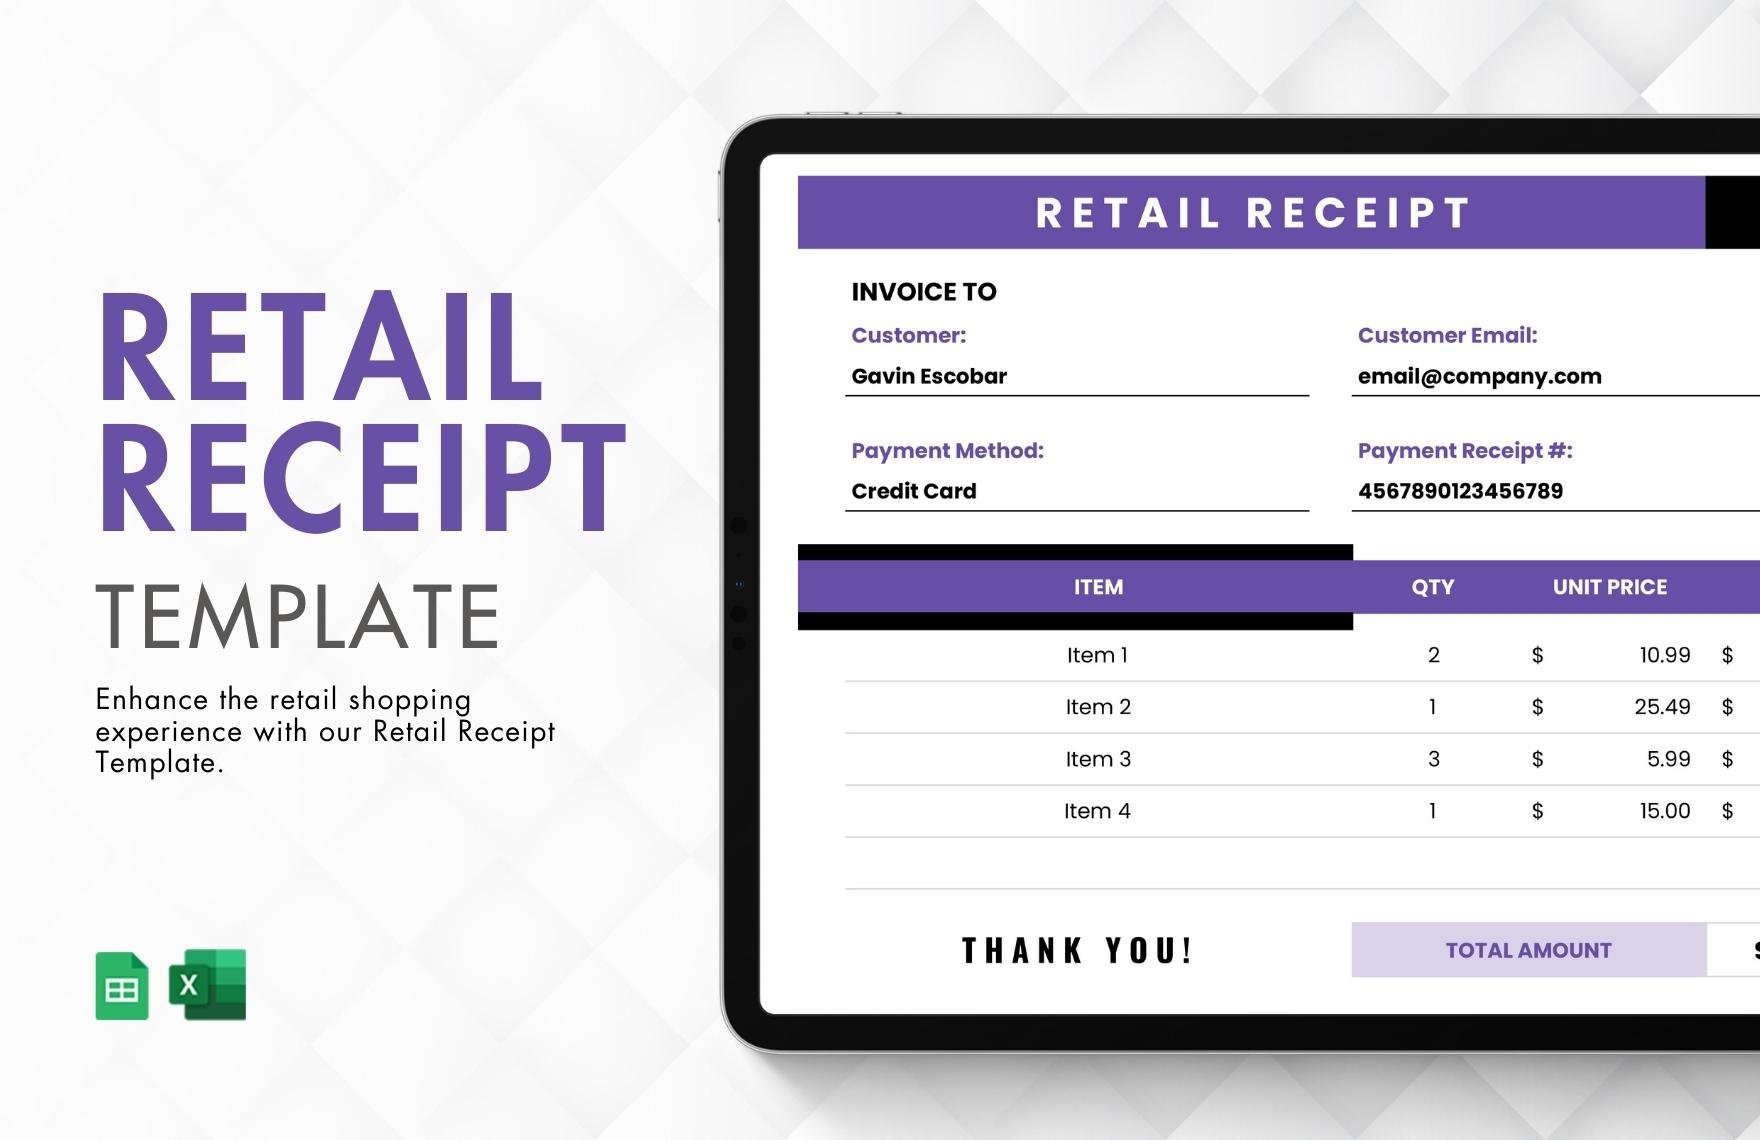
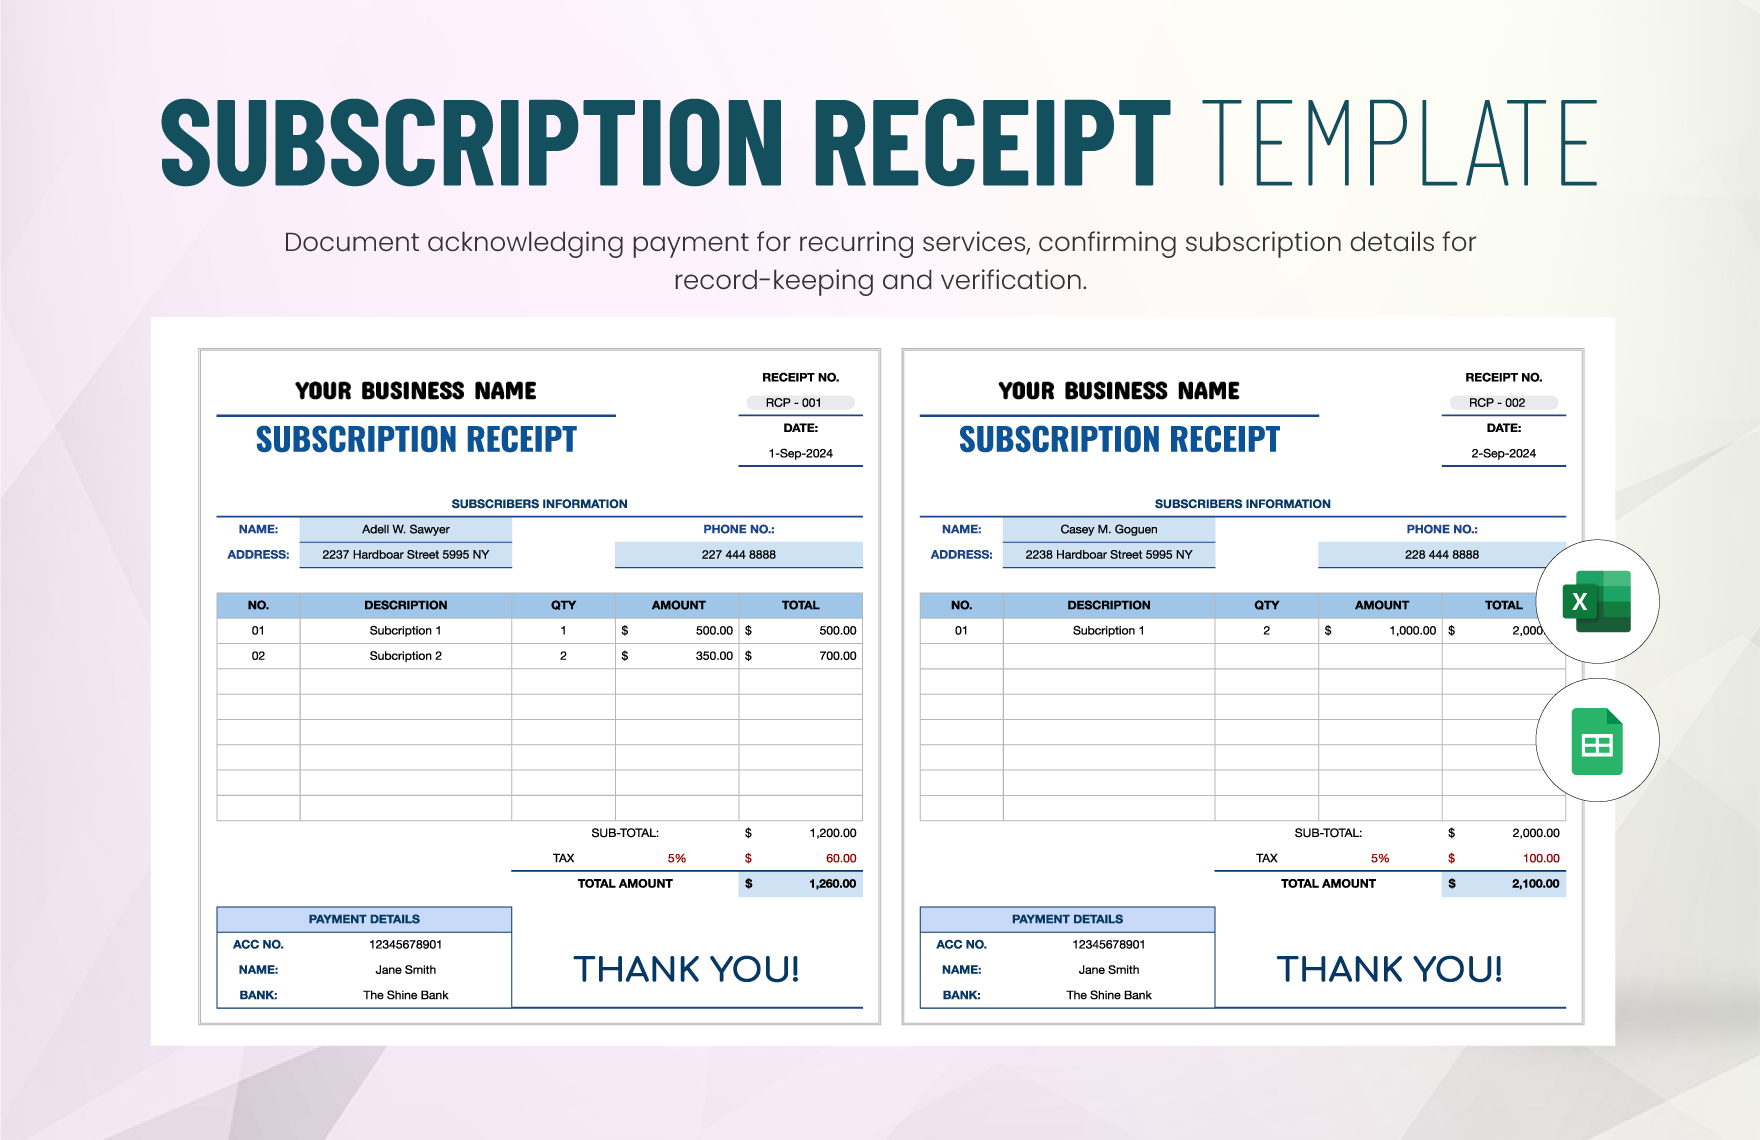
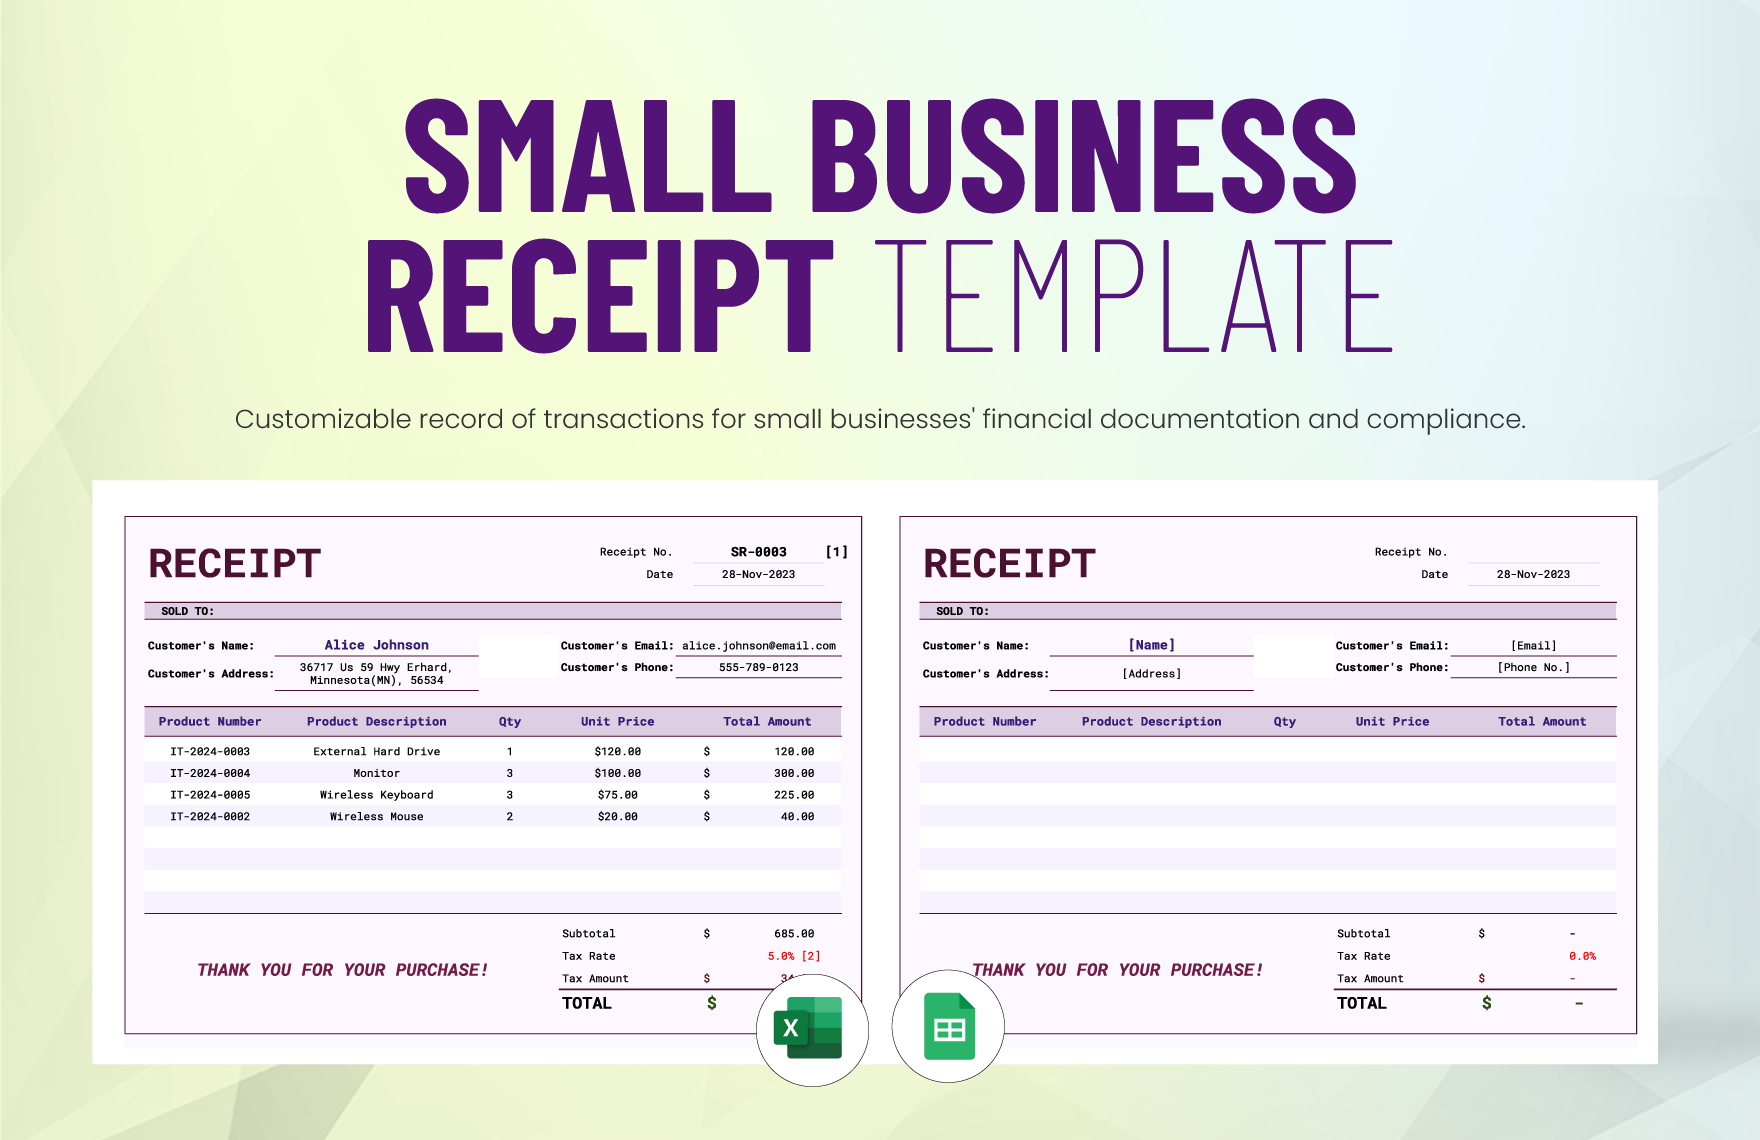
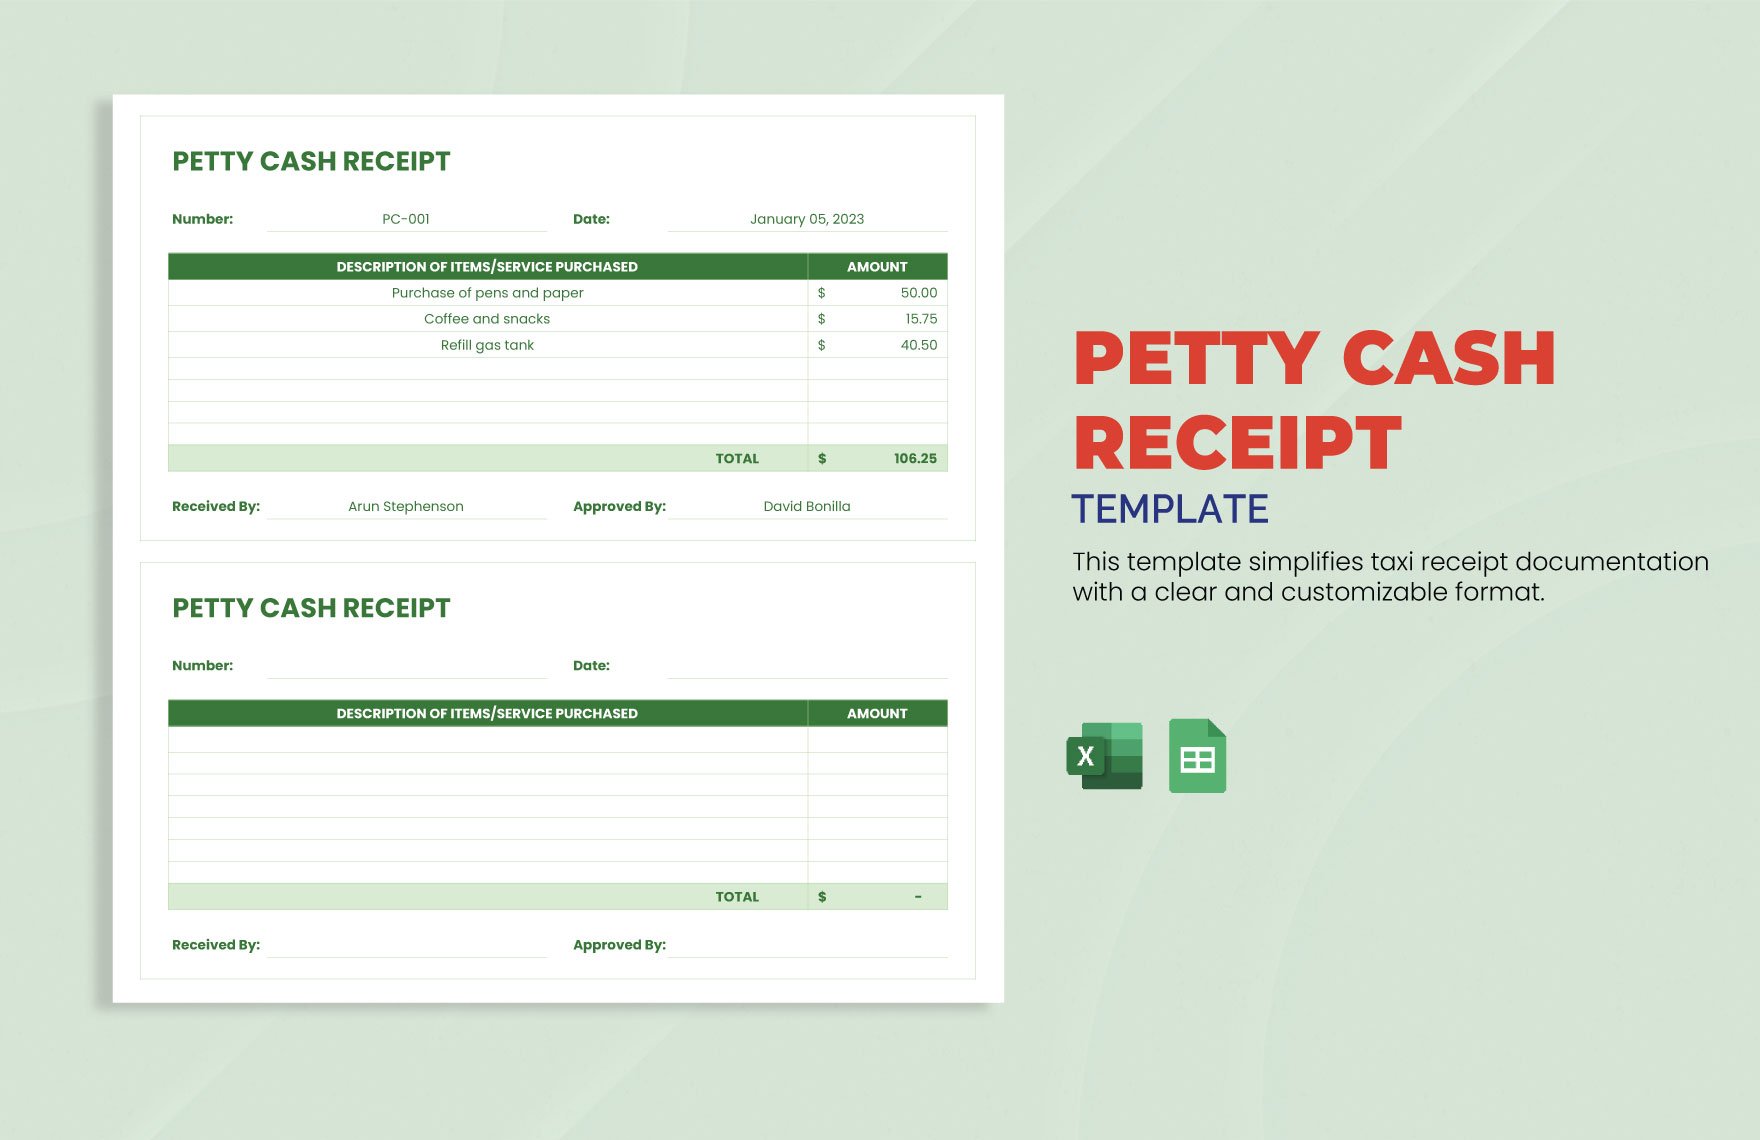
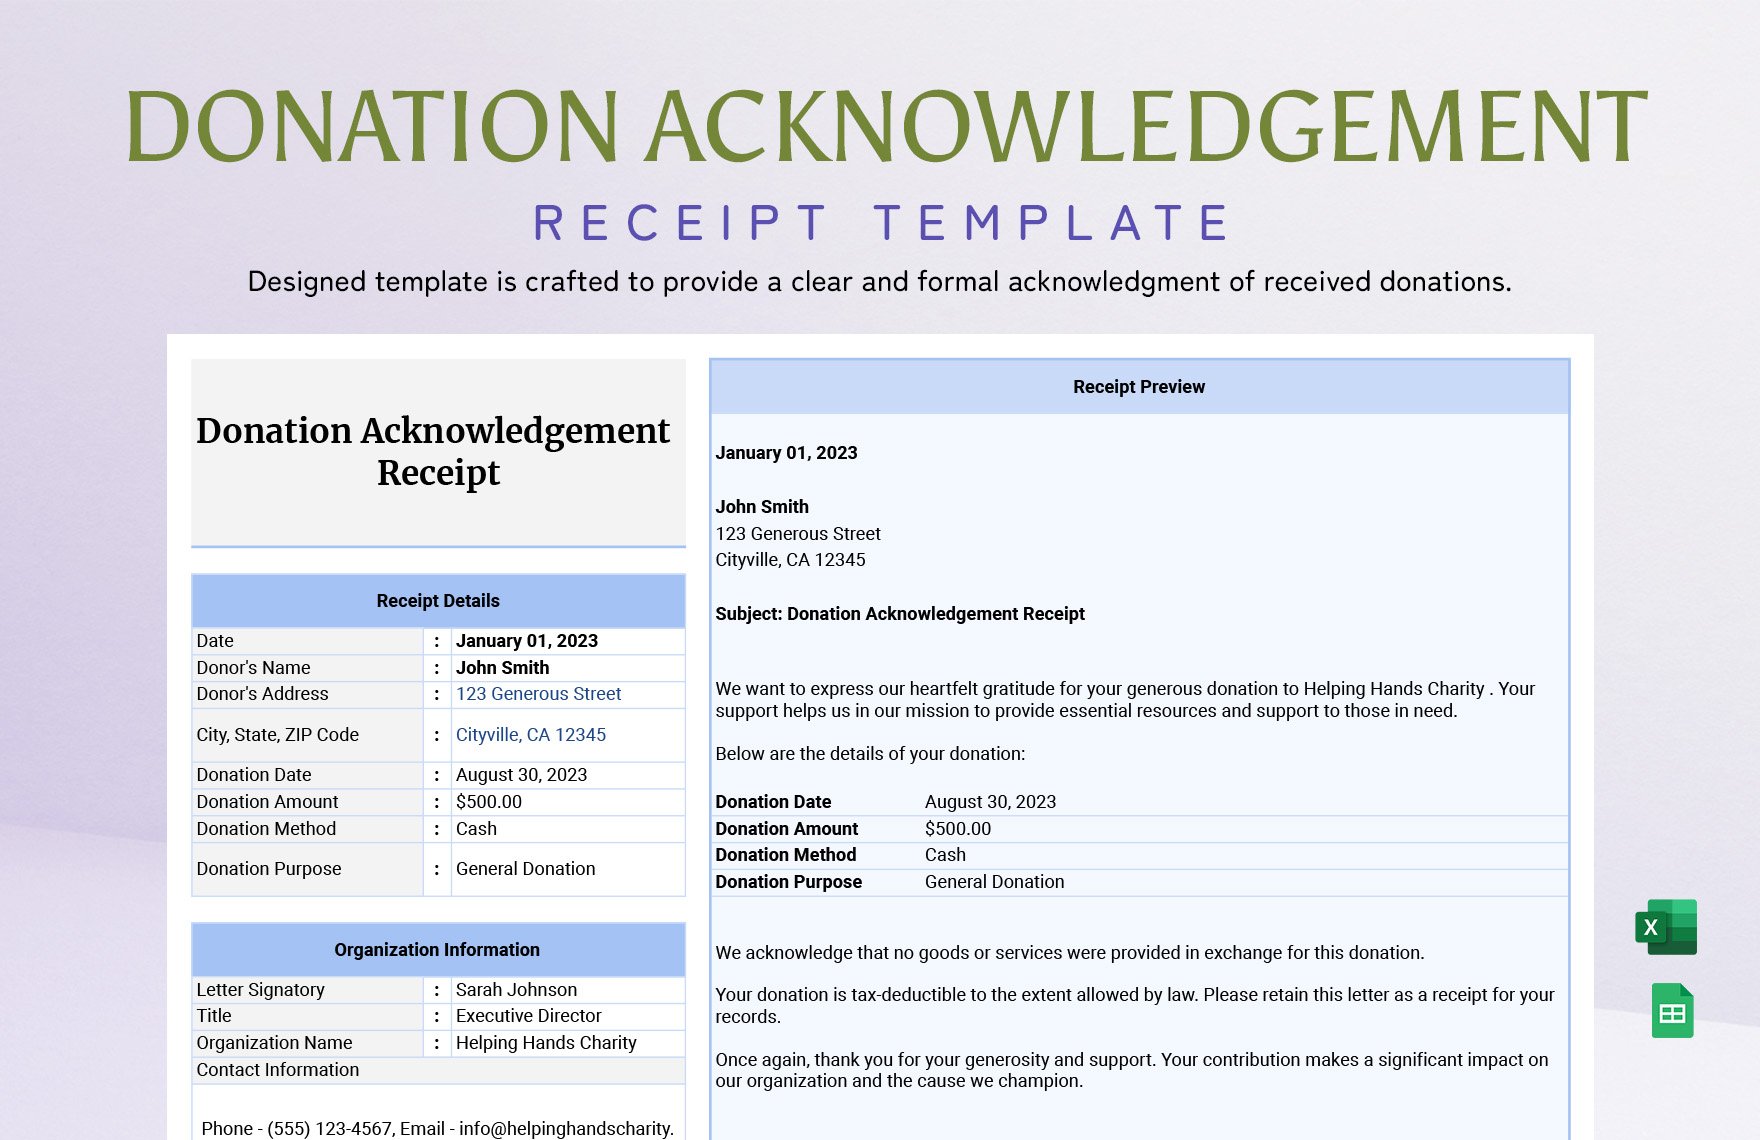
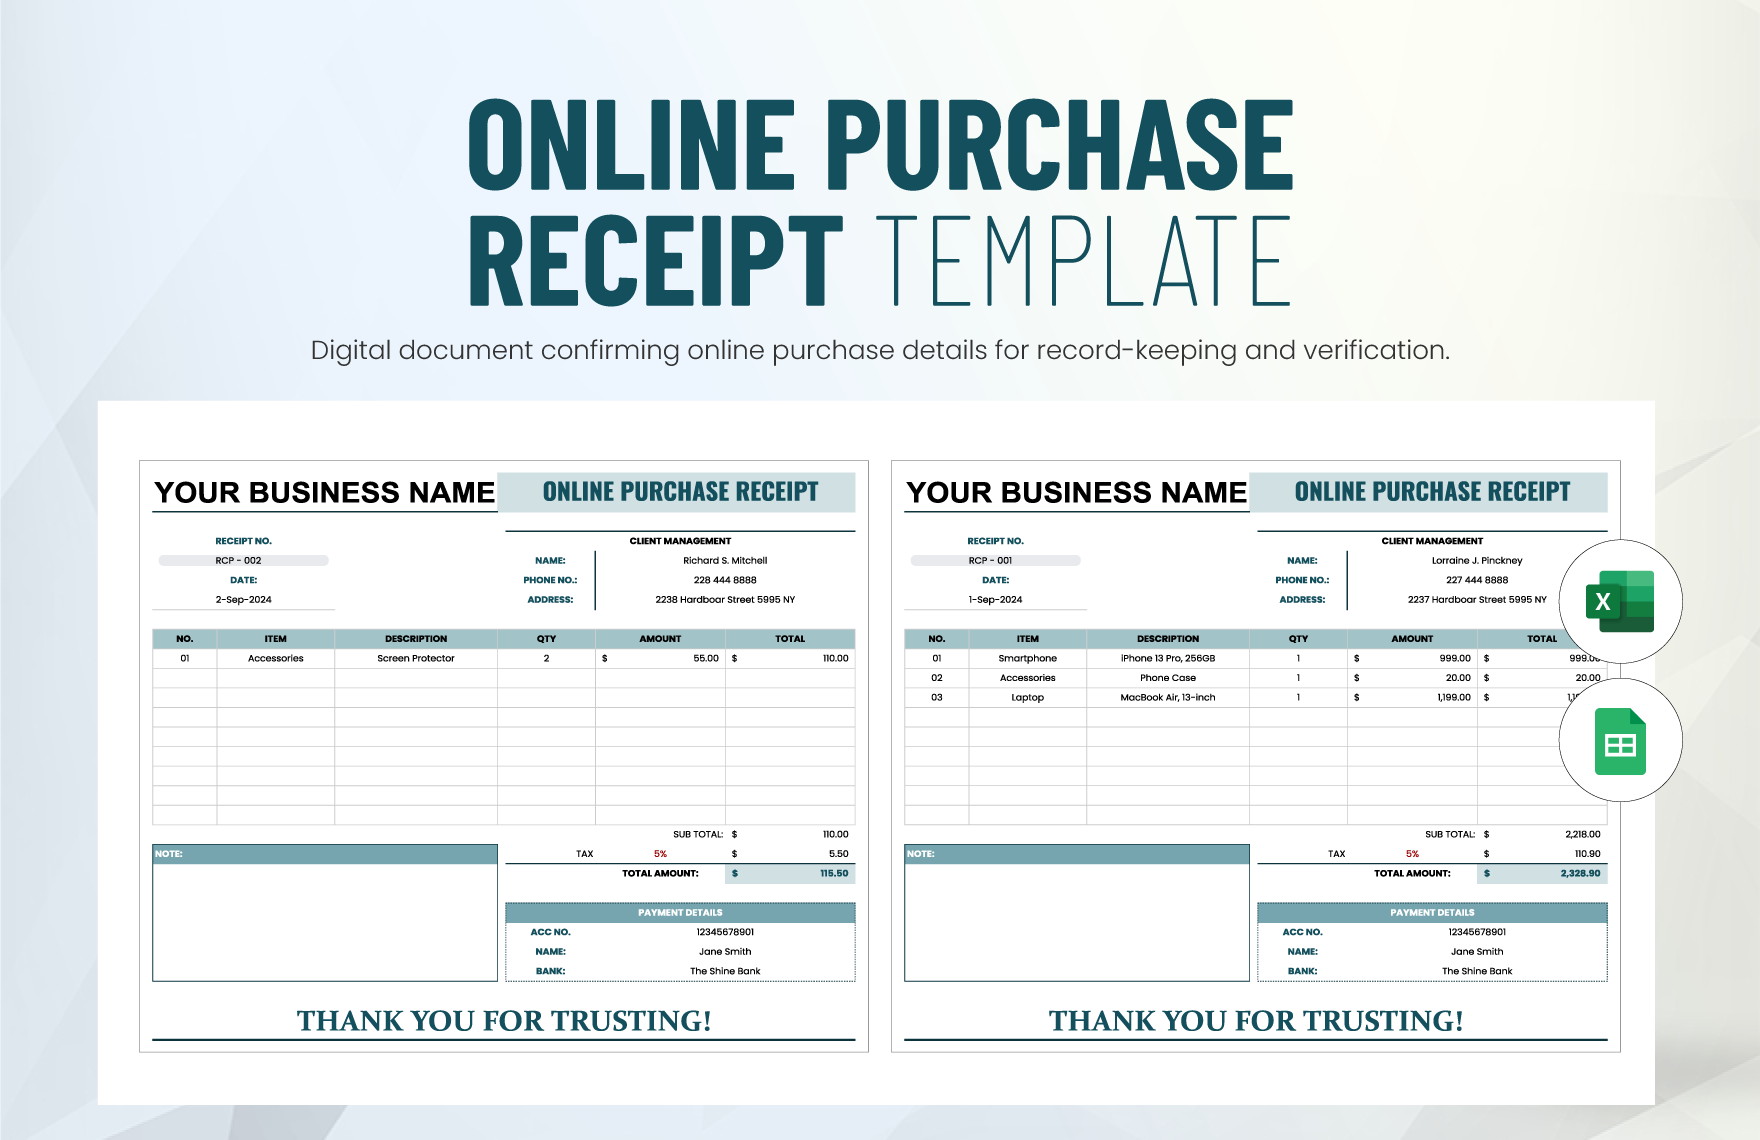
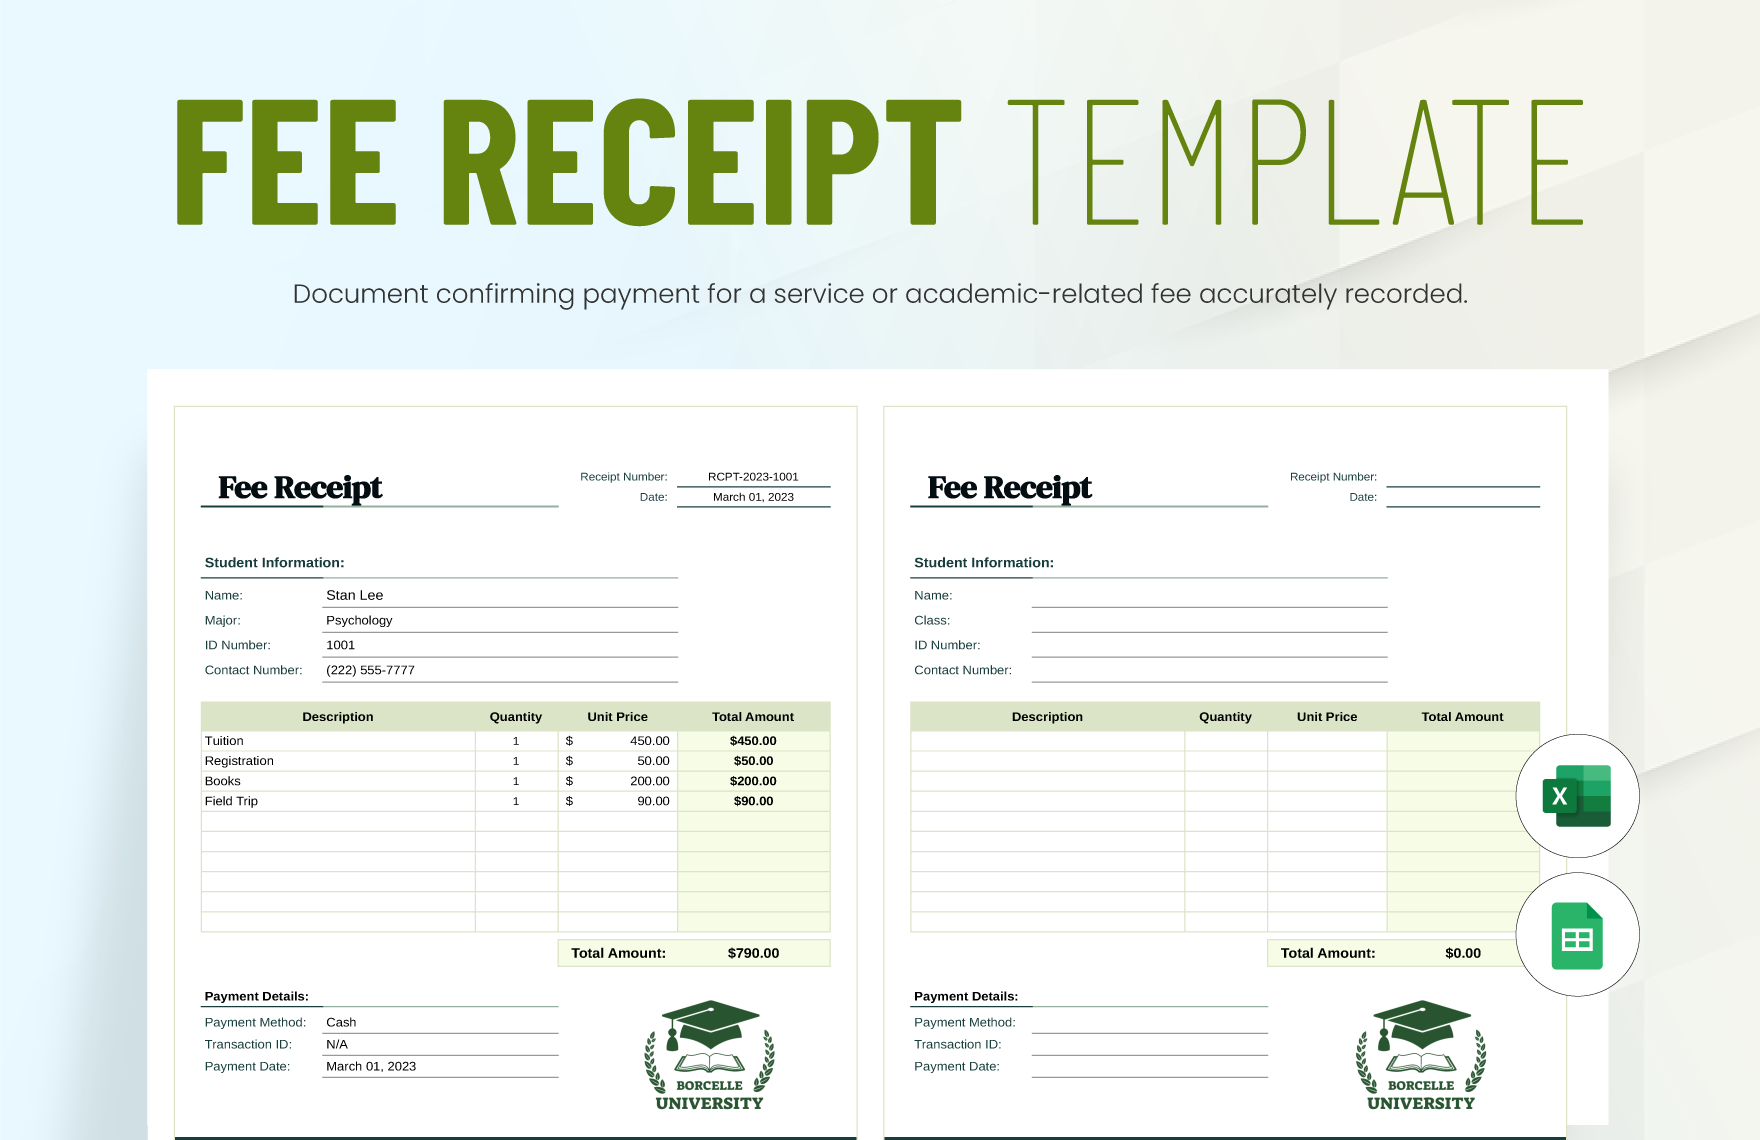
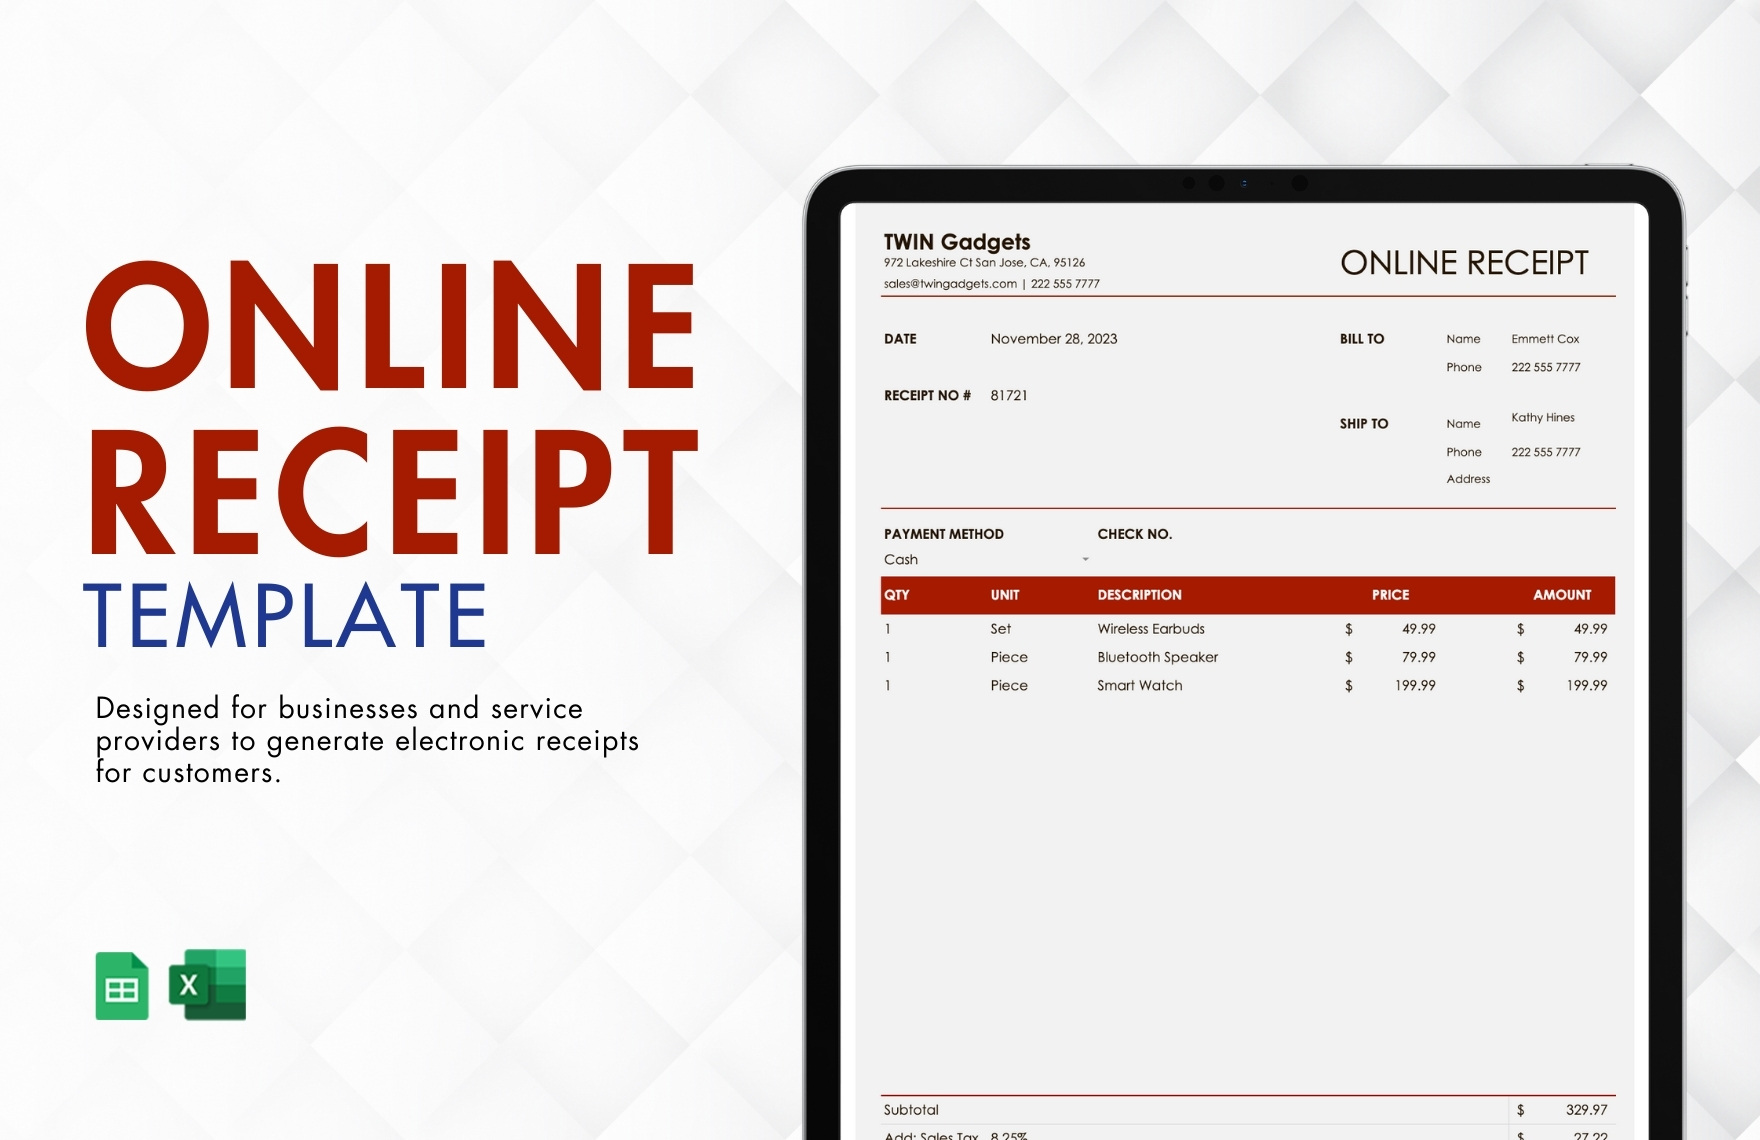
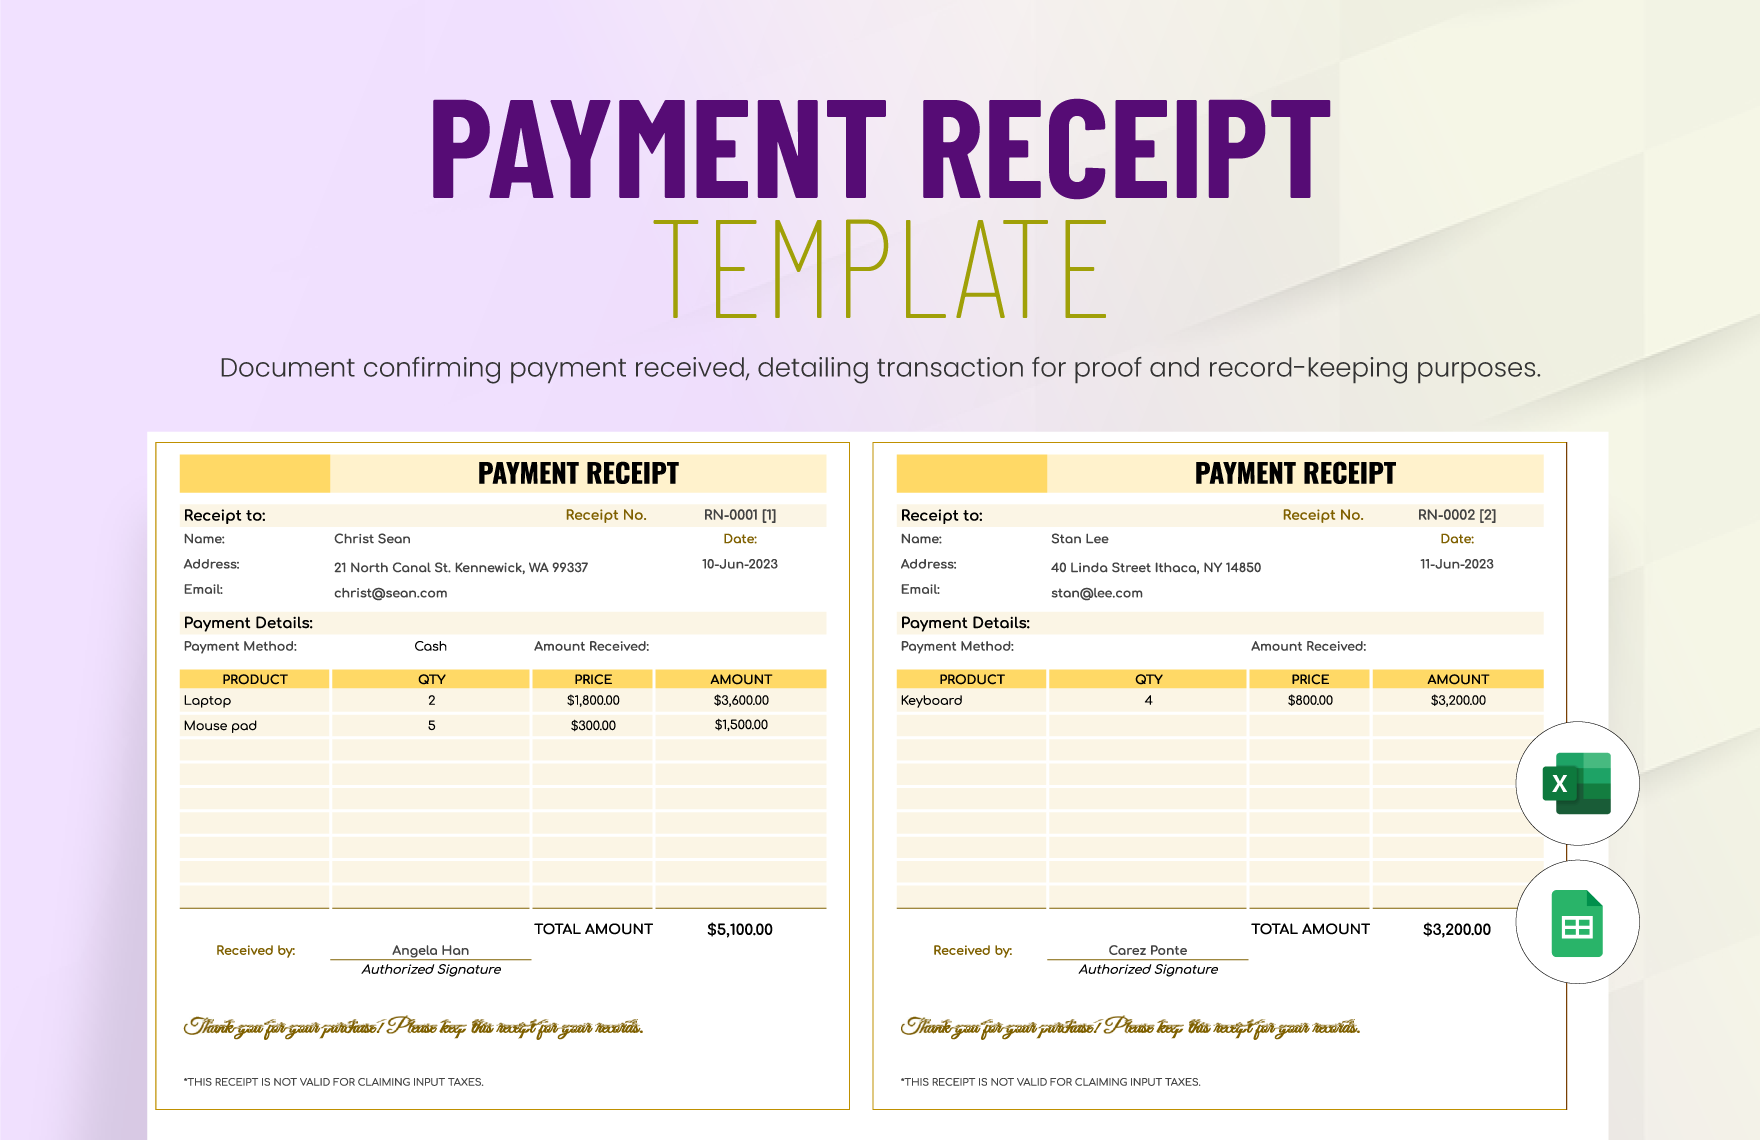
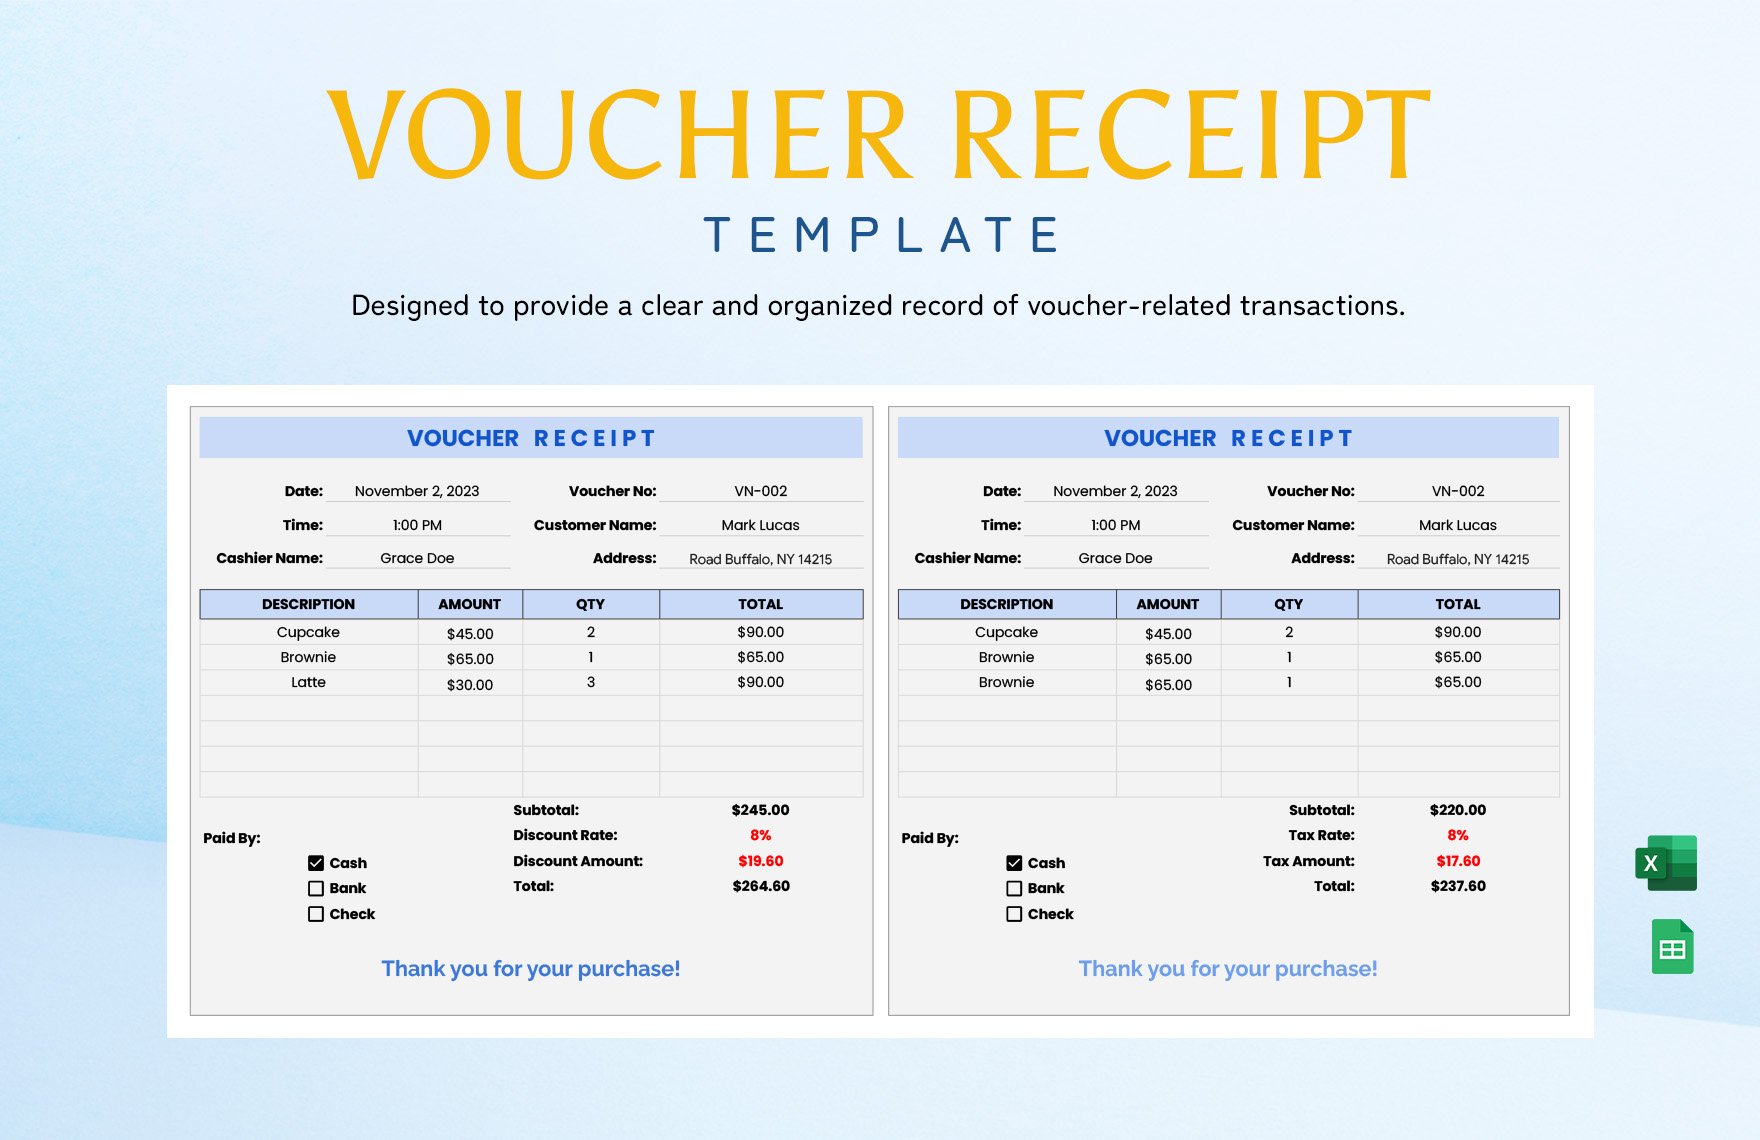
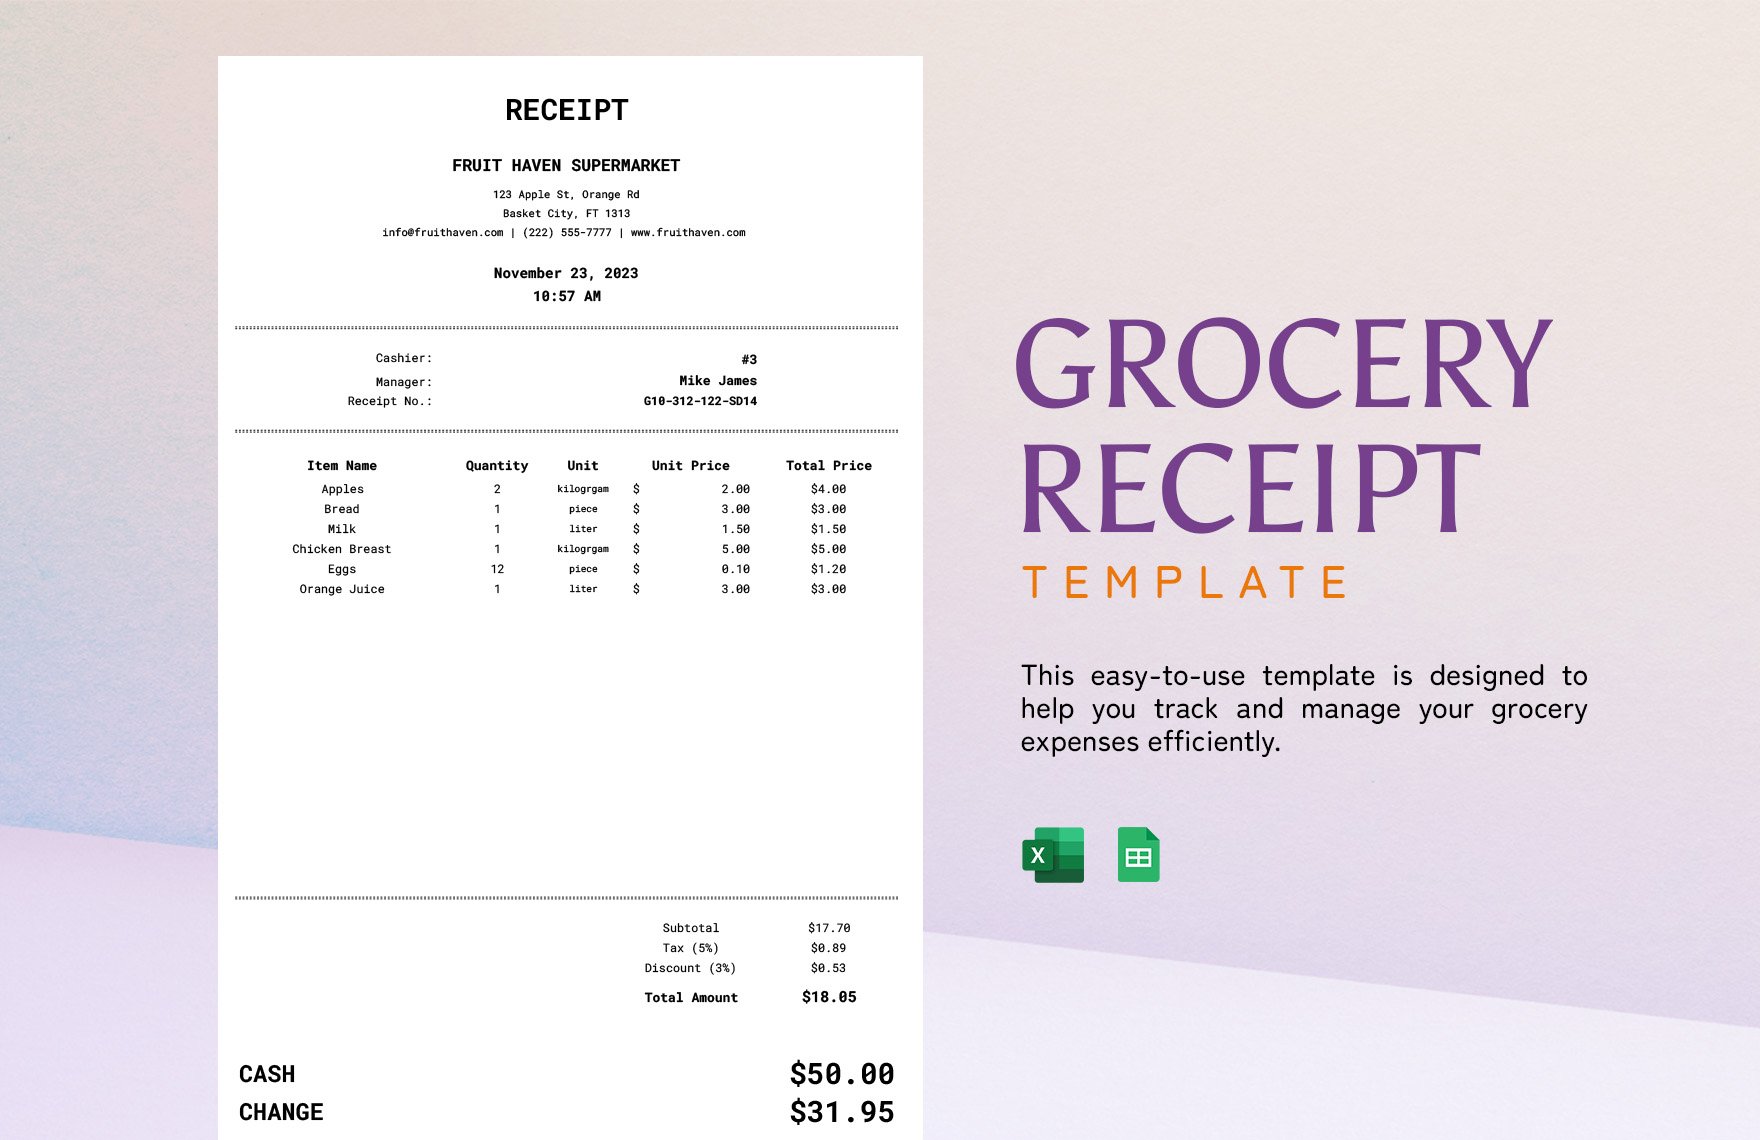
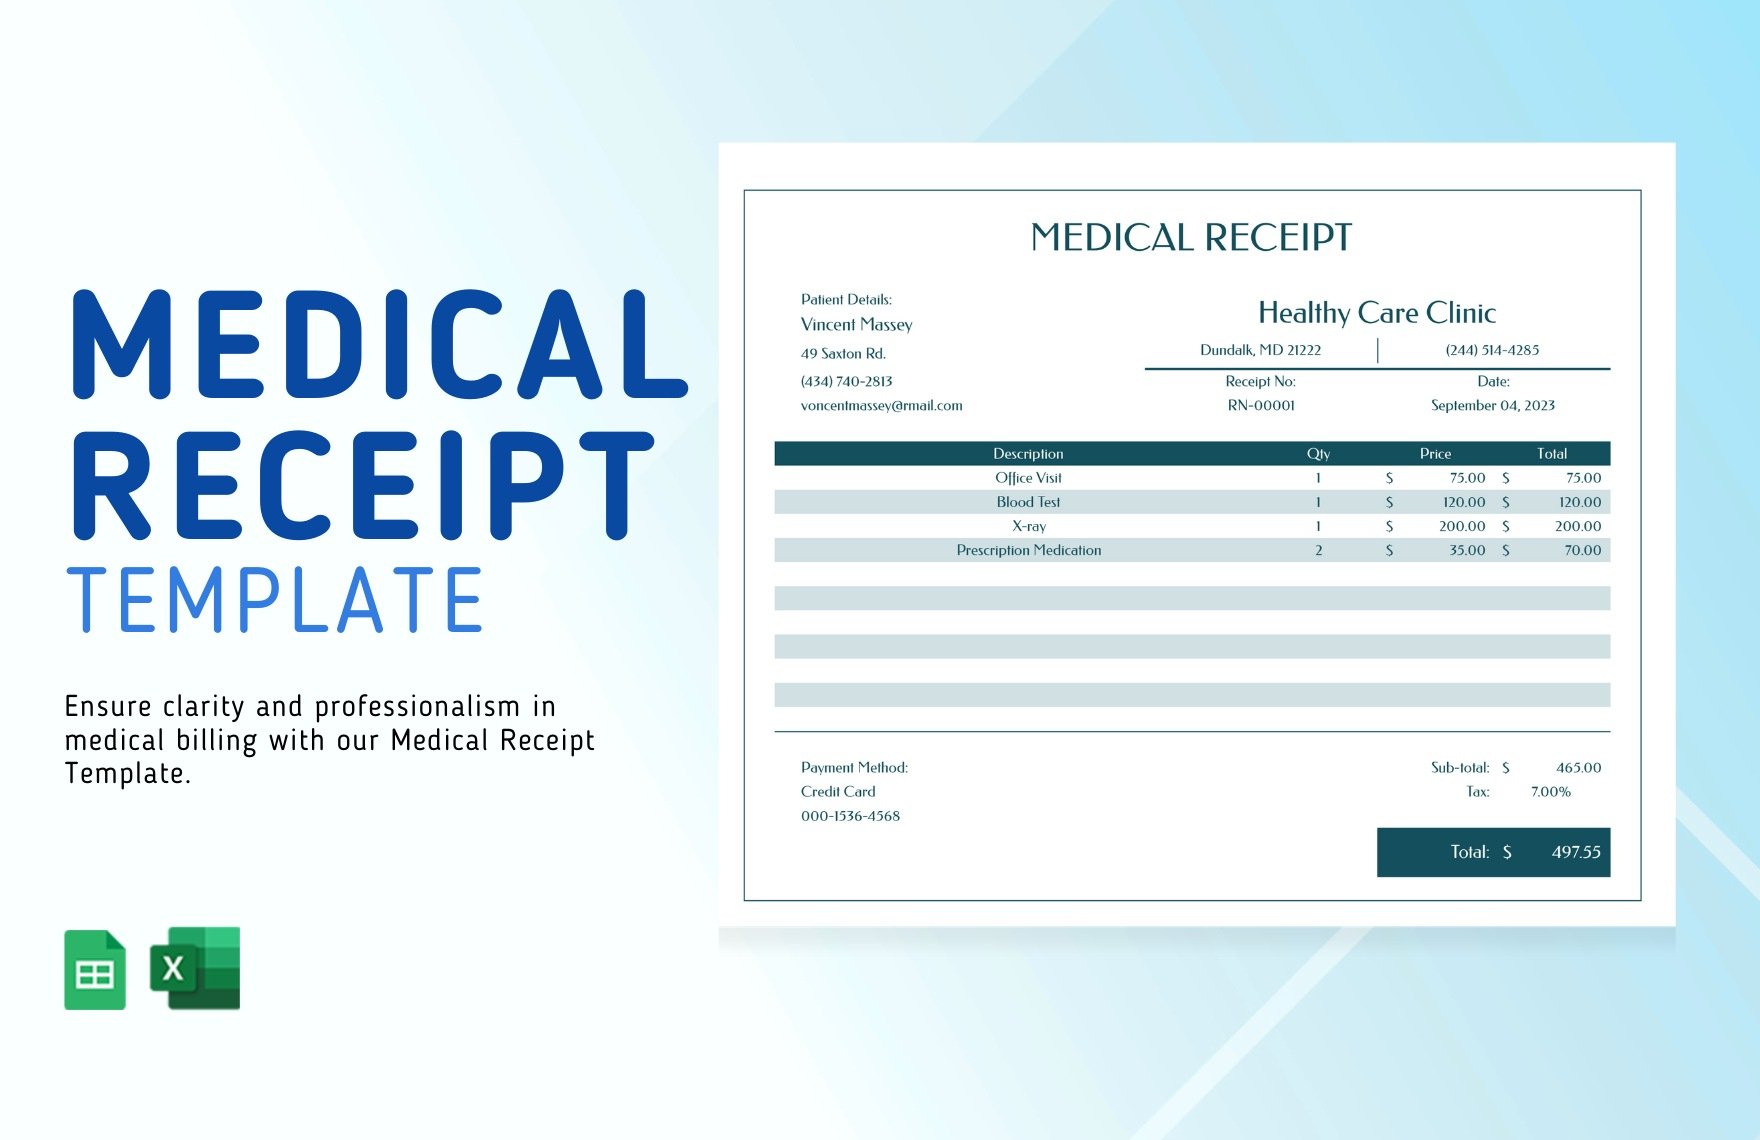
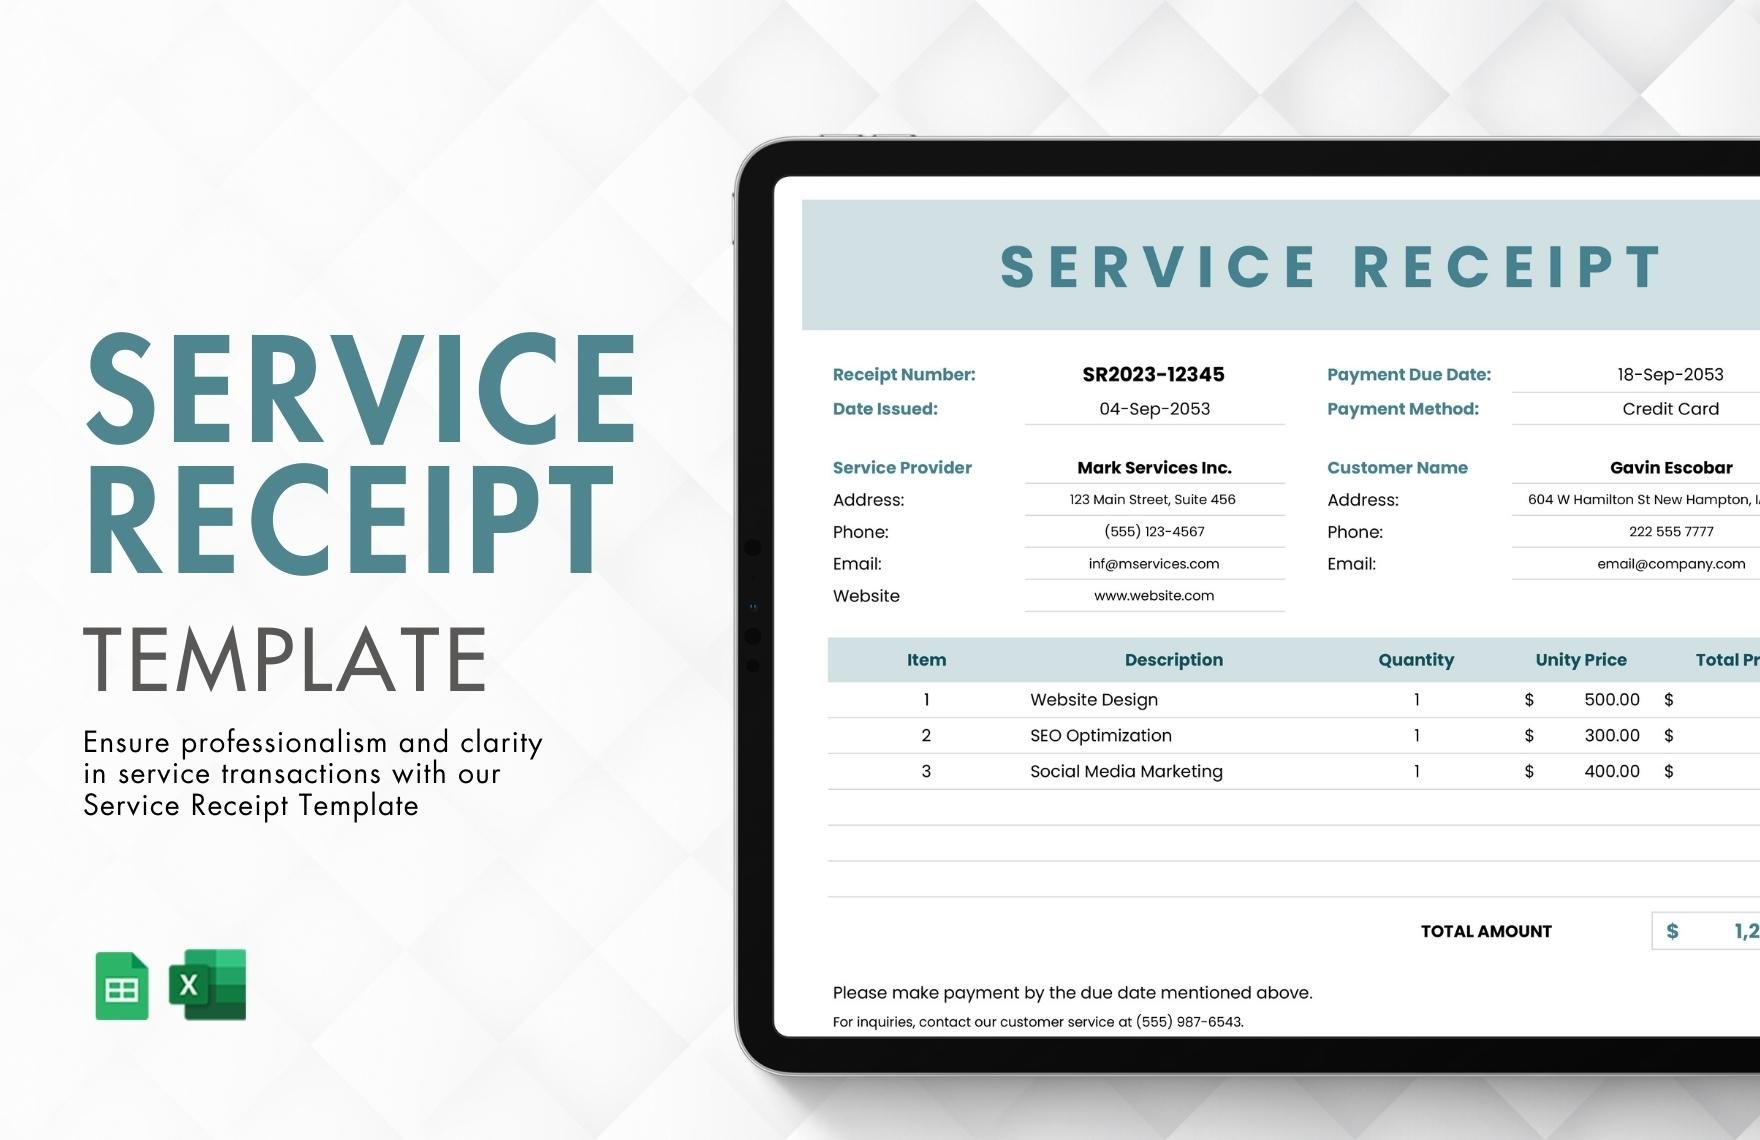
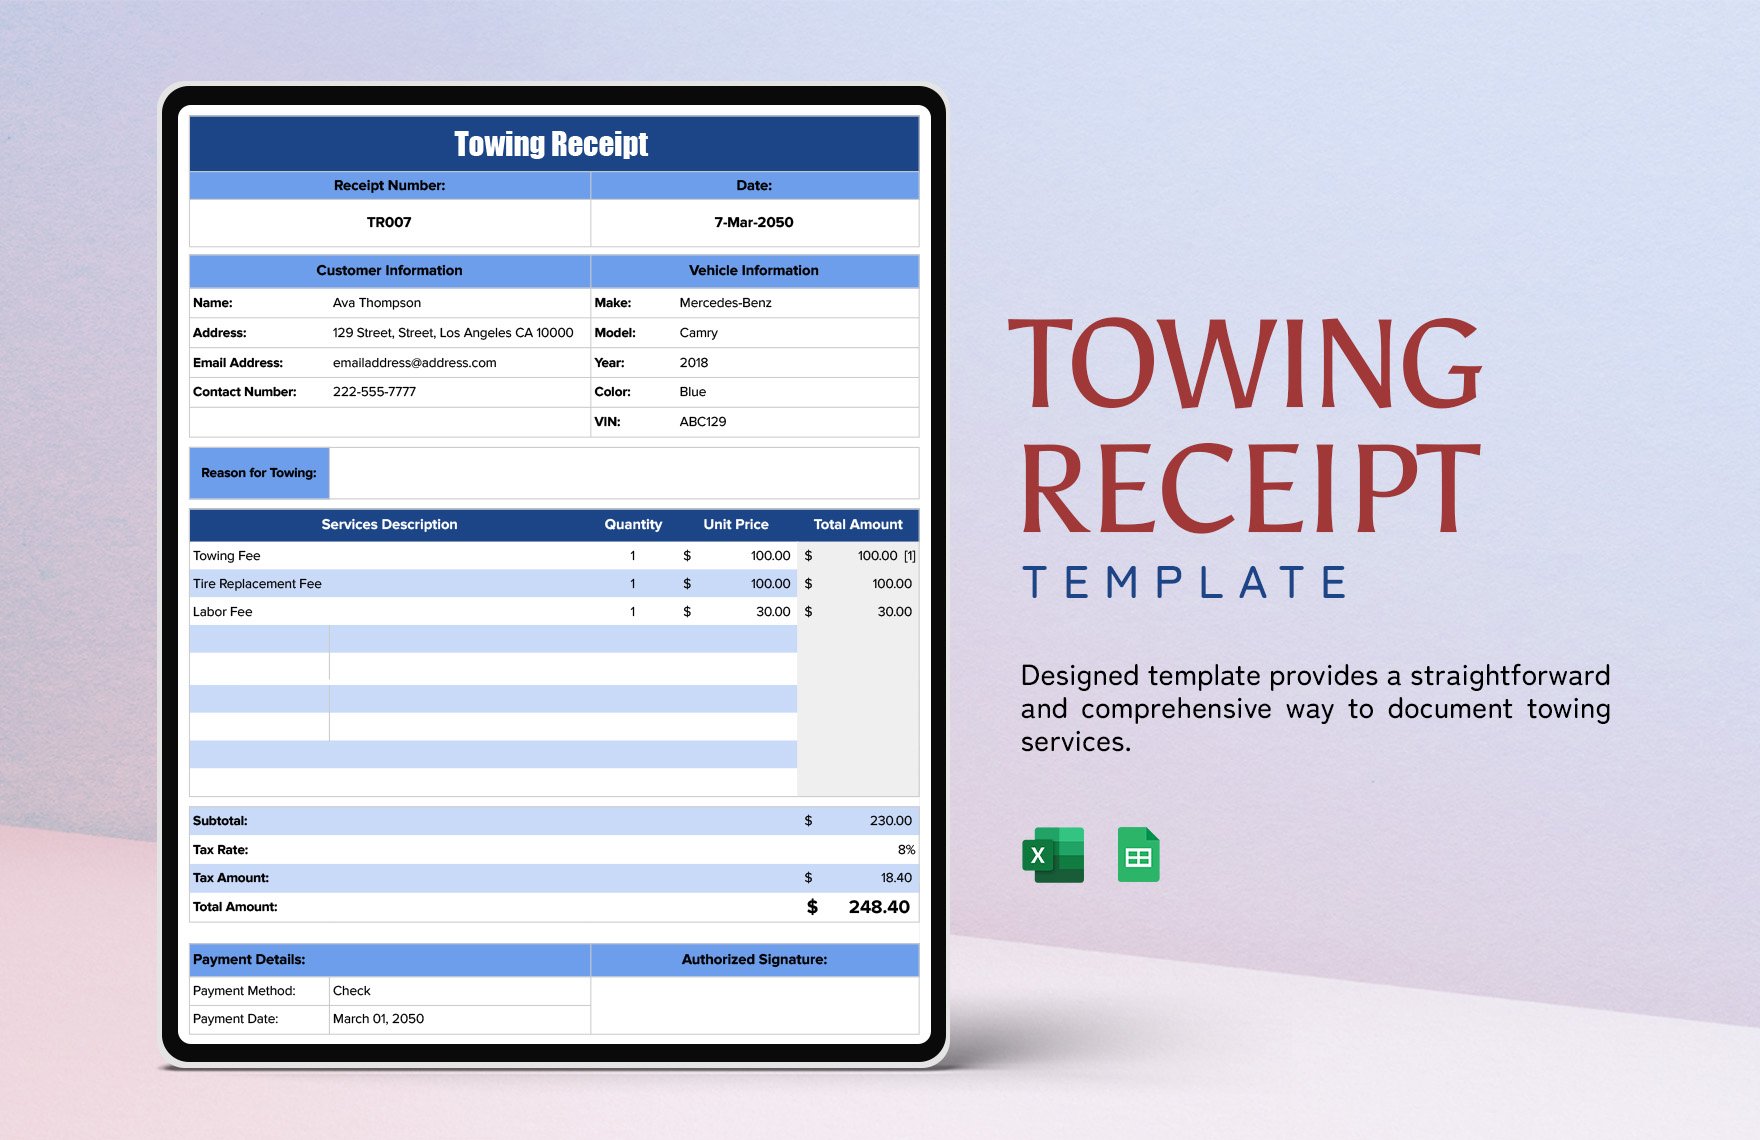
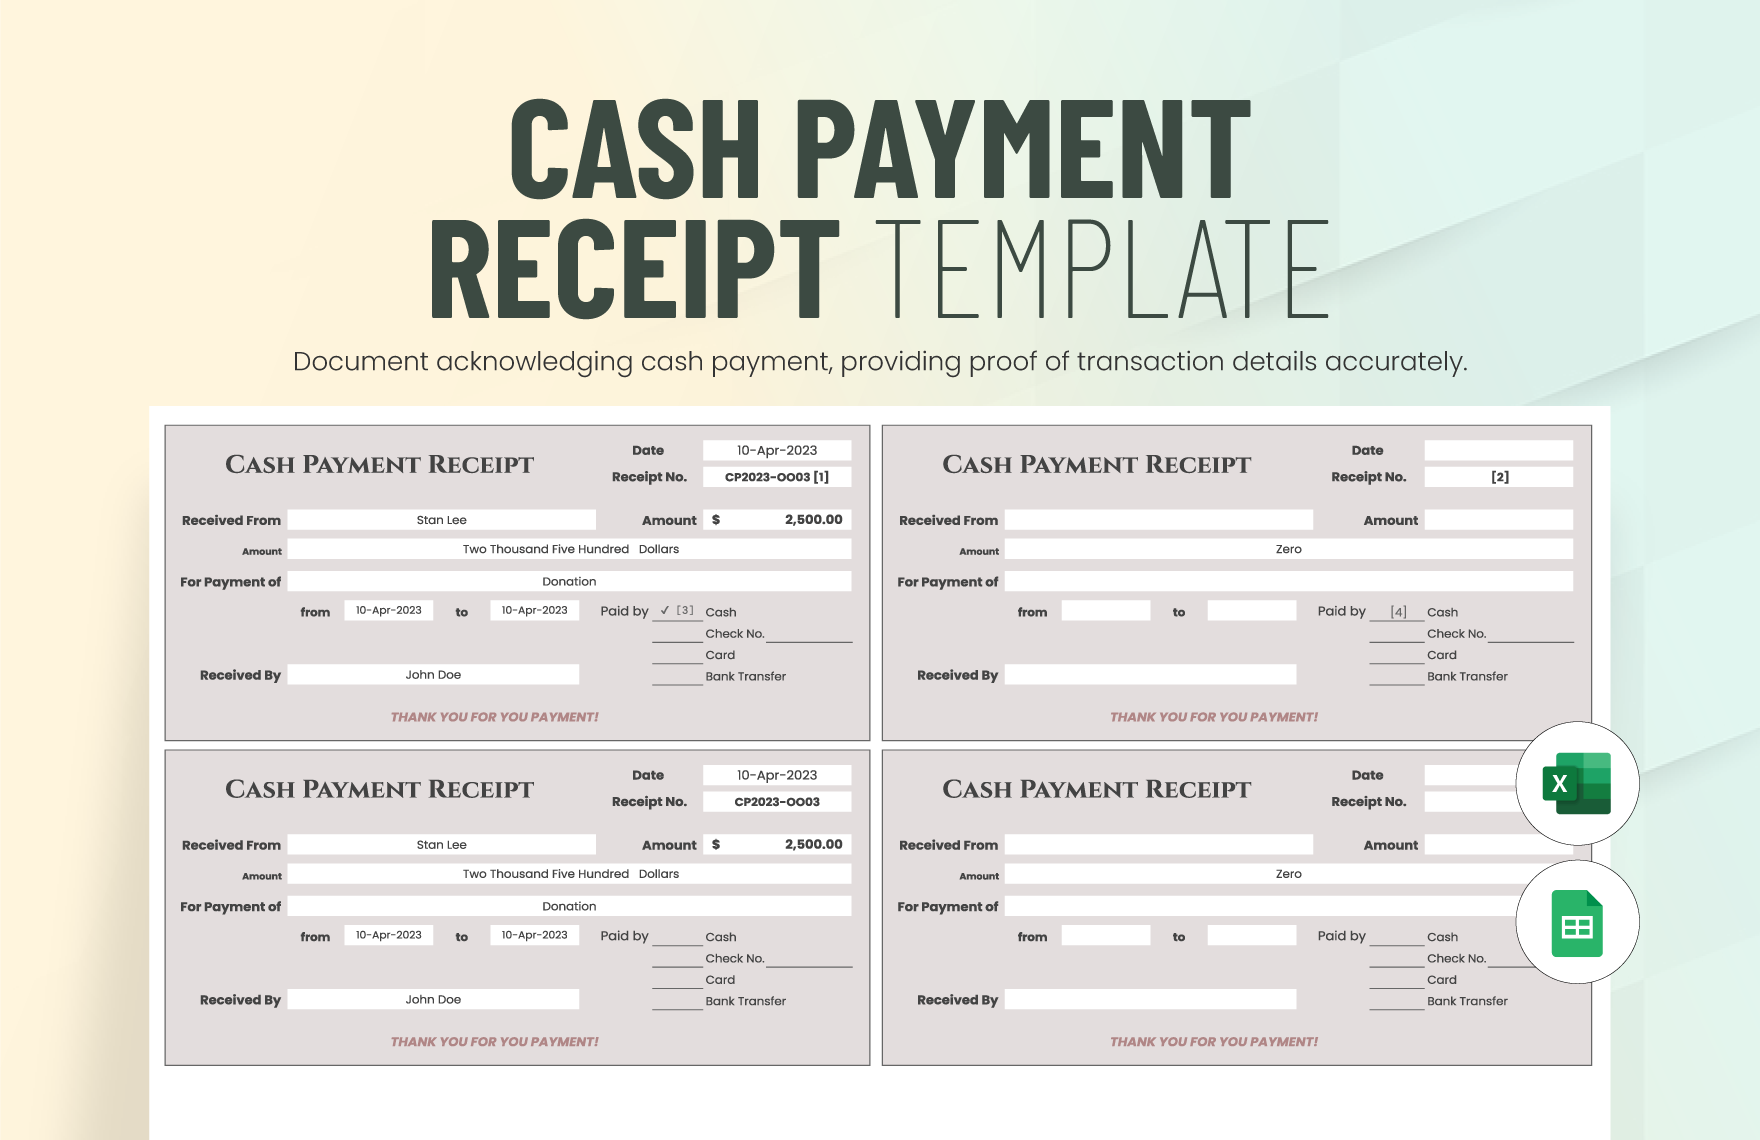
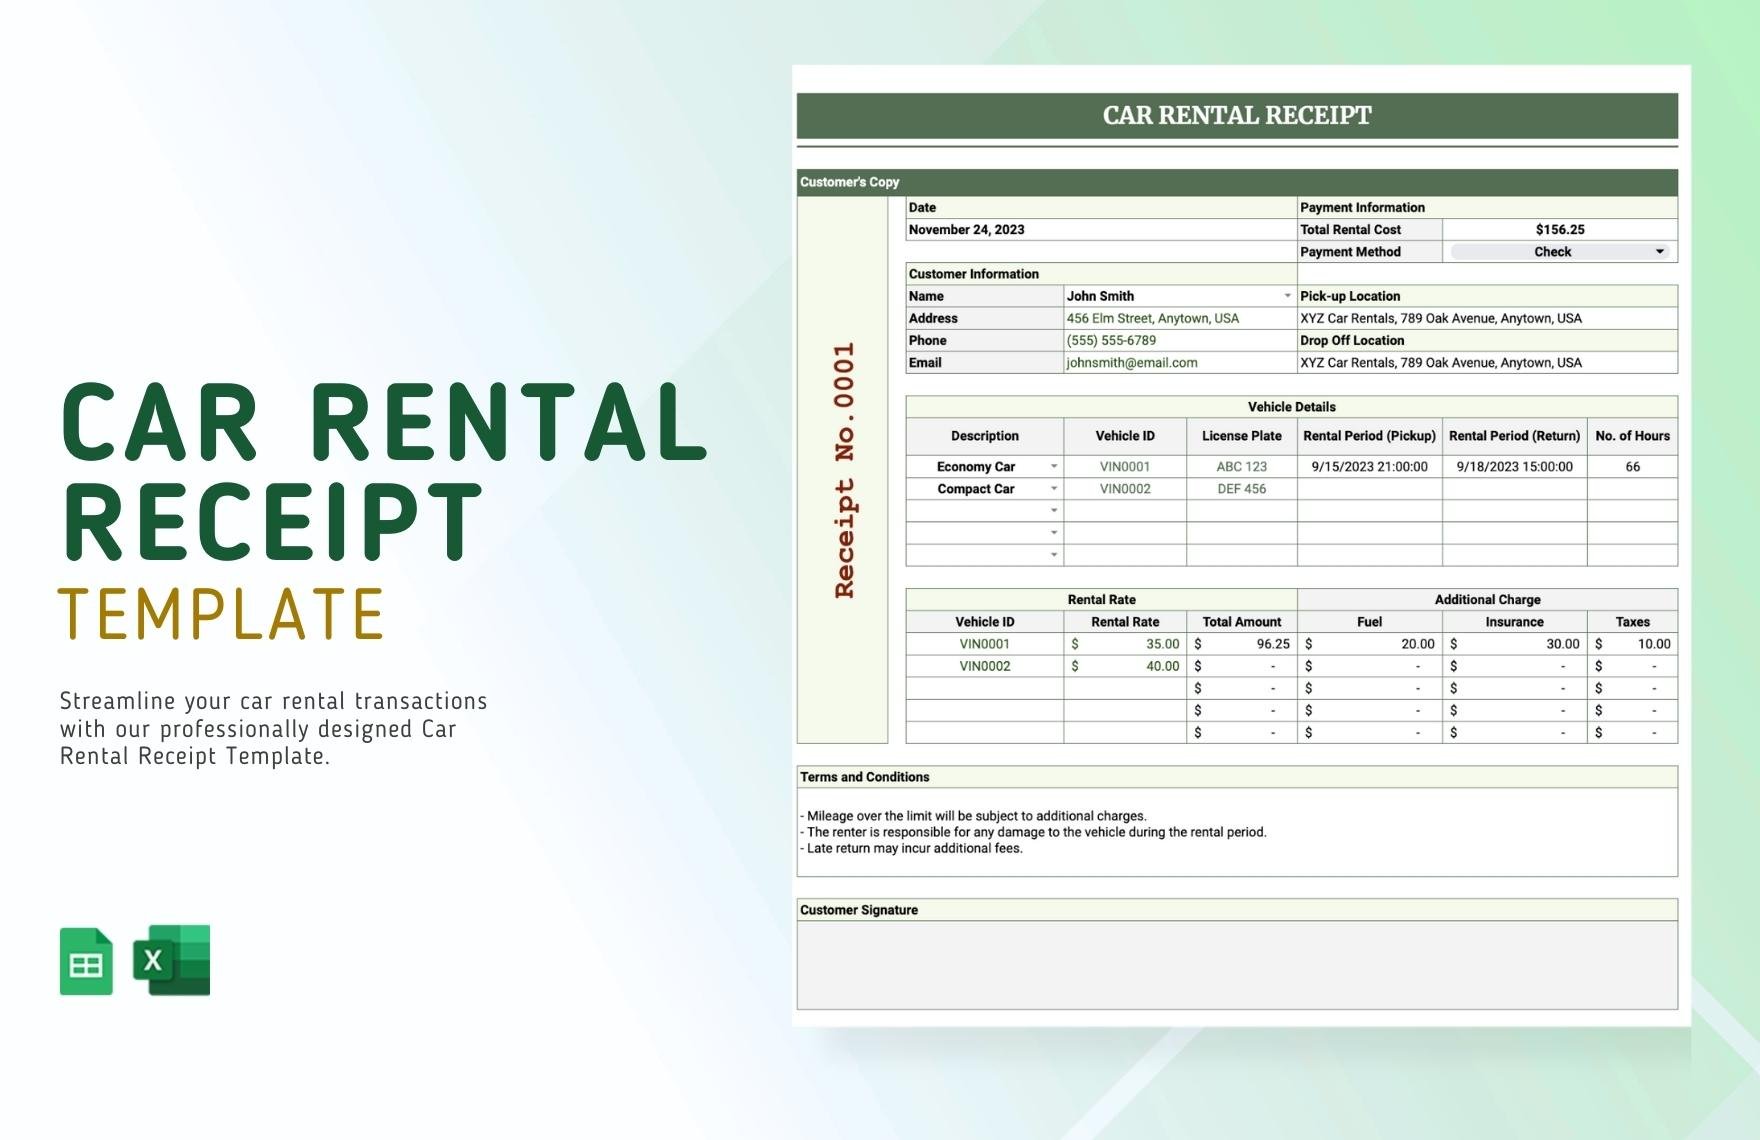
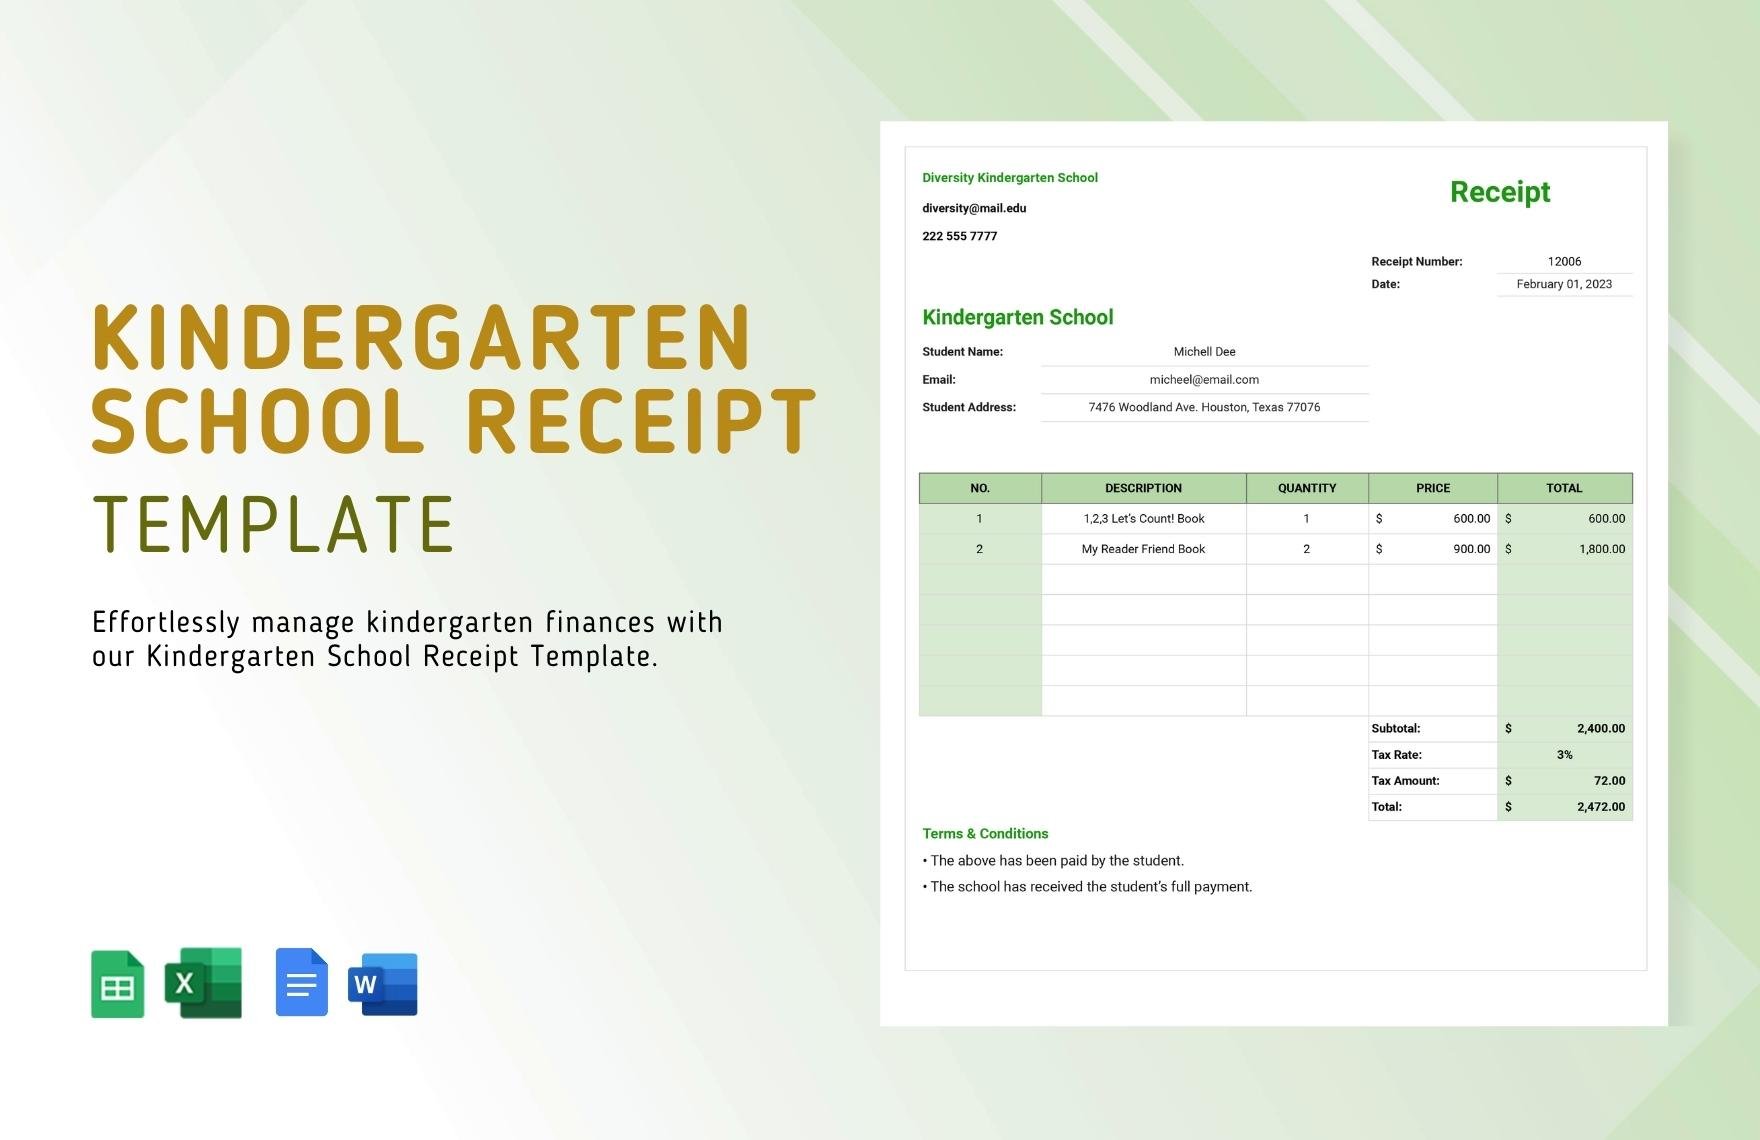
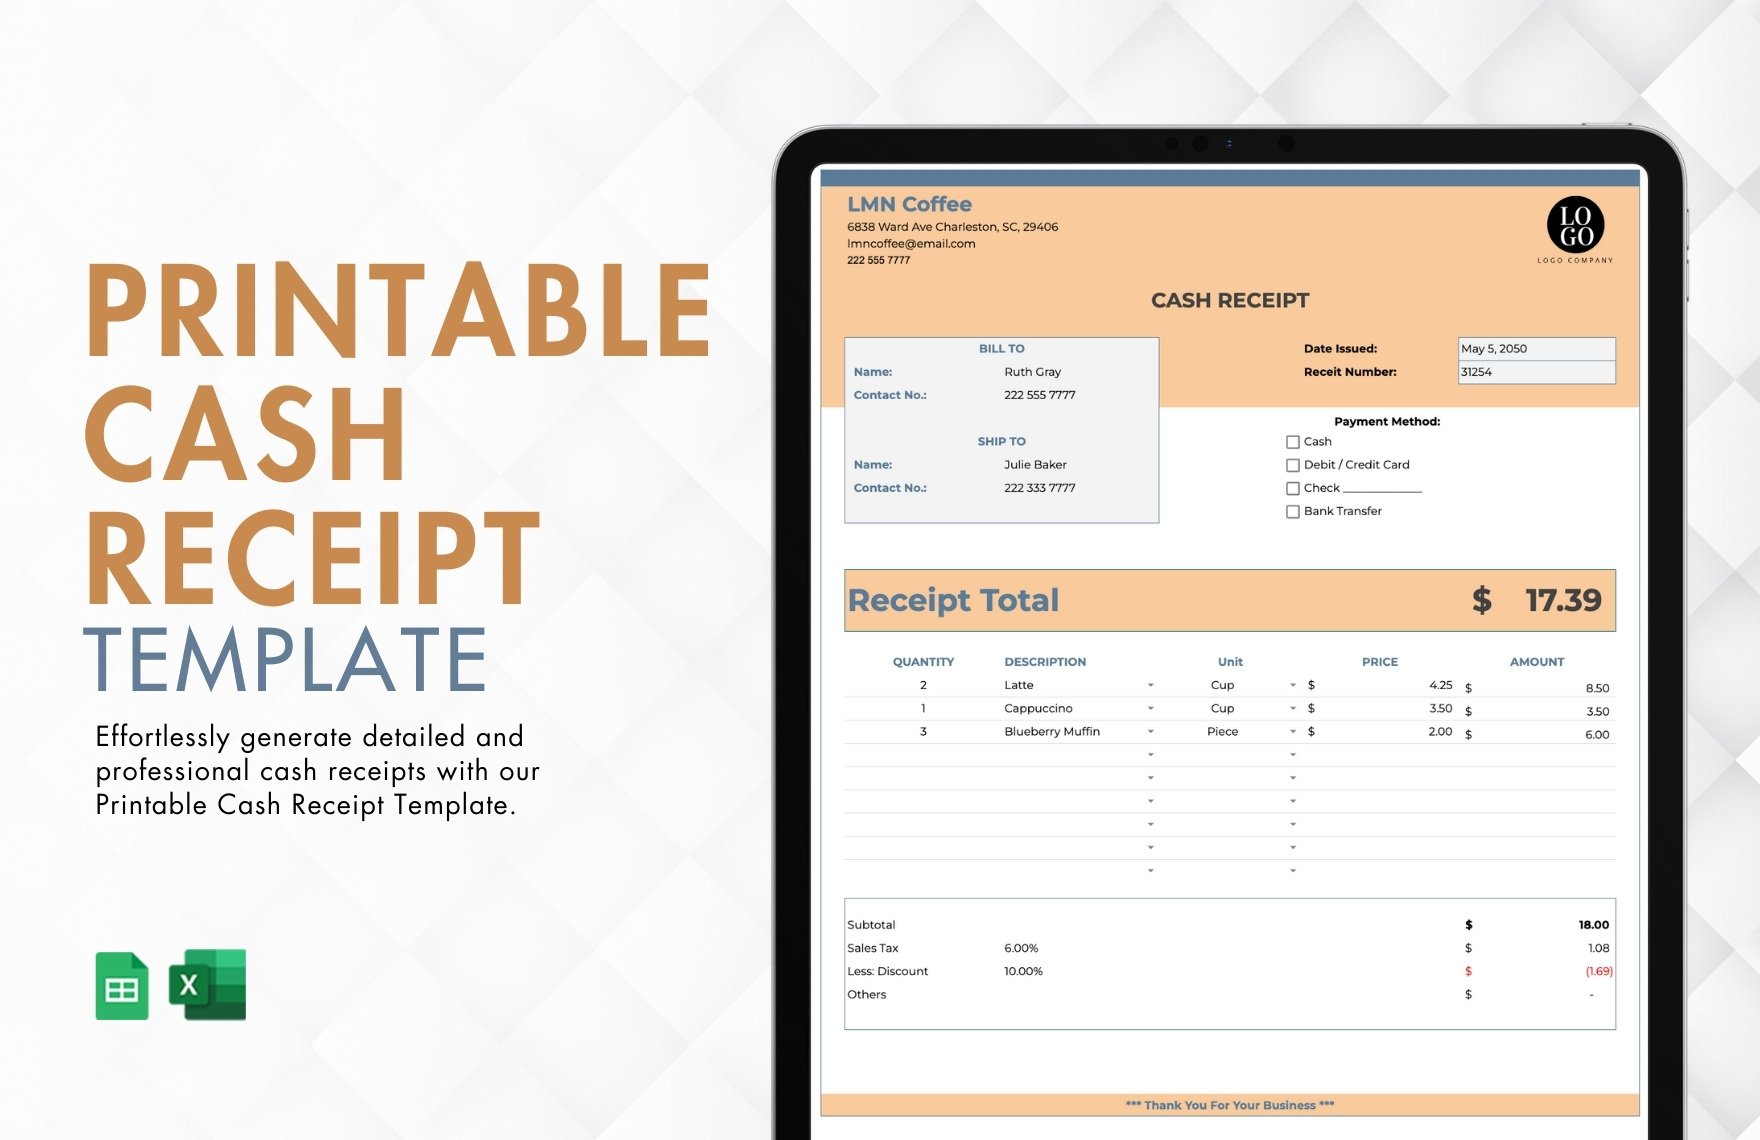
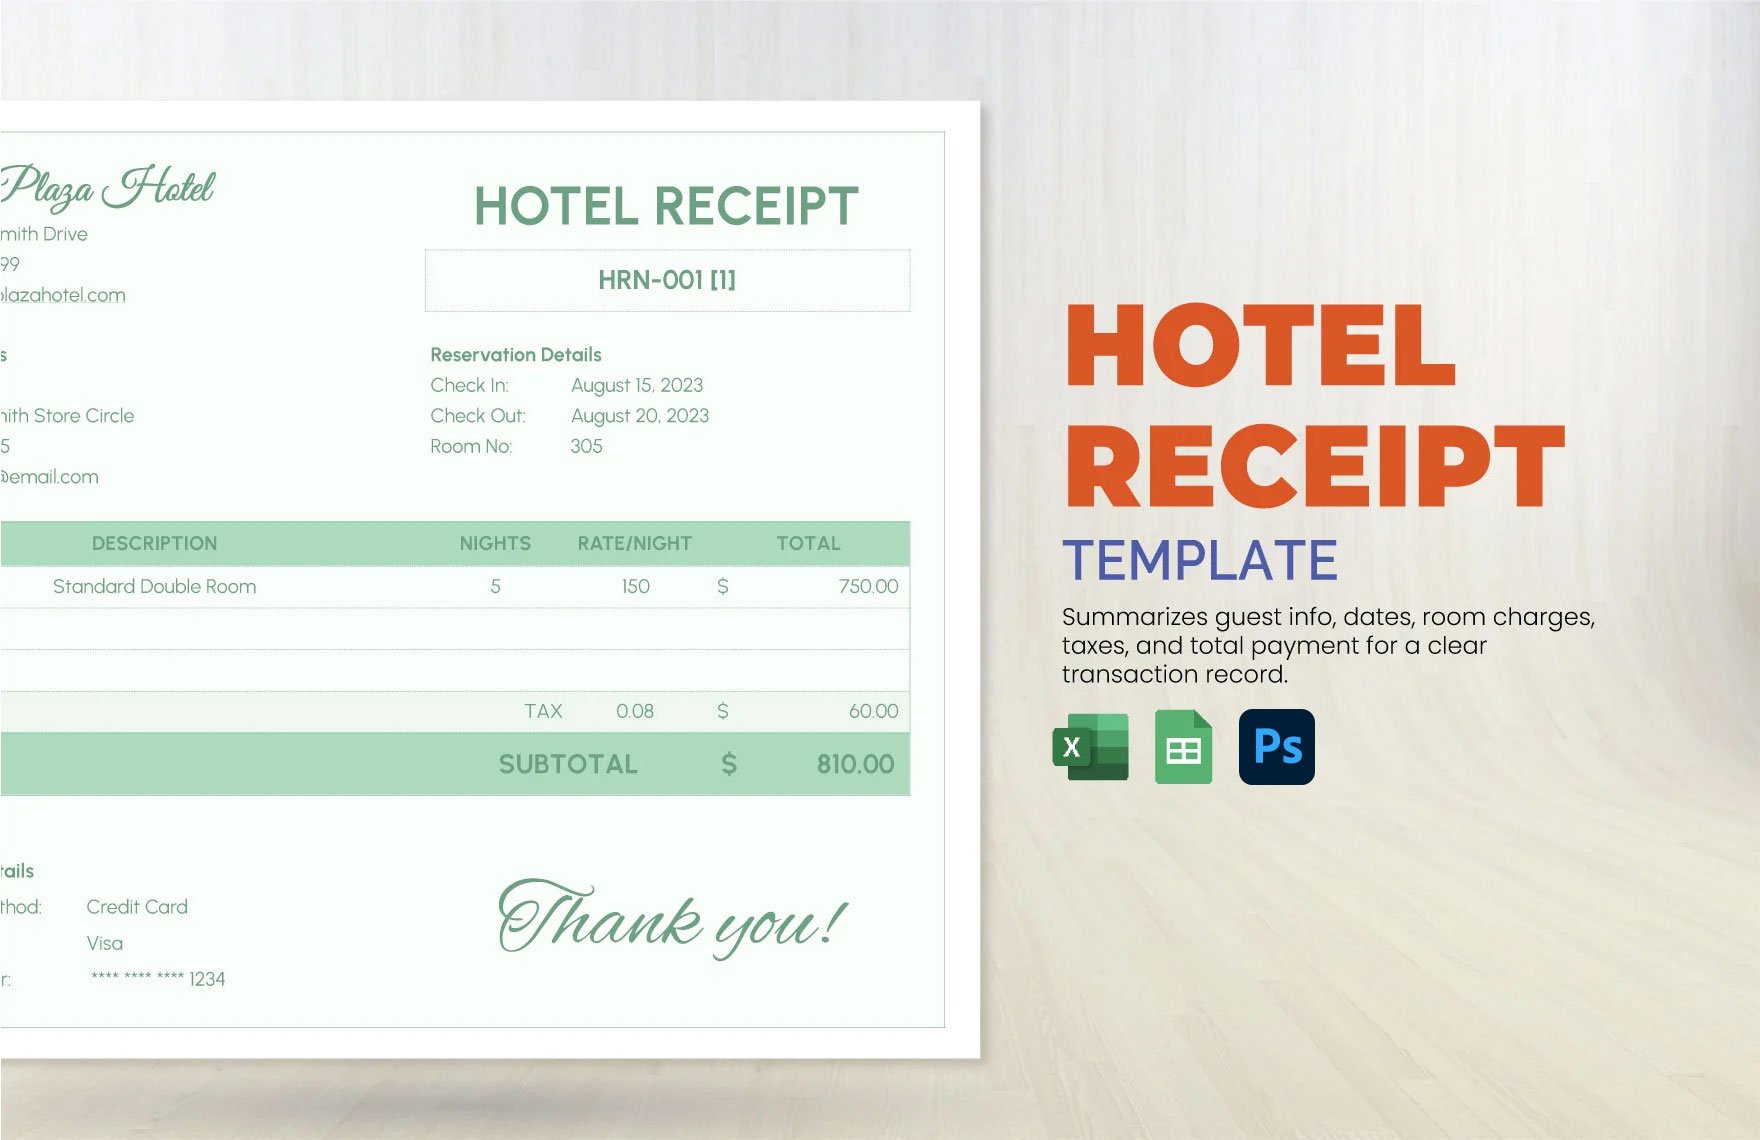
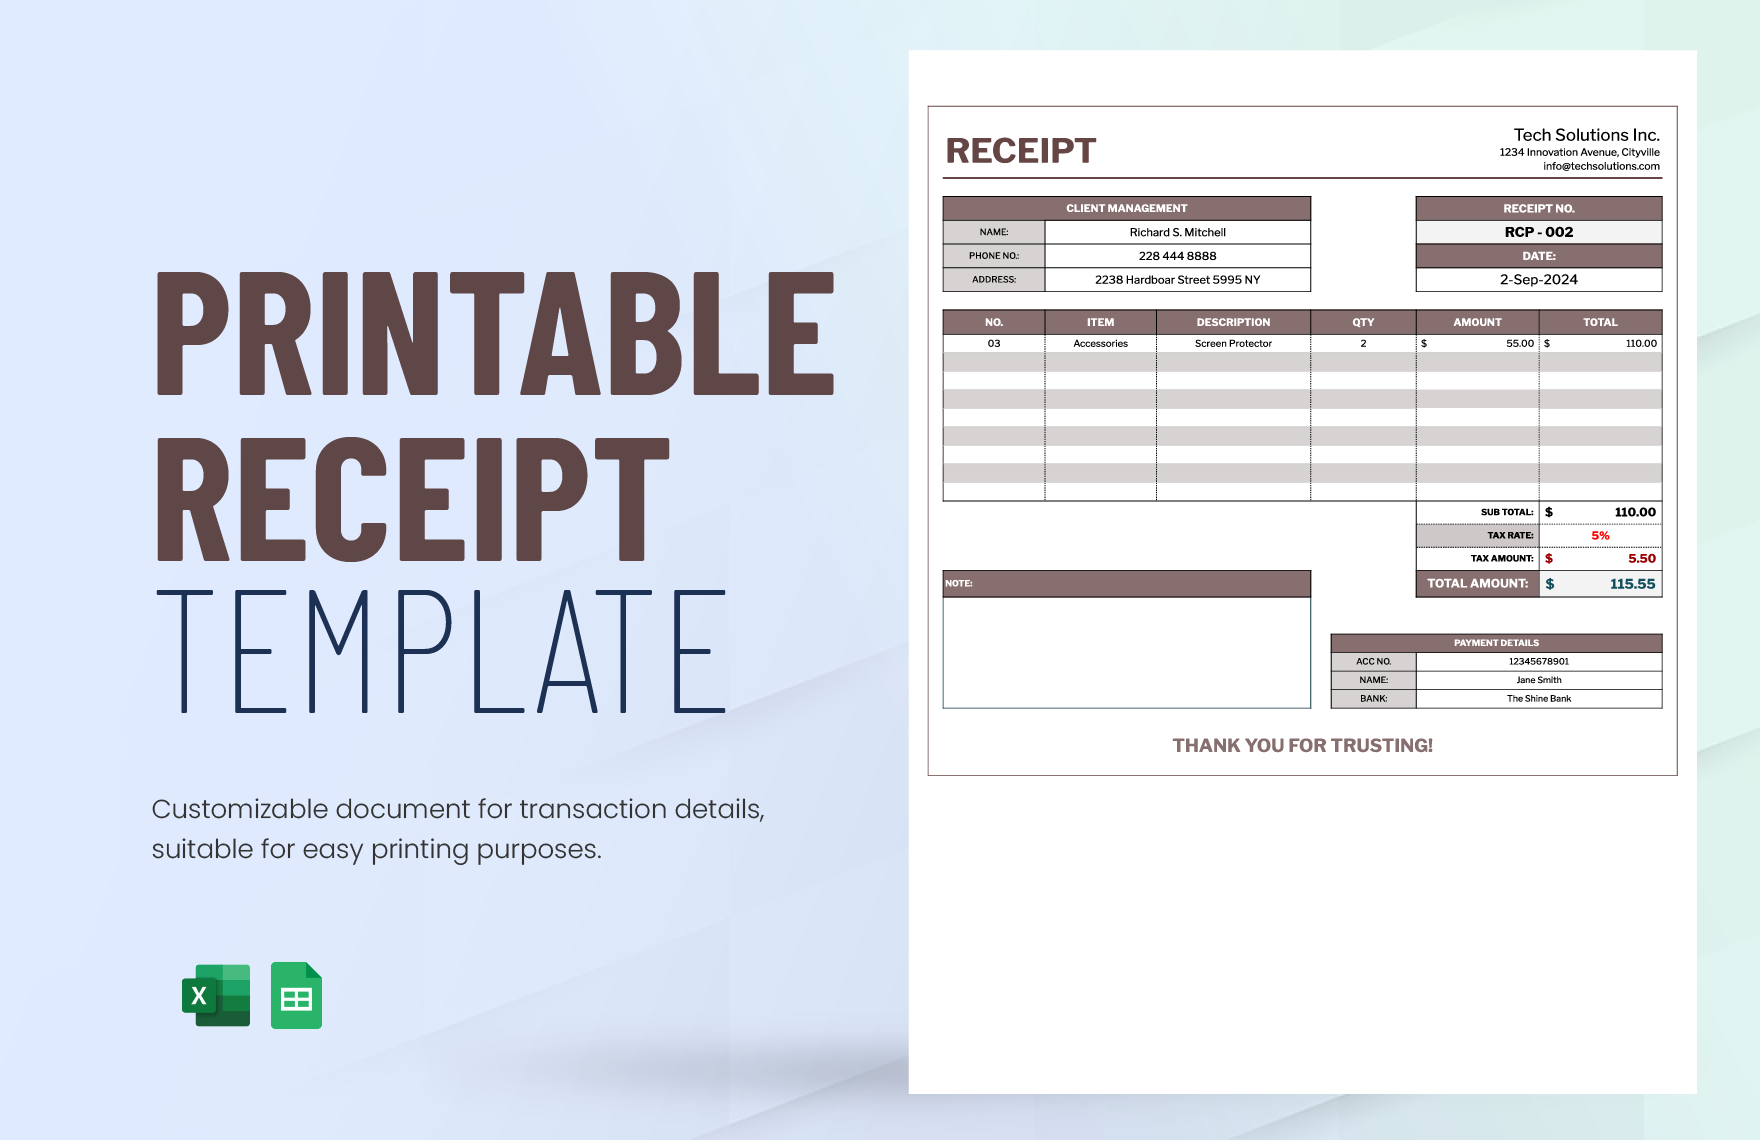
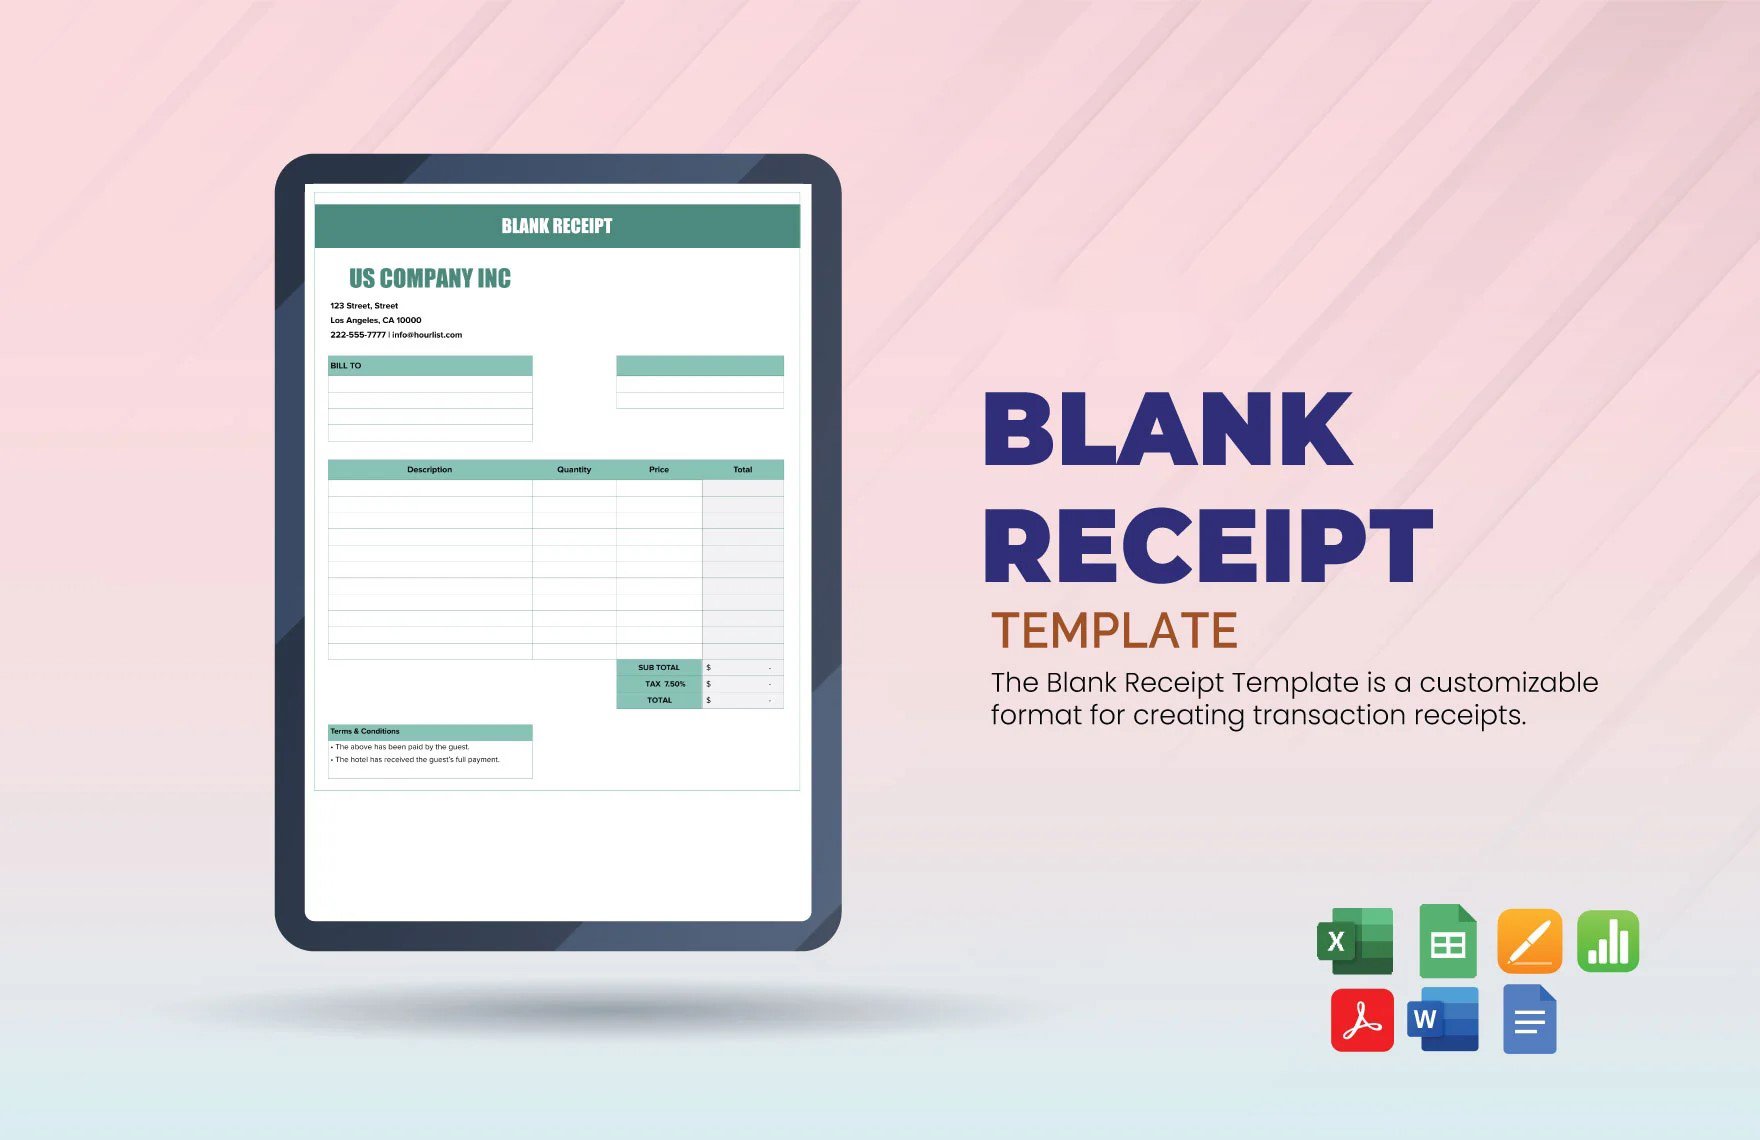
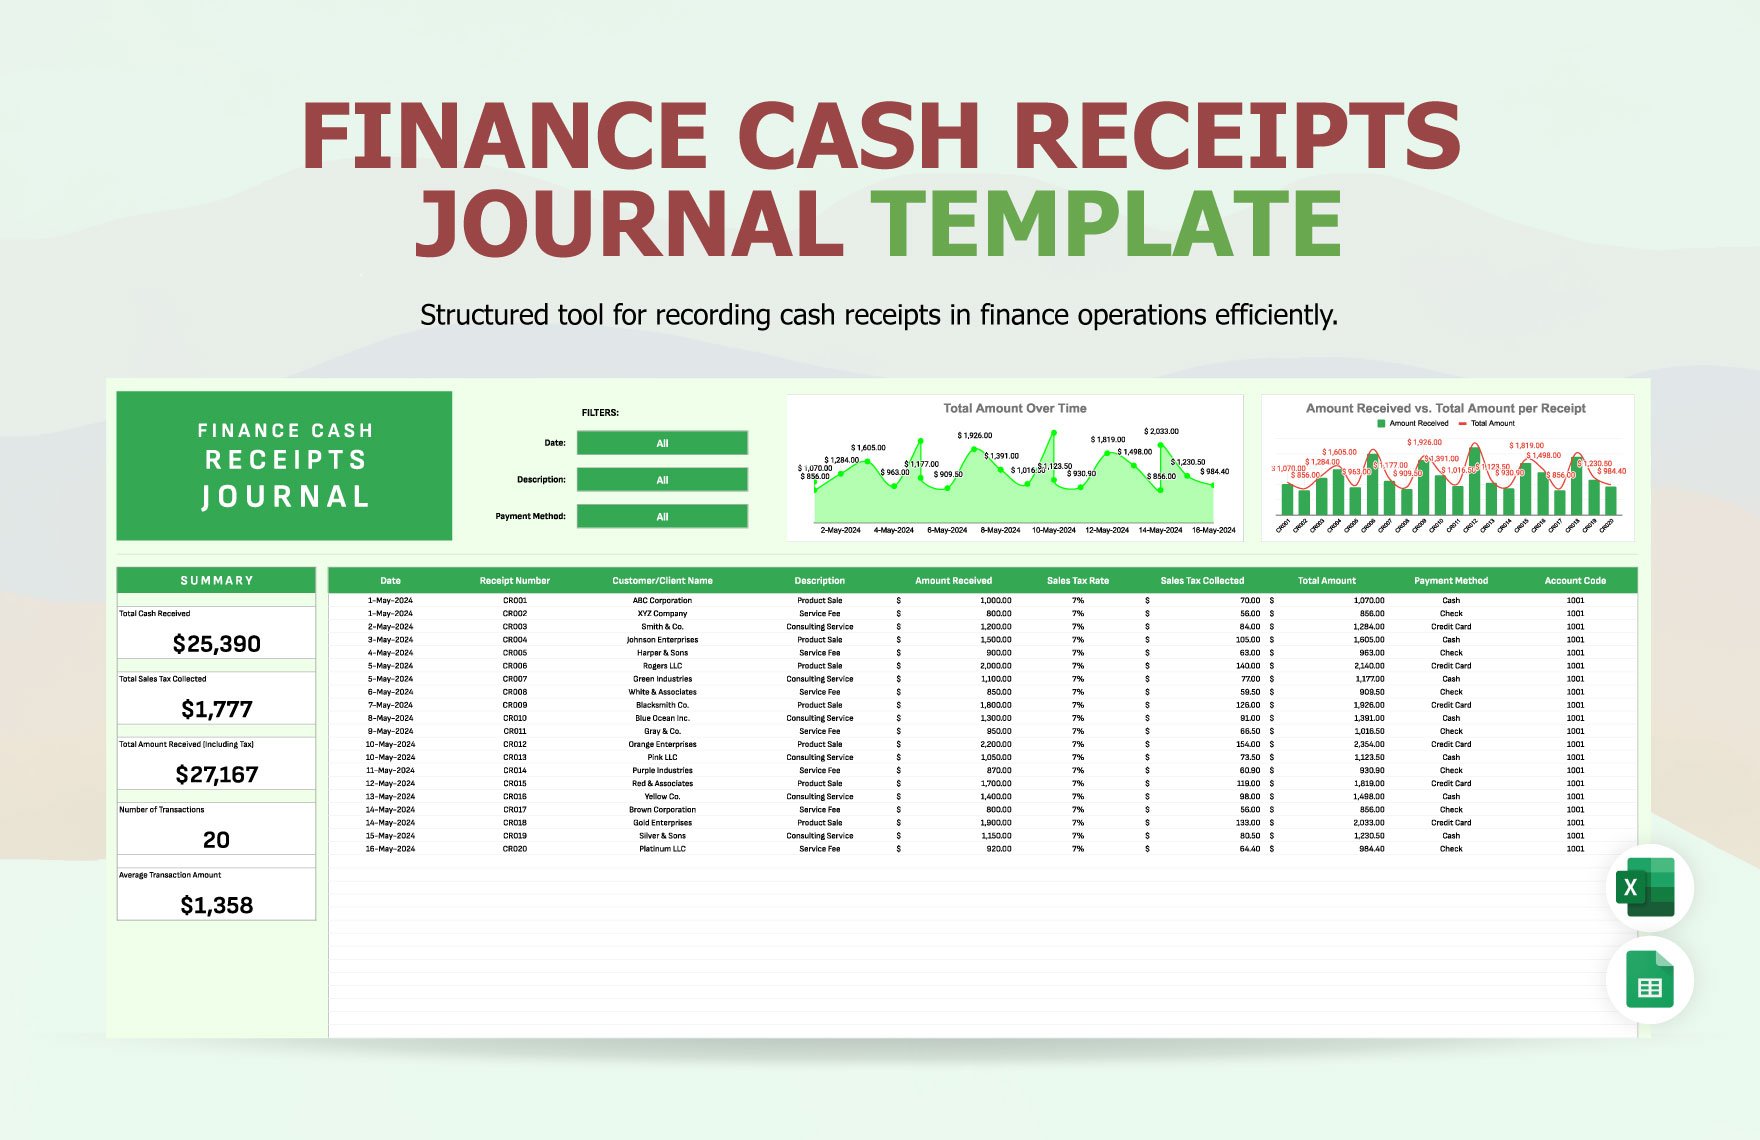
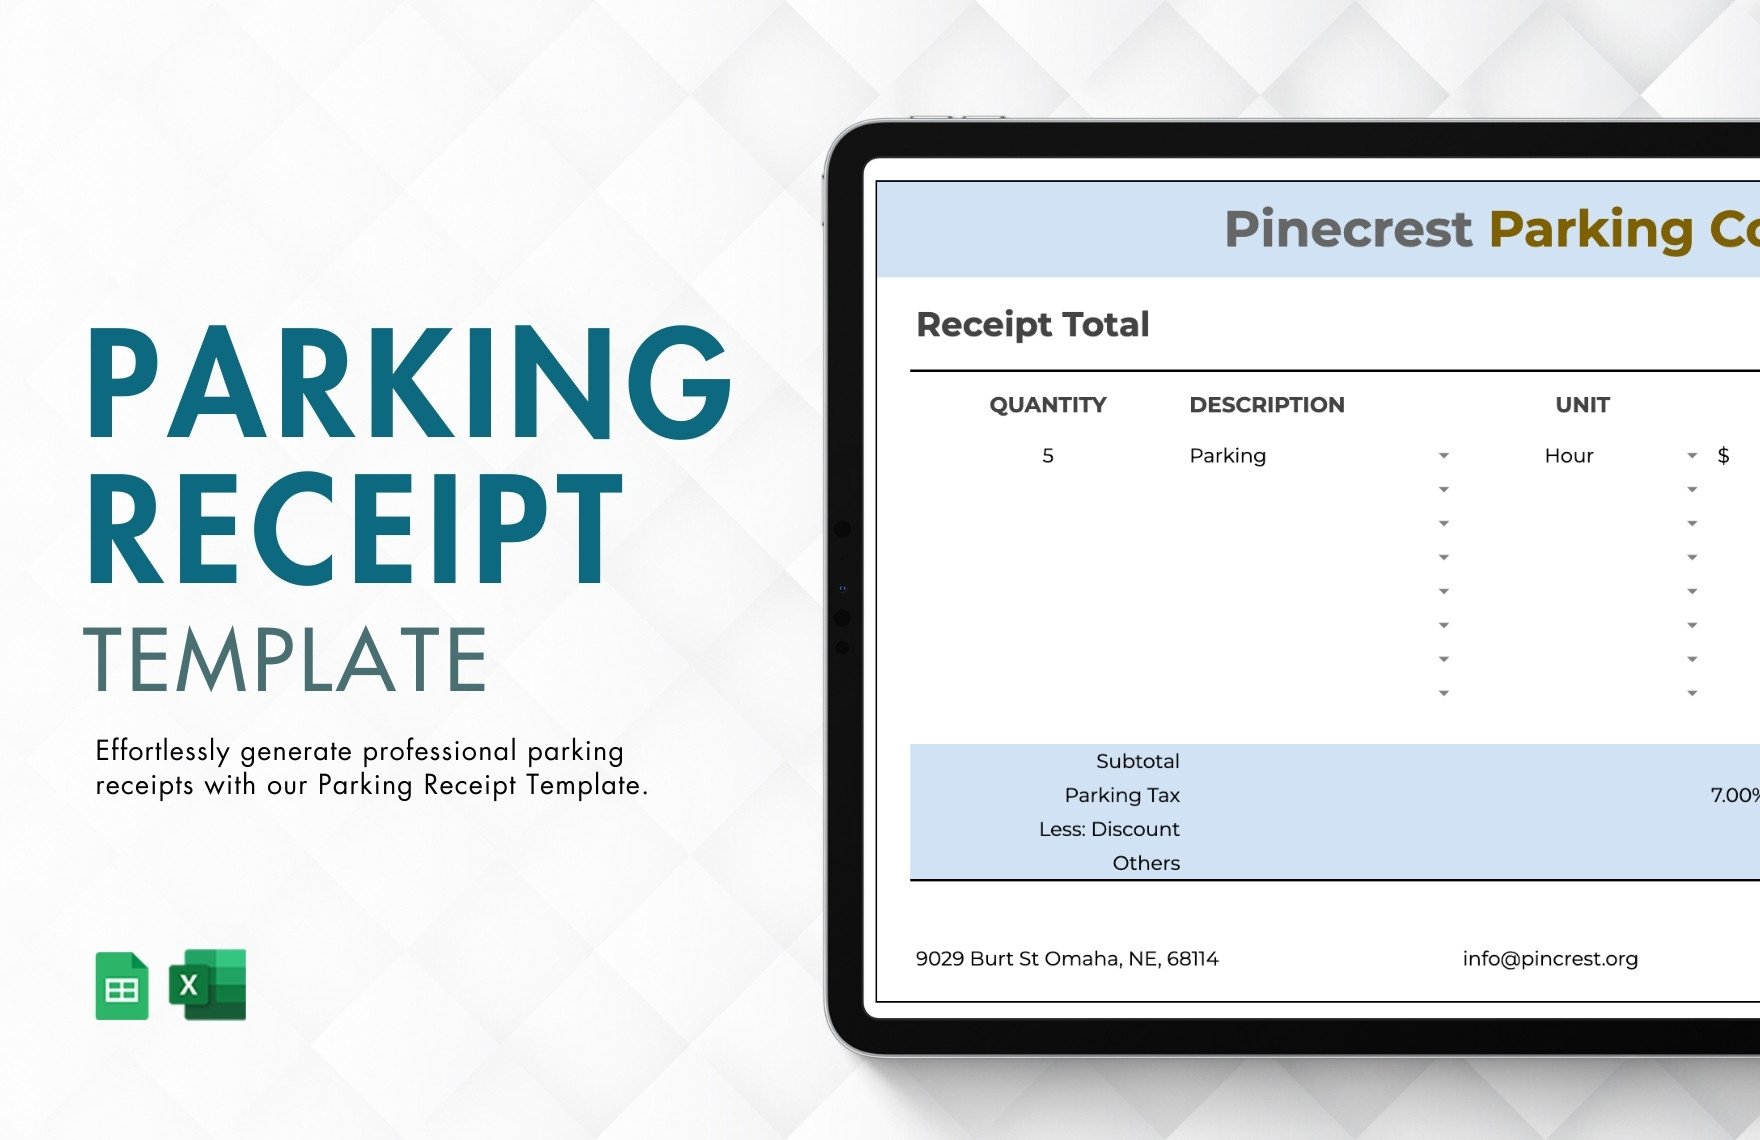
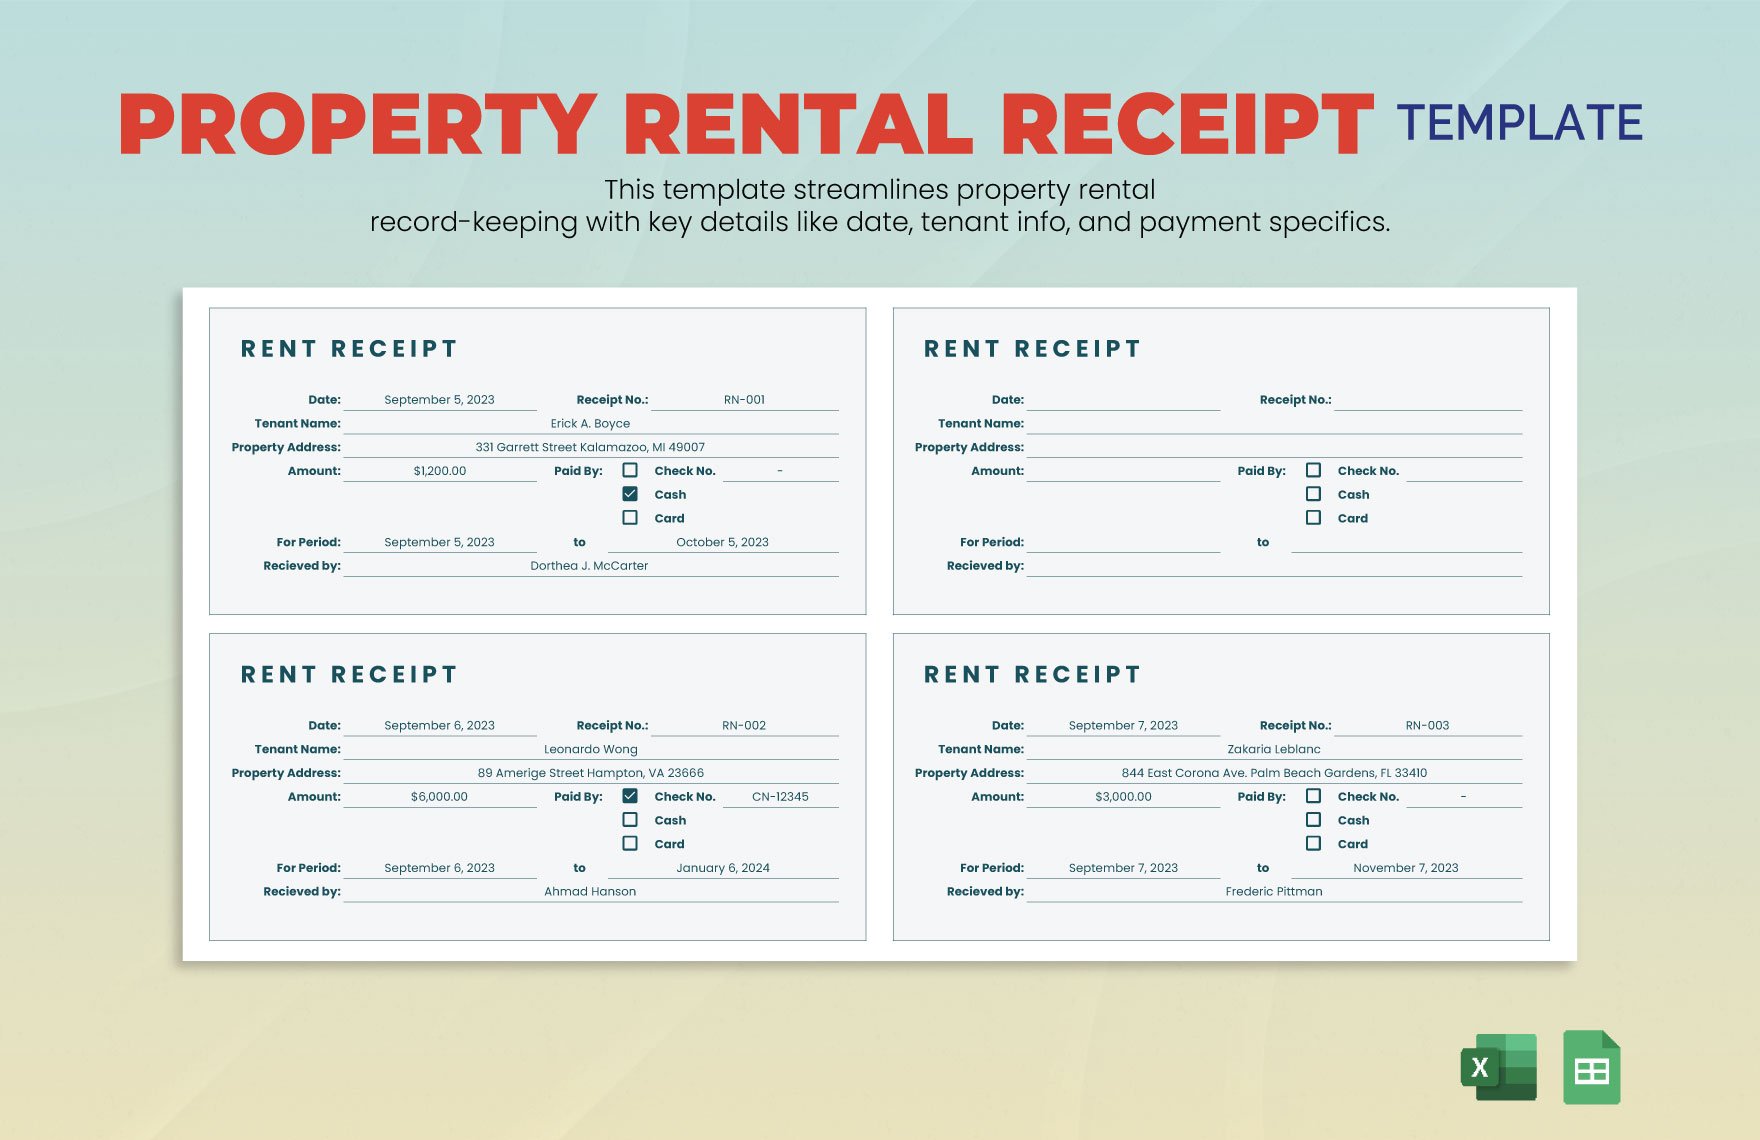
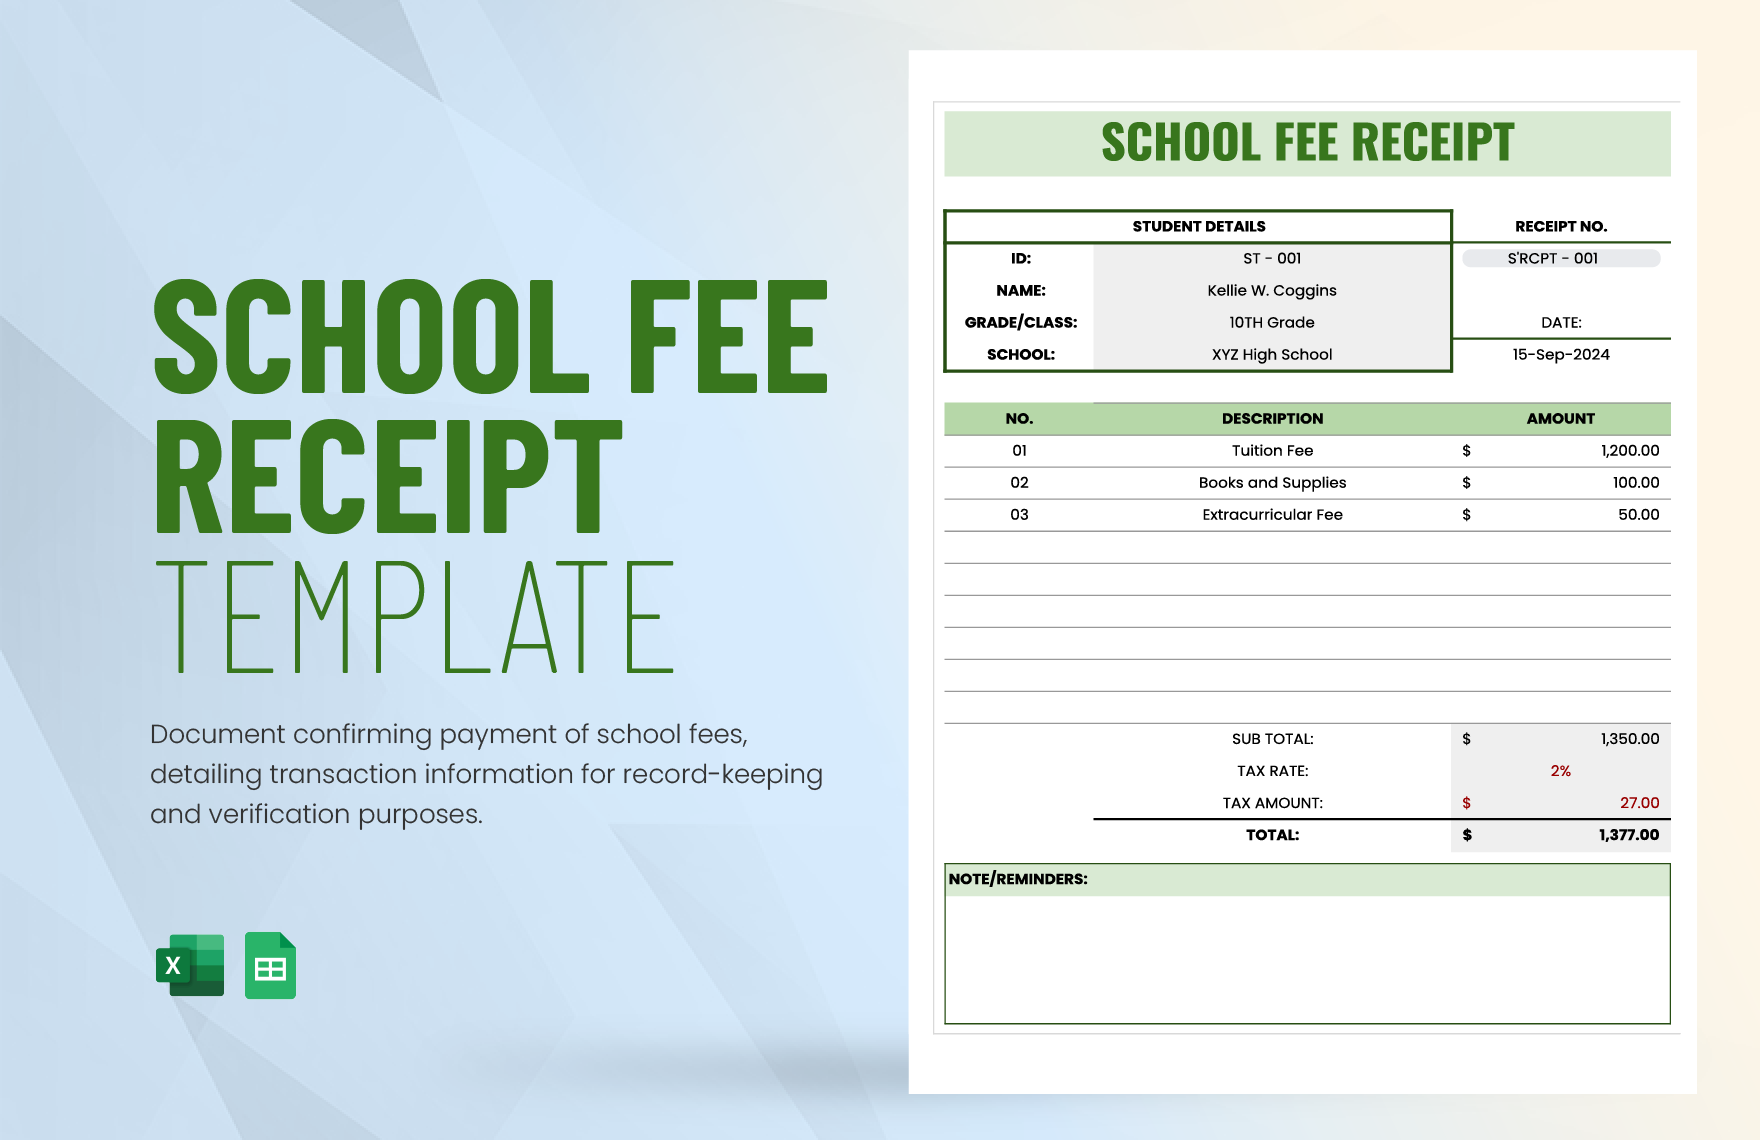
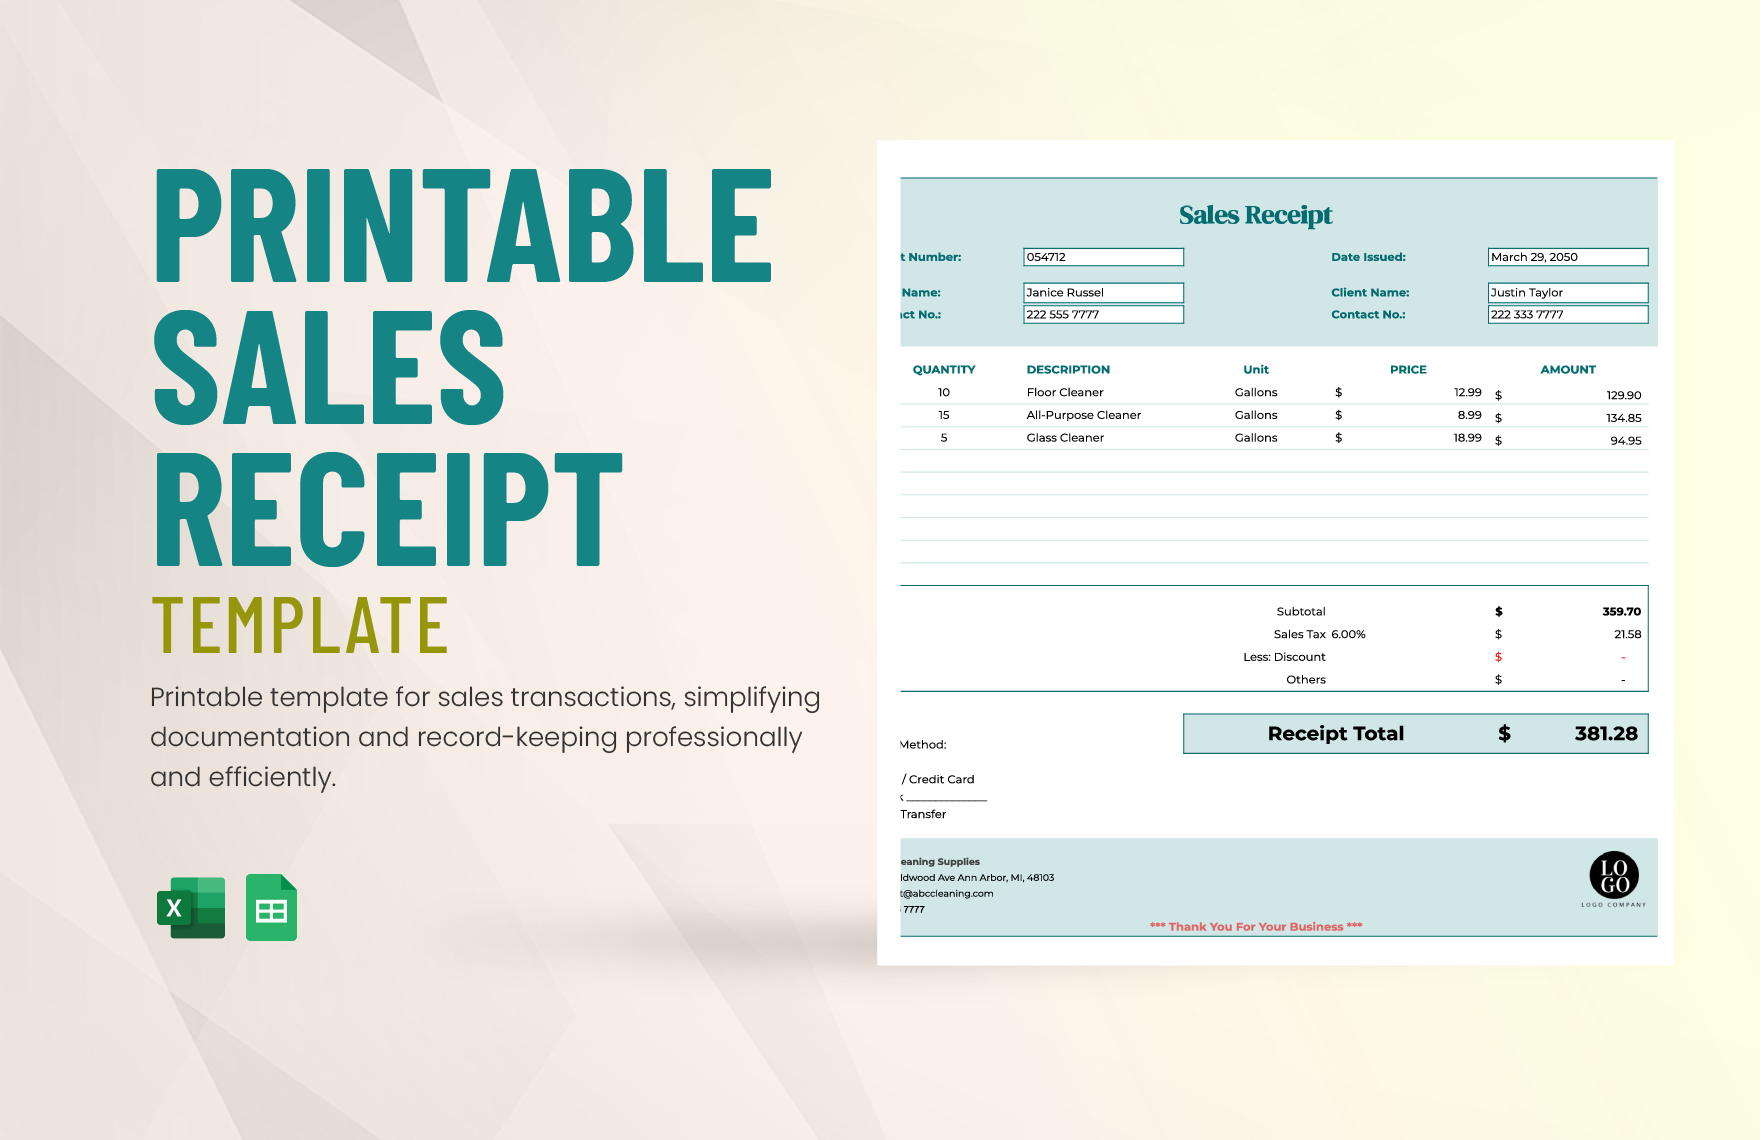
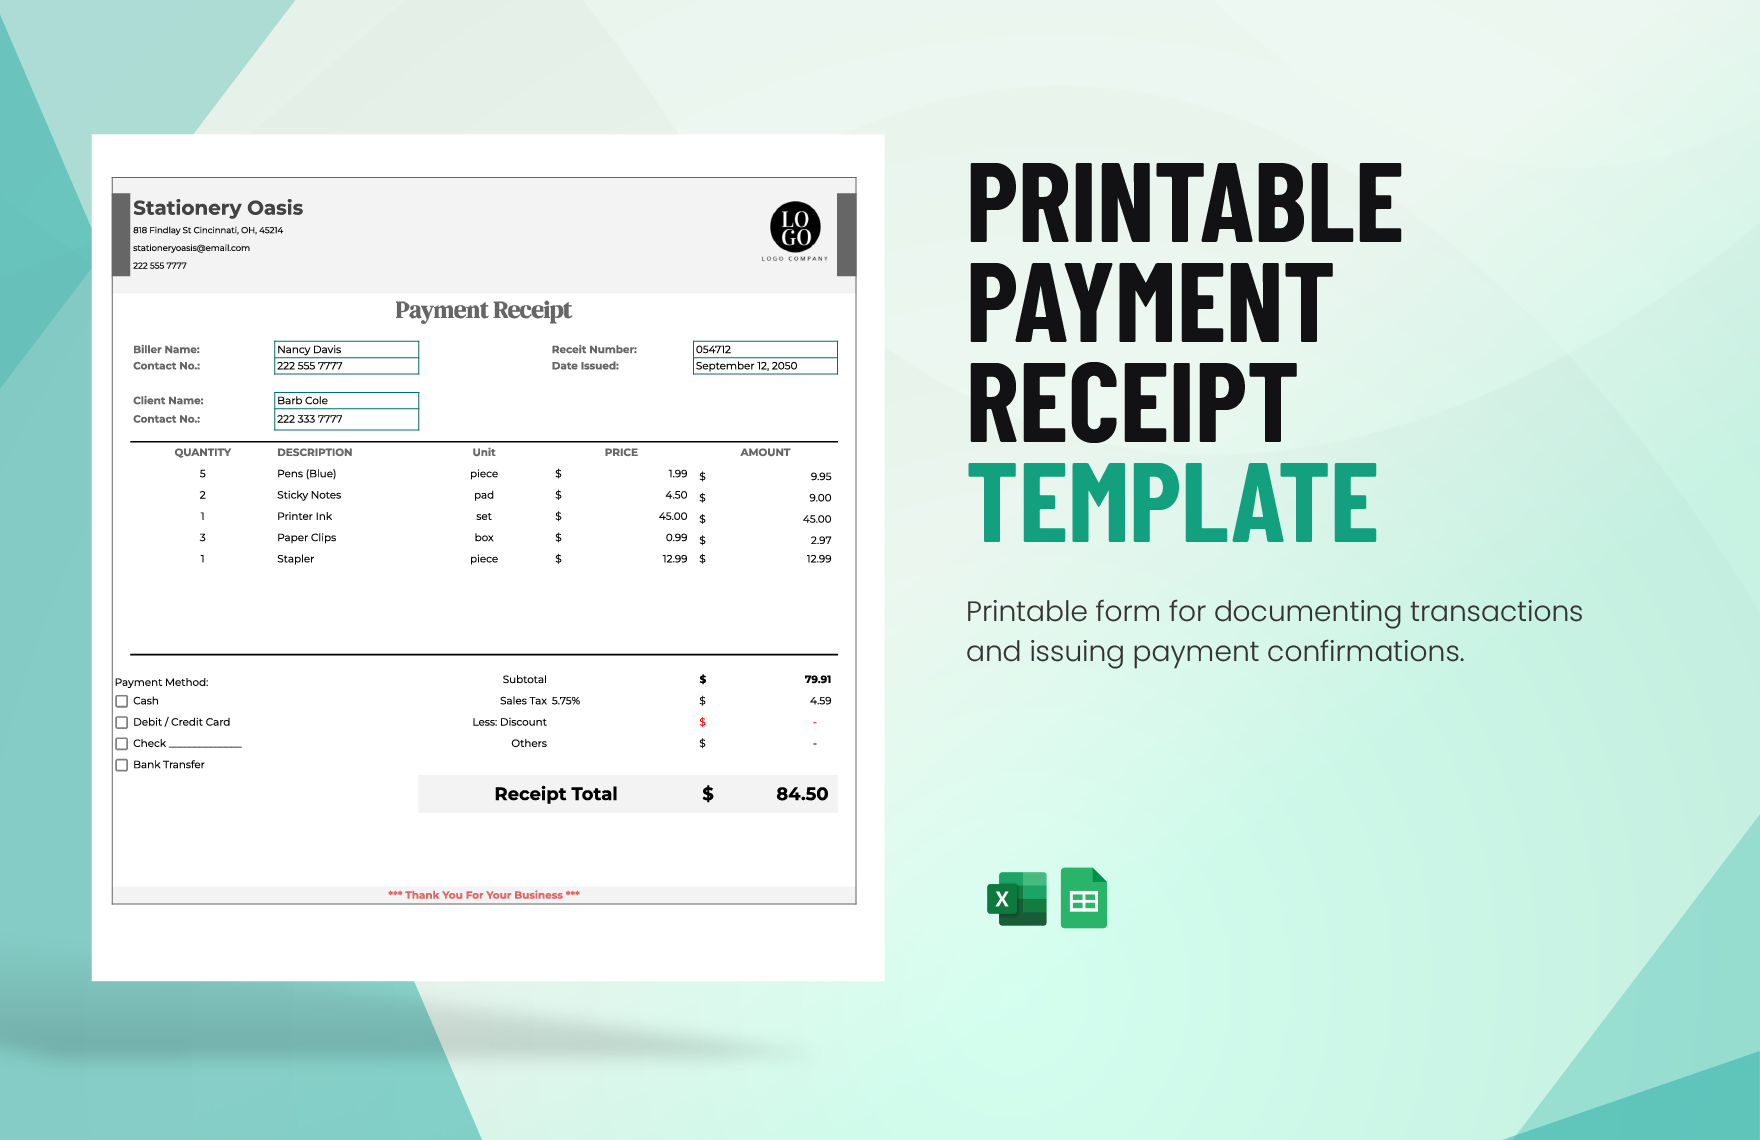
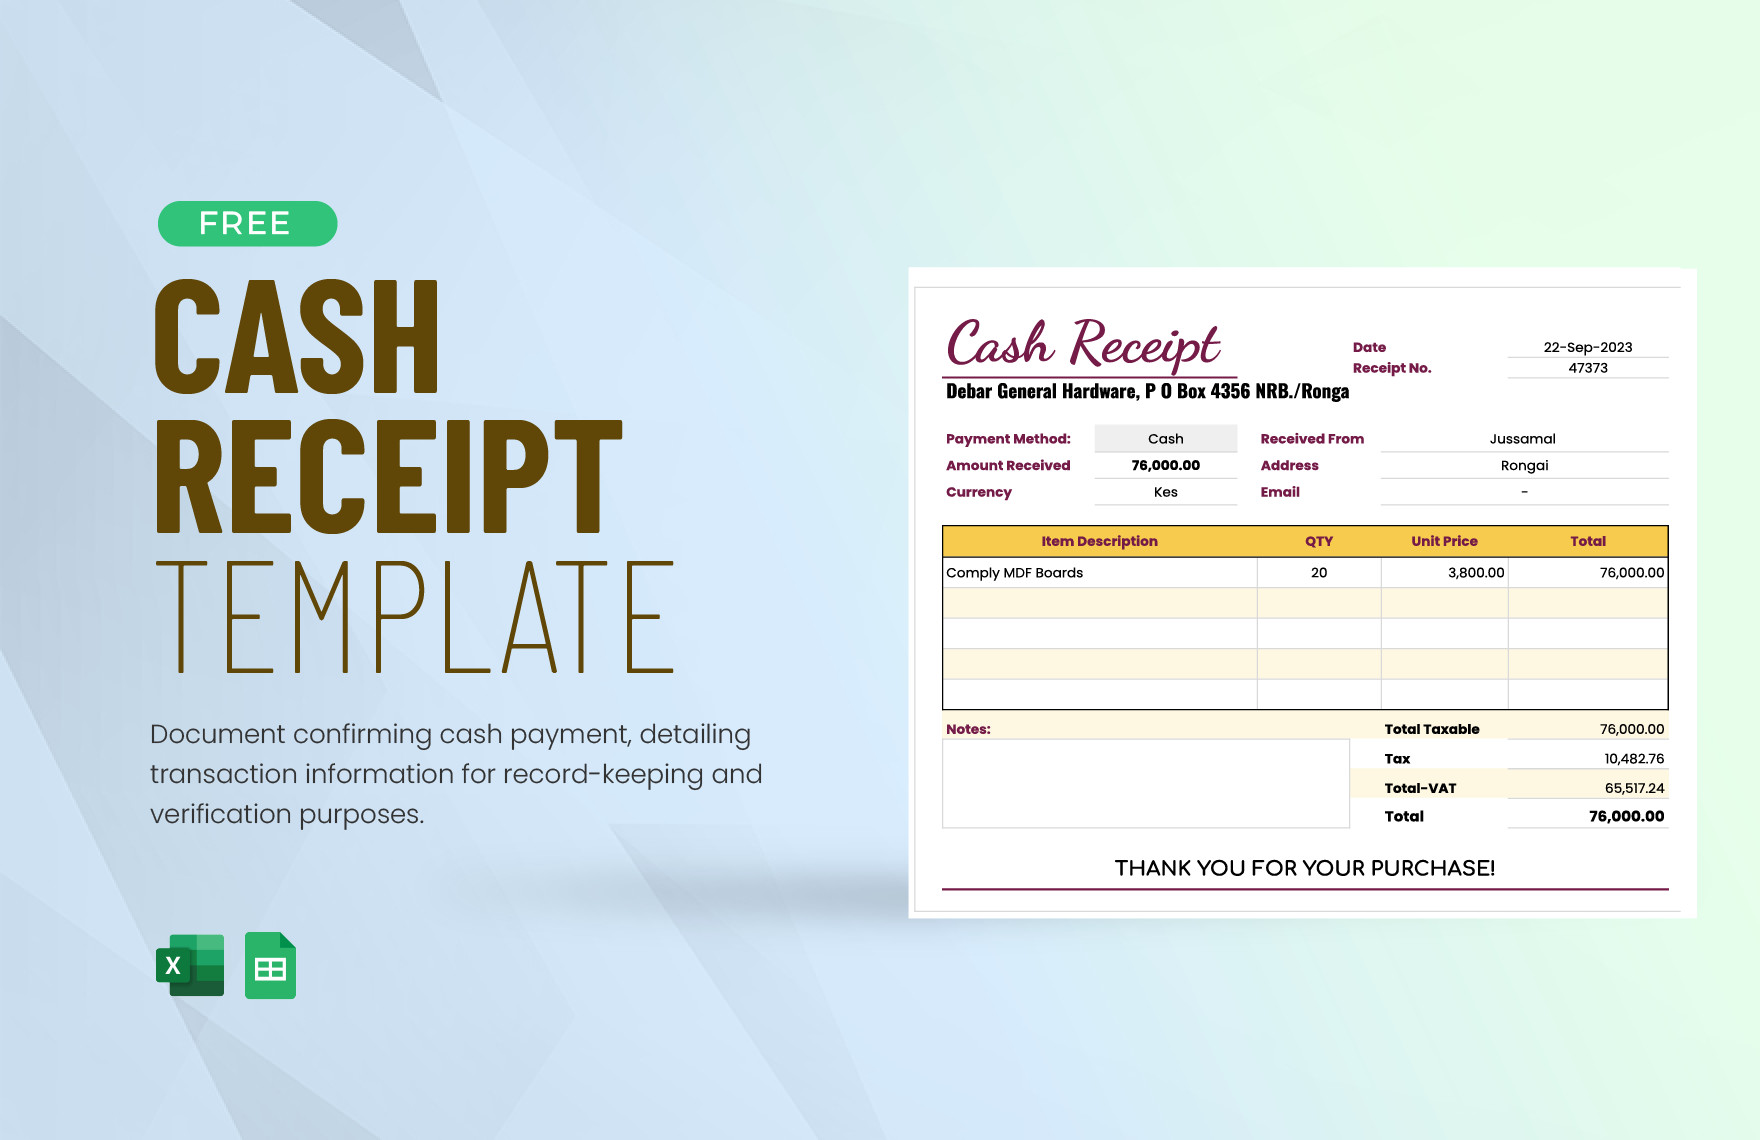
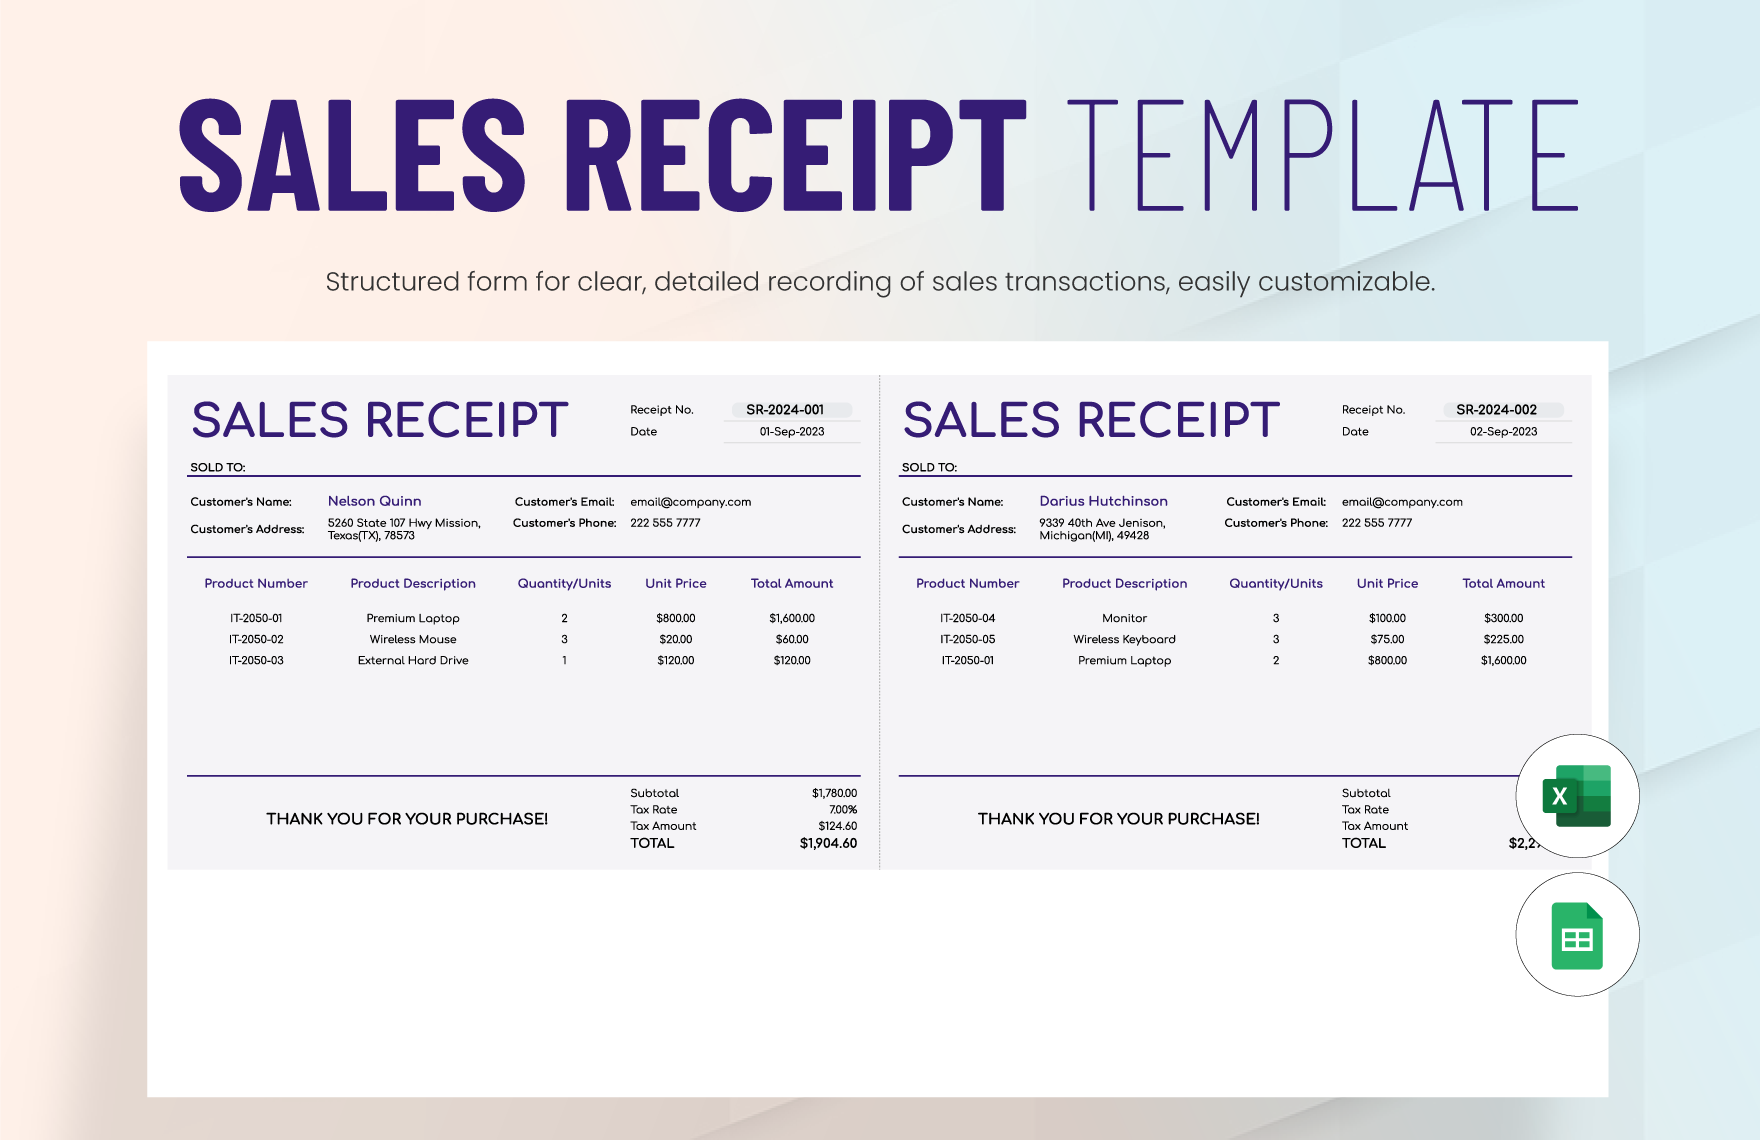
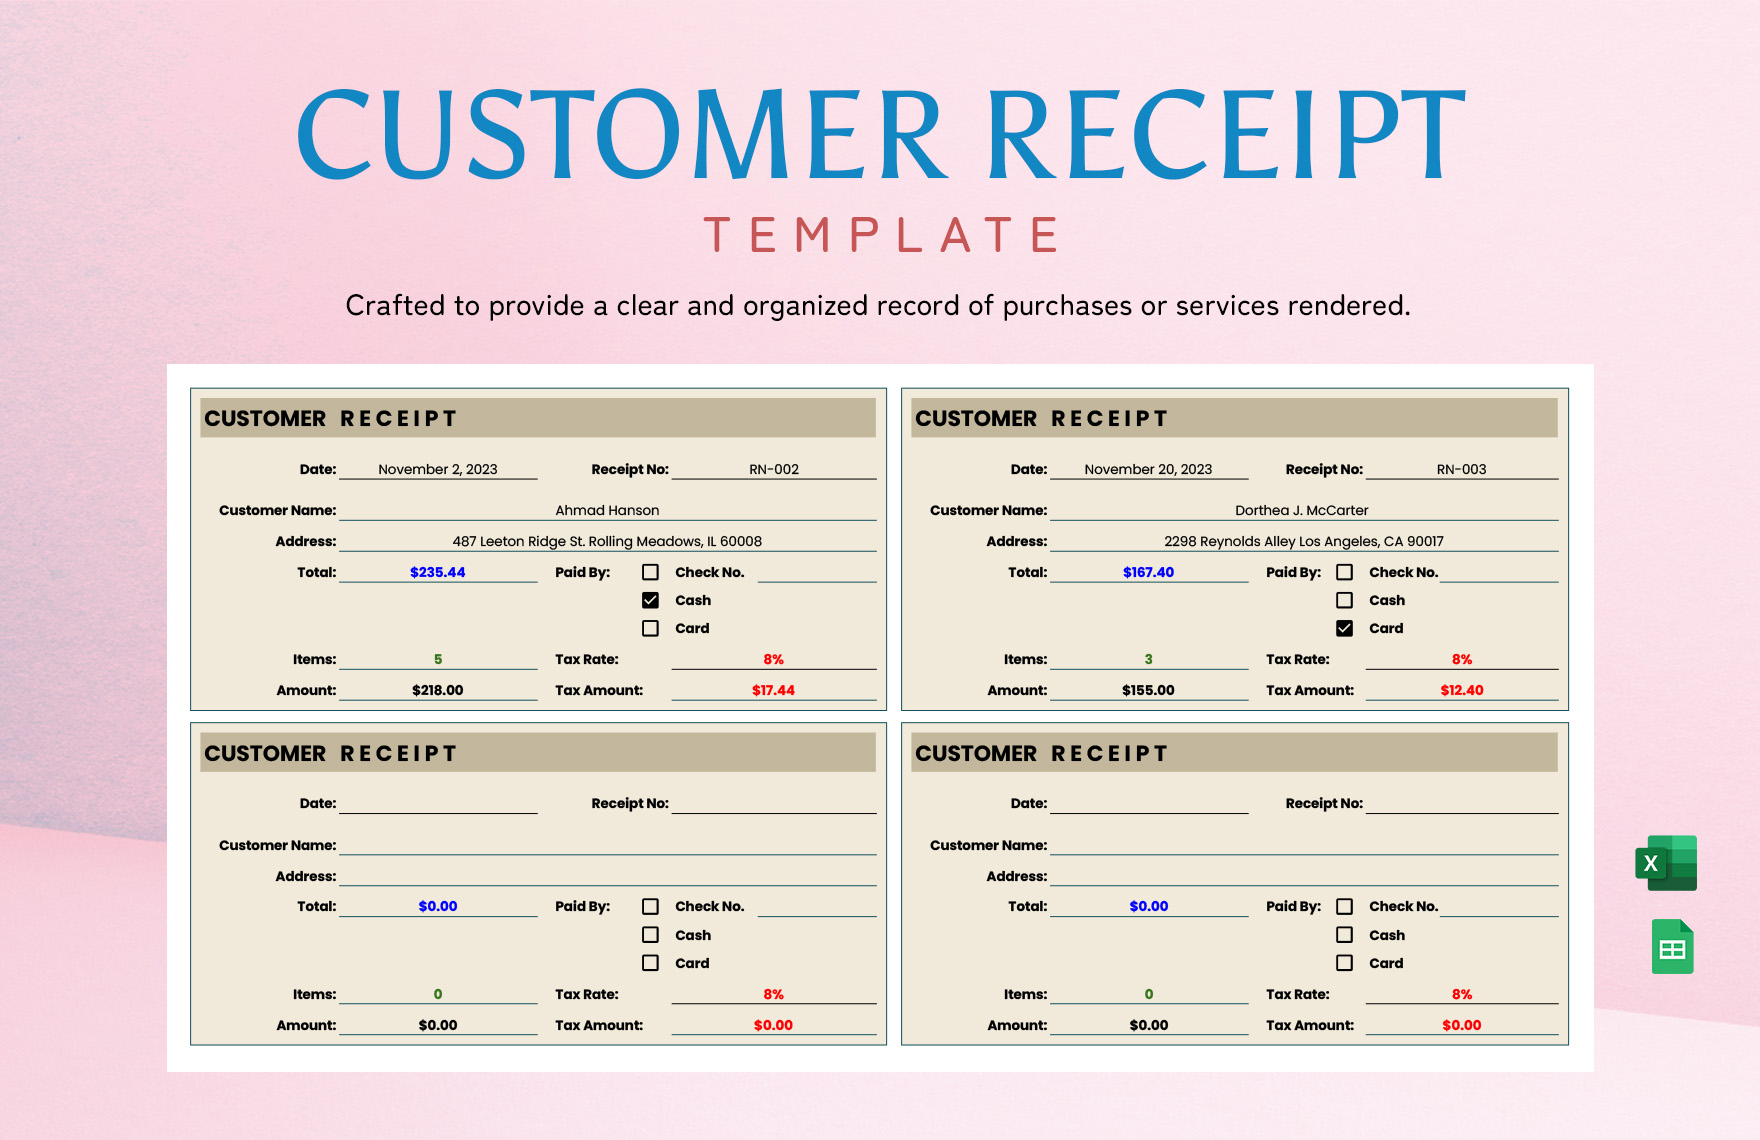
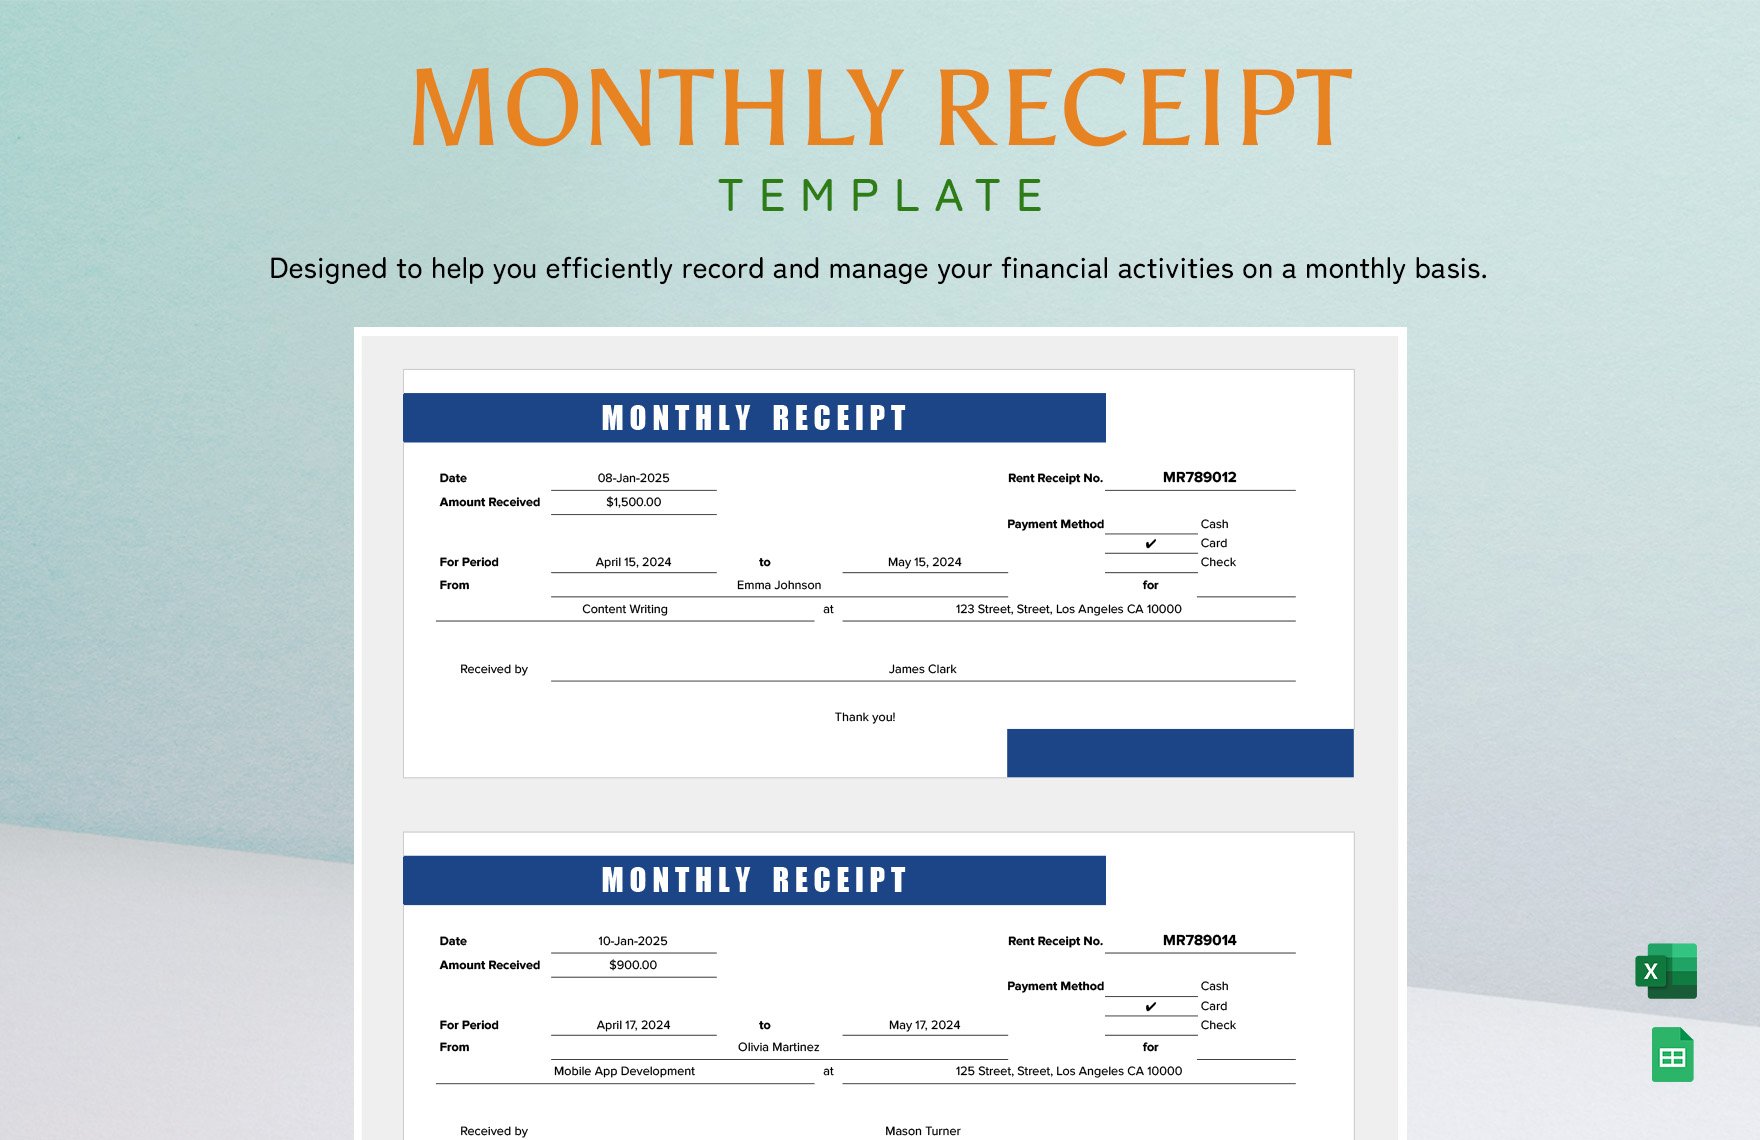
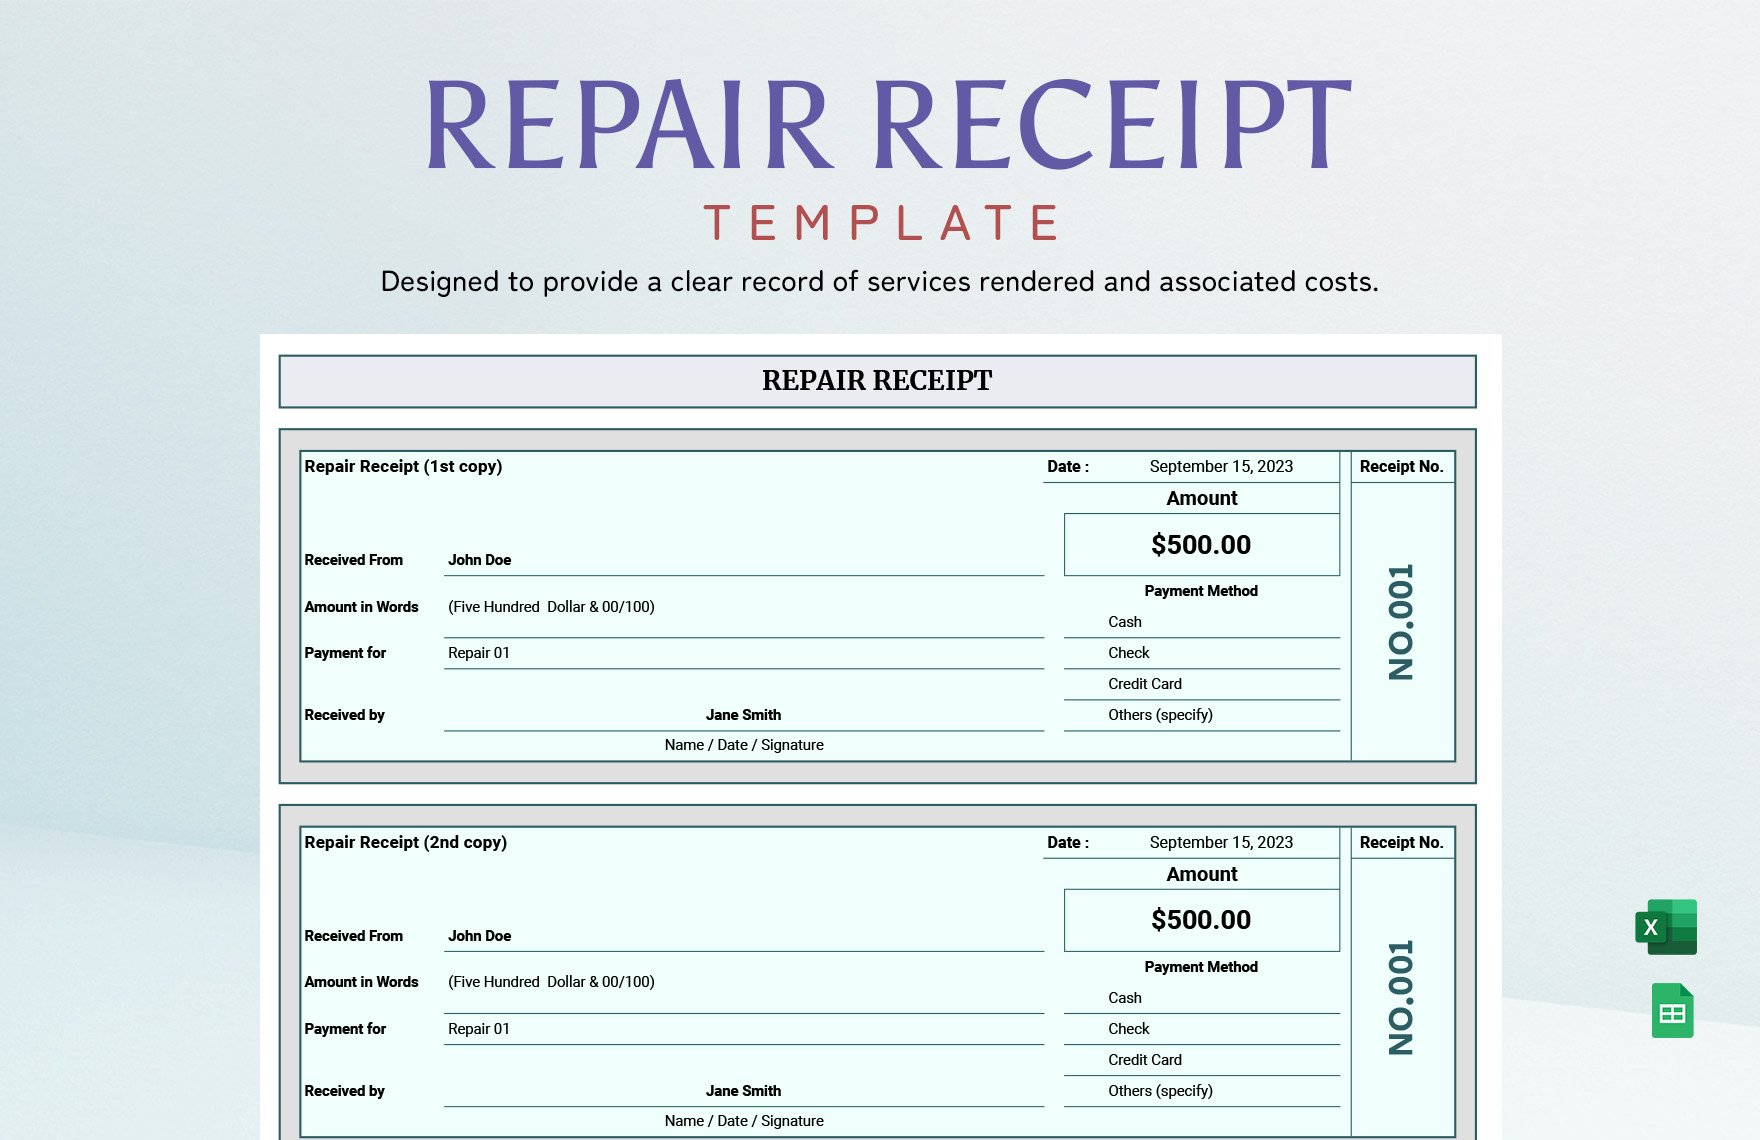
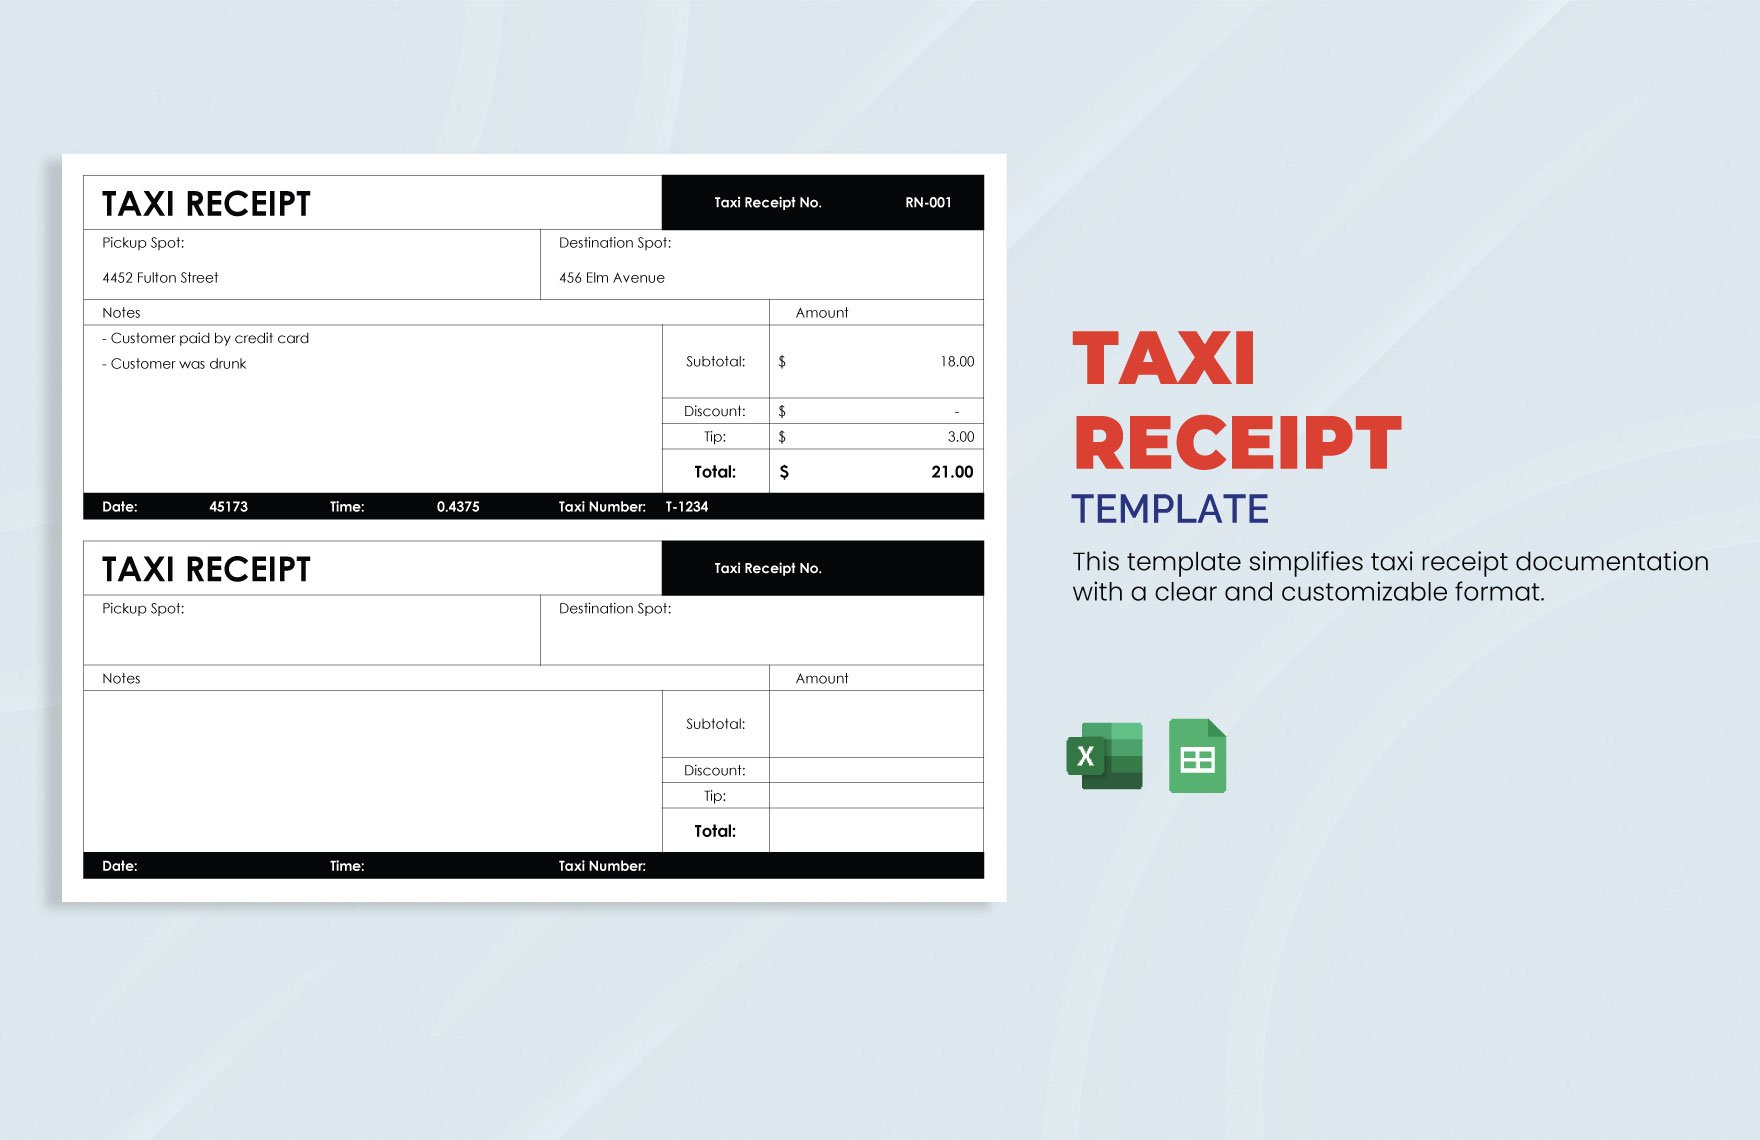
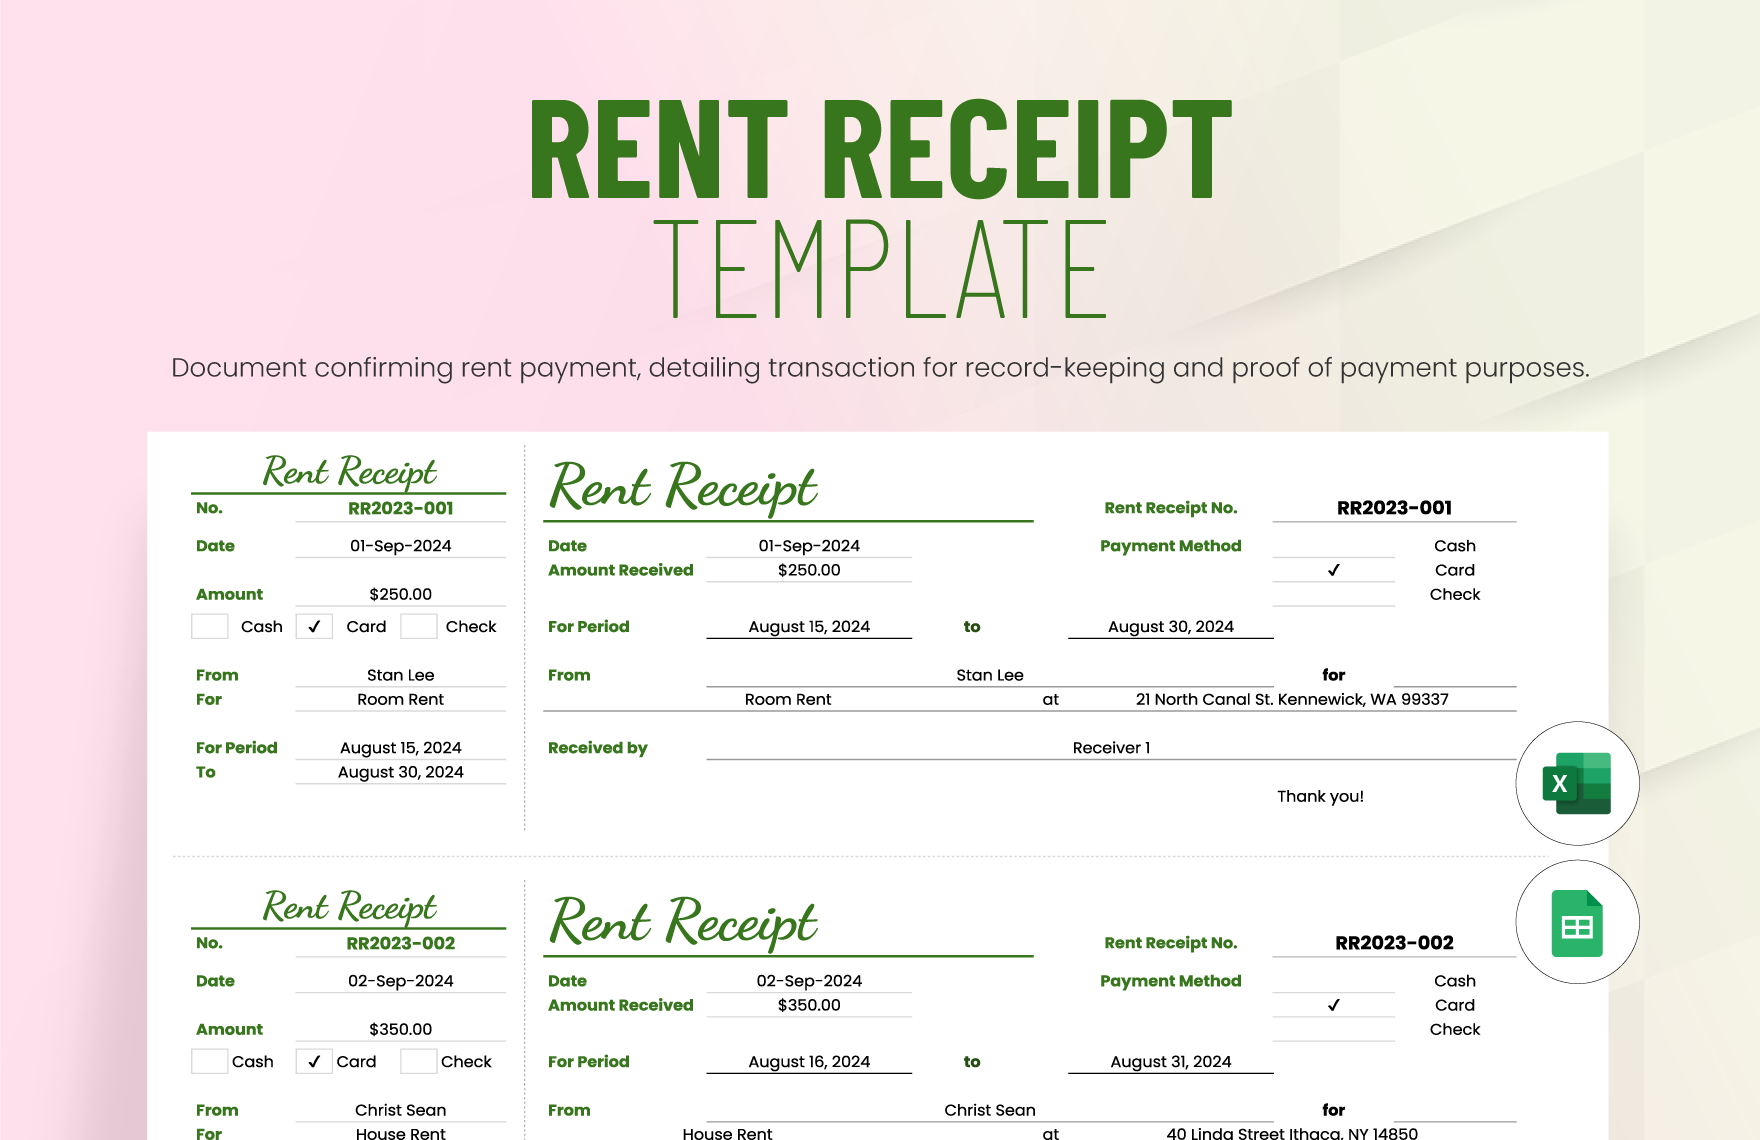
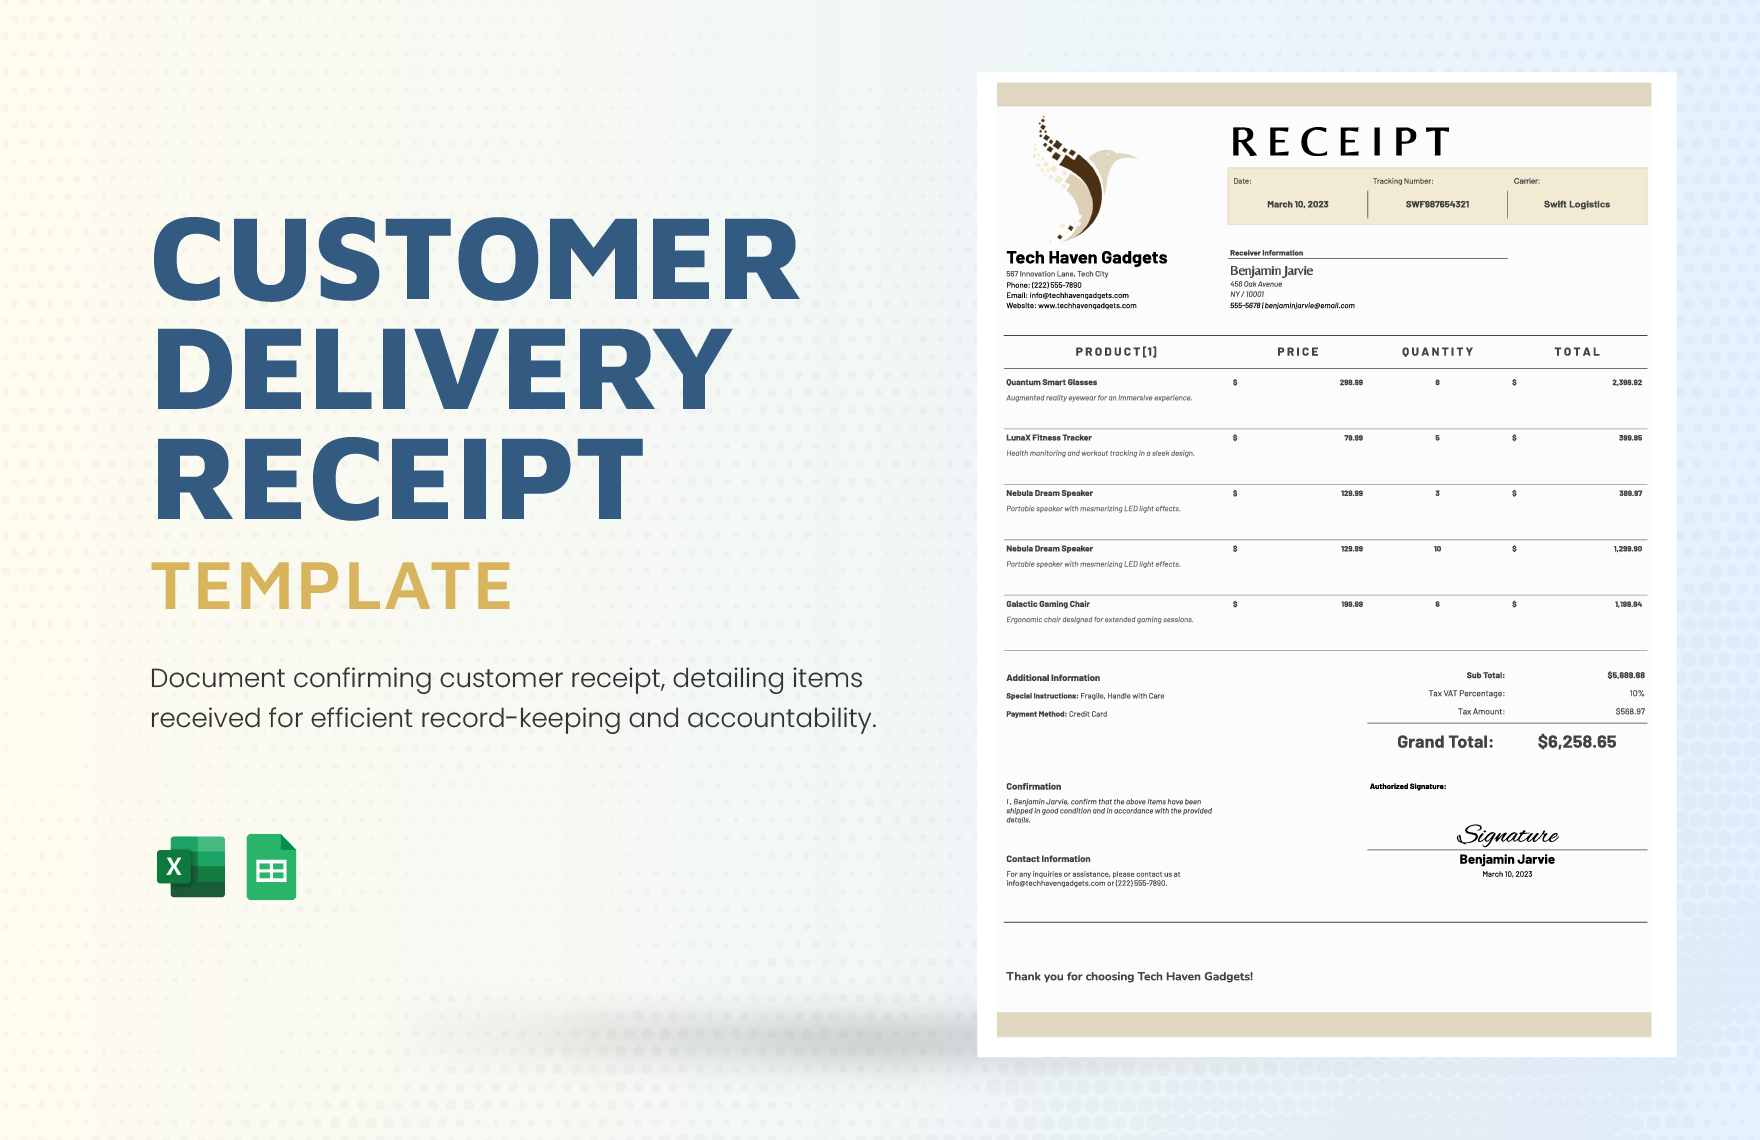
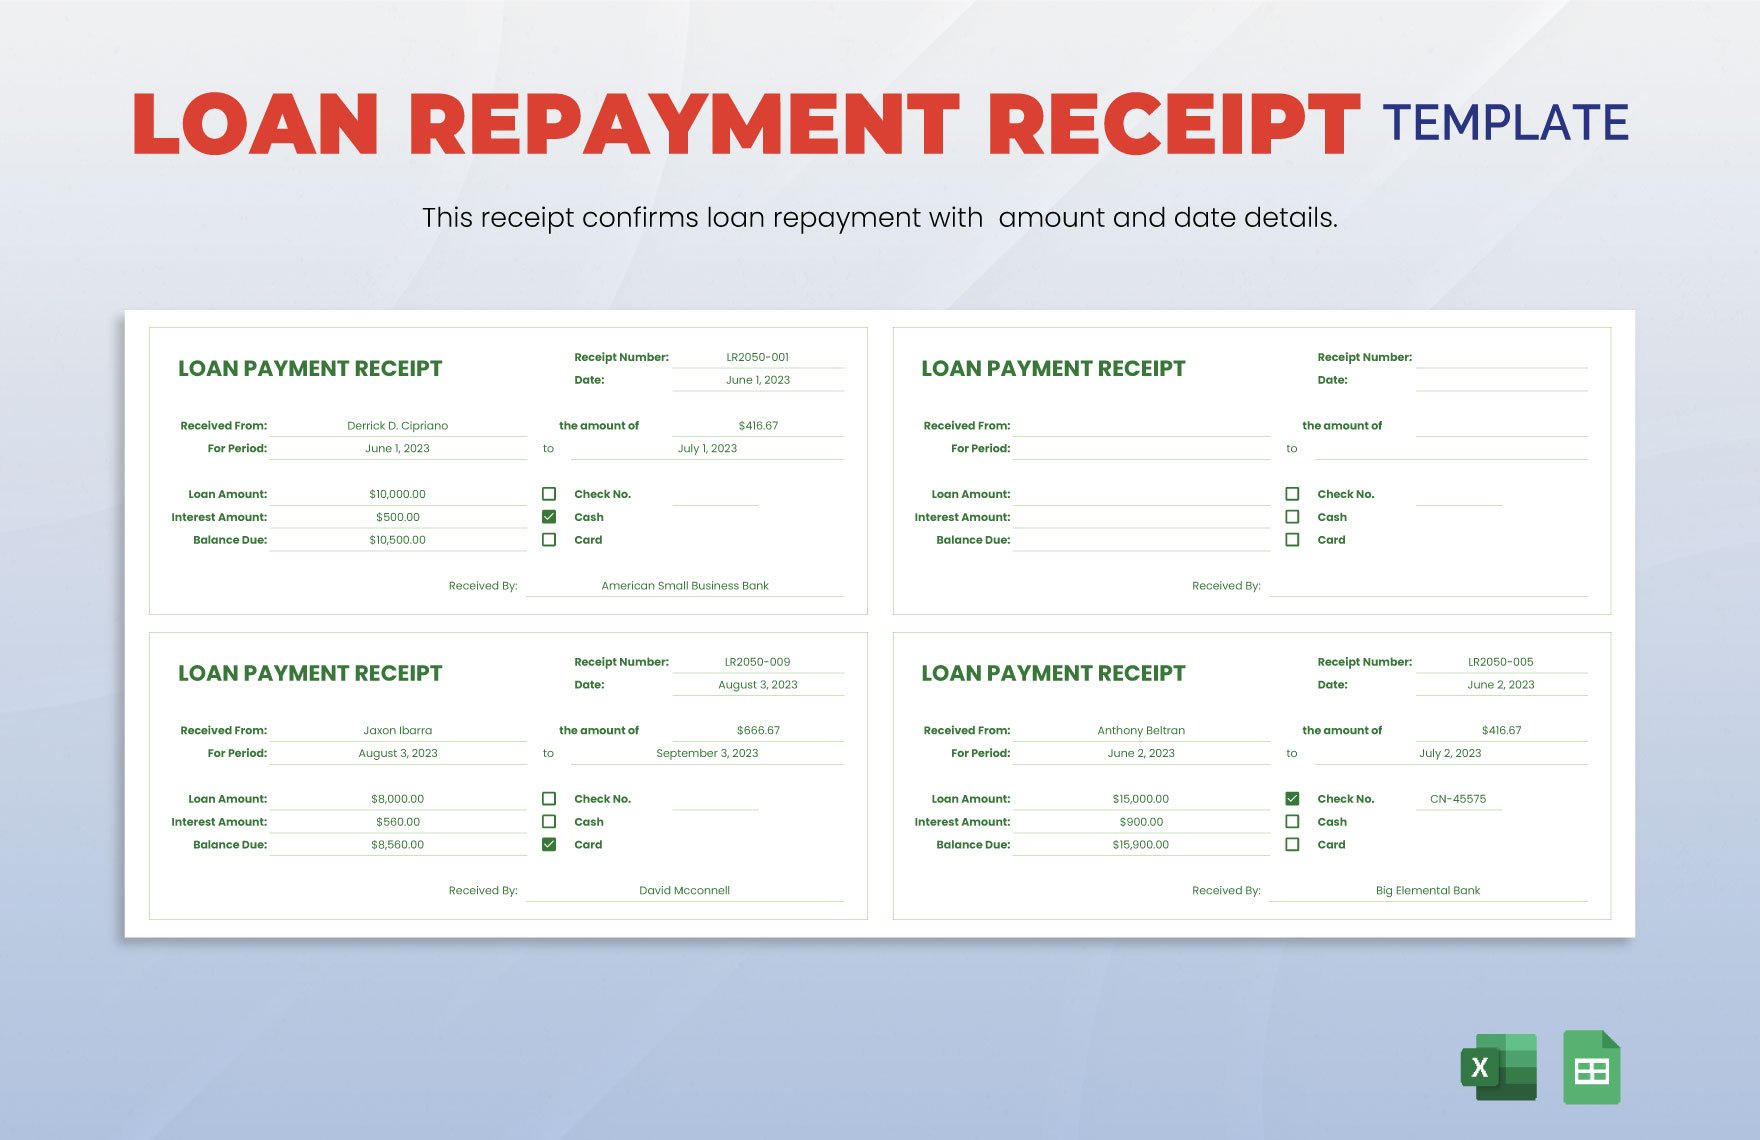
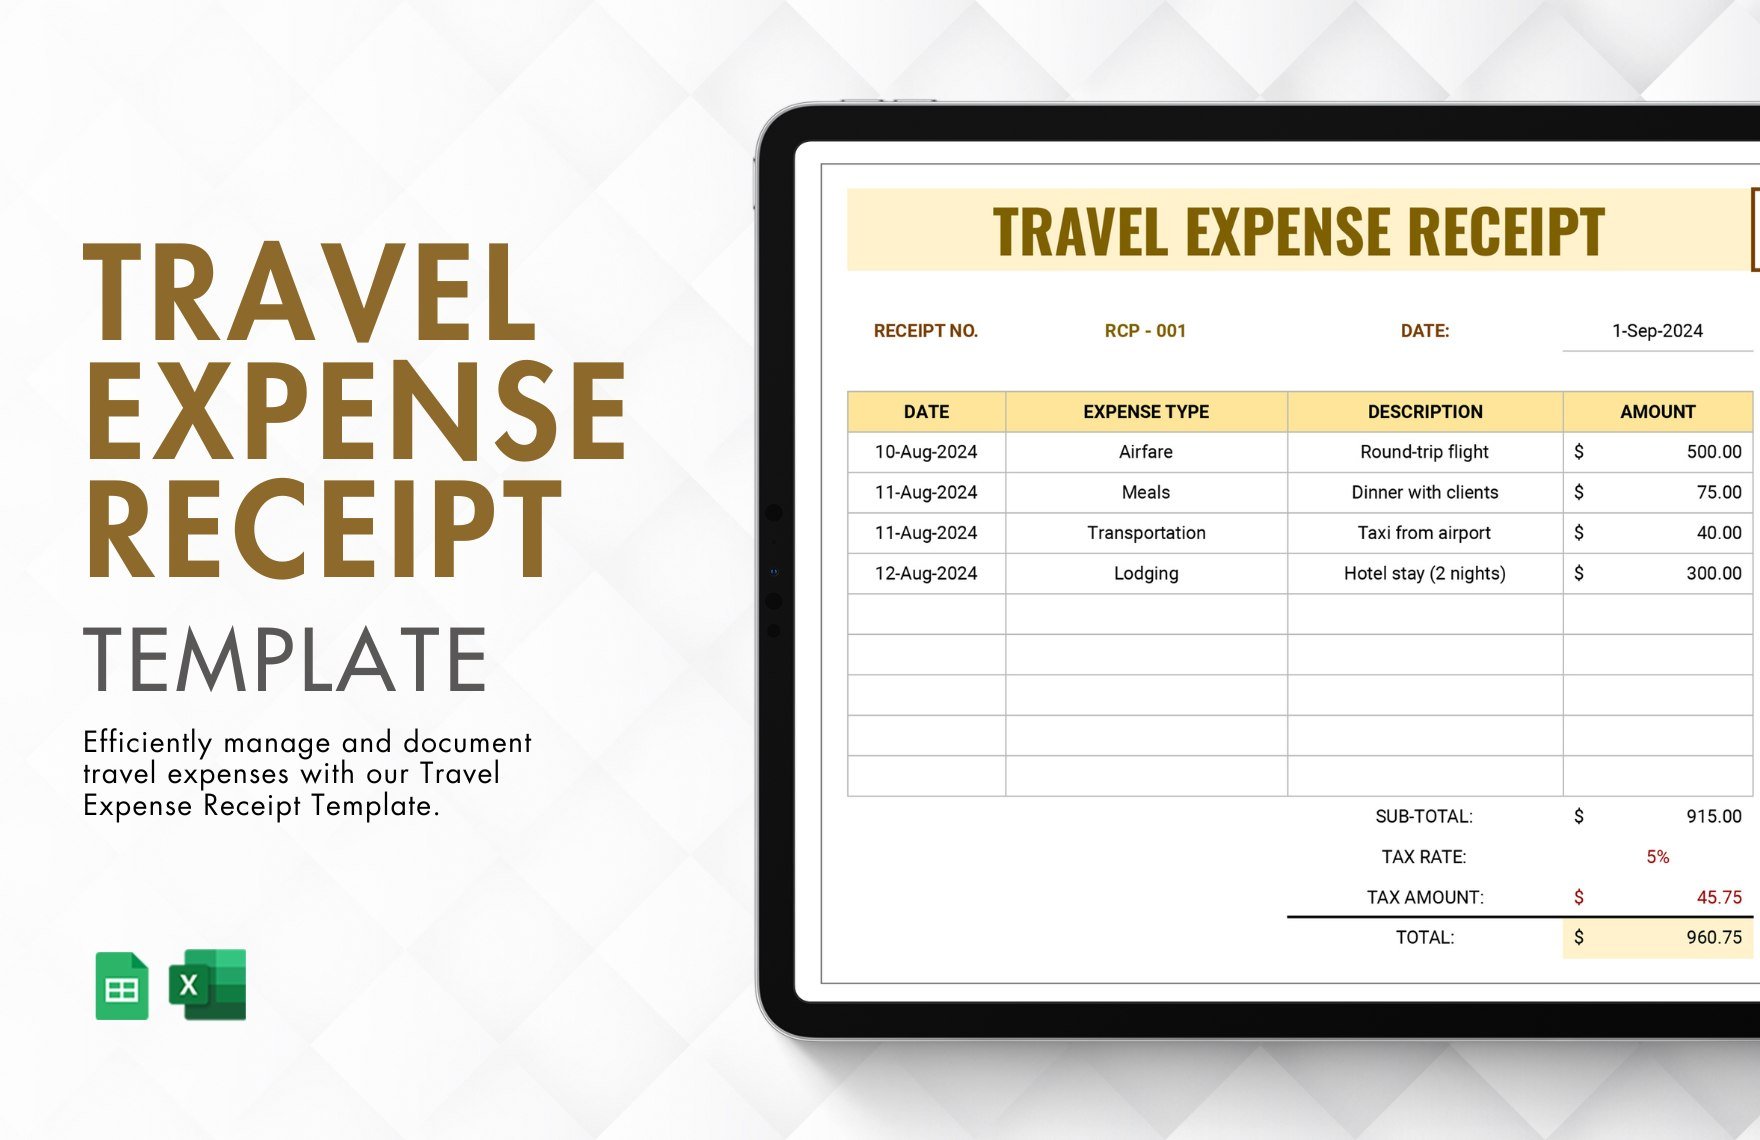
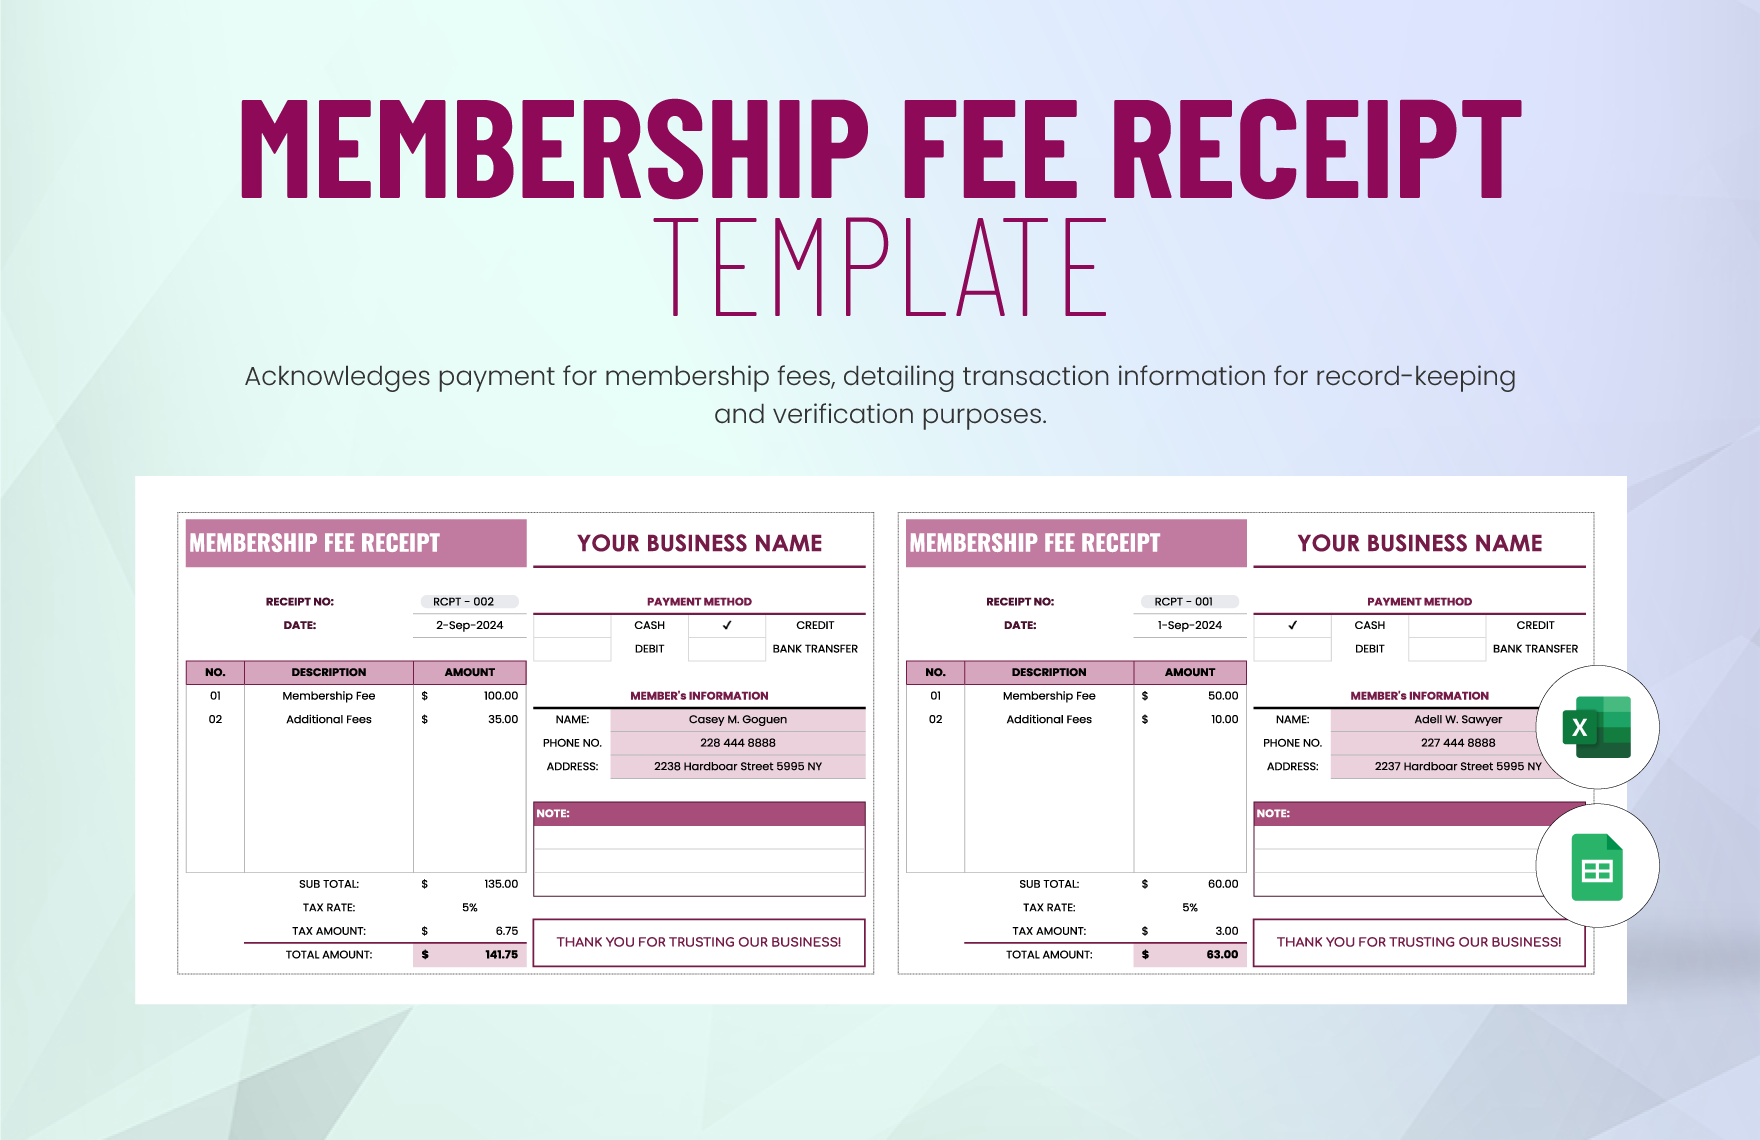
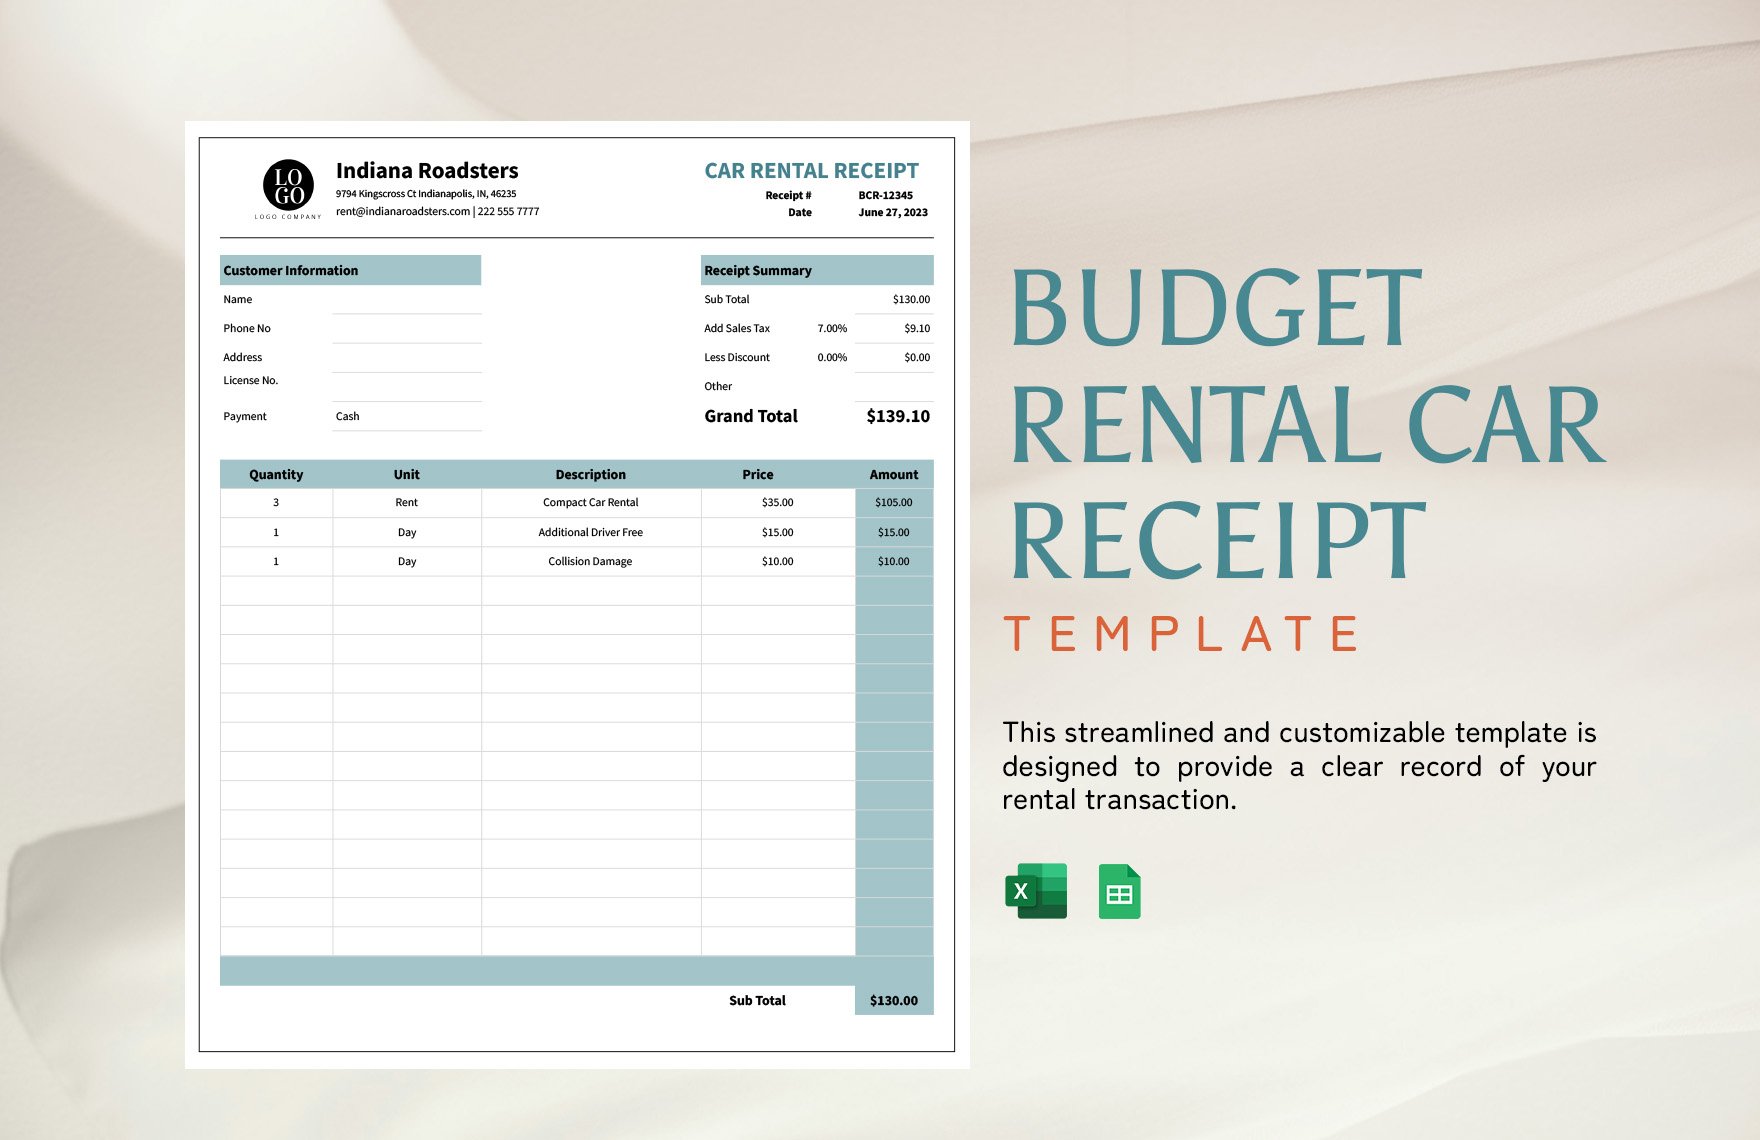
Receipts are very useful in businesses especially when there's a transaction involving cash. They mainly serve as an acknowledgment that one party has received payment in return of a product sold or a service rendered to another party. Here at Template.net, we have some ready-made templates that you can download and use to create professionally-designed business receipts. These receipt templates in Excel are 100% customizable and fully printable, and they can be download whenever and wherever you need to. As long as it involves the selling of goods, rendering of services, or any business transactions that require you to issue a receipt, download a ready-made template instead of starting from scratch.
How to Make Receipts in Microsoft Excel
If you need to make receipts in Excel, we'll teach you how it's done in the easiest way possible. Regardless of the nature of the business, the instructions below can help you make effective and trustworthy receipts.
1. Know the Basics of a Standard Receipt
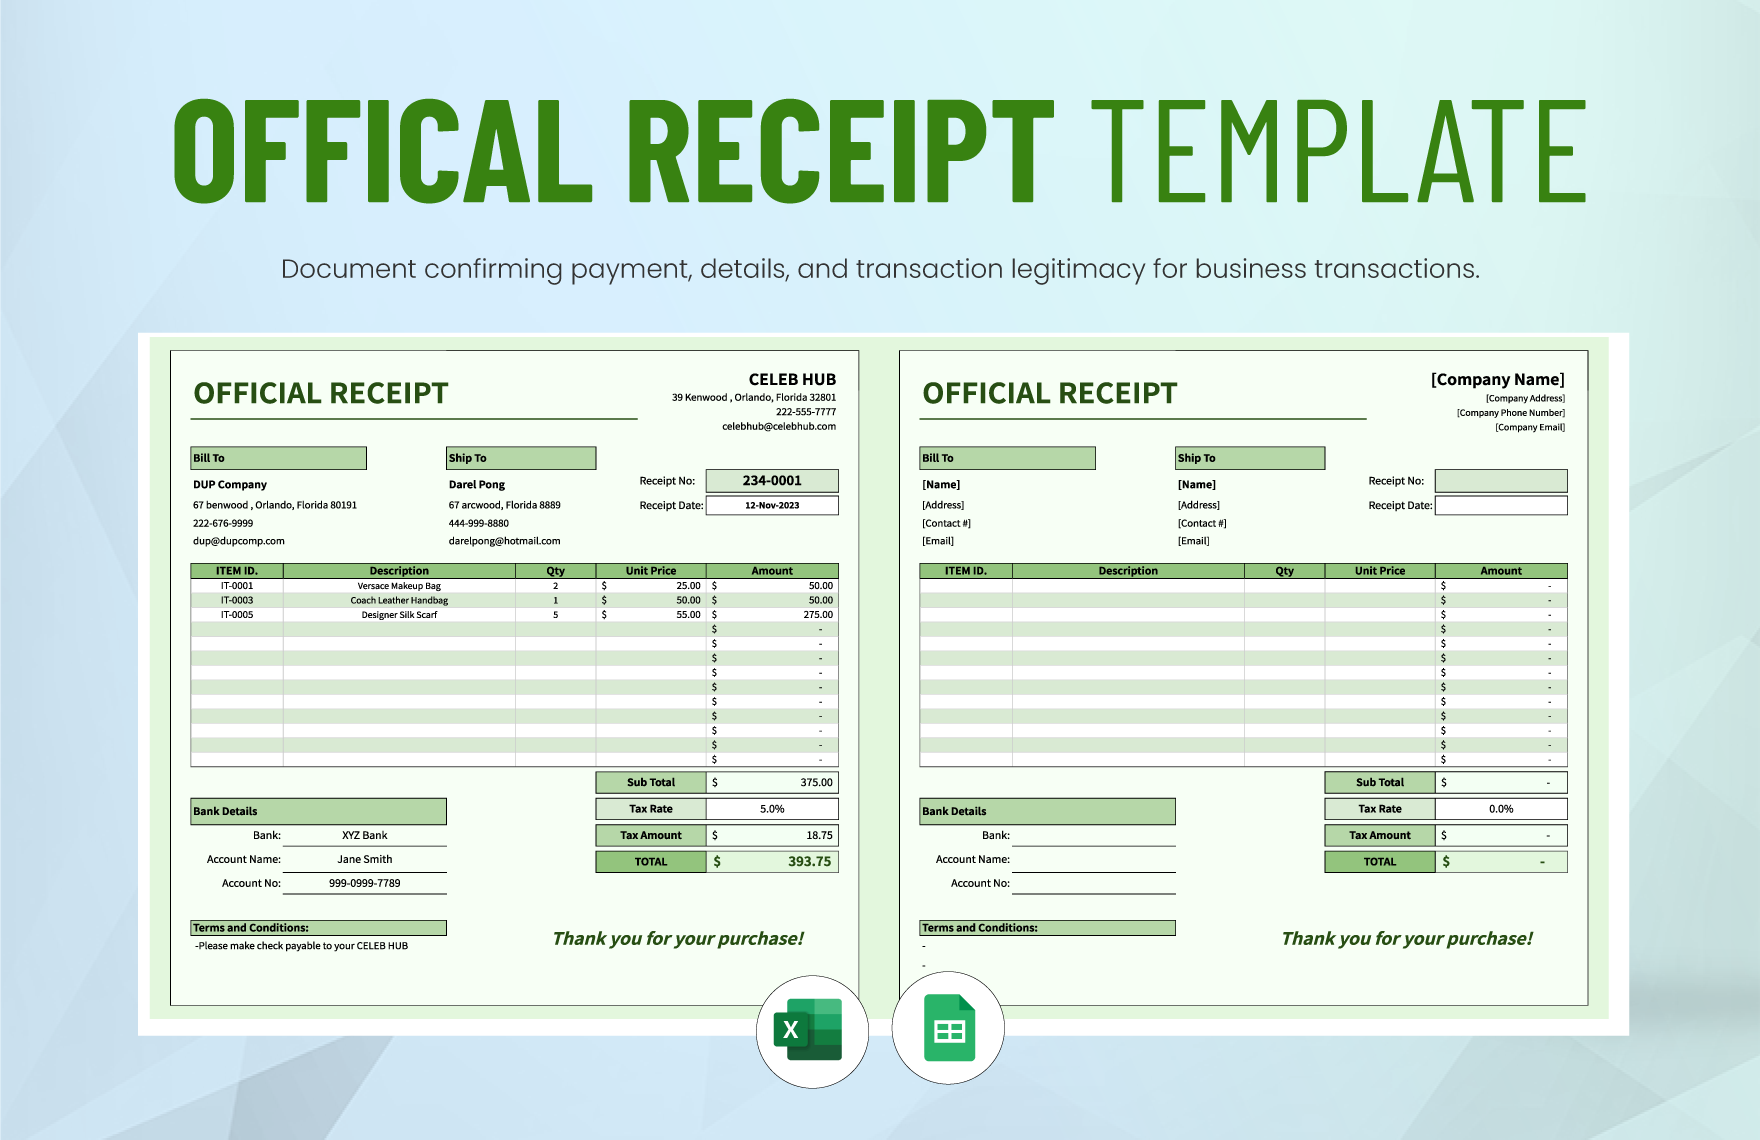
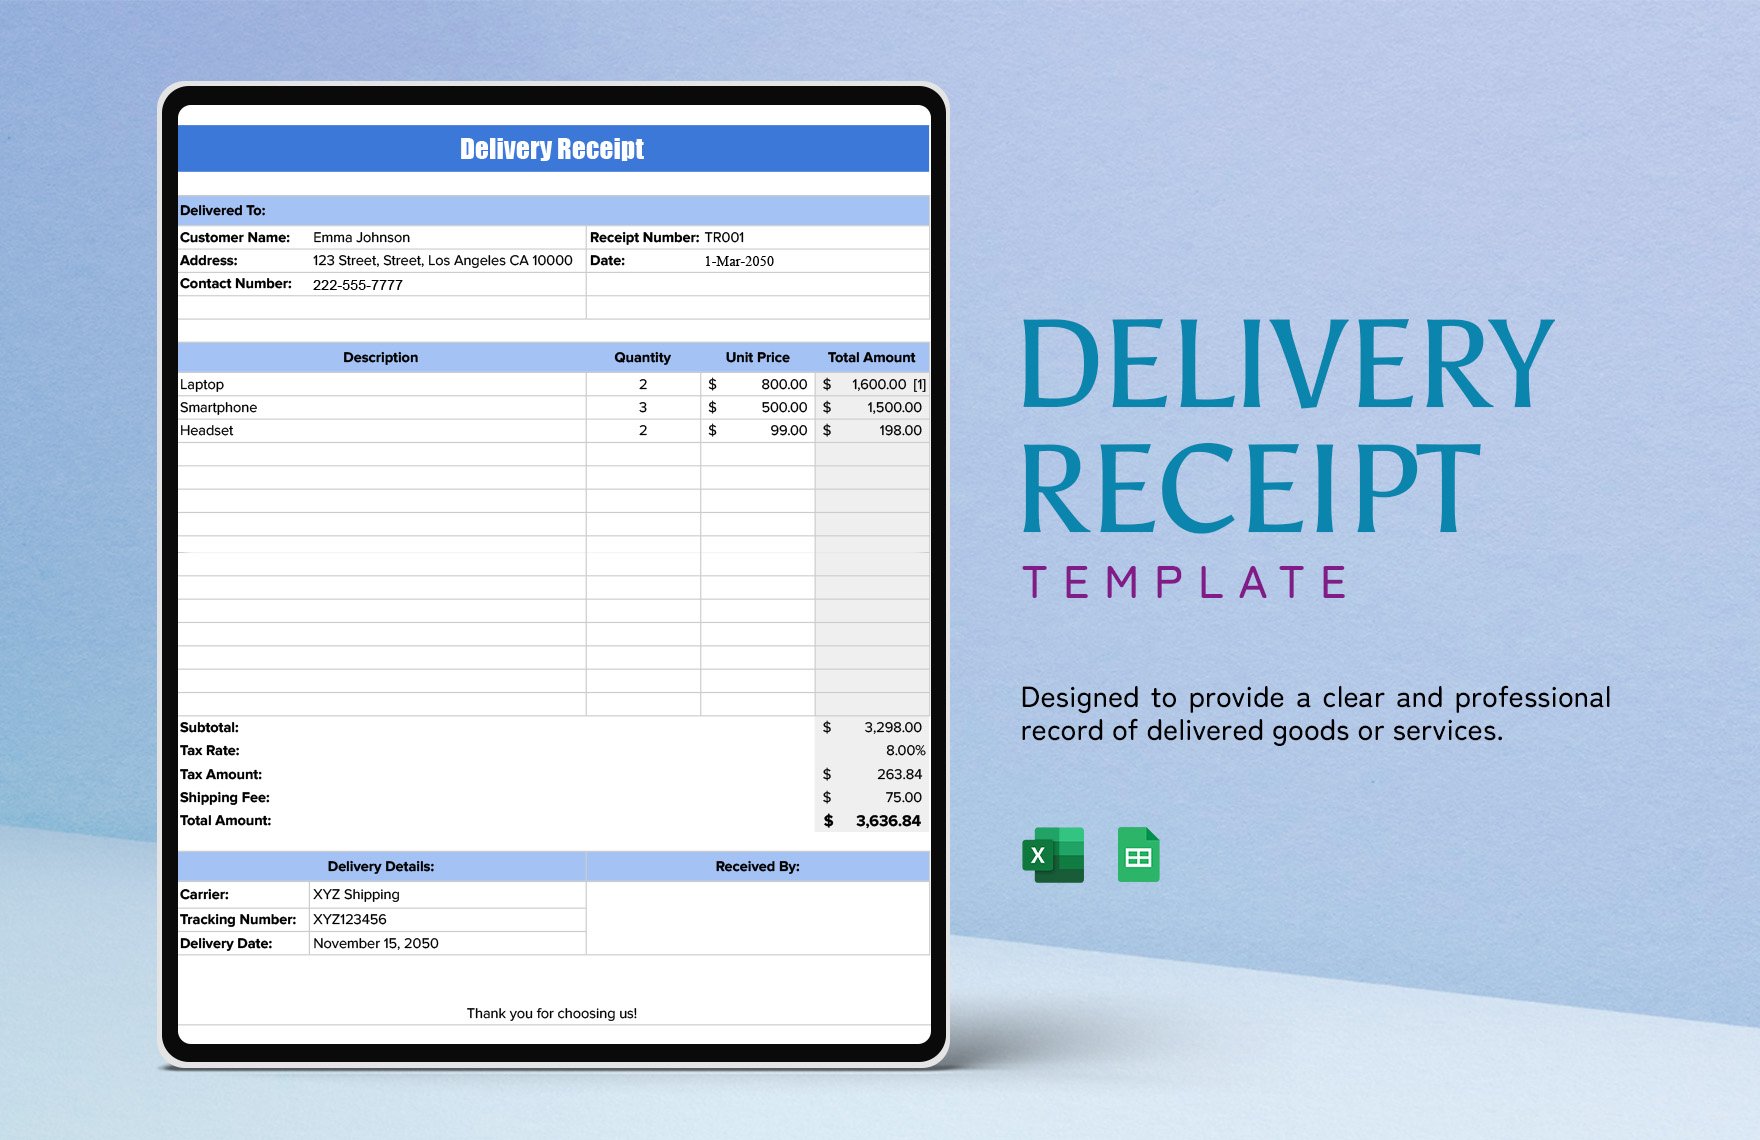
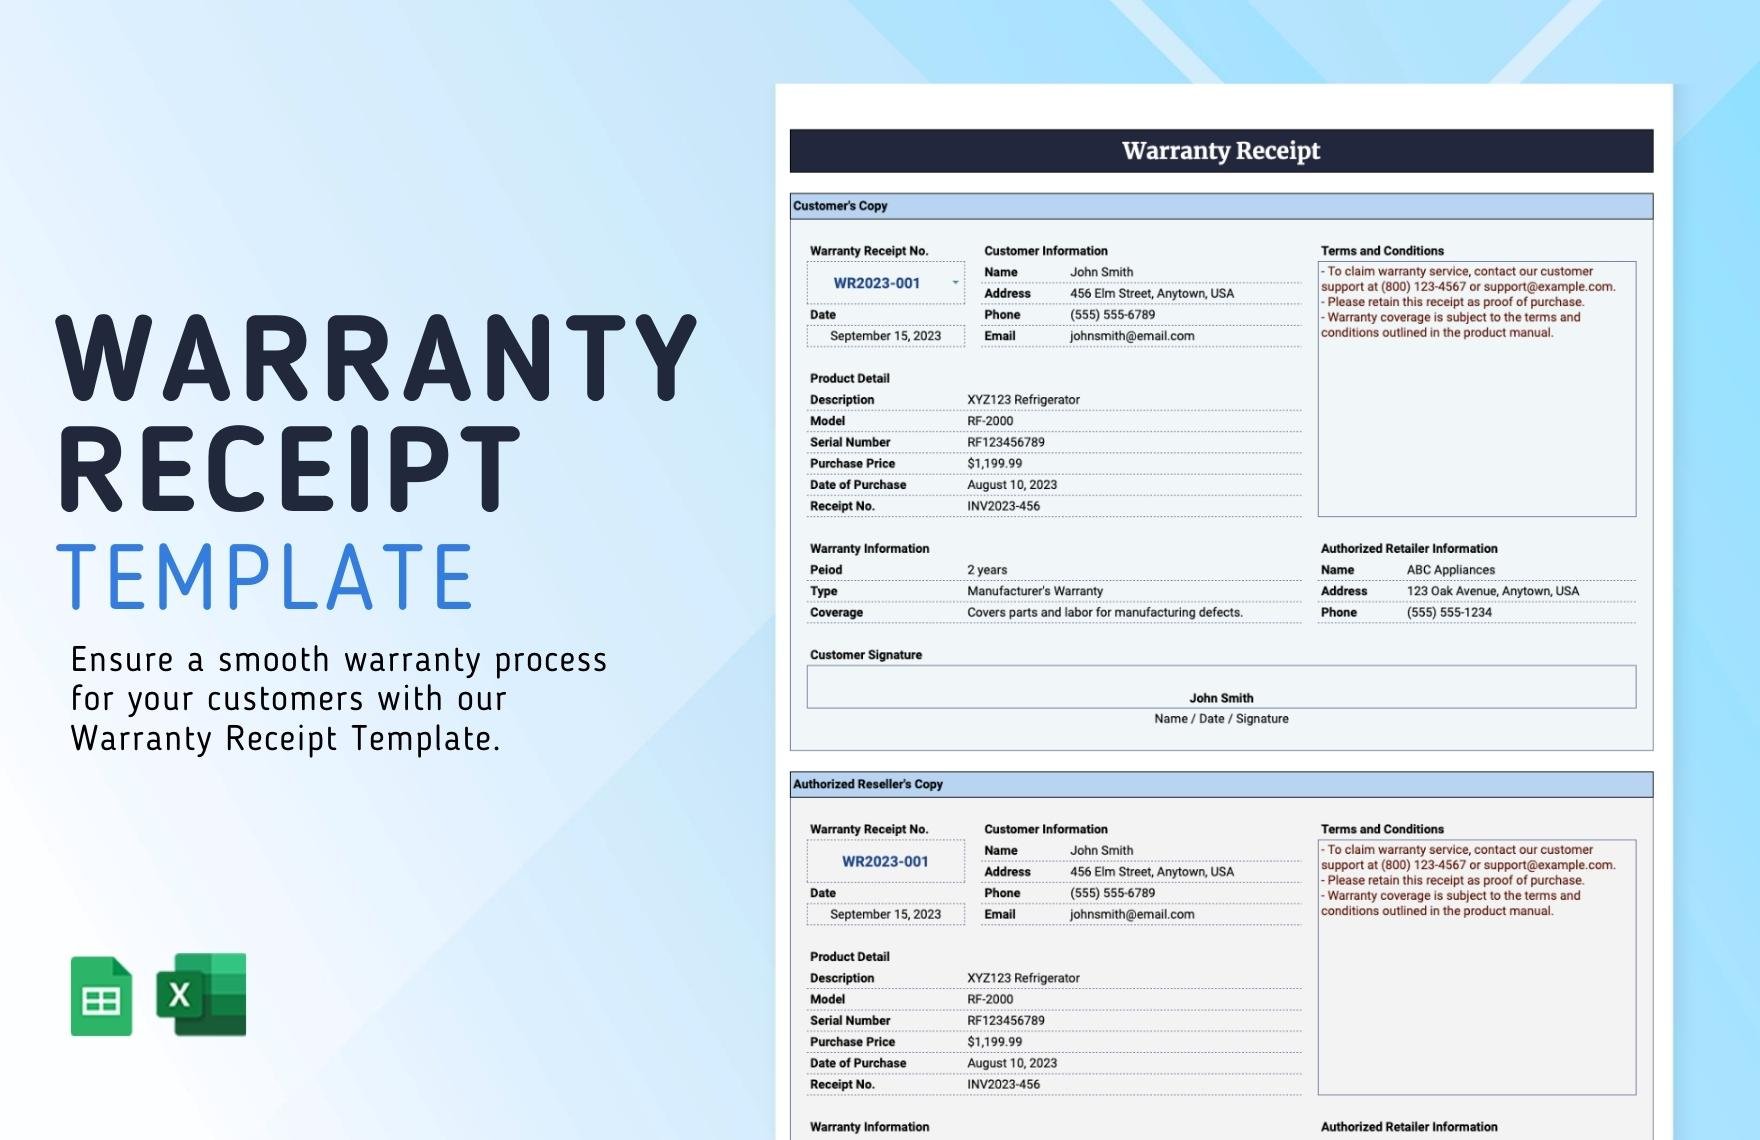
Before you can begin issuing or making receipts, it is a must that you familiarize yourself with its basics. Since we already know what receipts are and why they're used, let's focus on certain features such as its usual content, standard size, and the proper format. However, these basics may vary according to the purpose which is why it is best that you start with the standard receipts before dwelling on the specific types.
2. Determine Where to Use your Receipts
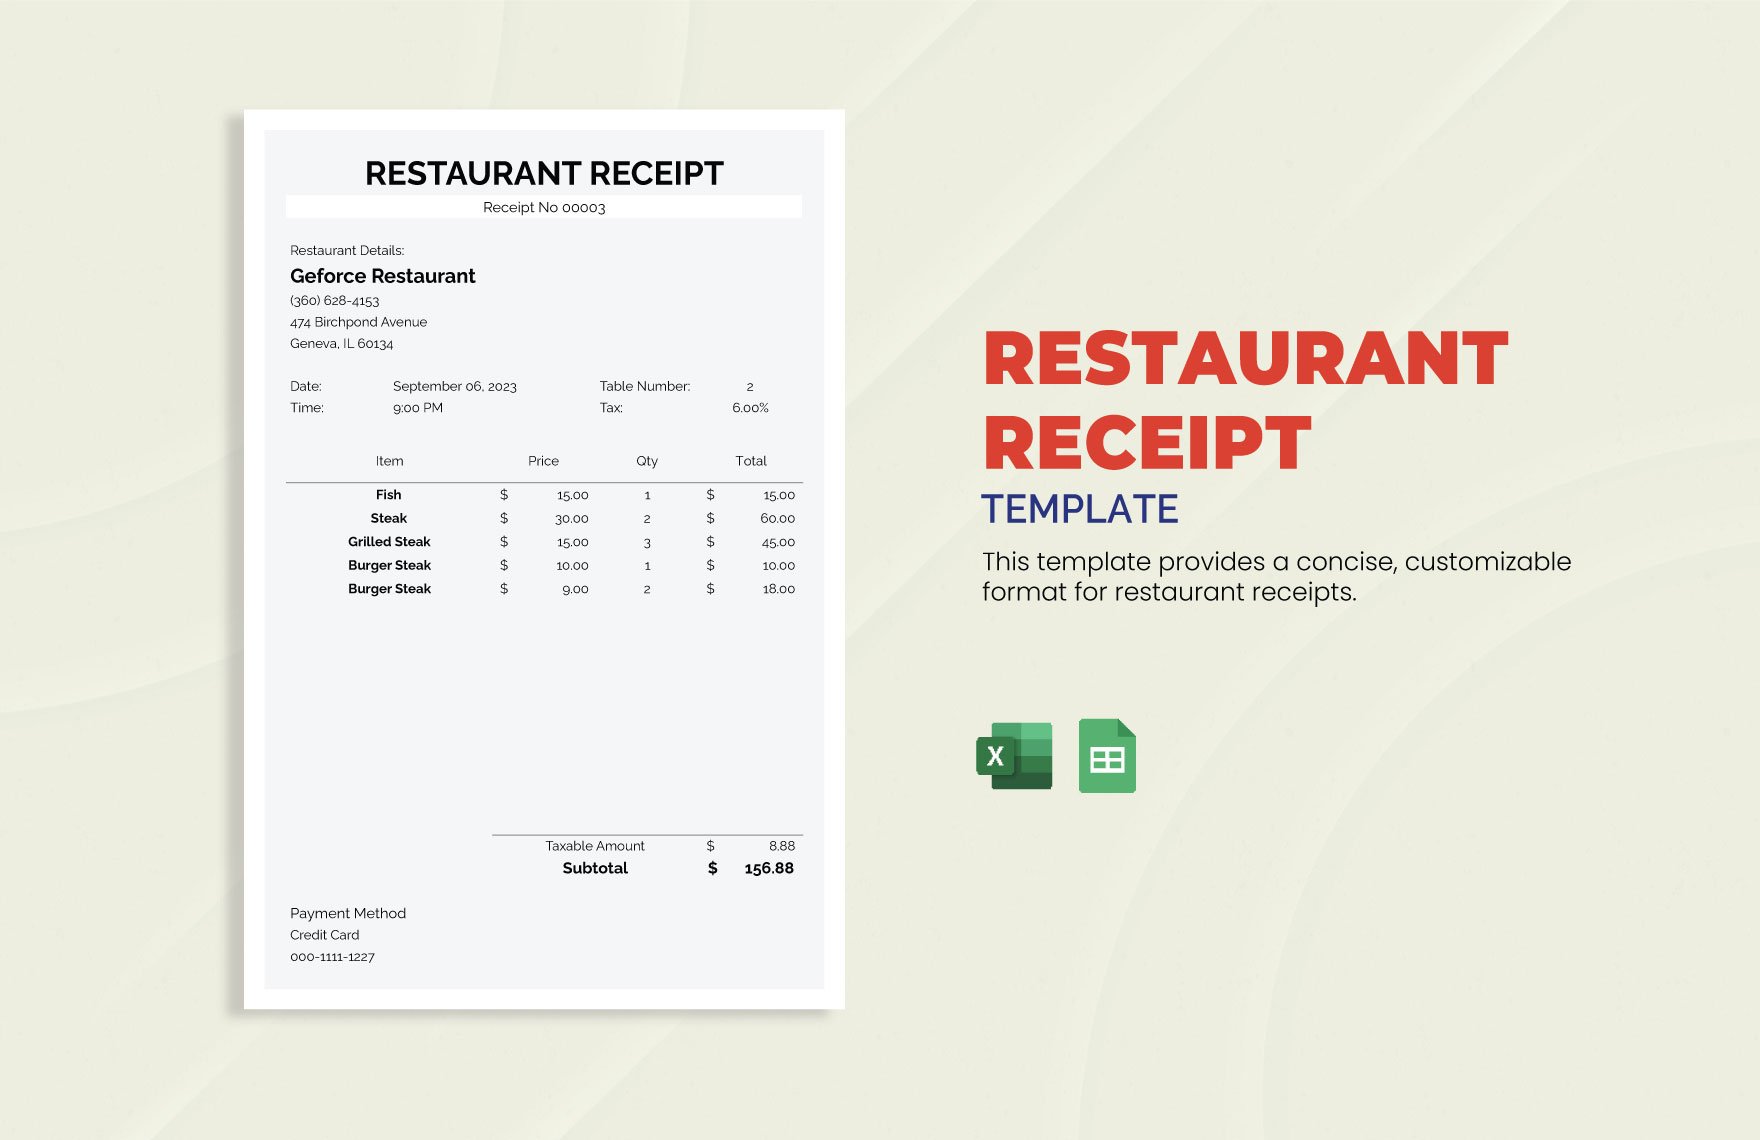
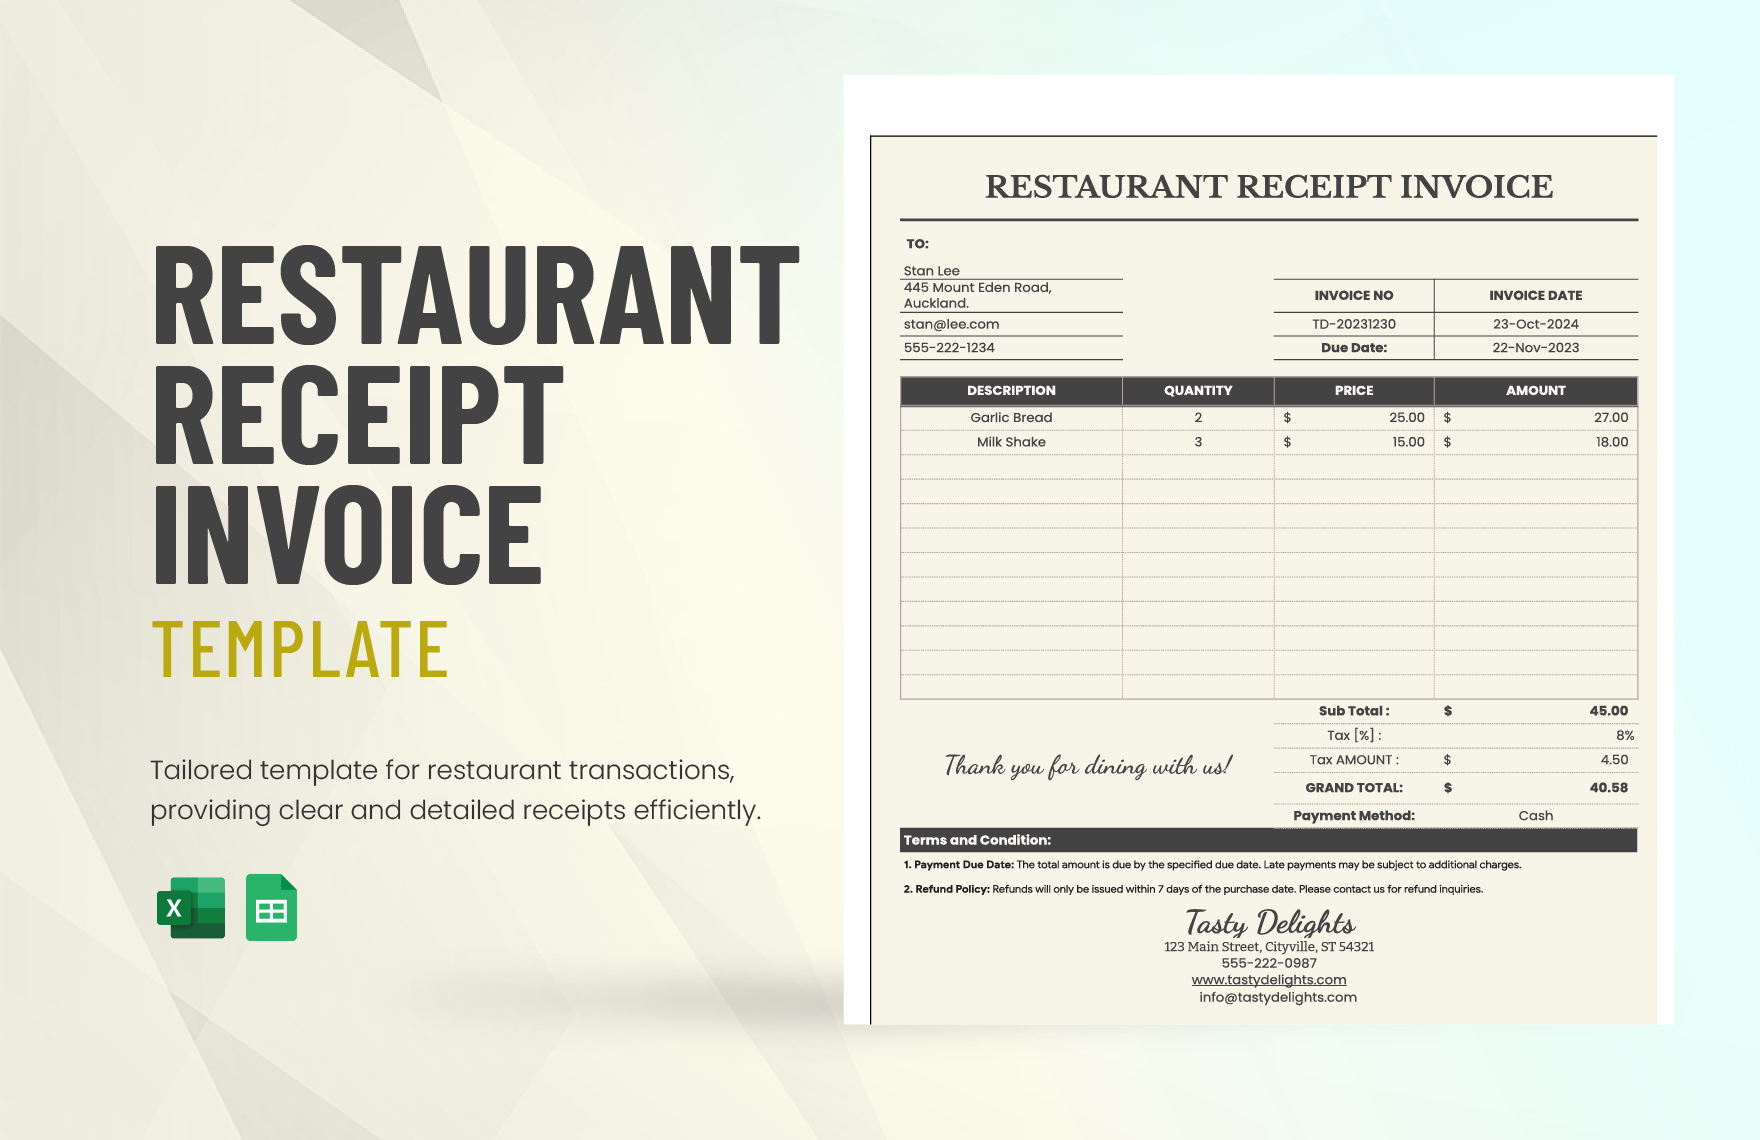
After getting yourself familiar with generic receipts, you can then start determining where to use them. Of course, this will depend on the nature of your business which is why you need to make sure that your receipts are tailored appropriately. In a restaurant or grocery store setting, for example, your receipt should consist of the food items ordered or the goods purchased, respectively.
3. Start Making your Receipts in Microsoft Excel
By using Microsoft Excel to make your receipts, it'll be very easy for you to create a table where the contents are going to be written. Launch Excel, create a blank spreadsheet, and then set up the layout by changing the borders of some of the cells. In cases wherein you will need to create more than just one receipt for a single business, you can choose to create a new Book instead of having to create an entirely new file.
4. Add your Organization's Identity
To keep your cash receipts unique and distinguishable from those that are used by other entities, add your company or establishment's basic information at the layout's header. These basic details include the name and logo of the organization, the street address, and the contact numbers. As much as you want to provide more details for your customers, keep it simple and clean to provide more room for the more important content.
5. Write Receipt Numbers for Tracking Purposes
While it may not always be required but it can greatly help if you include a control number for each receipt and each booklet. The reason why it is considered important is that it helps you in monitoring the number of sales receipts issued or how many booklets have already been consumed. Also, having receipt numbers can help you in cases wherein you need to track a specific customer or receipt.
6. Produce Copies of your Final Receipts
While you can always choose to print the receipts yourself, it'll save you a lot of stress and effort if you choose to have it done by professionals. This way, they'll take care of fixing any formatting issues as well as bind the sheets to come up with a single receipt booklet. Regardless of which, it is best that you convert your finished work from XLS to a printable PDF format to easily share it across different platforms.


