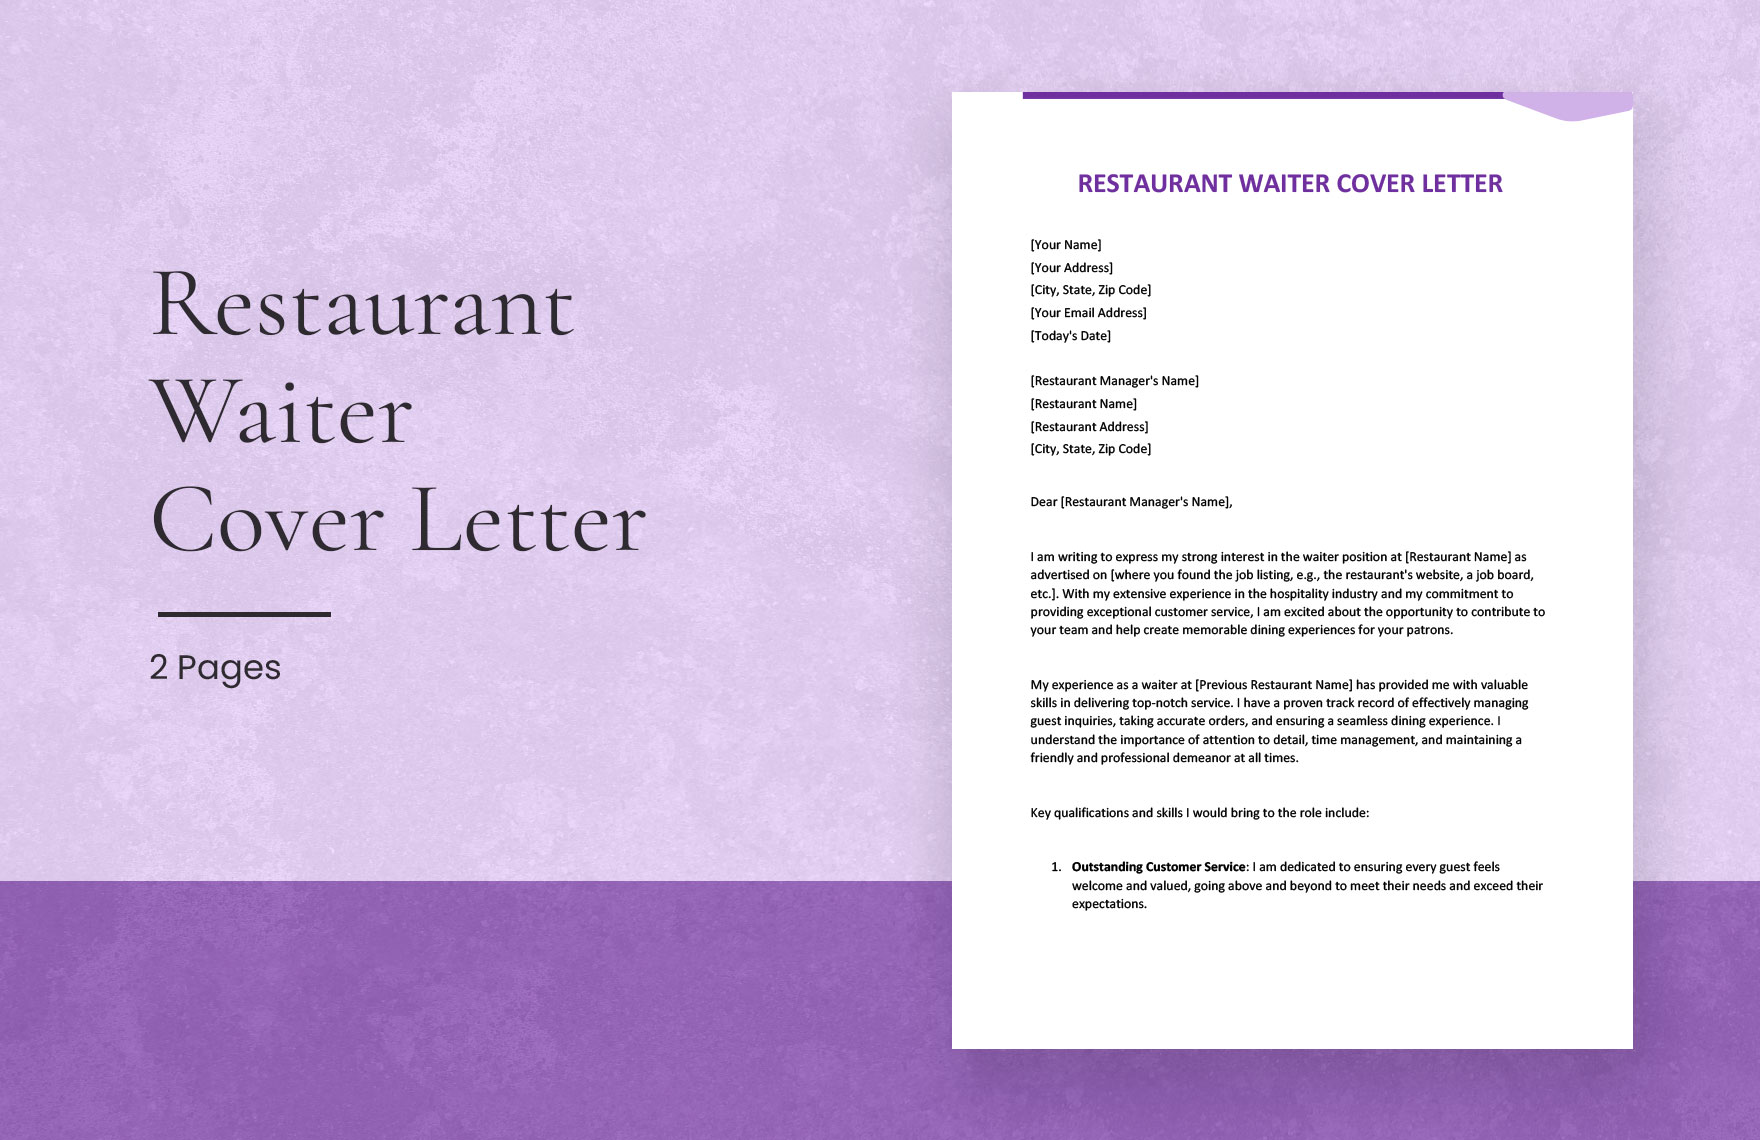
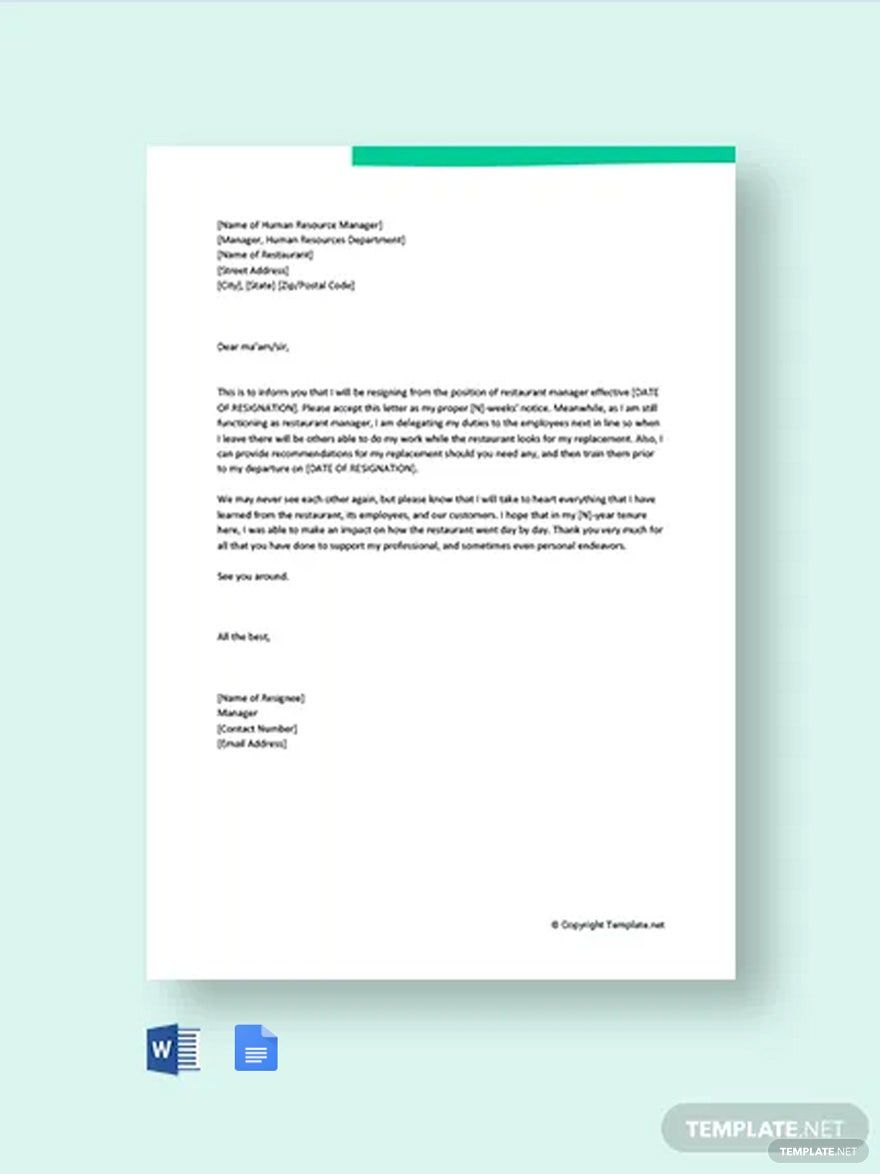
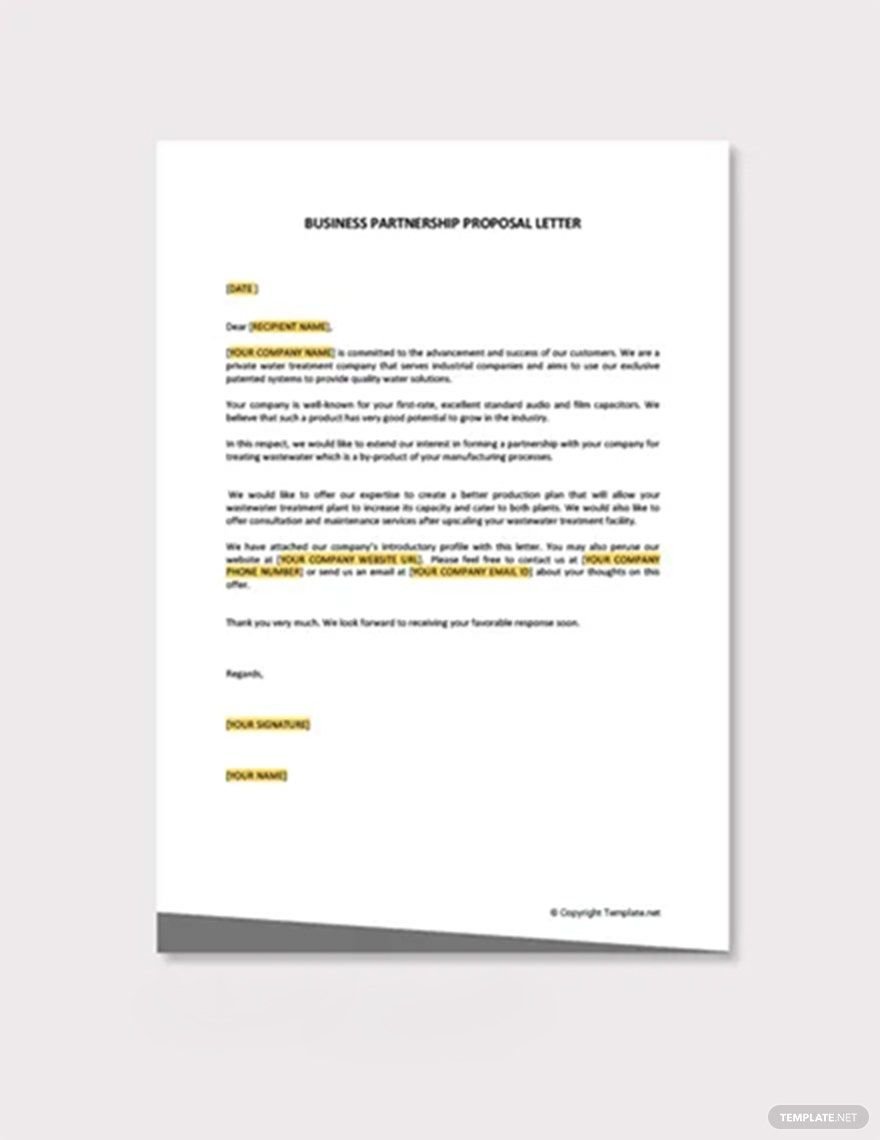
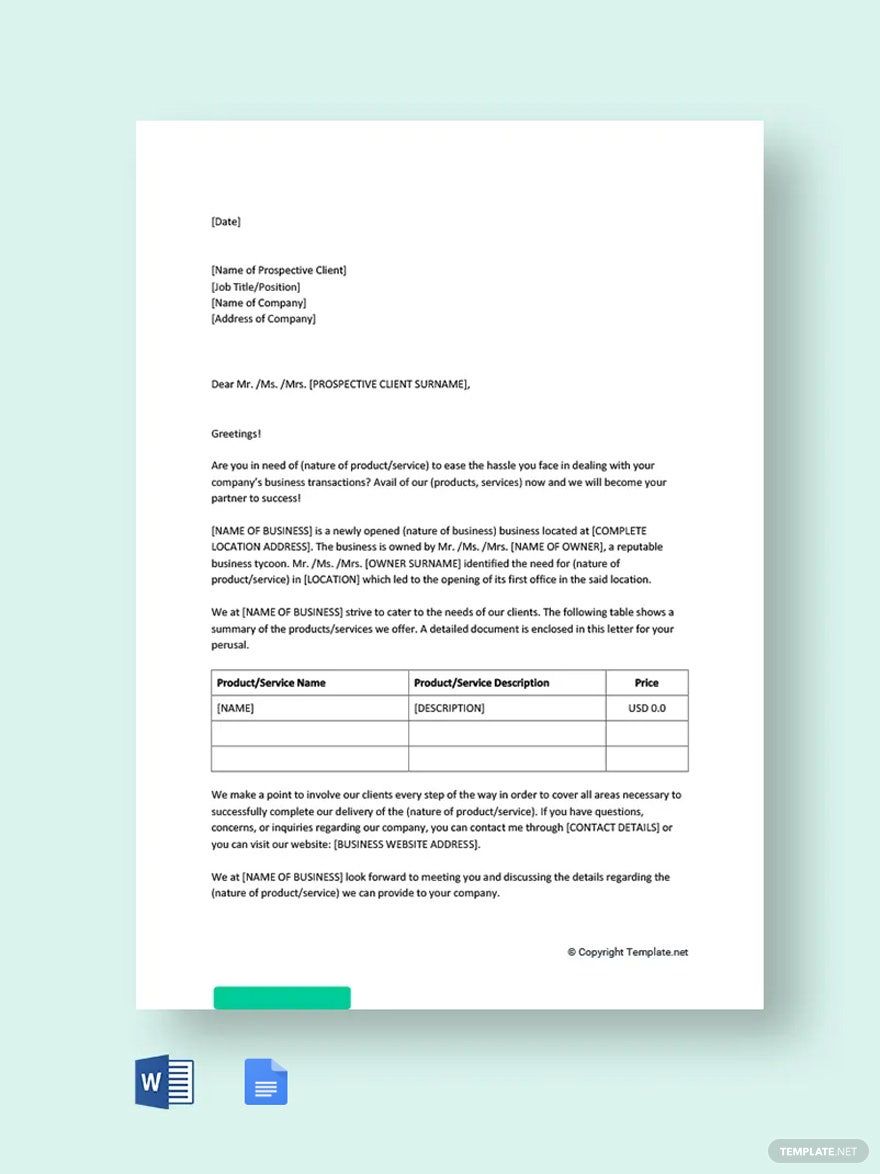
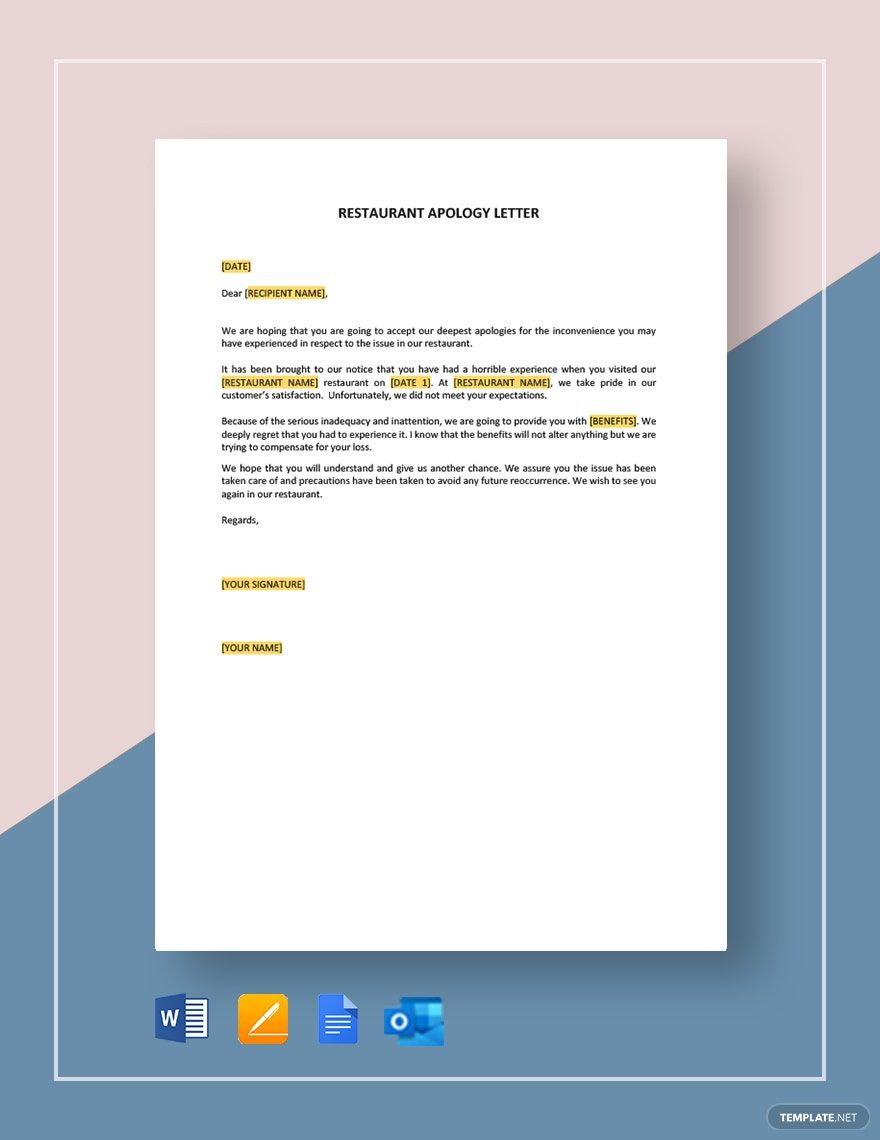
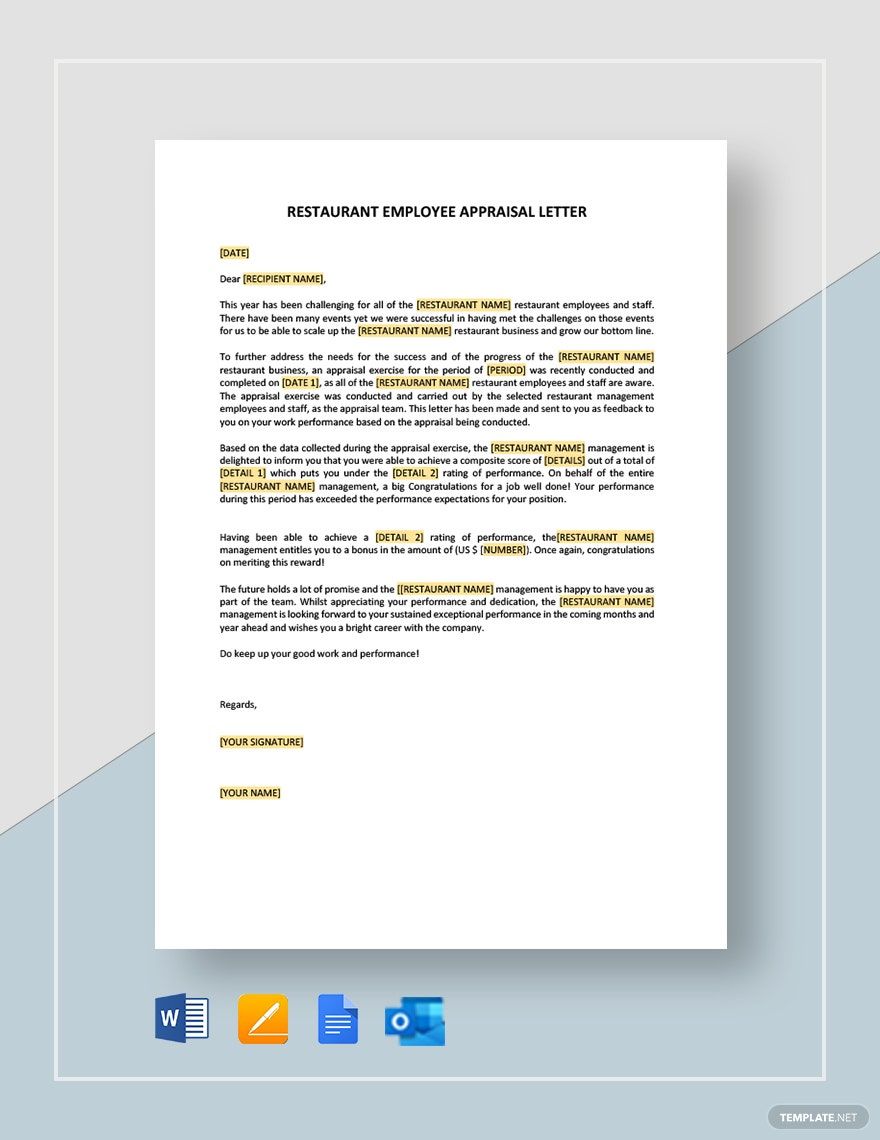
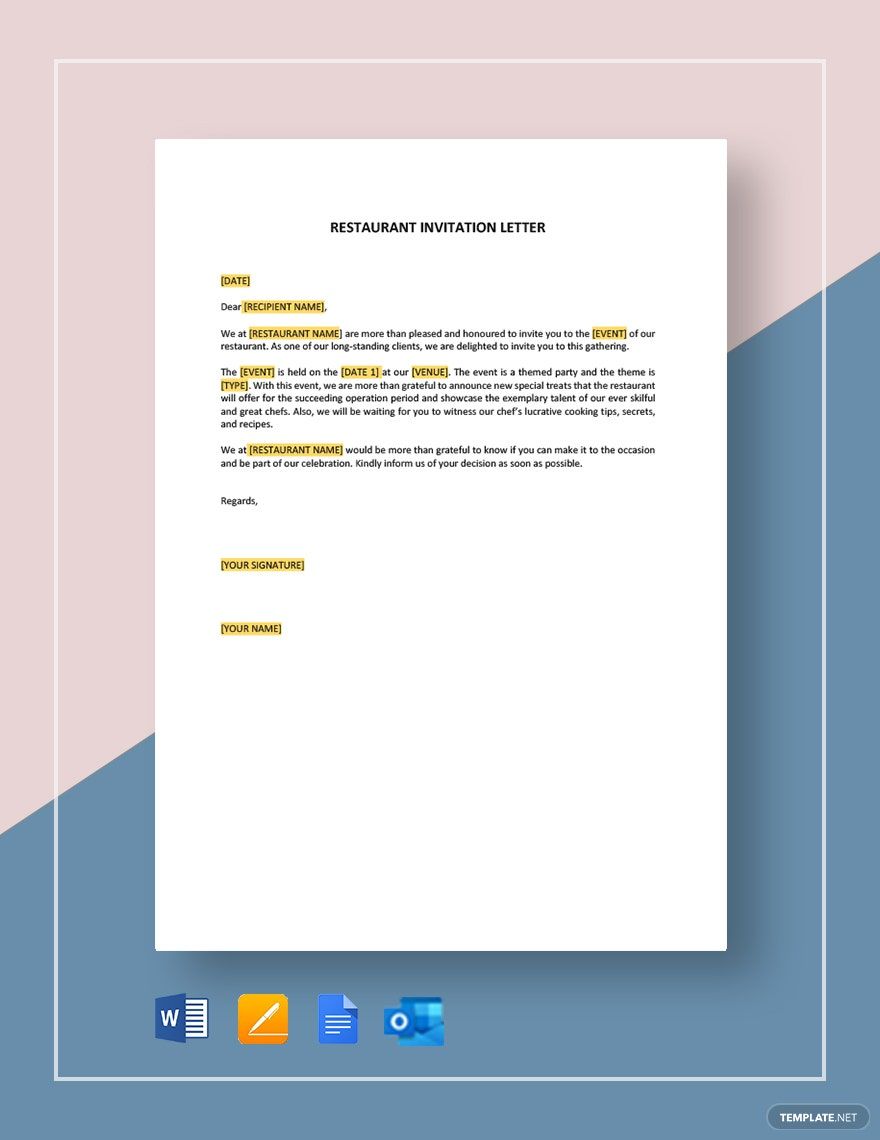
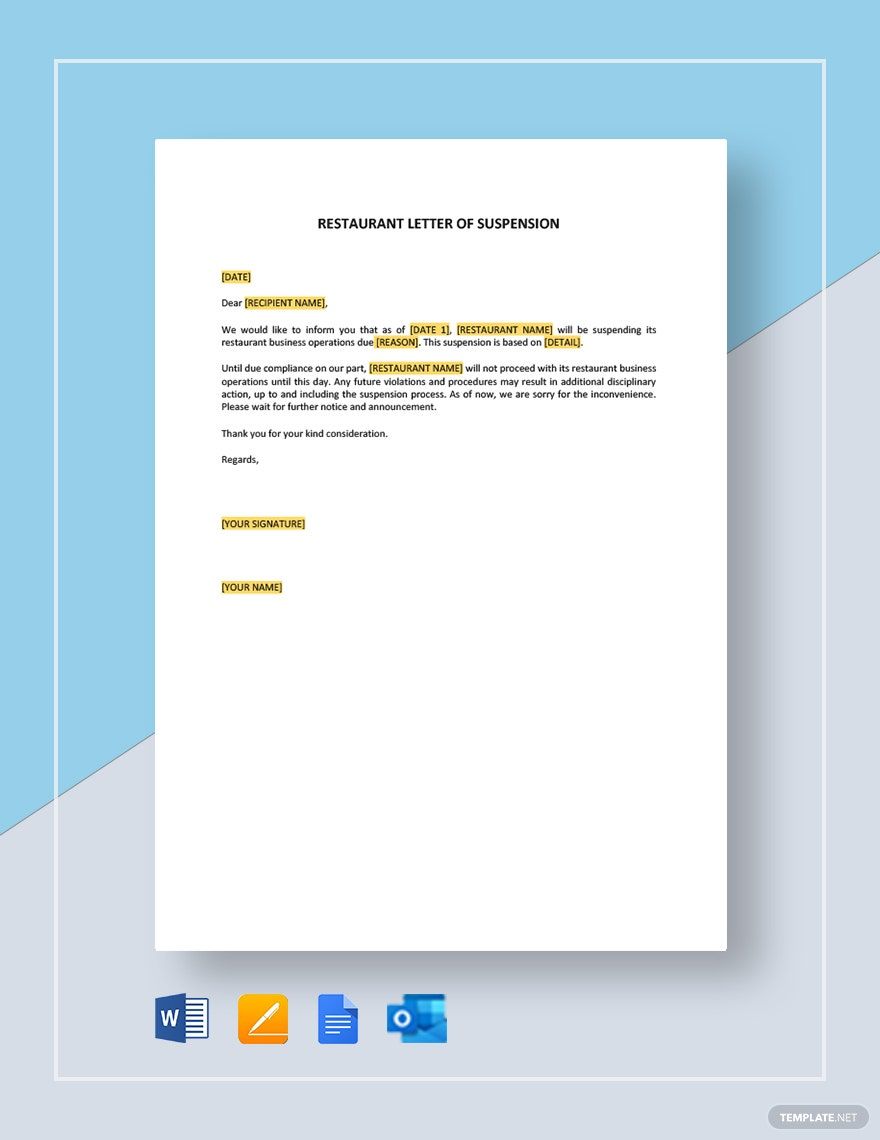
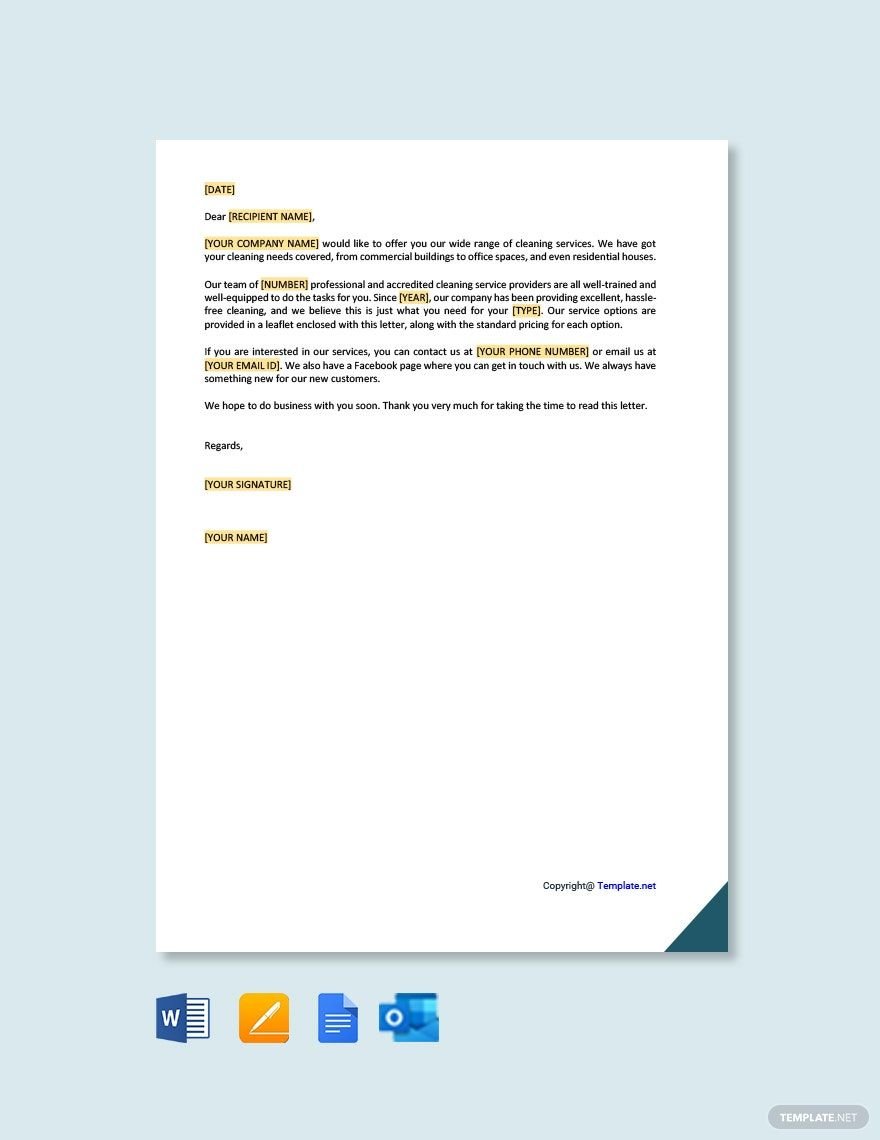
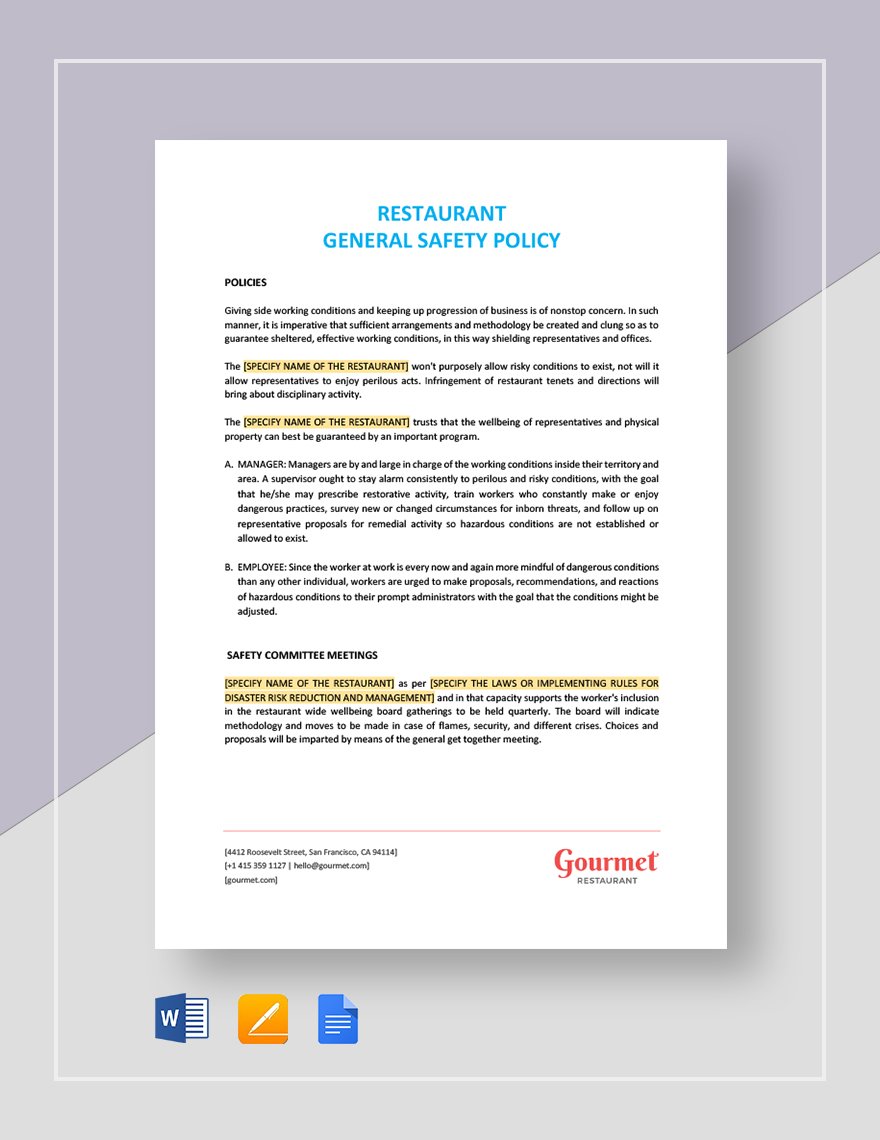
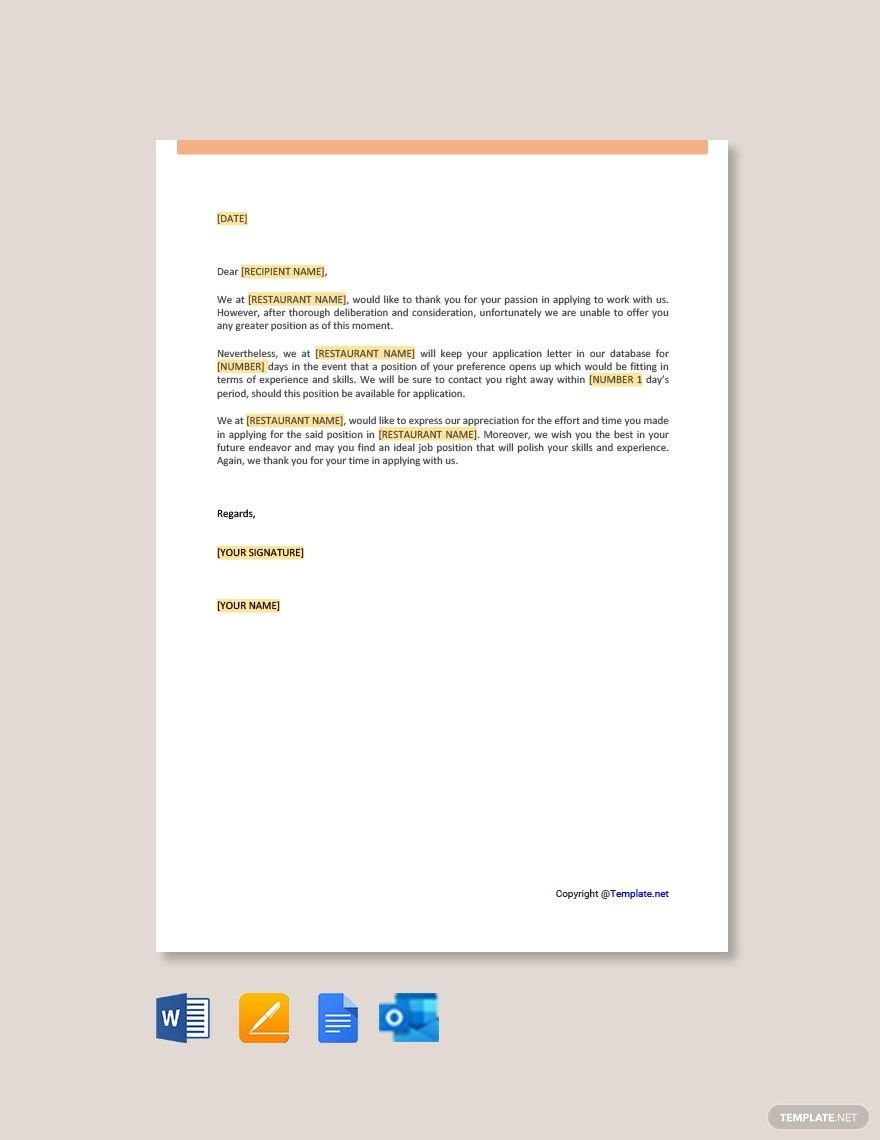
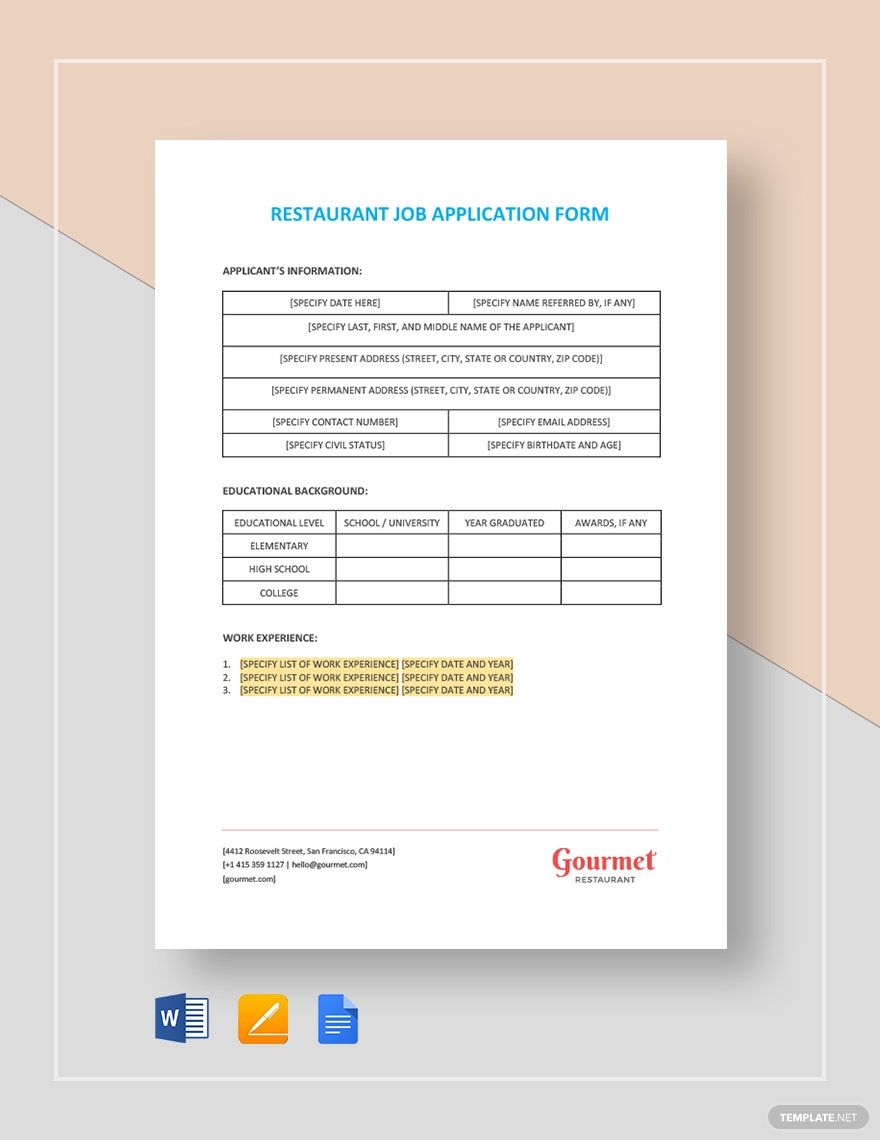
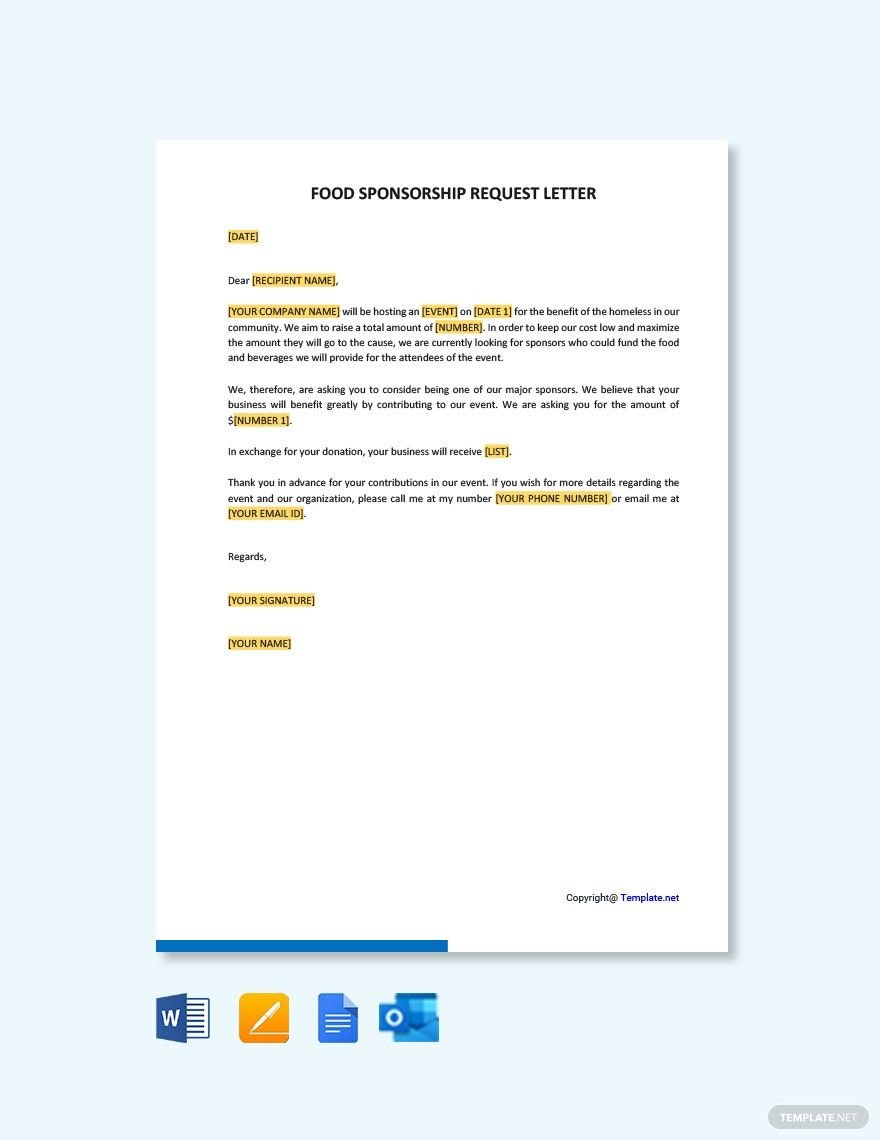
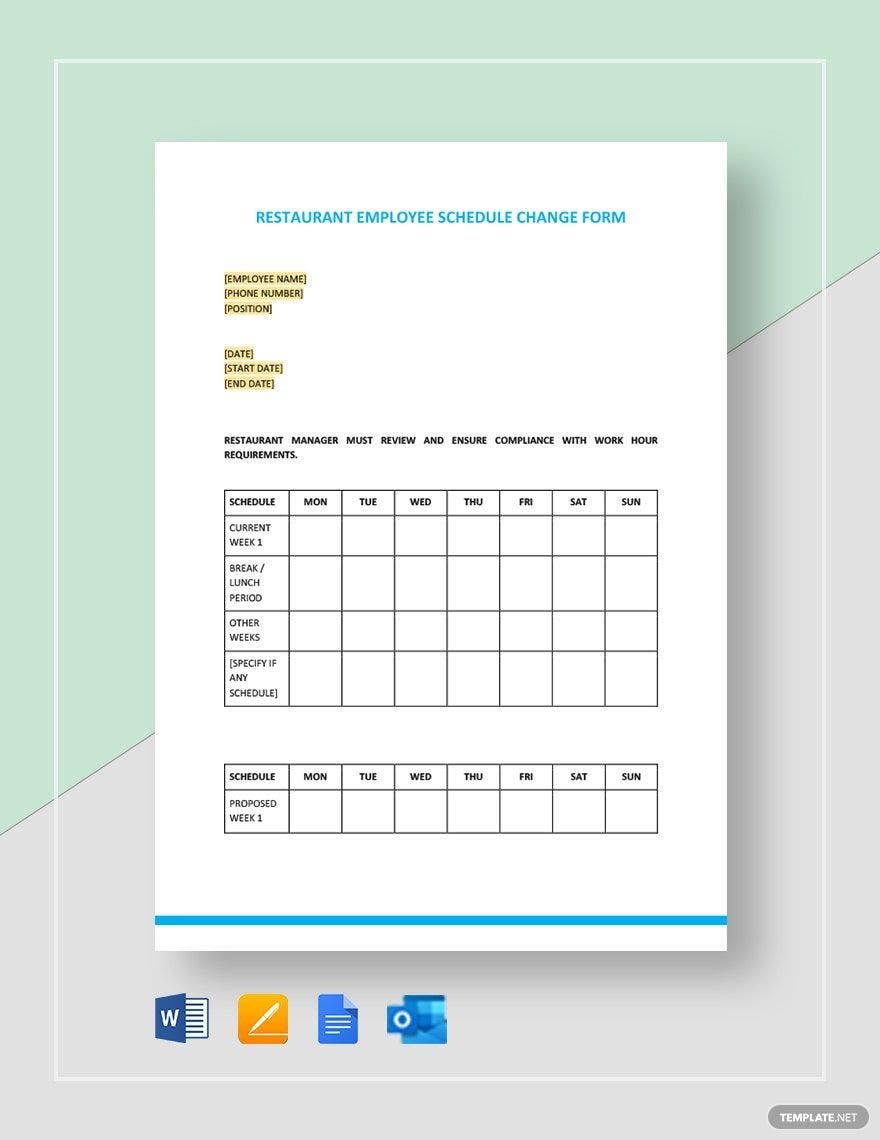
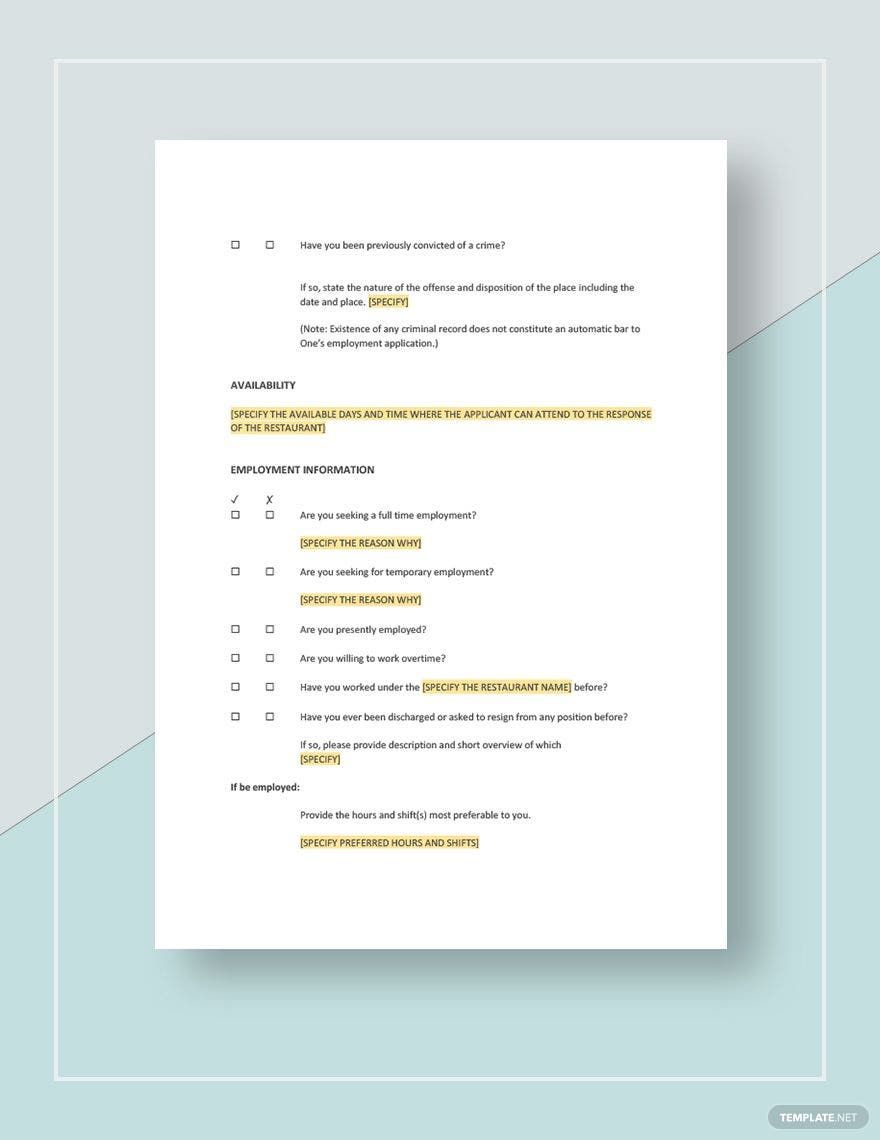
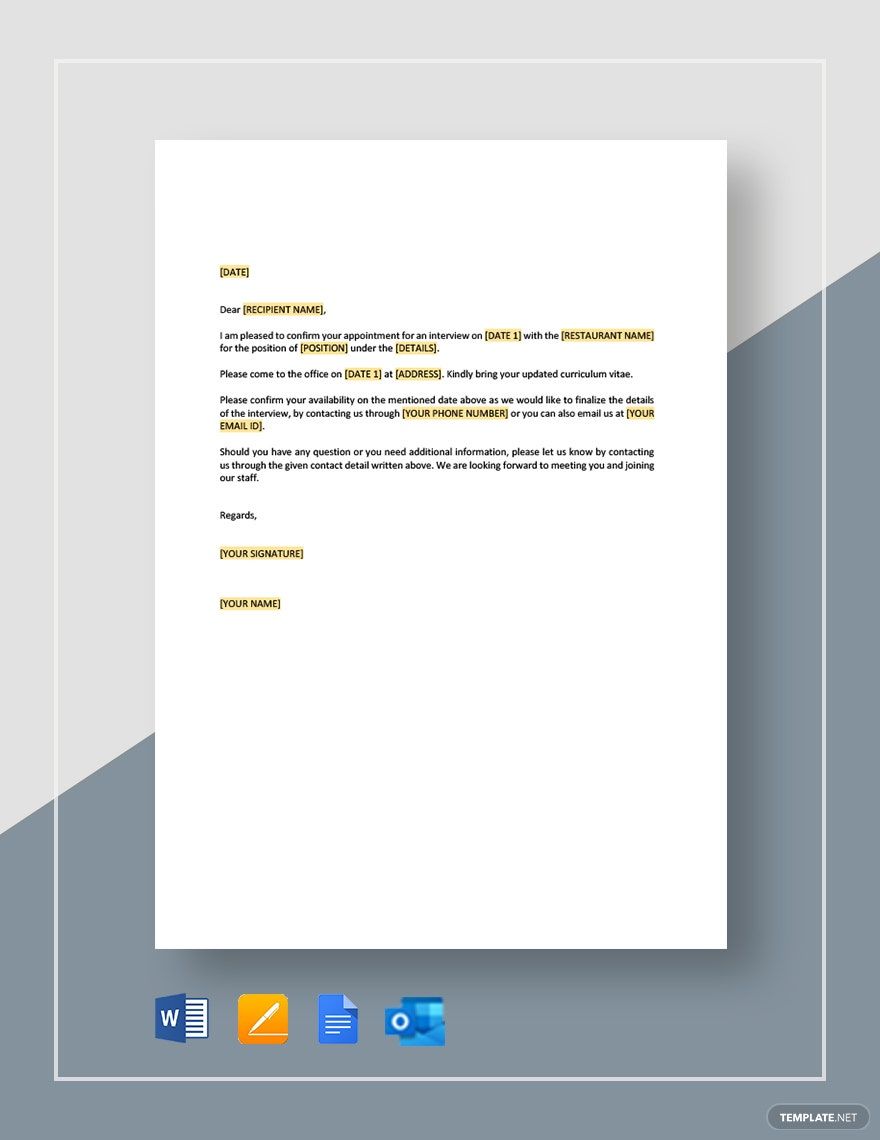
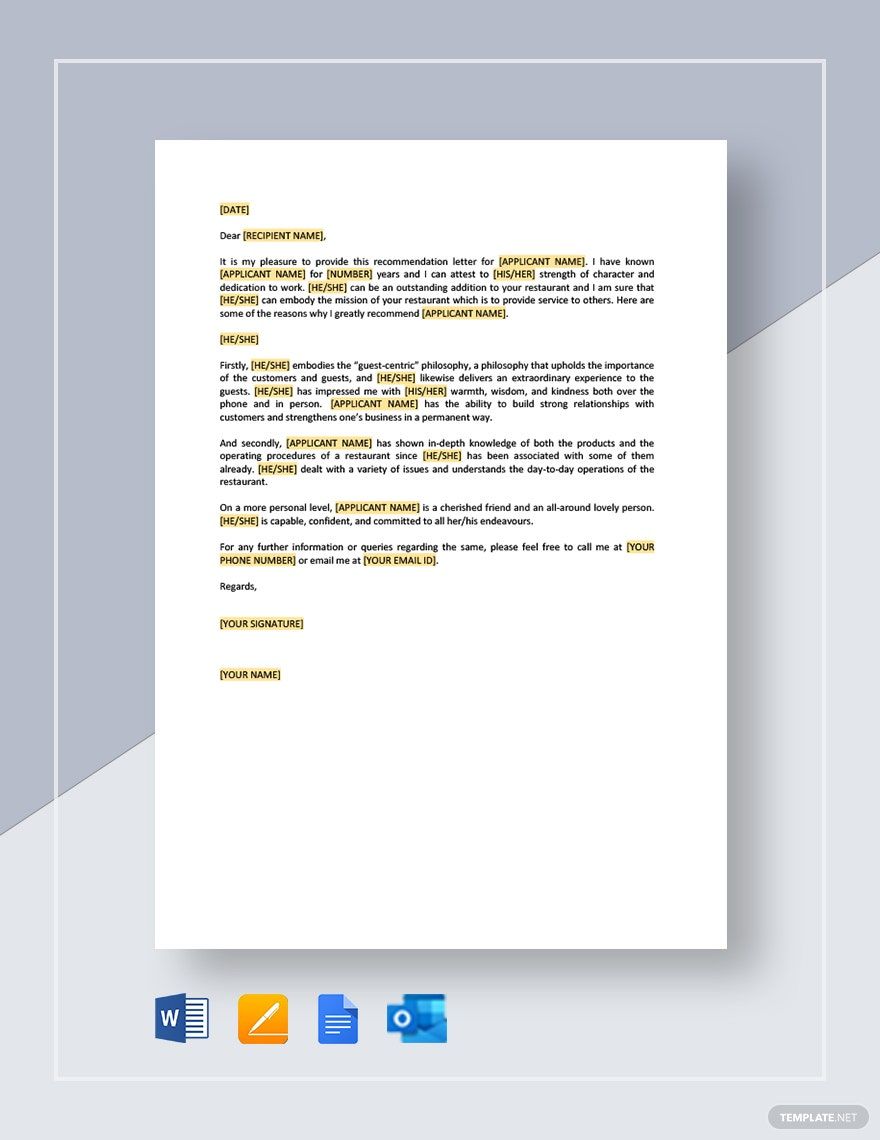
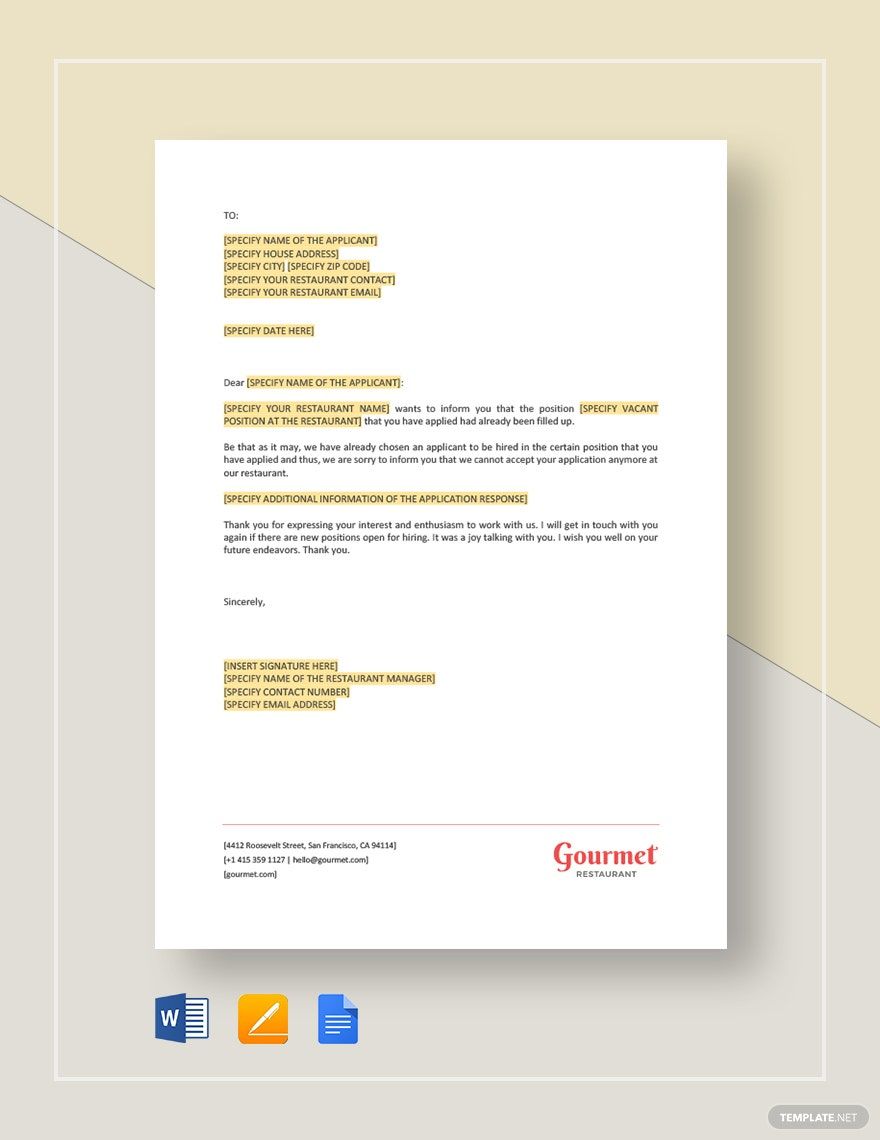
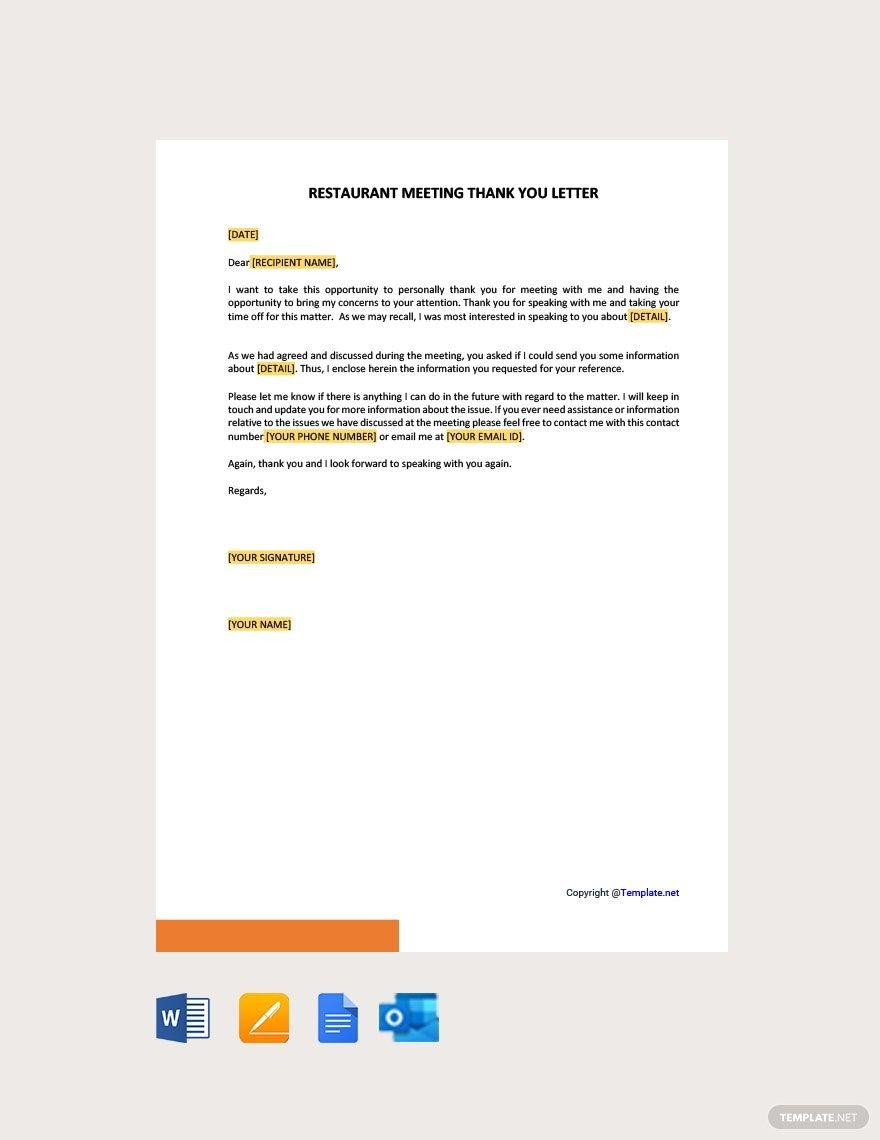
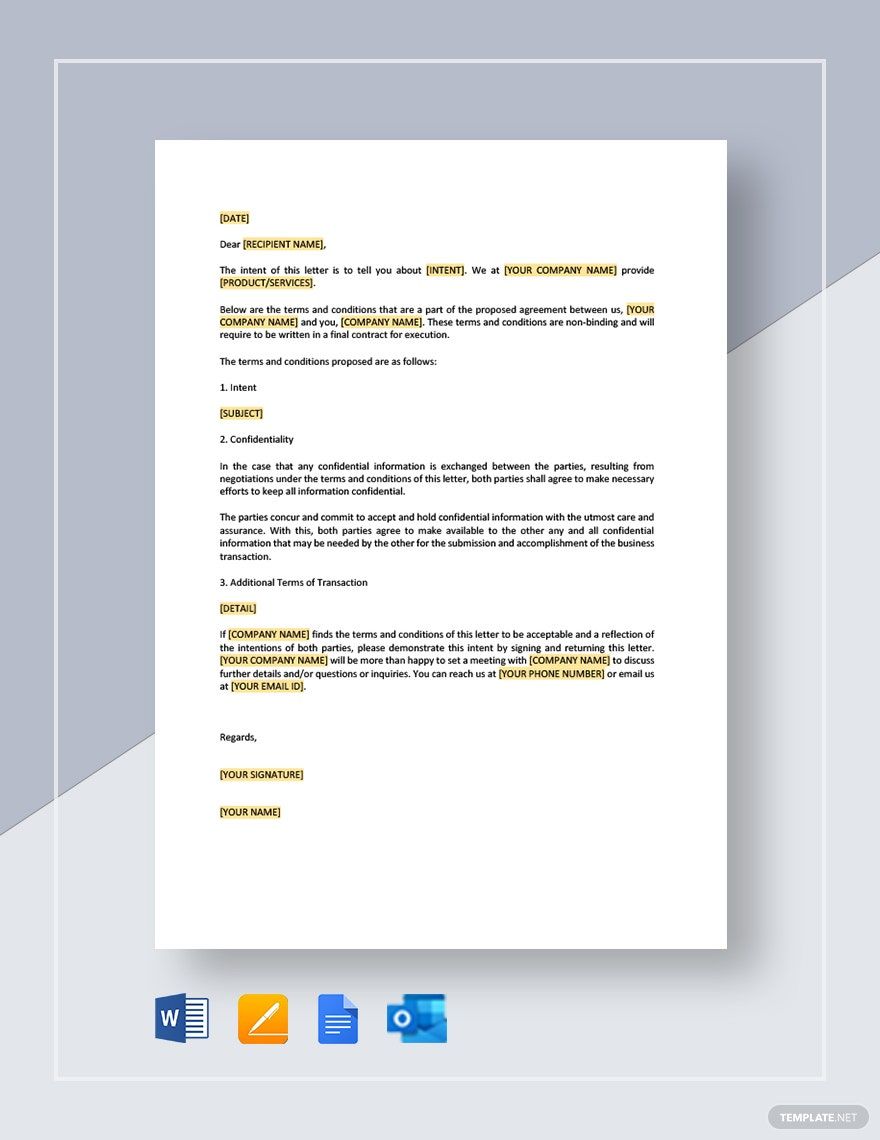
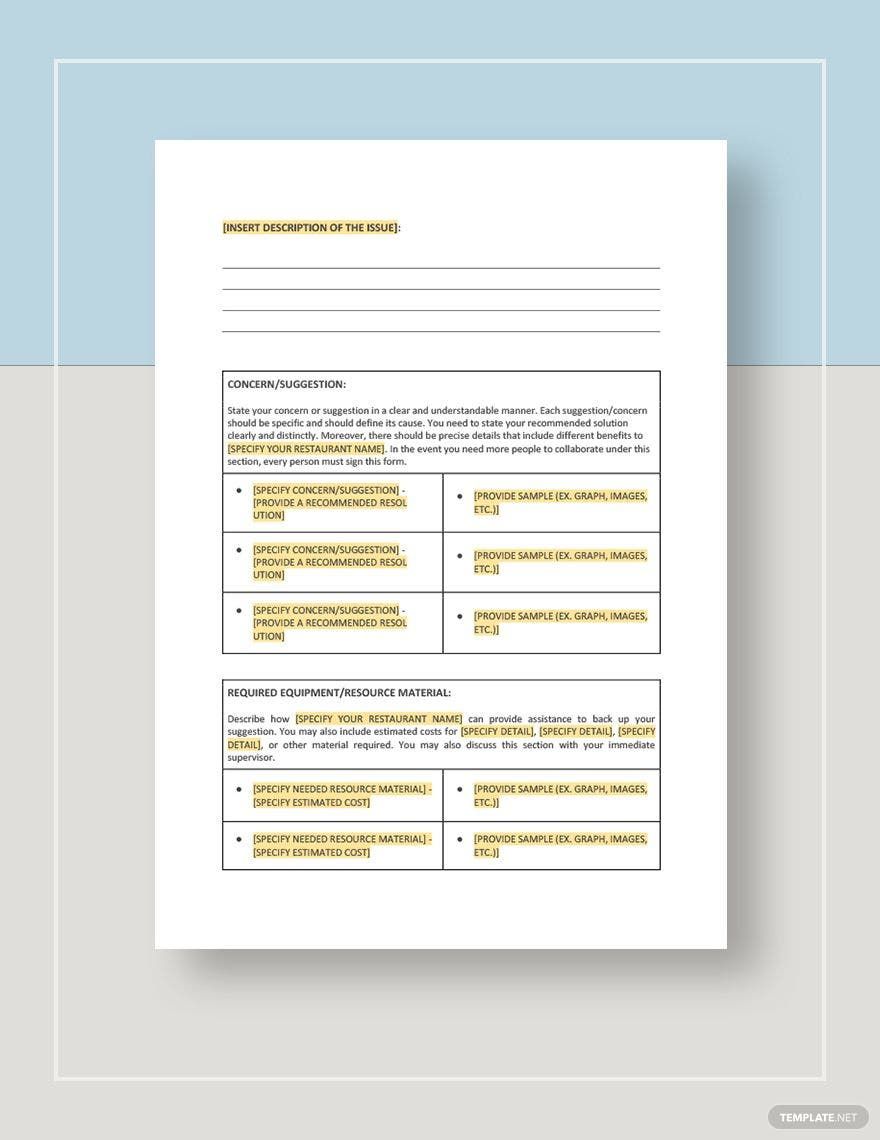
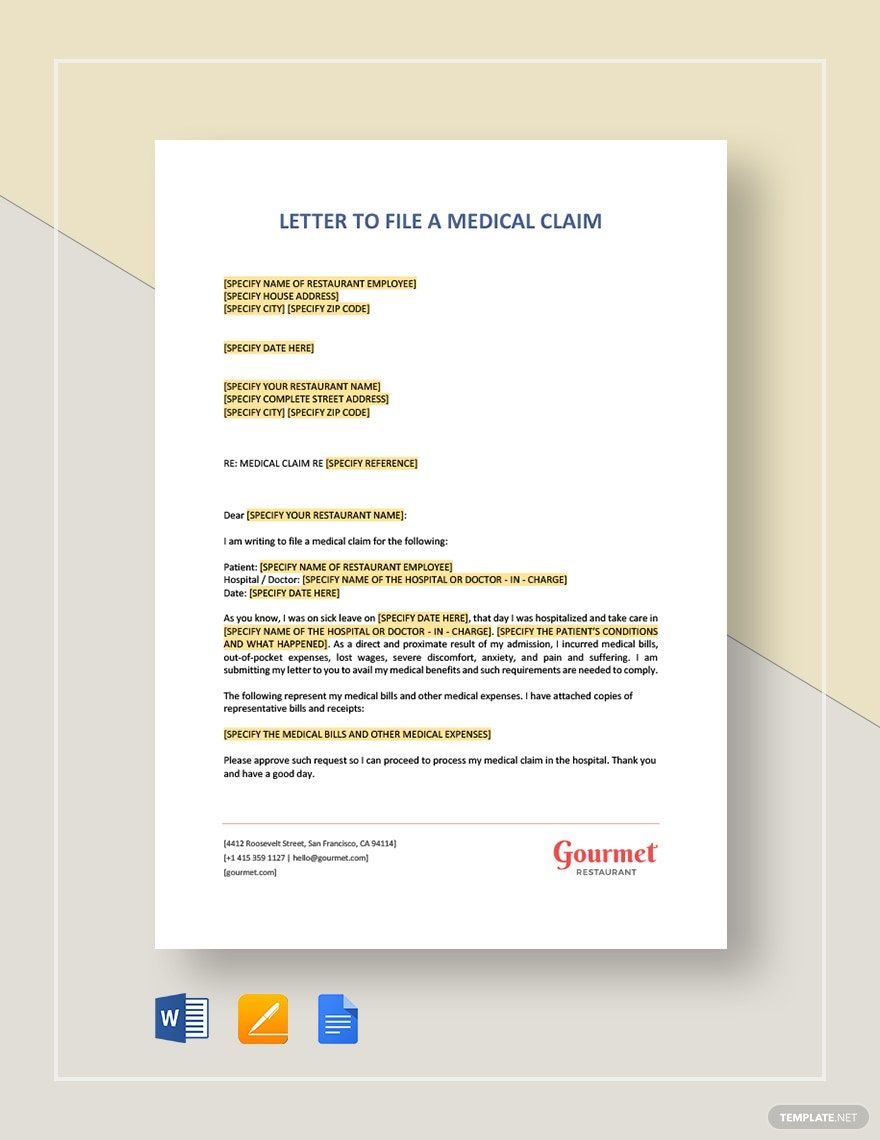
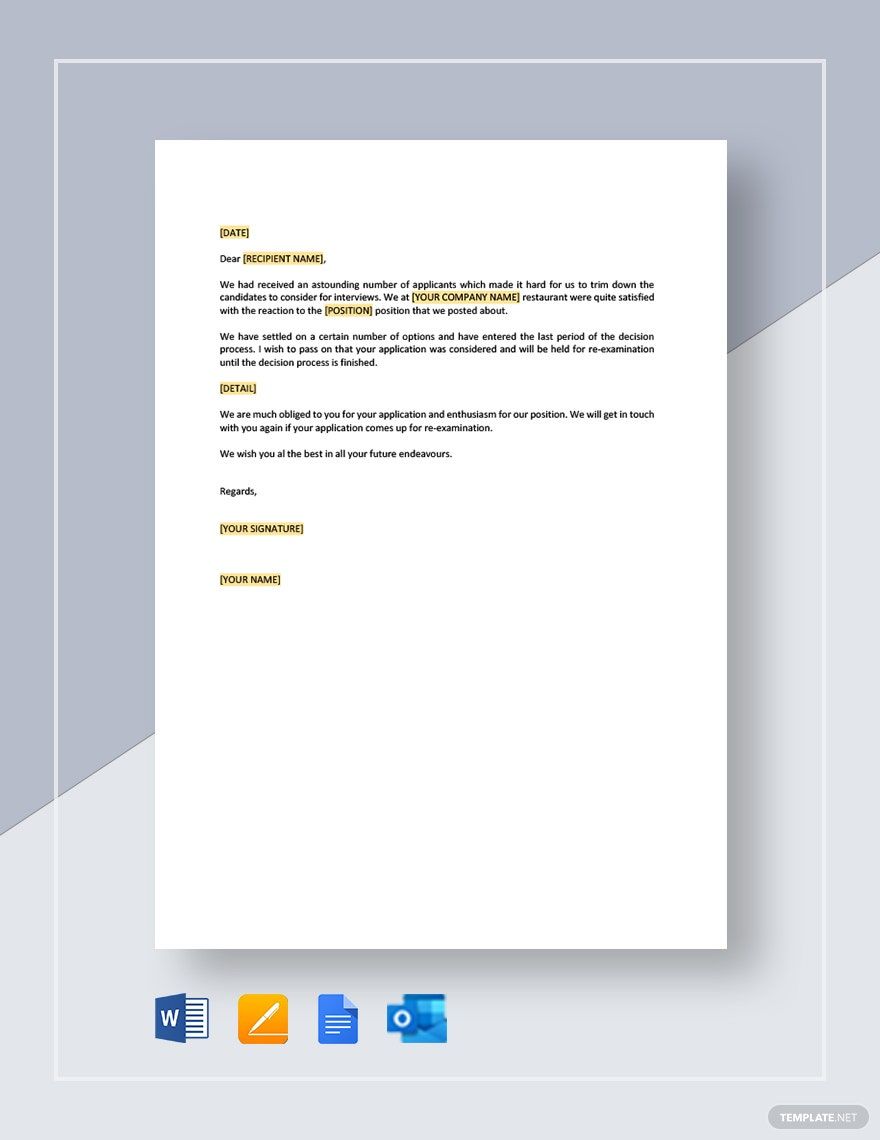
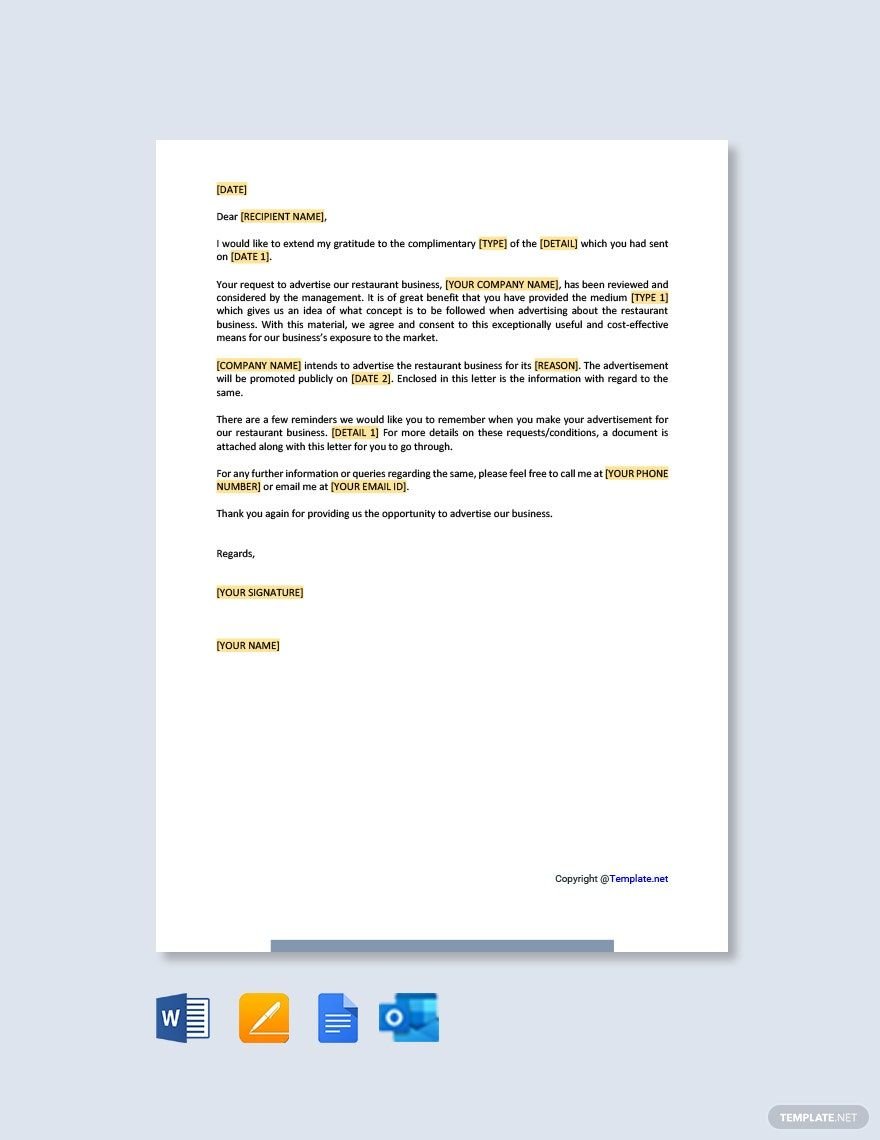
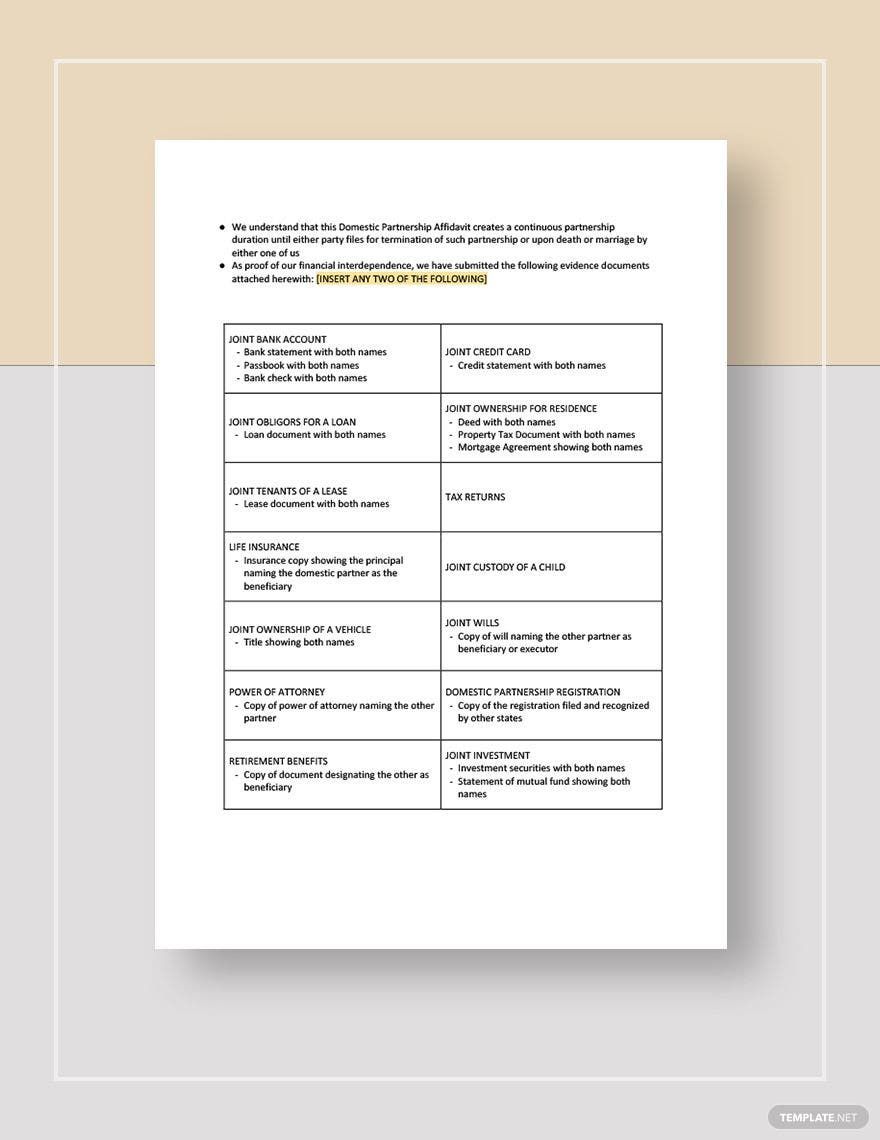
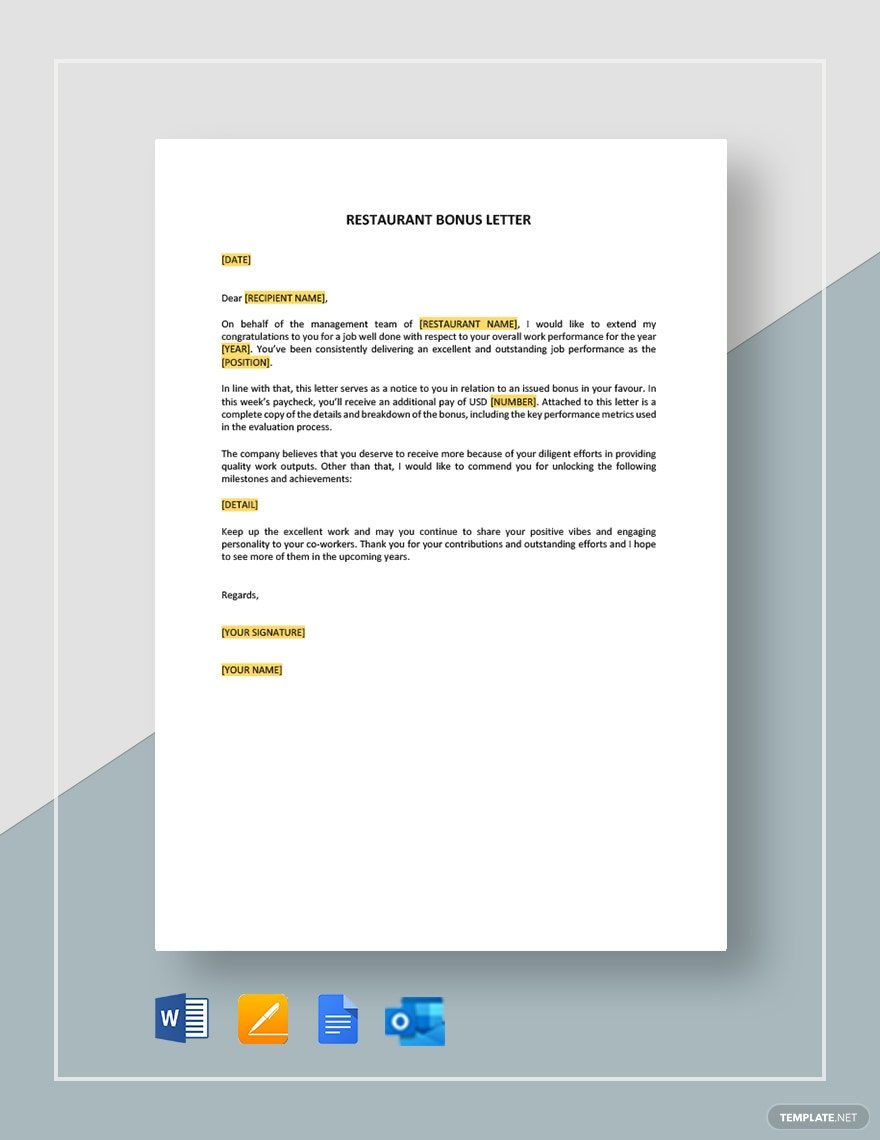
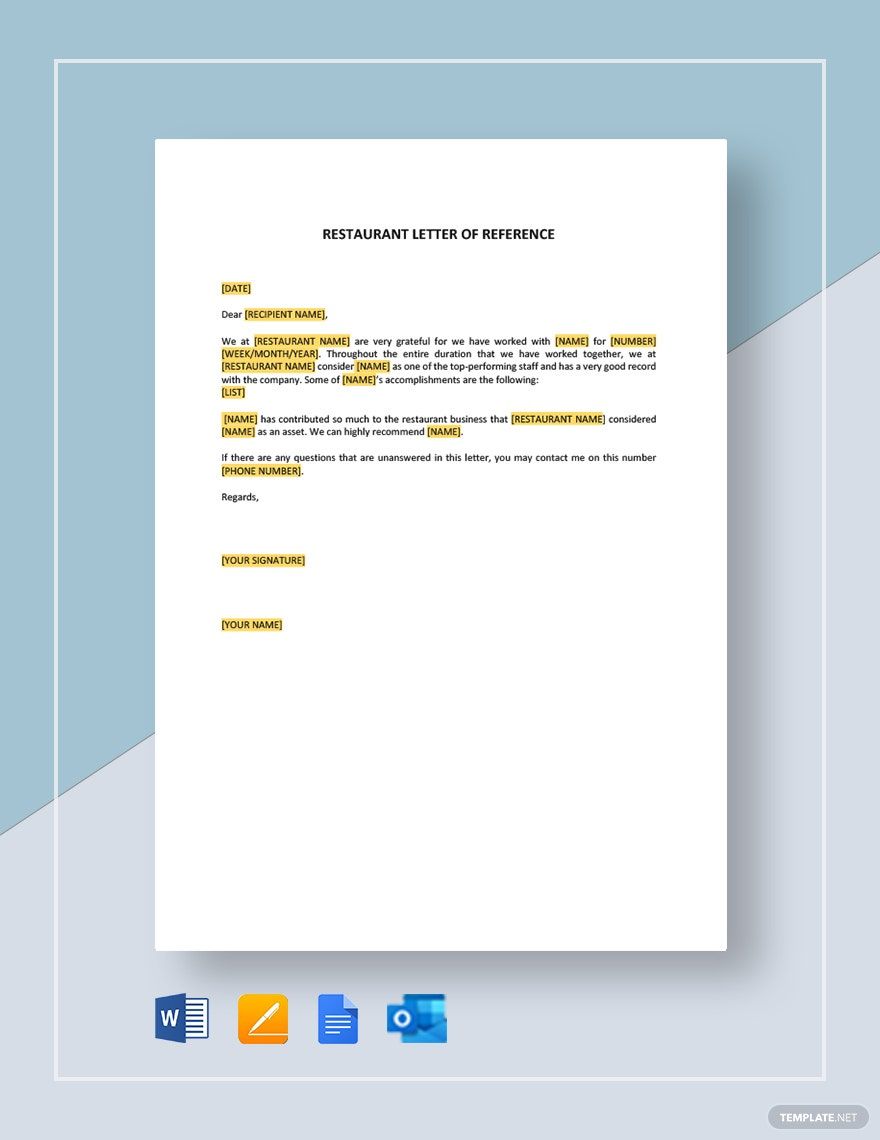
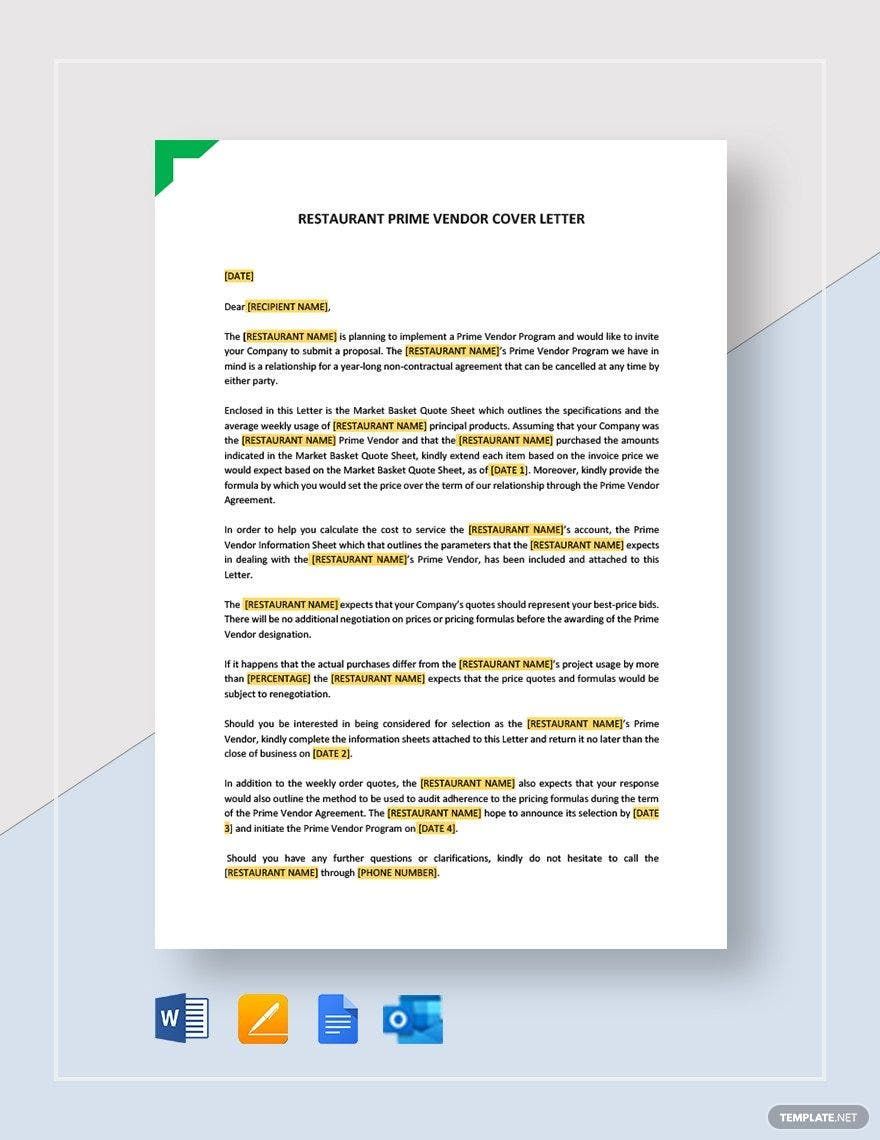
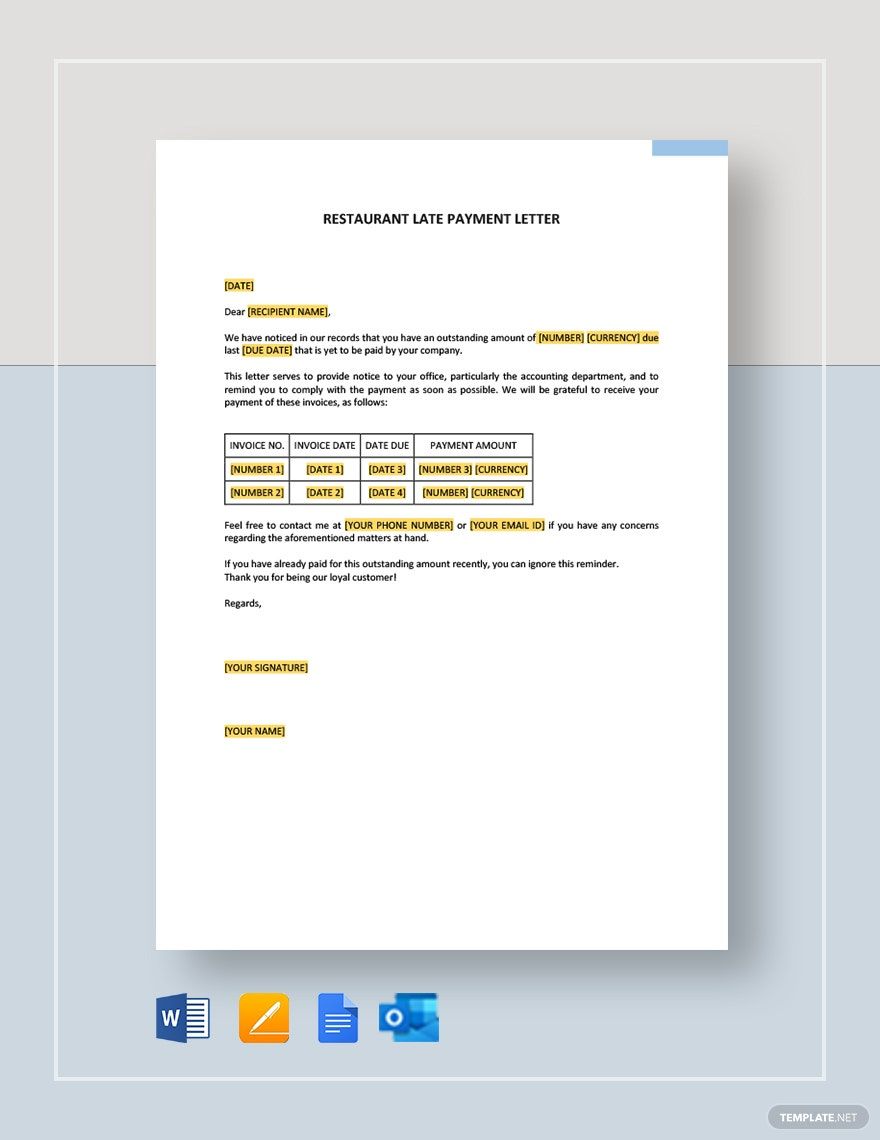
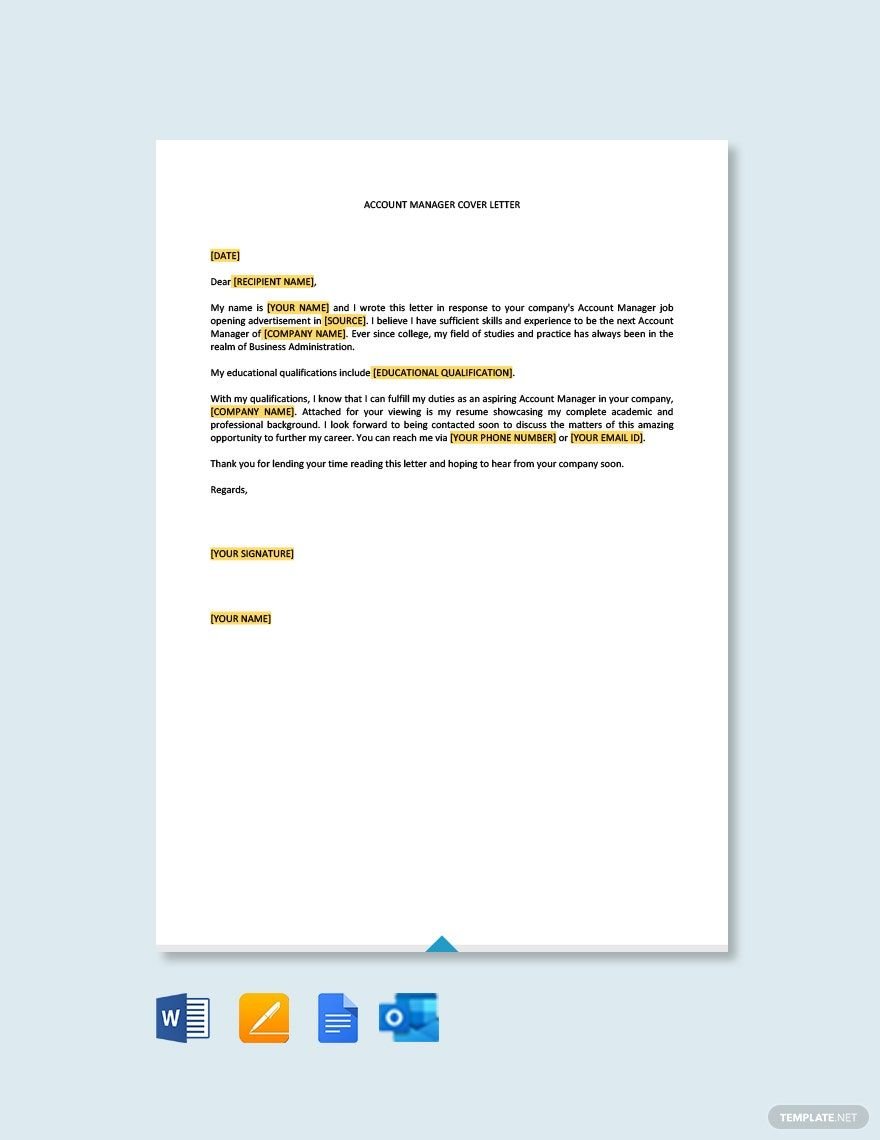
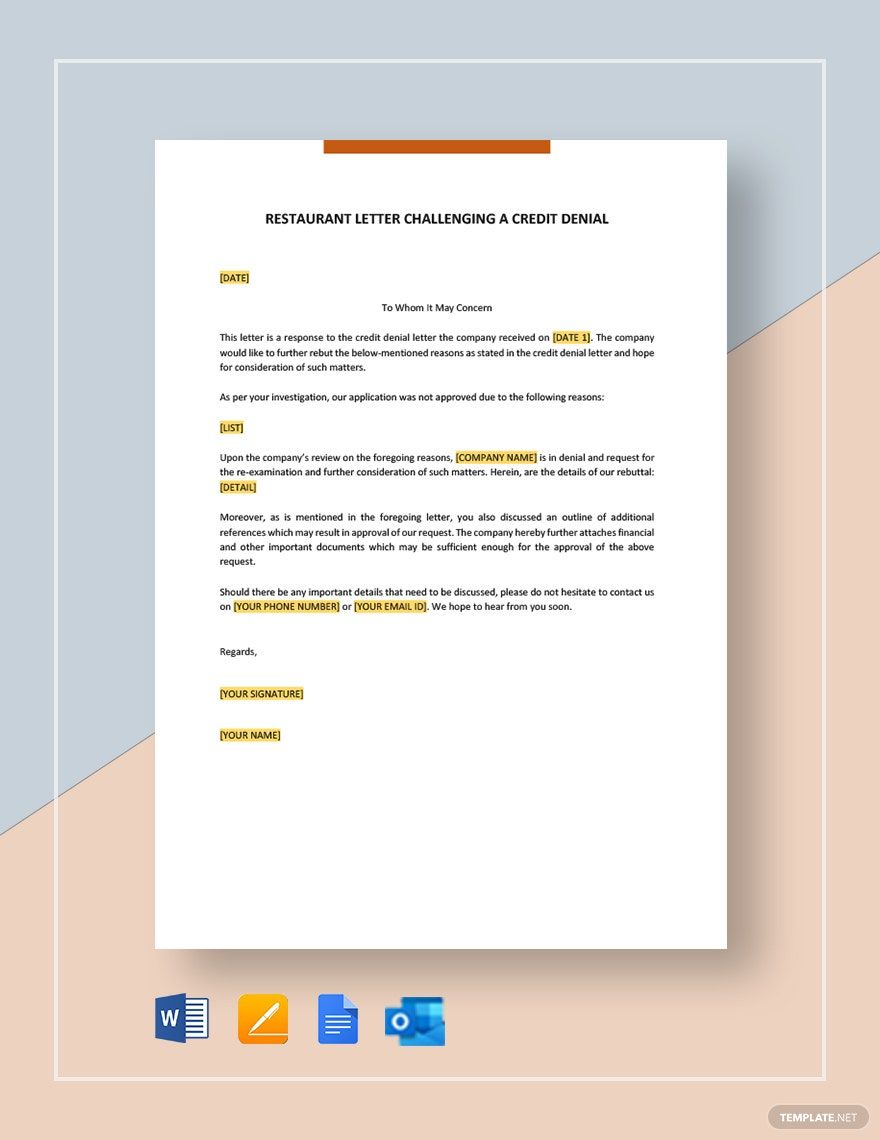
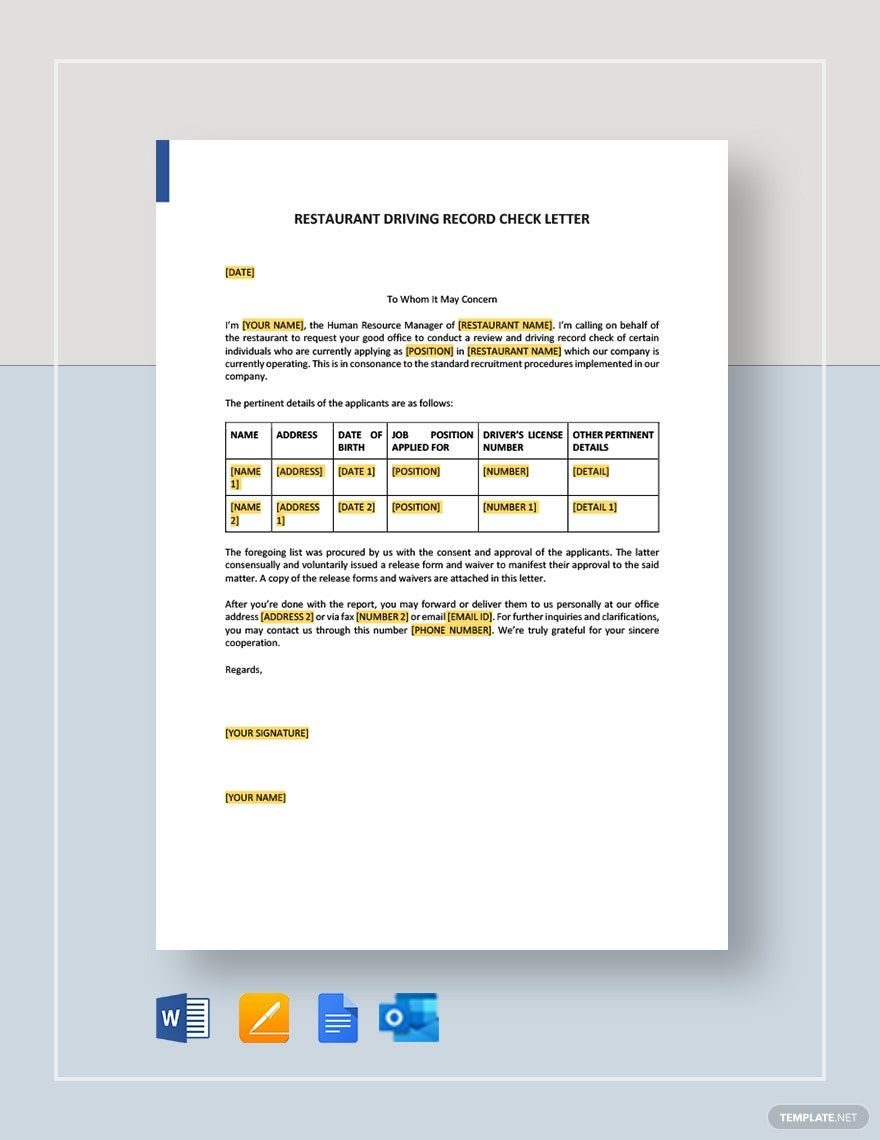
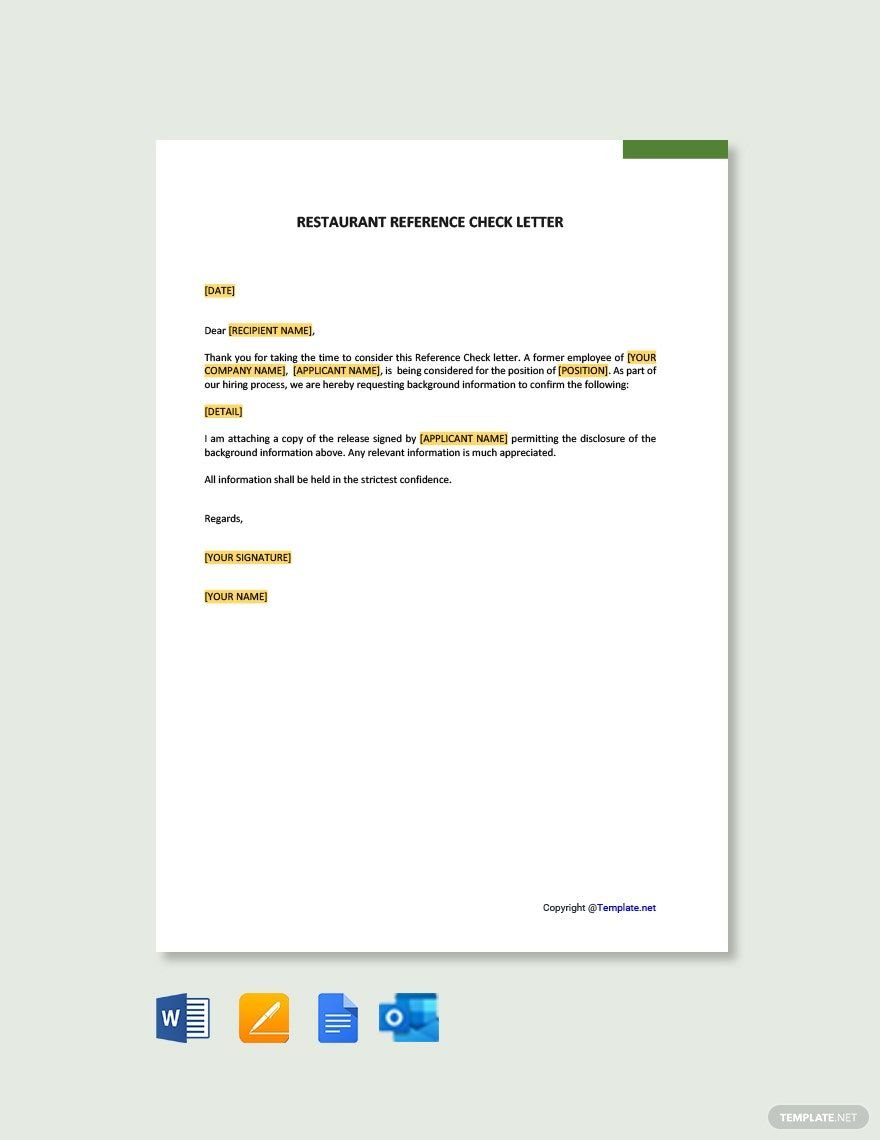
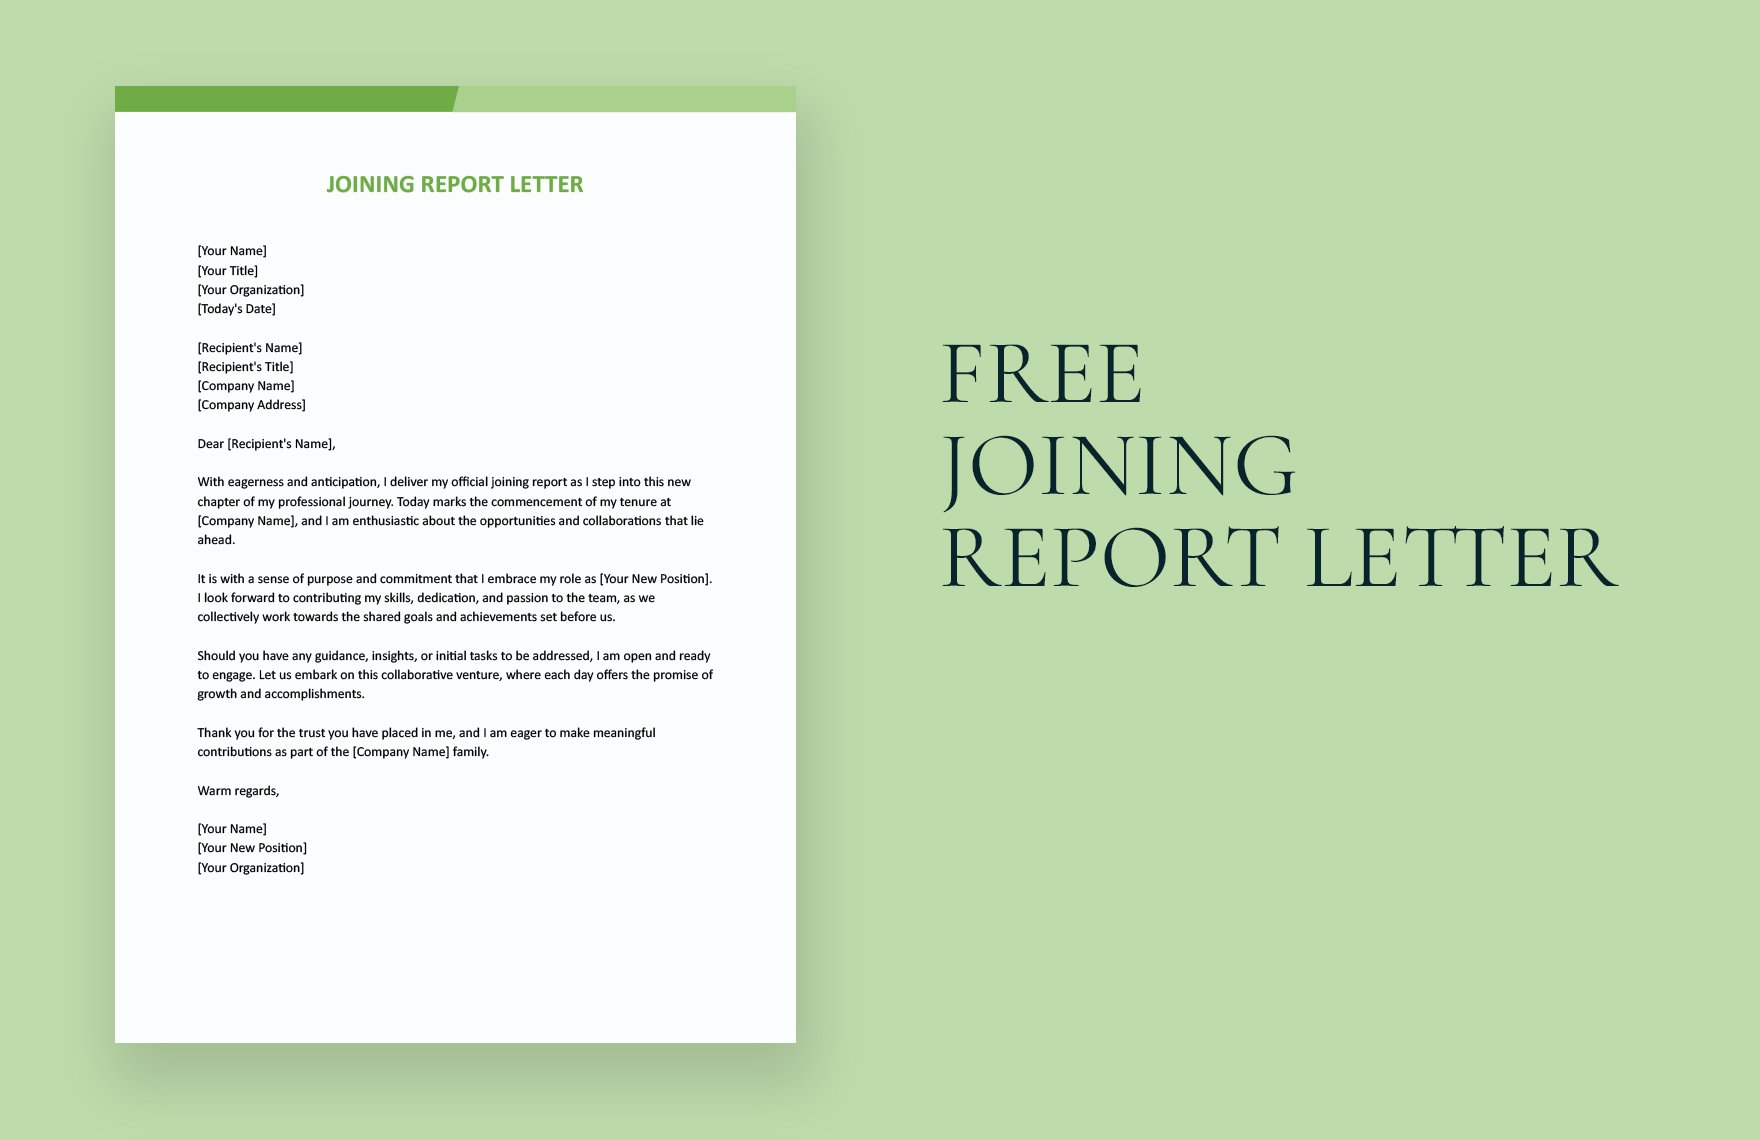
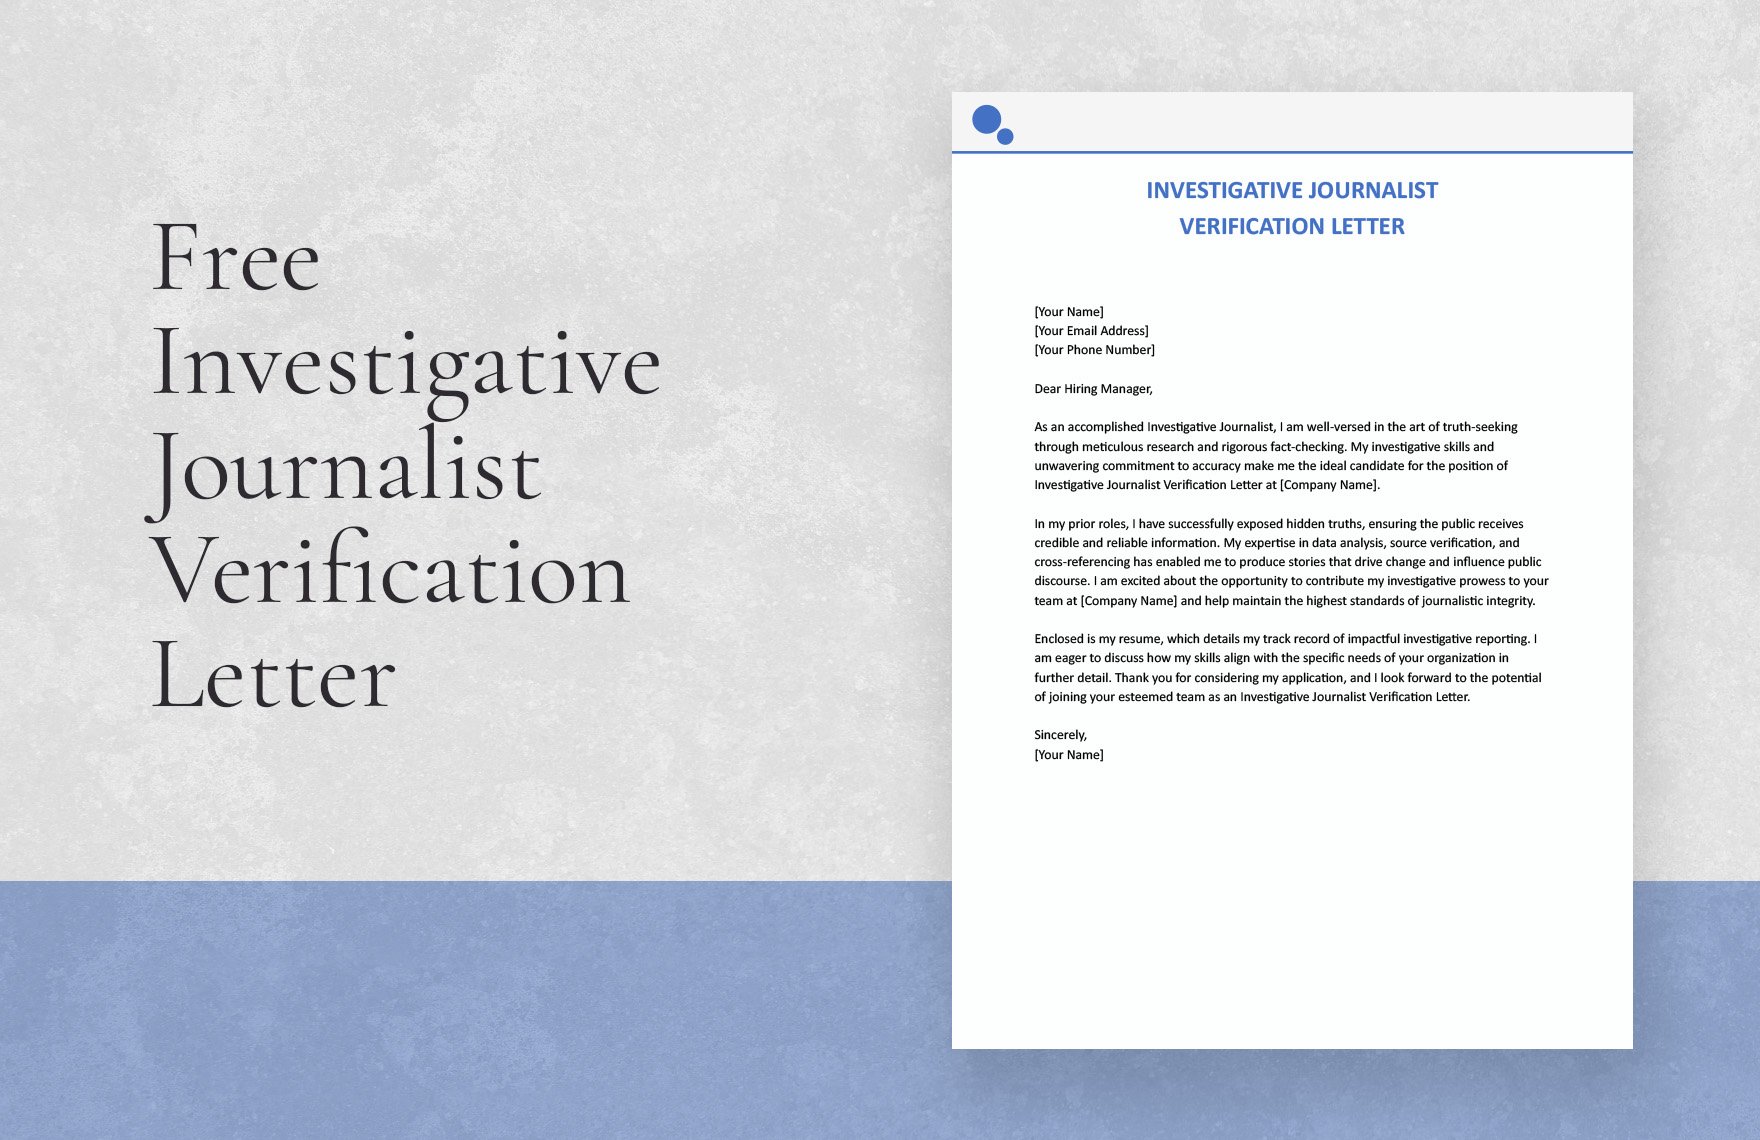
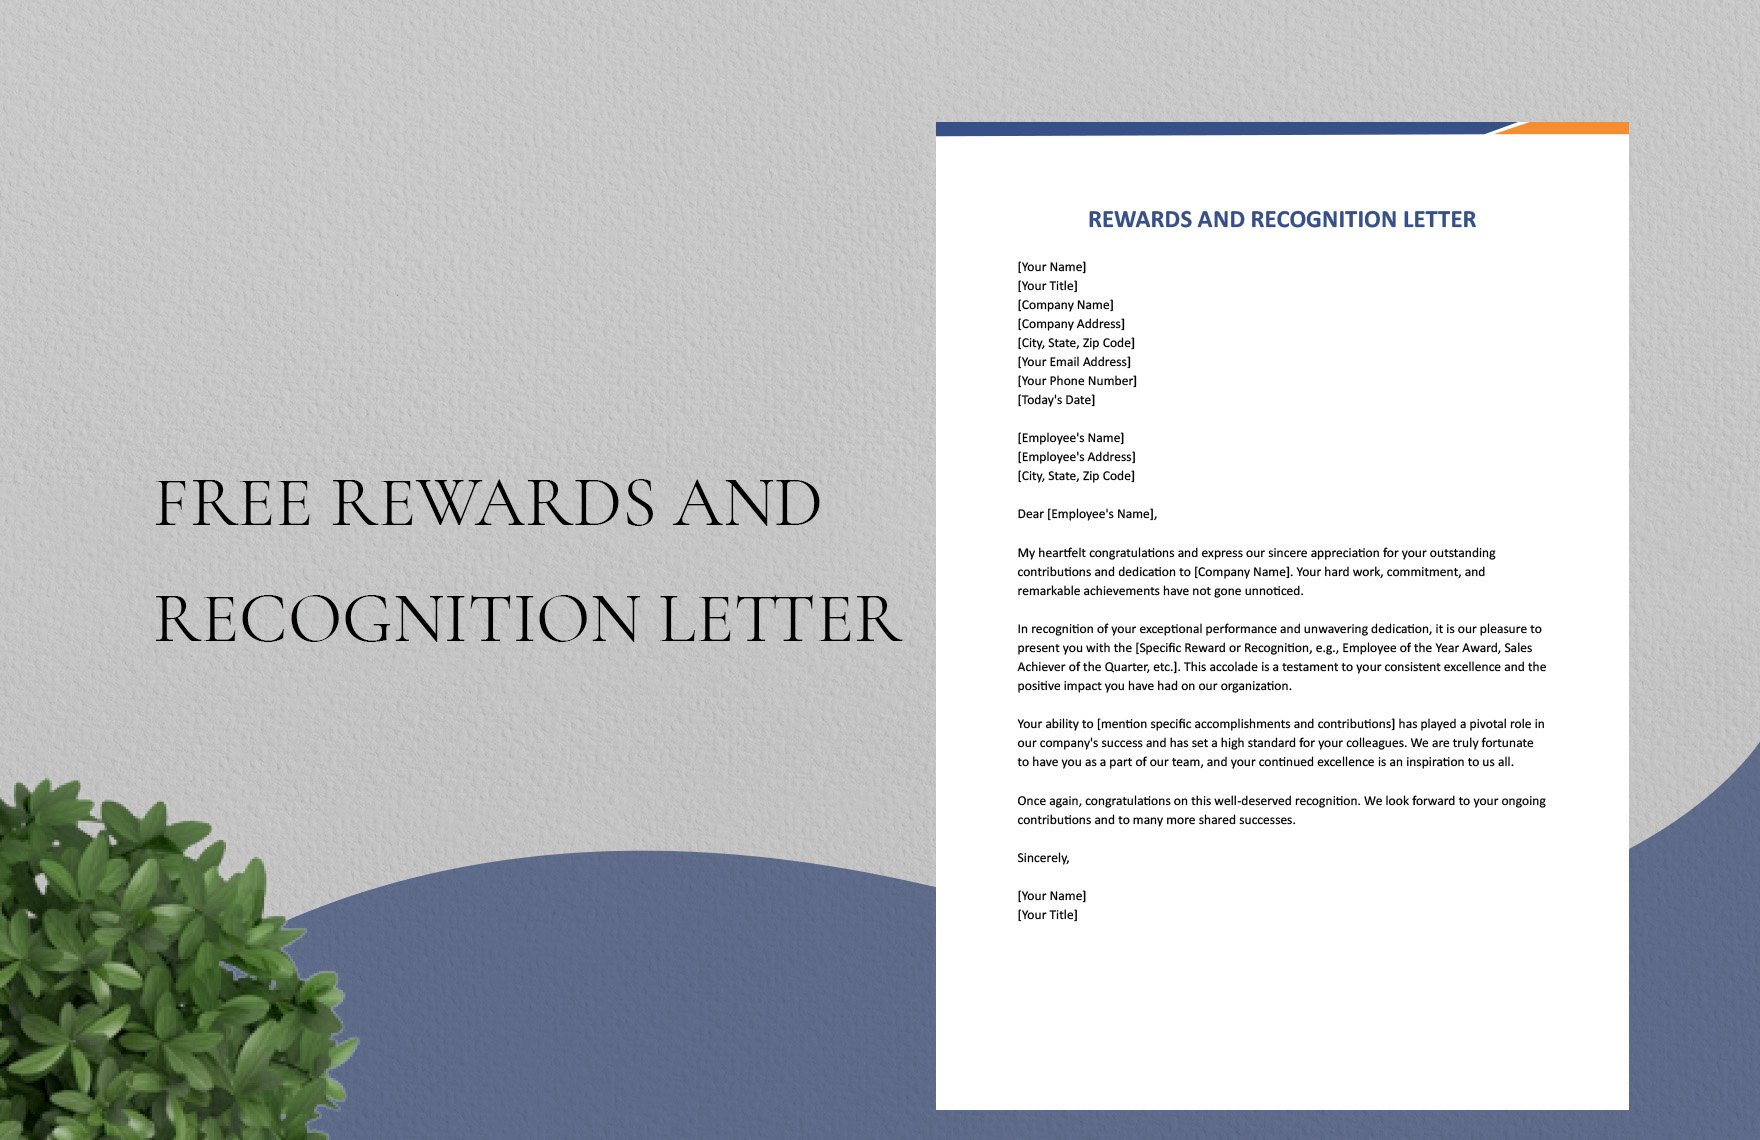
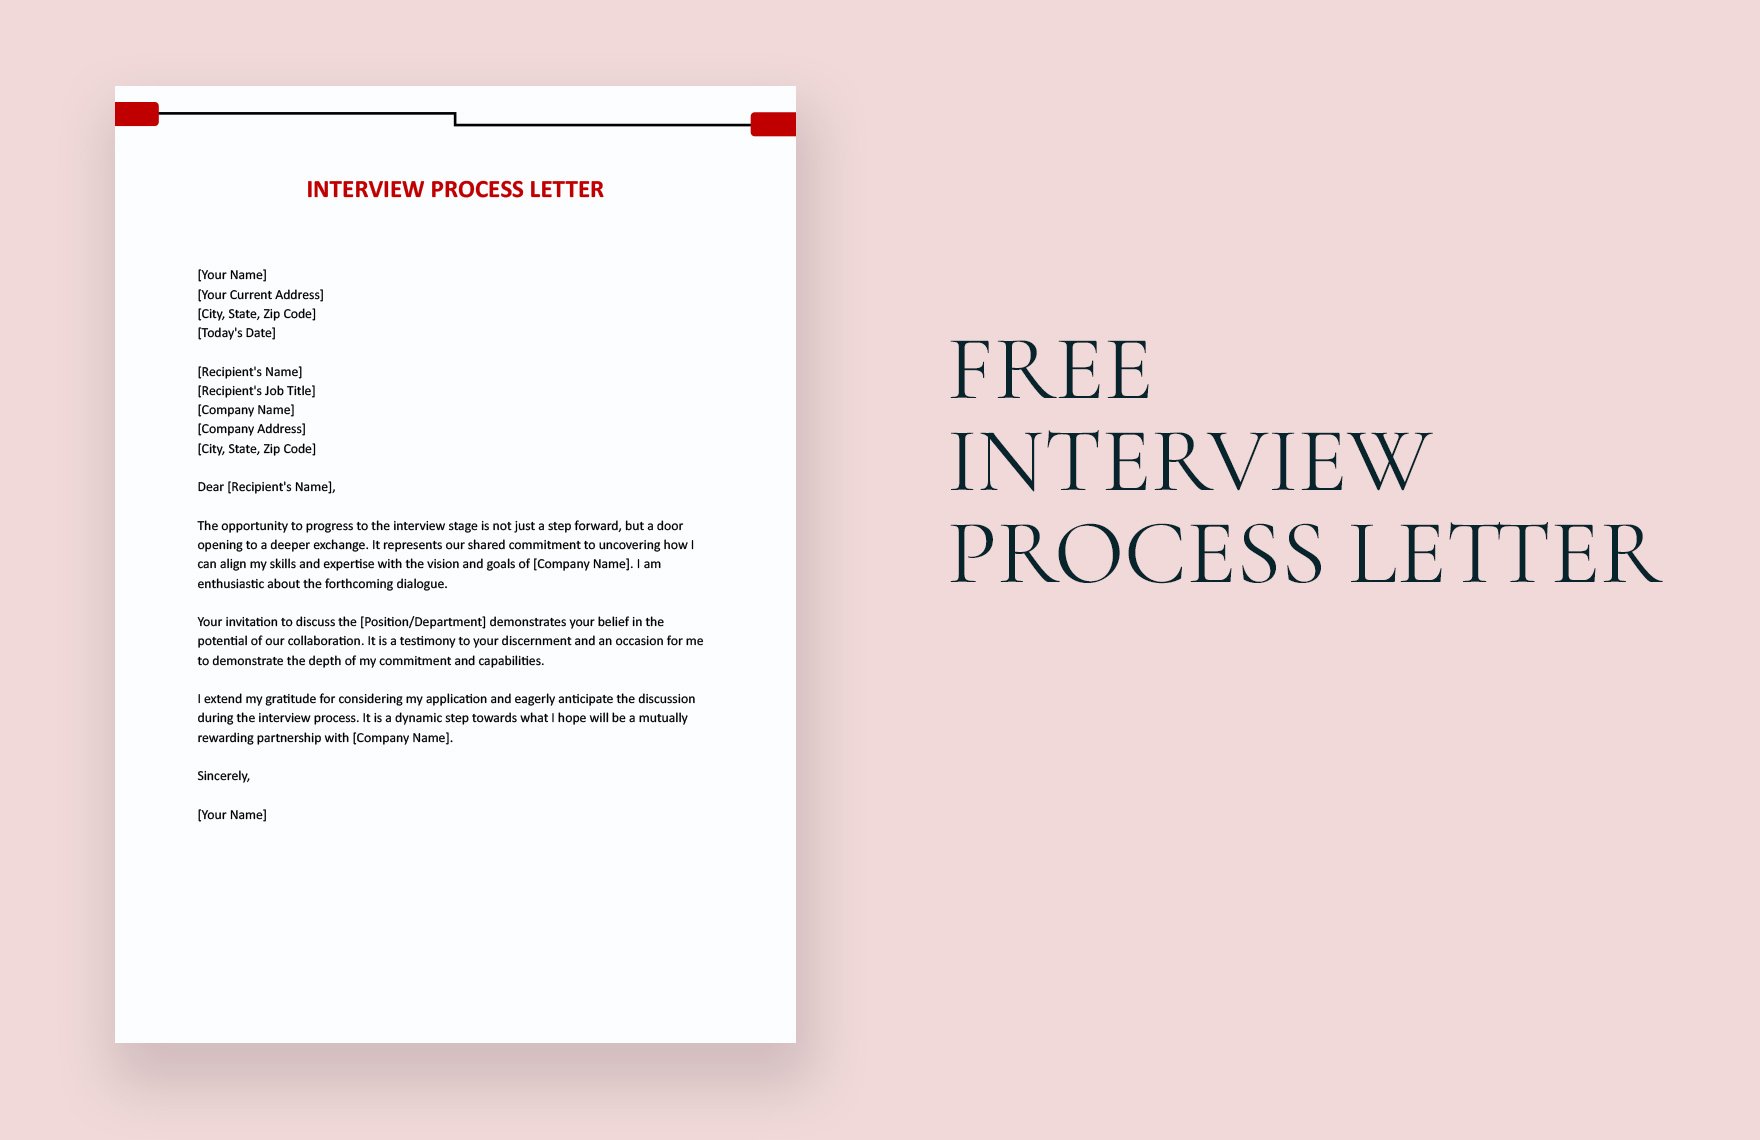
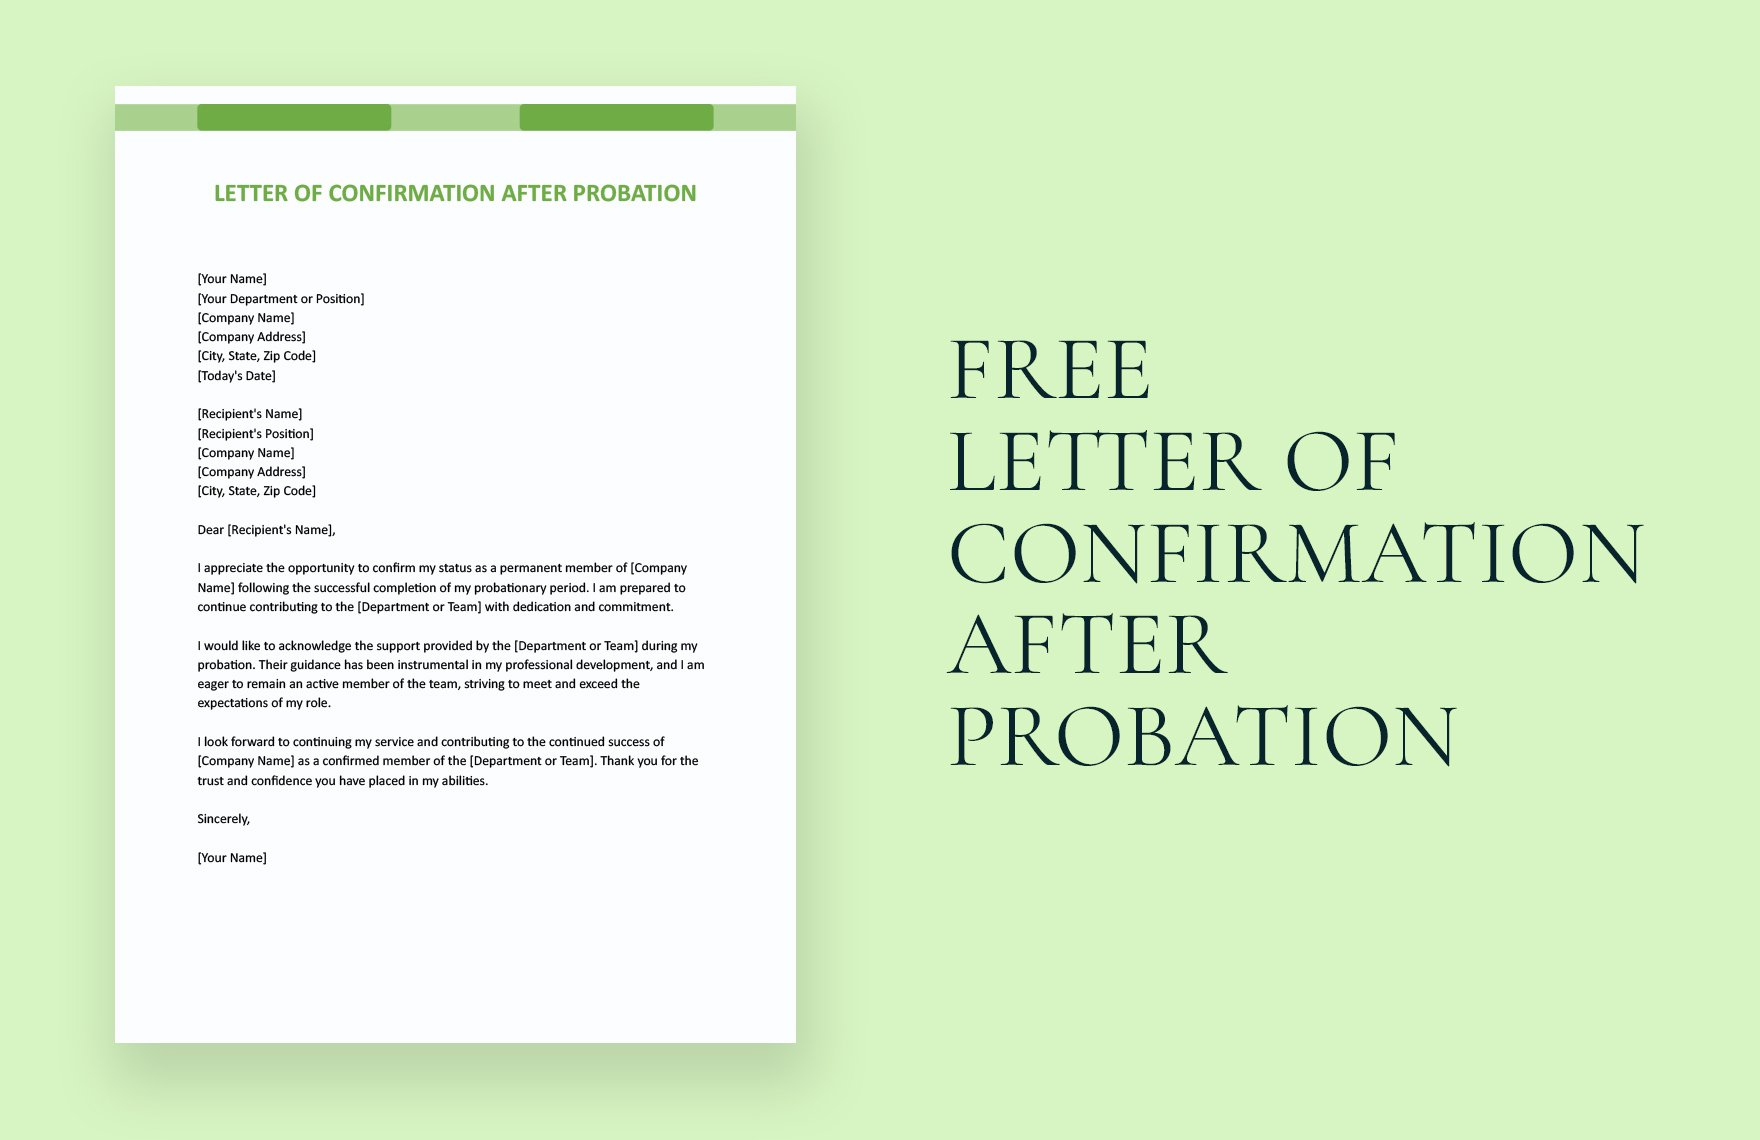
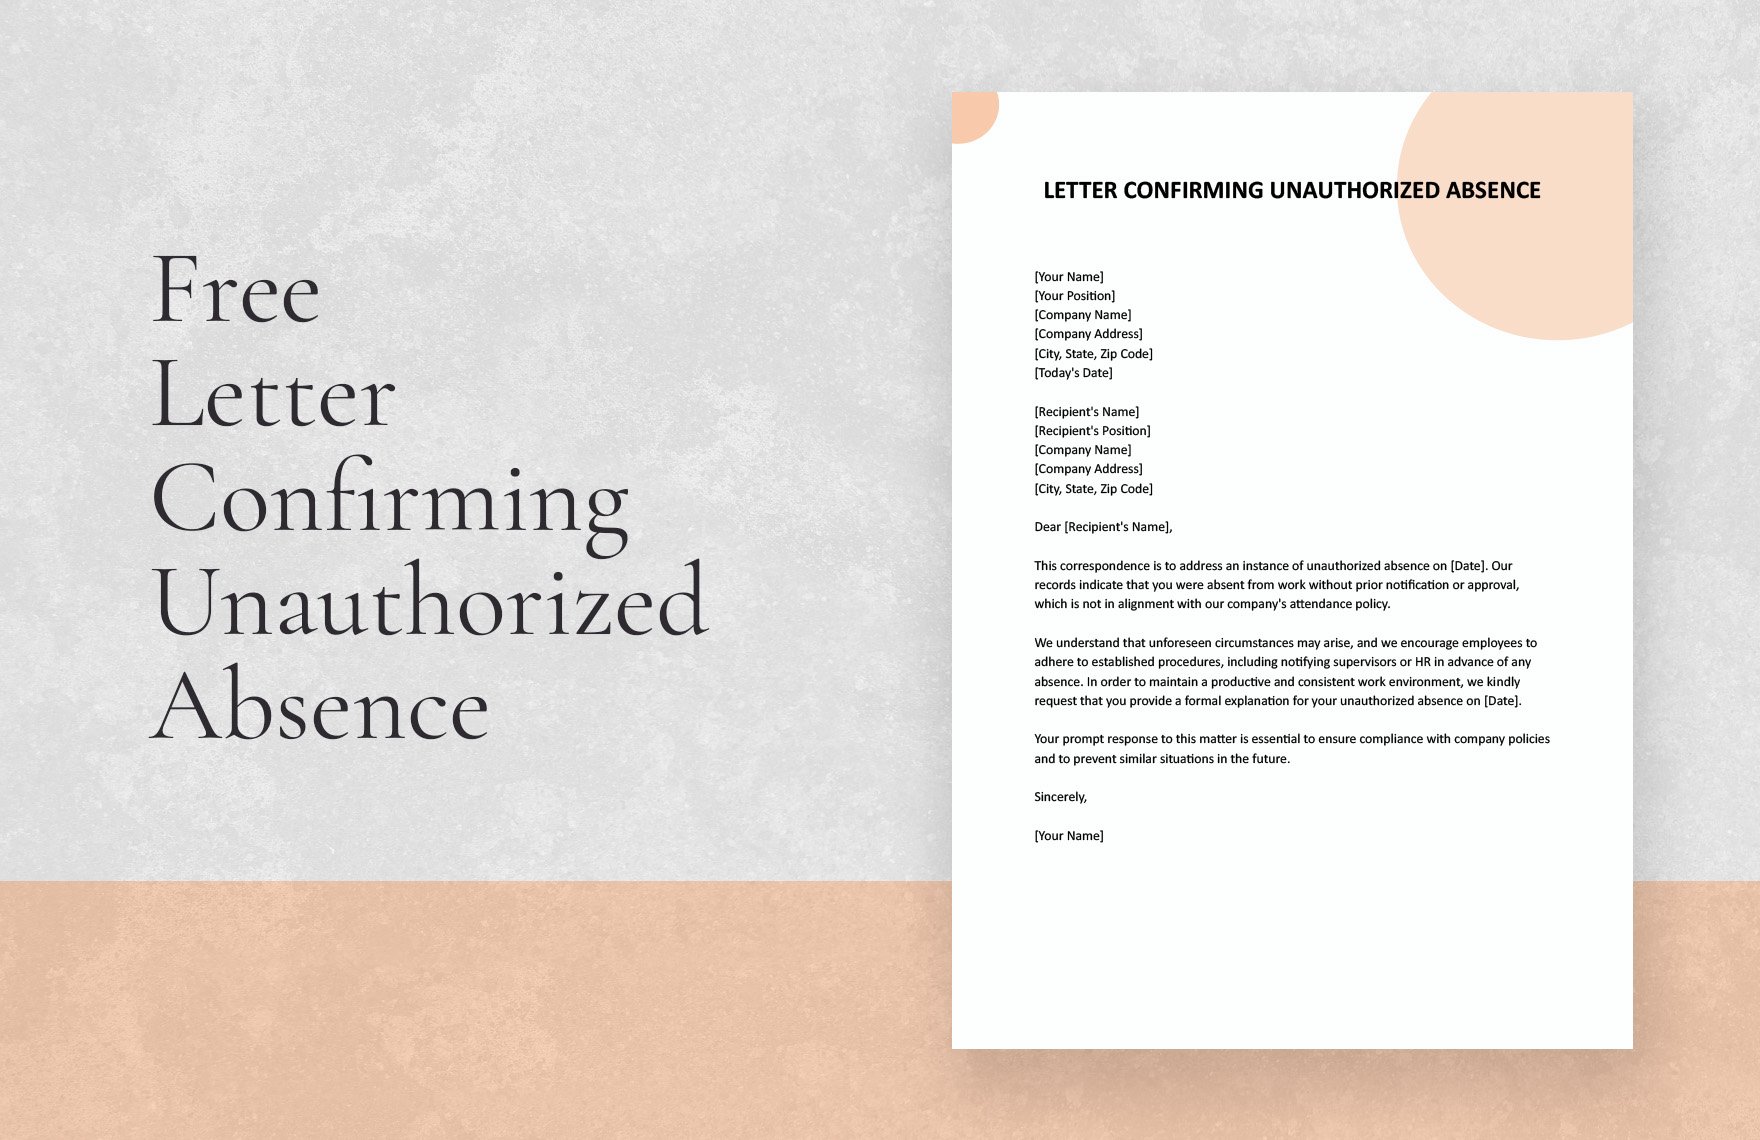
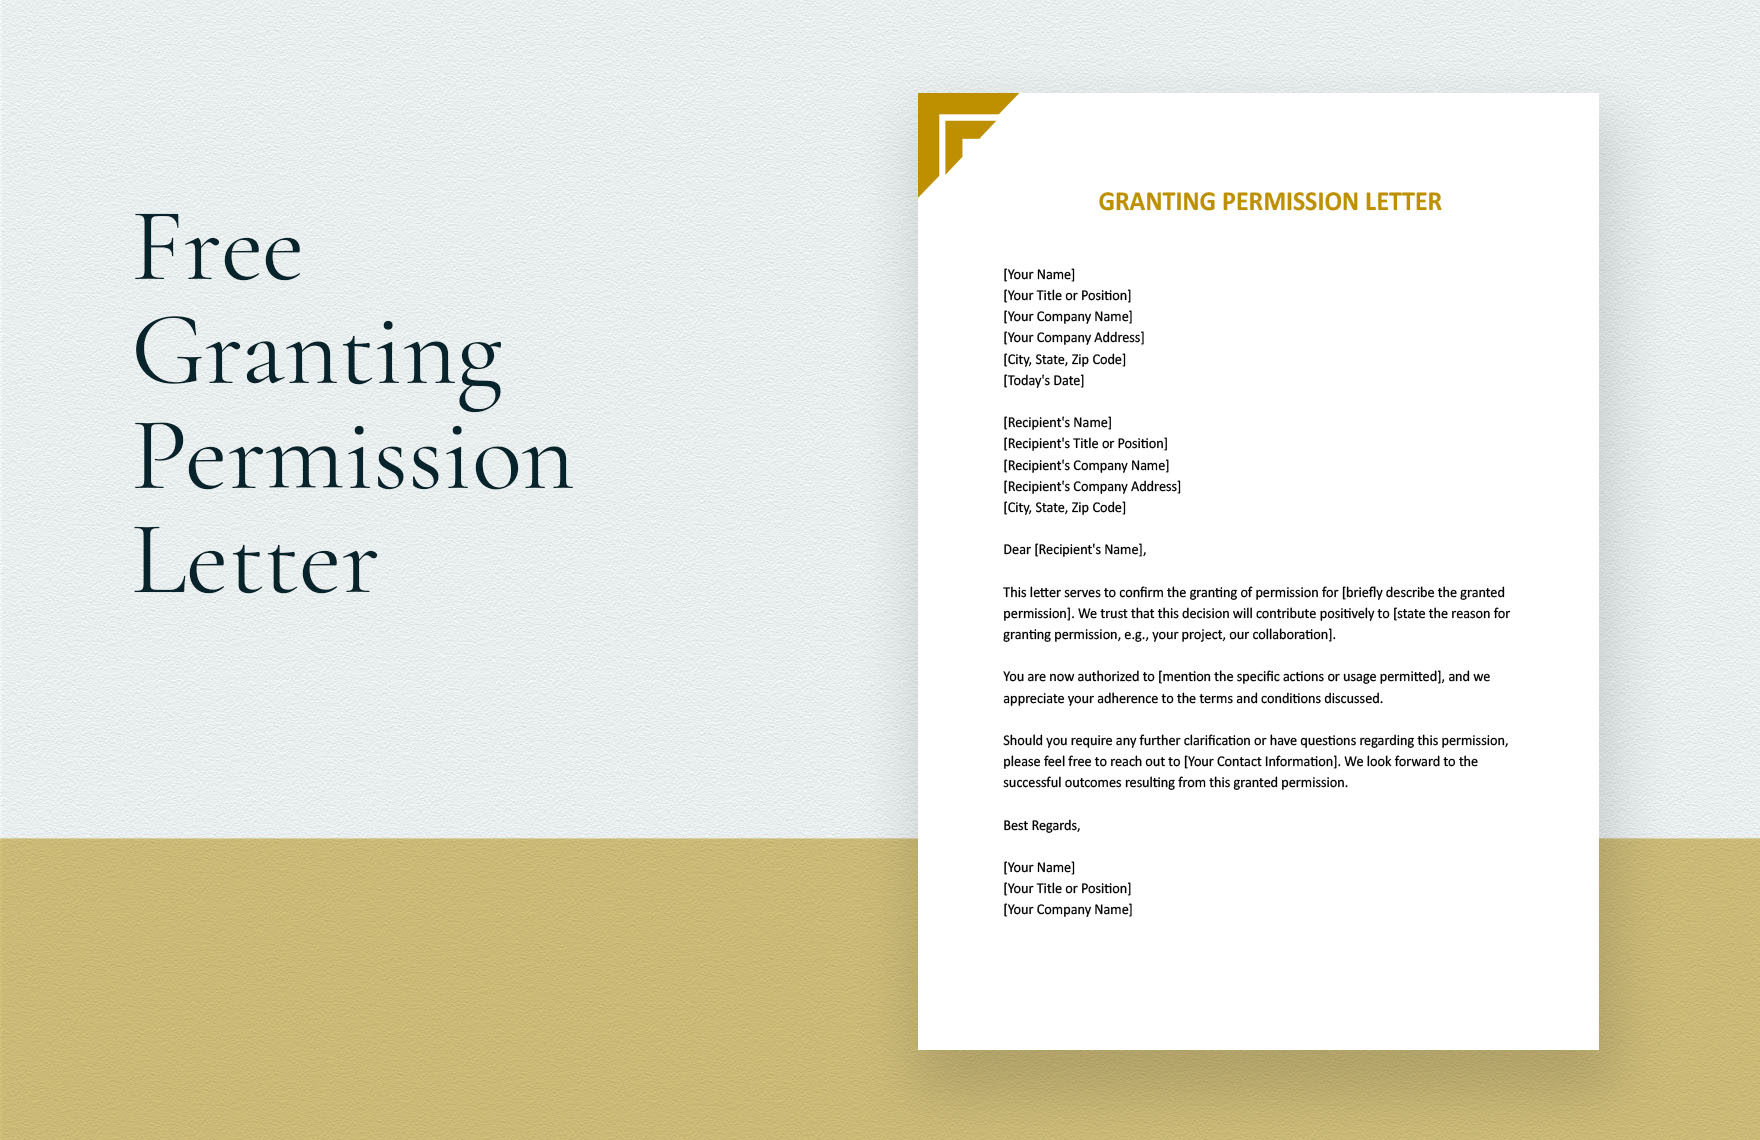
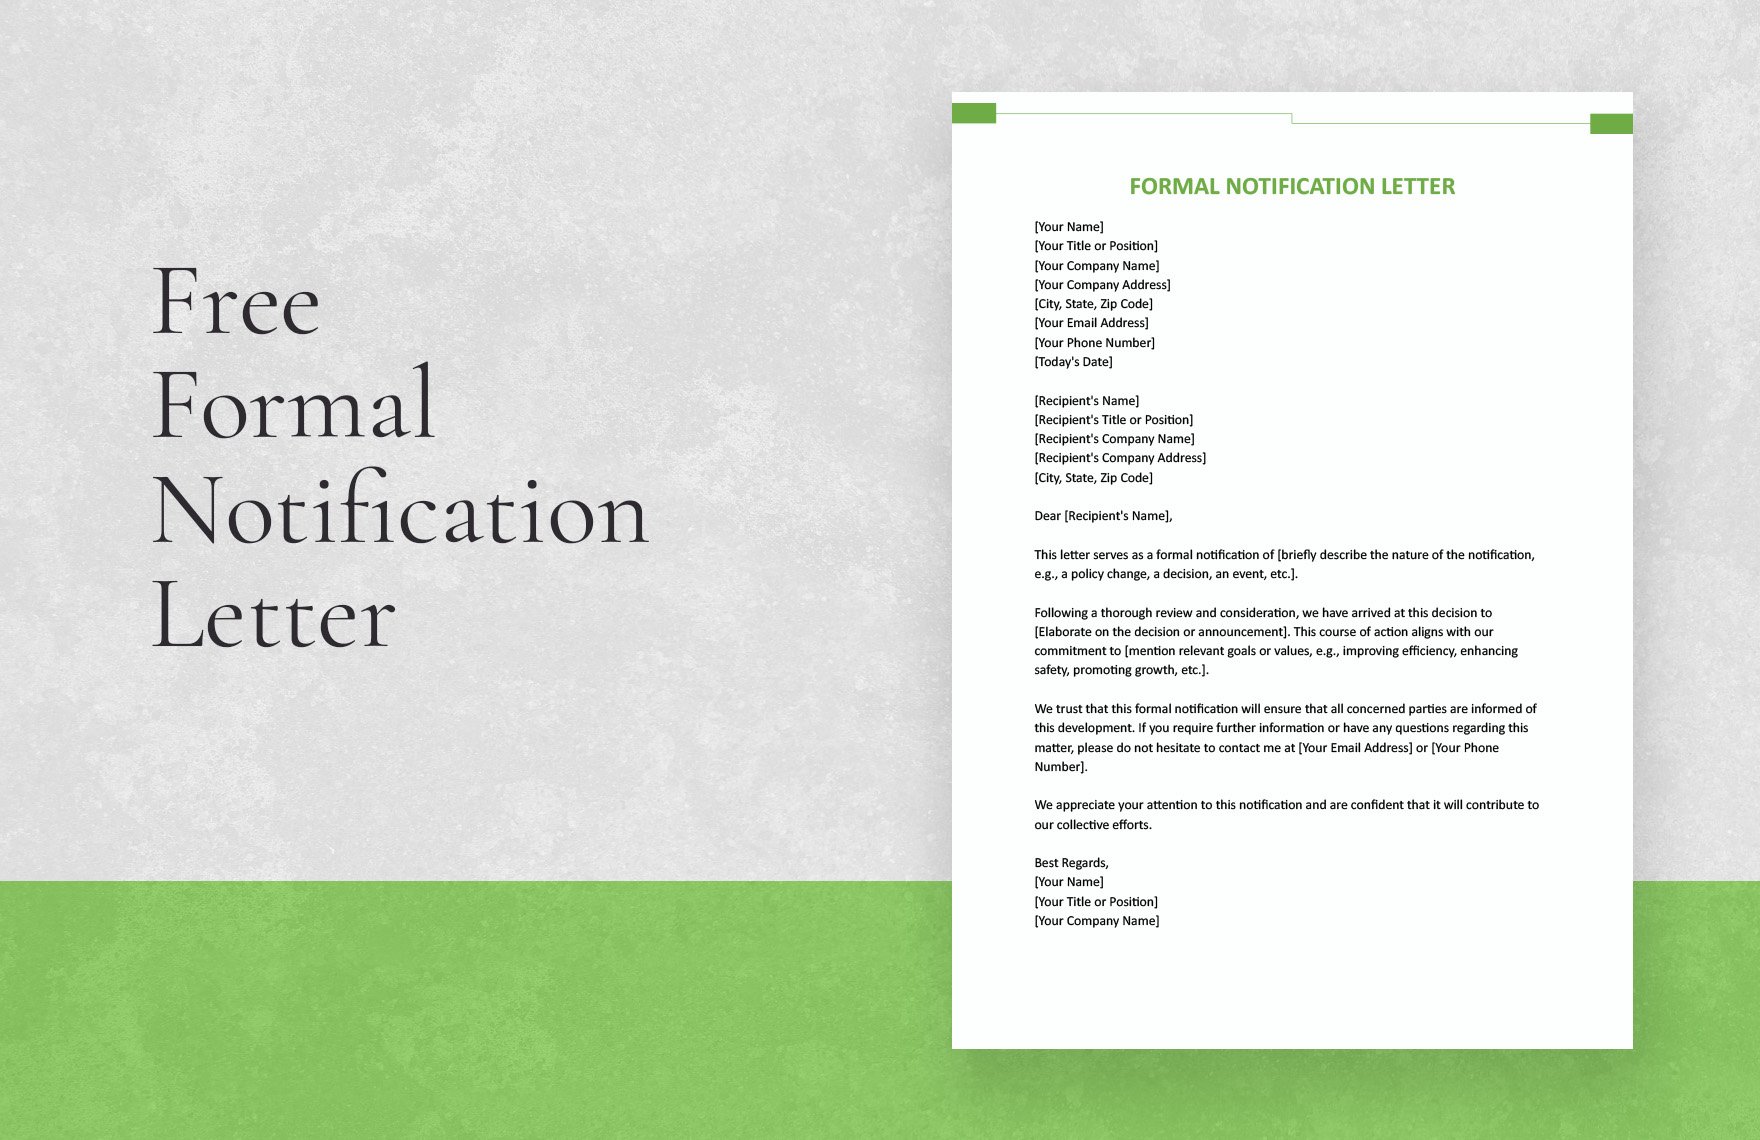
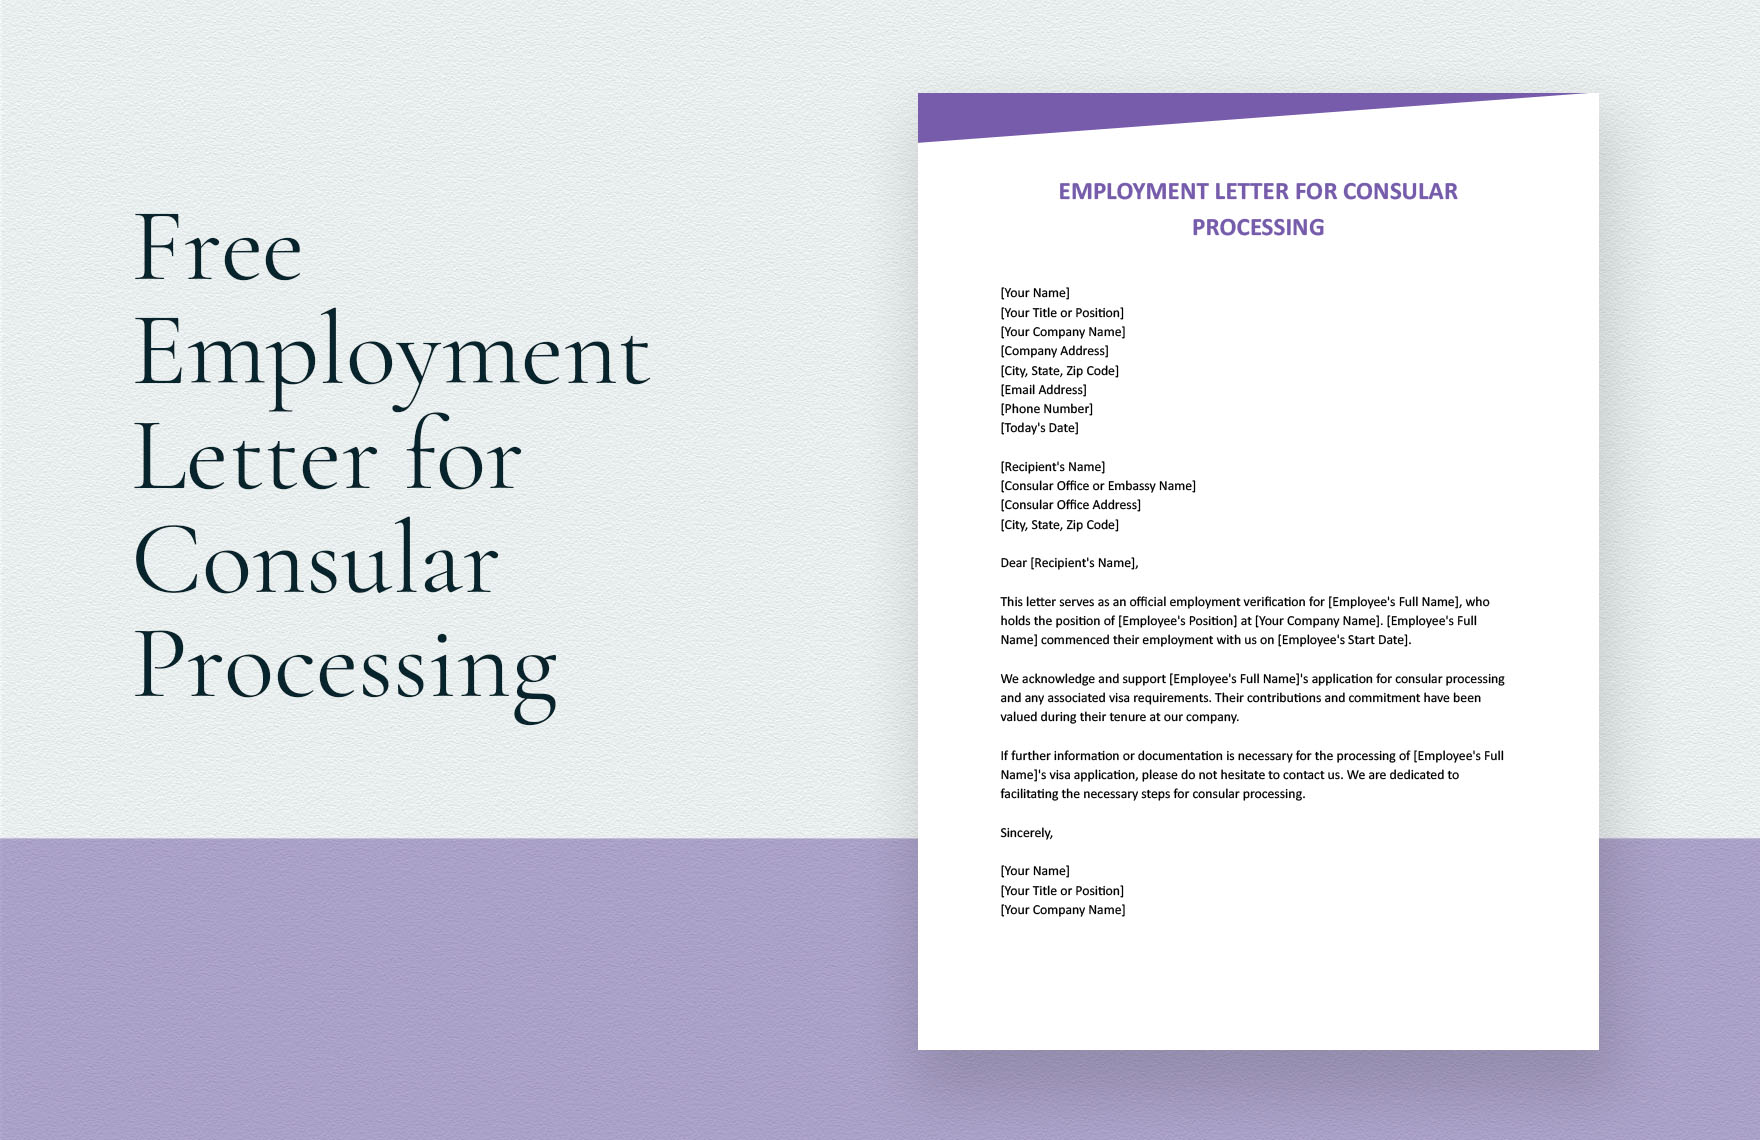
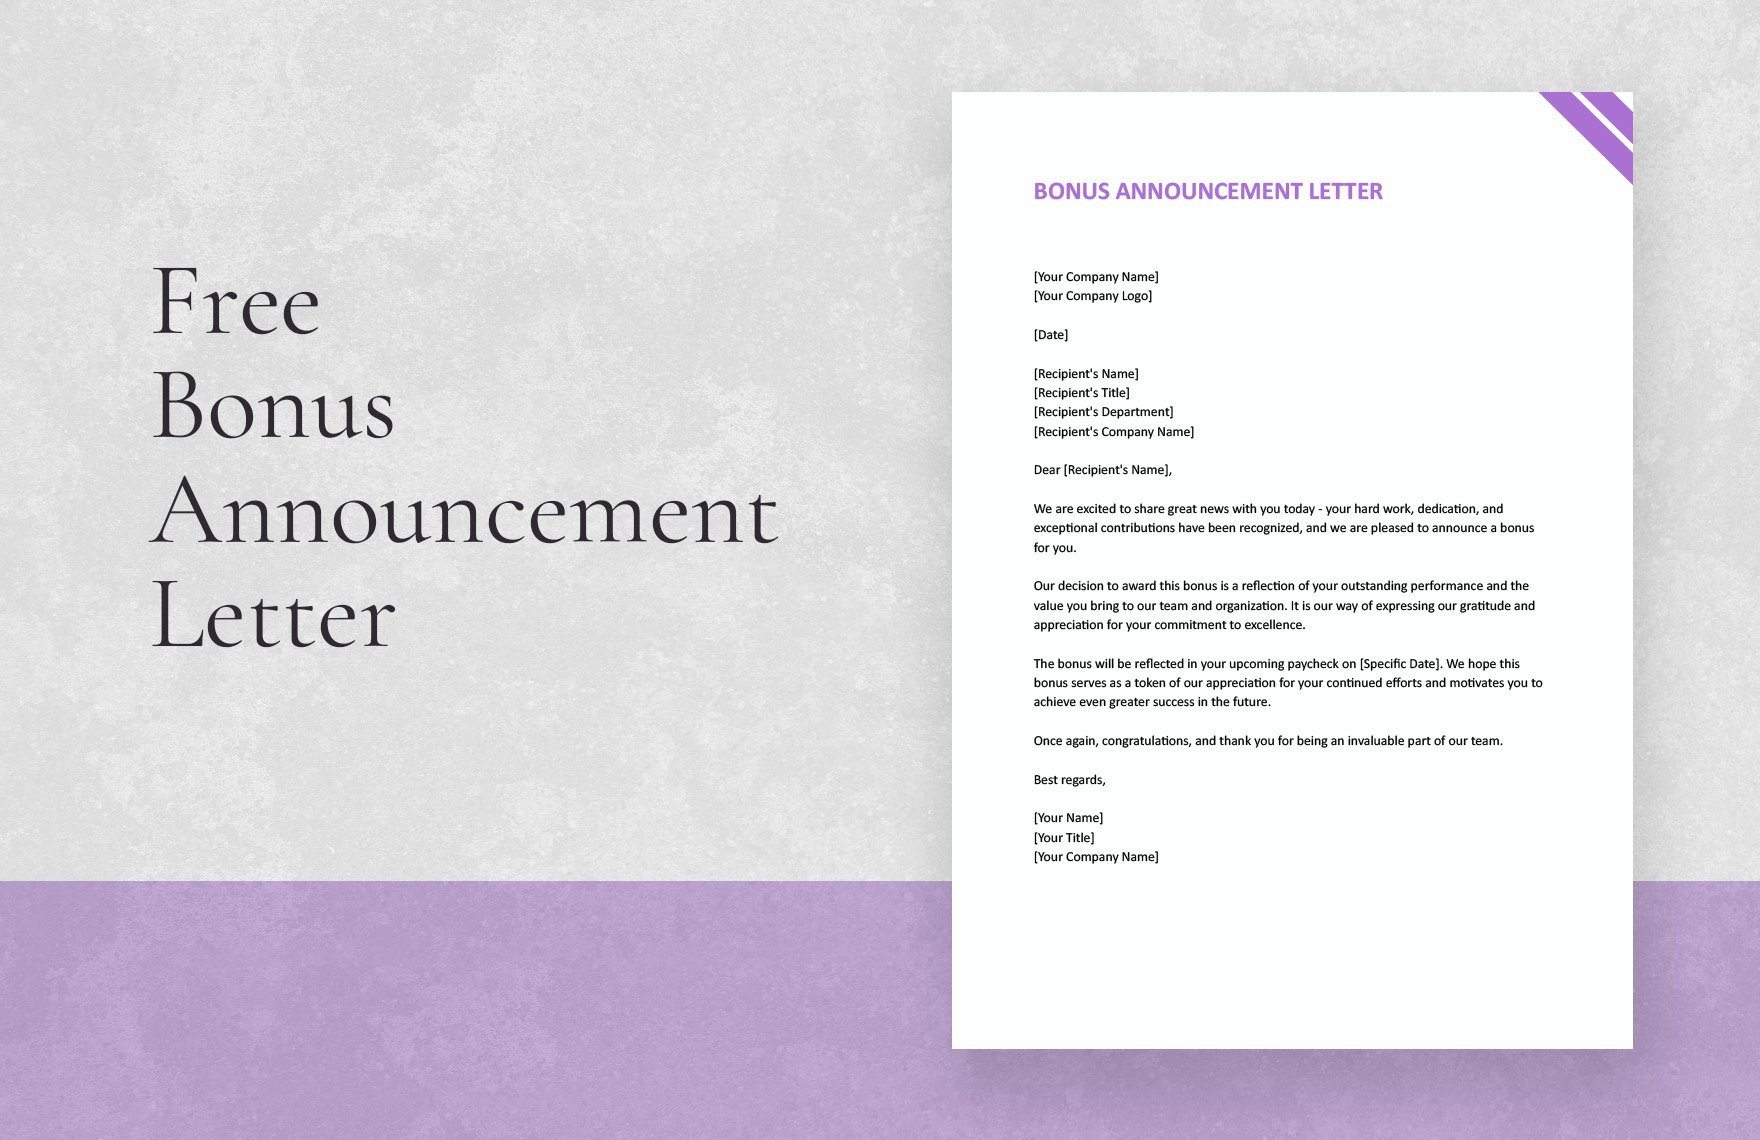
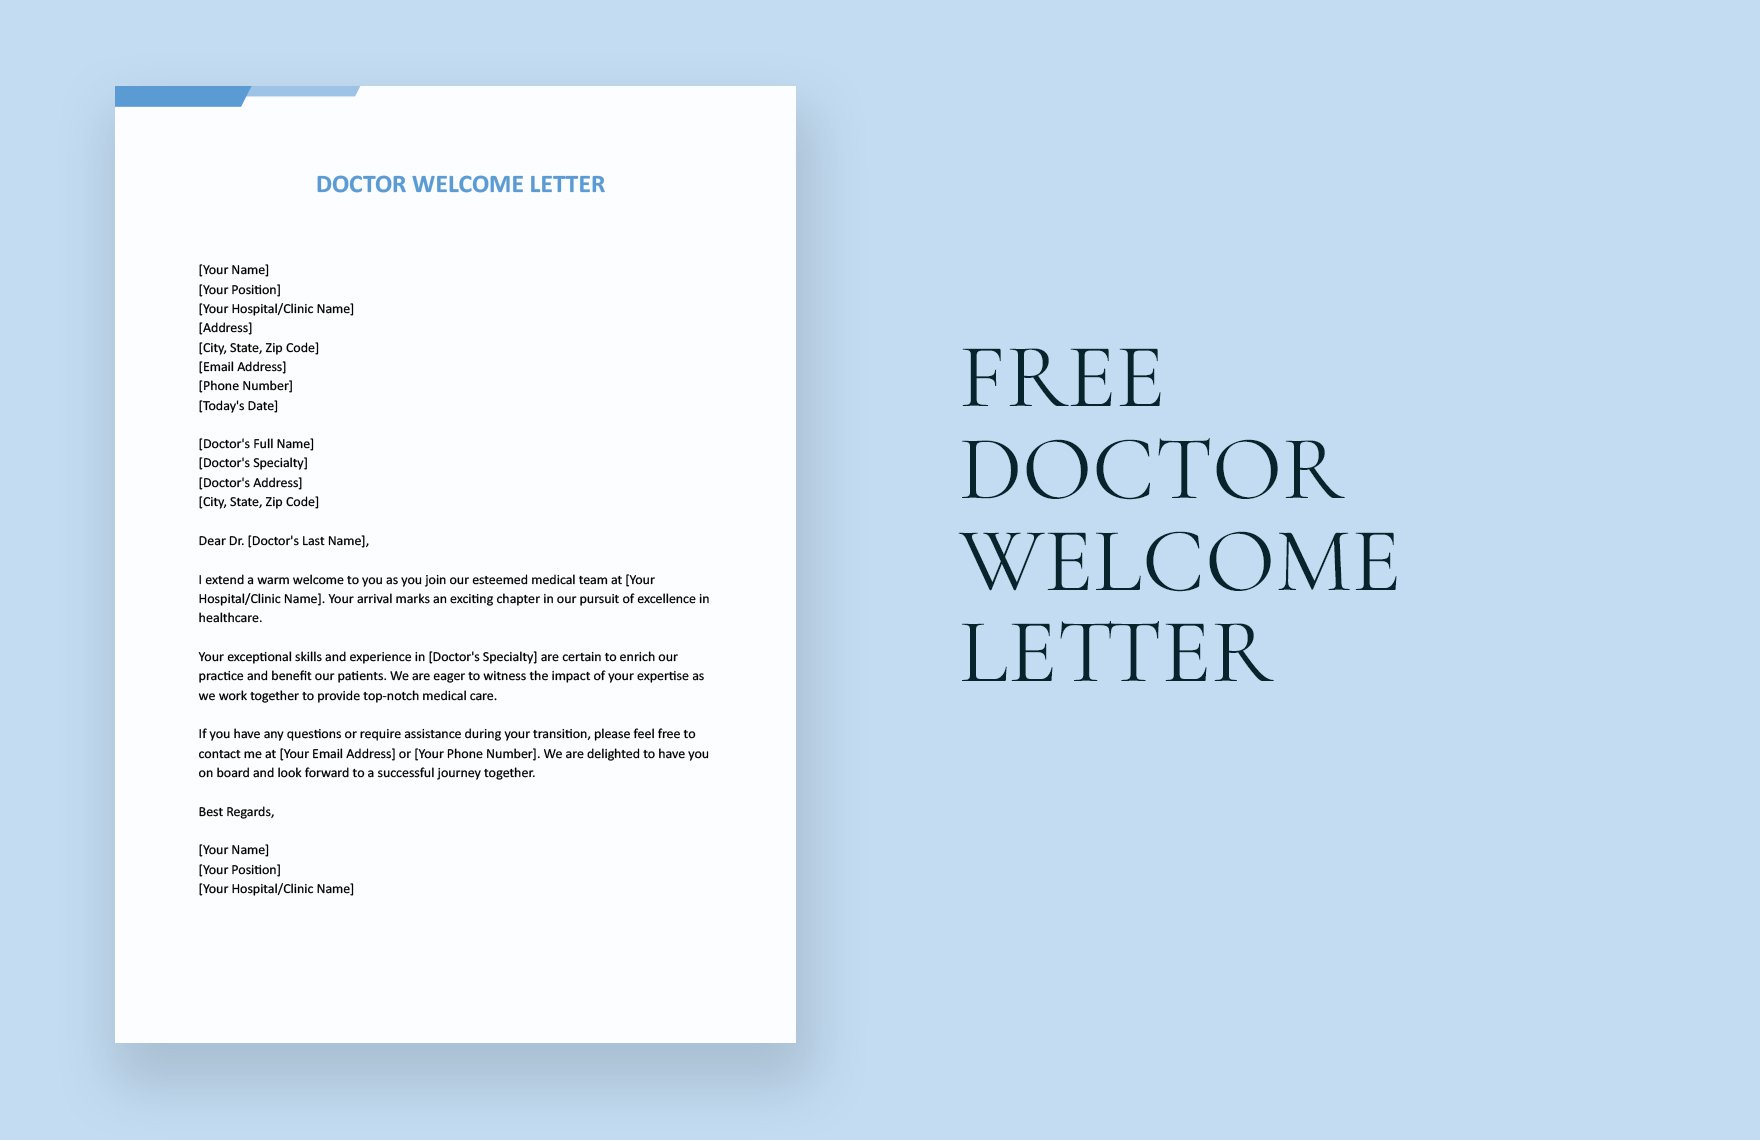
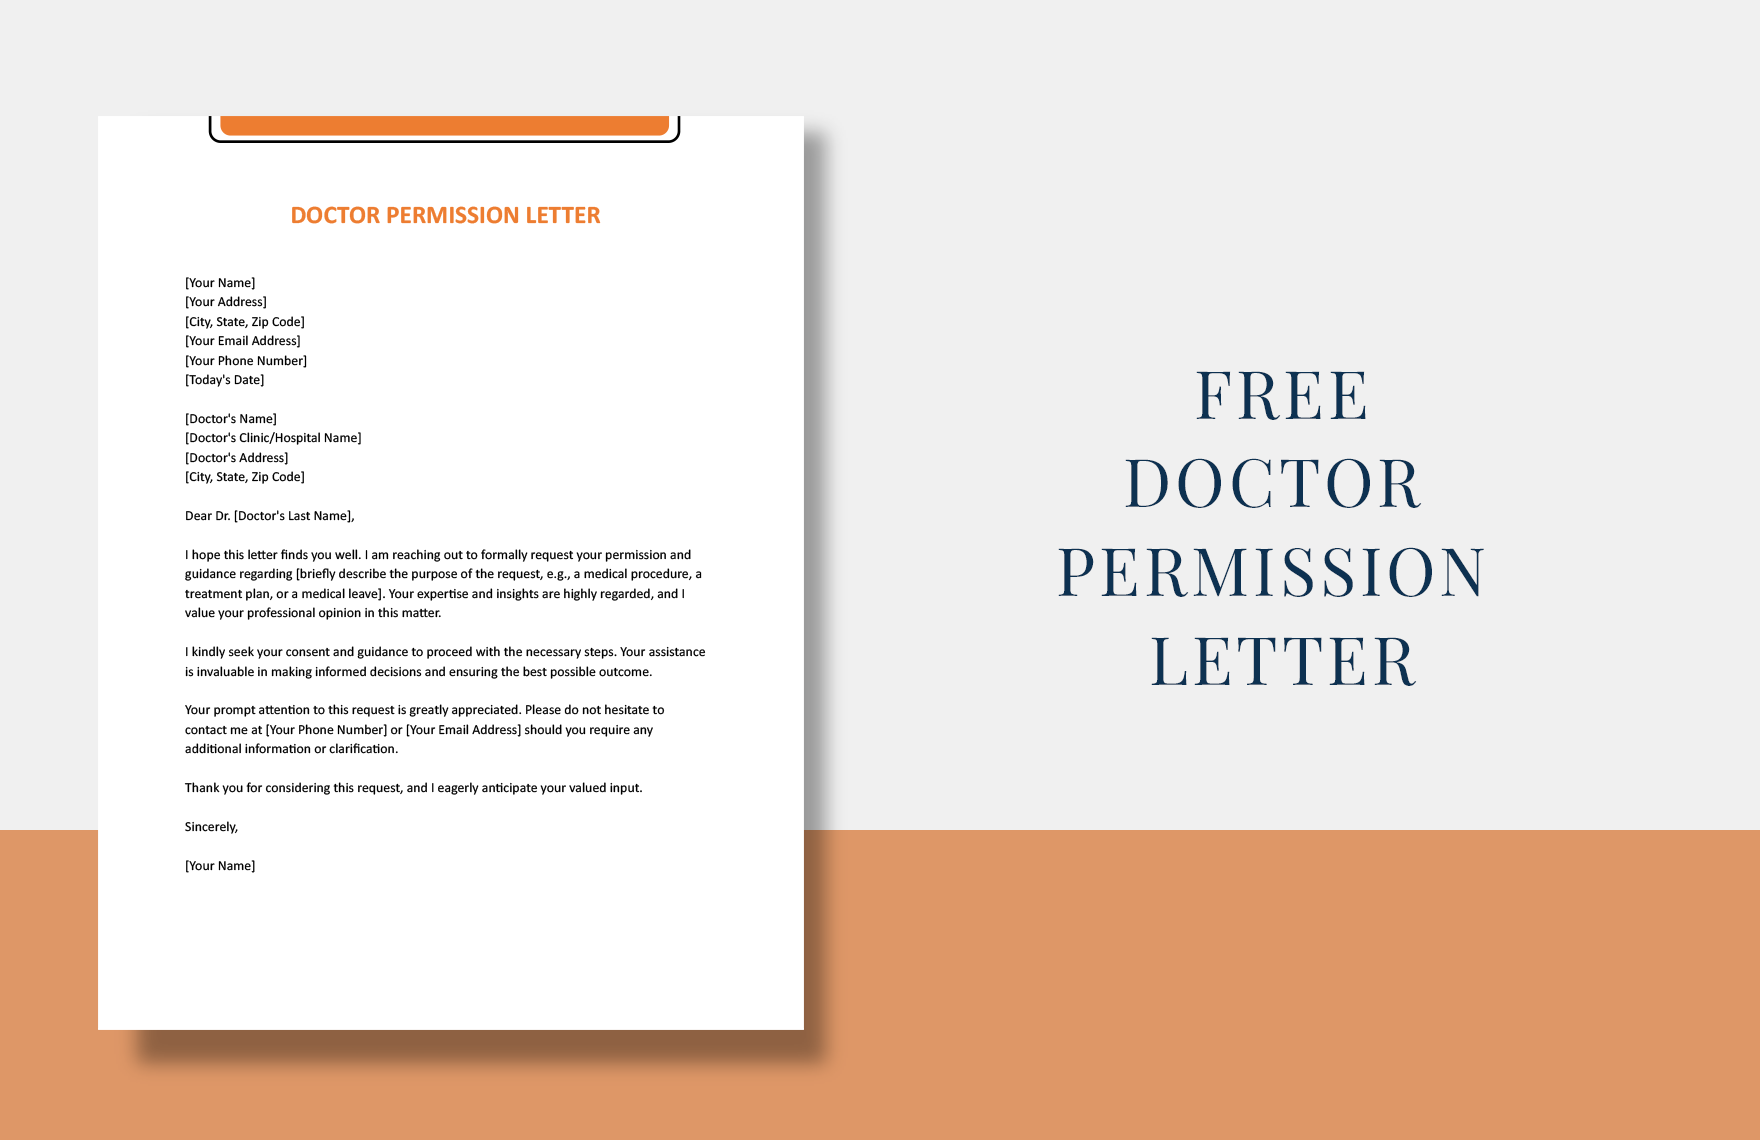
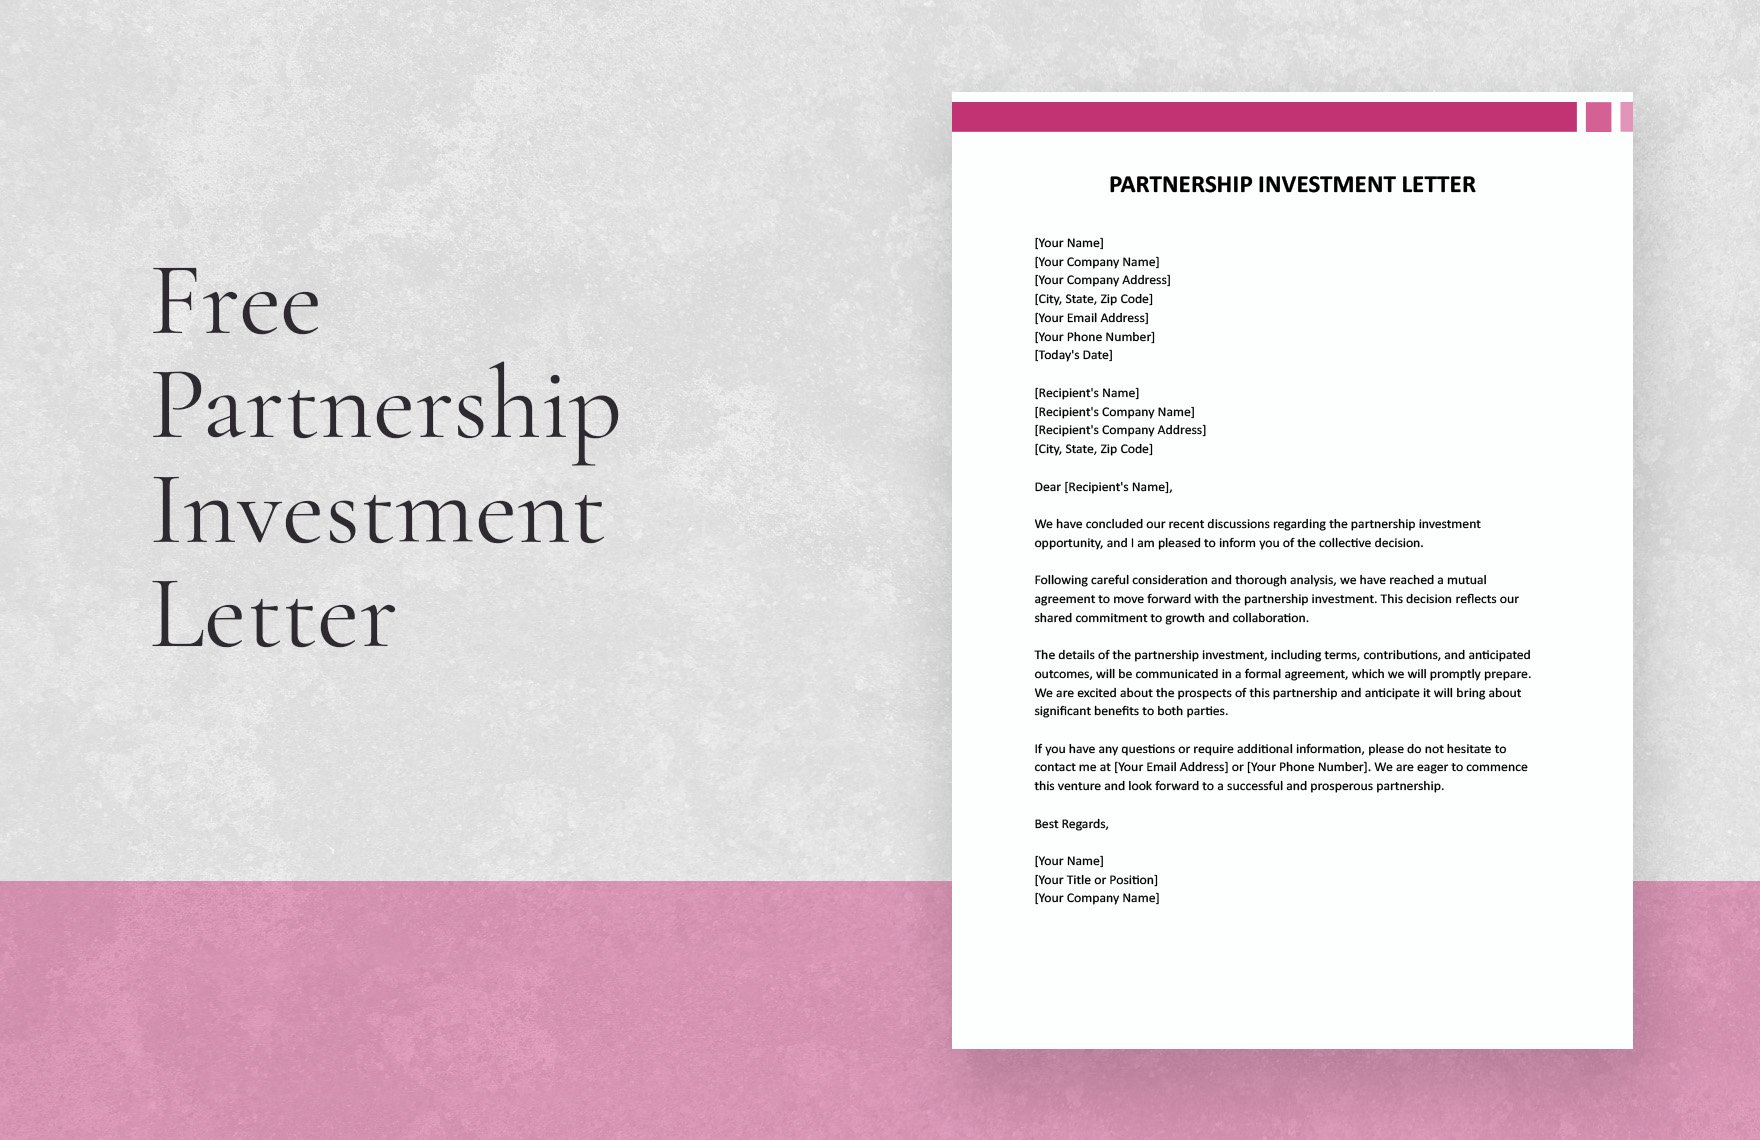
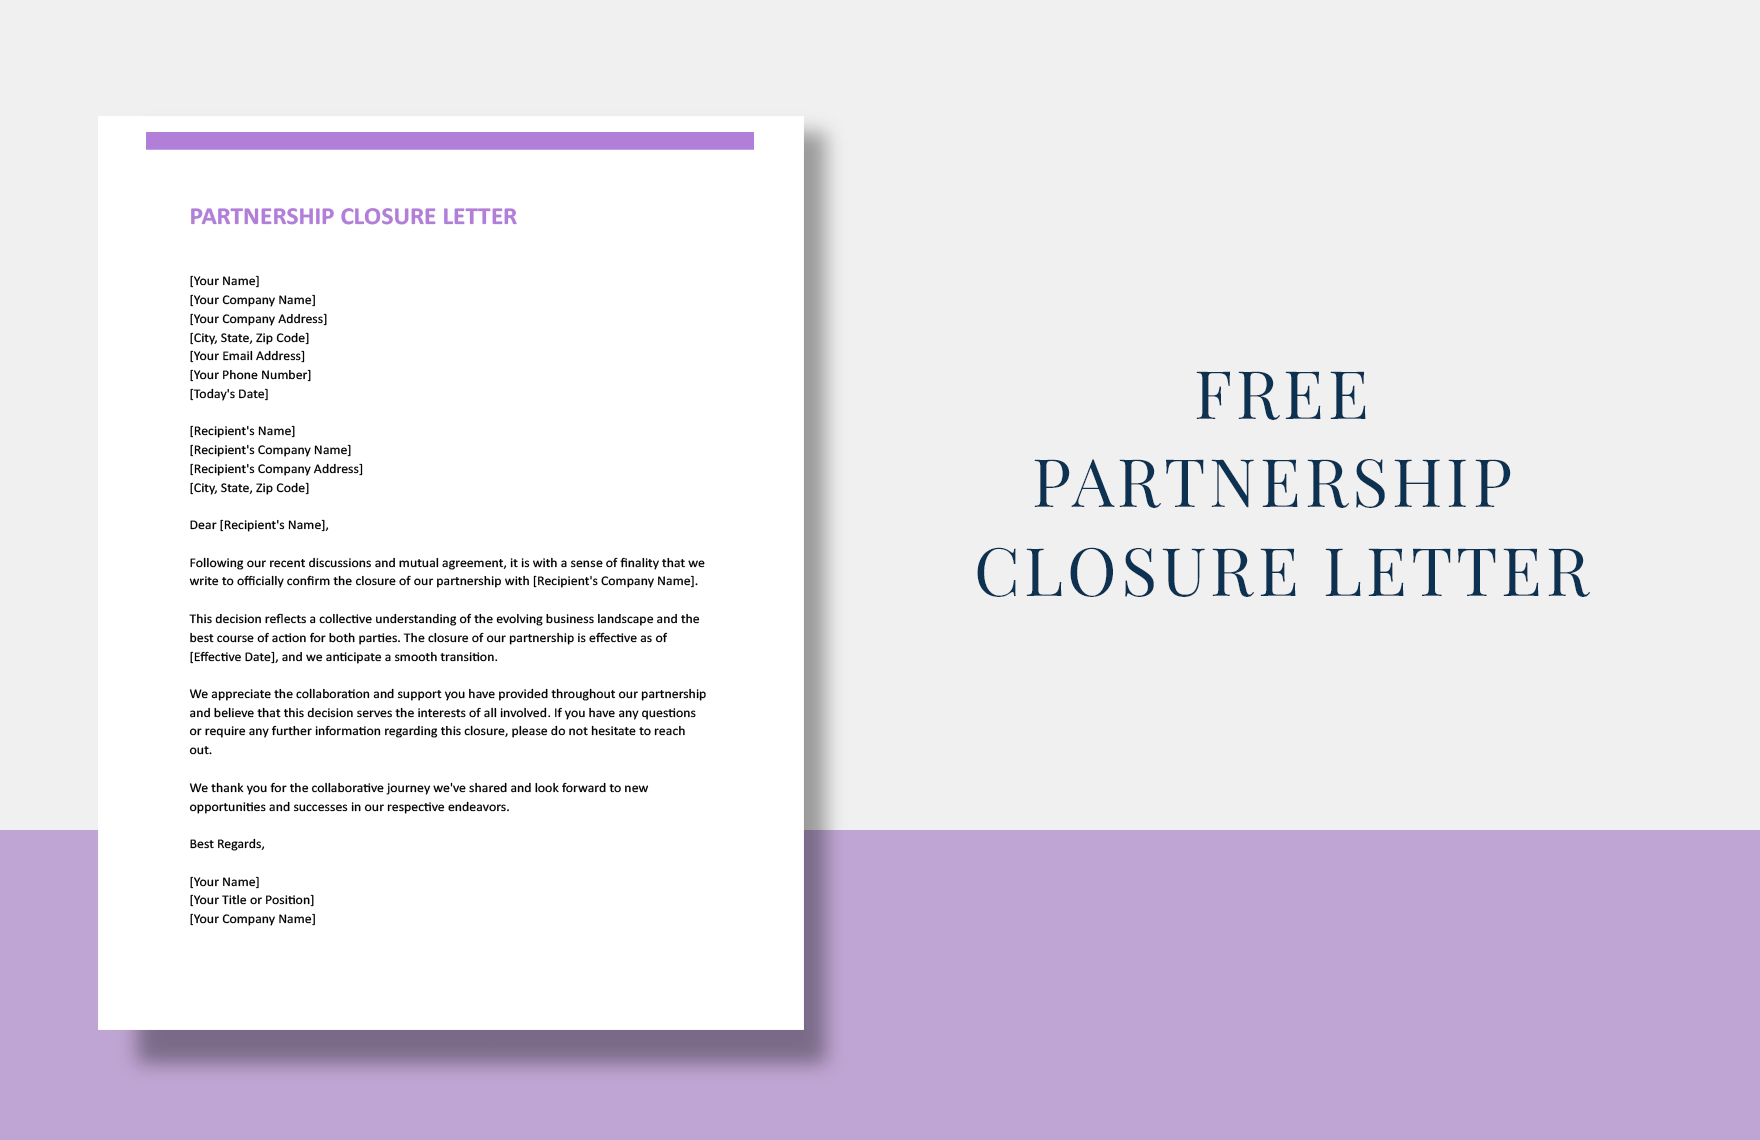
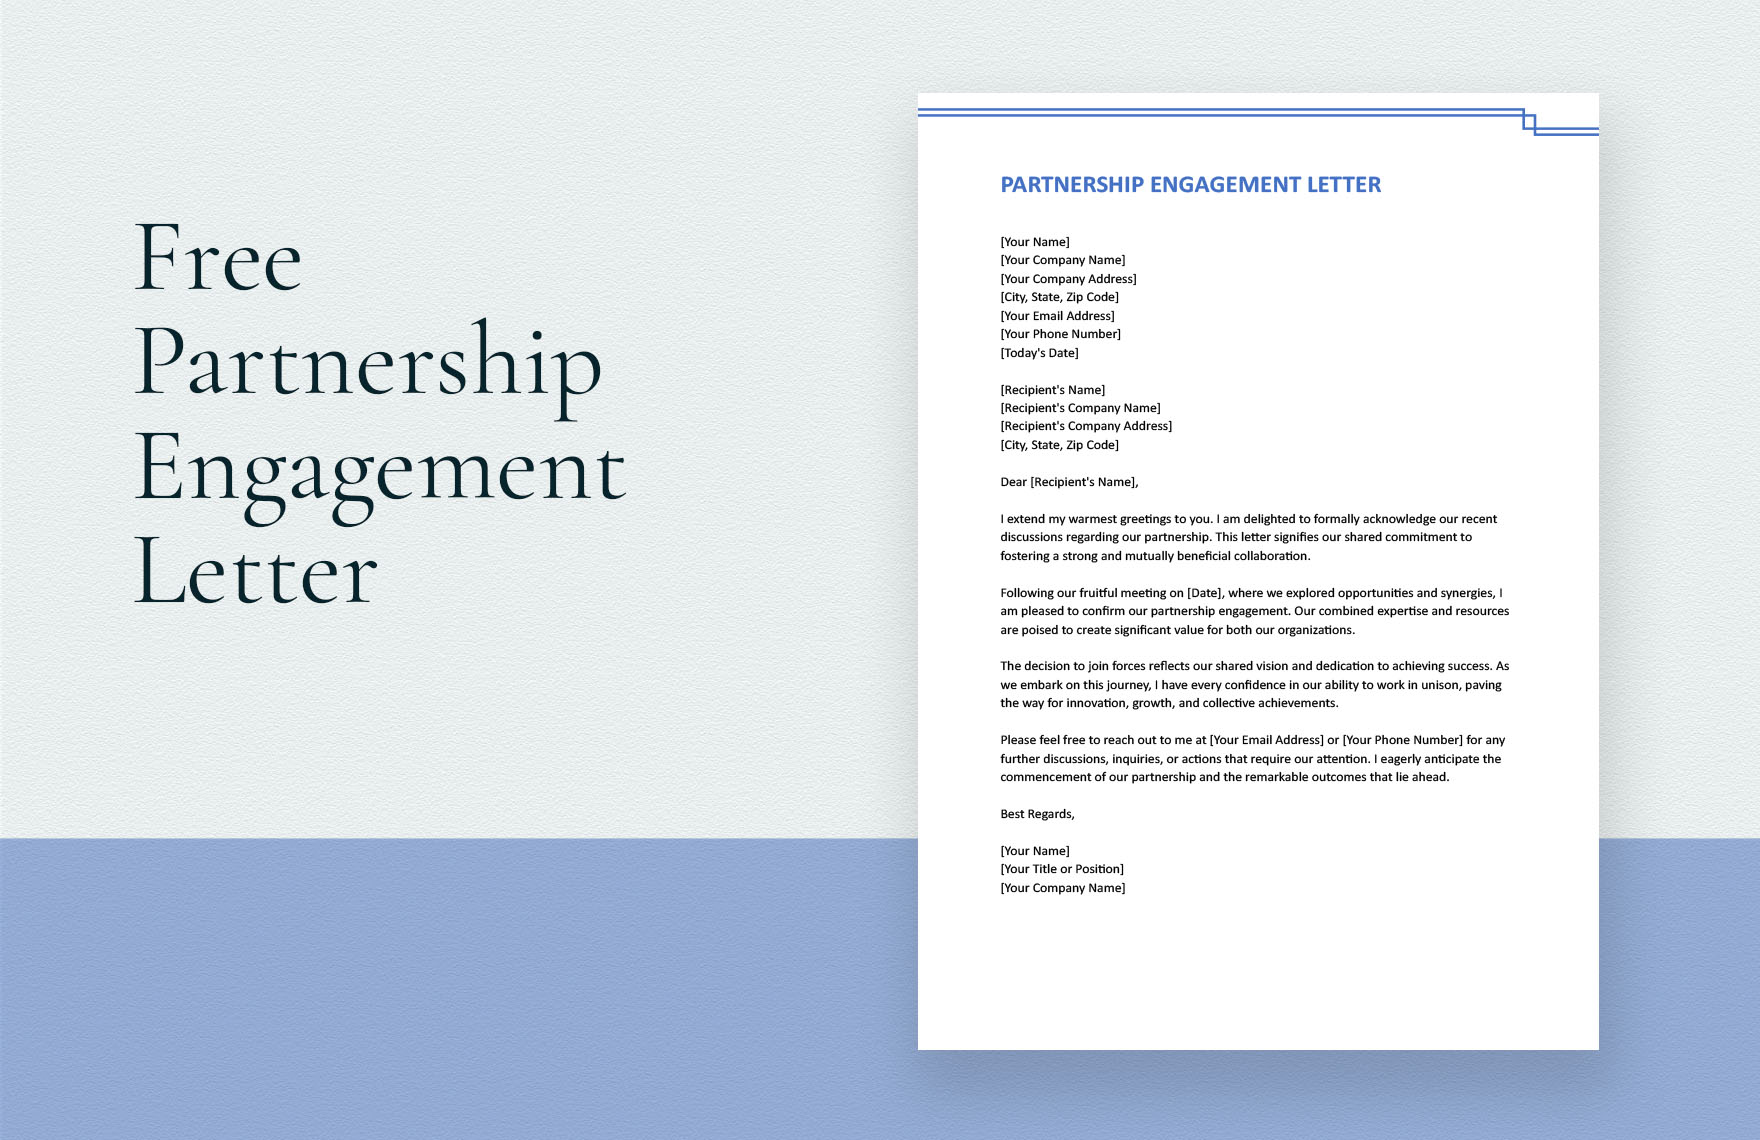
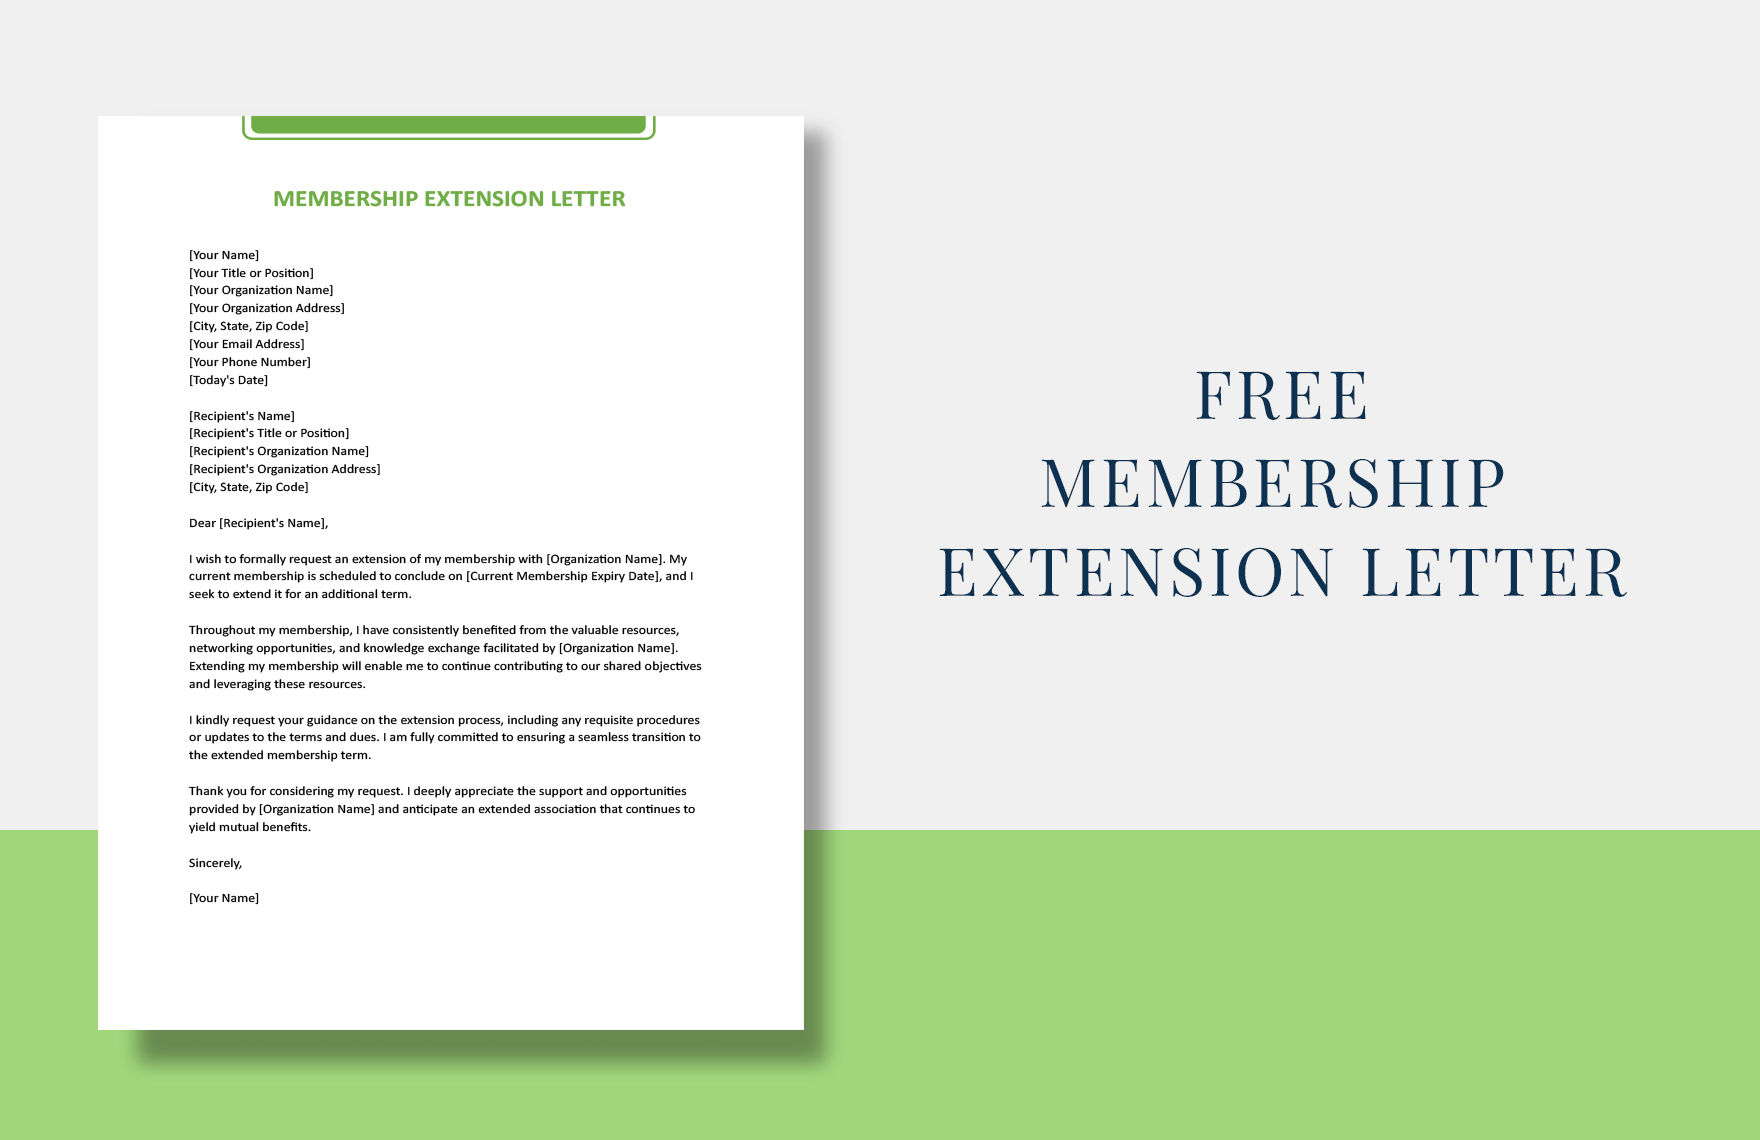
Letters have been around long enough to express formal intents. They are commonly used for formal purposes—to express requests or gratitude. Since we have become modernized, letters can now be sent through email. For your letter-making needs, take a look at our catalog of Restaurant Letter Templates. These letters are specially made for your restaurant business transactions. Where else can you find templates that are catered to fit your needs? Our high-quality and editable templates are compatible with various file formats available.
How to Create a Restaurant Letter
Restaurant letters vary in nature. These letters either express gratitude, disappointment, appreciation, and many more. Restaurant letters are formal in nature and consists of the intent of the sender. The sender may be a customer, supplier, or from the restaurant itself. The content of the sample letter is dependent on the sender, as well.
When writing your letter, you should be mindful of the tone you are using. You should be clear and direct when you address your message. If needed, attach documents or include facts as reference for the receiver.
Should you need help with making your restaurant letter, here are tips below:
1. Create a Draft
Create a draft of your simple letter before making the actual one. Get a scratch paper and pen (or pencil) to begin. Compose your thoughts and write them down. Make room for mistakes and rewrite the letter over and over again until you are satisfied with it. Also, take note of the tone that you are using. Remain respectful and professional if you are airing negative feelings (letters of complaint, notices, resignation, etc.).
2. Start Writing the Letter
Once you are sure about your draft, start making the actual letter of intent. The size that is usually used for letters is 8.5? by 11? or the size of a short bond paper. Provide margins on all sides of the bond paper. By this time, you should already have secured the details of your recipient. These details are the address, name of the recipient, and his or her designation.
If you are working for a company, provide your company name, logo, and company details to the top center of the page.
3. Be in the Recipient's Shoes
When writing, you should put yourself in the recipient's shoes. Be conscious of how they will perceive your printable letter—if they are going to understand your message, understand your tone, and other things to consider. Write in a way that makes it easier for them to understand. Imagine yourself as the recipient and read the letter if you understand it yourself. The main point here is if you can't understand what you are writing, then your recipient wouldn't understand it either.
4. Go Straight to the Point
Go straight to the point and don't beat around the bush. Your recipient will not finish reading the letter if you will not make your intentions clear from the start. Keep your letter short and informative at the same time. On special occasions, you might need to attach documents as a reference.
5. Proofread and Edit
Once done, proofread the letter and revise it if necessary. Don't lessen the quality of your letter by leaving spelling and grammar-related errors go unnoticed. Revise immediately if there are revisions to be made.
6. Enclose With an Envelope
A crumpled paper makes the content informal—no matter how beautifully written it is. Fold the letter neatly and put it in the envelope. Seal the envelope after and indicate your name and address on the upper left side of the back of the envelope. The recipient's name and address should be indicated in the center of the envelope.
