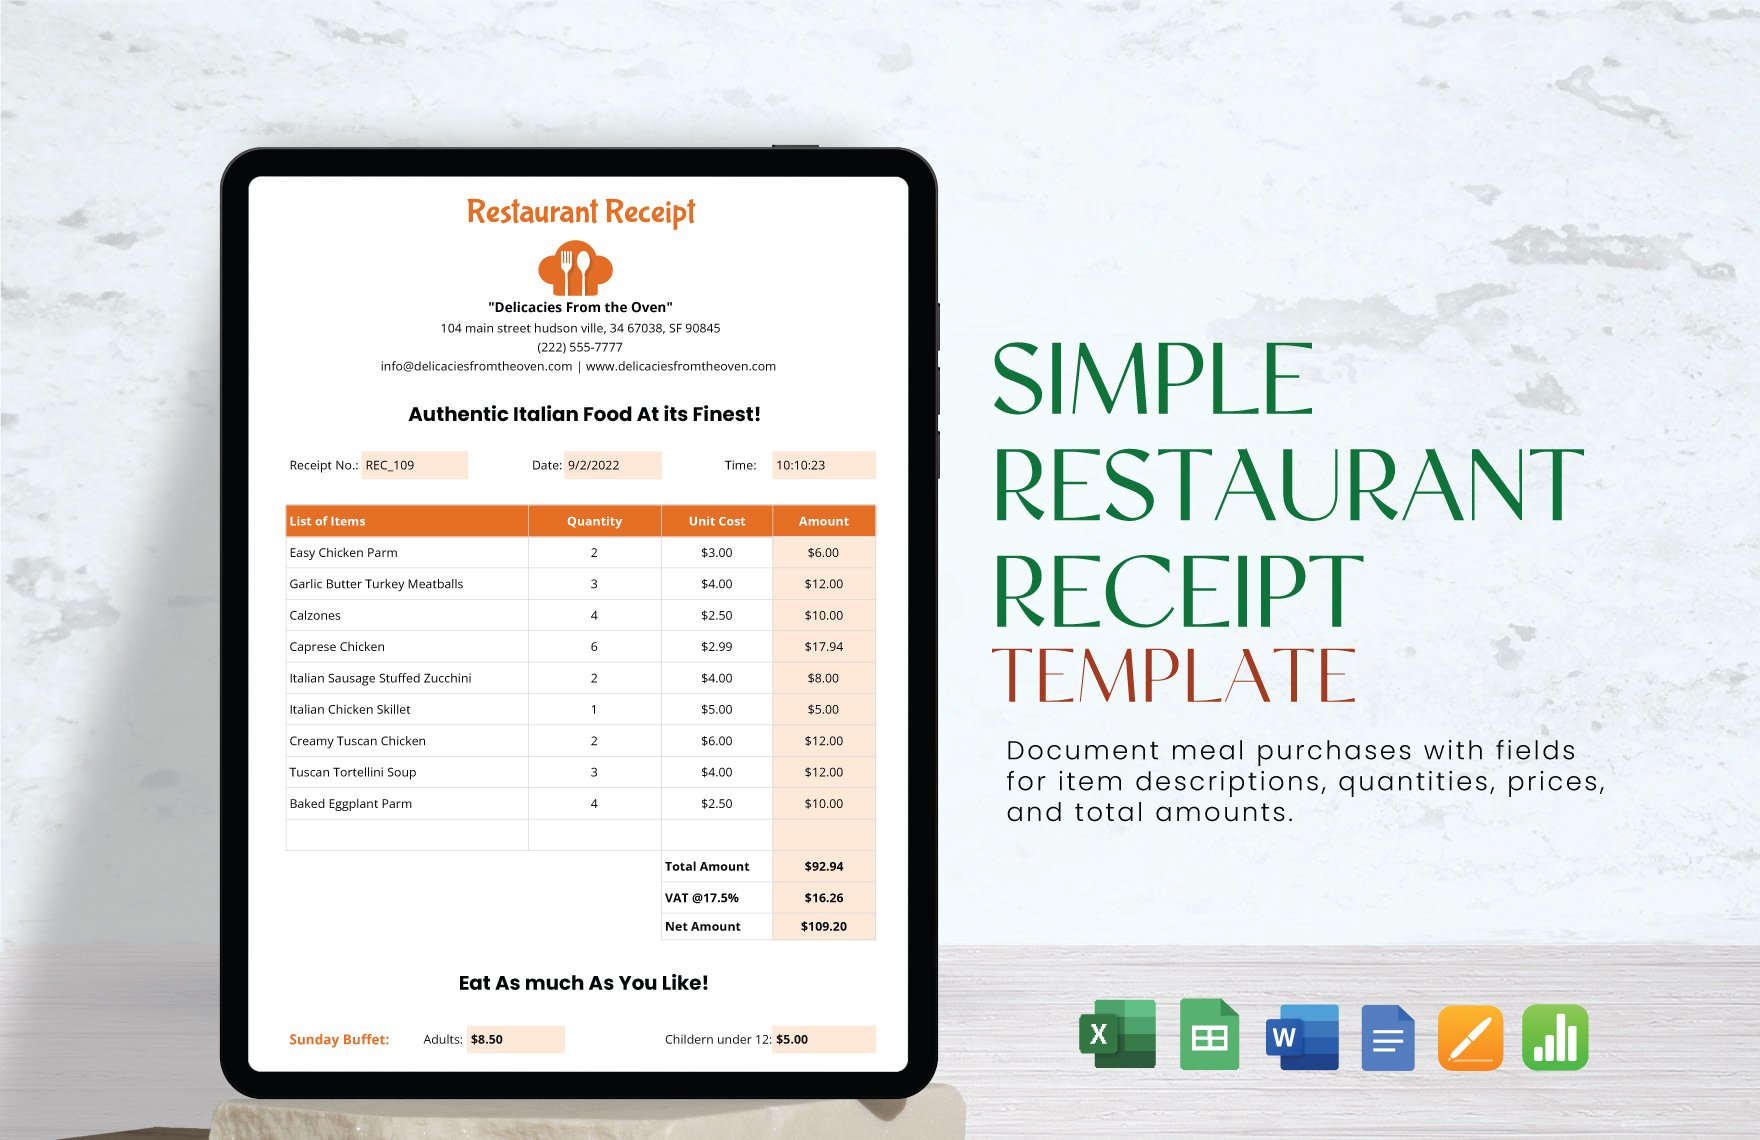
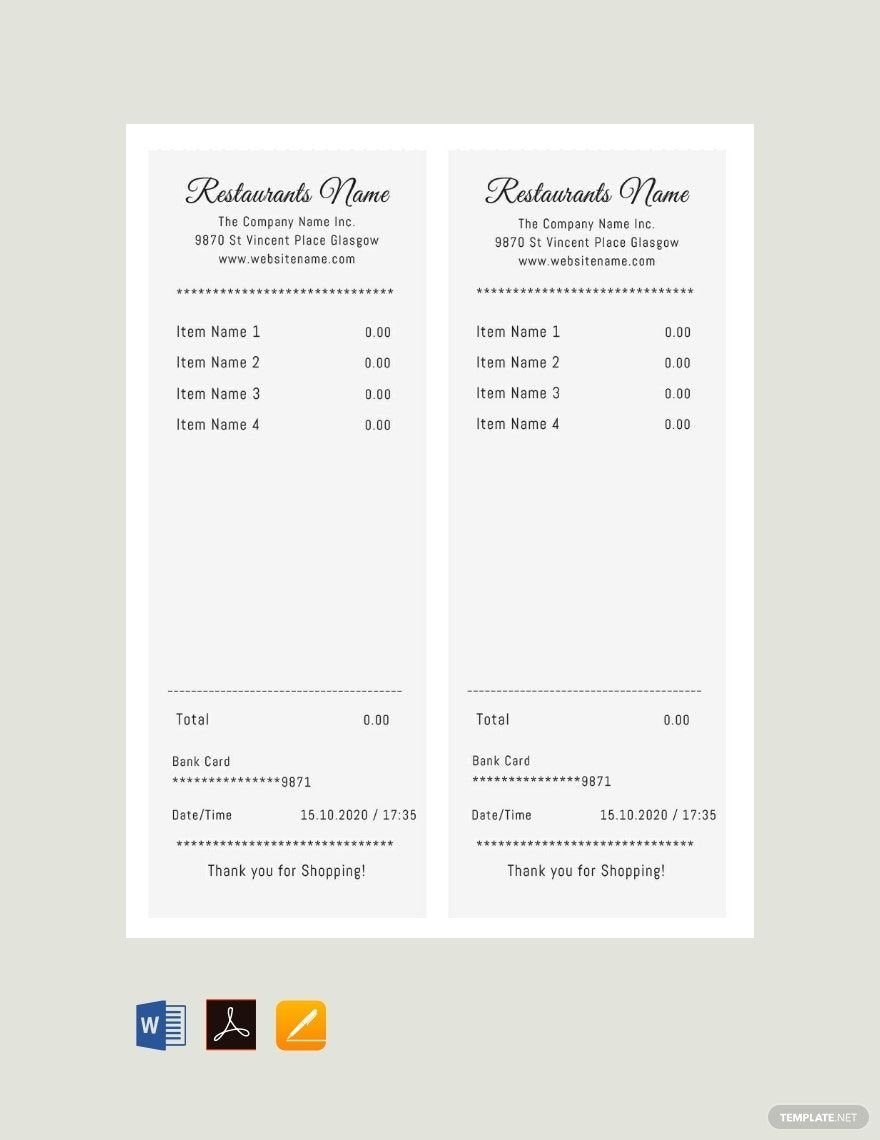
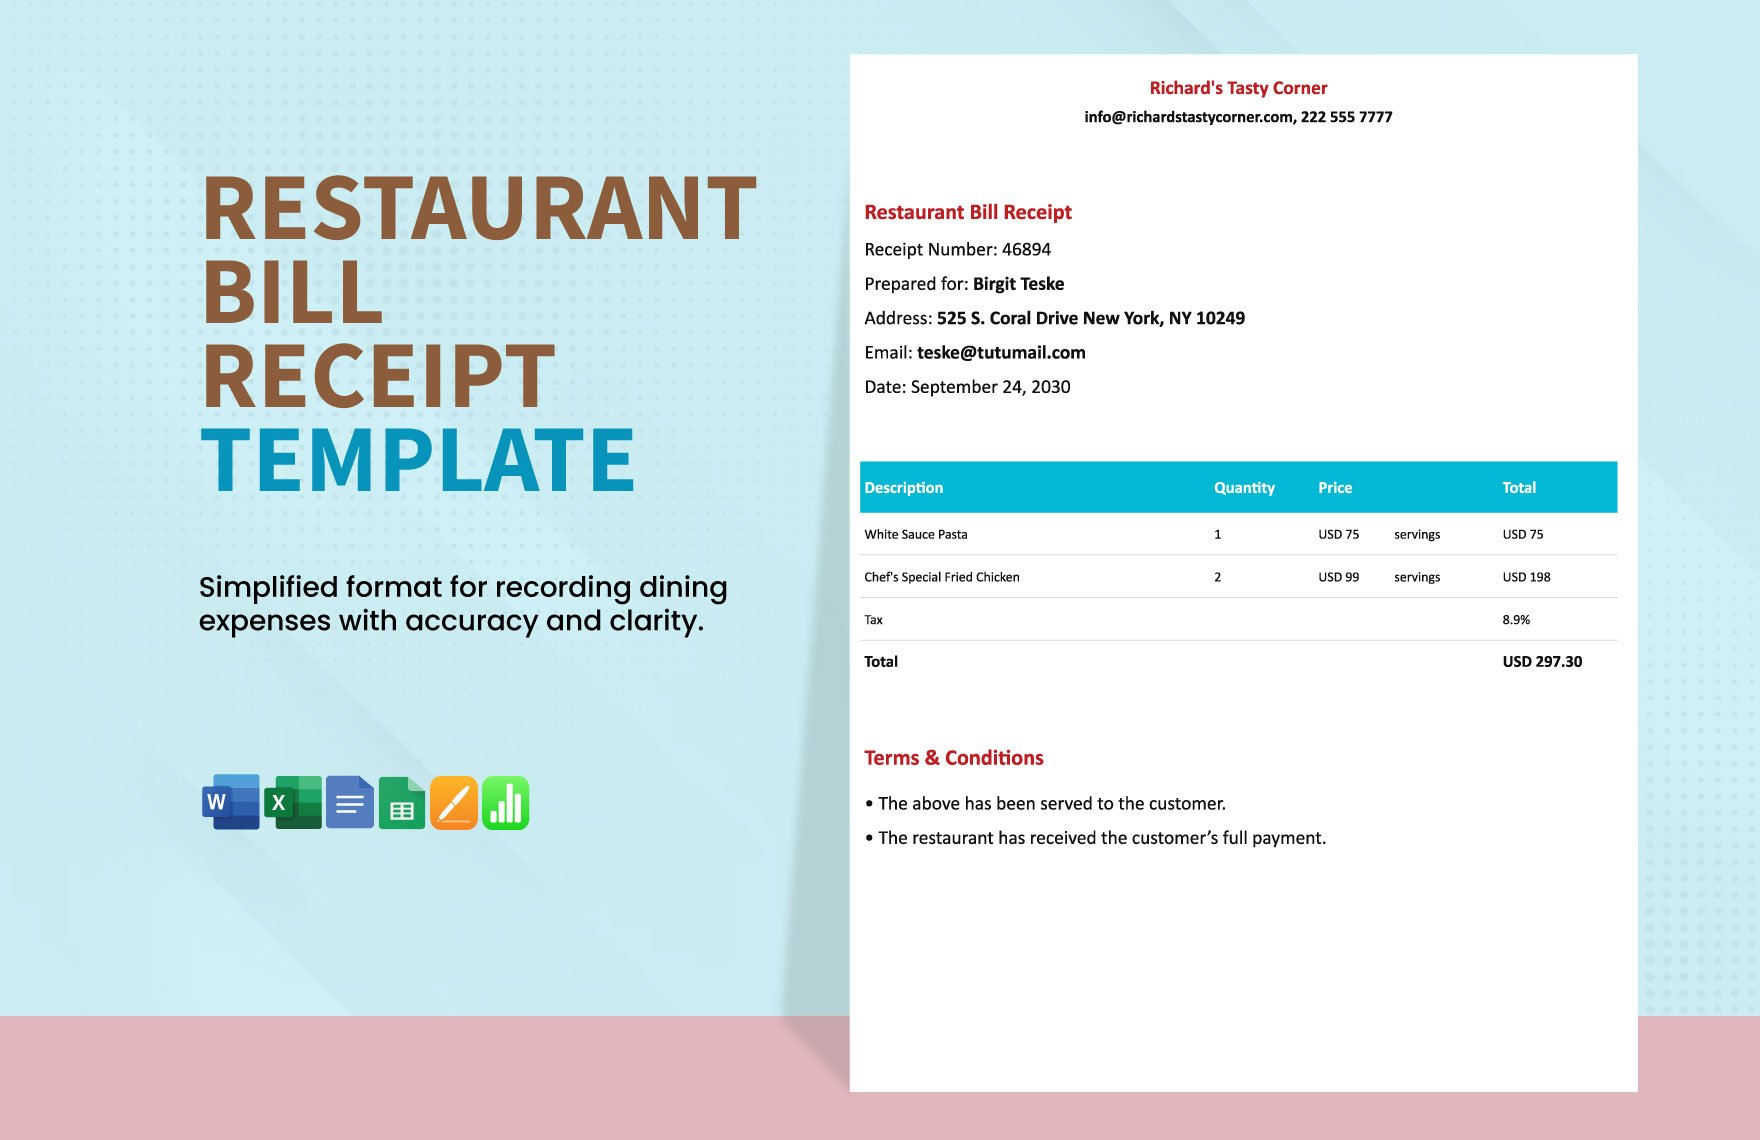
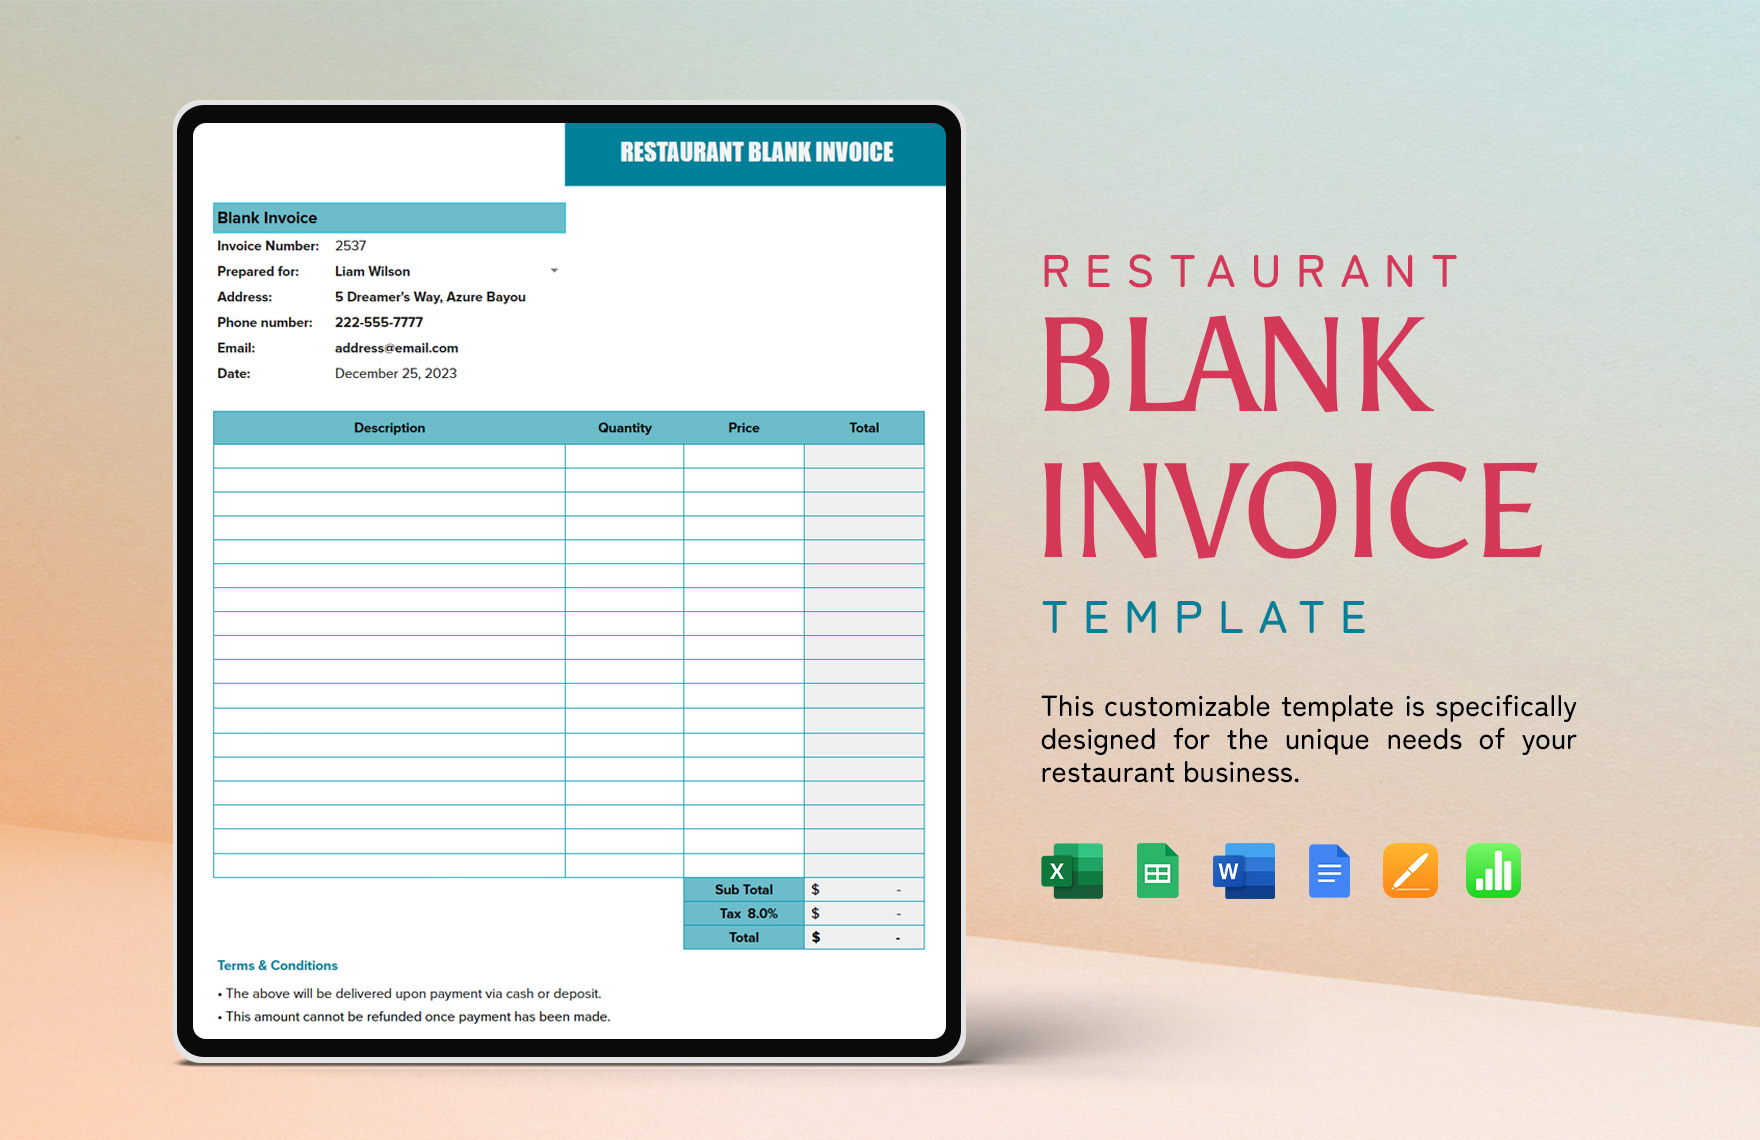
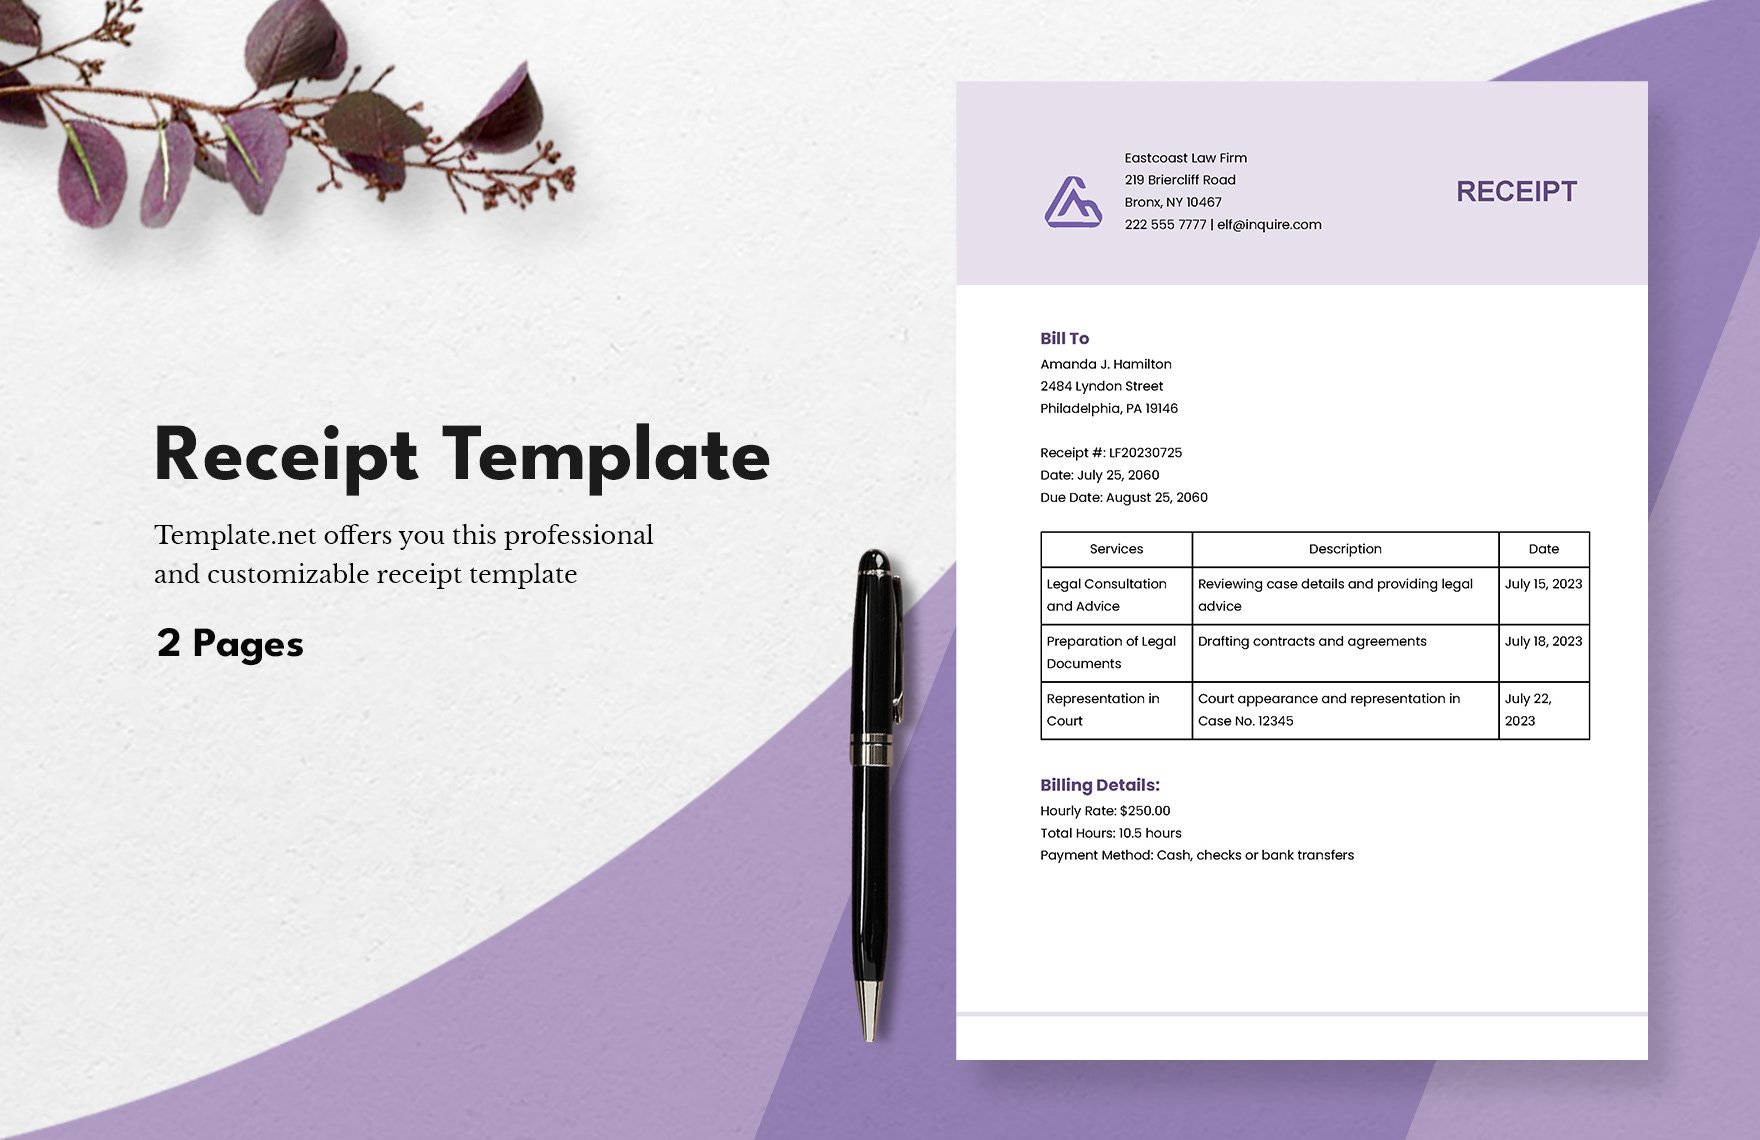
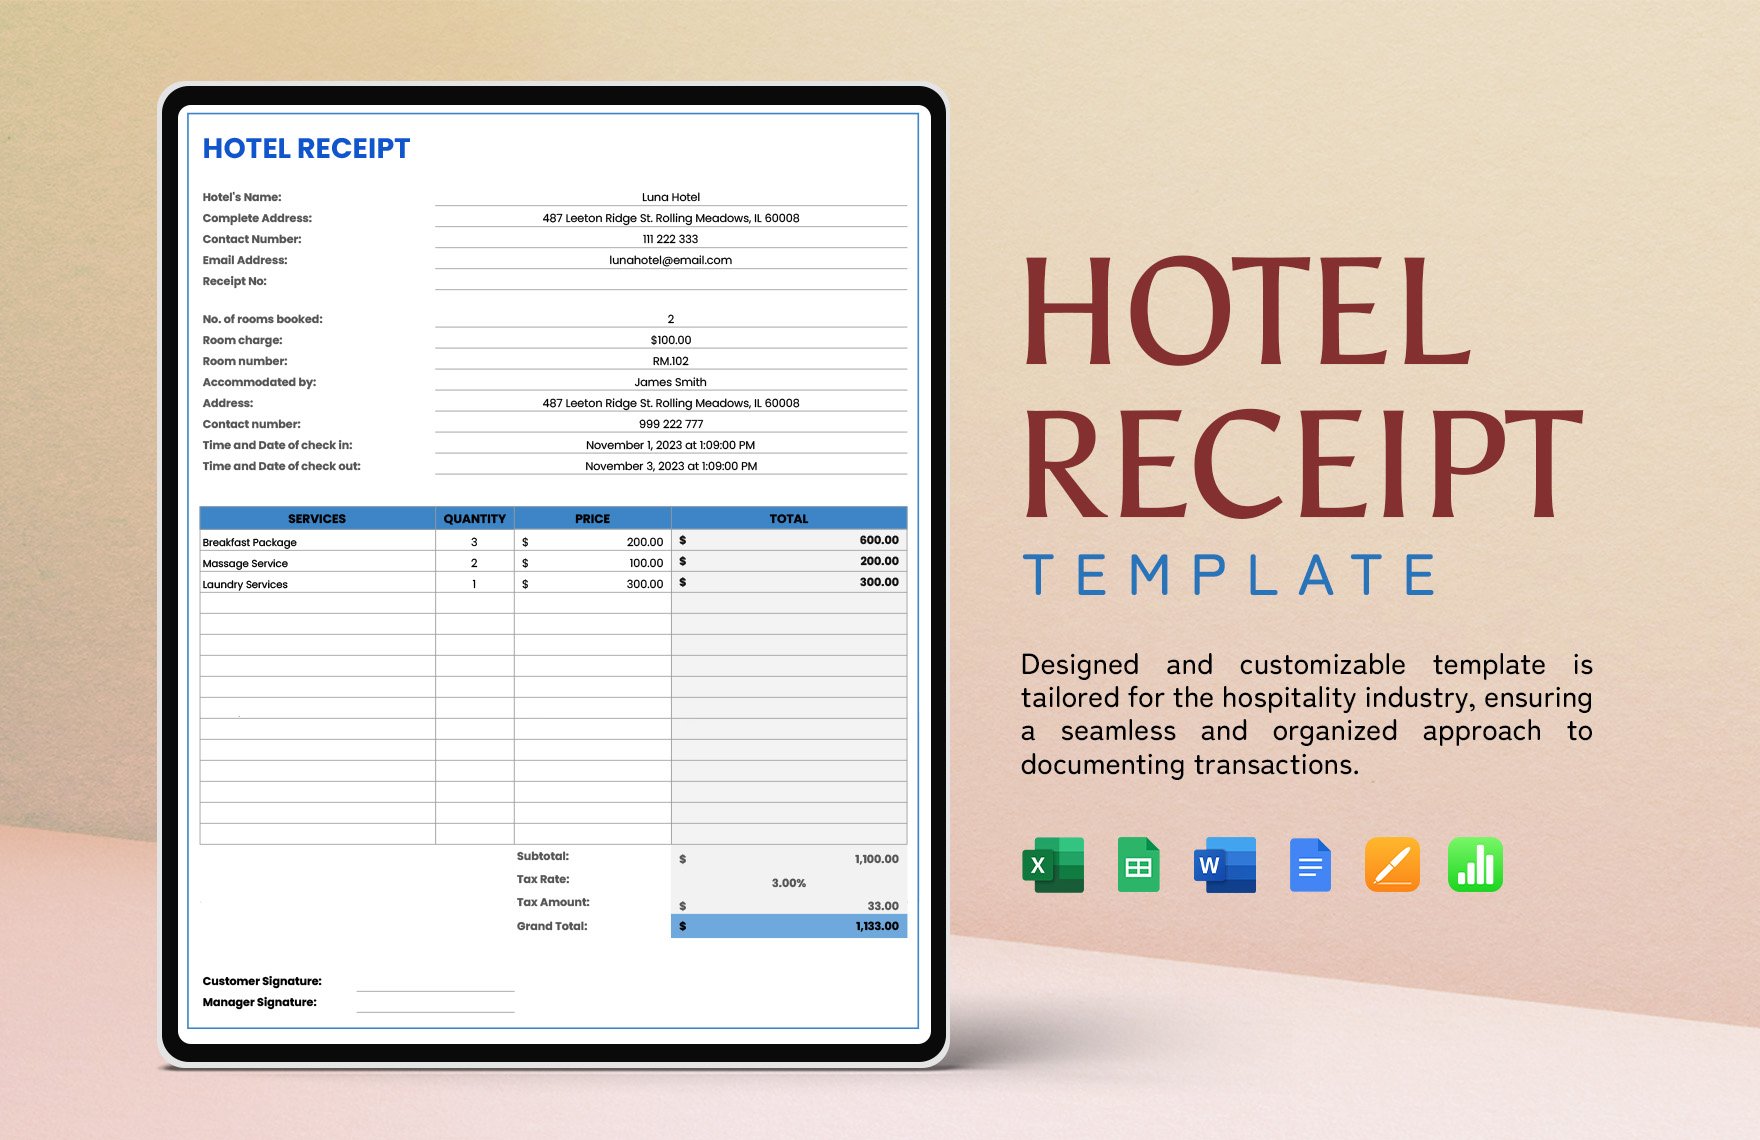
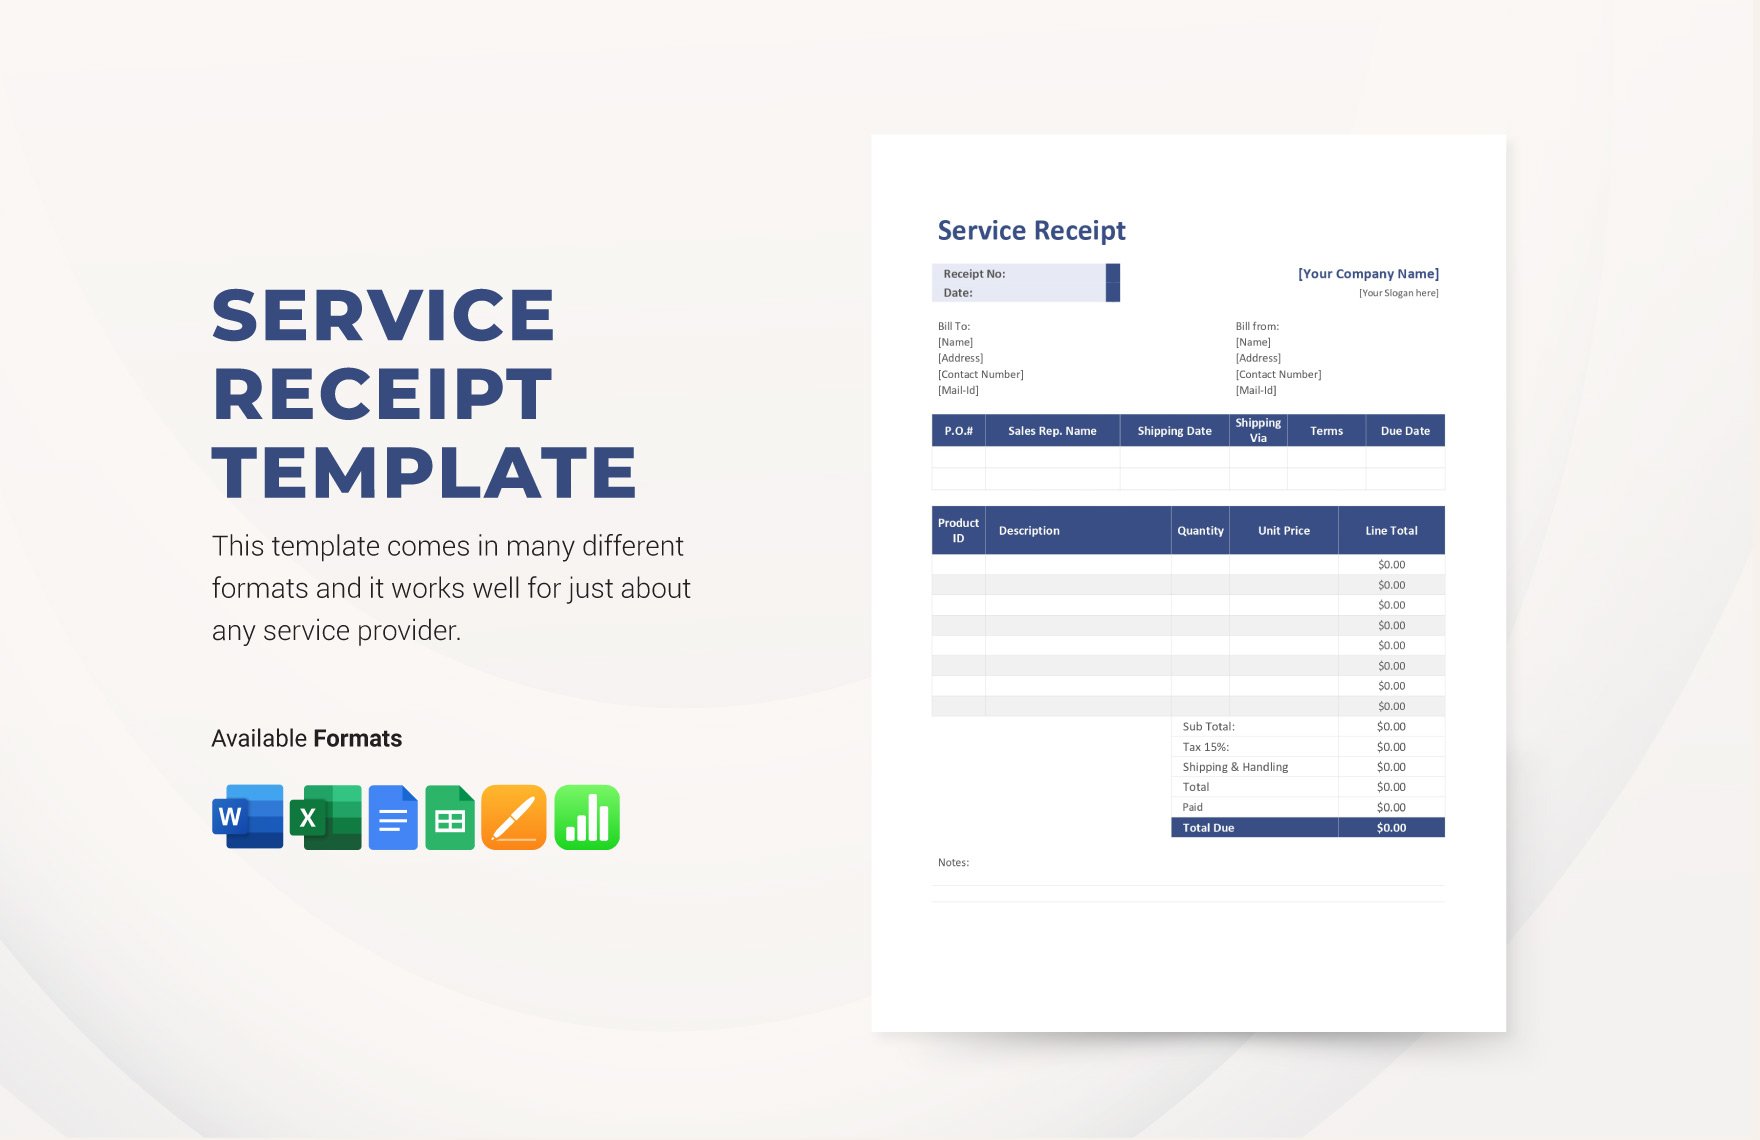
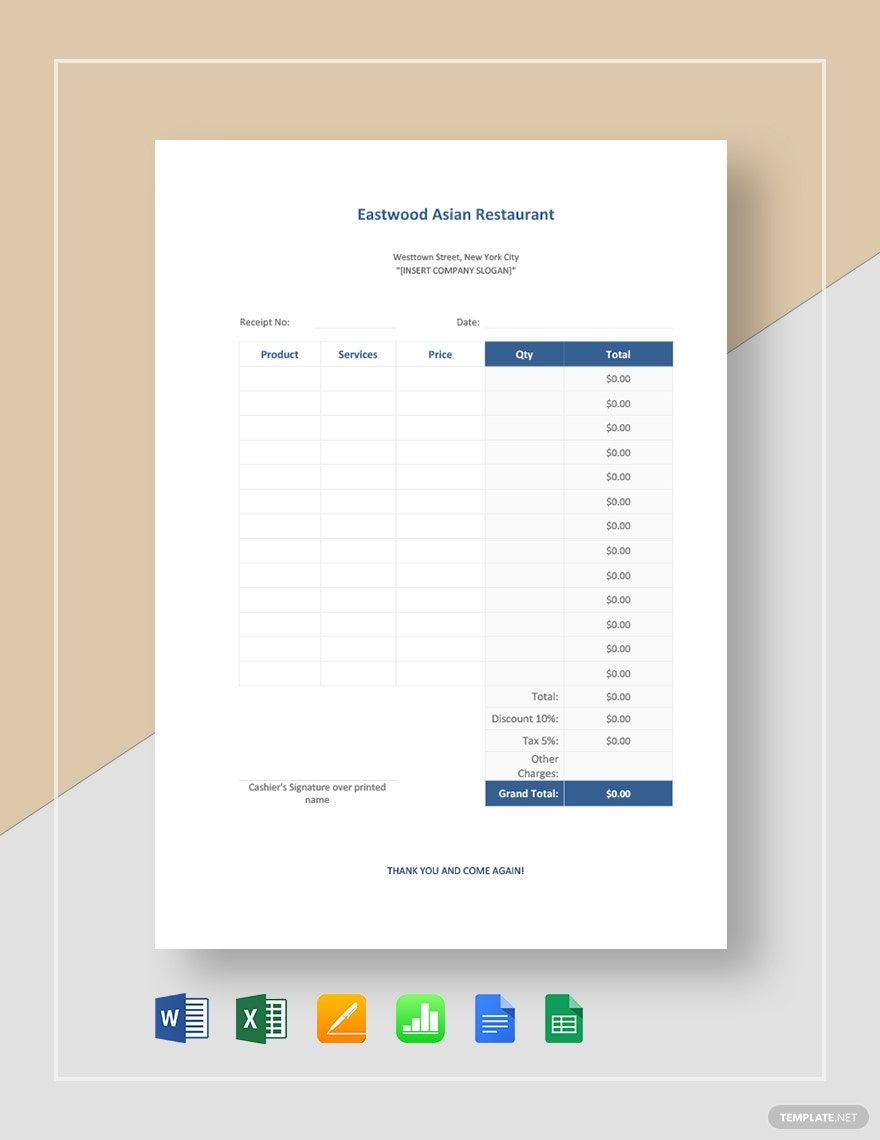
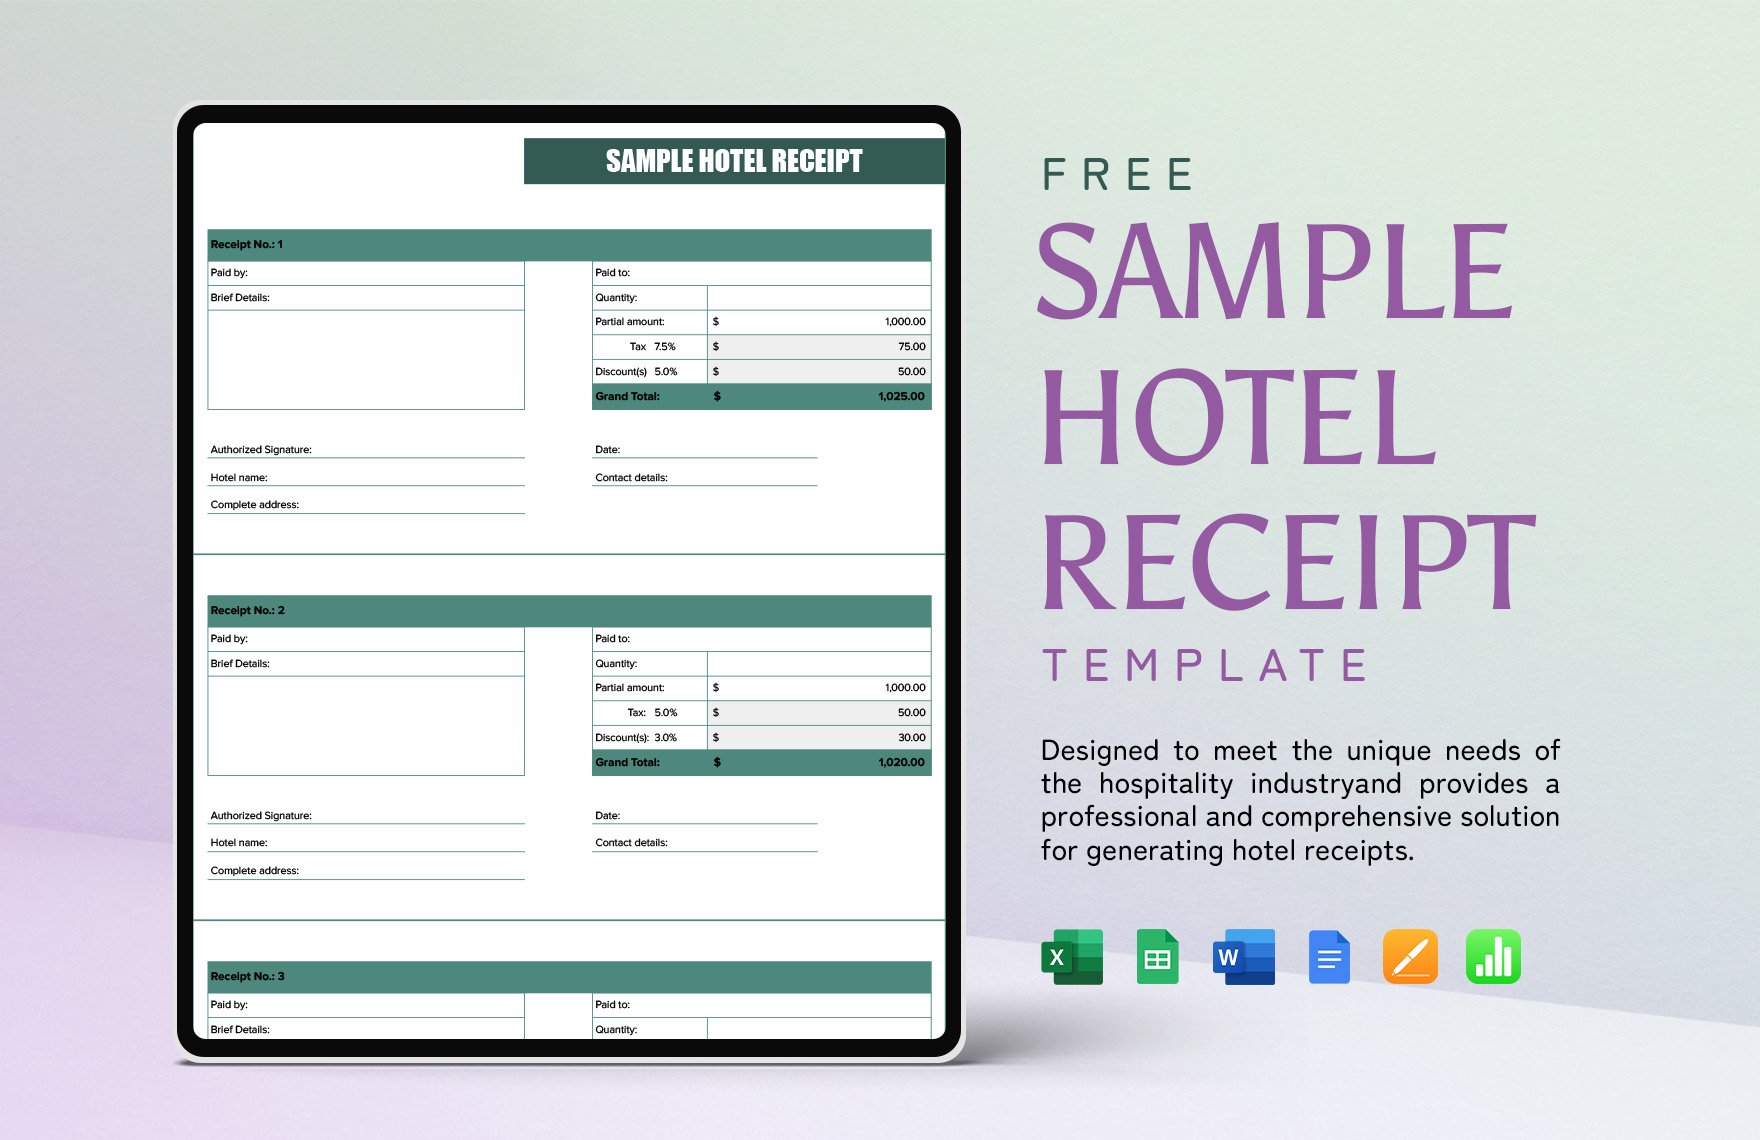
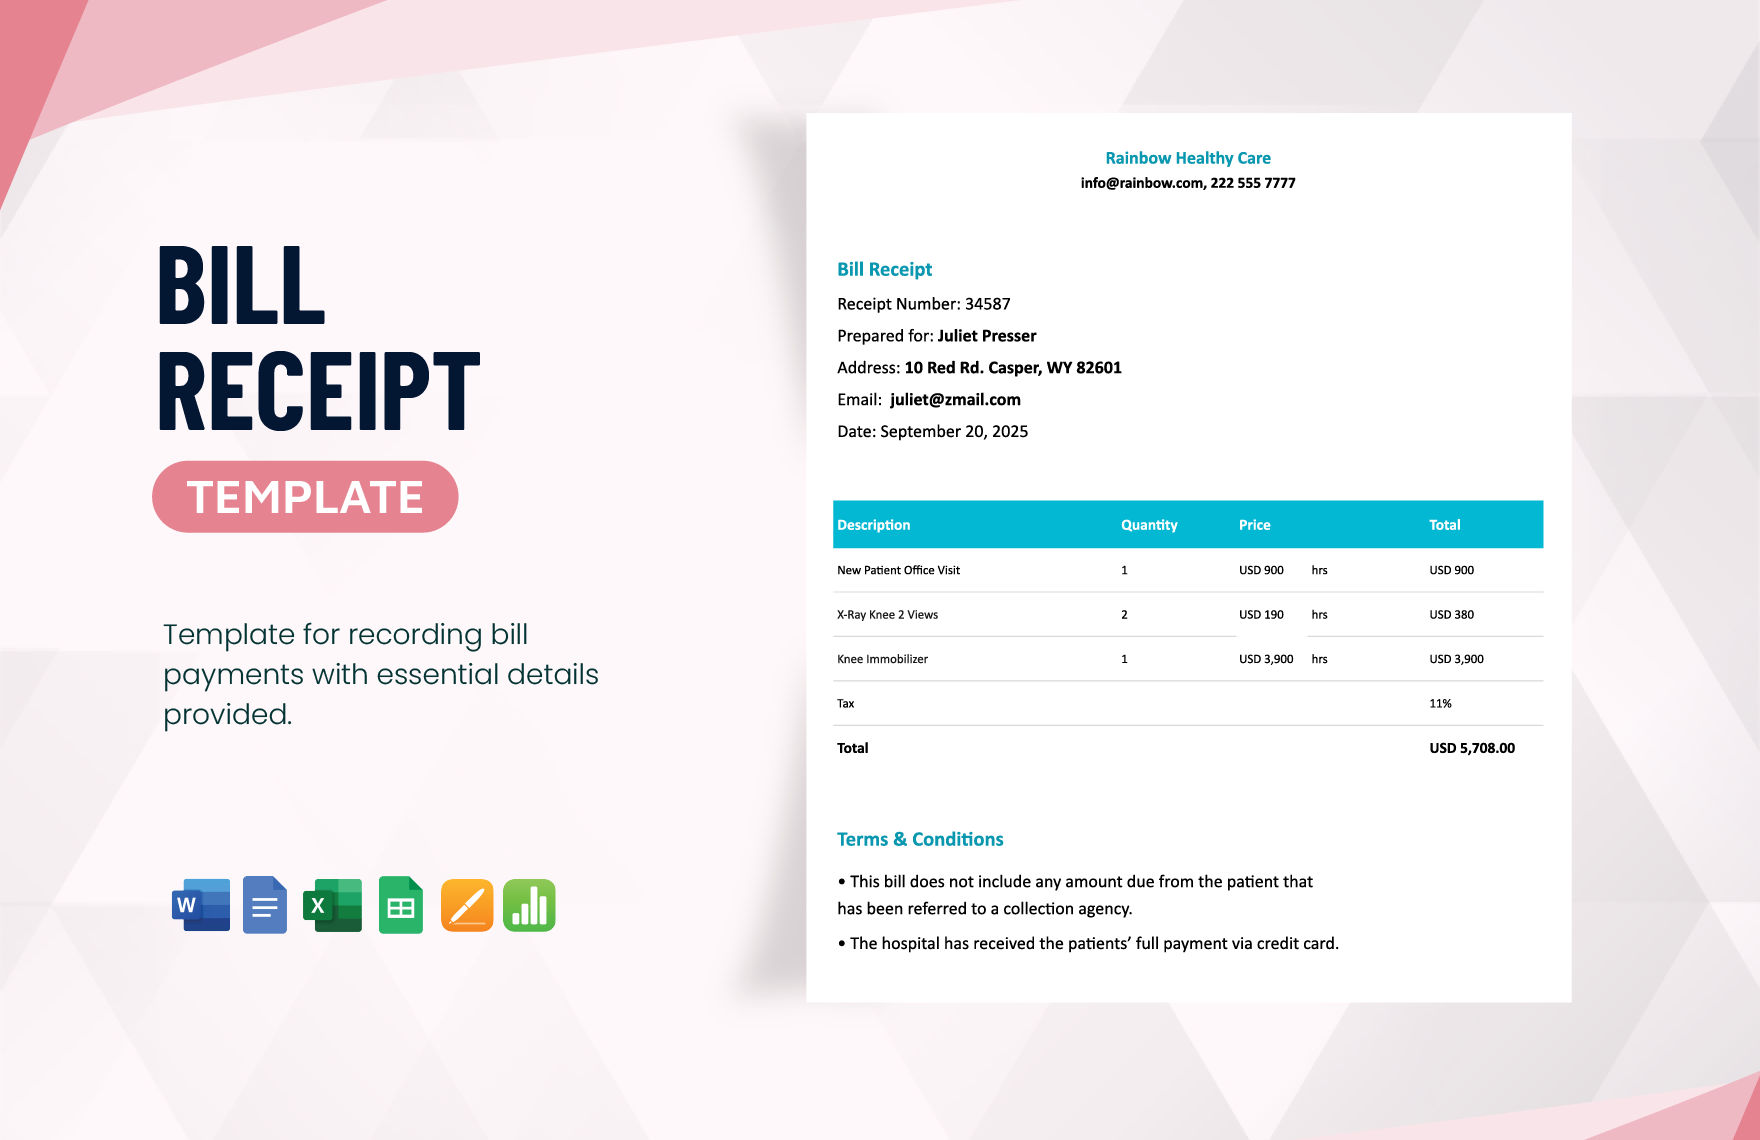
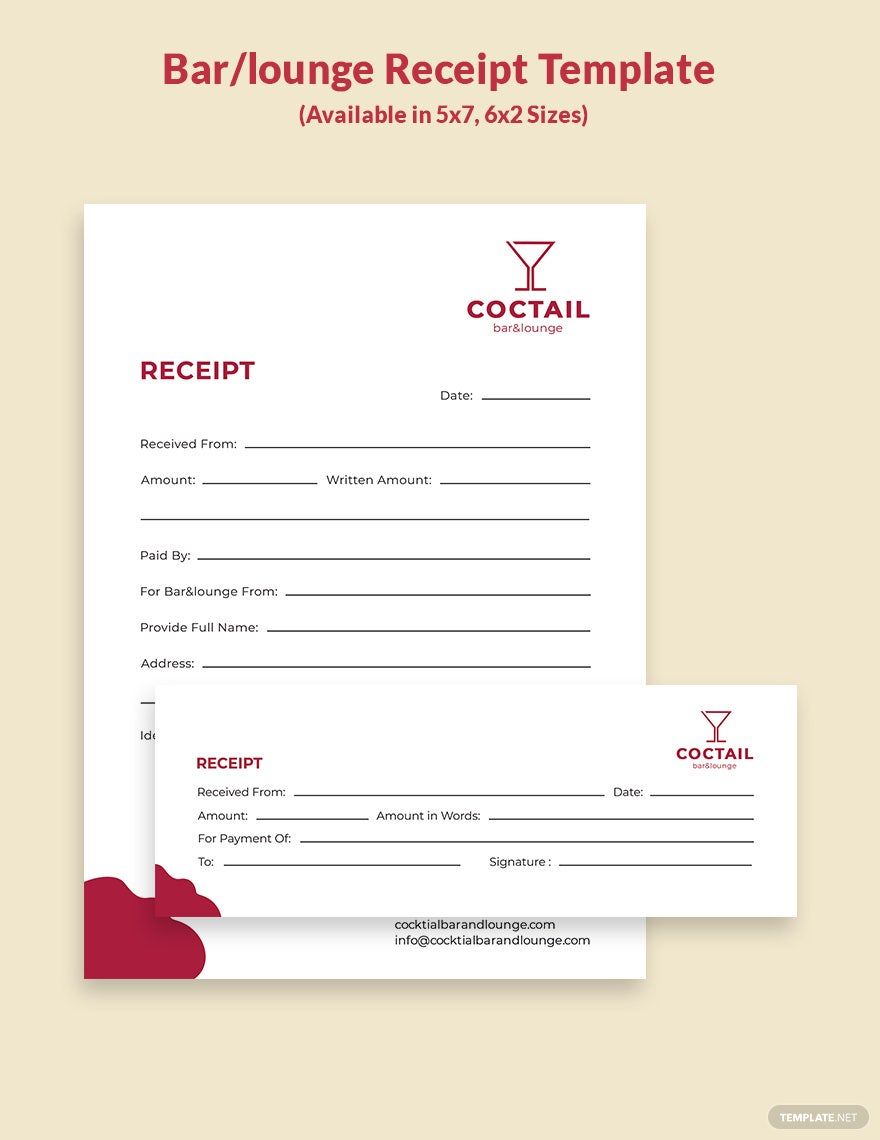
According to Toast, 50% of restaurant customers want receipts, while 14% don't. Although some customers don't want them, you must have receipts for recording purposes. Receipts aren't just for transaction, but they have other vital functions, too. You can use these documents to check which meals sell best and which meals don't. You also need them for financial statements' preparation and more. So, explore our stack of ready-made Restaurant Receipt Templates in Google Docs. These templates are 100% editable and are printable. They are professionally made, too. They have suggestive headings that you can use. Grab a template now!
Restaurant Receipt Templates in Google Docs
Explore professionally designed restaurant receipt templates in Apple Numbers that are free, customizable, and perfect for any business. Download now.

Get Access to All Receipt Templates

- Ticket
- Quotation
- Receipt
- Recipe Card
- Proposal
- Contract
- Statement
- Newsletter
- Coupon
- Bill of Sale
- Agreement
- Affidavit
- Memo
- White Paper
- Itinerary
- Postcard
- Plan
- Planner
- Program
- Note
- Cover Page
- ID Card
- Banner
- Form
- Envelope
- CV
- Ebook
- Manual
- Notice
- Magazine
- Lesson Plan
- APA
- Job Description
- Cover Letter
- Sign Out Sheet
- Poster
- Chart
- List
- Time Sheet
- To-Do List
- Log
- Assessment
- Teacher
- Business
- HR
- Marketing
- Sale
- Advertising
- Finance
- Accounting
- Legal
- Administration
- Operation
- Safety
- Bookkeeping
How to Make a Restaurant Receipt in Google Docs
Receipts are essential documents for your restaurant. Whether you're new in the industry or not, creating receipts that represent your restaurant is vital. For that, excel in making the best receipts with the help of the tips below.
1. Create a Neat Layout
A sales receipt must be understandable and straightforward. You don't need to create a complicated document to impress your customers. A simple and neat document will show your credibility as a business.
First, plan a readable and formal format for your receipt to help you identify how you want it to look. Then, assess the right typography, font size, and color you want to use.
2. Spare a Space for the Receipt Details
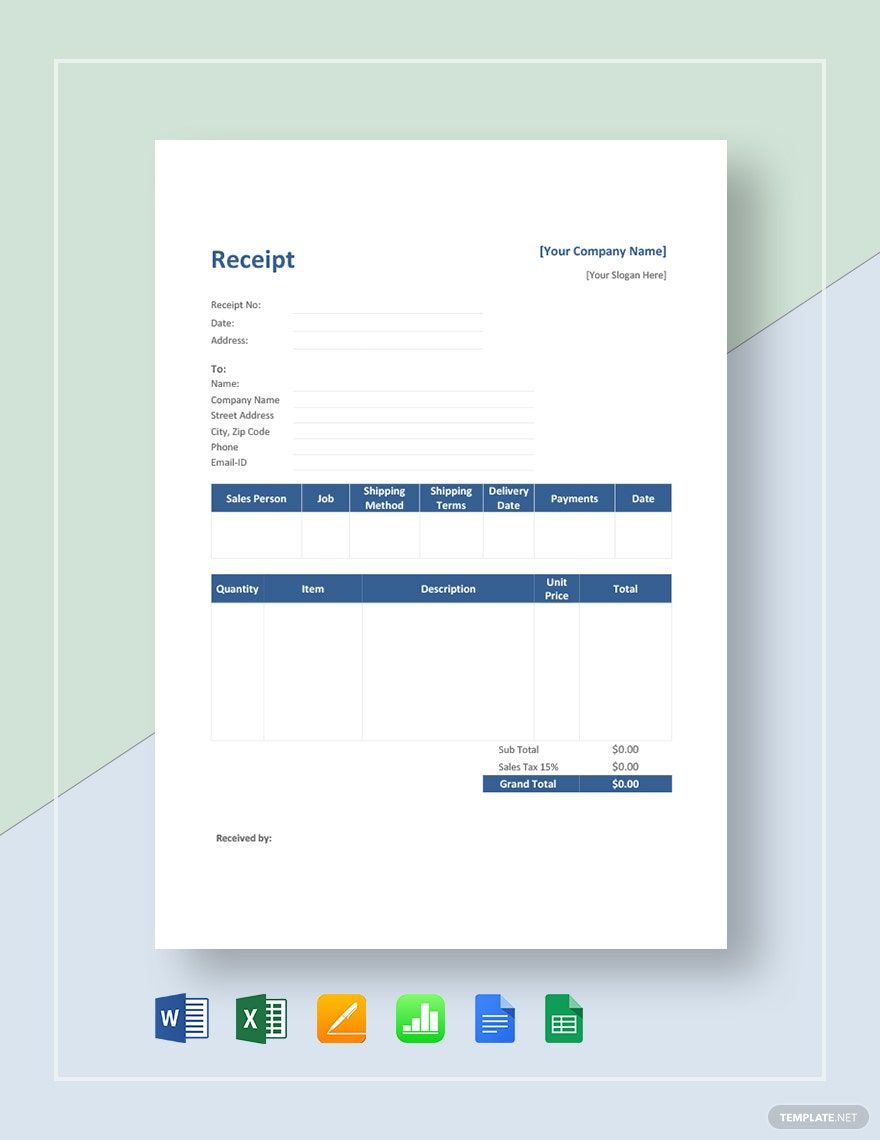
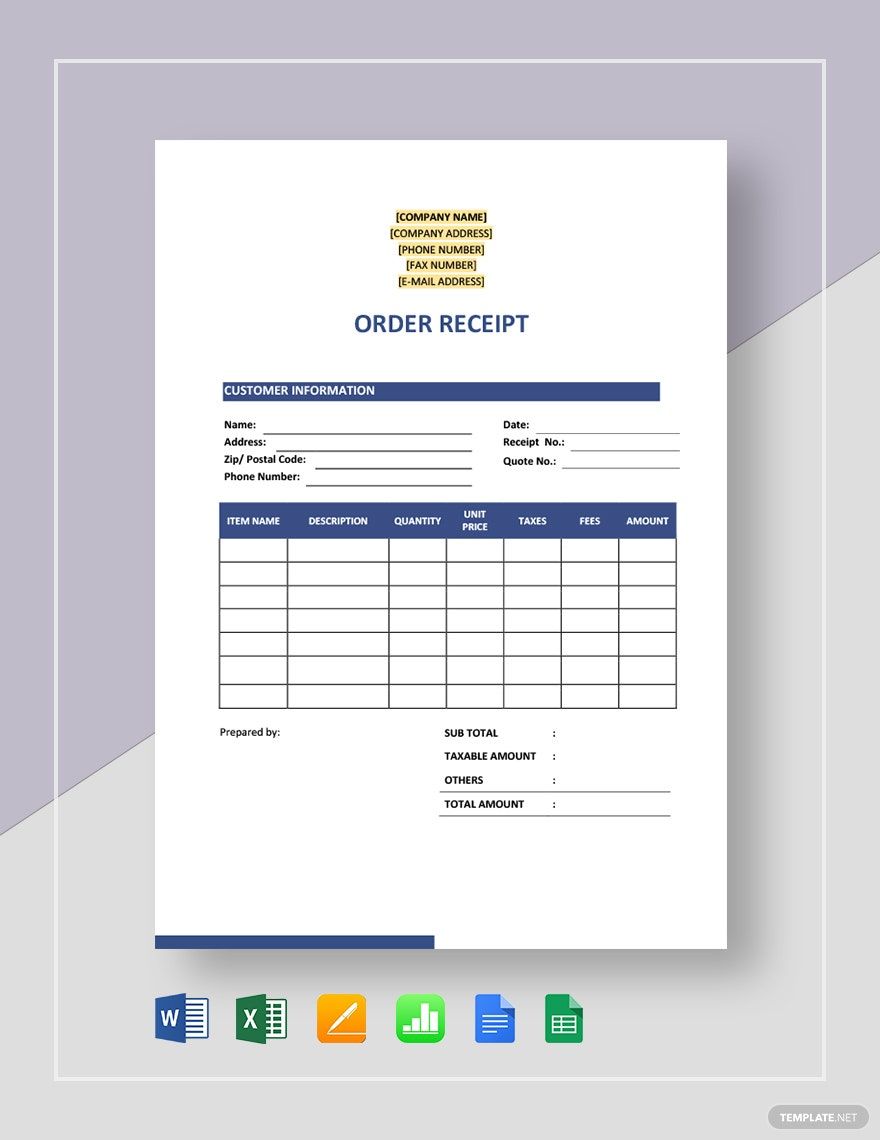
To distinguish a particular transaction from others, make sure to spare an area for the details. These details are the name of the customer, receipt number, date, and others. This part is essential so that you can give the right document to the right customer. Most importantly, you need this for recording purposes.
3. List the Ordered Items
Another essential part of the simple receipt is the ordered items' category. The customer needs a list of all the items he or she has paid for. Itemize the customer's orders, word for word together with their quantity and prices.
But since you need an organized receipt, create a column for each section. You need one column for the quantity, items, unit price, and total to complete it. Doing this will organize the content, which makes it more readable.
4. Provide a Space for Payment Information
Complete your sample receipt with the details of the payment information. Usually, you can find this section at the bottom of the receipt. Write subtotal, taxable amount, and total amount on separate lines. You can also add other details like payment methods to make your receipt more detailed.
5. Get a Template
We have receipt templates that you can use to help you save time. Our templates are easy to use and customize to make your work easier. And if you're looking for invoices to match your receipts, we have invoice templates, too.
Frequently Asked Questions
Is it illegal to make a fake receipt?
Creating or submitting fake or inflated receipts as the seller to trick people is a fraud, which means it's illegal.
What happens if an invoice is incorrect?
When your business sends an incorrect invoice, you should send a cancellation invoice with the original invoice number. If the customer hasn't paid yet, you can call or email telling you sent a wrong document. If the customer has paid, submit a new invoice with the correct details.
Is an invoice a receipt?
An invoice isn't a receipt. An invoice is a document that contains the details of your payment. A seller requests payment through an invoice. Oppositely, you can receive a receipt after you've made your payment.
Can a receipt be handwritten?
Receipts can be digital, handwritten, or printed.
What is a receipt of payment?
A receipt of payment is evidence that a customer paid the product or service either partial or full.
